Thinking about getting the xTool heat press? Check out my review and projects to see if this compact all-in-one heat press is right for you!
This post is sponsored by xTool and contains affiliate links for your convenience. Purchases made through these links may earn me a small commission at no additional cost to you. Please visit my disclosures page for more information.
xTool is always coming out with innovative products, like their M1 and P2 lasers and the screen printer that works with them. They've just released another fun accessory to go along with their new M1 Ultra crafting machine...their all-in-one heat press!
I had a HUGE 12"x20" heat press in my craft space, and in all honesty, I never used it. It's just too big and cumbersome, especially when working with much smaller pieces.
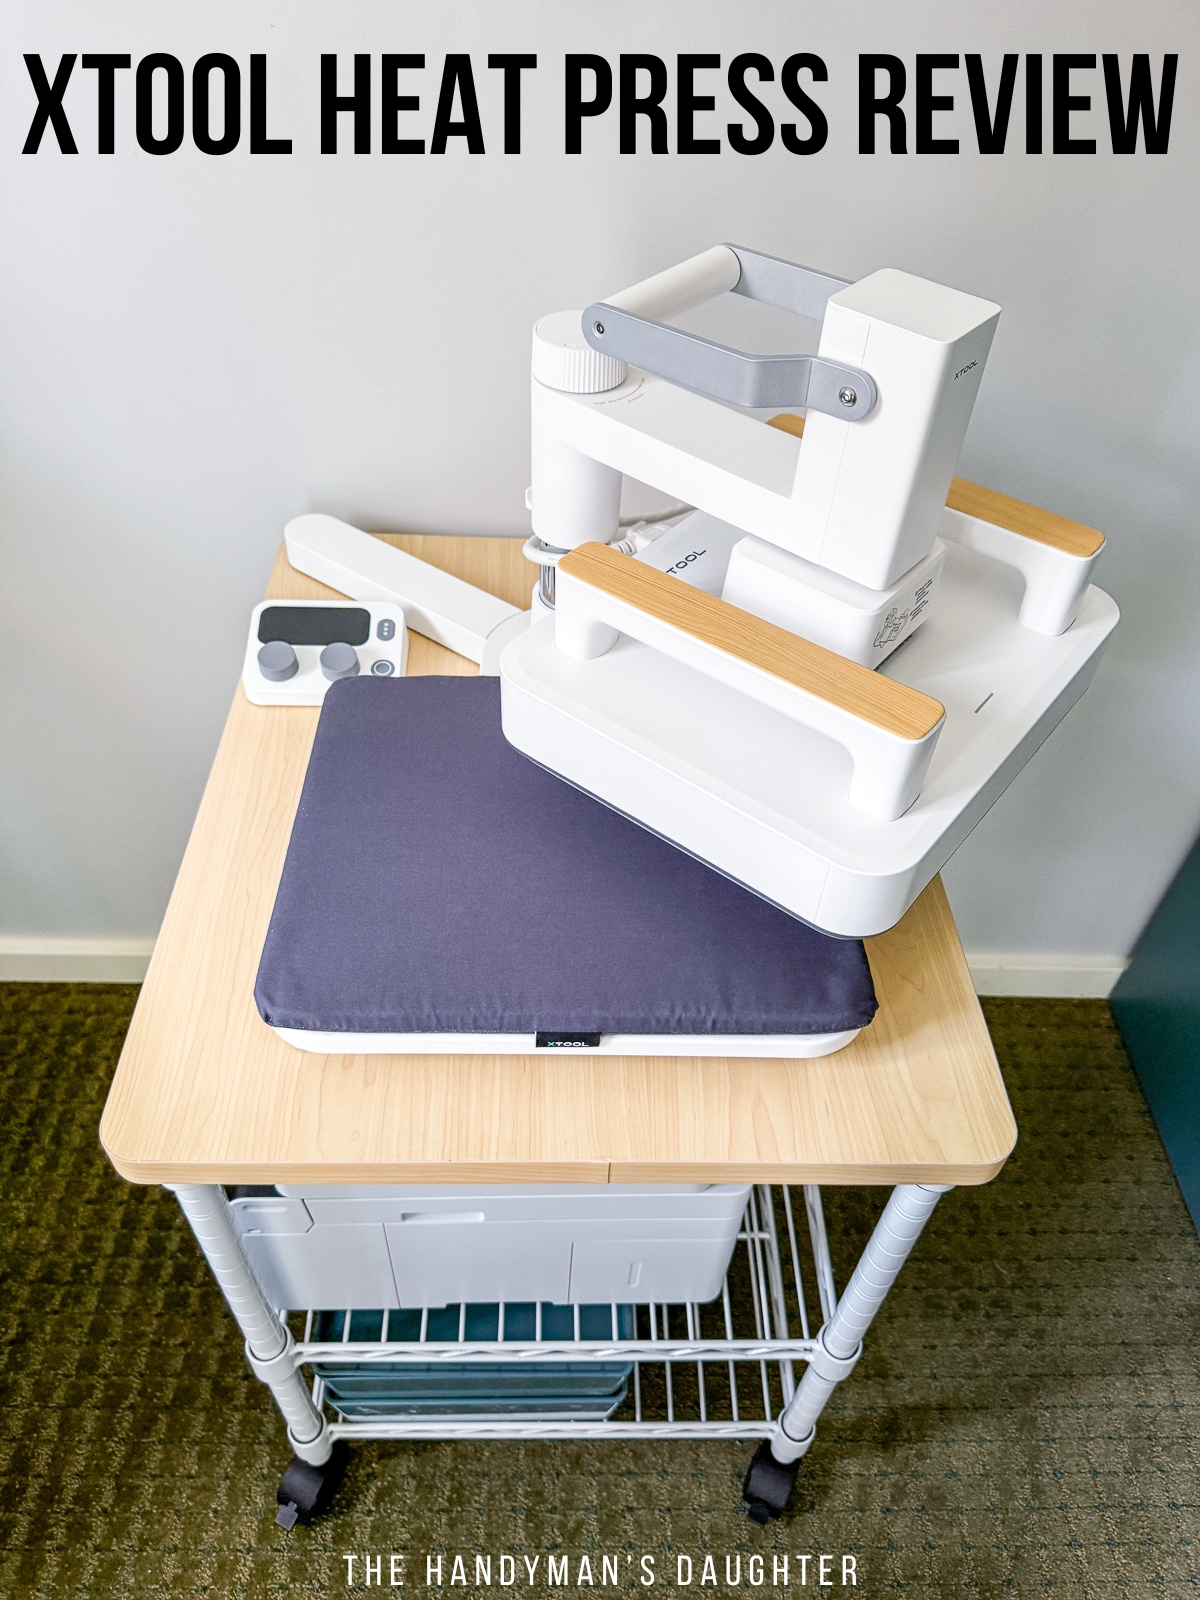
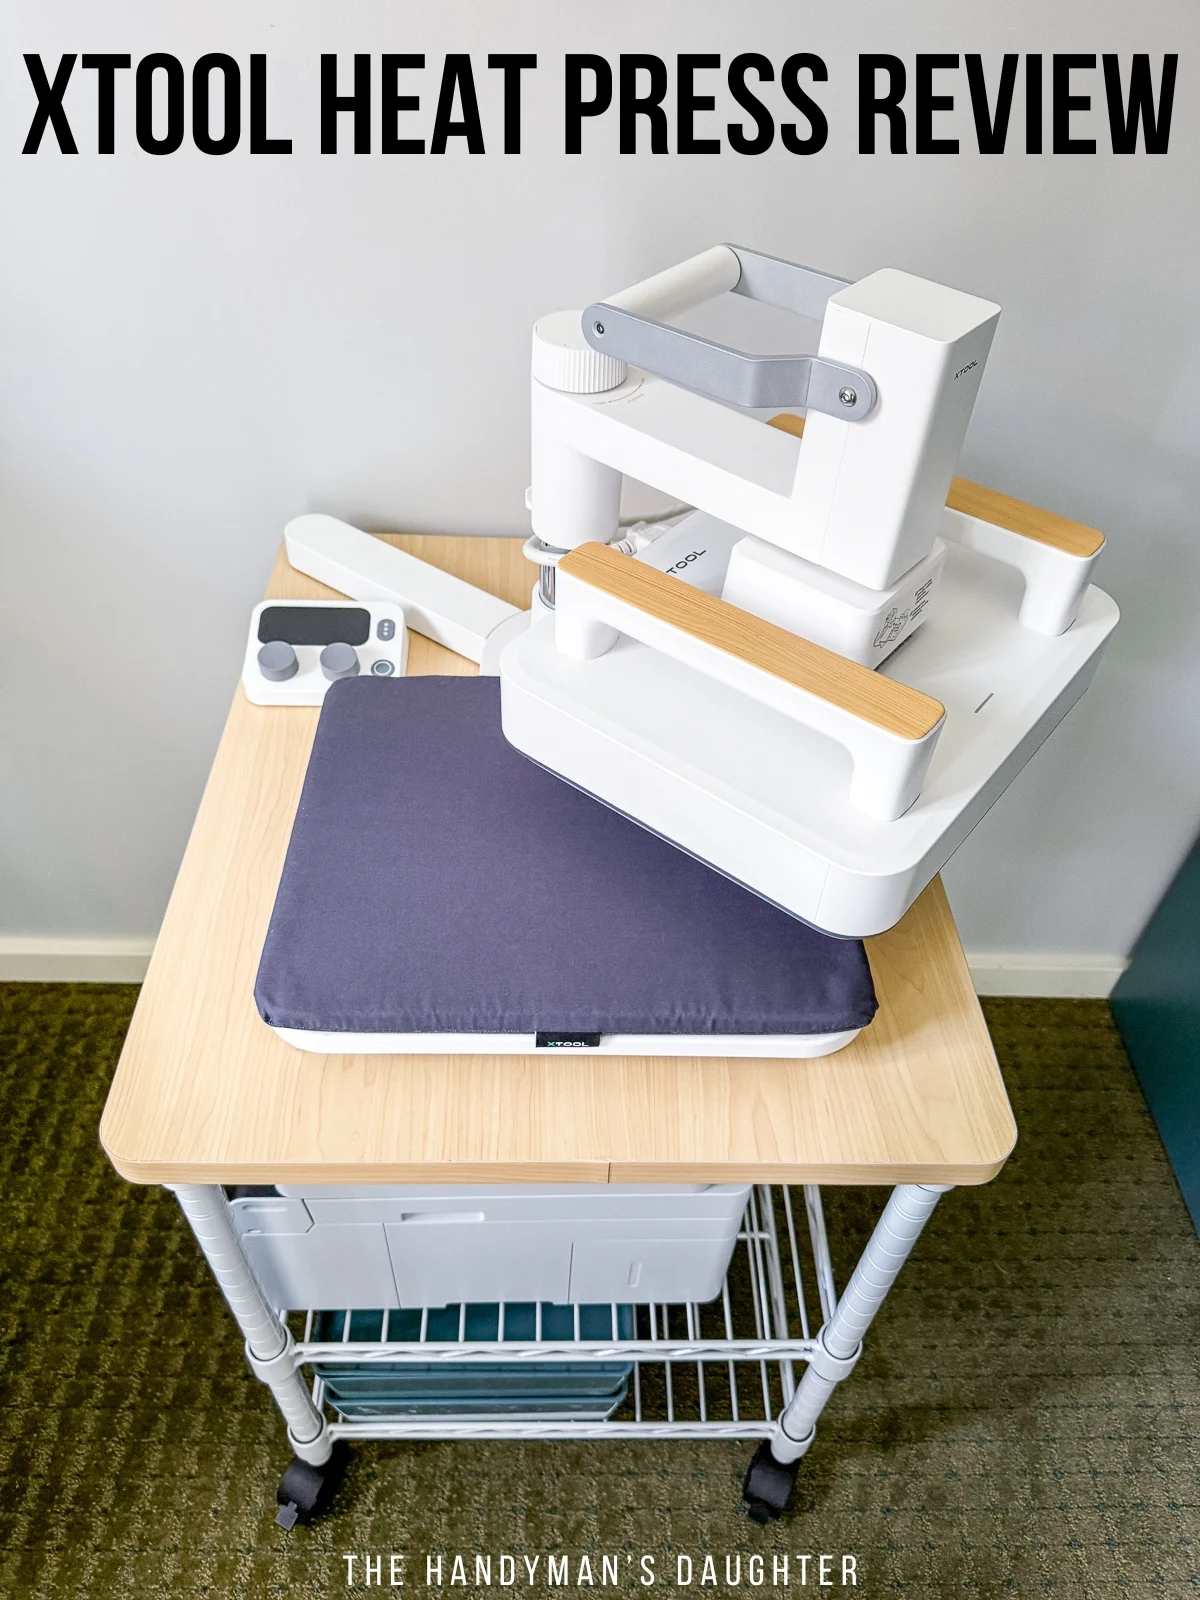
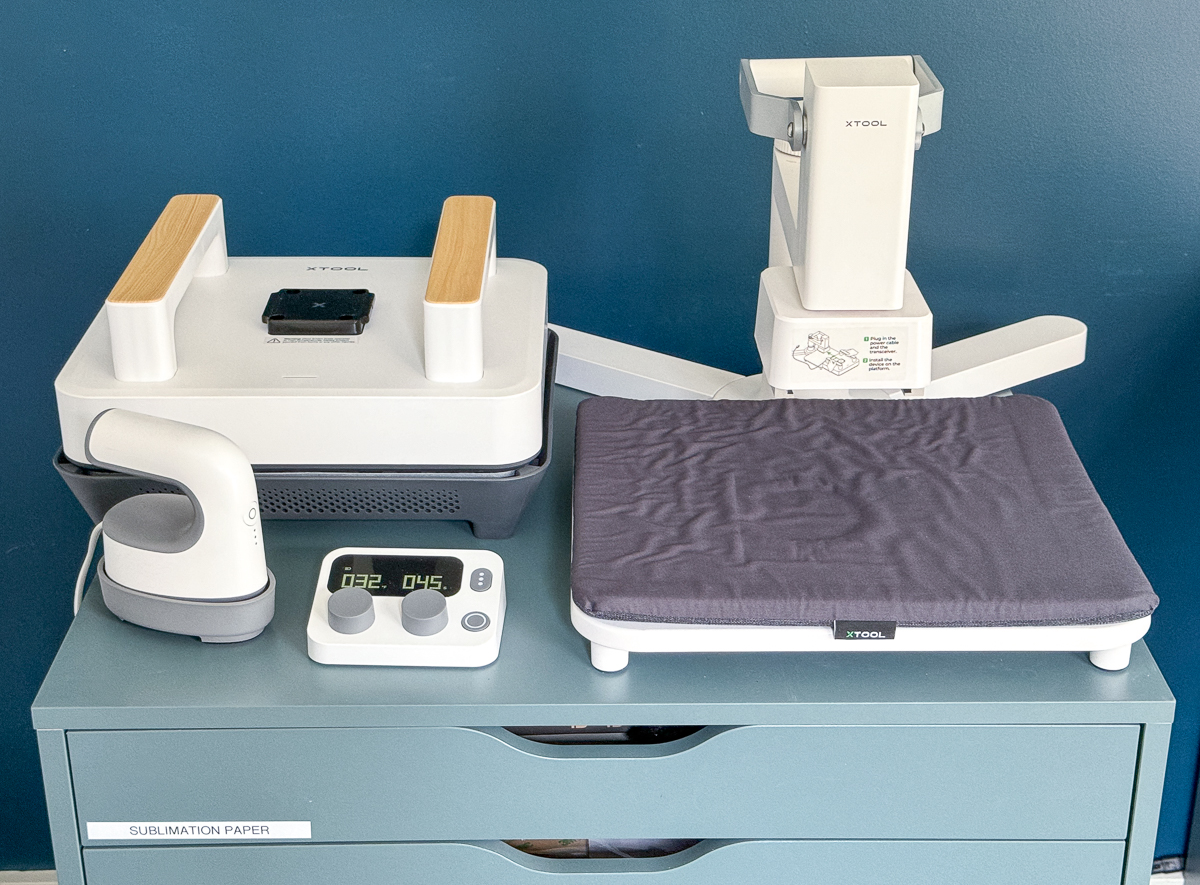
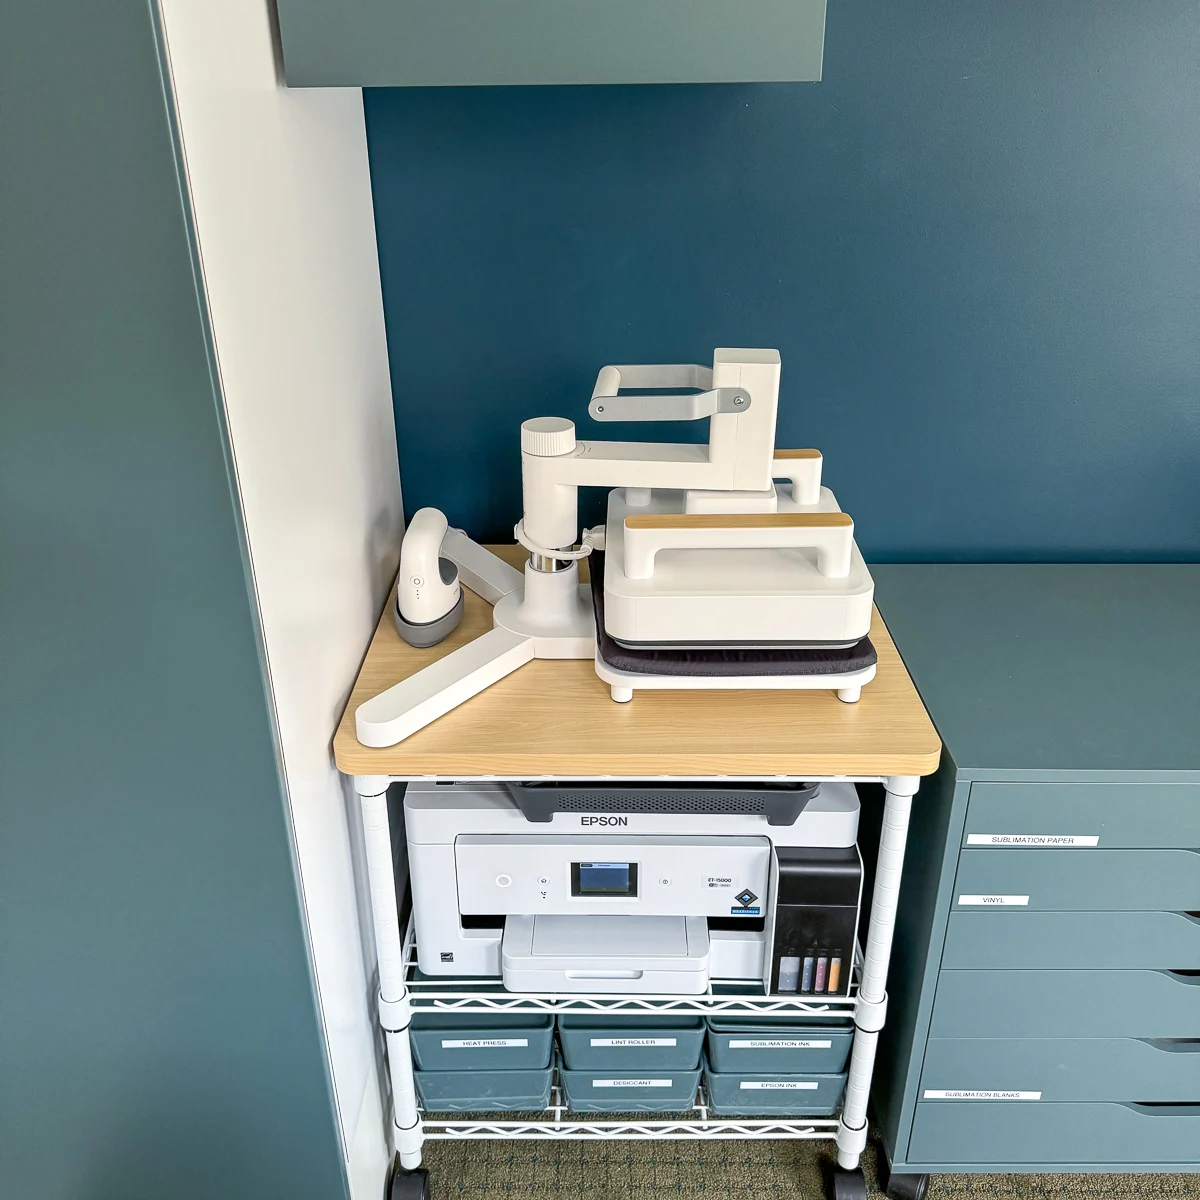
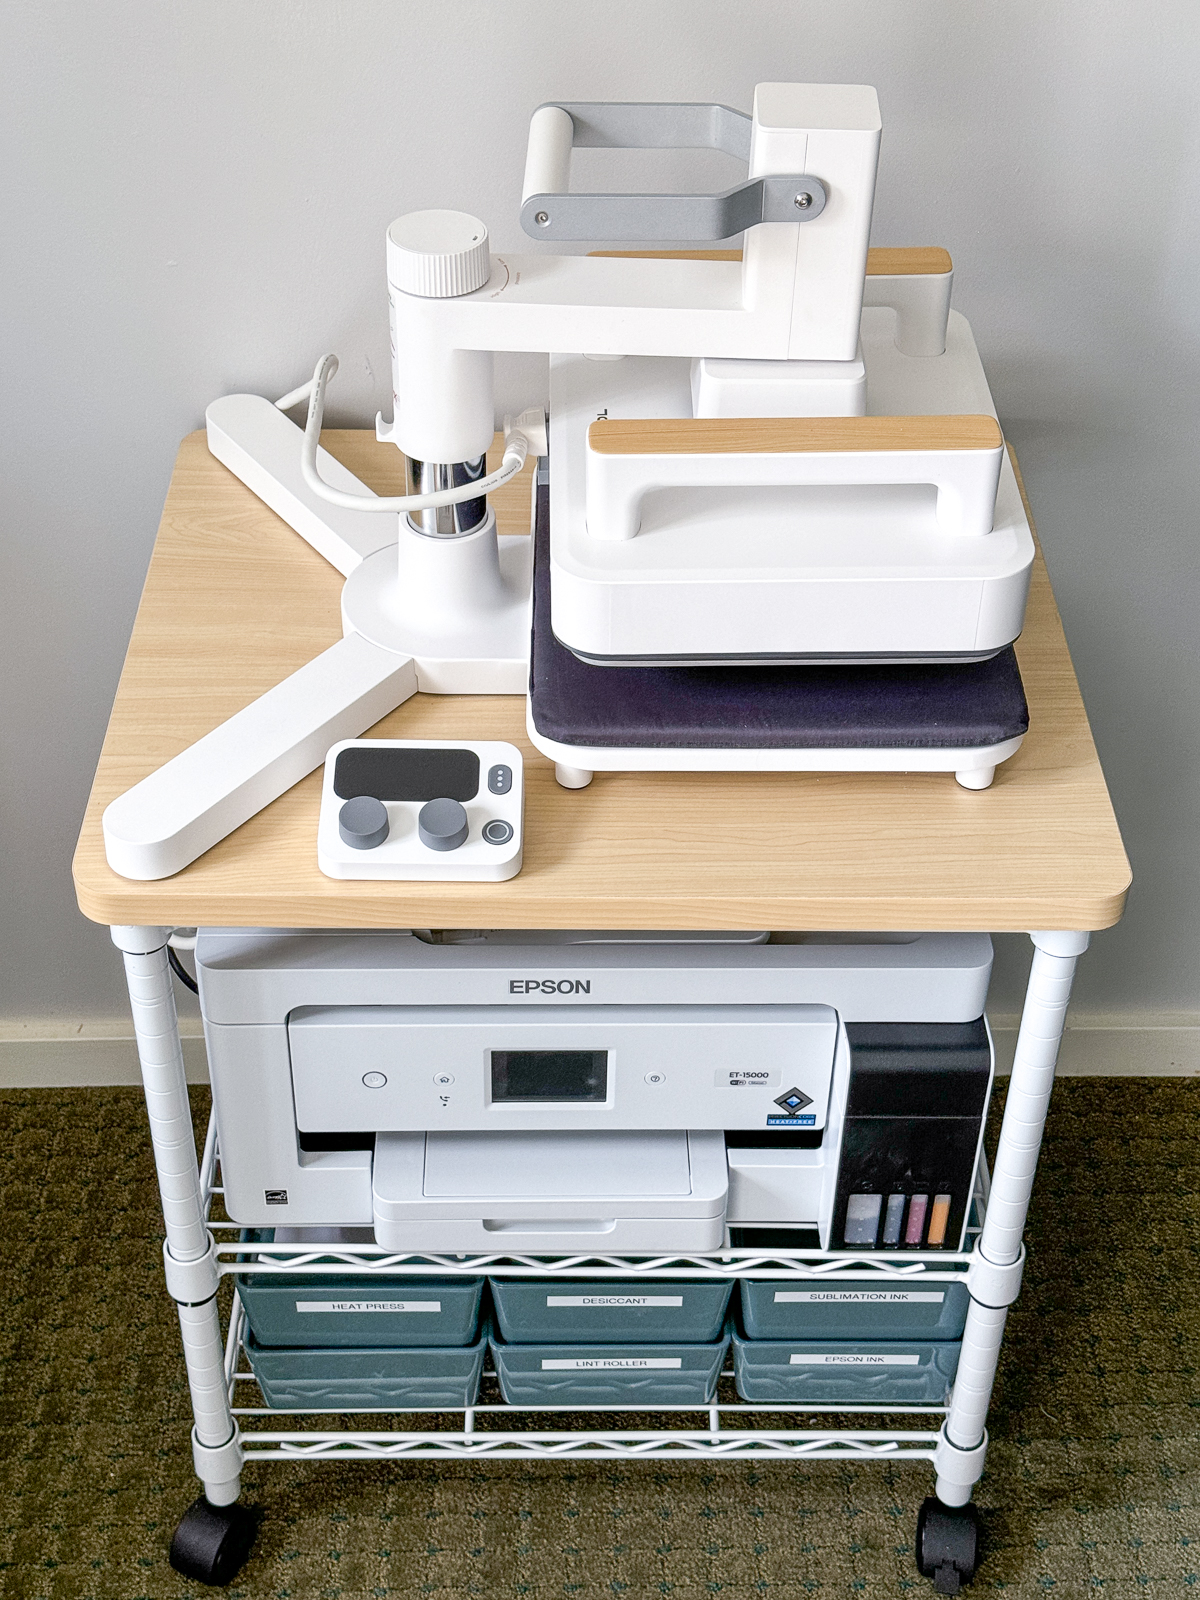
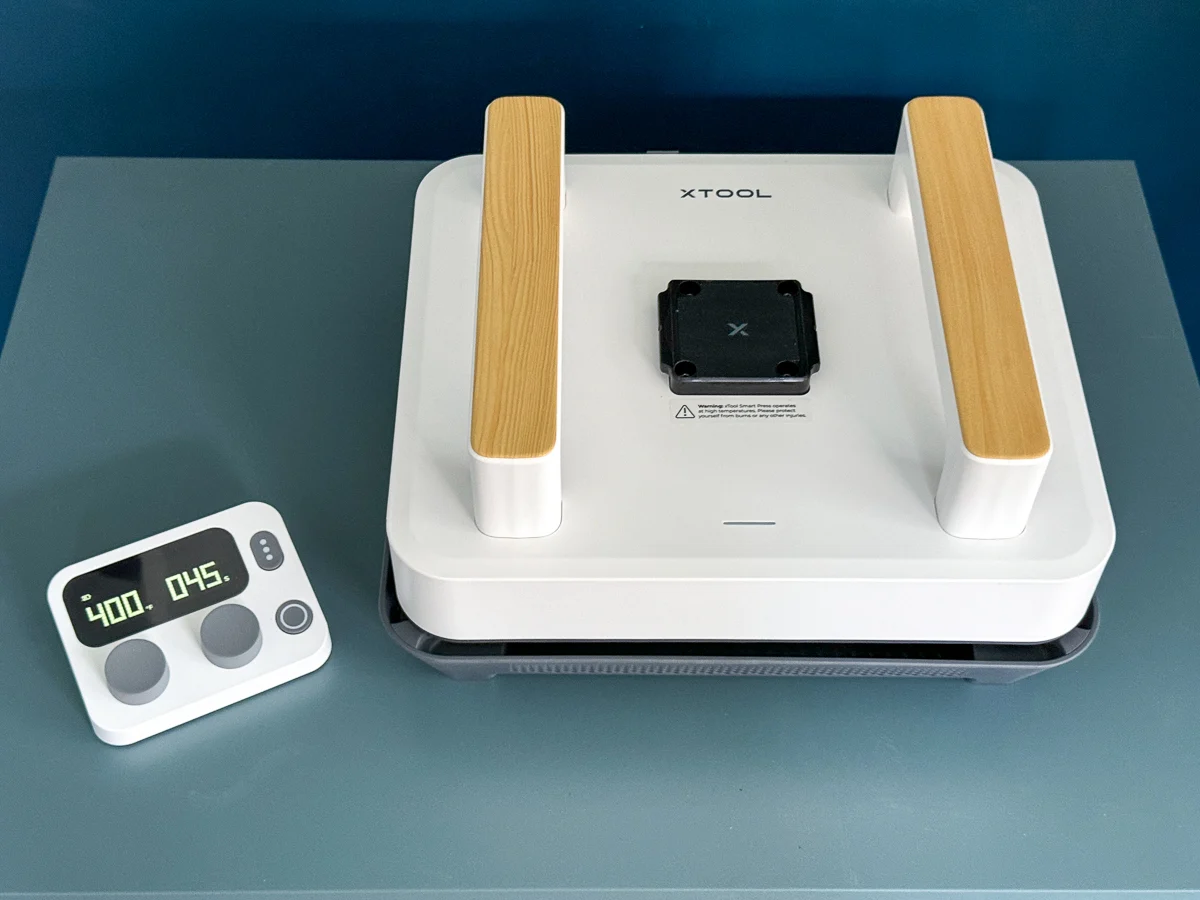
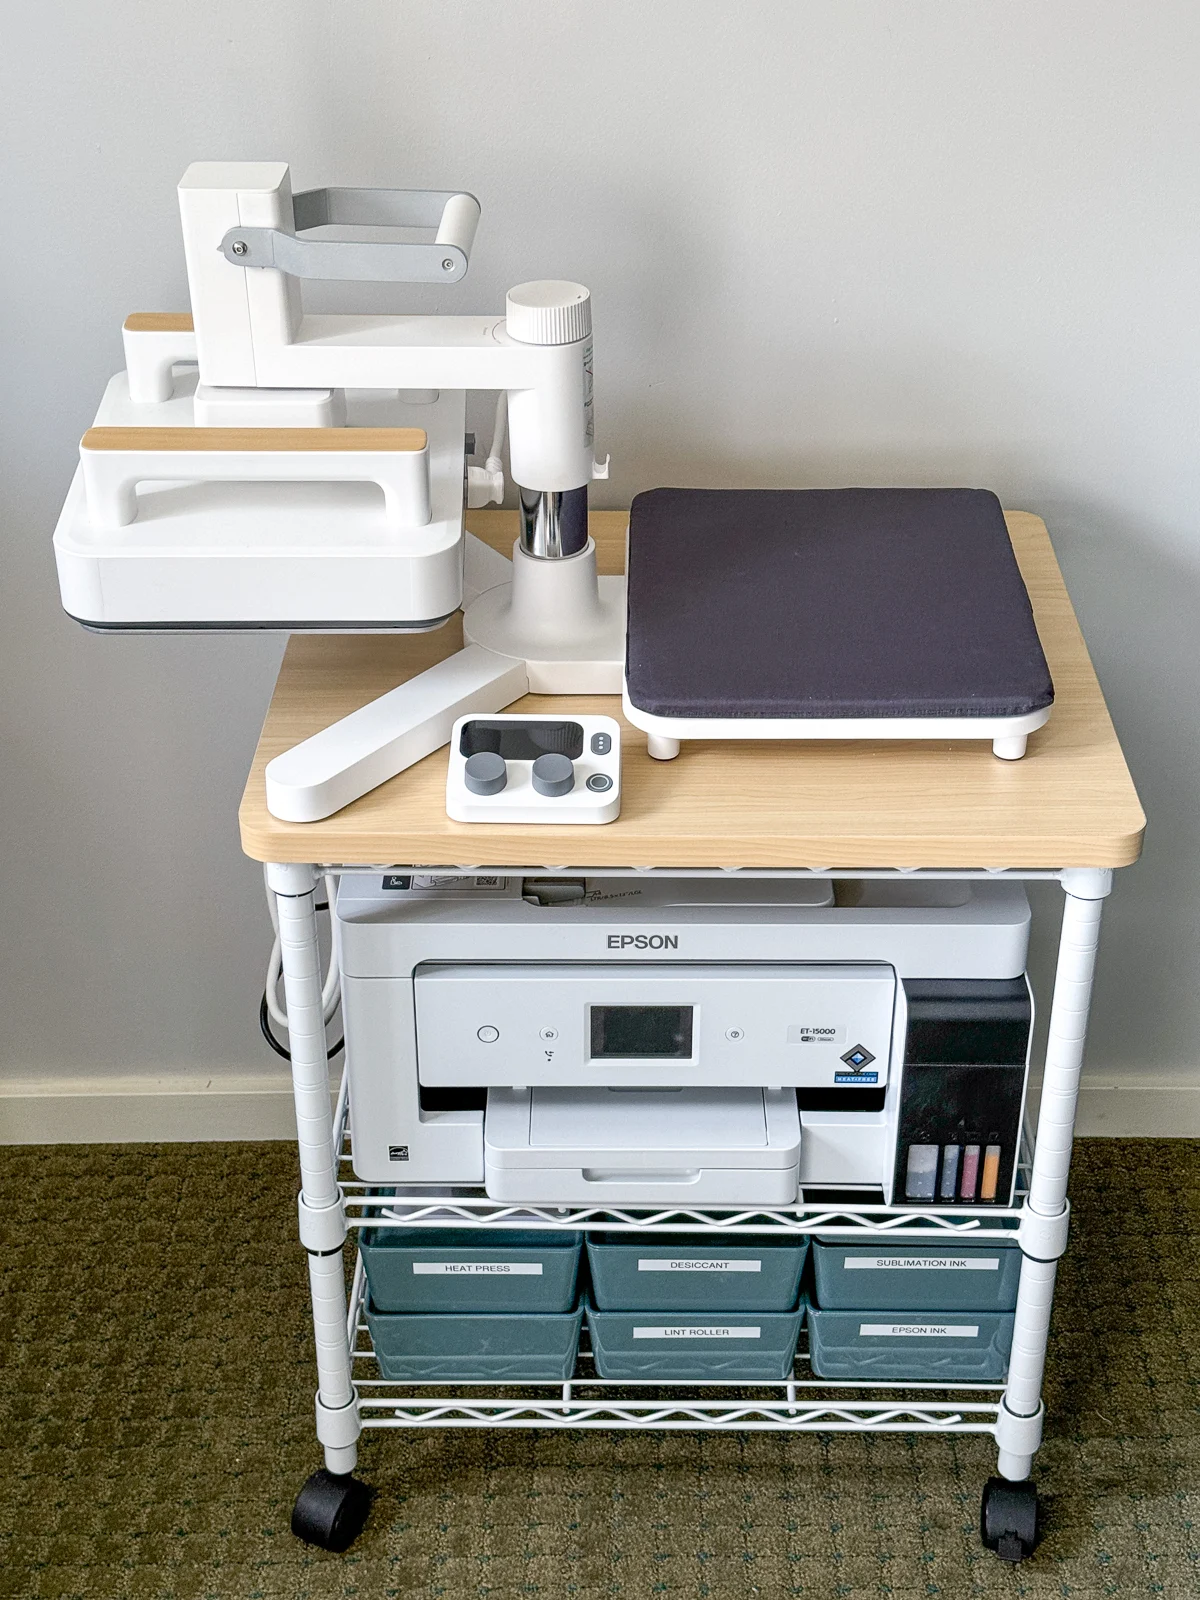
So I was thrilled when xTool sent me their compact, all-in-one heat press system! It combines a handheld press with a stand for more versatility, plus a mini version for tiny stuff.

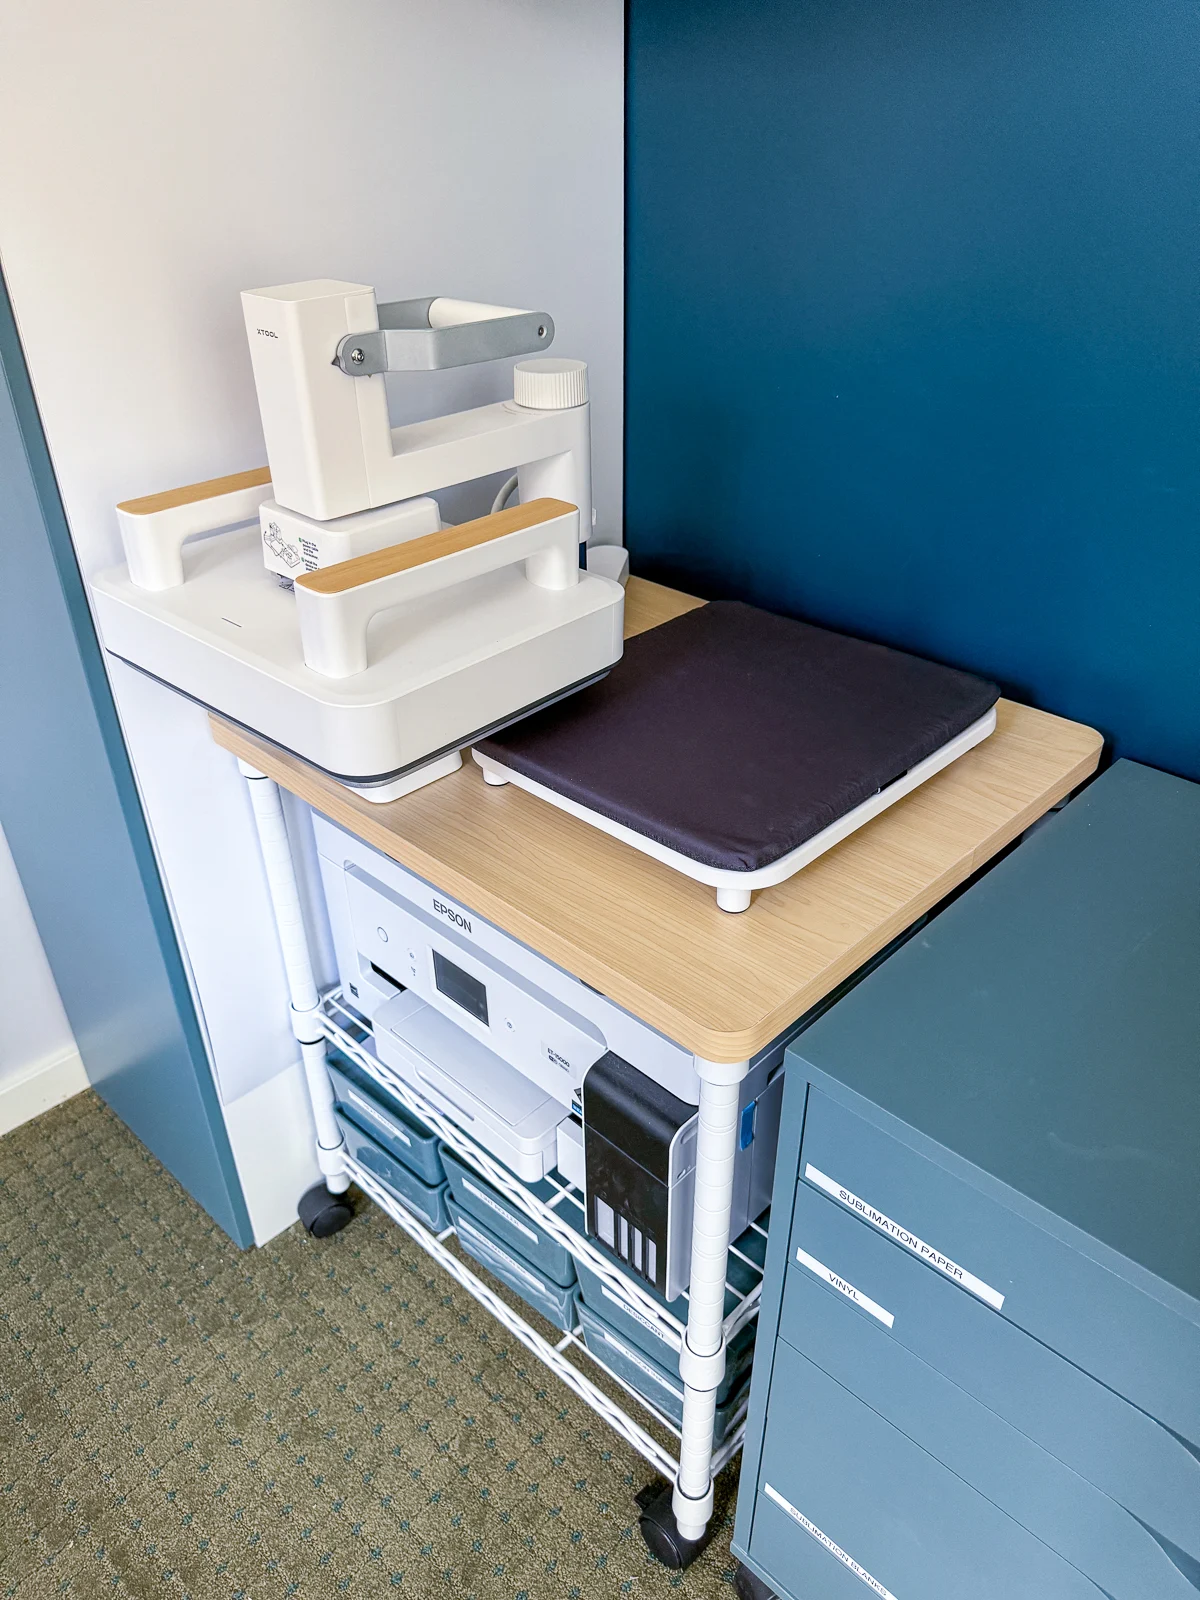
Best of all, it fits neatly on my sublimation printer stand under a cabinet! My old heat press stuck out into the middle of room and needed to be rolled out every time I used it. The xTool heat press is more compact, and looks much nicer too!

Let's test it out and see how it works!
Initial Set Up
The xTool heat press comes mostly assembled, with just a few screws required to attach the legs.

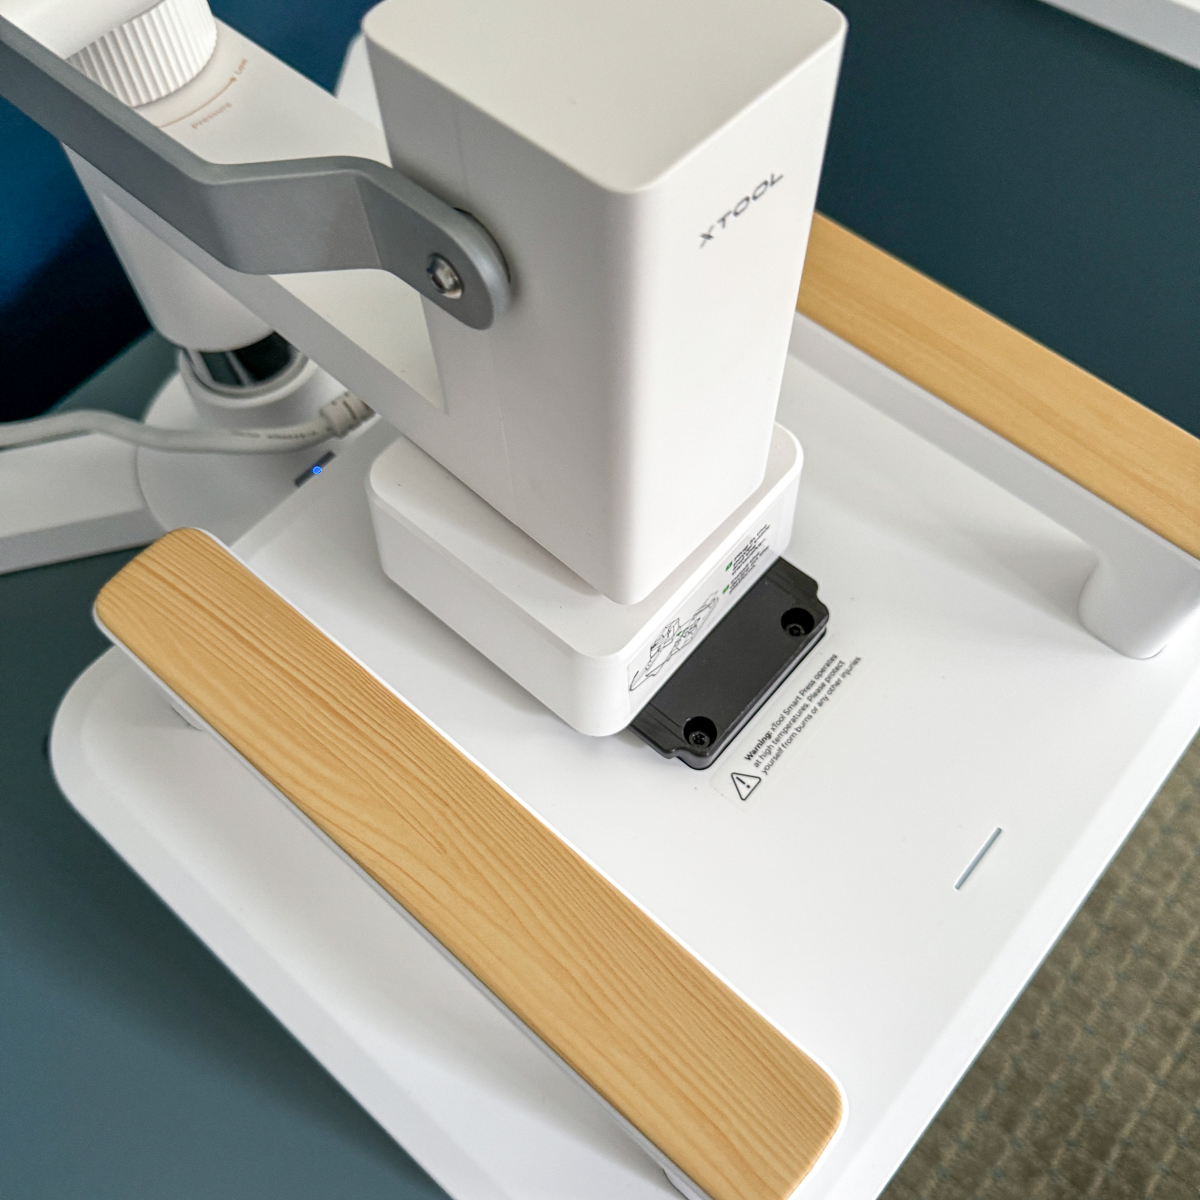
The portable heat press can be used on its own. But for the most even, heavy pressure, you'll want to attach it to the stand with the included bracket. It just slides on and clicks into place!

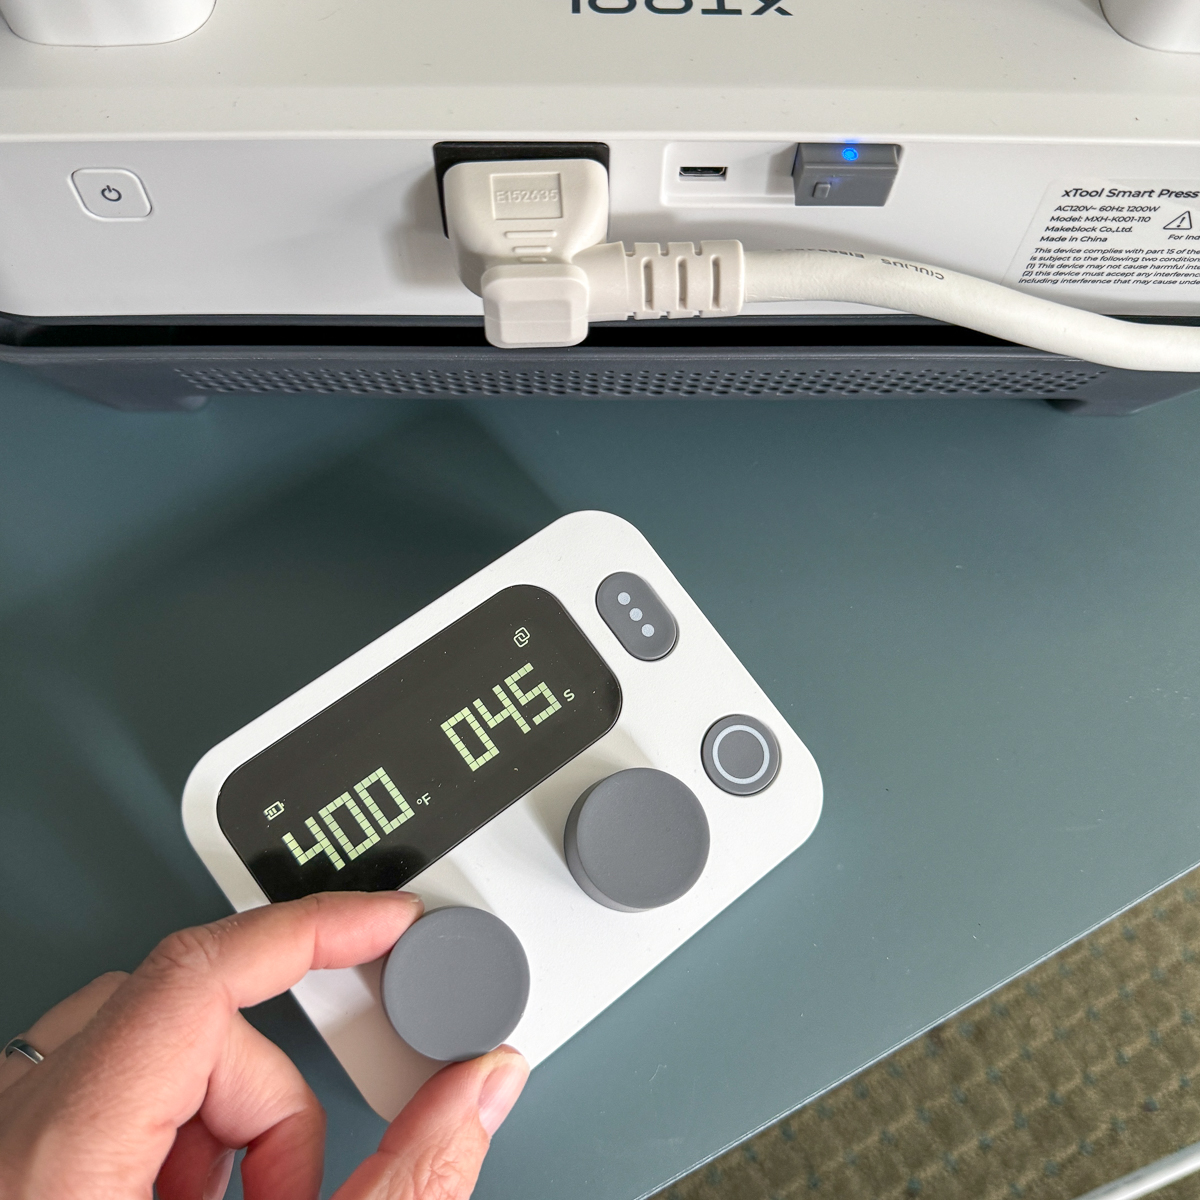
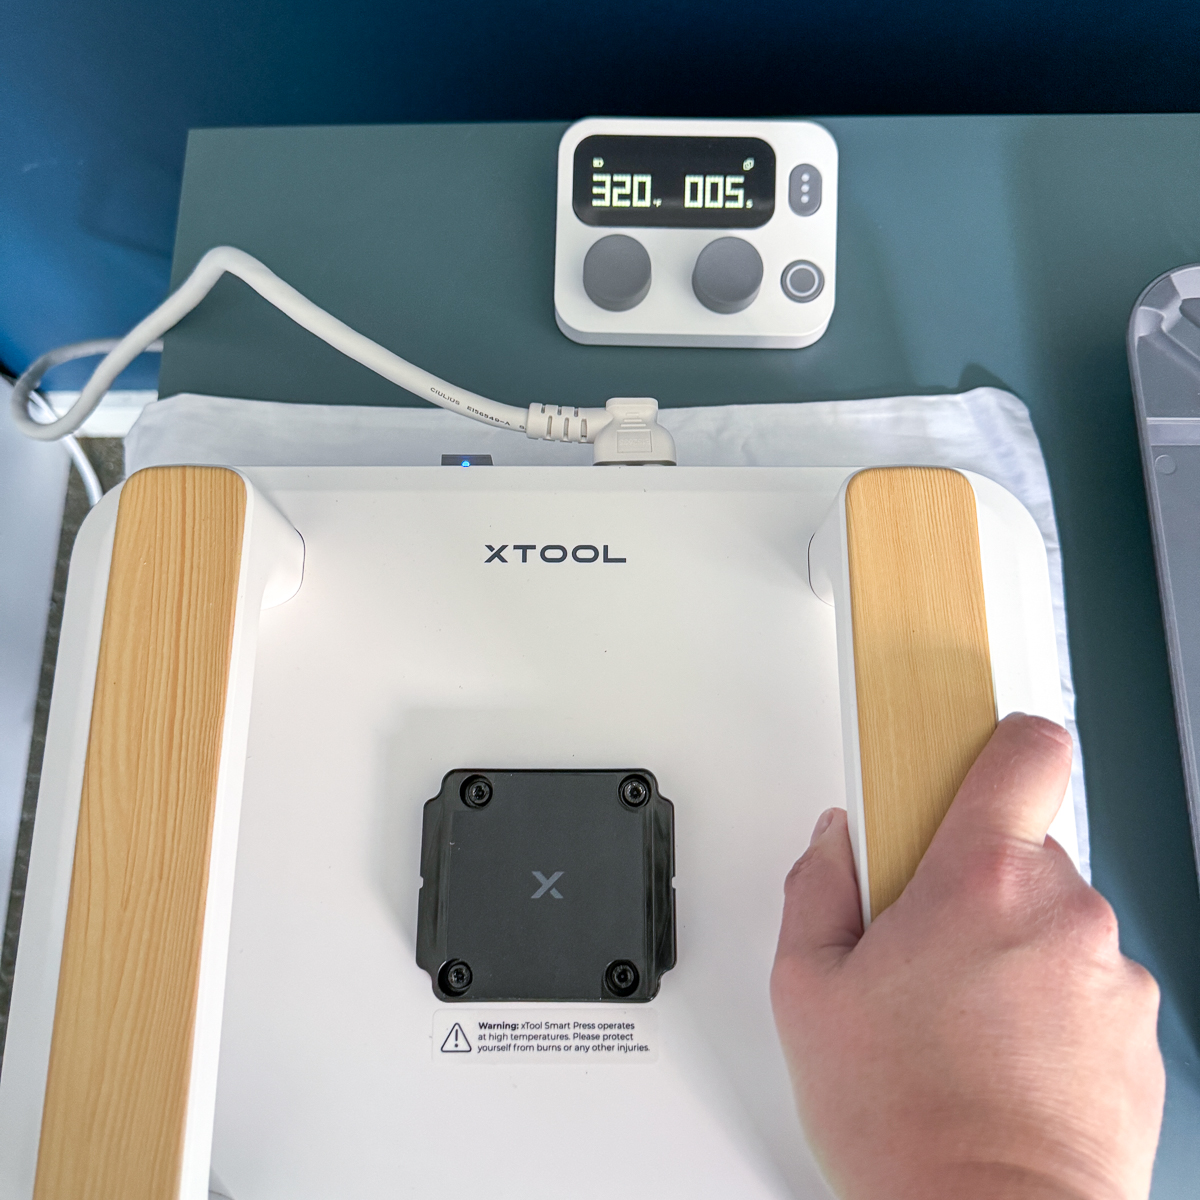
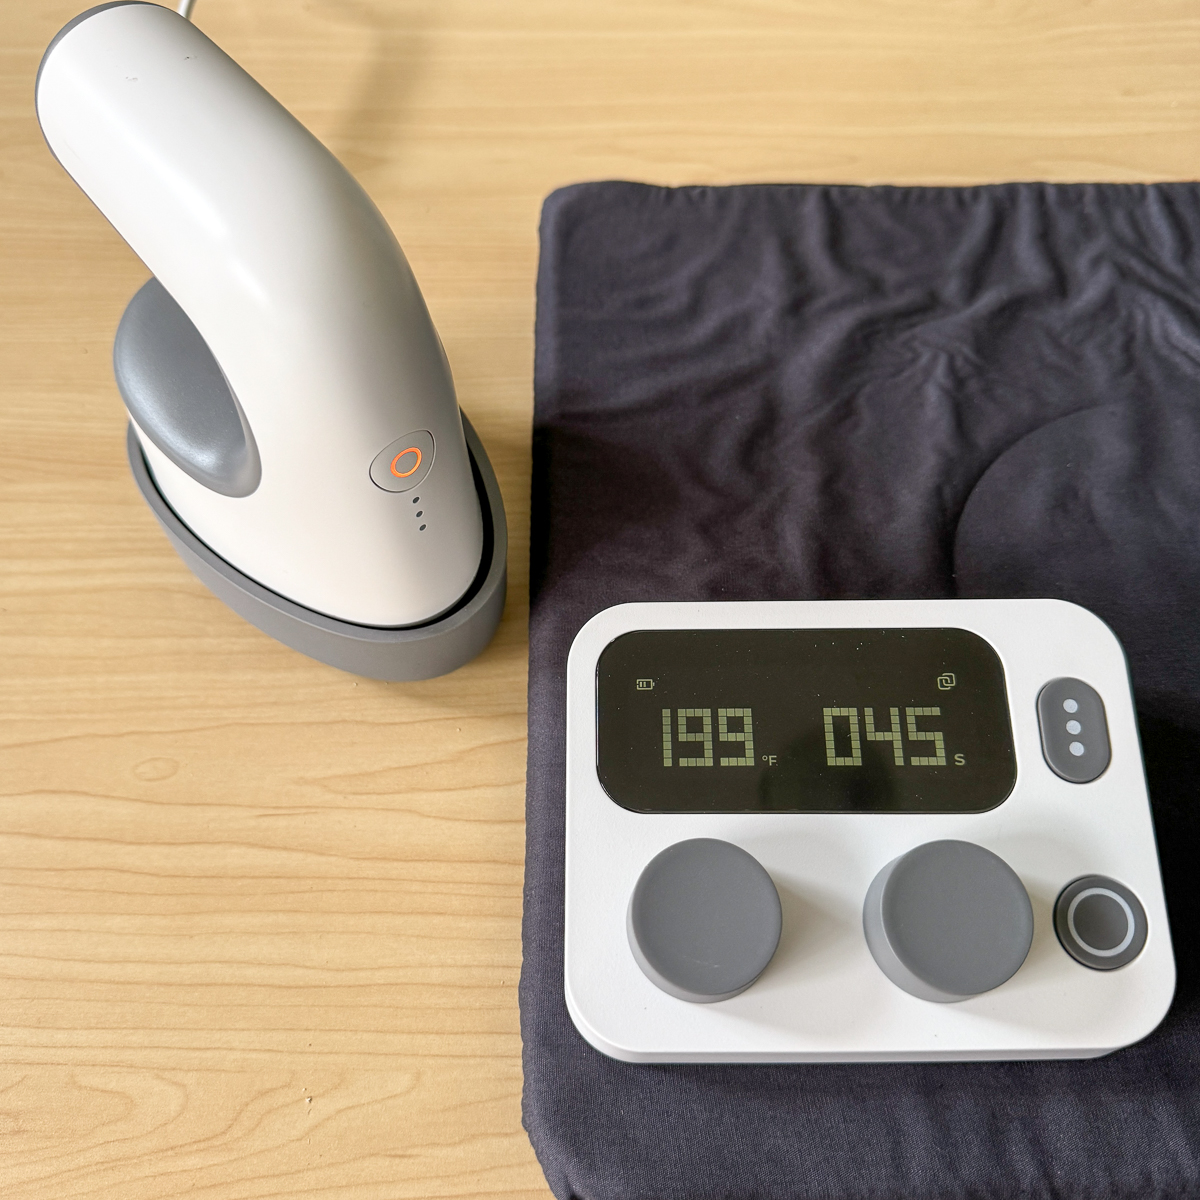
The wireless controller comes with a key so it can communicate with the heat press. You can switch this key between the larger press and the mini press, allowing you to control the temperature on either machine without cords getting in the way.
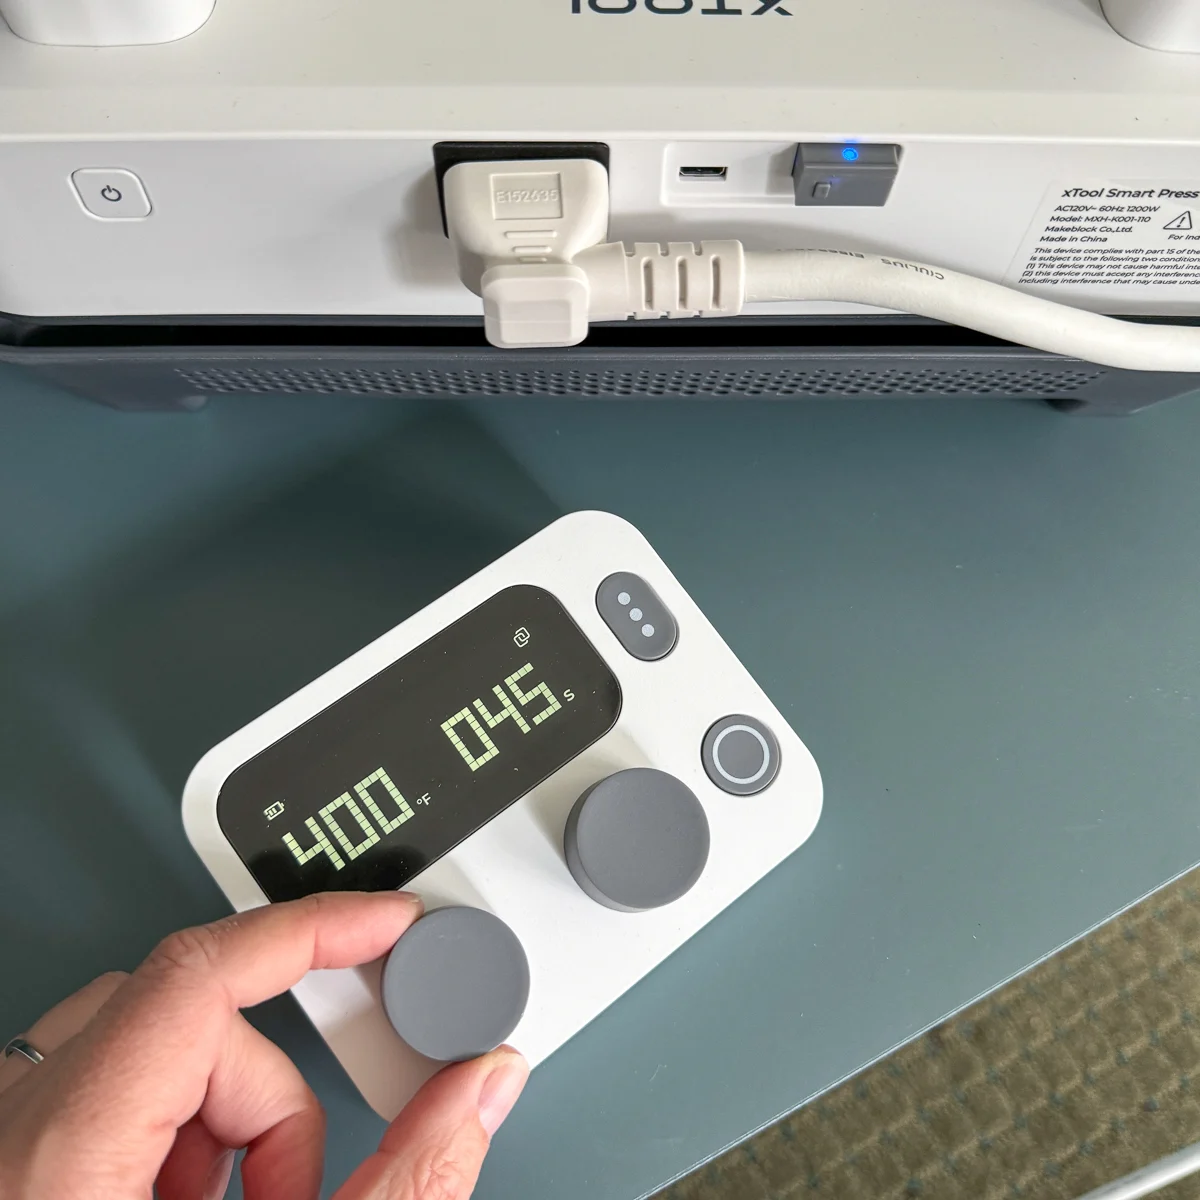
Simply sync the controller to the heat press you're planning to use. I'm starting with the larger one for my first project.
Handheld Heat Press
The portable heat press can be purchased on its own or as part of the all-in-one kit. If you don't have a lot of room in your craft area, this 10"x12" handheld heat press might be the perfect size for you! It can easily tuck away into a cabinet or on a shelf between projects.

I find it easier to press heat transfer vinyl (HTV) on fabric with a handheld press rather than on a stand. It can be difficult to see where the center of your item is on the stand when it's all bunched up at the top, but it's obvious when it's laying flat on a larger surface.
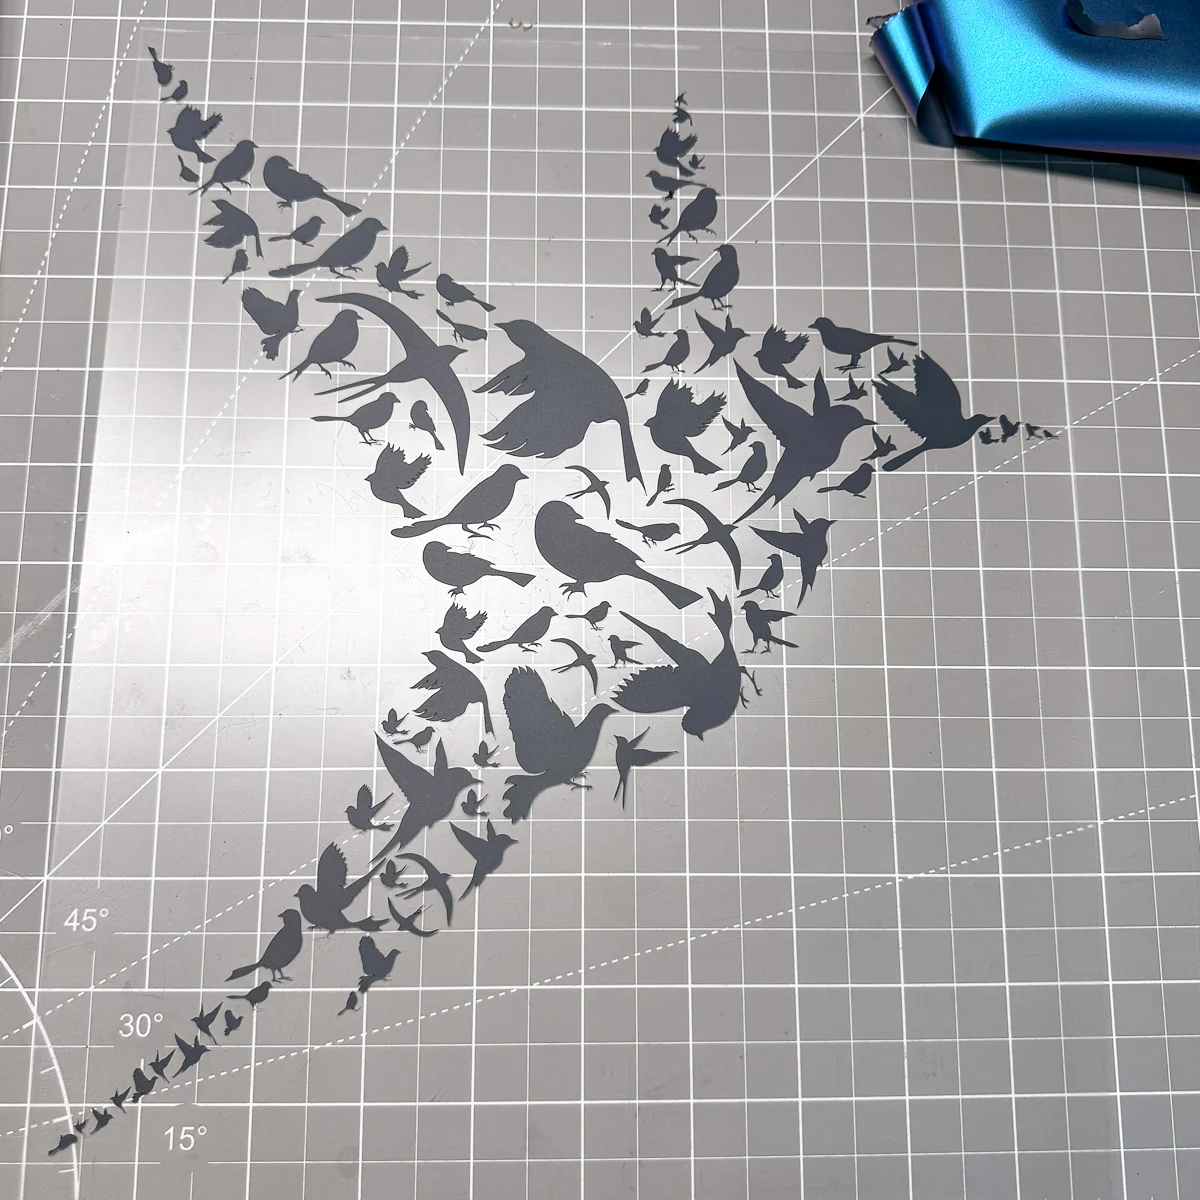
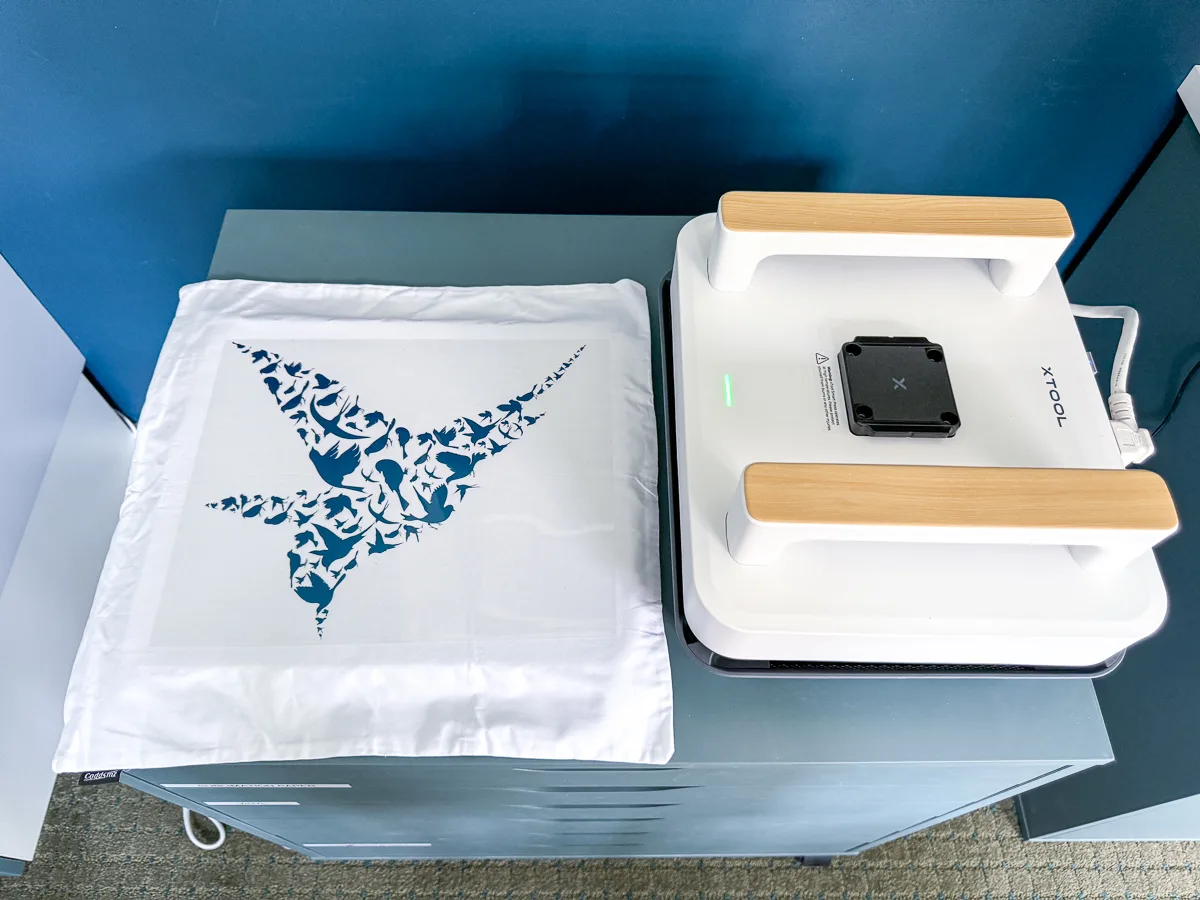
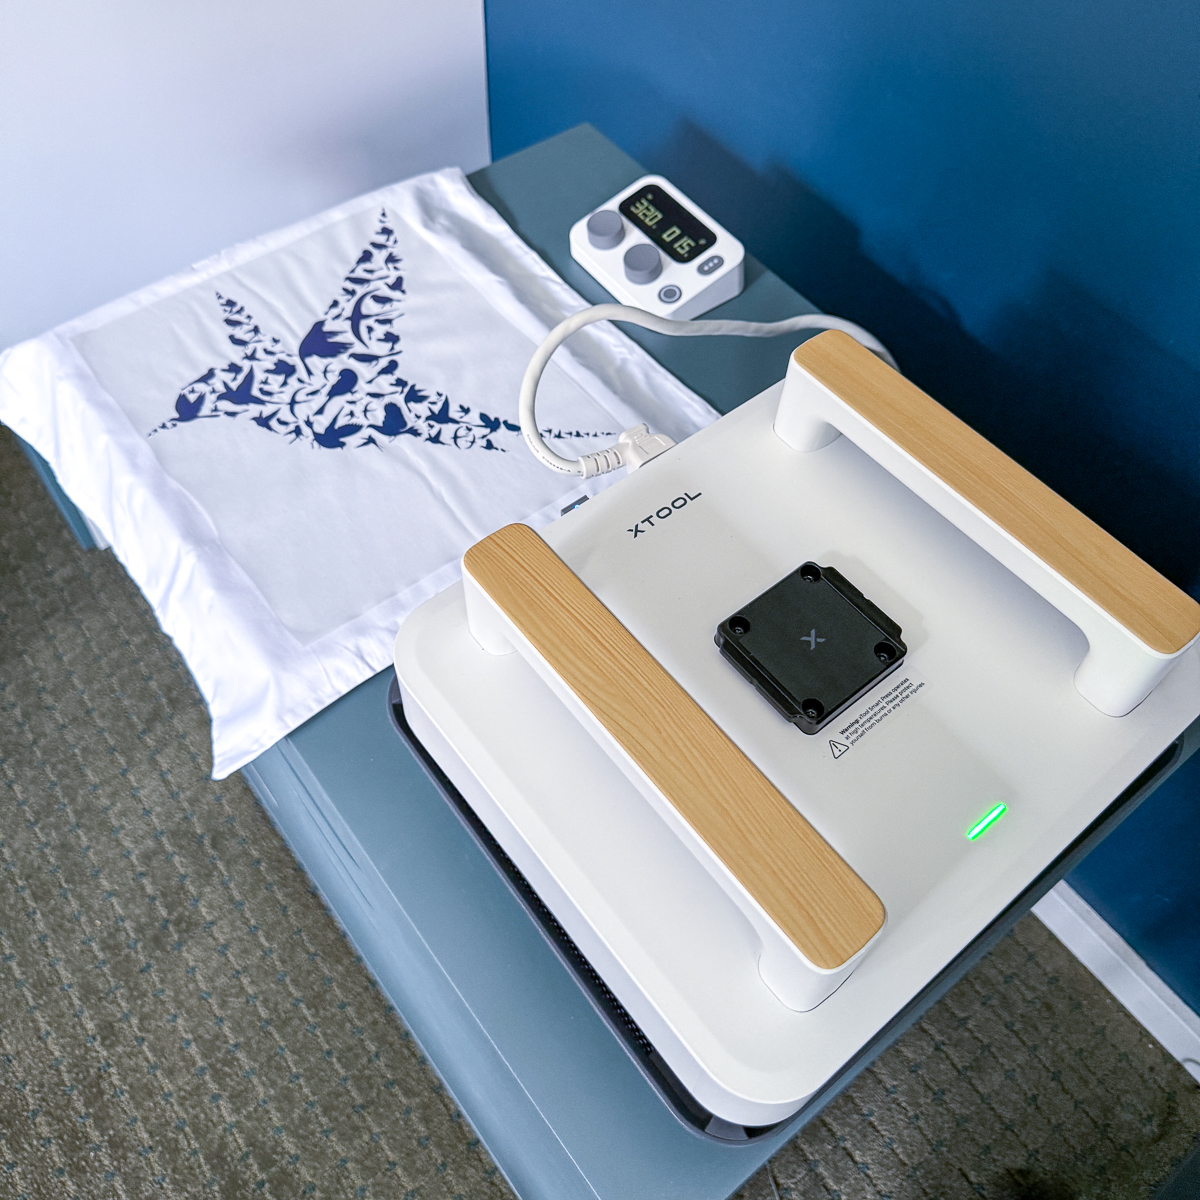
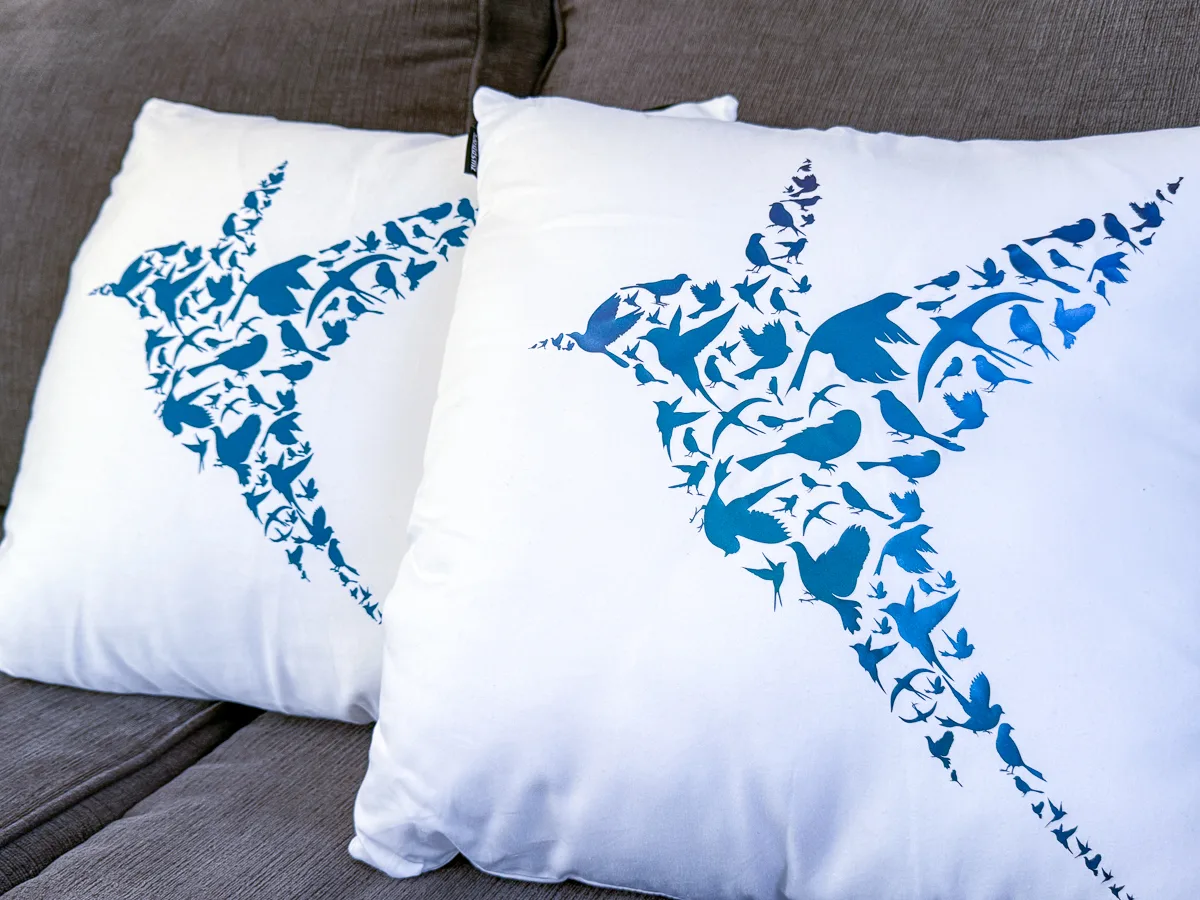
I'm making a pillowcase with heat transfer vinyl cut on my xTool M1 Ultra with the fine point blade. I used this same bird design with the screen printer, and I wanted to see how it compares.
Don't have a laser, or looking to upgrade? Use the code VINETA100 for $100 off an xTool laser! Click here to check them out!

I pre-pressed the pillowcase to remove any wrinkles or moisture, then placed the design on top. Set the temperature on the wireless controller to the setting for your vinyl. This brand recommends 300-320° F at medium pressure for 10-15 seconds. Once the light on the press turns green, you're ready to go!

The two handles on top of the heat press make it much easier to apply even pressure across the entire surface. Just hold it down firmly until the timer on the controller buzzes (I had to let go to take the photo, so I added another second after the buzzer).

Set the heat press in its insulated base while the vinyl cools. It will automatically turn off after 11 minutes, so you don't have to worry about forgetting it!

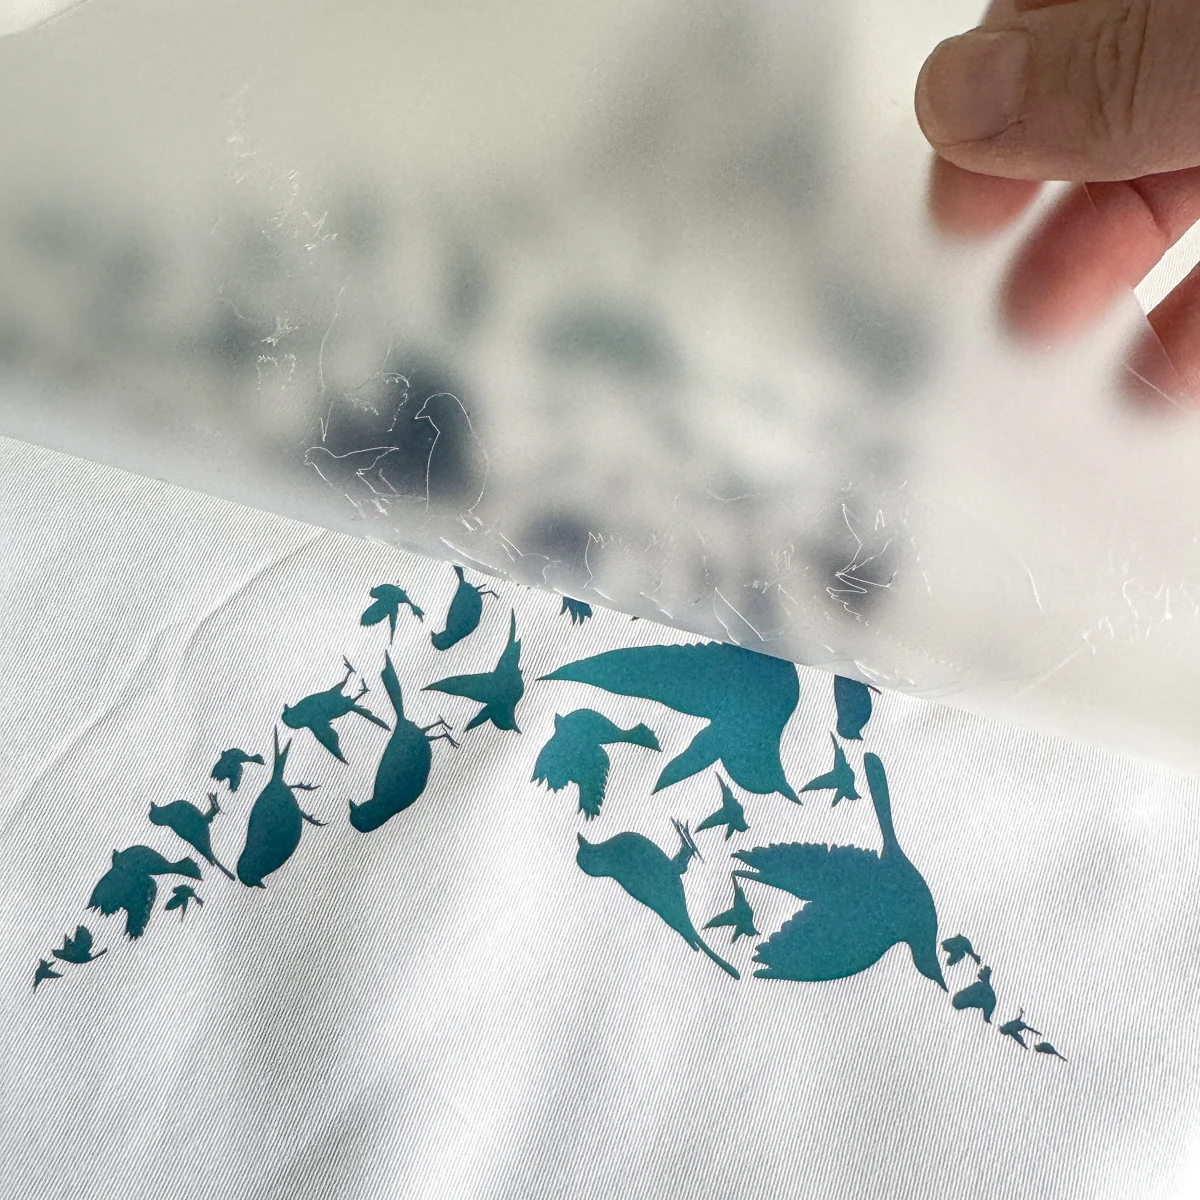
Once the fabric has cooled, you can peel back the carrier sheet. It came out perfect!

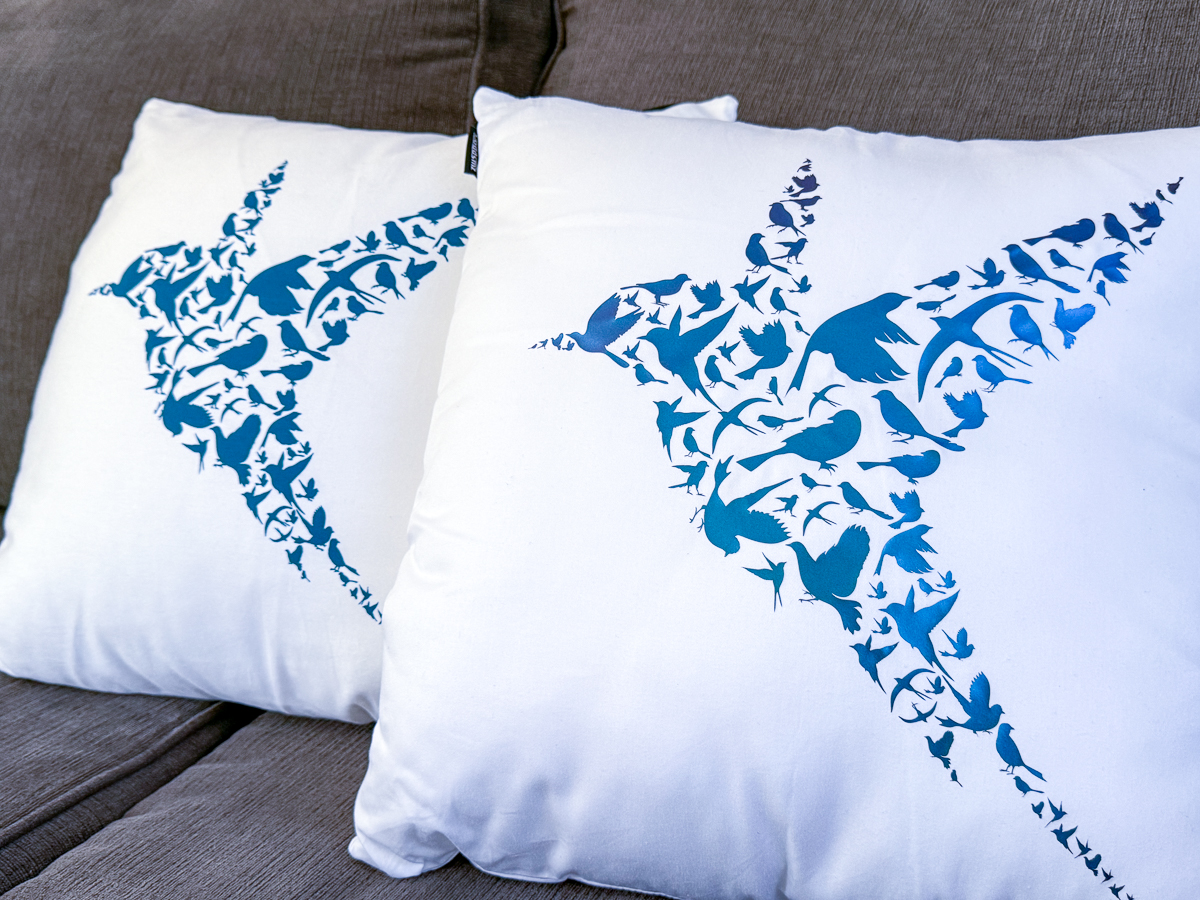
Here you can see the difference between the screen printer vs heat press designs. The vinyl version on the right is much crisper, especially the bird feet. But the screen printed version is softer and doesn't have that plastic feeling. I love them both!
Swing Away Platform
My old heat press was a clamshell style, which puts your hands close to the heating element while adjusting your blank. I prefer this swing away style, which rotates the hot plate completely away from you.

However, you'll need a little more space to swivel. I have mine on a rolling cart, so I can pull it out from the wall when I need to use it, but tuck it away when I'm done. For smaller items, I can still use it while pushed under the cabinet.

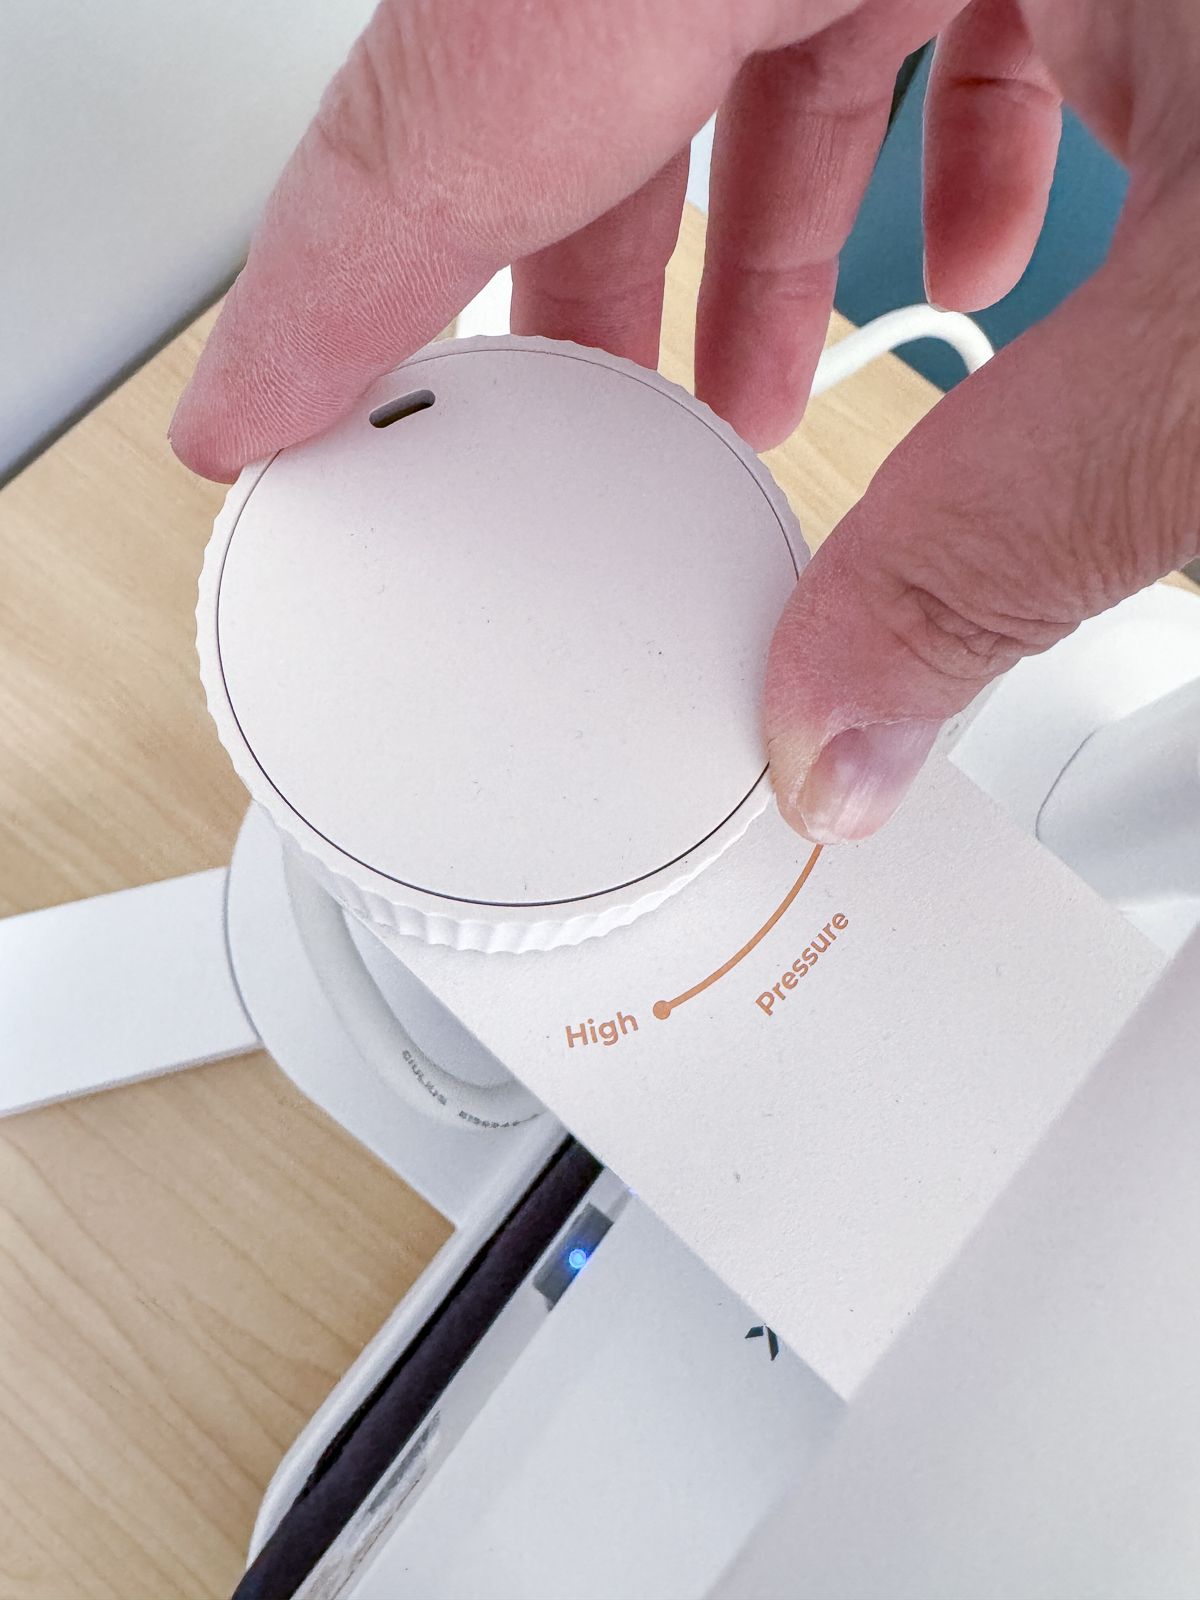
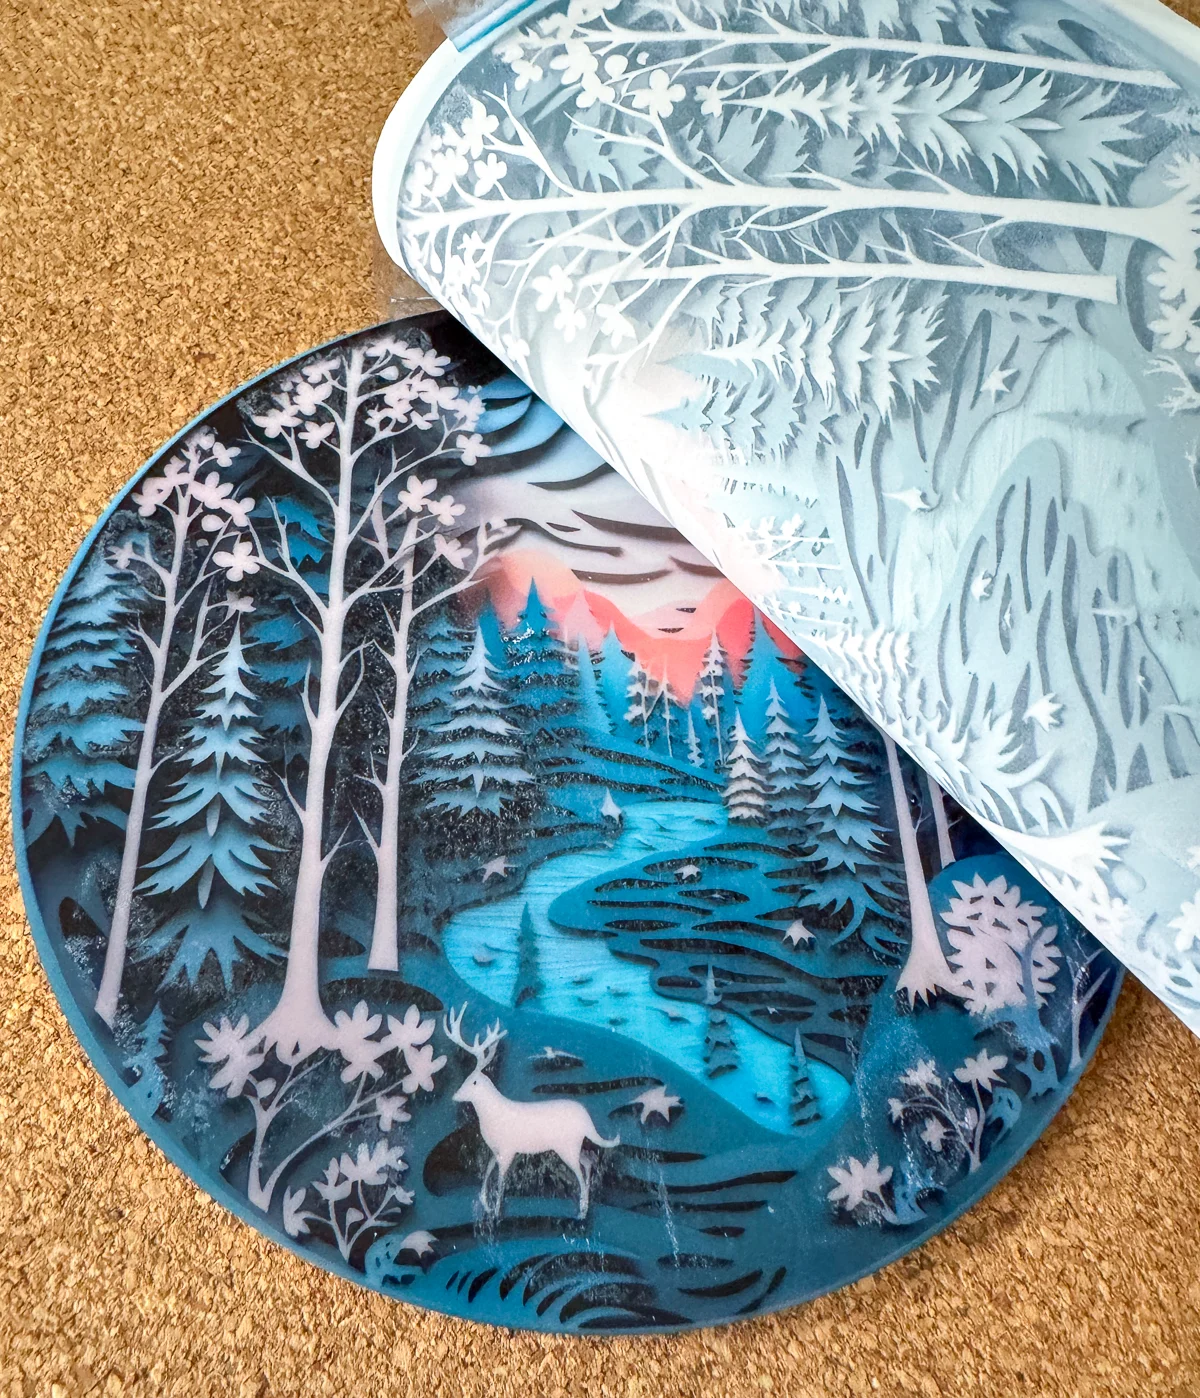
A dial on the back allows you to adjust the pressure setting. For this sublimation project on white acrylic, I need to use heavy pressure for a longer period of time, which is difficult to achieve with a handheld press.

I used my converted Epson EcoTank 15000 to print this 3D design on sublimation paper. Then I used my xTool P2 to cut out a white acrylic blank that is slightly smaller than the printed design, so the colors will bleed right to the edge of the circle.

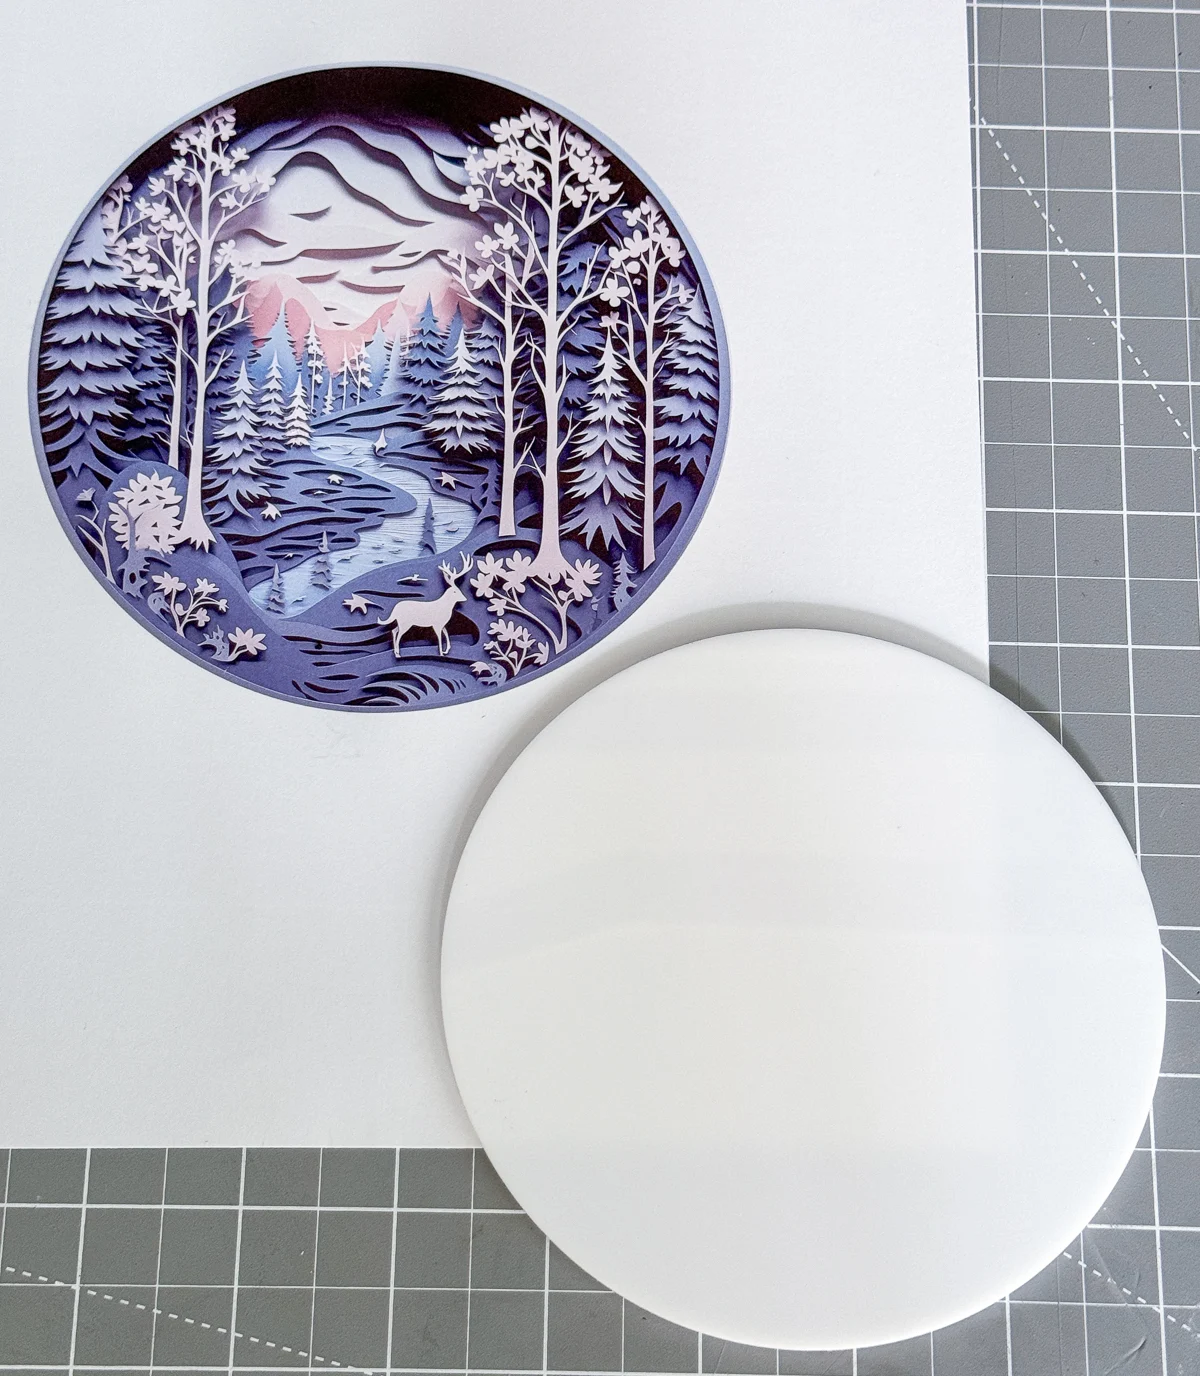
After cleaning the acrylic with alcohol, I used heat resistant tape to secure the design in place. Then I sandwiched it between two sheets of butcher paper to protect the heat press from the ink, and placed it on the mat.

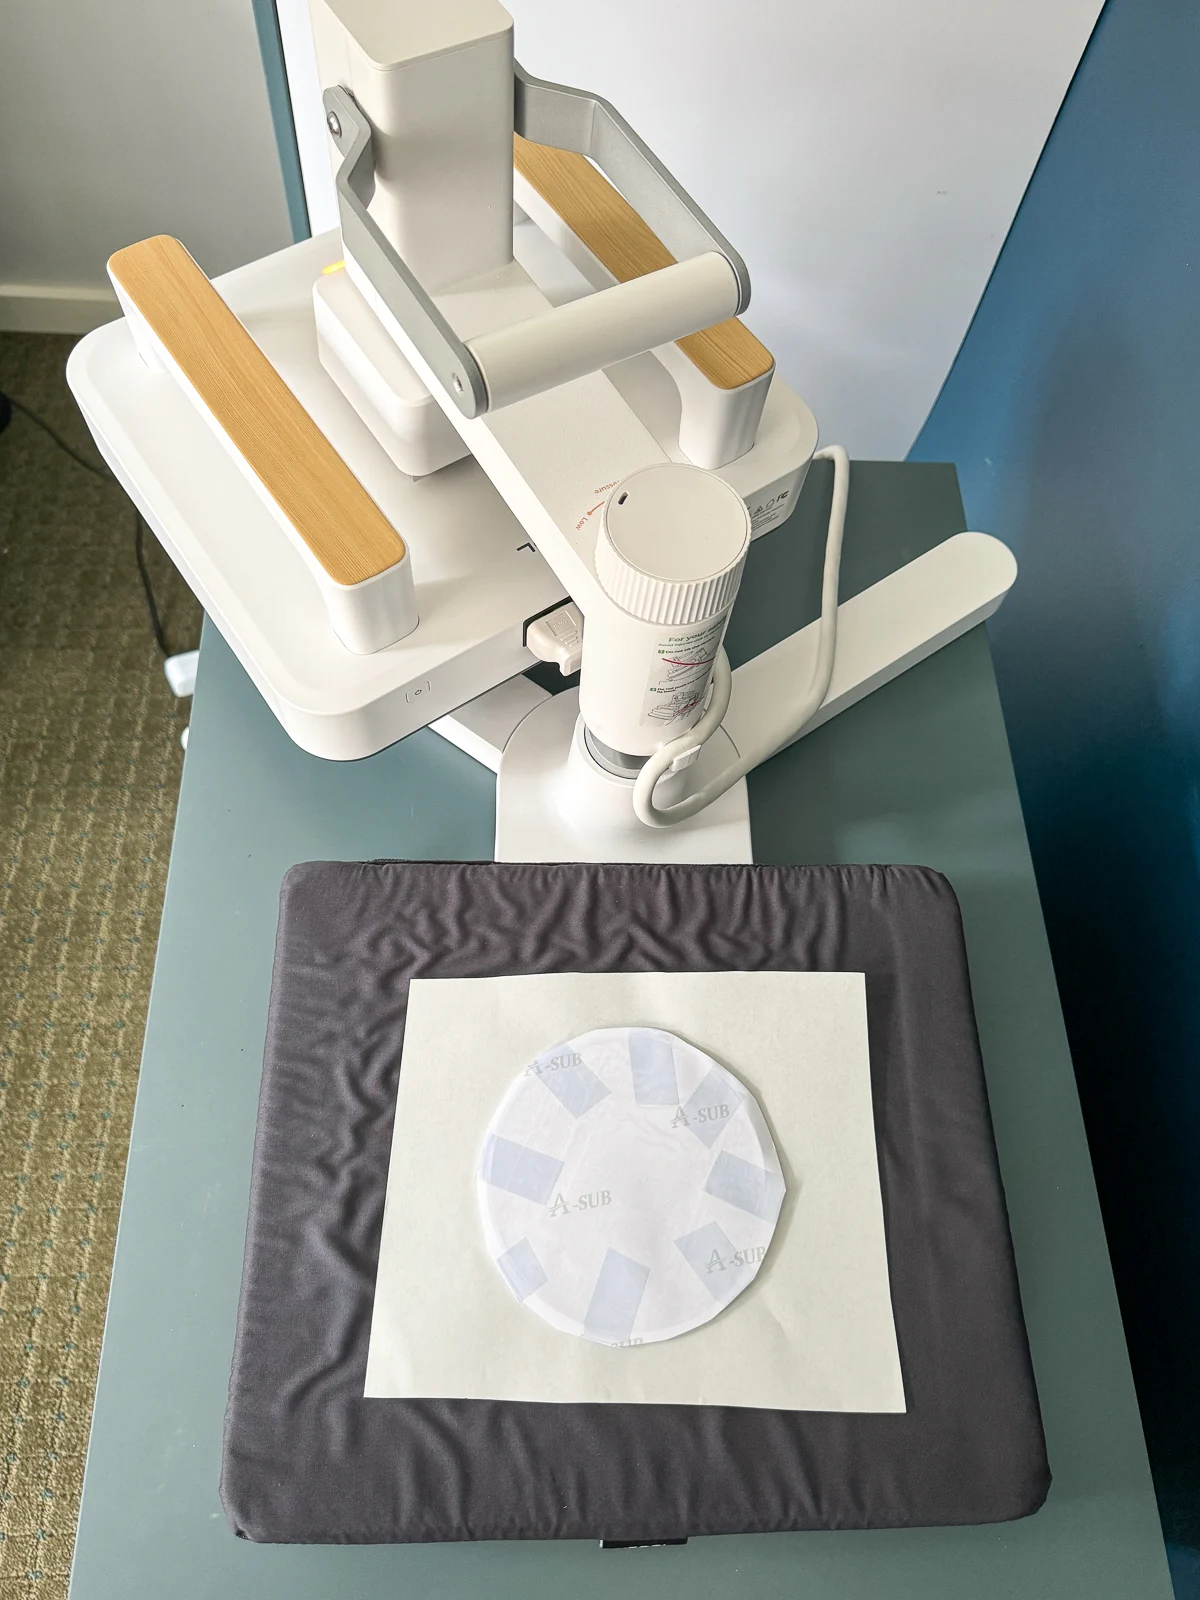
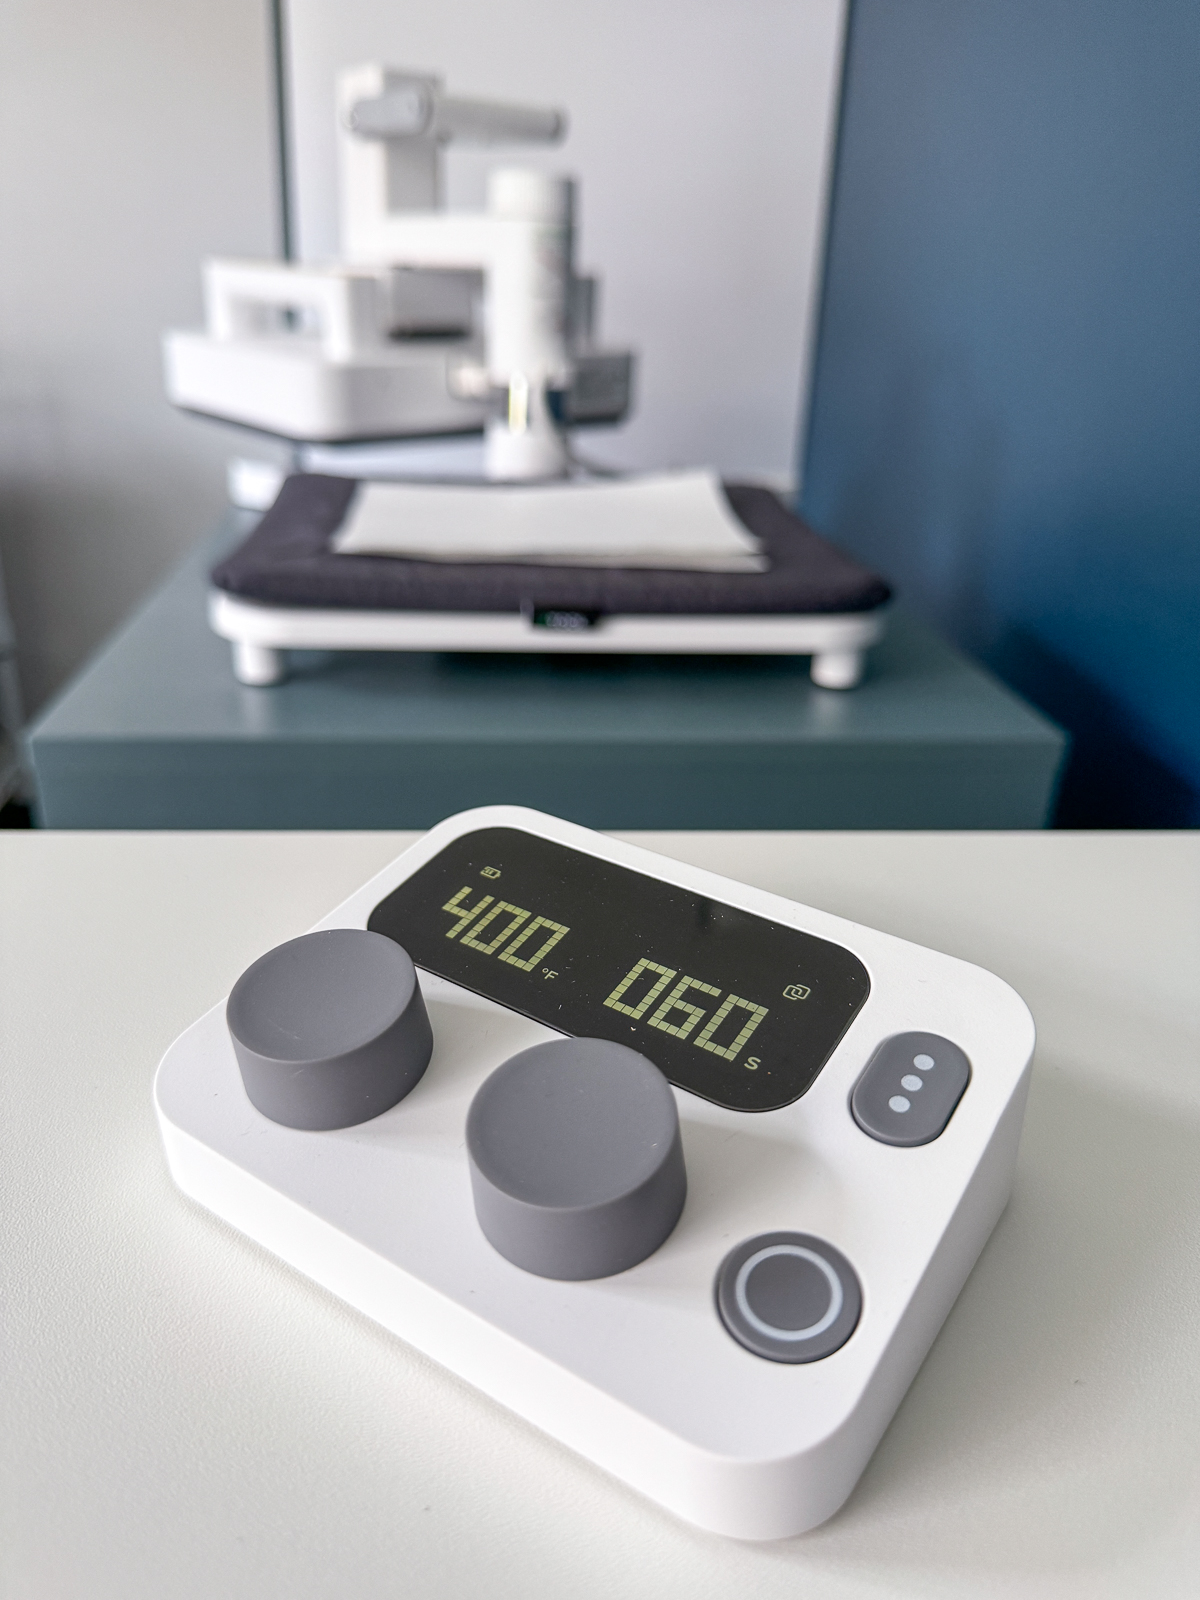
Acrylic requires a longer time in the press than other blanks. I set my temperature to 385°F and started with a time of 60 seconds.
After the timer goes off, use heat resistant gloves to remove the hot acrylic from the press. Acrylic gets a little floppy when heated, but a stack of heavy books will keep it flat while it cools. I use a large sheet of cork to protect my work surface from the heat.
Once it cools, you can remove the paper and check out your design! There was a bit of paper stuck to the acrylic, but it wiped off easily with a damp paper towel. The colors came out great without any ghosting!

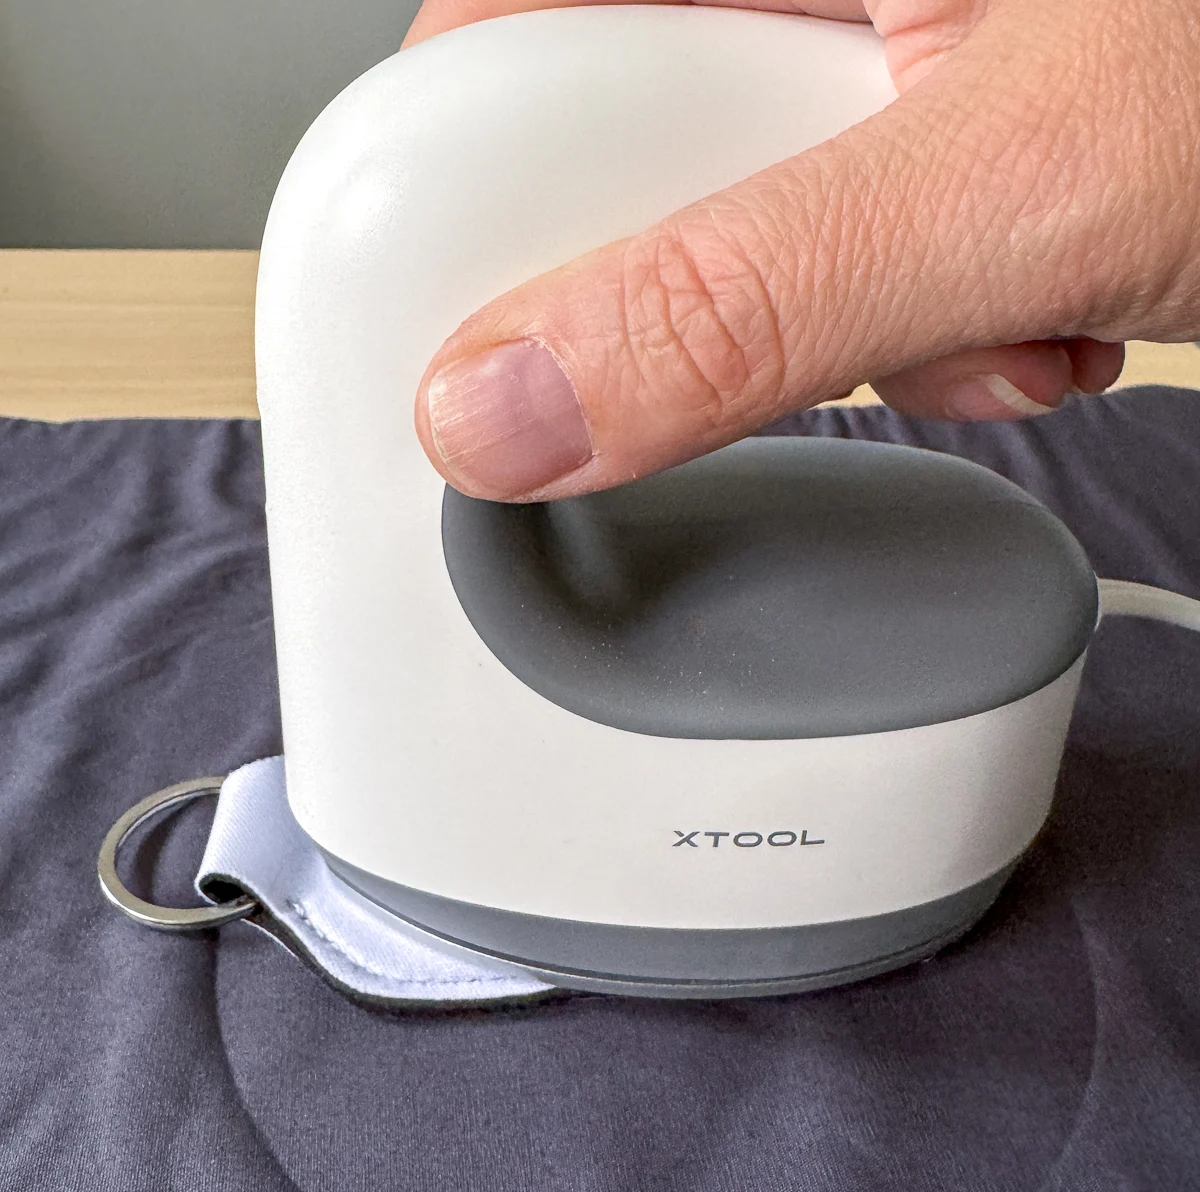
Mini Press
You can purchase the xTool Mini Press separately, or as part of the all-in-one heat press kit. This little heat press is perfect for really small items or irregular shaped objects.
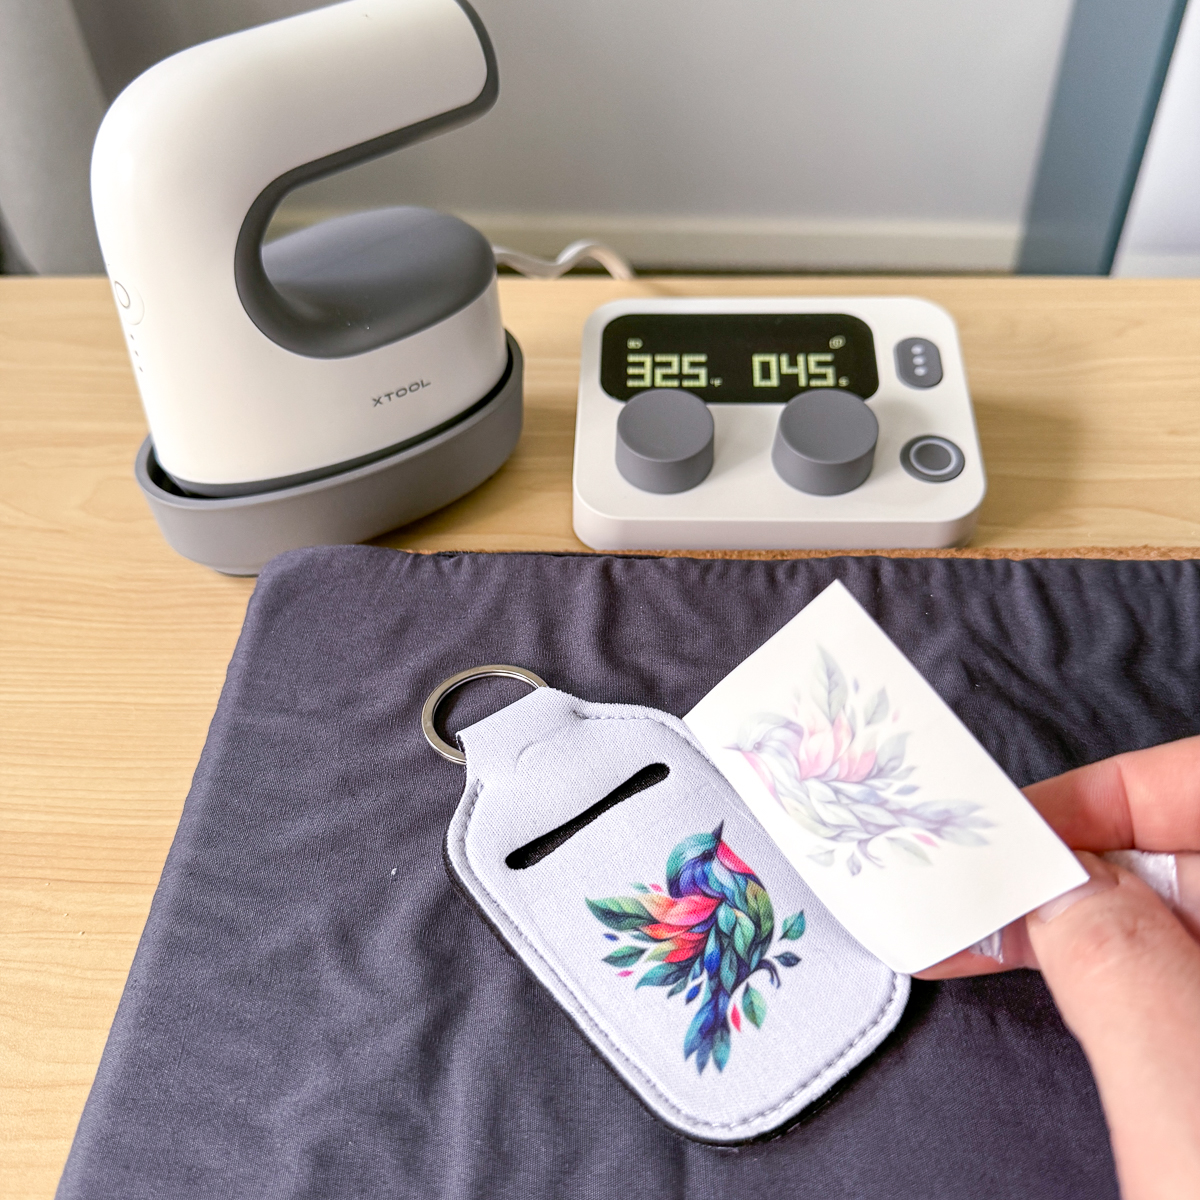
I'll be using the mini press to transfer this cute, colorful bird on both sides of a hand sanitizer holder blank. The little press makes it easier to avoid the keyring at the top and get the heat right where you want it for a better image transfer.
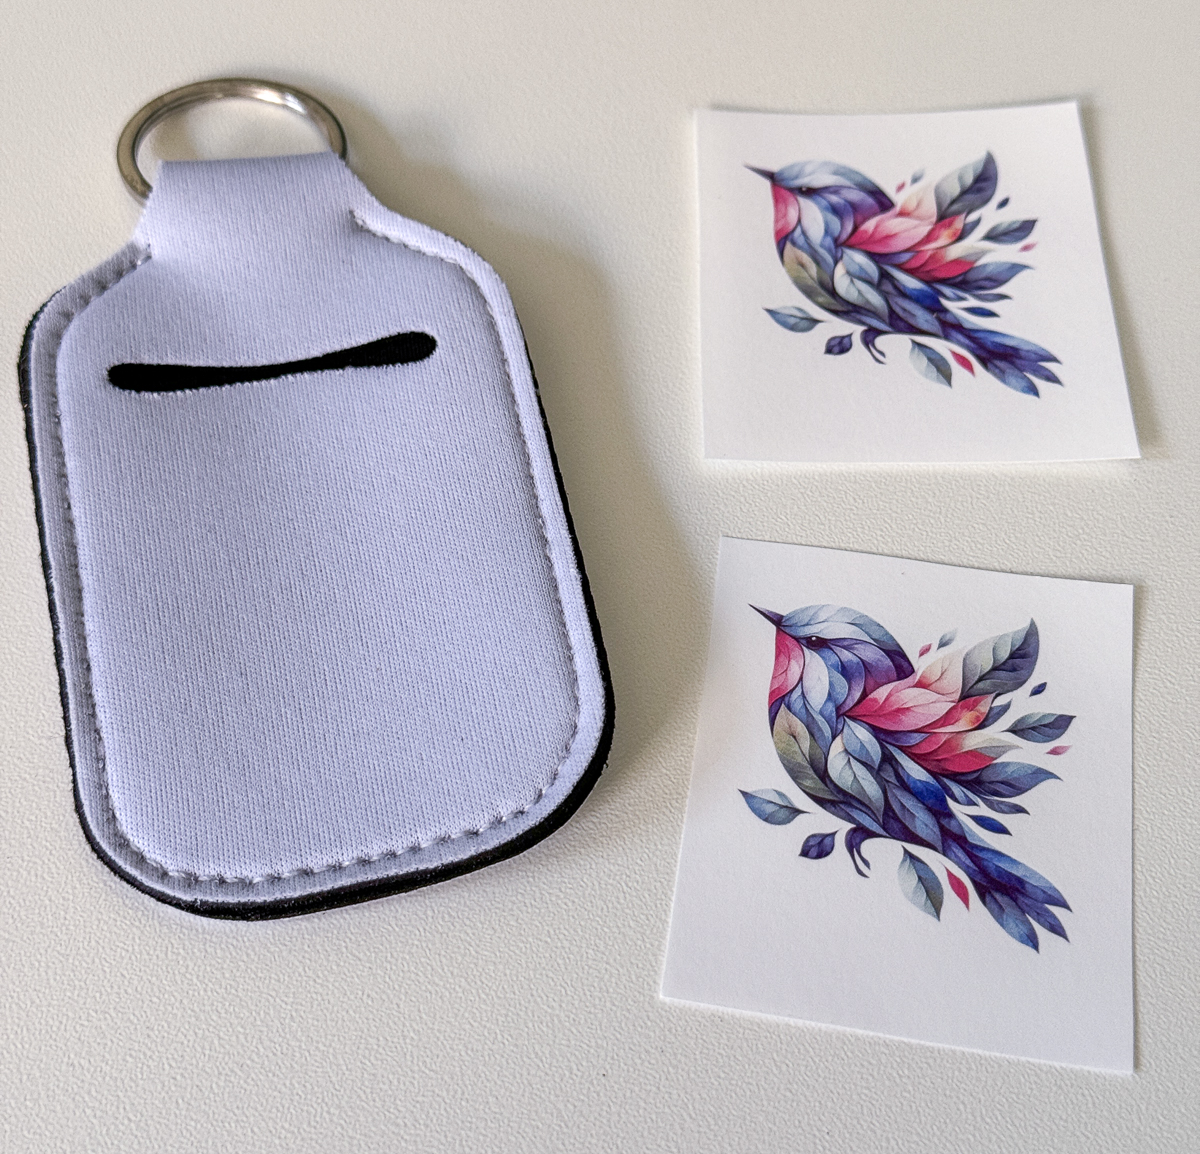
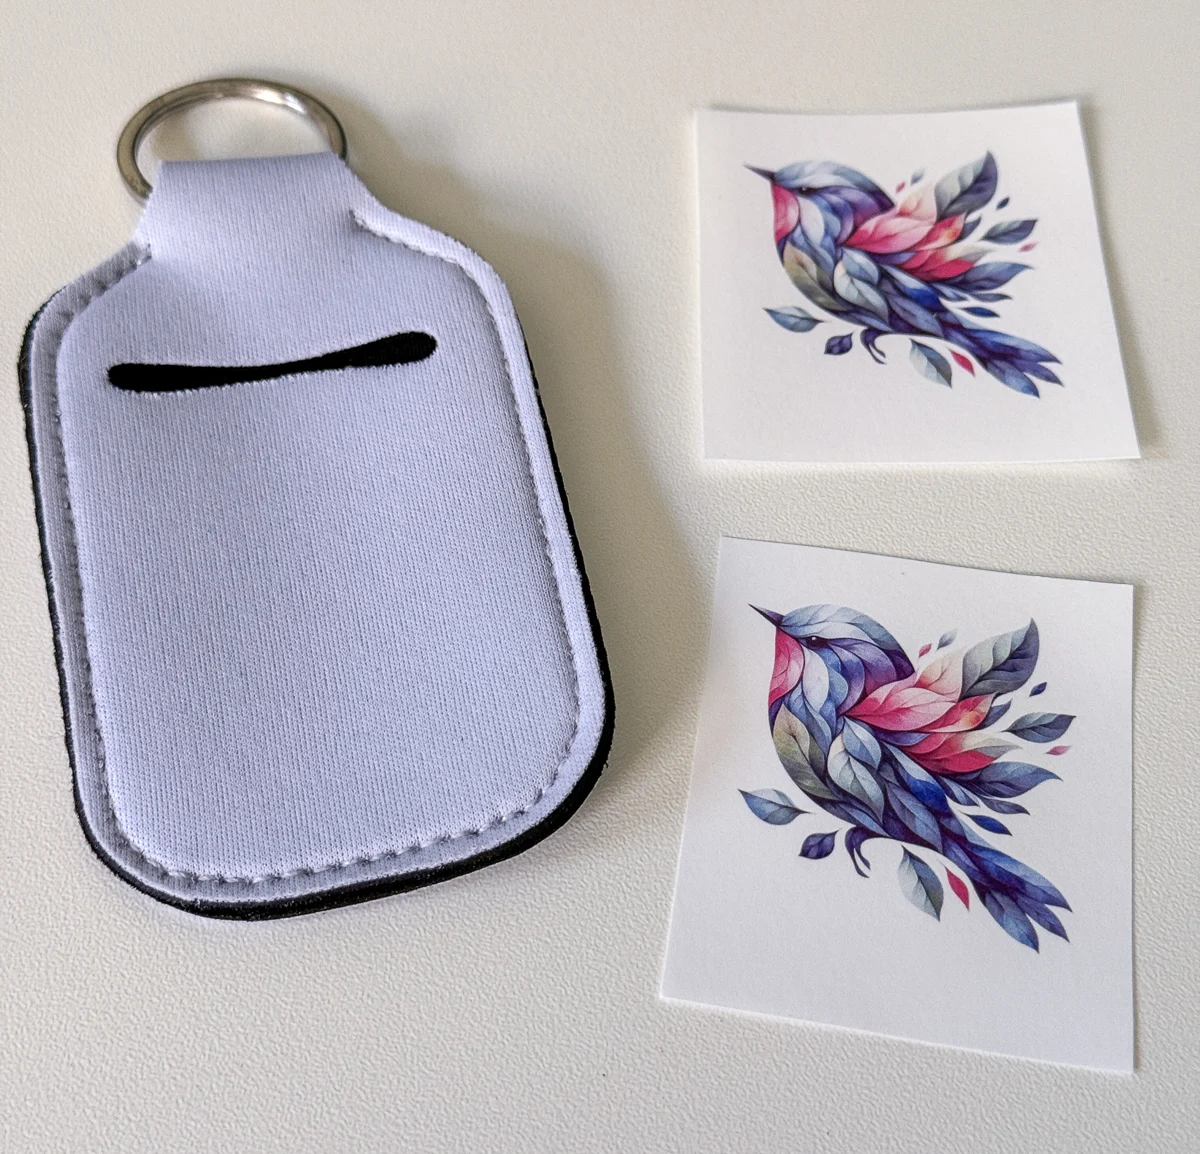
I switched the transmitter key in the big press over to the mini press so I could use the wireless controller. It only takes a few seconds to sync, and it allows you to get precise temperature settings. You can also use the three presets by pressing the button on the front.

I pressed the first side for 45 seconds, then flipped it over and repeated the process for the other side. I forgot to add the butcher paper this time, but luckily it didn't bleed outside the design.

It came out so cute!

Which of these heat press projects is your favorite? I'd love to hear from you down in the comments below!