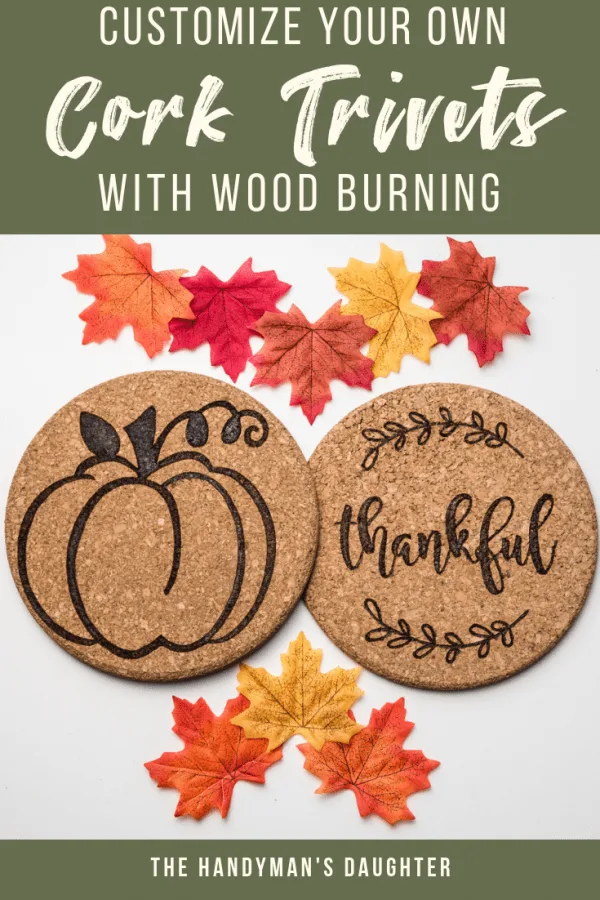
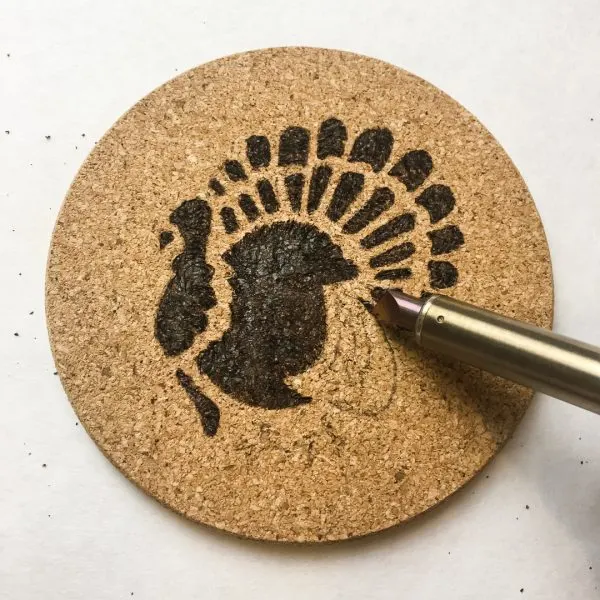
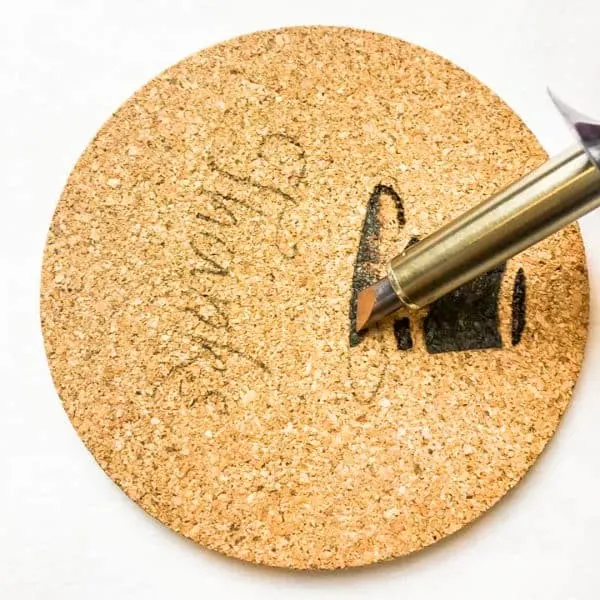
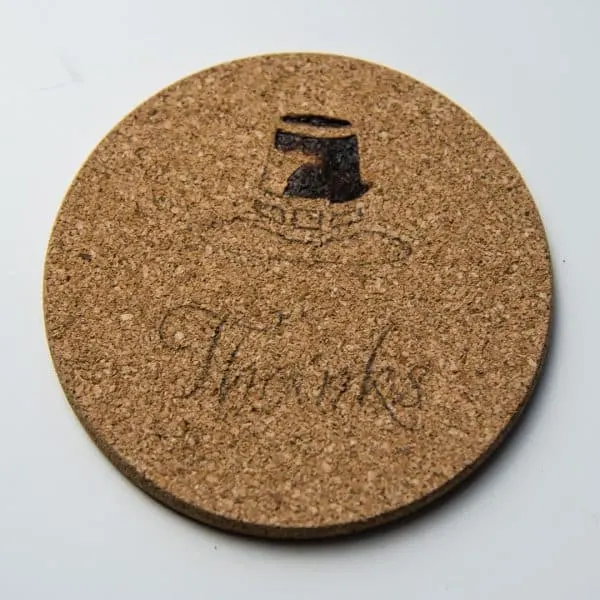
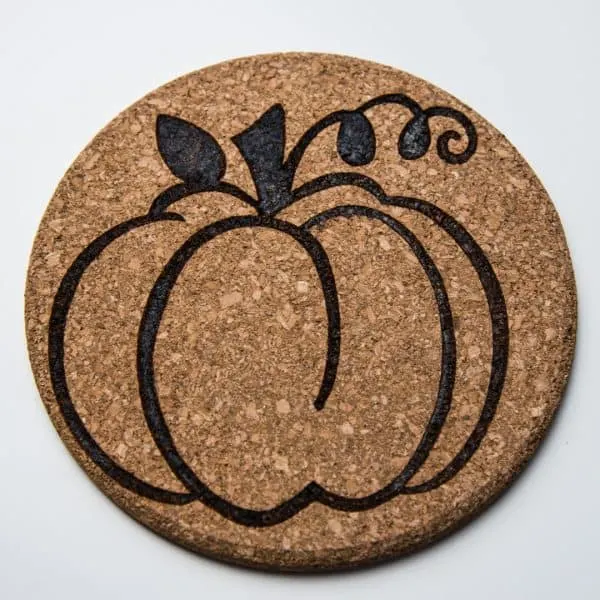
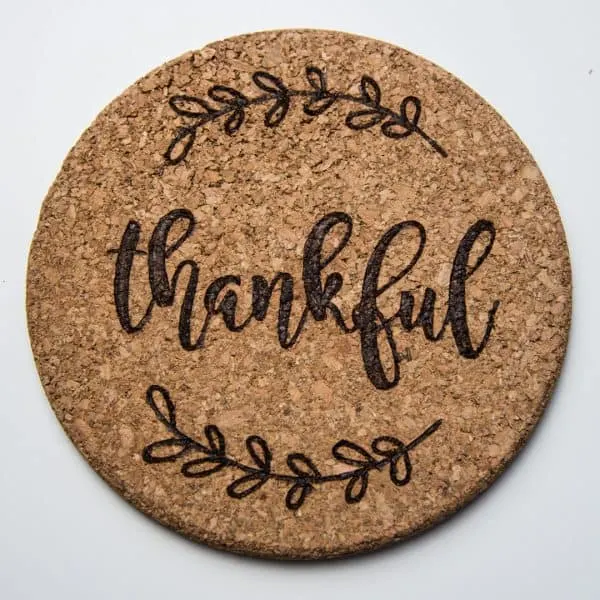
Personalize your cork trivets and coasters with wood burning stencils! I created a set for Thanksgiving, but you can customize them for any occasion!
I have zero drawing skills, so I rely on stencils to create designs like this painted tile floor or my Let it Snow sign. You can also use them as wood burning stencils to personalize things like coasters and trivets! I'm sharing my tips and tricks for wood burning on cork to make these Thanksgiving themed table essentials!
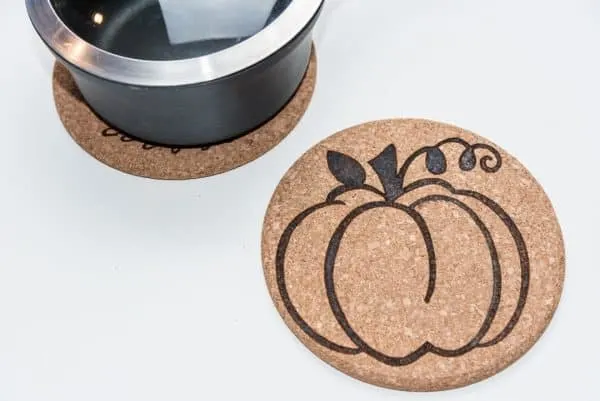
Every Thanksgiving, the dining table is littered with hot dishes that could damage the beautiful grey wood stain finish. I keep these holiday trivets with our other Thanksgiving decor that gets hauled out after Halloween. That way, we'll have them on hand for the big feast, then store them away the rest of the year when they're not needed.
Cork trivets and coasters are the perfect first wood burning project! It burns easily without catching fire, and the smoke is non-toxic (always important!) The design won't transfer to the bottom of a hot plate like paint will. Use wood burning stencils to create a personalized set for your Thanksgiving host!
This post contains affiliate links for your convenience. Purchases made through these links may earn me a small commission at no additional cost to you. Please visit my disclosures page for more information.
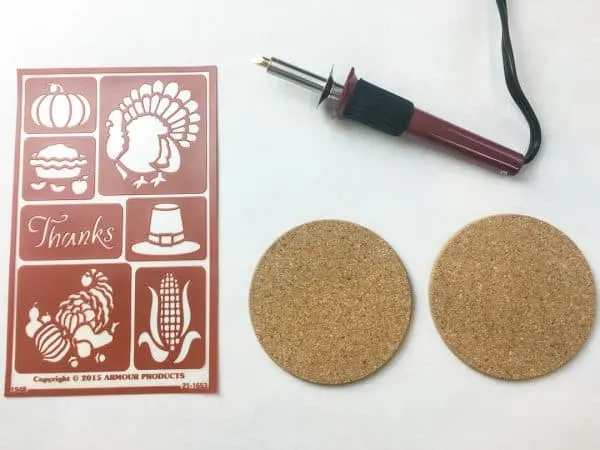
Materials Needed for Wood Burning Cork
- Cork trivets
- Cork coasters
- Stencils
- I used these ones for the coasters. You can also make your own with vinyl and a Silhouette or Cricut machine!
- Wood burning tool
- Pencil
Tips for Wood Burning Stencils on Cork
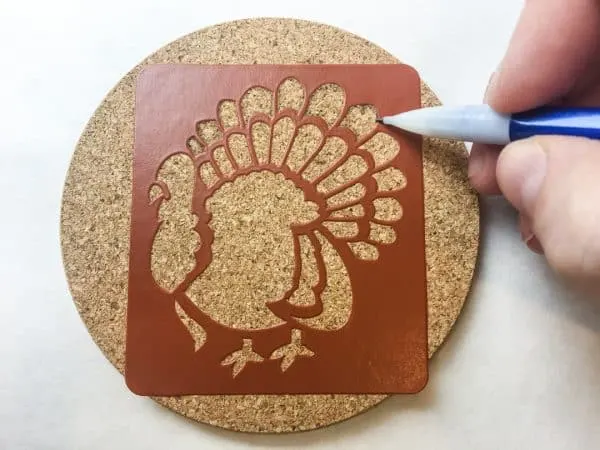
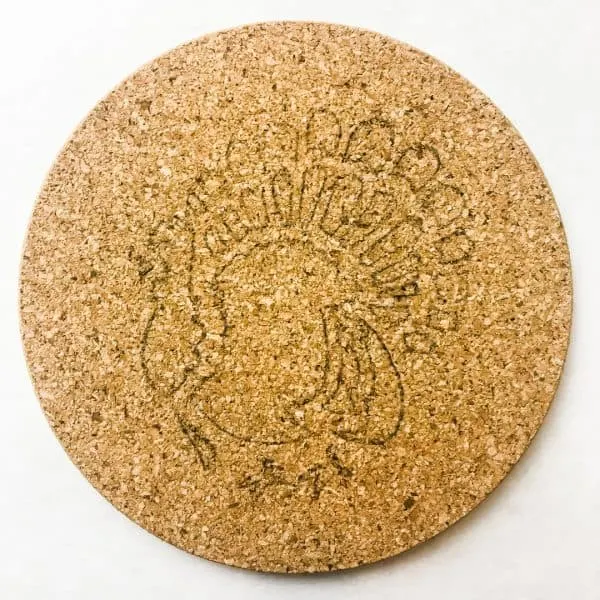
Trace the Stencil
Rub your hand over the surface of the cork to brush off any loose bits. Then center your wood burning stencil on top, and lightly trace the design with a pencil. The pencil point can dig up the cork if you're not careful, so don't press too hard!
In the video, I used carbon paper and a round tipped tool to transfer the design. This works much better!
Remove the stencil and go over areas that are hard to see with the pencil again. You can see that the head and some of the feathers are difficult to make out here. The carbon paper method is much easier to see!
Prepare the Wood Burning Tool
Open a nearby window to allow any smoke to escape. You don't to set off the fire alarm and startle yourself with a hot tool in your hand!
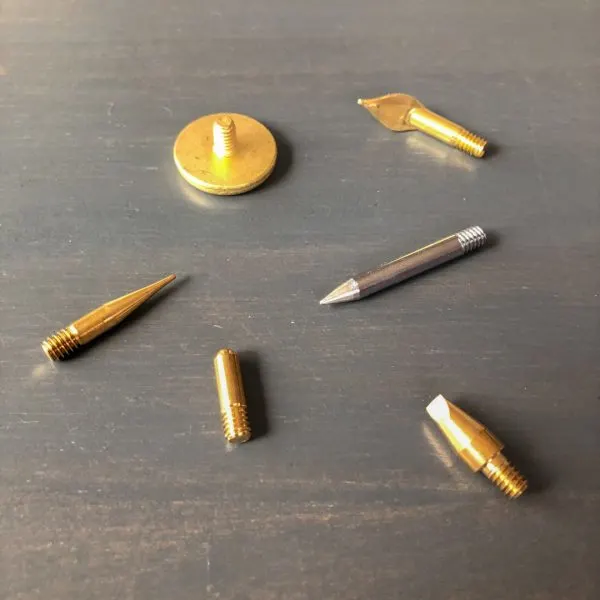
My wood burning kit came with lots of different tips, but I typically just use the universal tip with a pointed tip and flat side. Changing hot tips partway through is a pain (sometimes literally!) and is only necessary when you're freehand drawing a design.
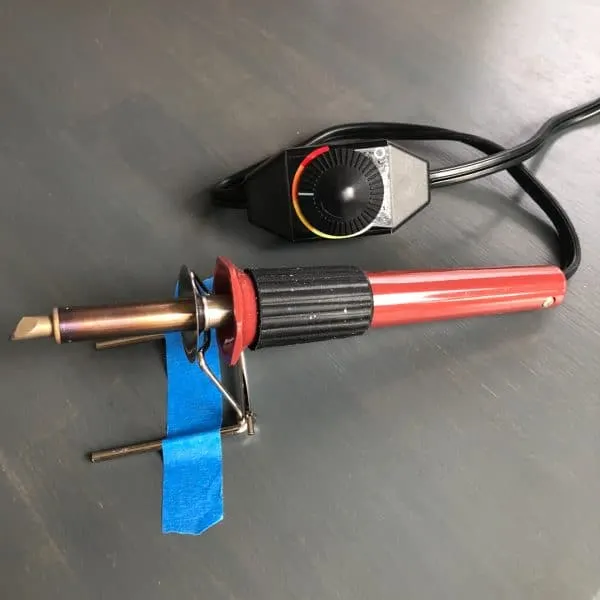
Set your wood burning tool to medium to medium-high heat. I like to stay on the lower end for more control over the color. You can always burn more in, but you can't take it away!
Another handy tip: Tape the stand to the table! It's too easy to accidentally knock it over, and you want to avoid any mishaps with a hot point!
Using the Universal Wood Burning Tip
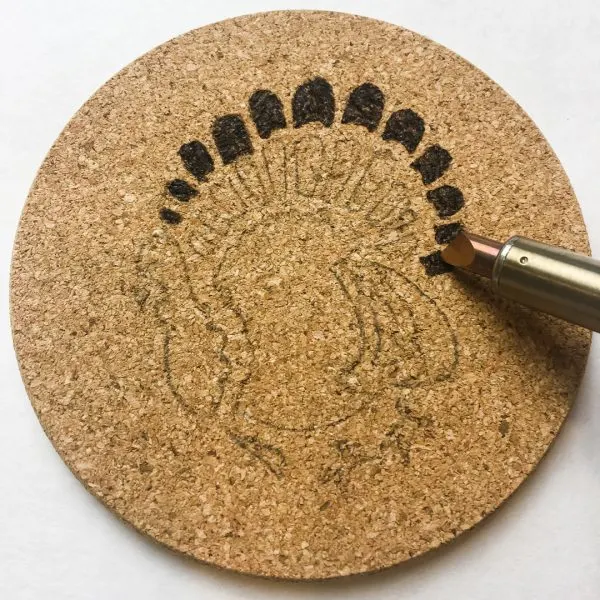
Use the tip of the wood burning tool to fill in the smaller areas. Rotate the cork piece rather than the hot tool as you work.
Use the tip to outline larger curved areas before filling in the center.
Use the flat edge of the wood burning tip to create crisp, straight lines. Then pull the edge towards the center to fill in the rest of the design quickly.
If you leave the tip on the cork for too long, it will burn up and flake off. Just repeat the process with less heat on the new layer underneath.
Keep the wood burning tool vertical when you're close to the edge of the traced design. If you let it droop too much, you'll get burning where you didn't mean to!
Create Wood Burning Stencils with a Silhouette or Cricut Machine
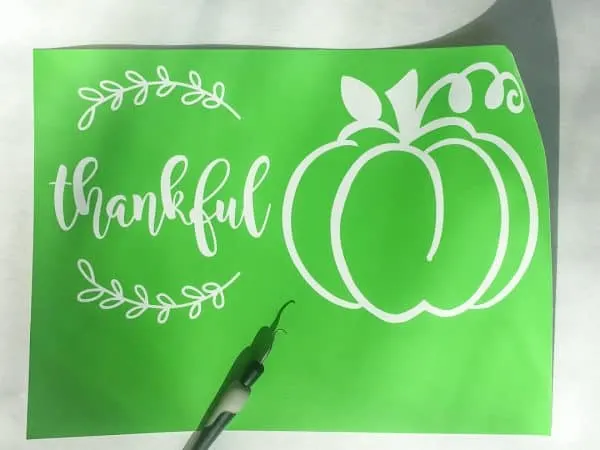
You're not limited to premade stencils! It's easy to make any design you can imagine with a Silhouette or Cricut machine and vinyl. You could easily print a design on paper and cut it out too.
Just adjust the design to fit your piece! These 7" cork trivets worked really well with my custom wood burning stencils. The larger area made it easier to burn crisp edges with the flat part of the tool and really make the design pop!
Makes a Great Gift Idea!
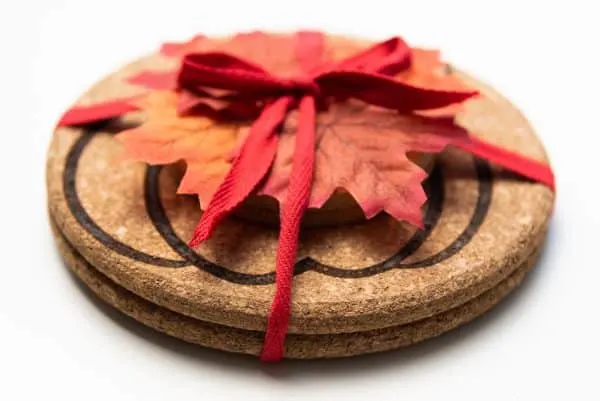
Wrap up a pair of custom created trivets to give as a hostess gift!
You could make these cork coasters and trivets for Christmas too! I'm planning to give a few sets as gifts this year. For less than $30, you could make enough for the whole family!

