Removing wallpaper or tile can make a mess of your drywall, but it can be fixed! I'll show you how to repair torn drywall paper with Zinsser Gardz surface sealer and have it looking like new again.
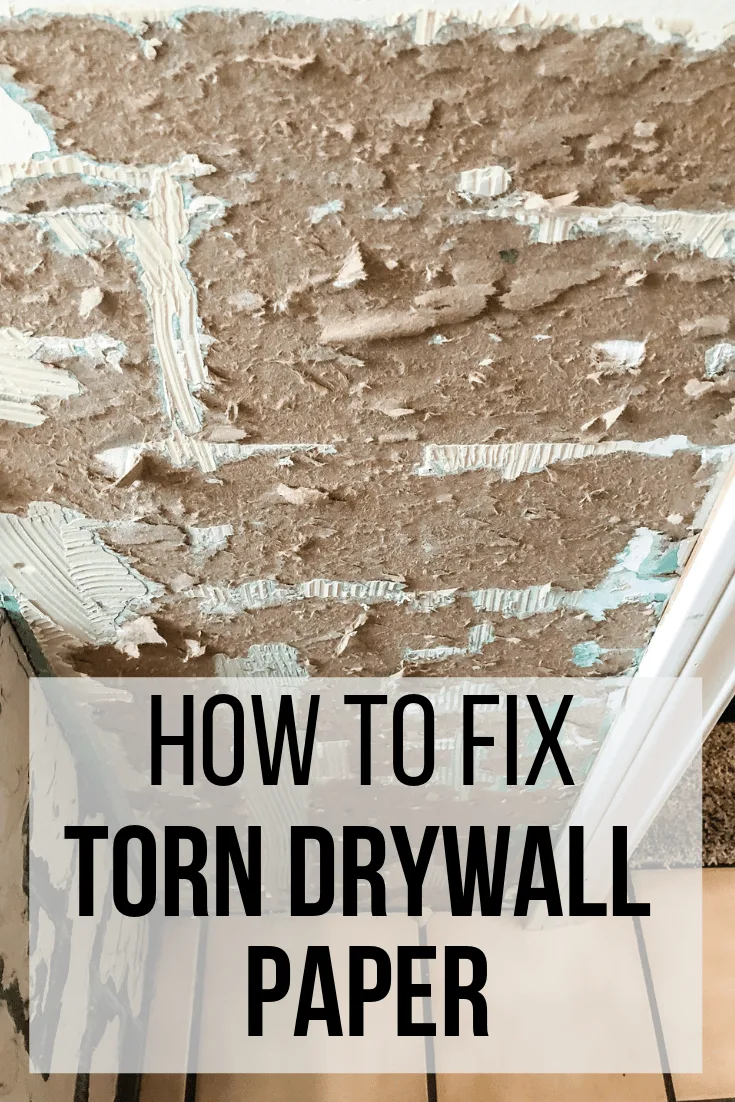
During my DIY bathroom remodel, I removed a LOT of tile from the walls. The drywall itself was fine, but all the paper ripped off! Most of the surface was destined to be covered in new tile, but a few spots would be painted. I'll show you how I repaired my torn drywall paper so it blends in with the rest of the wall!
This post contains affiliate links for your convenience. Purchases made through these links may earn me a small commission at no additional cost to you. Please visit my disclosures page for more information.
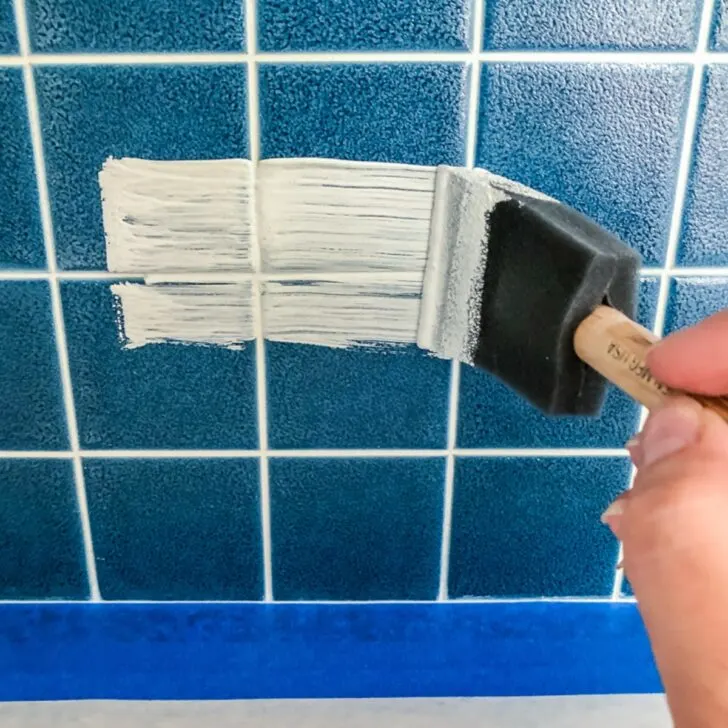
During demolition, I used a chisel scraper and a hammer to pop all the ugly blue tiles off the walls.
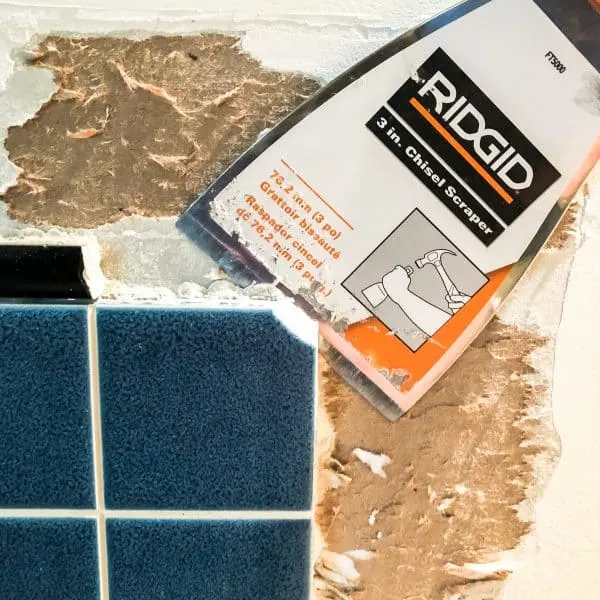
It was pretty easy and extremely satisfying to see those tiles fall like dominoes!
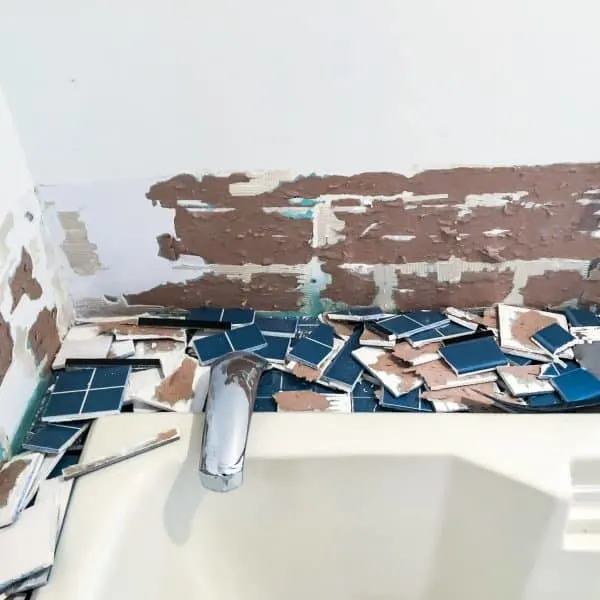
But I was left with this mess on the drywall! Some thinset was still stuck in place, and the rest of the drywall paper was torn, peeling and fuzzy.
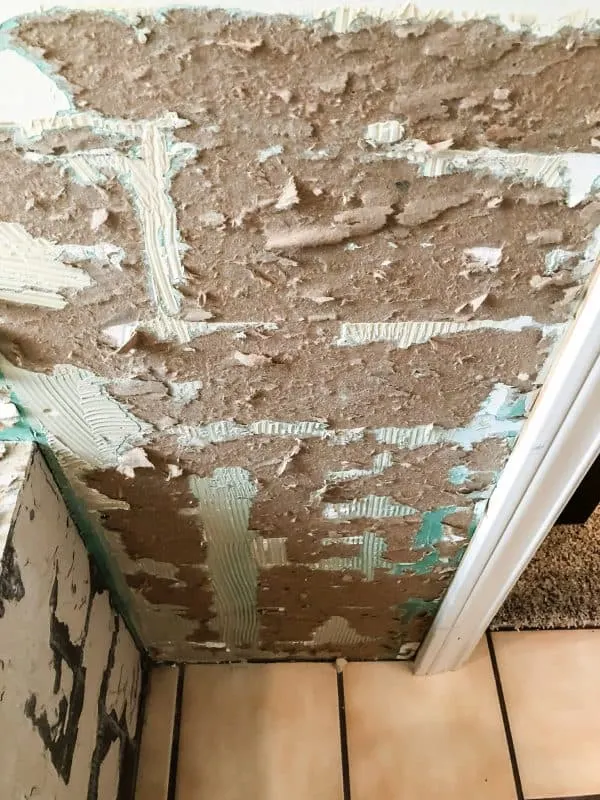
You might run into the same issue when removing wallpaper that's really stuck. It might just peel the drywall paper off along with it!
Here's what you'll need to fix it!
Materials Needed to Repair Torn Drywall Paper
- Scraper tool
- Utility knife
- Drywall sanding sponge
- Zinsser Gardz Problem Surface Sealer
- Chip brush or inexpensive paint brush
- Joint compound
- Drywall joint knife
- Wall texture spray (optional)
- Drywall primer
How to Fix Torn Drywall Paper
Clean the Damaged Area
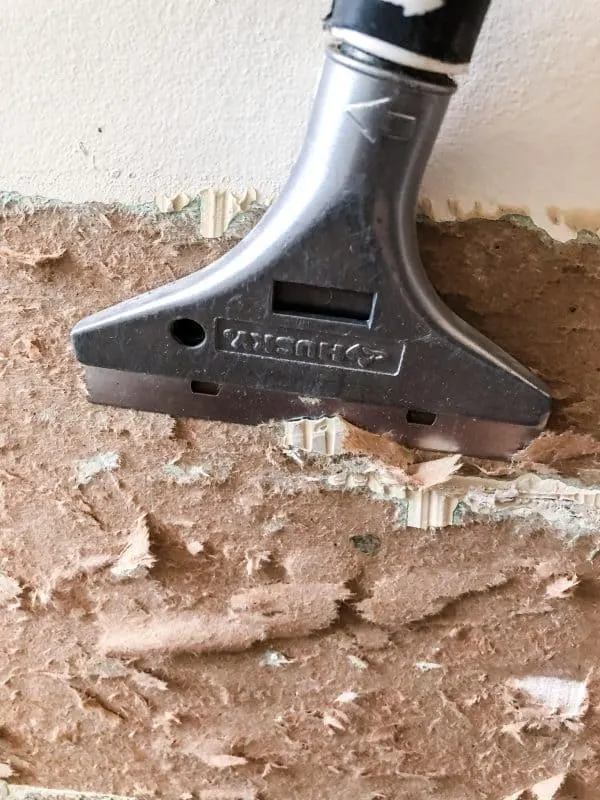
Scrape away any remaining mortar and chunks of drywall paper with the scraper tool. Be careful not to gouge the intact paper with the edges of the razor. You can sand down the sharp corners to round them over if you prefer.
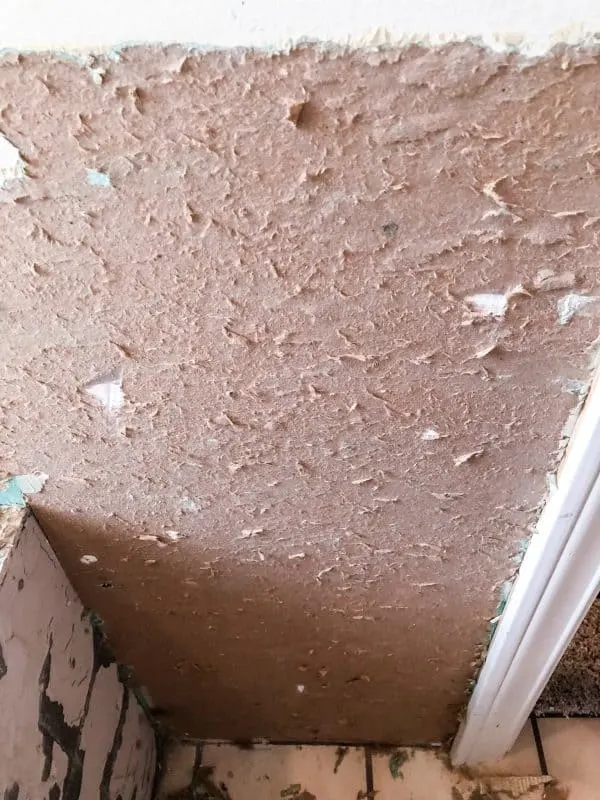
This is what the wall looked like with most of the loose bits removed. Don't worry about getting every little piece off. We'll take care of that next.
Patch Holes and Smooth Edges
If you have holes down to the chalky gypsum layer, take out any loose chunks and use a vacuum to remove the dust from the hole.
Fill any gouges or holes with joint compound, just slightly higher than the surrounding drywall paper. Also smooth the transition between the intact drywall paper and the torn section with more joint compound. A large drywall knife held at an angle helps create a gradual change in the surface instead of a ridge or bump.
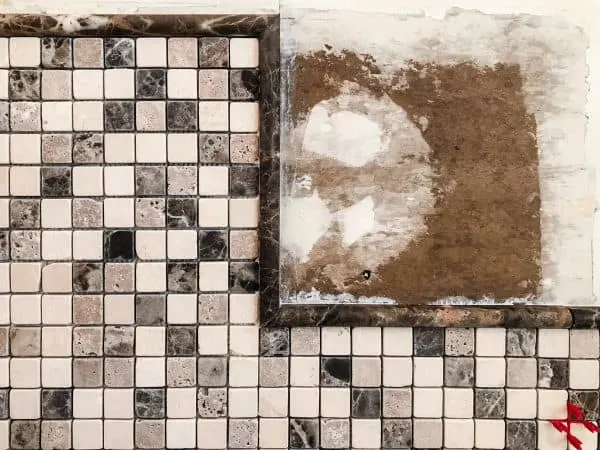
You can see how the joint compound is thicker along the edge and feathers out towards the center. I also patched a few holes in the drywall from the phone that was previously installed there.
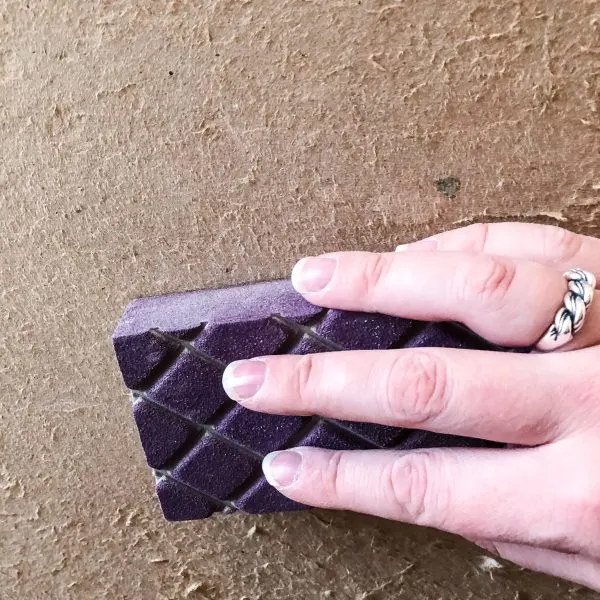
When the joint compound is dry, sand the entire damaged area to remove any loose paper and smooth the surface.
Apply Gardz Problem Surface Sealer
Ripped drywall paper is fuzzy, soft and will soak up paint like a sponge. Joint compound can also take paint differently than the rest of the wall, leaving an obvious spot. Zinsser Gardz Problem Surface Sealer fixes all these problems!
Zinsser Gardz hardens the surface of the damaged drywall, including any crumbling spots that were patched up with joint compound. Just paint it on with a cheap brush and let it dry!
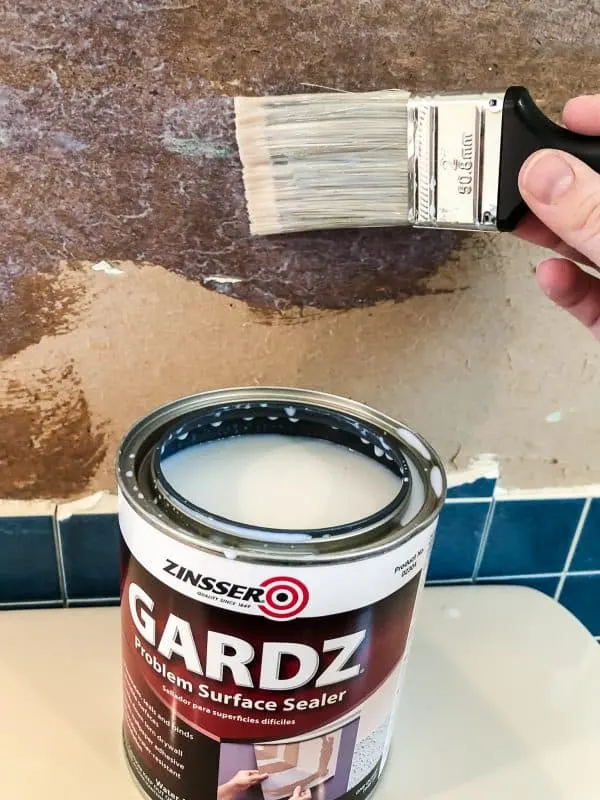
All the fuzz from the torn drywall paper turns hard as a rock. It also prevents the joint compound from soaking up paint and creating a dimpled spot in the wall. This stuff is magic!
I applied Gardz to all the torn drywall paper, even the sections that will be tiled over. The sealant prevents mortar from soaking into the wall and provides a strong backing that will hold up over time.
Sand for a Smooth Finish or Apply Texture if Desired
If the surrounding drywall has a texture, you'll want to match that on your patched section. There are plenty of sprays that can help you replicate your existing finish. The texture will also help to hide any imperfections in your repair!
If your walls are smooth, give the hardened drywall paper one last quick sanding to remove any lumps.
Prime and Paint
The Zinsser Gardz sealer will prevent paint from getting sucked deep into your wall, but it turns the brown drywall paper a darker color in the process. Primer will help cover it up without spending a lot of time and money on expensive paint!
After applying primer to the wall, you can barely tell where the torn drywall paper was!
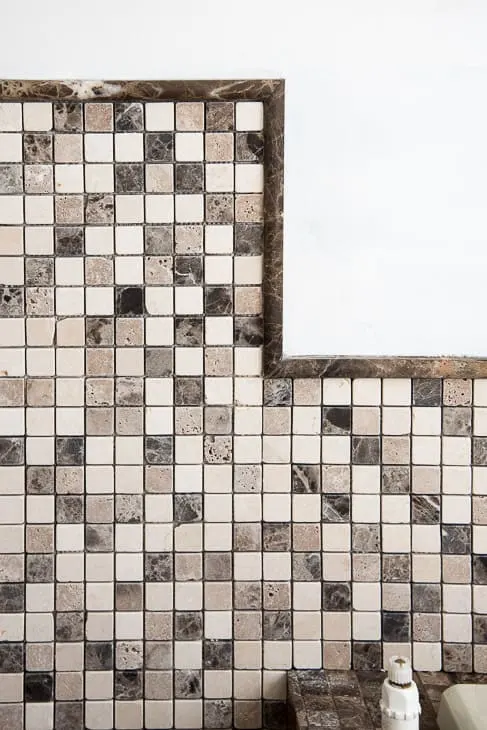
Now it's ready for a new coat of paint!
Home improvement projects almost always run into little hiccups like torn drywall paper. Luckily, this is an easy fix that any home owner can tackle themselves!


Ann
Wednesday 14th of November 2018
Thank you! My next project is replacing the tub tile in our main bathroom.. Very timely to see this on FB today :)
Jodie Fitz
Thursday 13th of September 2018
This is so helpful and easy to follow! The end product looked absolutely beautiful too! Thanks for joining us at last week's Reader Tip Tuesday! This week's party is up and live all week long. We hope to see you there...
Sheri
Monday 10th of September 2018
Great tip! Thanks for sharing at the To Grandma's House We Go DIY, Crafts, Recipes and More Link Party! Pinned this! Hope to see you again next week.
Amy
Sunday 2nd of September 2018
Thank you for the tutorial of a very useful process. I found your post at Over the Moon.