We took out the closet in our basement family room and added extra square footage. Learn how to remove a closet and gain extra living space.
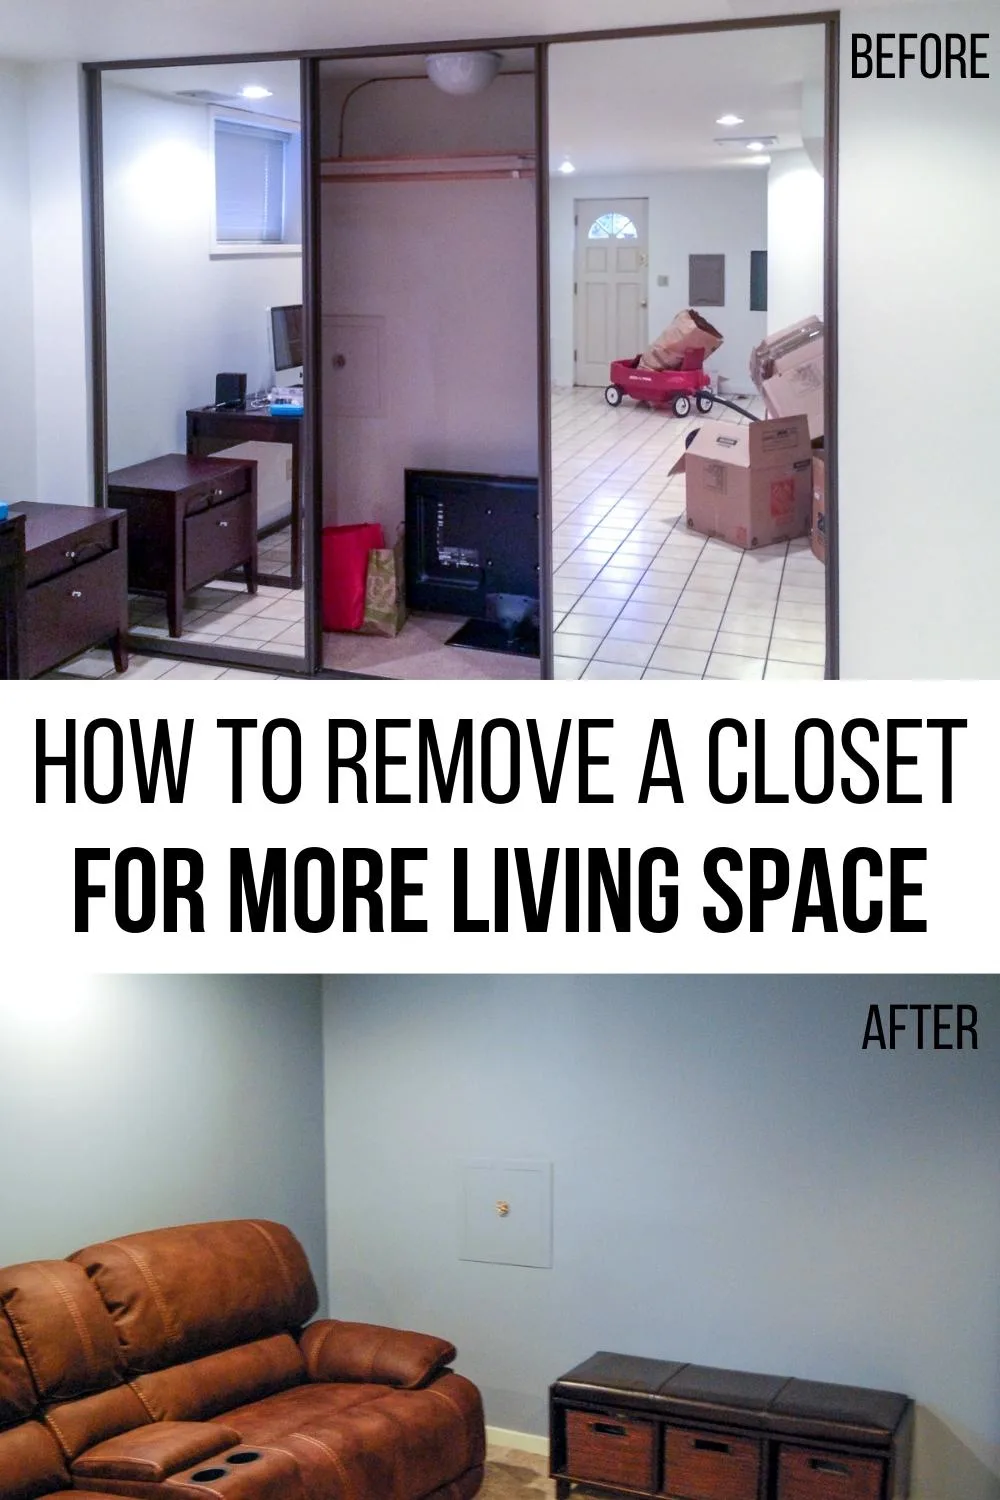
When we bought our house, our basement family room looked more like a dance studio. The floor was covered in beige tile, which made it too cold to spend any time in during the winter. One wall was completely covered with huge sliding mirrored closet doors.
It echoed, even when it became a dumping ground full of moving boxes and unwanted furniture. It was certainly not the cozy family room we were looking for!
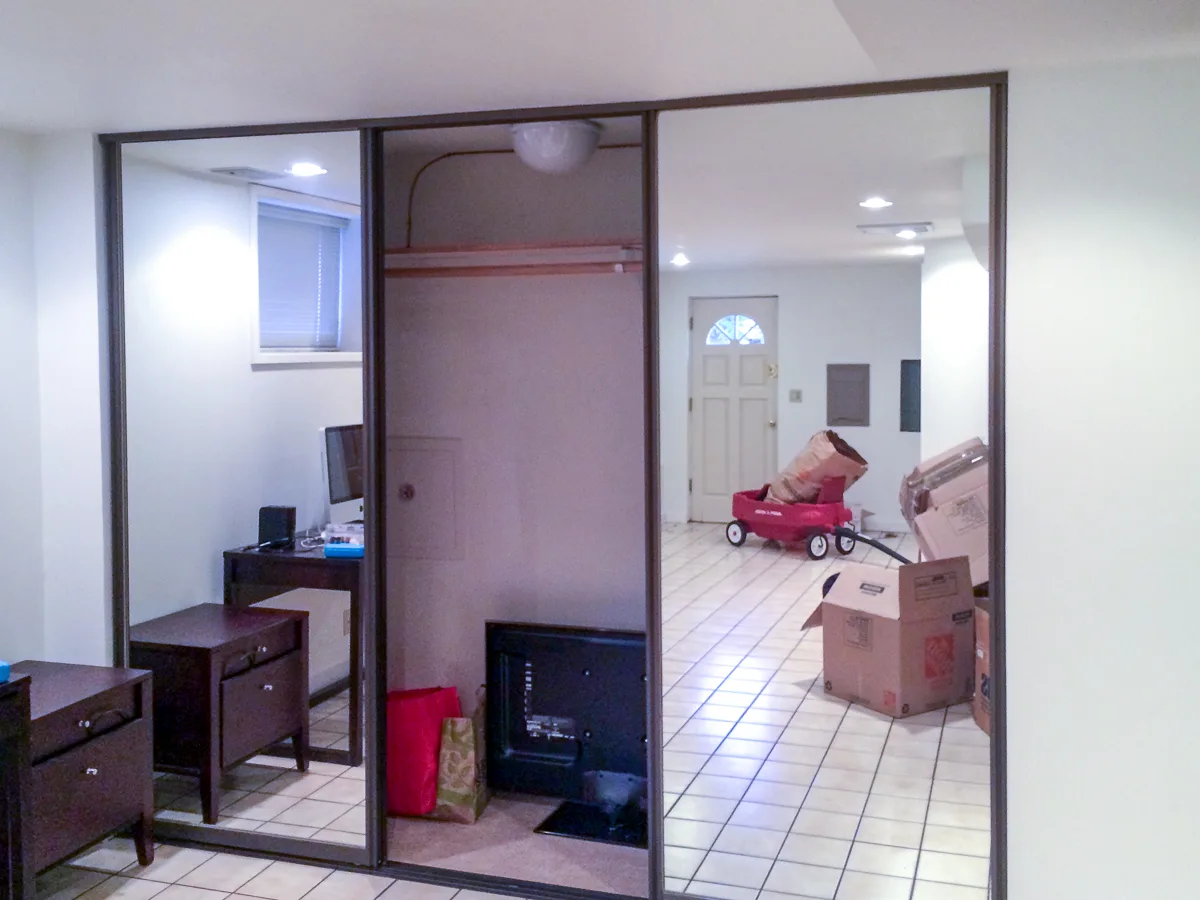
You may be thinking we are nuts to remove a closet, but we really didn't need it. What we really wanted the extra twenty square feet of space for the rest of the room.
How to Remove a Closet
Take off the doors and remove hardware
First things first, the doors had to go! I cleared out the closet and got it ready for the contractor to take care of the rest.
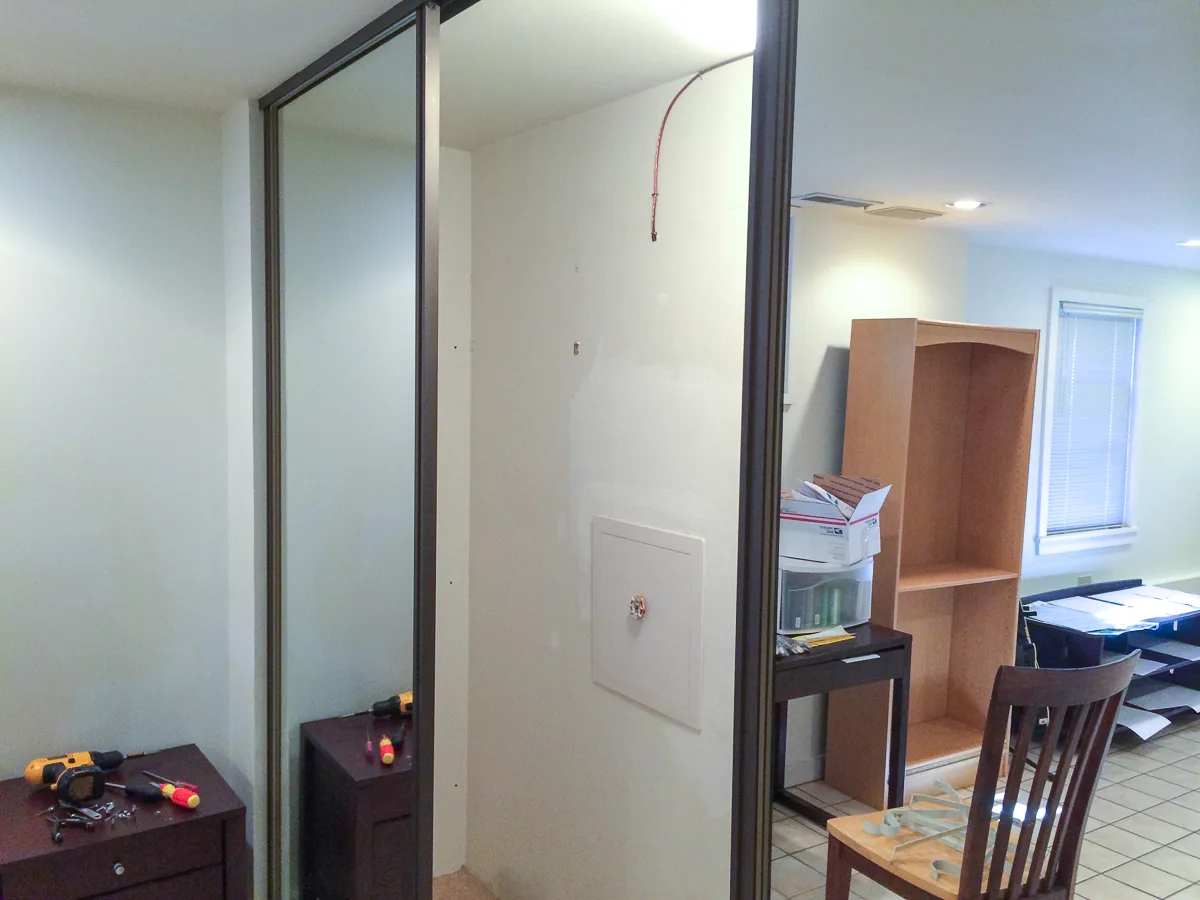
He took out the doors, track, and the small section of the wall that framed in the closet (which thankfully wasn't load bearing). I put the doors on Craigslist for free and they were gone within hours. I'm sure some dance studio is happy to have them.
Repair the drywall
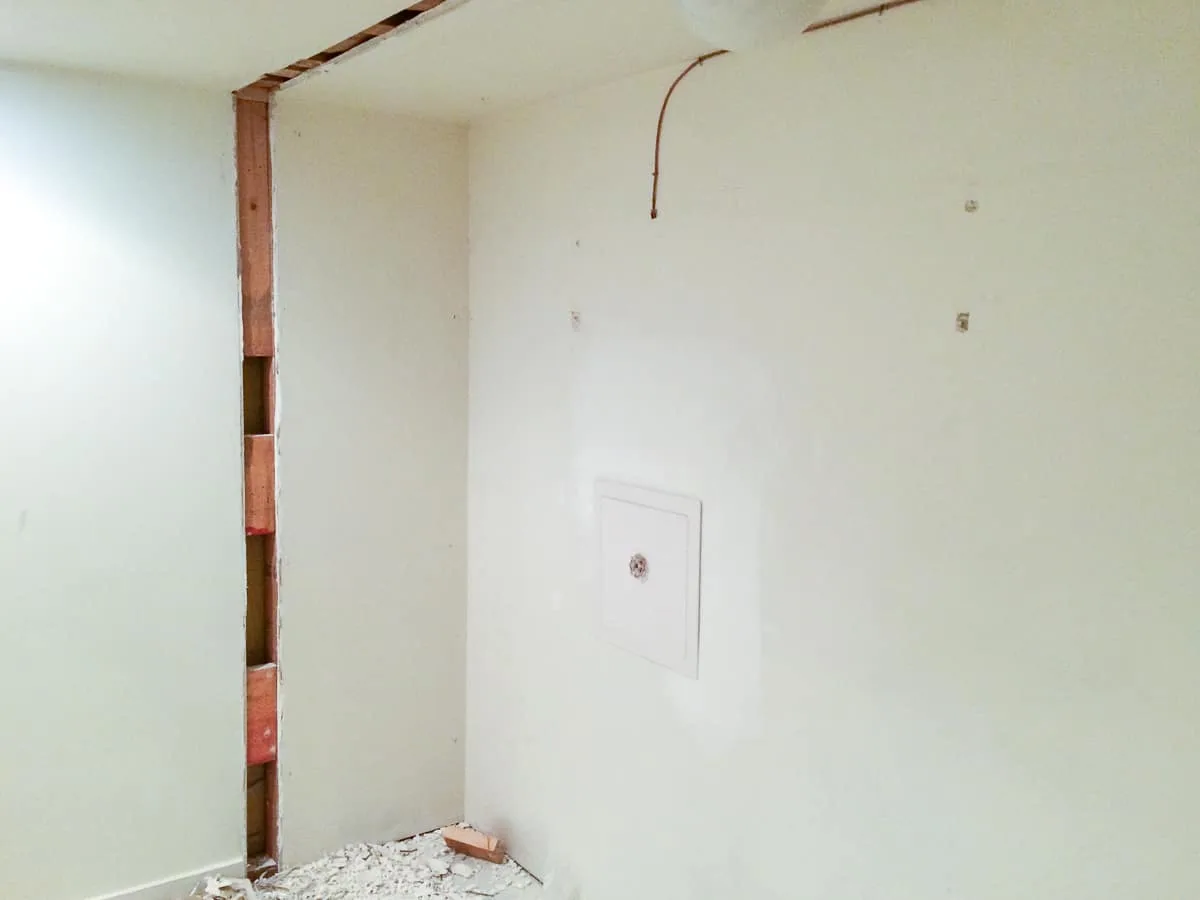
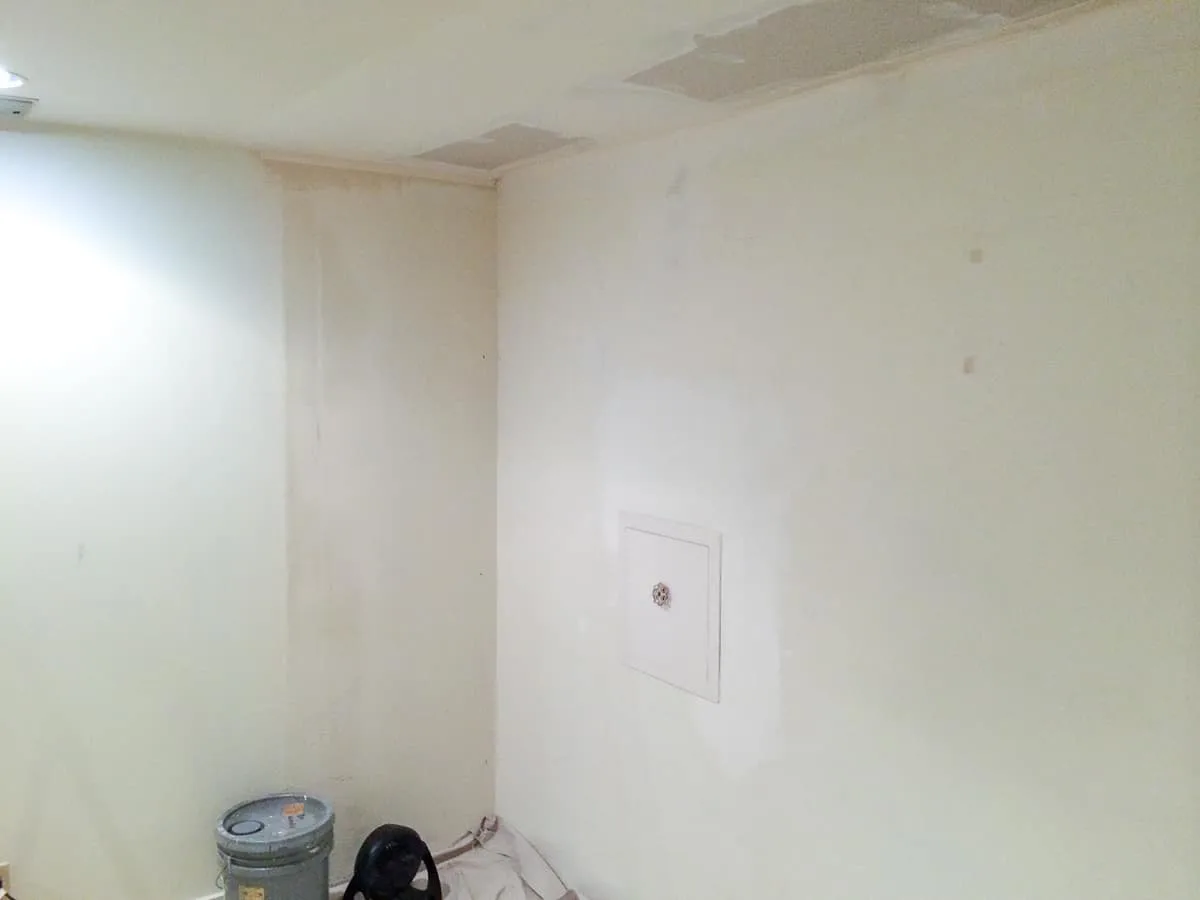
After the partial wall and track were gone, we were left with a gap in the drywall. While at first, this seemed like an easy patch job, it turned out to be a bit more complicated.
The walls and ceiling inside the closet were a ½" thinner than the rest of the room! He added an additional ½" thick sheet of drywall to even it out, and put that ugly copper grounding wire back into the wall where it belongs.
Leveling the Floor
The other problem was the floor in the former closet. You can see in this photo that it was bare concrete with a carpet remnant on top rather than tile like the rest of the room.
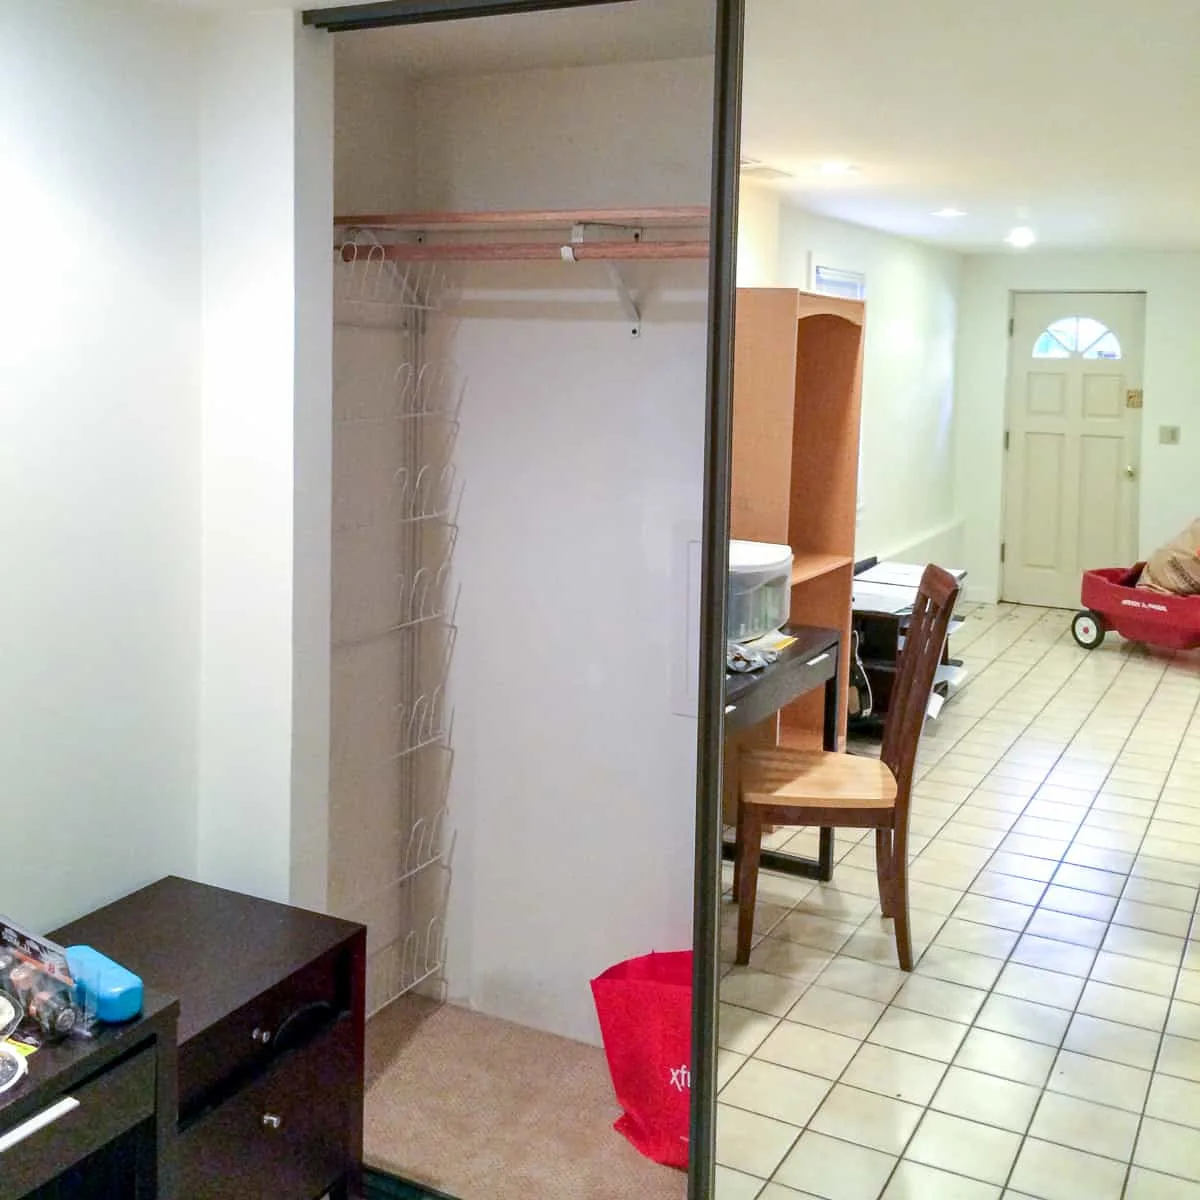
We planned to install carpet over the tile, but we had to fix the ¼" difference in floor height first! To fill the gap, he cut a sheet of plywood to fit the space and screwed it down to the concrete.
Luckily, the baseboards were basic rectangular trim, so he finished off the space by extending the baseboards around the former closet area.
Paint the newly exposed walls
We had already ordered the carpet and the new couch, so it was time to paint! I had plans to make the dark blue TARDIS door, so we went with a lighter bluish-gray color called Russian Blue from Behr for the walls.
It looks darker and grayer on our walls than it does on the color swatch, which we liked. Always get a few sample colors to try on the walls before you commit!

I color-matched the ceiling by taking a section of the old wall with me to Home Depot. The previous owner painted the ENTIRE house the same off-white color, including the trim and ceilings, so I made sure to get plenty of that color for future touch-ups. After the painting was done, it was starting to look like the closet was never even there.
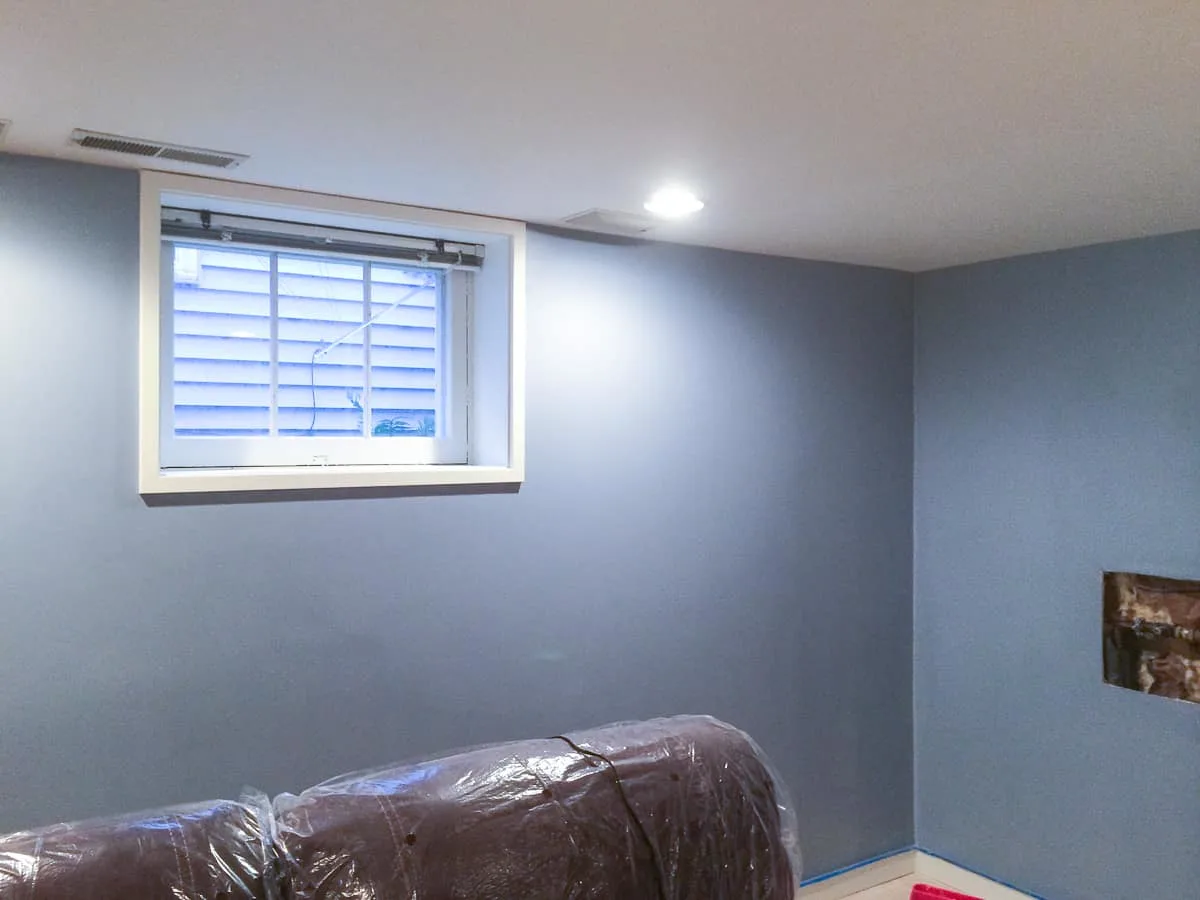
Now we have a lot more space for a longer couch!
Hiding the access panel
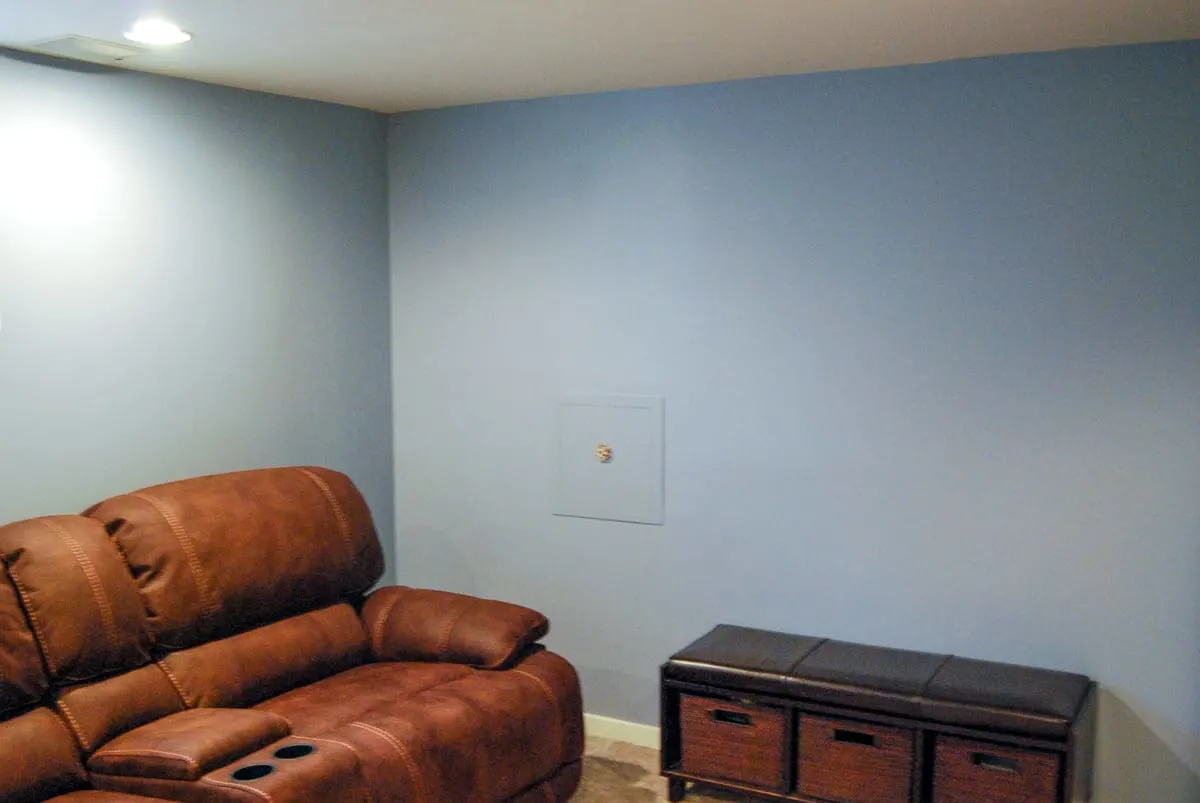
One issue with removing the closet was that ugly access panel in the middle of the wall. I decided to build some long floating shelves to fill the space and camouflage the panel. You barely notice it now, but it's easily accessible if we ever need to turn off the water to the house quickly.
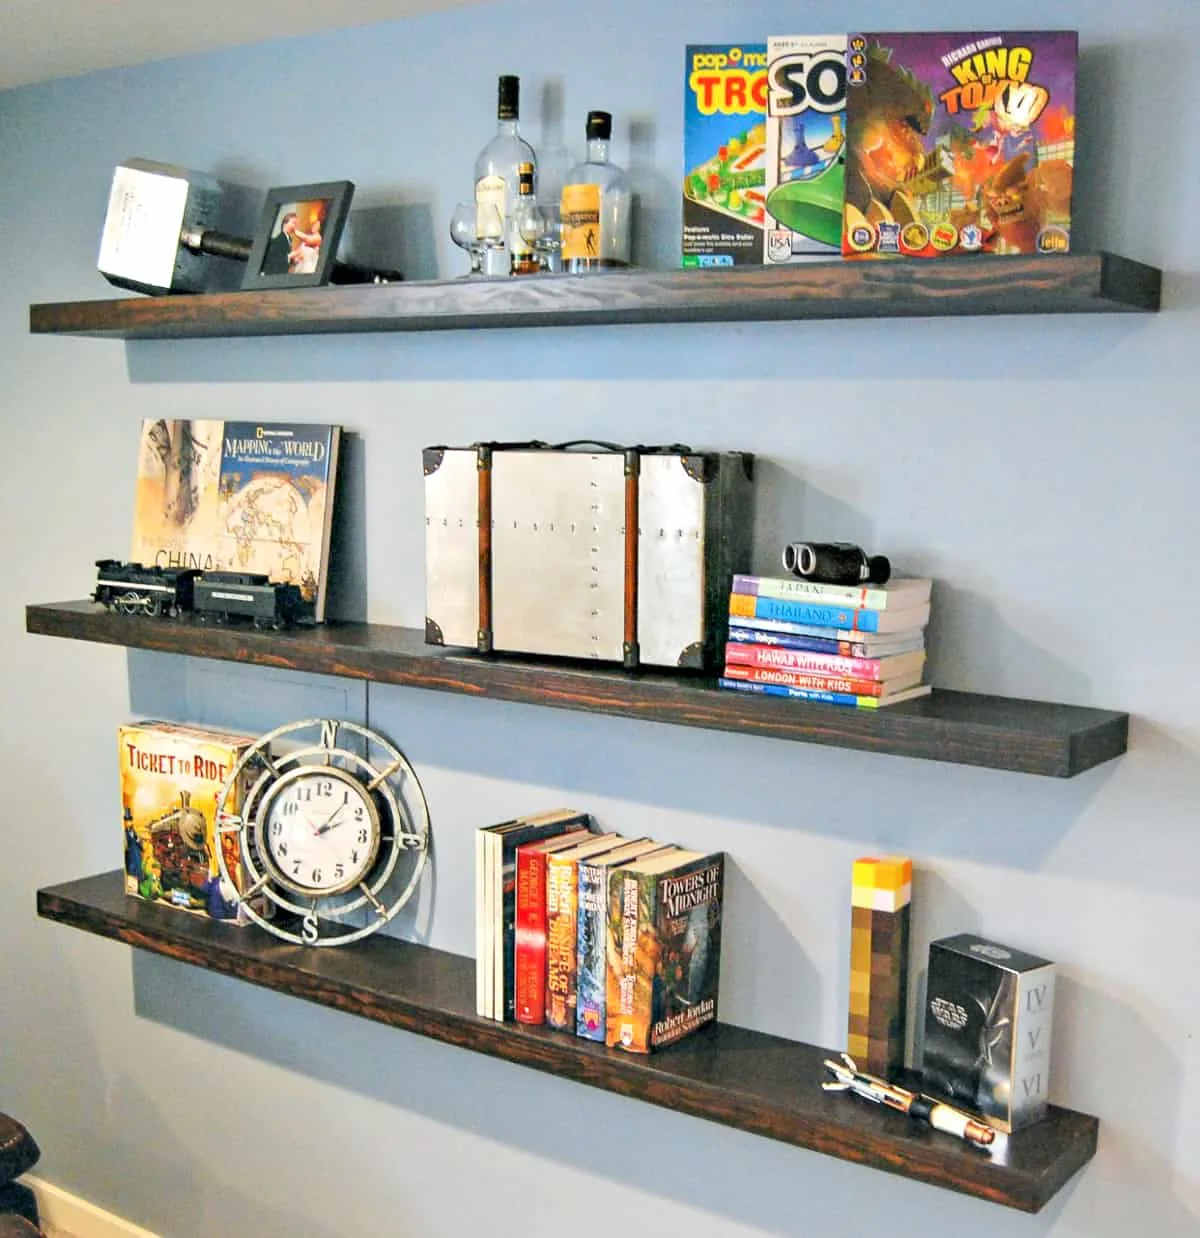
This view of the family room is so much nicer than the crazy mirrored closet doors that were there before!
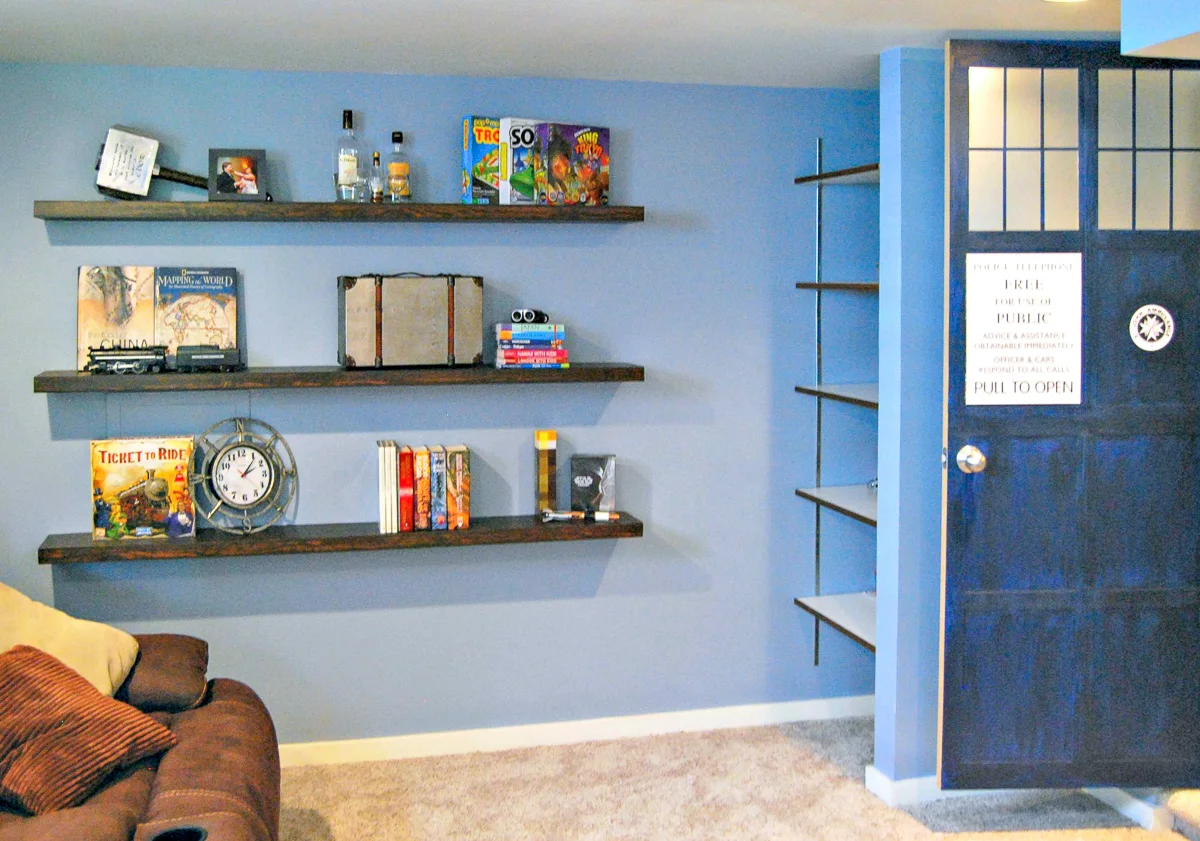
Don't be afraid to remove a closet to create more space in the room! It made such a huge difference in our basement, and I can barely remember what it was like before!
