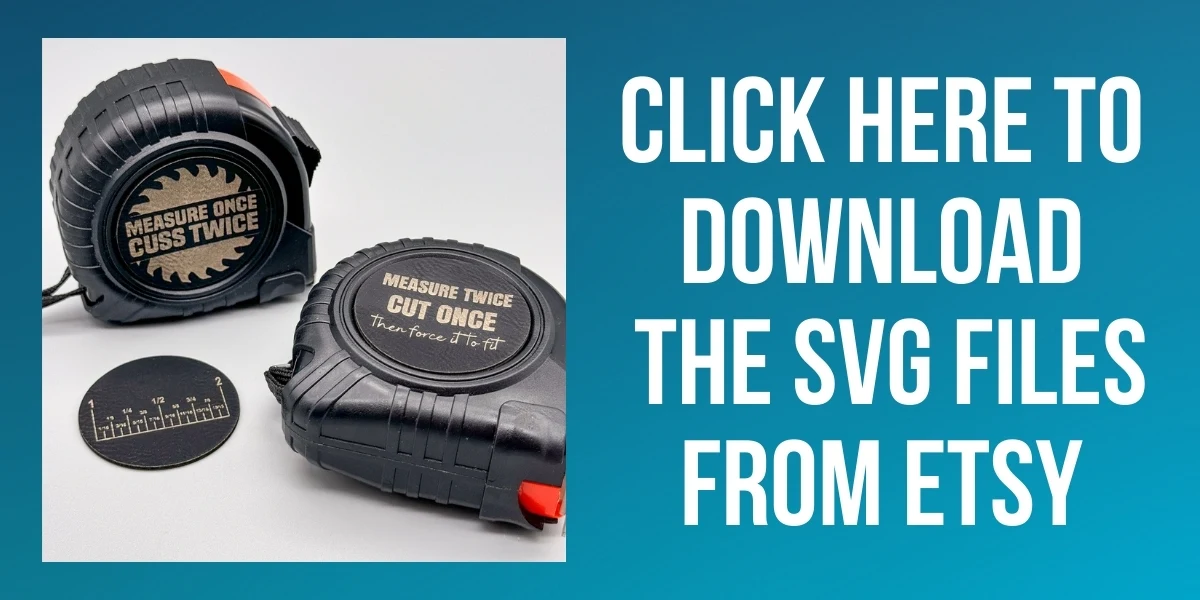
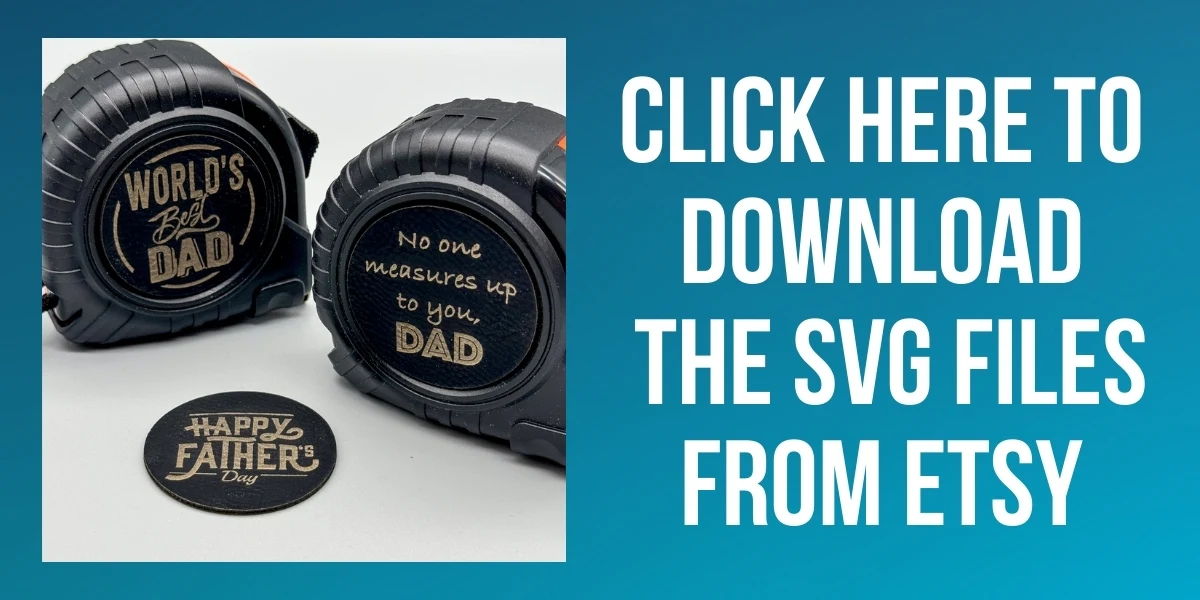
This personalized measuring tape is the perfect gift for dad! Laser engrave your own design, saying or name for a custom gift idea he'll love!
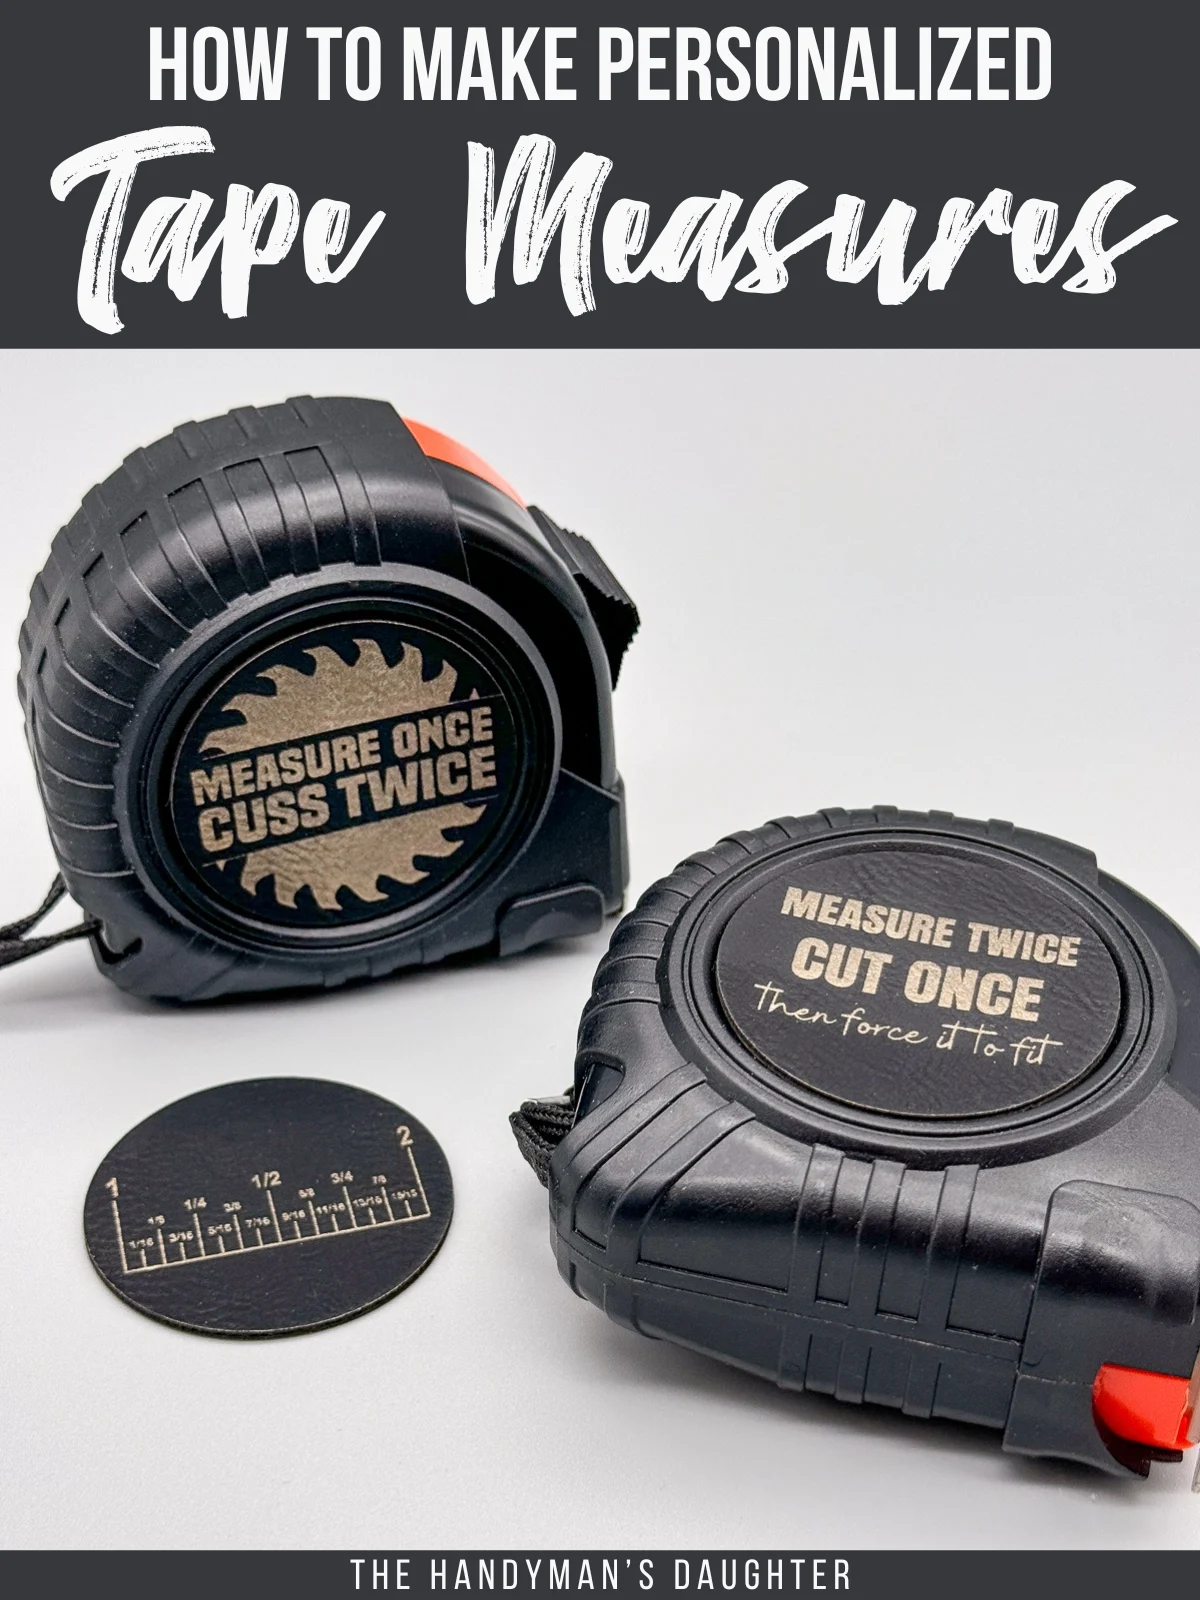
Dads can be so hard to shop for! As you might have guessed, my dad is a woodworker, so I usually resort to giving him a Woodcraft gift card (which I can now give to him in a fancy laser cut gift card holder).
But when an ad recently popped up in one of my feeds for a personalized tape measure, I knew I could make my own using my xTool P2. Here's how!
This post contains affiliate links for your convenience. Purchases made through these links may earn me a small commission at no additional cost to you. Please visit my disclosures page for more information.
Materials
- Diode or CO2 laser machine
- I'm using the xTool P2 CO2 laser for this project, but you could use a diode laser like the xTool M1 or S1 too!
- 1/16" plywood or laser safe leatherette
- 3M double sided adhesive tape
- Tape measure with circular side
- I got mine at Harbor Freight
- Calipers (optional)
Don't have a laser, or looking to upgrade? Use the code VINETA100 for $100 off an xTool laser! Click here to check them out!
Measure the side of the tape measure
The Pittsburgh tape measures at Harbor Freight are the perfect shape for this project. There's a recessed circle on the side that is just deep enough for the engraved insert.
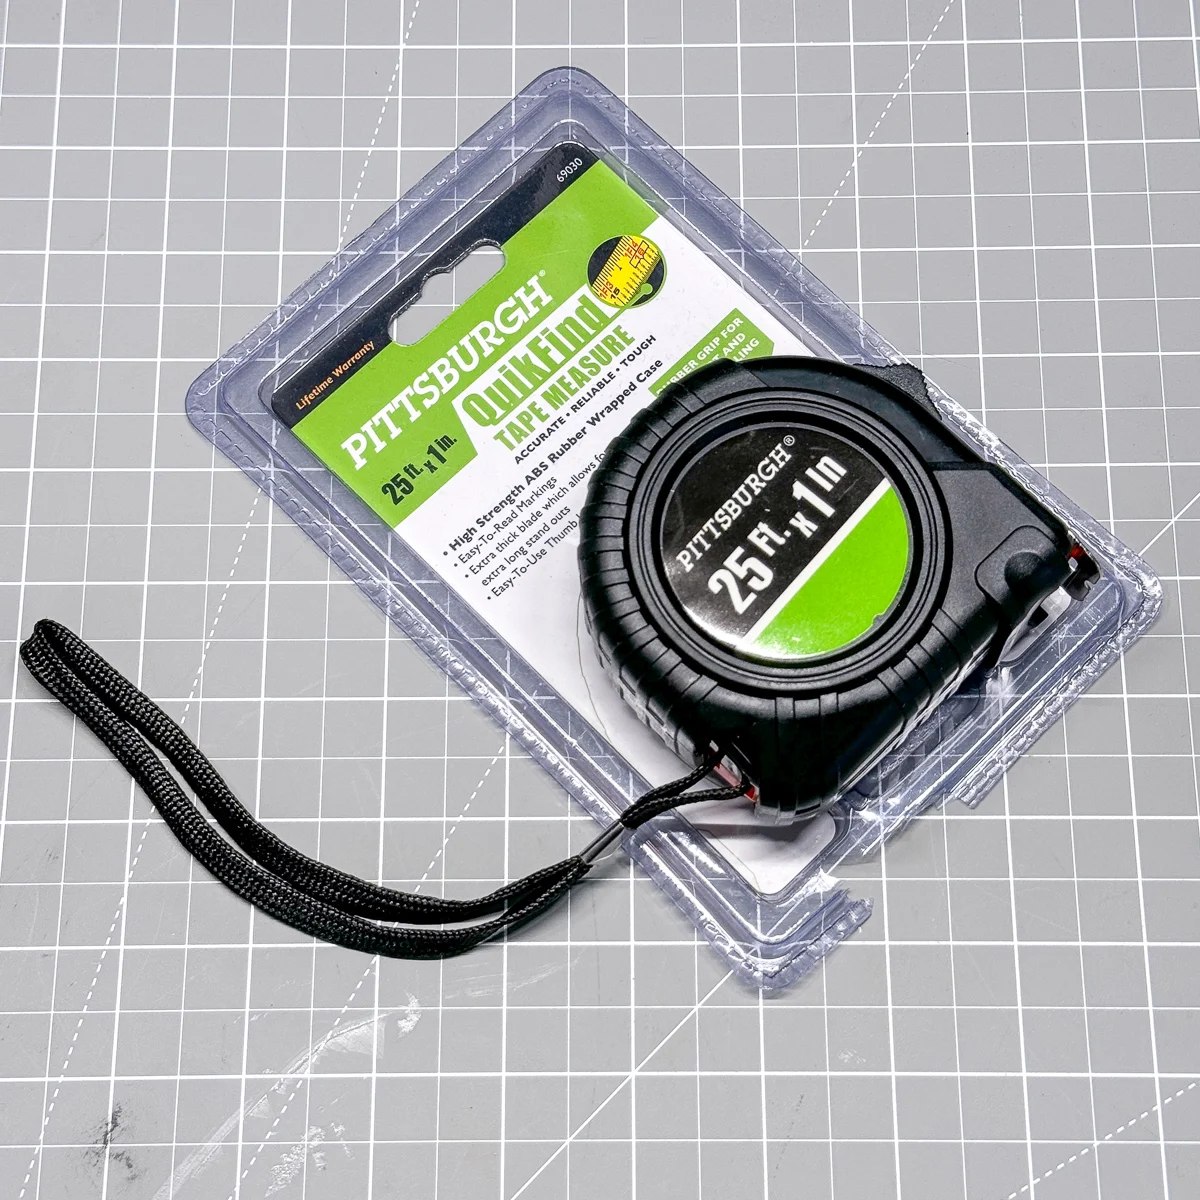
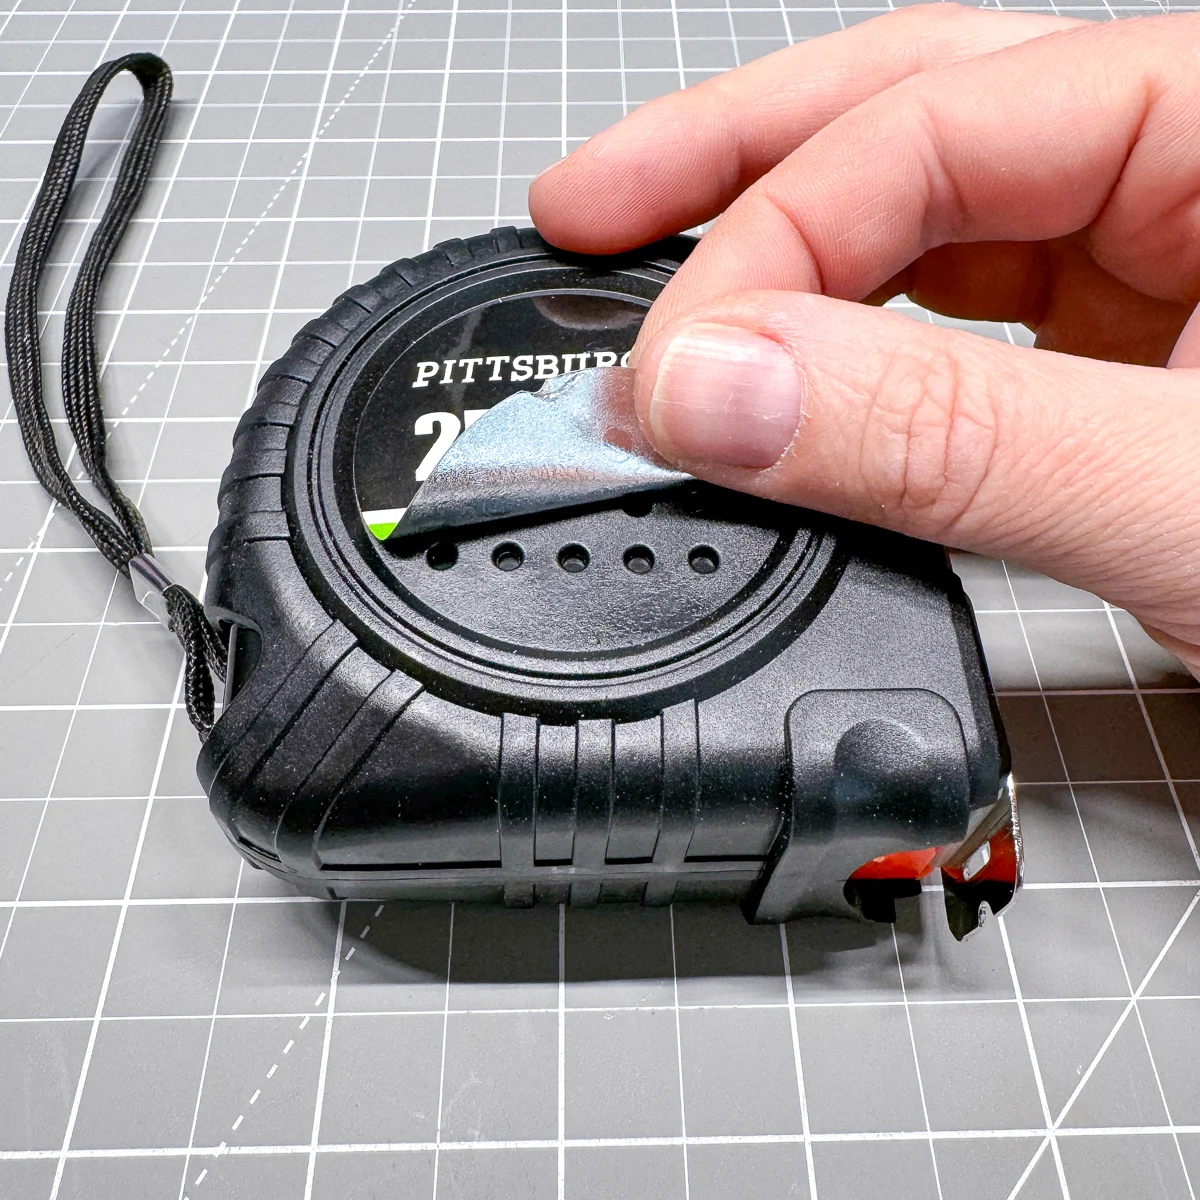
Thankfully, the label is super easy to peel off. If yours leaves a sticky residue behind, you can use something like Goo Gone to remove it.
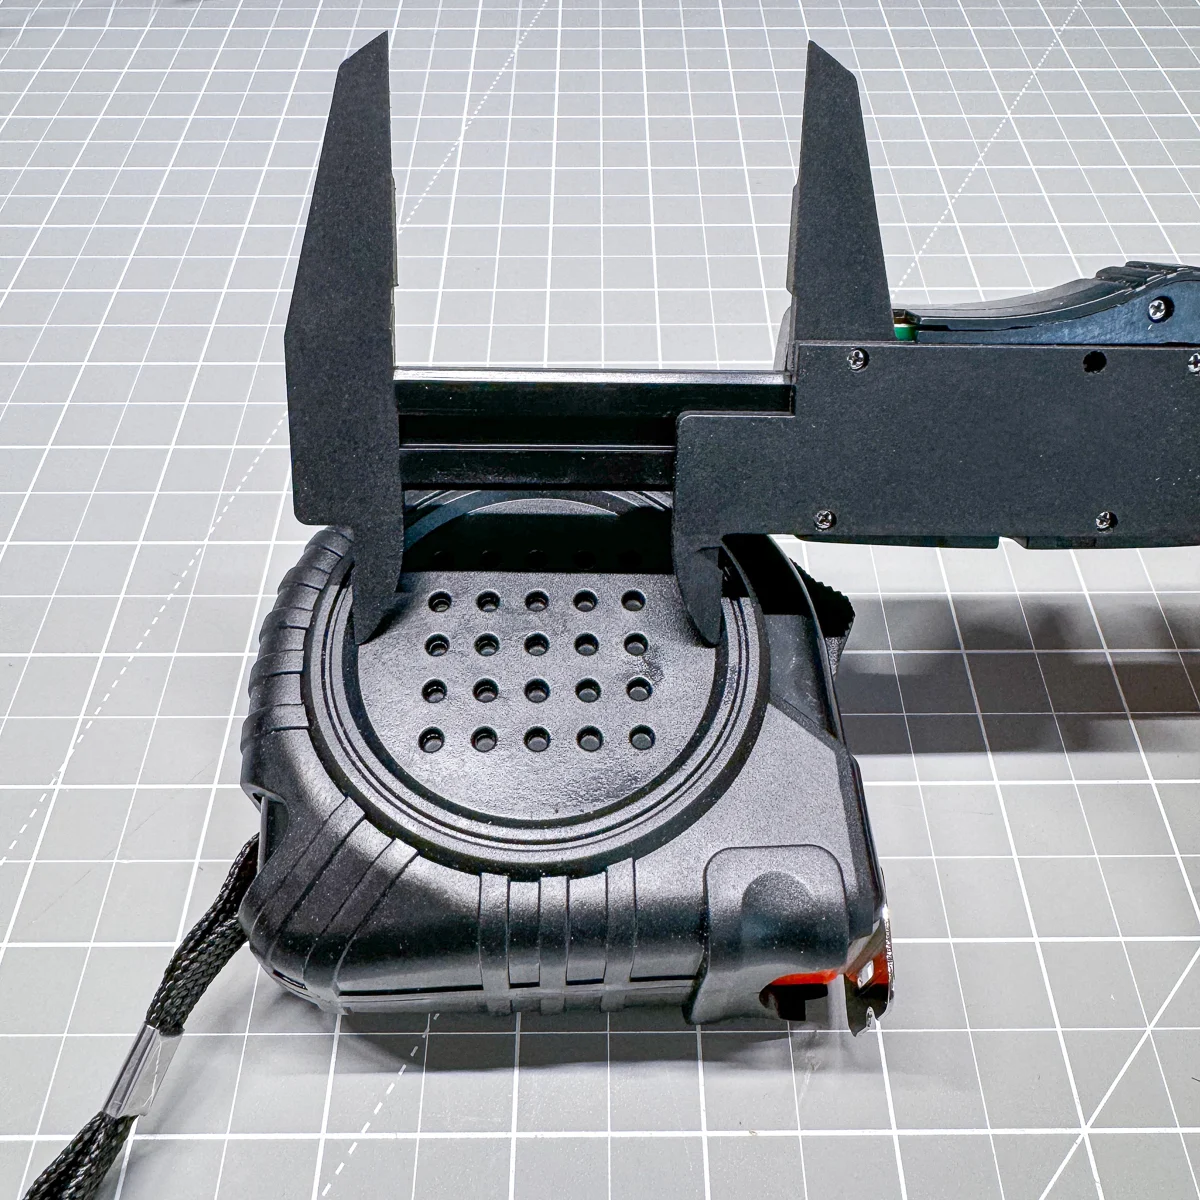
Measure the inside of the circle at the lowest point. I used calipers to get an accurate reading, but you could use the tape measure itself!
Create your laser design
Use the measurement you just took to draw a circle in your laser software. Then create your design! I used a combination of elements from Creative Fabrica and Canva, then cleaned them up in Adobe Illustrator.
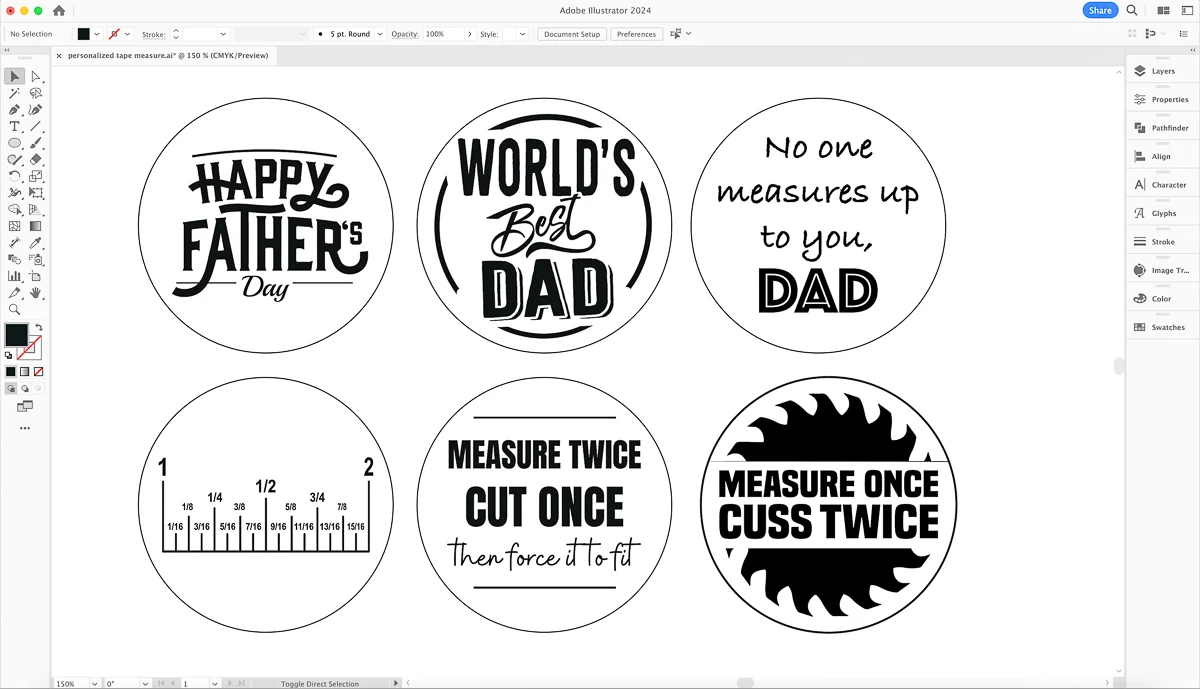
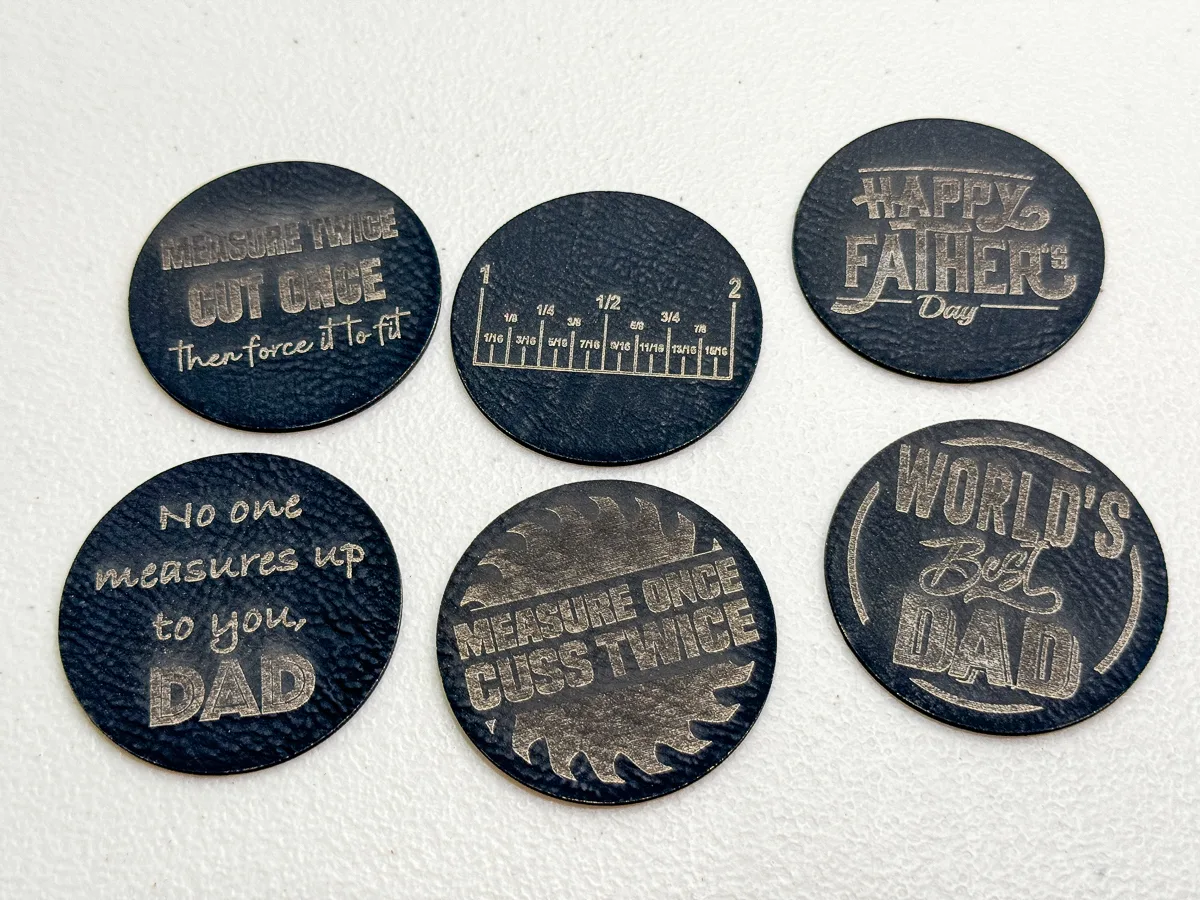
I made three Father's Day designs, and three everyday designs for this project. You can get them over in my Etsy shop!
Testing different materials
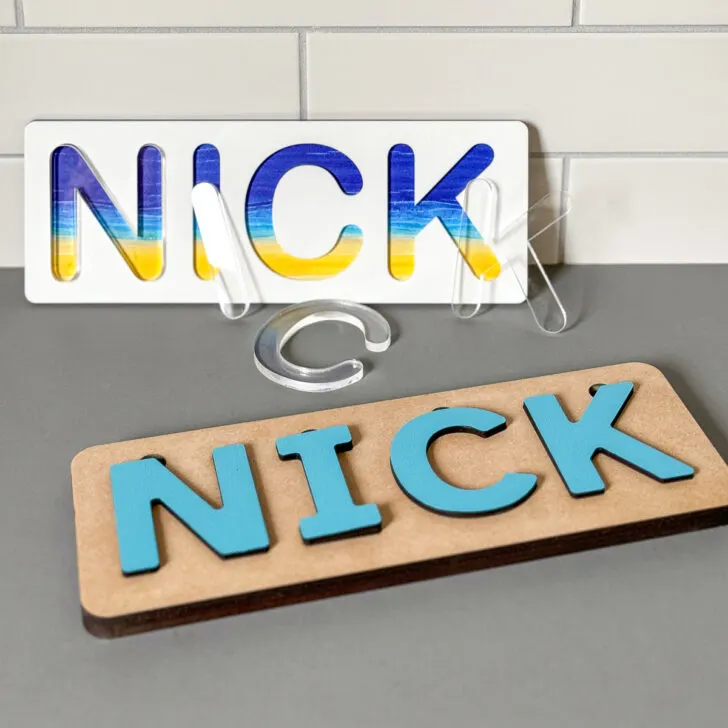
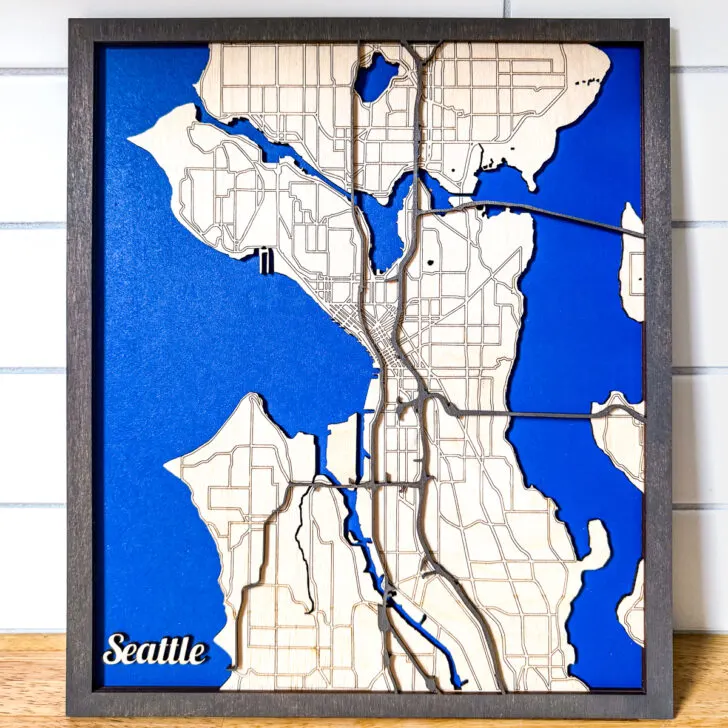
Most of the personalized tape measures I found online used thin plywood for the engraved design. I had some scraps of ⅛" birch plywood with 3M adhesive already on the back left over from one of my laser cut city maps, so I used that as a test cut.
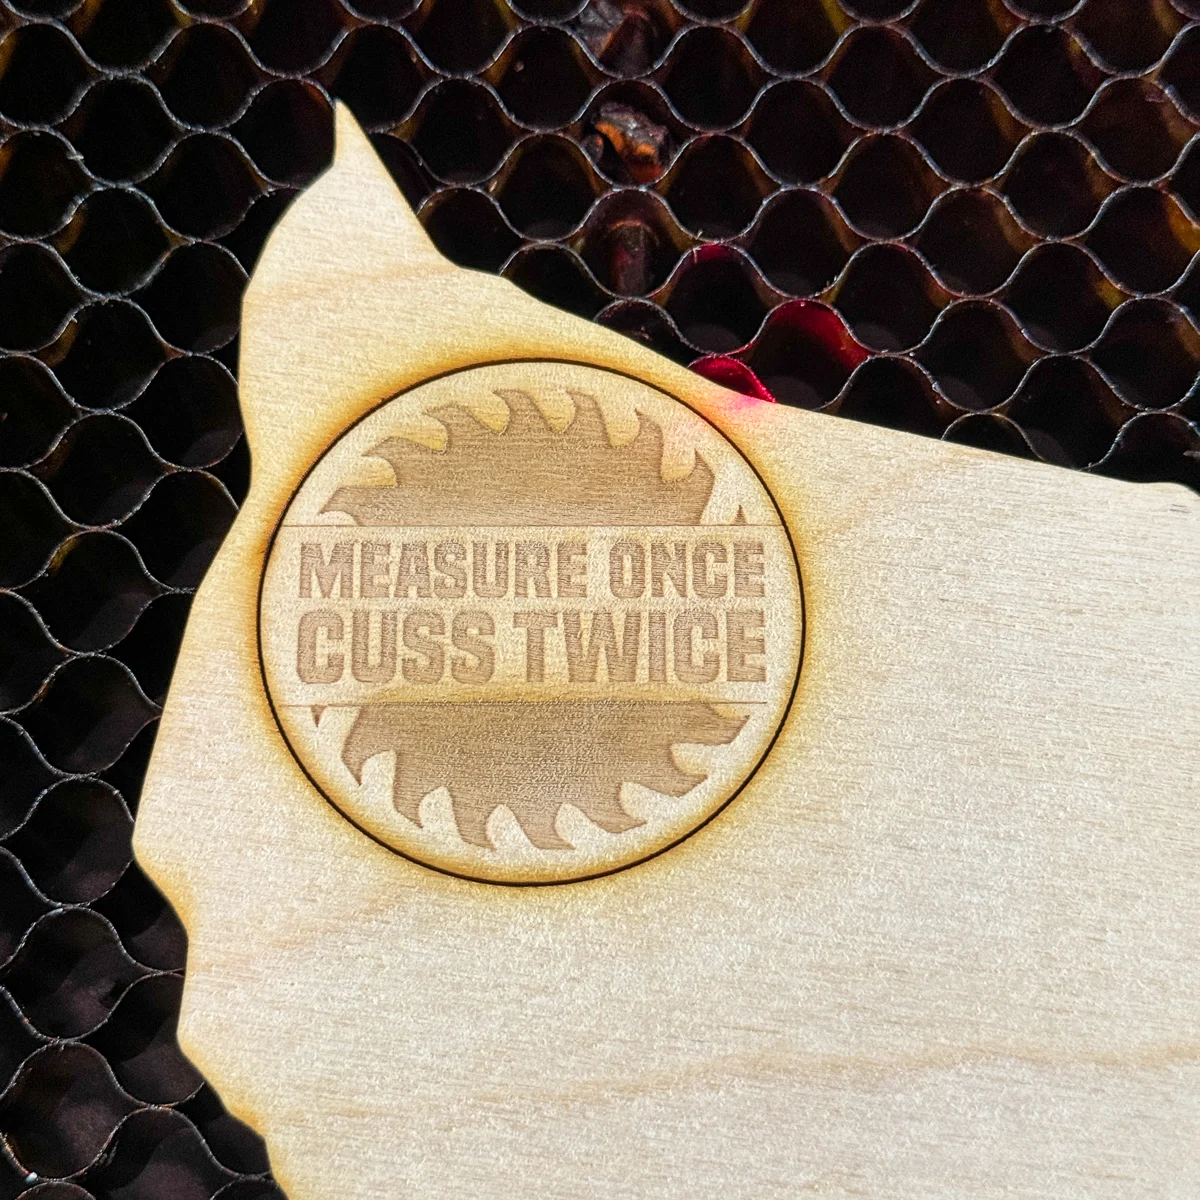
While it fit great within the recessed circle, it sticks out a little too far from the casing. If you use tape measures on a regular basis, you know that they get dropped all the time! I can't imagine that thin plywood will hold up to abuse.
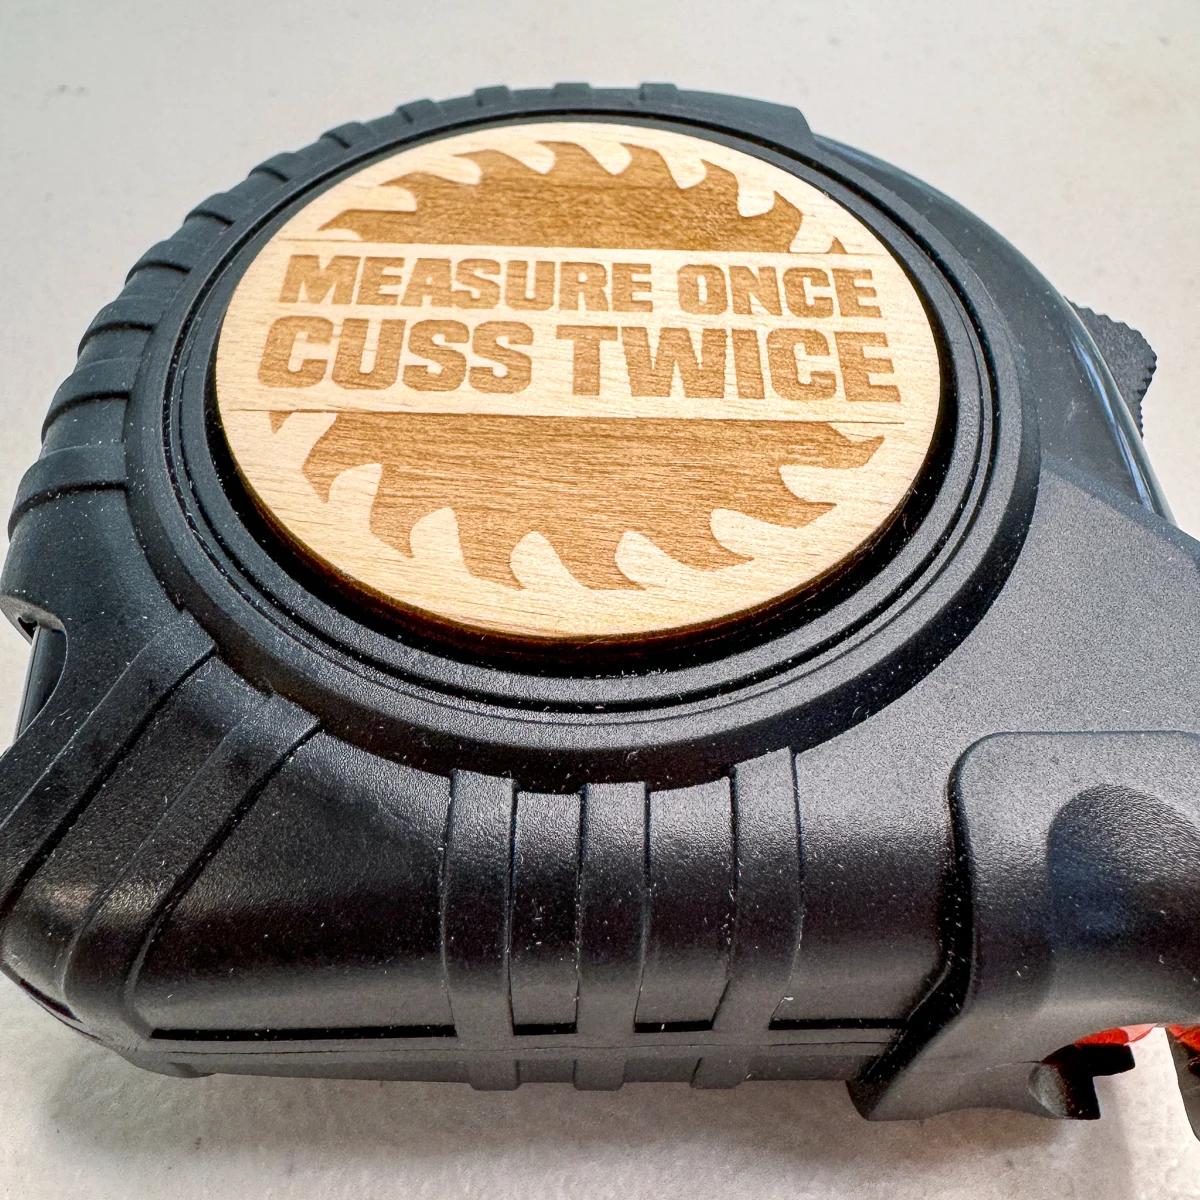
I found some 1/16" MDF in my laser stash, and decided to give that a try next. It didn't engrave as nicely, but it does sit flush with the tape measure casing.
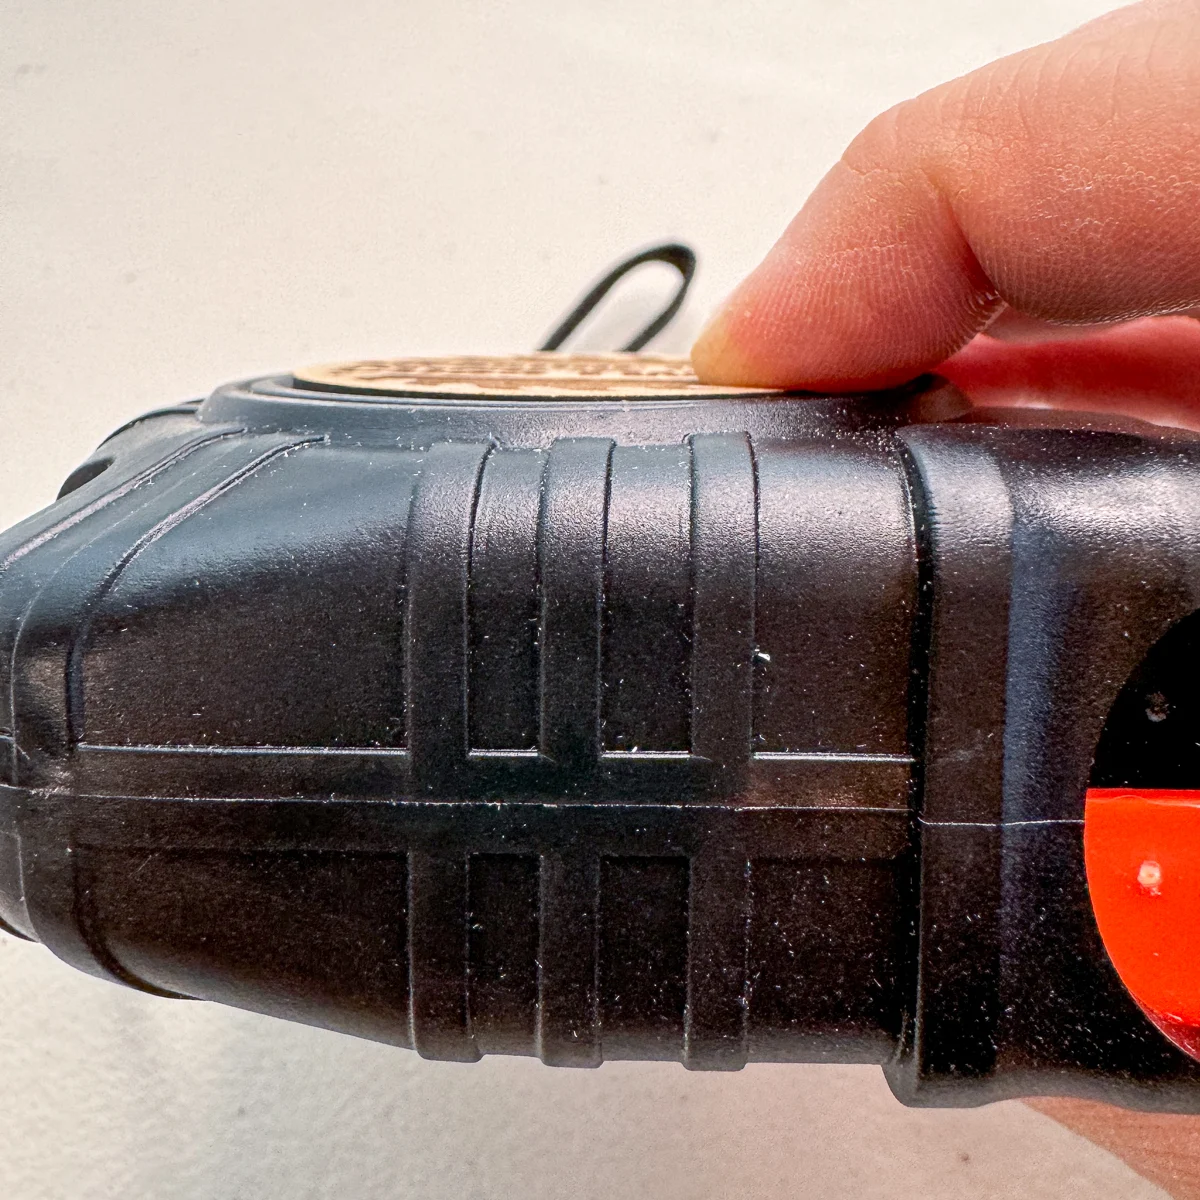
In my search of the Maker Shed for thinner material, I also unearthed a stack of laserable leatherette that I bought as a bundle from Houston Acrylic months ago. This stuff is so cool, and I can't believe I haven't used it yet!
It has two layers of colors on top of laser safe leatherette. You engrave away the top layer to allow the bottom color to show through. I decided to go with black with gold engraving for this project, and it turned out awesome!
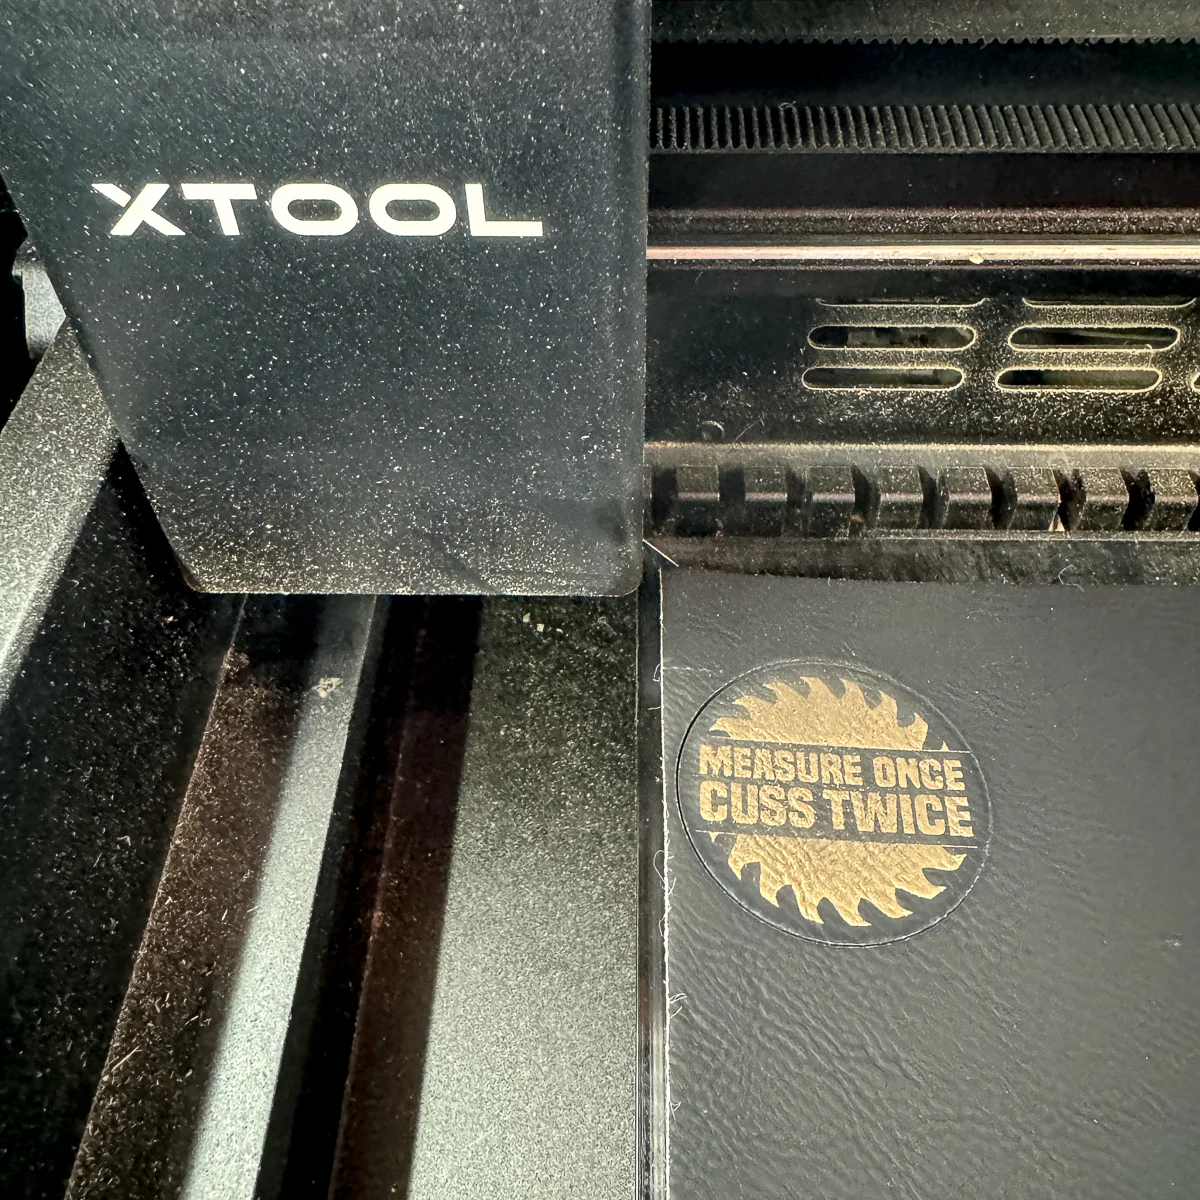
It sits below the surface of the tape measure casing, so it won't catch on anything and pop off. And it looks so nice!
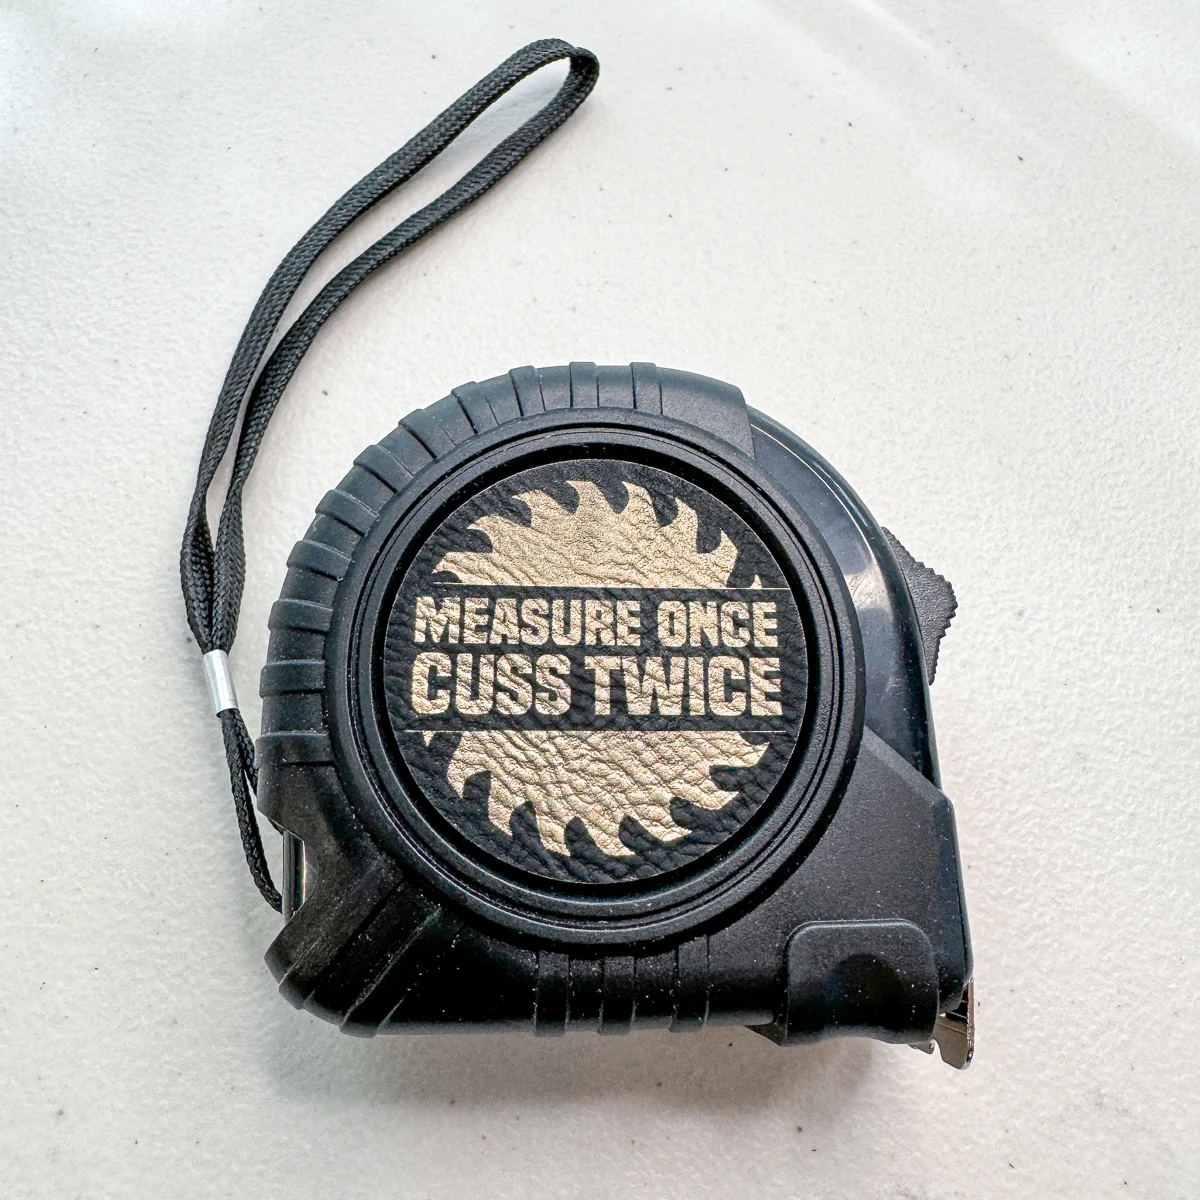
With the tests done, it's time to cut the real thing!
Engrave and cut the leather patch
I recommend running a laser test grid to see what settings work best with your machine first. If you set the power too high or the speed too low, you'll engrave right through both layers and down to the leatherette material below. I accidentally reset the power and ruined the first batch!
I found that 10% power and 500 mm/s worked great for my xTool P2, but yours could be different. I also increased the lines per cm to 200 to make the lettering really crisp.
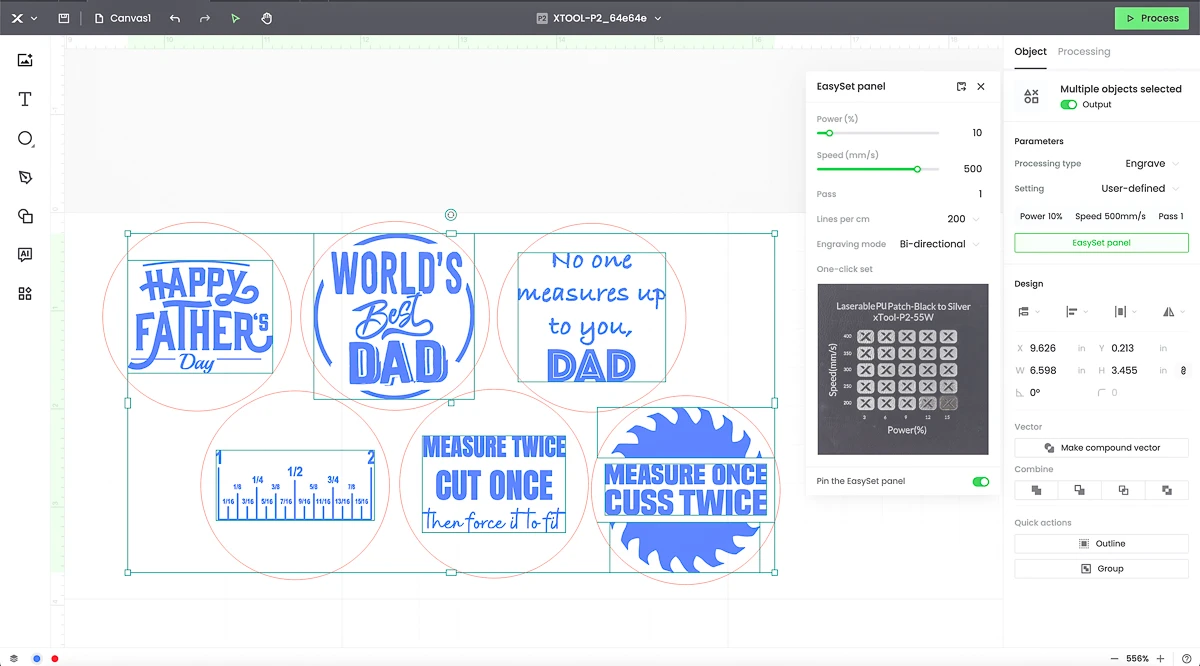
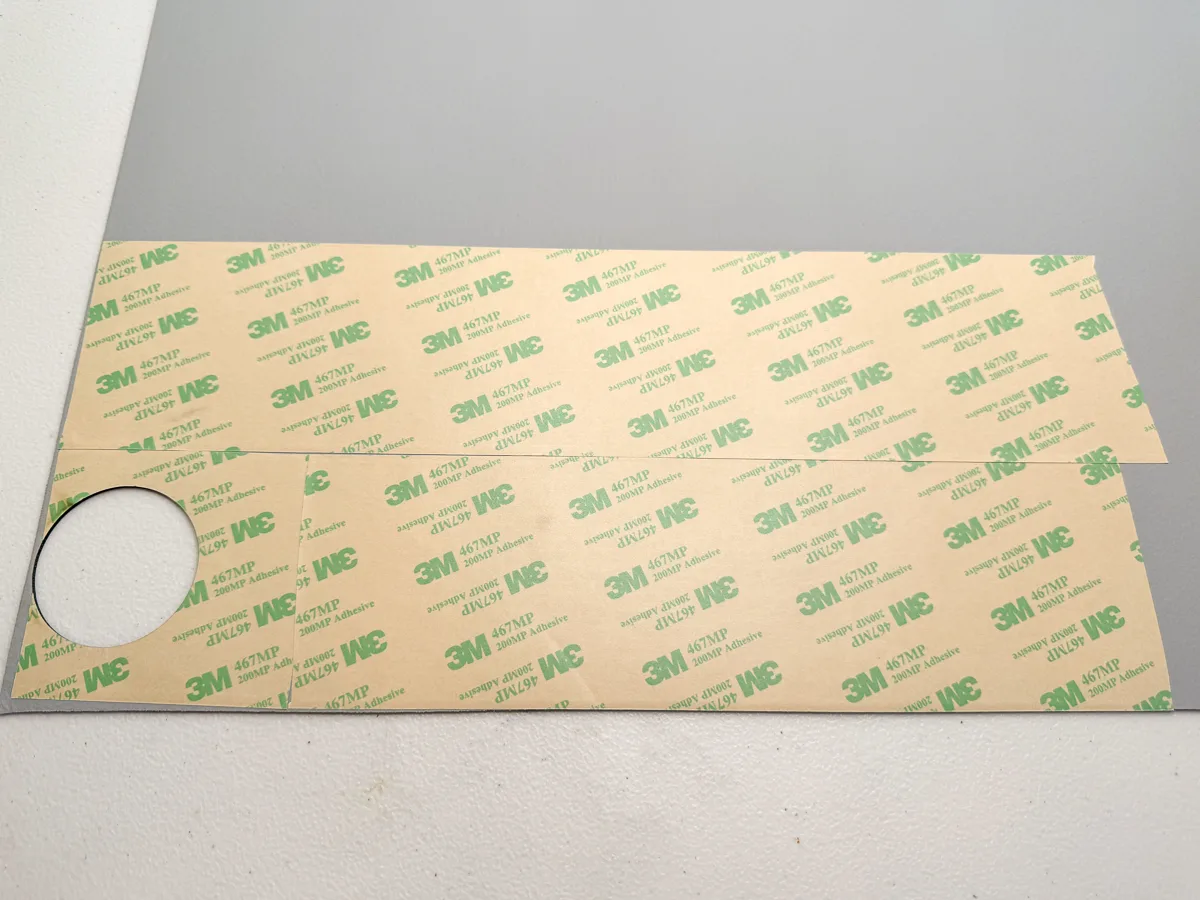
Before you put your final material in the machine, don't forget to put the 3M adhesive on the back. This stuff has a super strong bond once you apply pressure, so it won't come off accidentally.
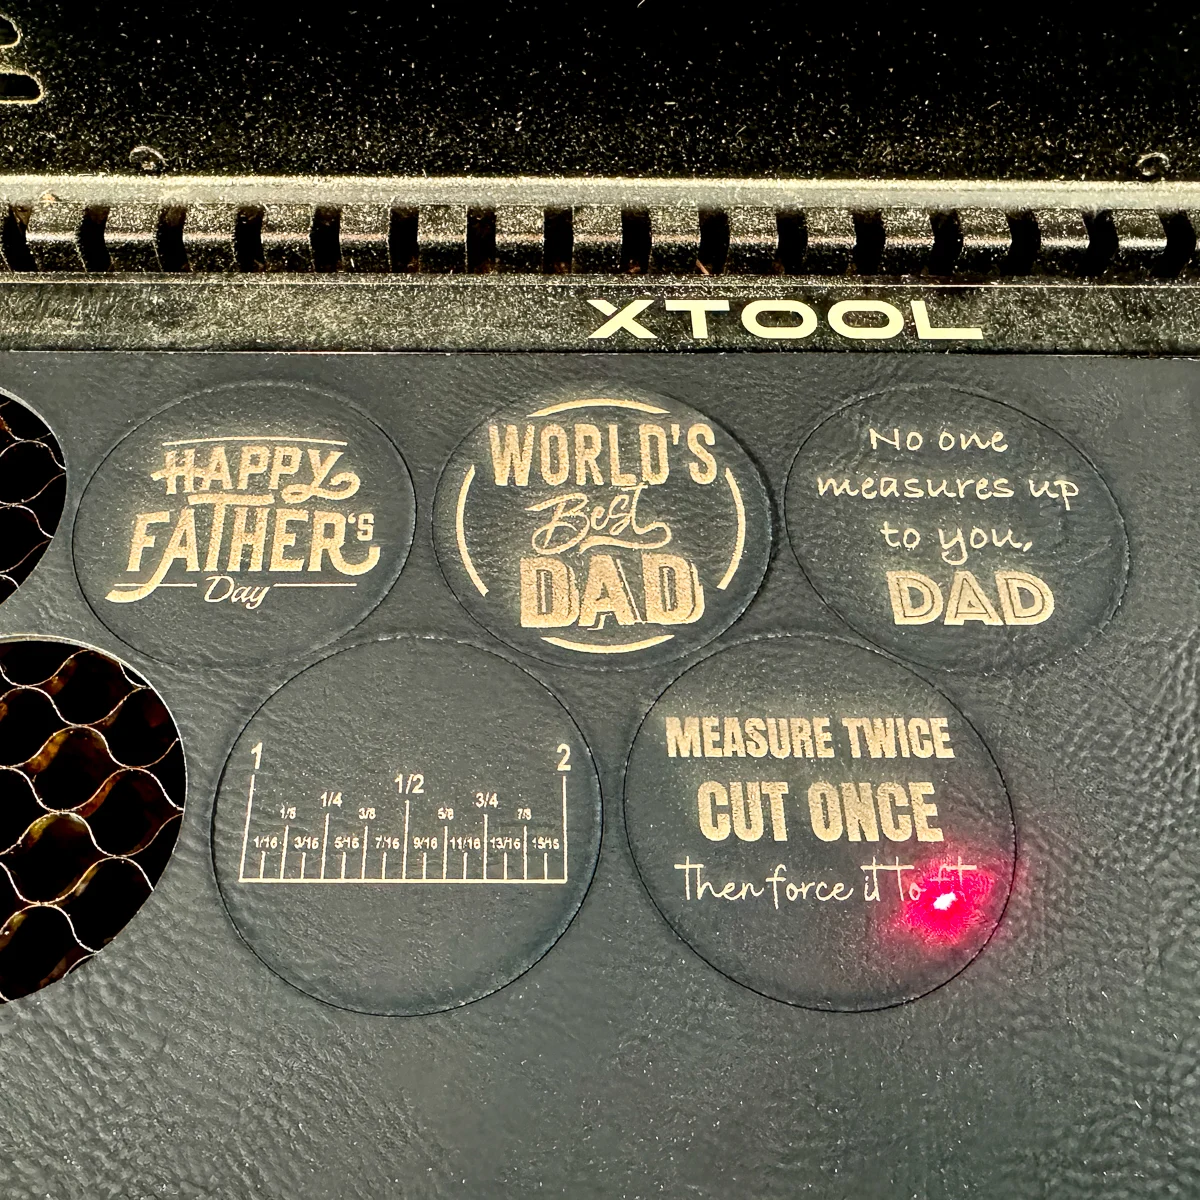
Once I got the settings right, it only took a few minutes to cut and engrave the tape measure patches. Much better!
Clean up and assembly
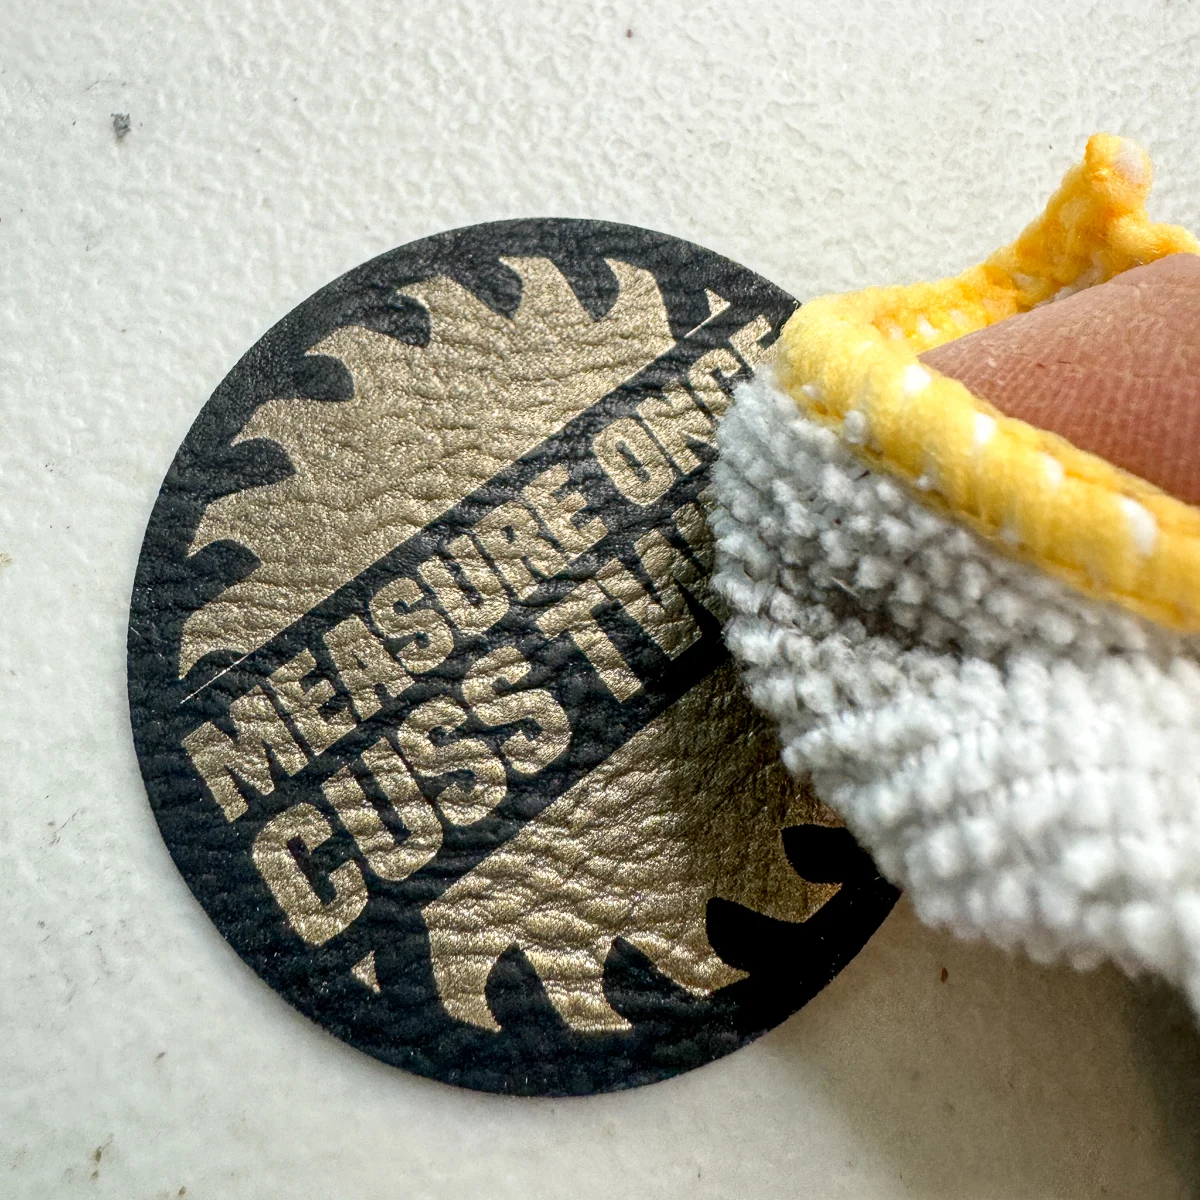
You might have some black or gold residue on the surface after engraving. I found that a microfiber cloth helps pull it away rather than smearing it around. A Magic Eraser also works, but don't rub too hard or it will remove some of the black coating on the leatherette.
Then all you need to do is peel off the backing and stick it into place!
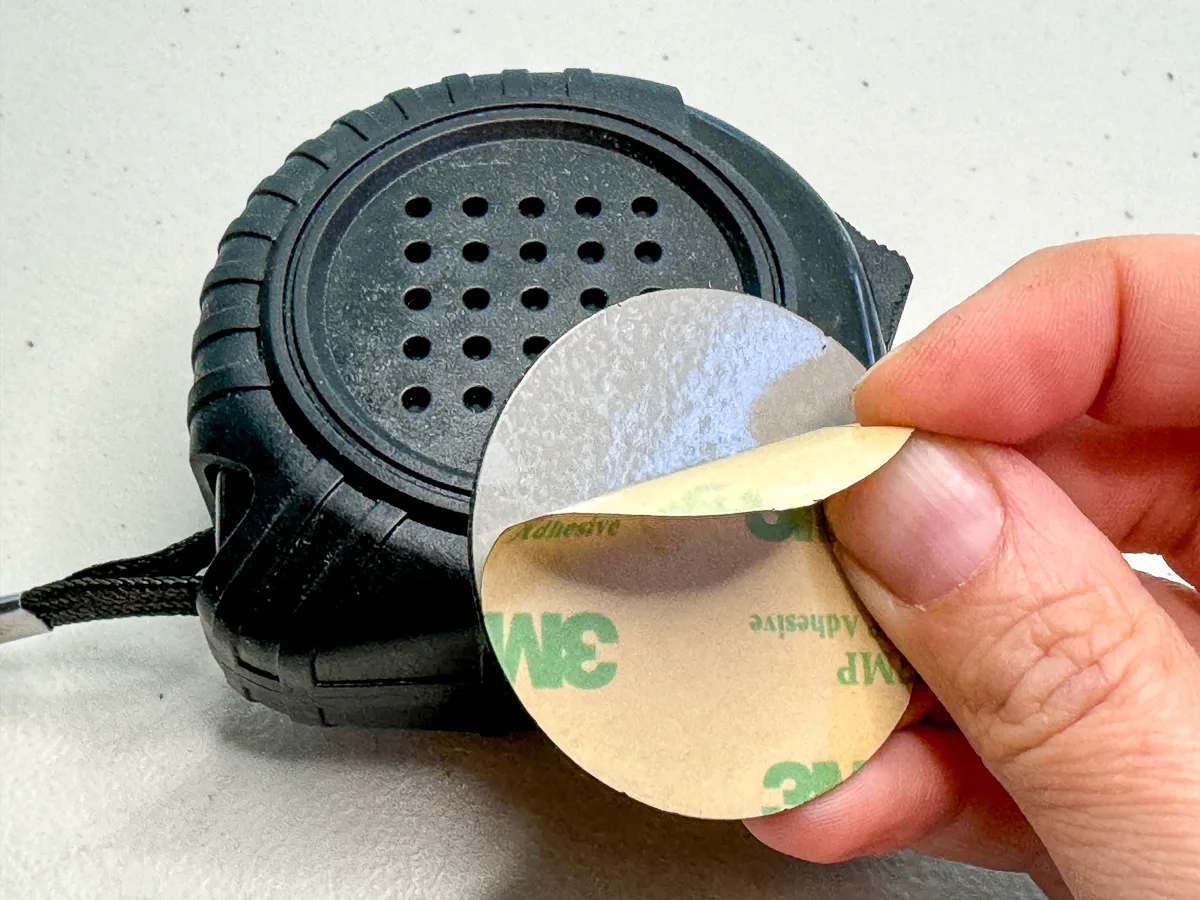
Double check that the lettering is straight and the patch is centered before applying pressure to activate the adhesive. Then you're done!
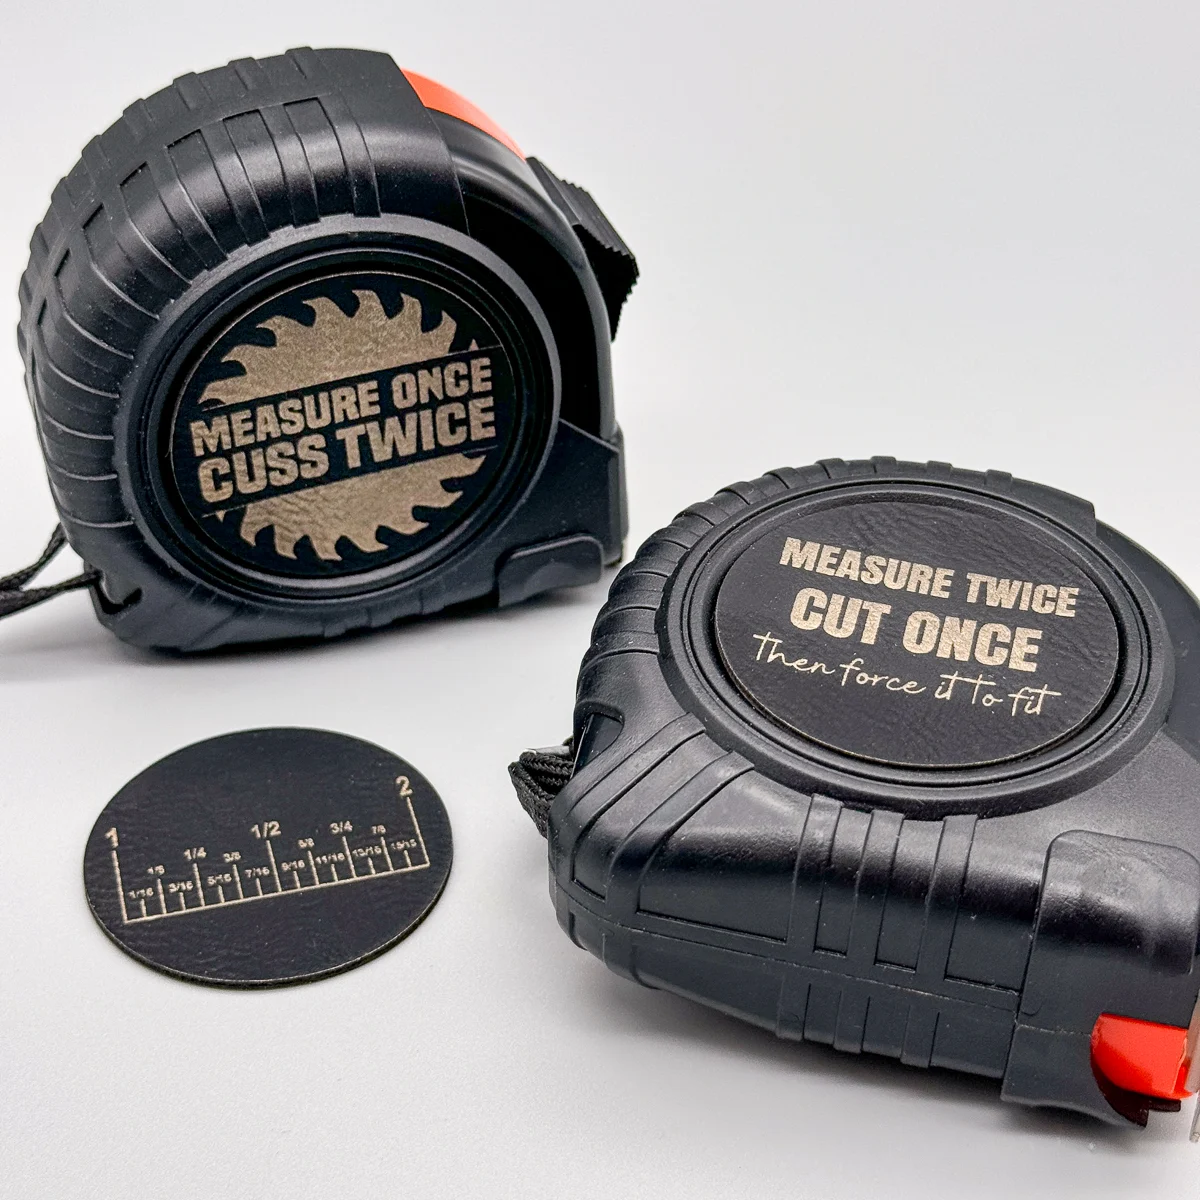
The enlarged fractions of an inch patch is perfect for those of you who struggle to read a tape measure. I know I'll refer to it every once in a while myself! I left some space at the top and bottom so you can add your own sarcastic sayings. 😉
Making a personalized tape measure for dad is so easy, and is the perfect gift for Father's Day!
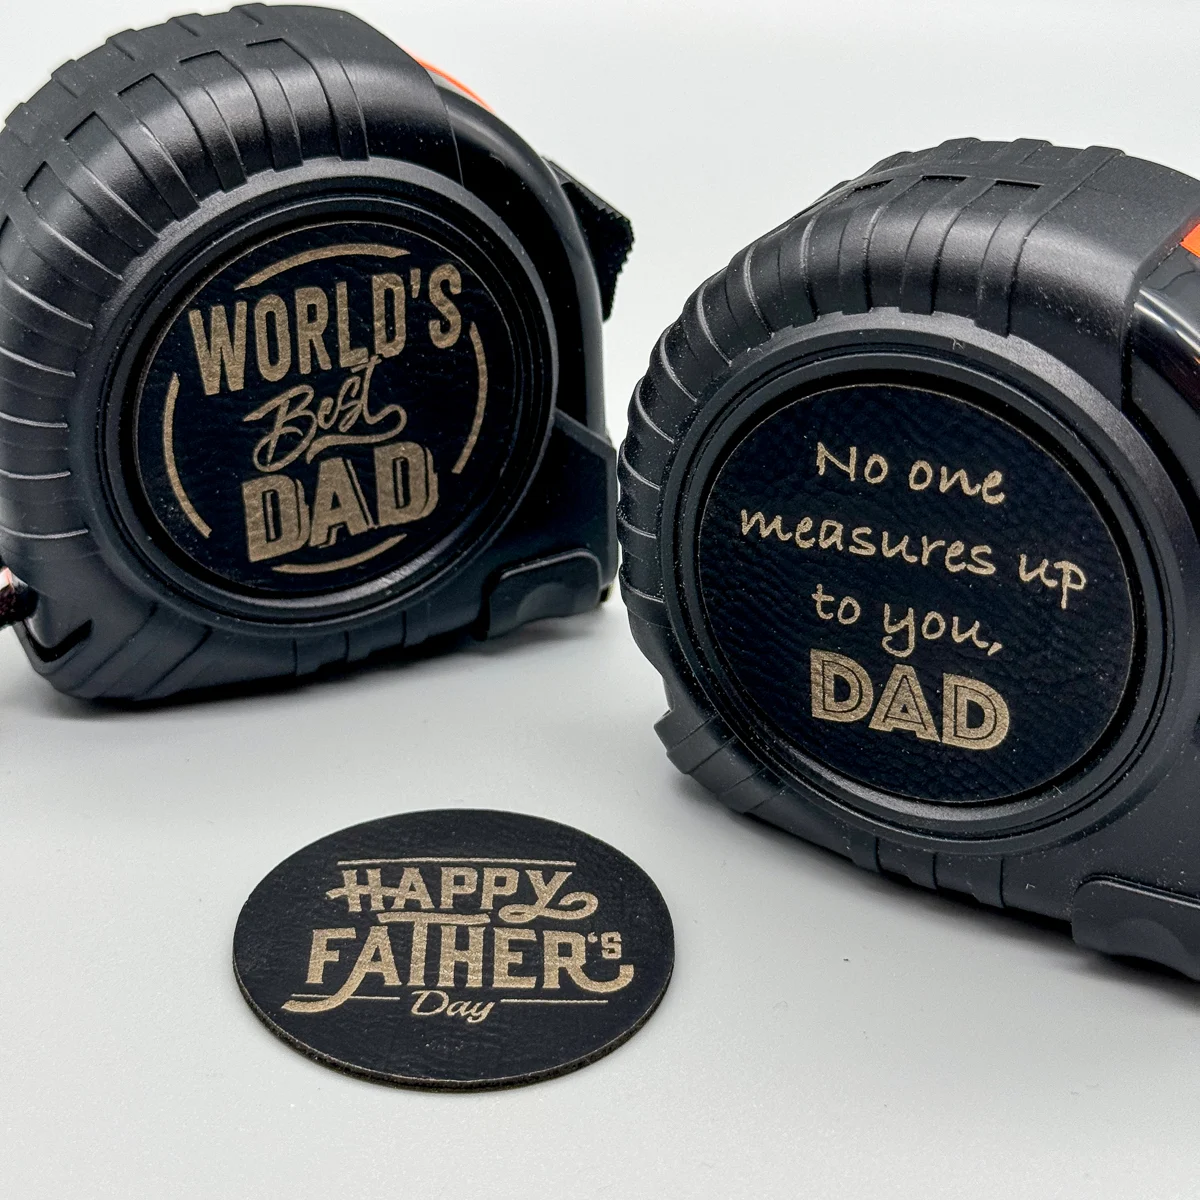
These would be perfect for a carpenter or woodworker in a shared workshop who always loses their measuring tape. Just slap on a patch with their name on it so it never goes missing again!
Want to make your own? Download the files over in my Etsy shop! You can find the Father's Day versions here and the funny ones here.

