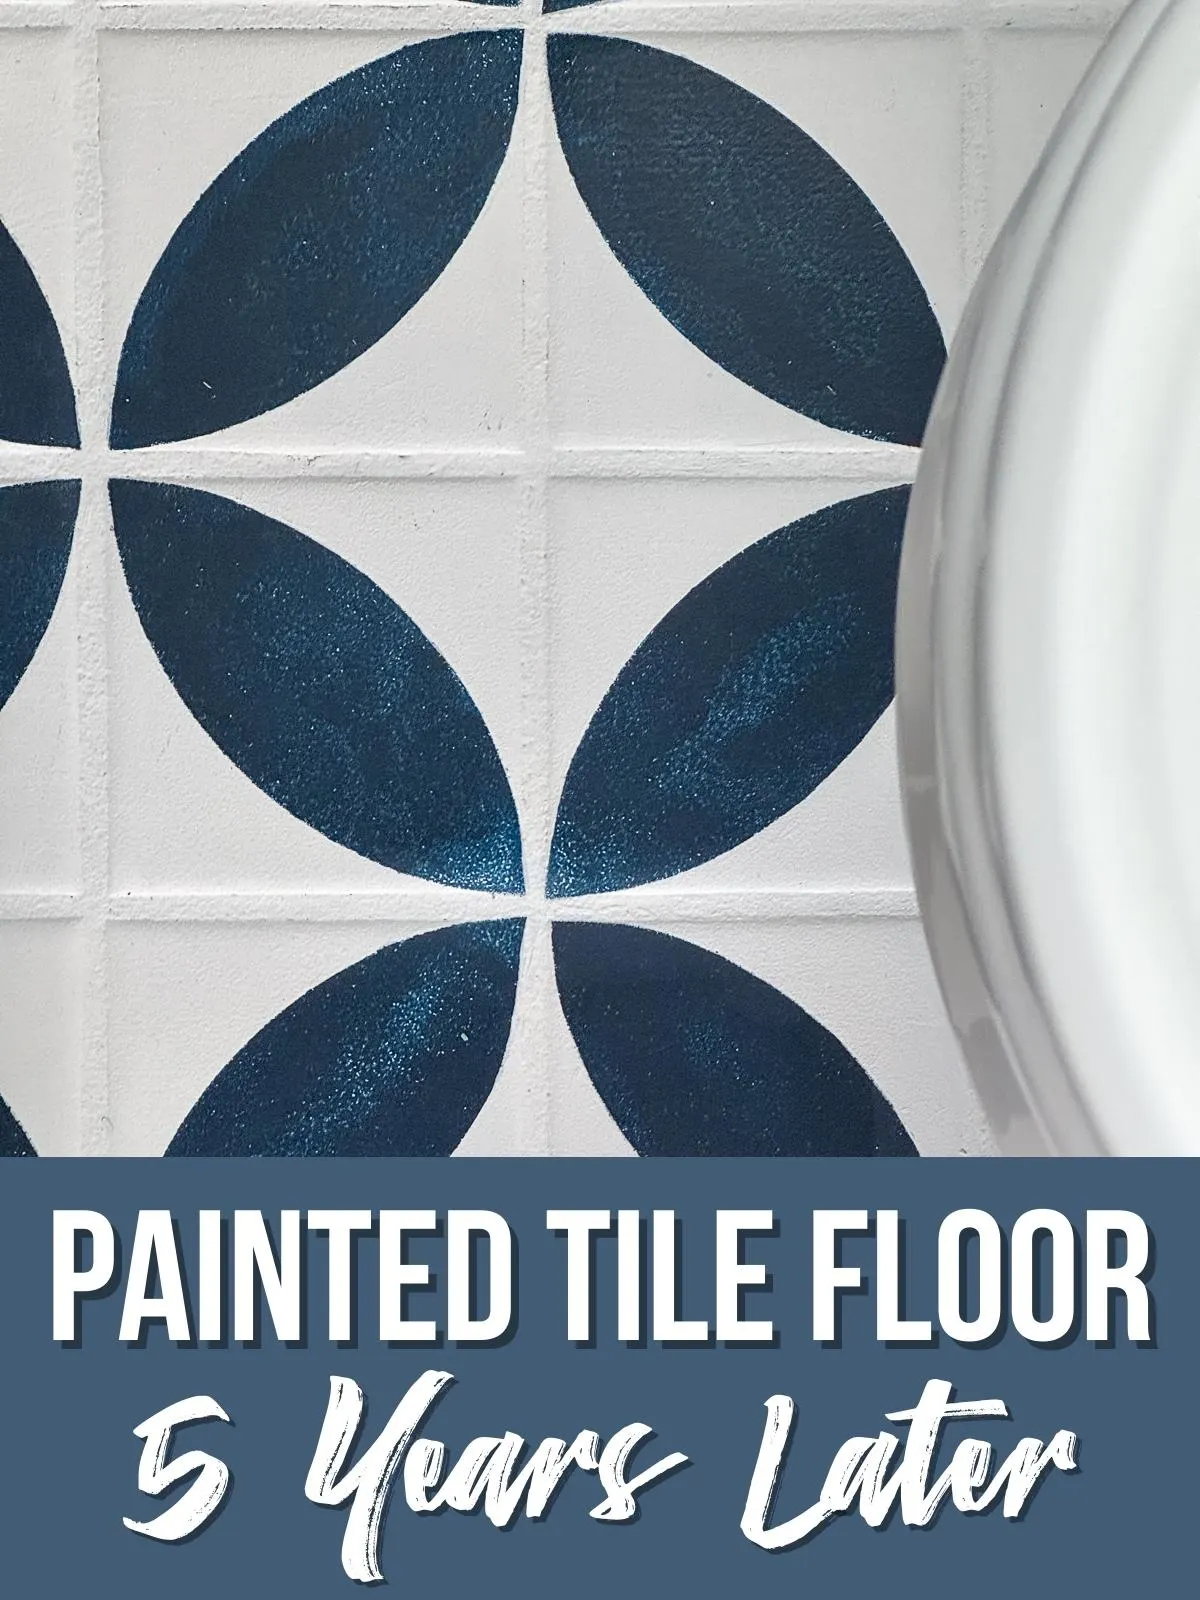
Want to know how my painted tile floor held up over the last 5 years? I'll share the good (and the bad) and whether I'd do it all again!
Back in October 2018, I decided to give our upstairs half bathroom a makeover. It's a tiny space that felt even smaller, thanks to the dark wallpaper and wood.
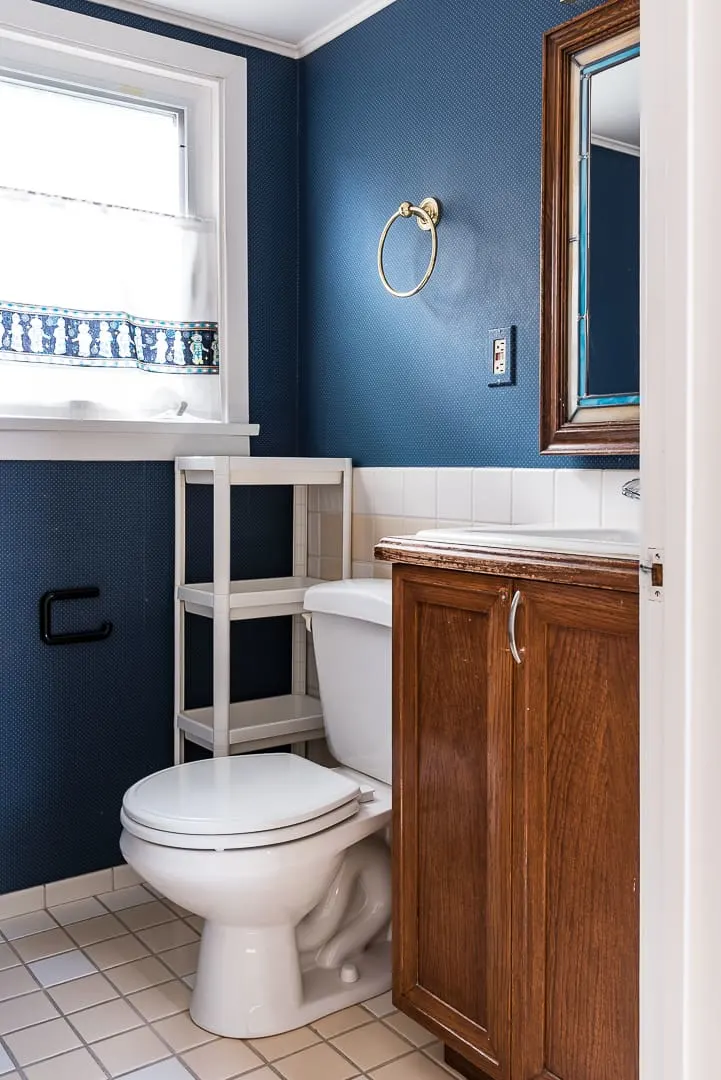
Back then, this bathroom wasn't used much, so I didn't want to spent a lot of time and money fixing it up. I removed the wallpaper and installed vertical subway tile on the back wall in its place.
But the floor was in good shape, so I decided to paint the tile with a stencil instead of ripping it out. It turned out great, but I wondered whether I had made the right decision in the long term.
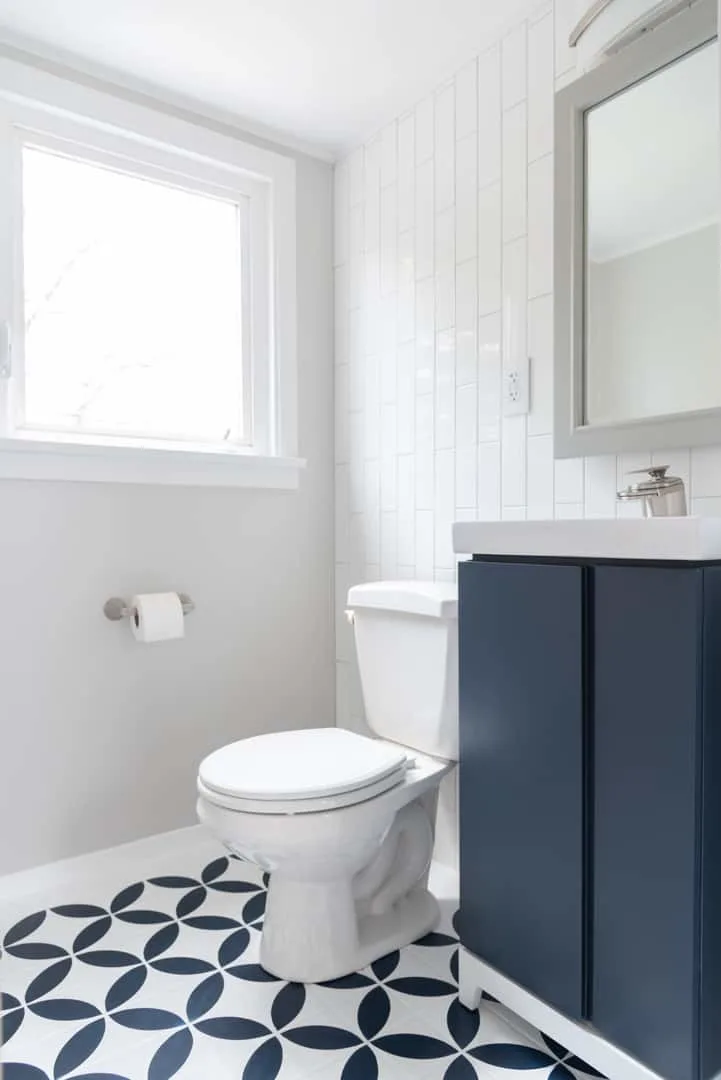
In 2020, our son moved his bedroom upstairs so my husband could have his smaller room as an office while he worked from home. This new arrangement worked out great, but now this bathroom would be used by a teenage boy on a daily basis.
Would I regret painting the bathroom tile? Only time would tell!
This post contains affiliate links for your convenience. Purchases made through these links may earn me a small commission at no additional cost to you. Please visit my disclosures page for more information.
How did the painted bathroom tile hold up?
It's been three years since my son moved upstairs, and five years since I painted the tile floors. Here's how they look now!
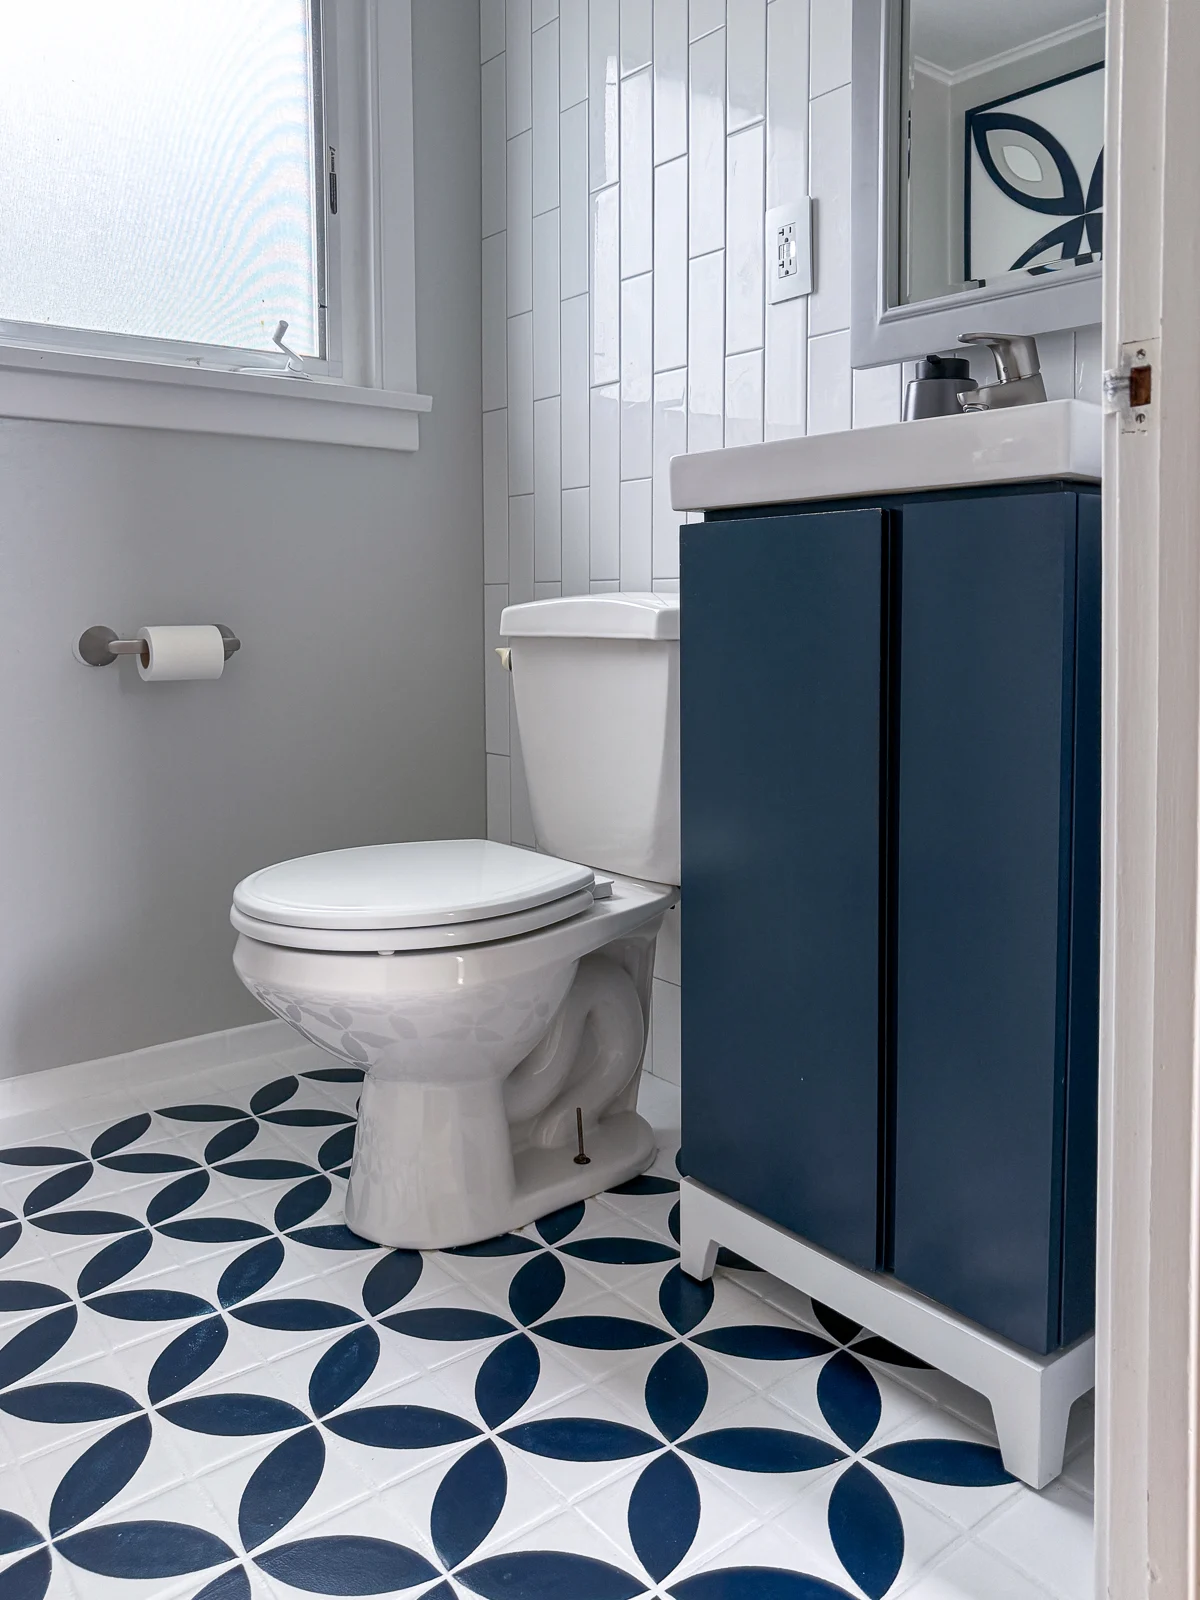
Looks basically the same, right? There's no peeling or chipping of paint anywhere you can see! But let's get down on the floor for a closer look.
Entryway
Here's the entry to the bathroom where it meets the carpeted hallway. There's a bunch of scuff marks from shoes, but the paint itself held up great! Remember that the tile underneath is peachy-beige, so these marks are on the surface of the paint, not scratches showing the tile underneath.
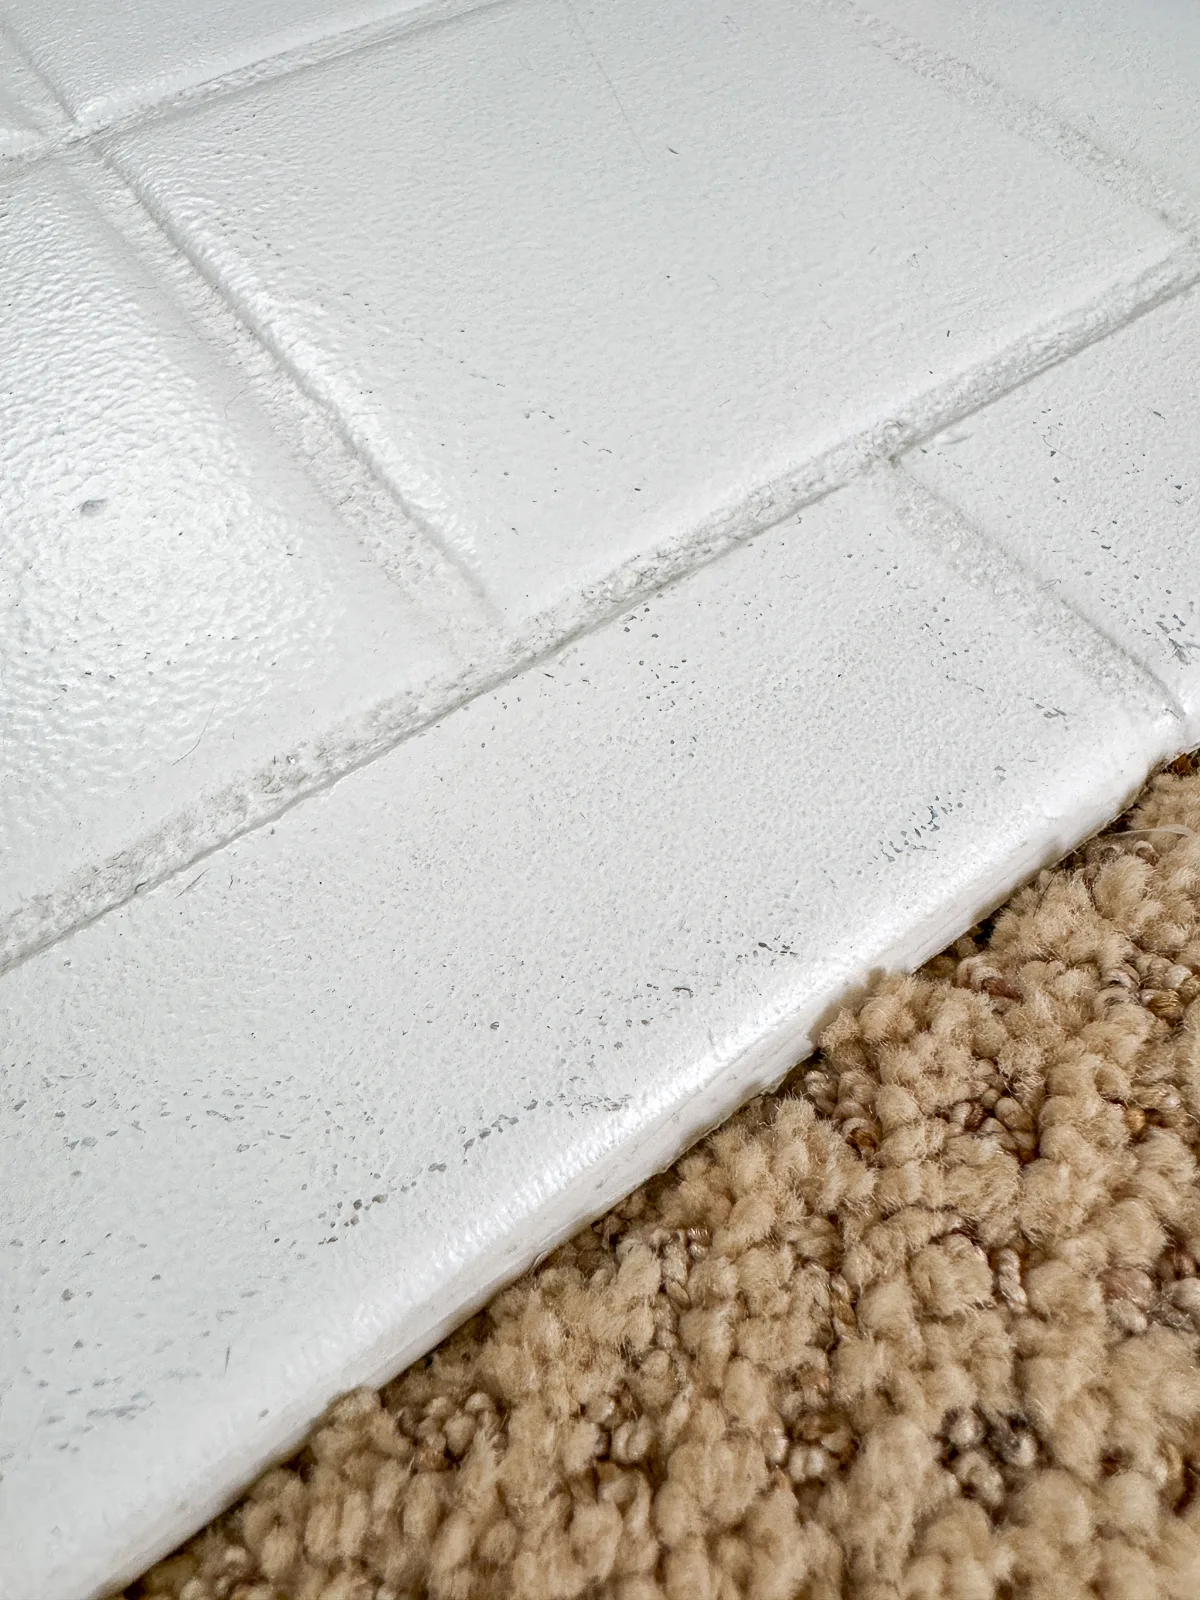
Luckily, just a quick scrub with a Magic Eraser made all the scuffs disappear!
In front of the sink
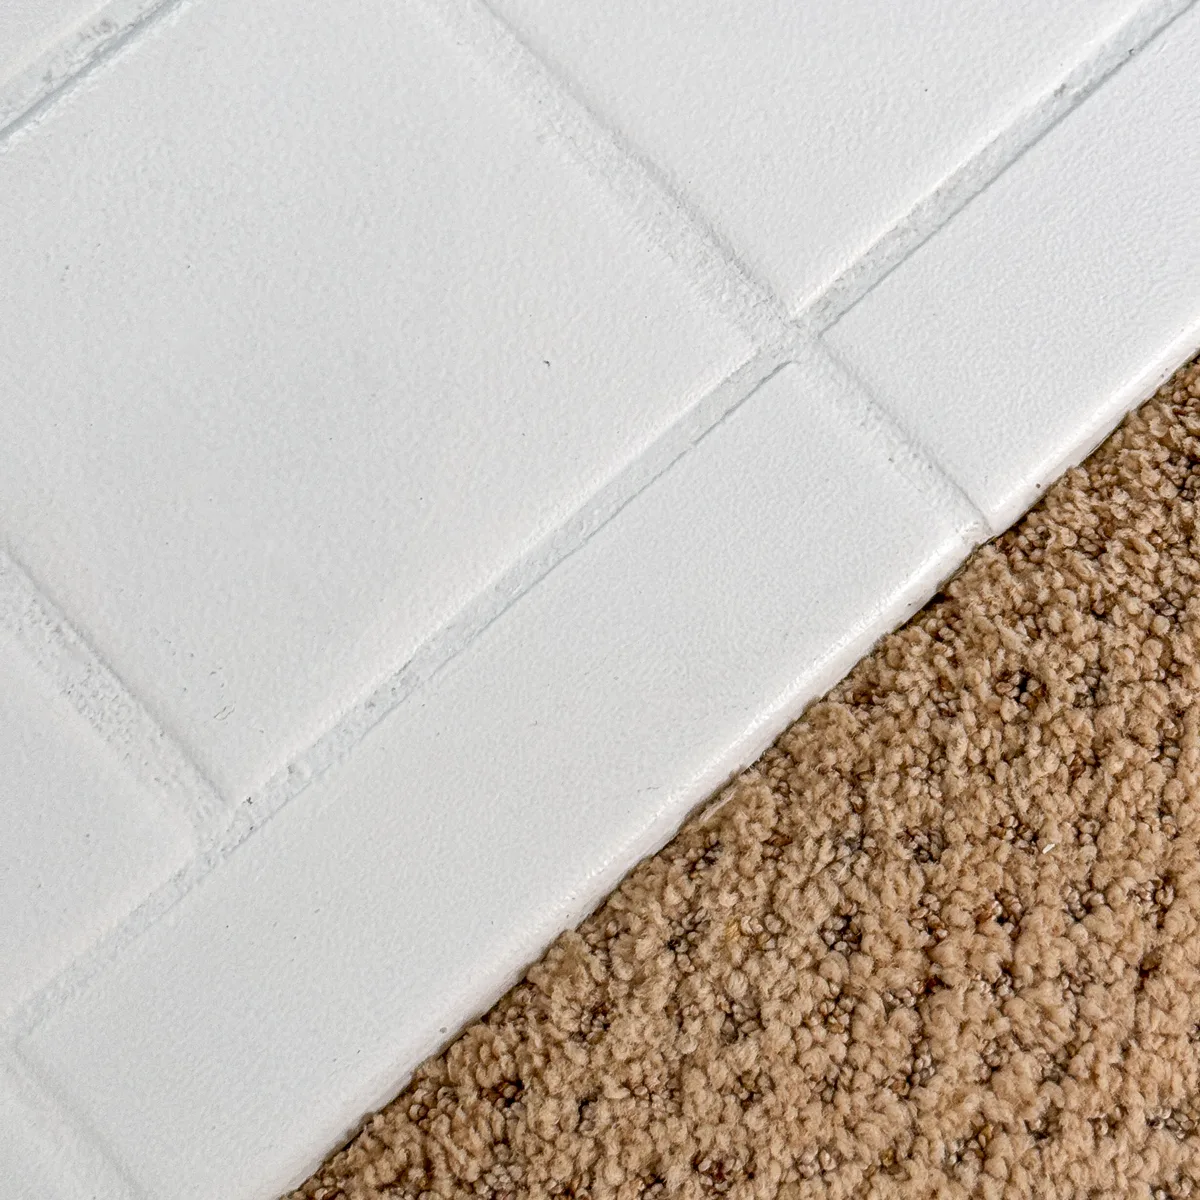
Next, let's check out the area in front of the sink and mirror. I'm surprised to say that the painted tile floor has held up better than the edge of the vanity door above it! I need to add a handle to that door so the damage doesn't get any worse...
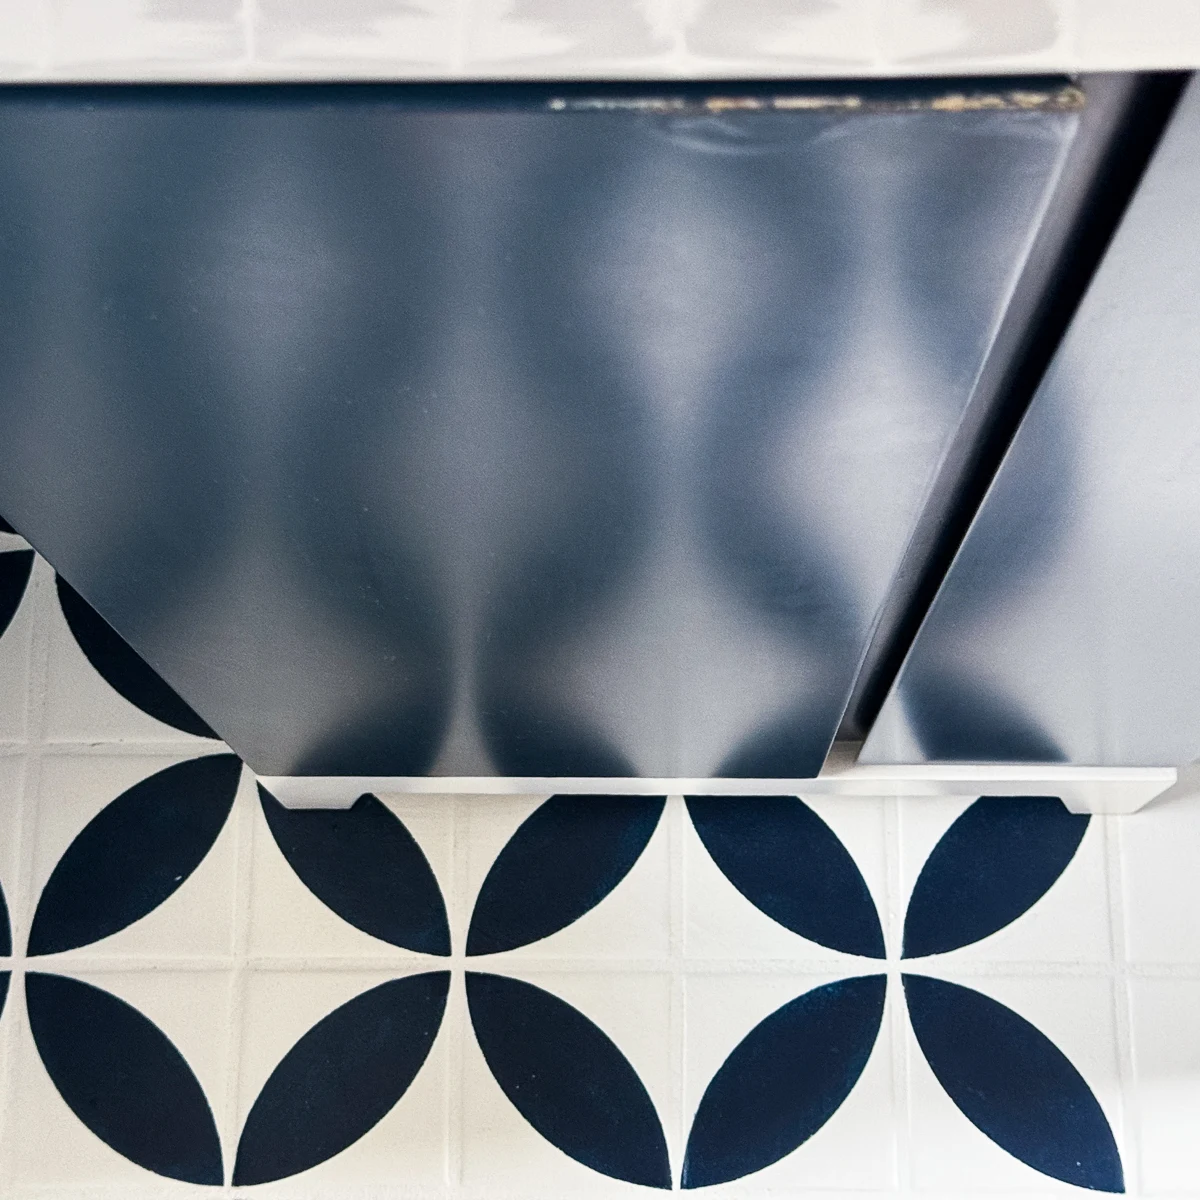
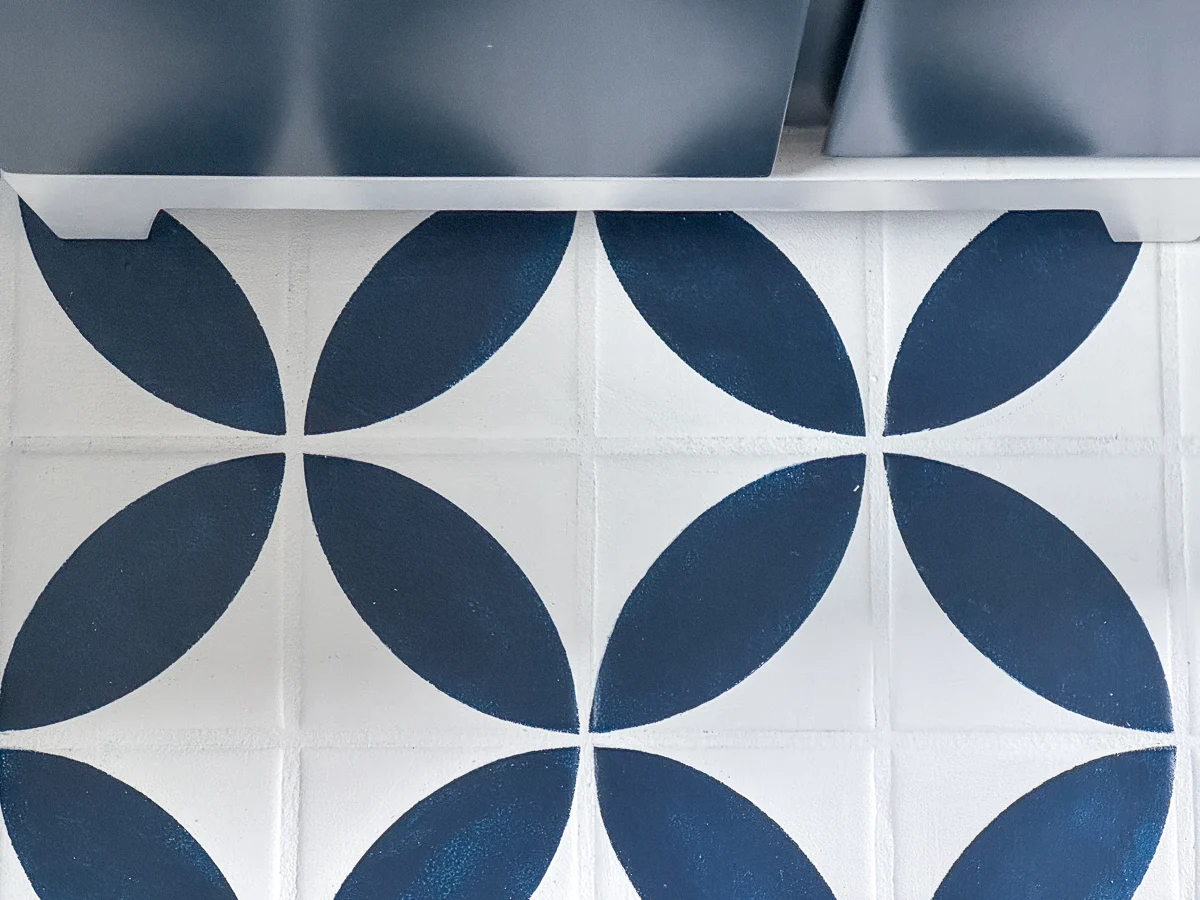
You can see a little bit of wear on the dark blue spots when I lighten up the photo, but overall it's not really noticeable.
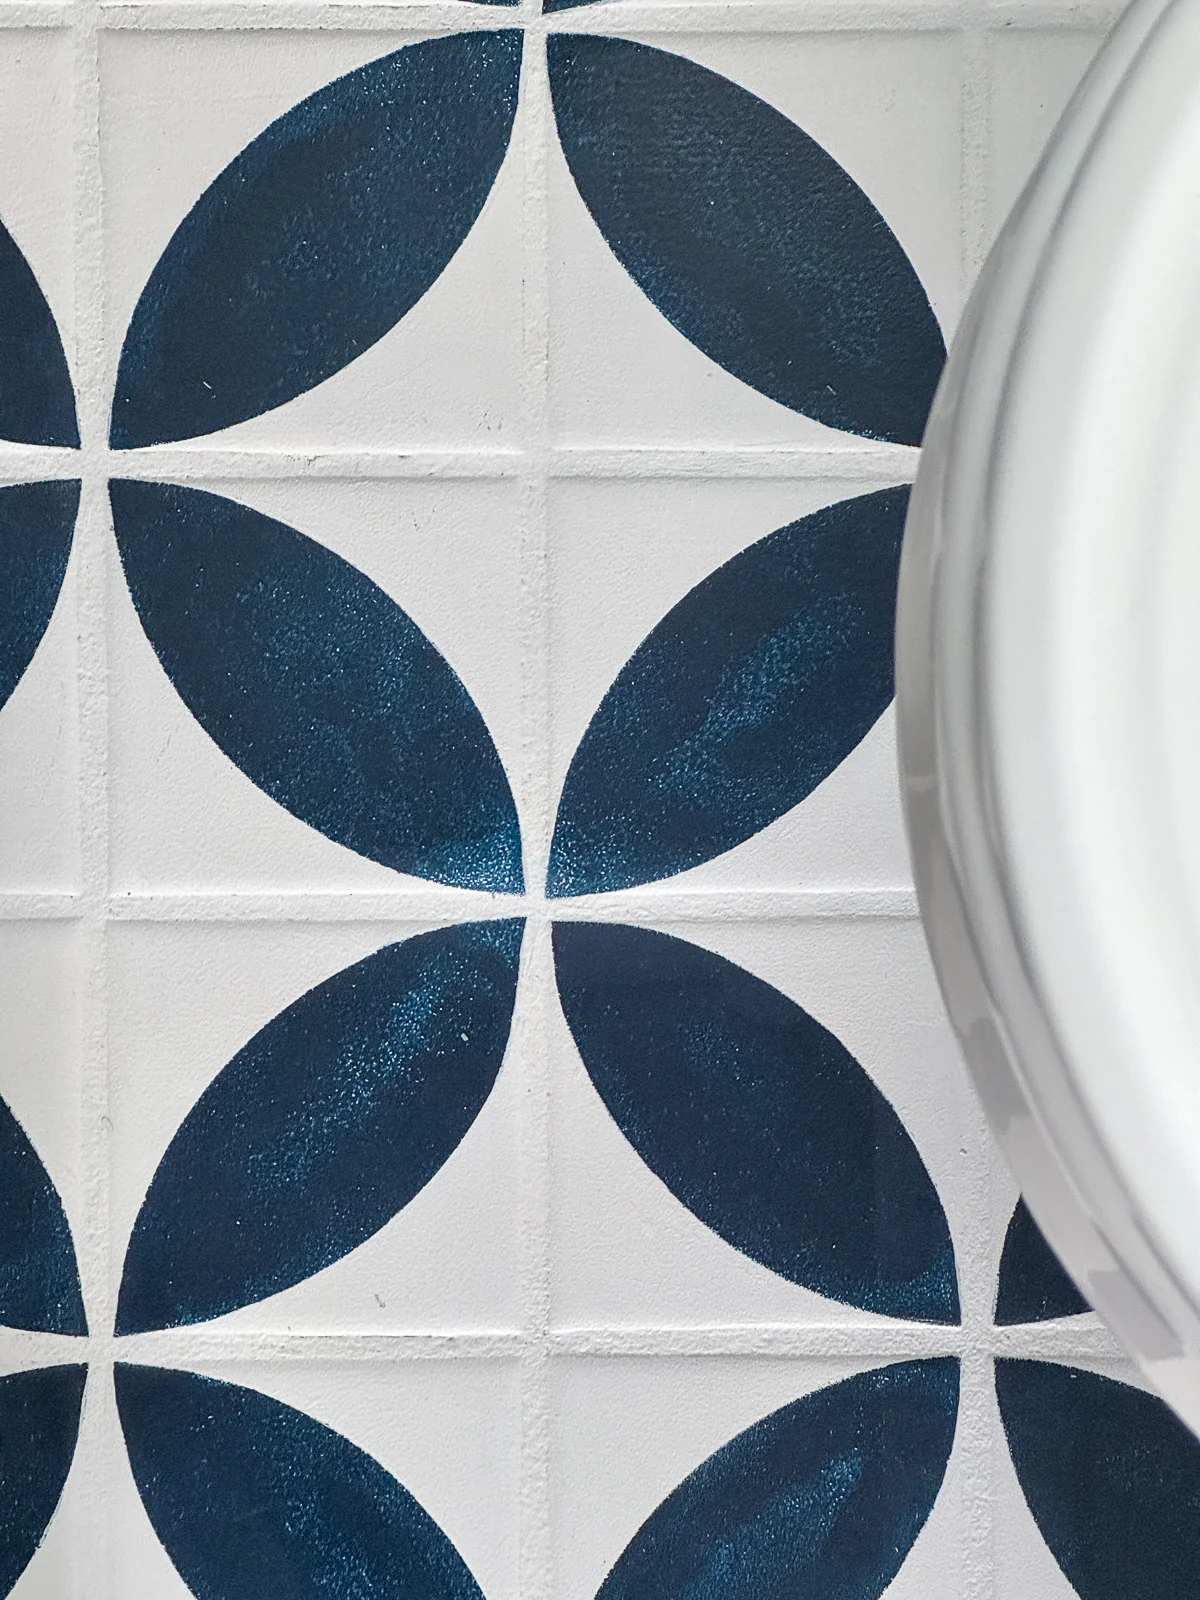
Around the toilet
The real test of durability is the spot in front of the toilet. You can see that the dark blue paint from the stencil is faded and worn a bit, but the surface of the paint is still intact. Nothing a little touch up paint can't fix!
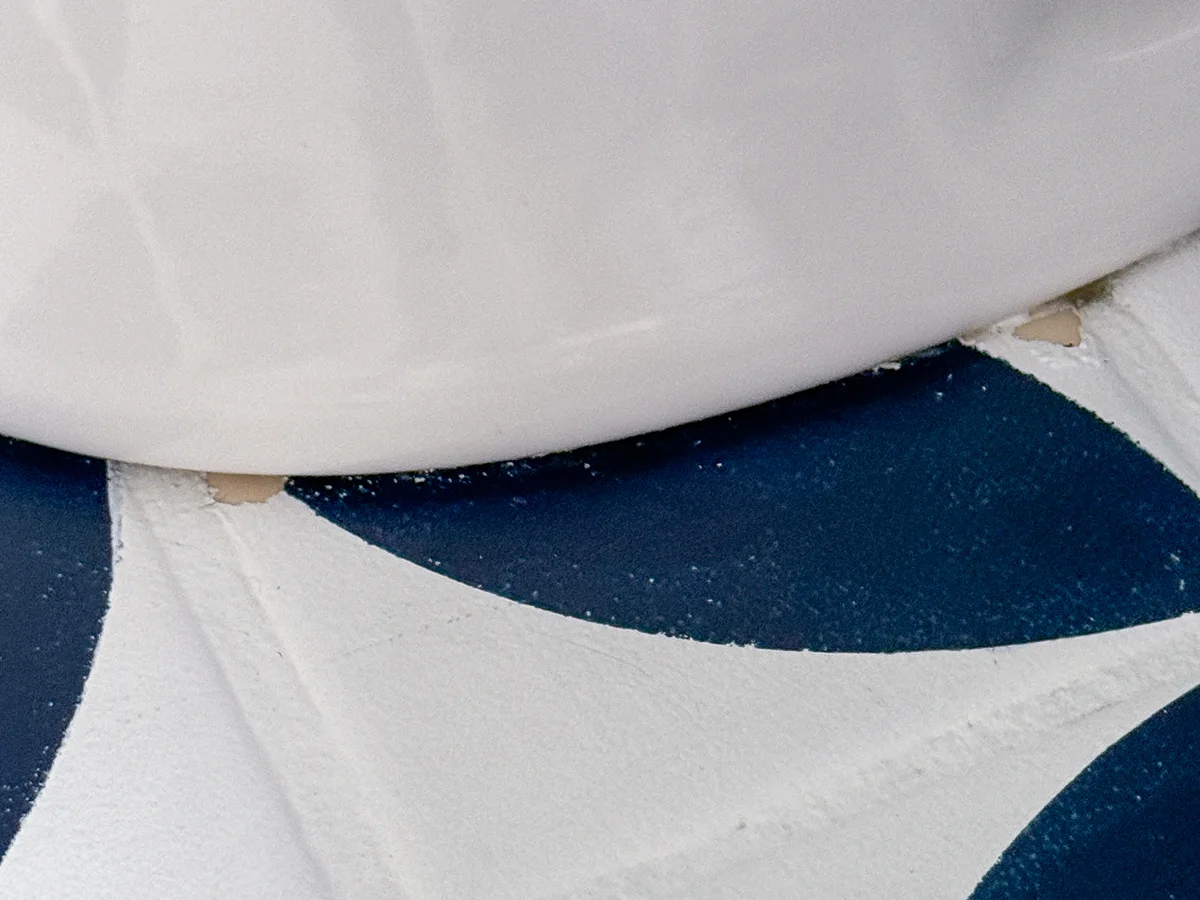
If you look closely, you can see a couple spots where condensation has dripped down the side of the toilet and pooled where it meets the tile. In those areas, the tile is starting to peel away a bit.
In the grout lines
Lots of people asked me if I also painted the grout. Yup! The old grout looked dirty, even after a ton of scrubbing.
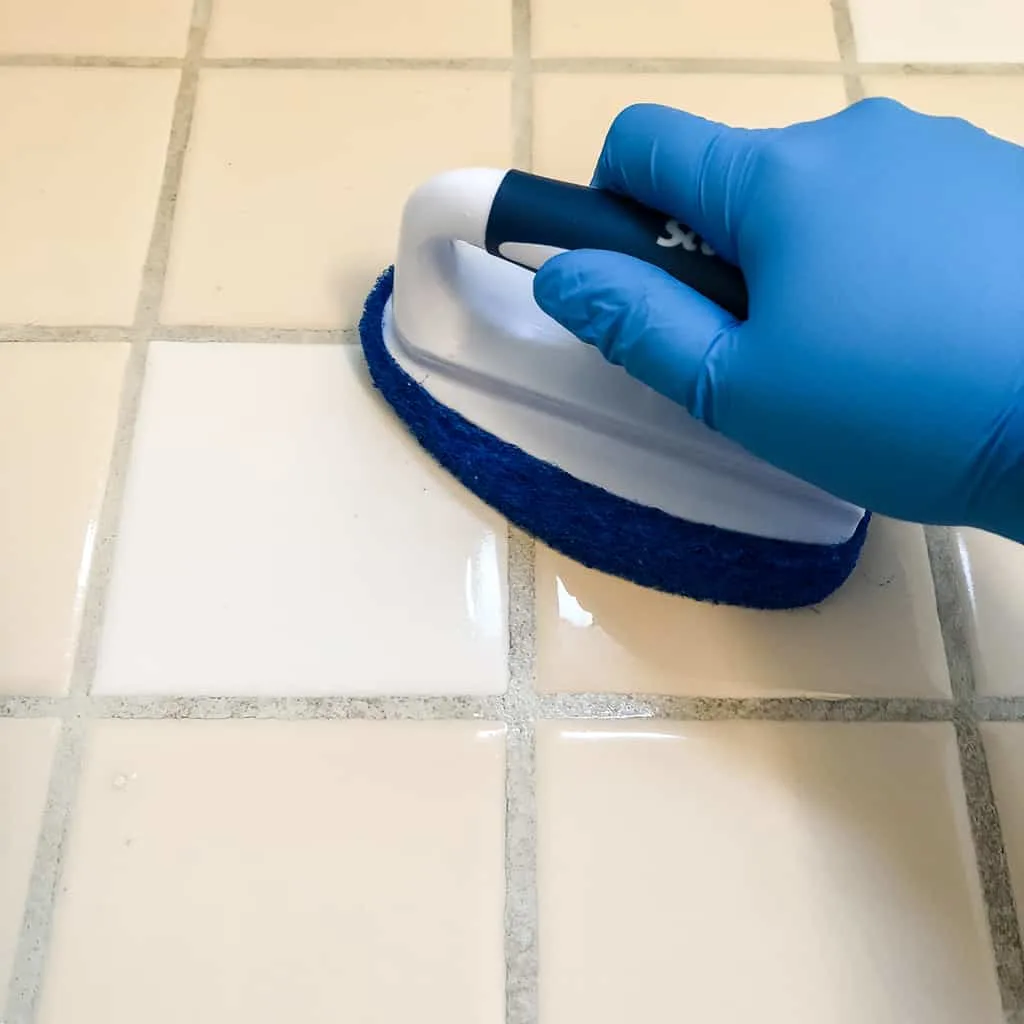
Painting the grout lines was much easier than taping off each tile, and didn't cause any issues. It's actually easier to keep clean, because the paint acts as a sealer!
When I was taking these photos, I noticed a few high traffic areas where the grout was looking a little dirty. These floors were just washed and hadn't been walked on yet, so they should be clean.
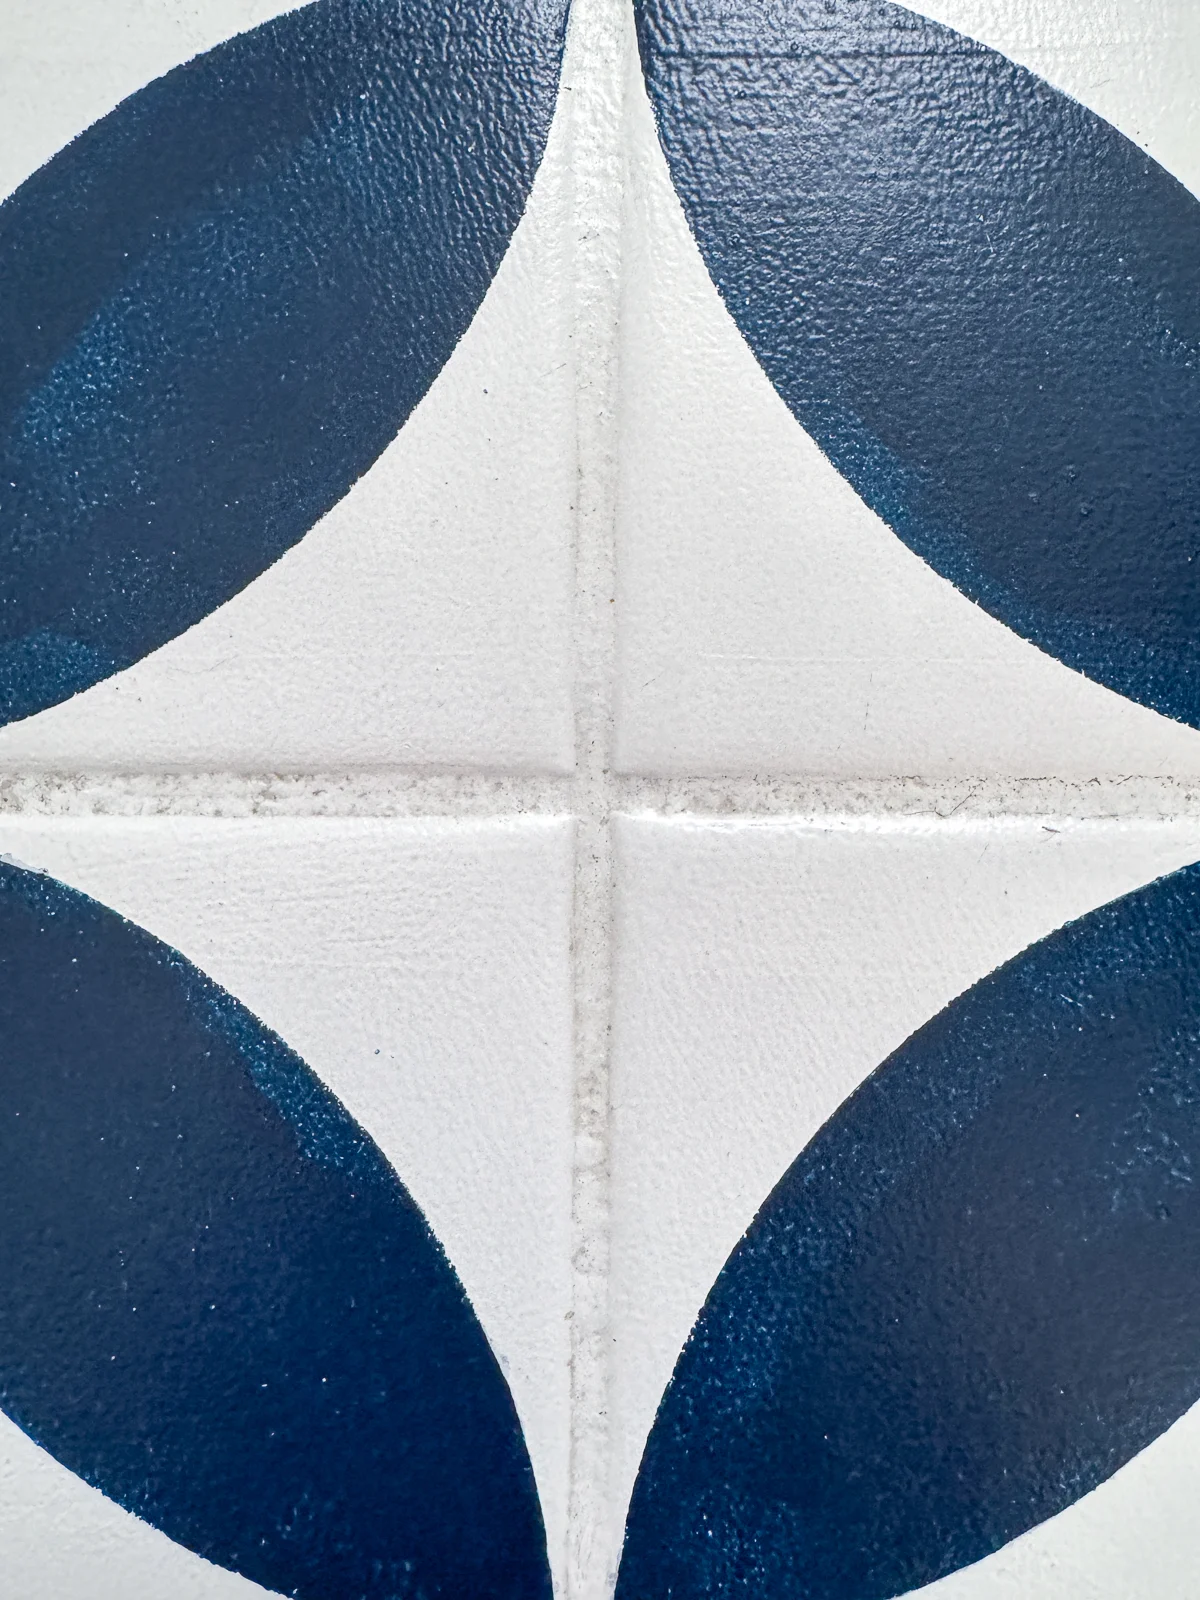
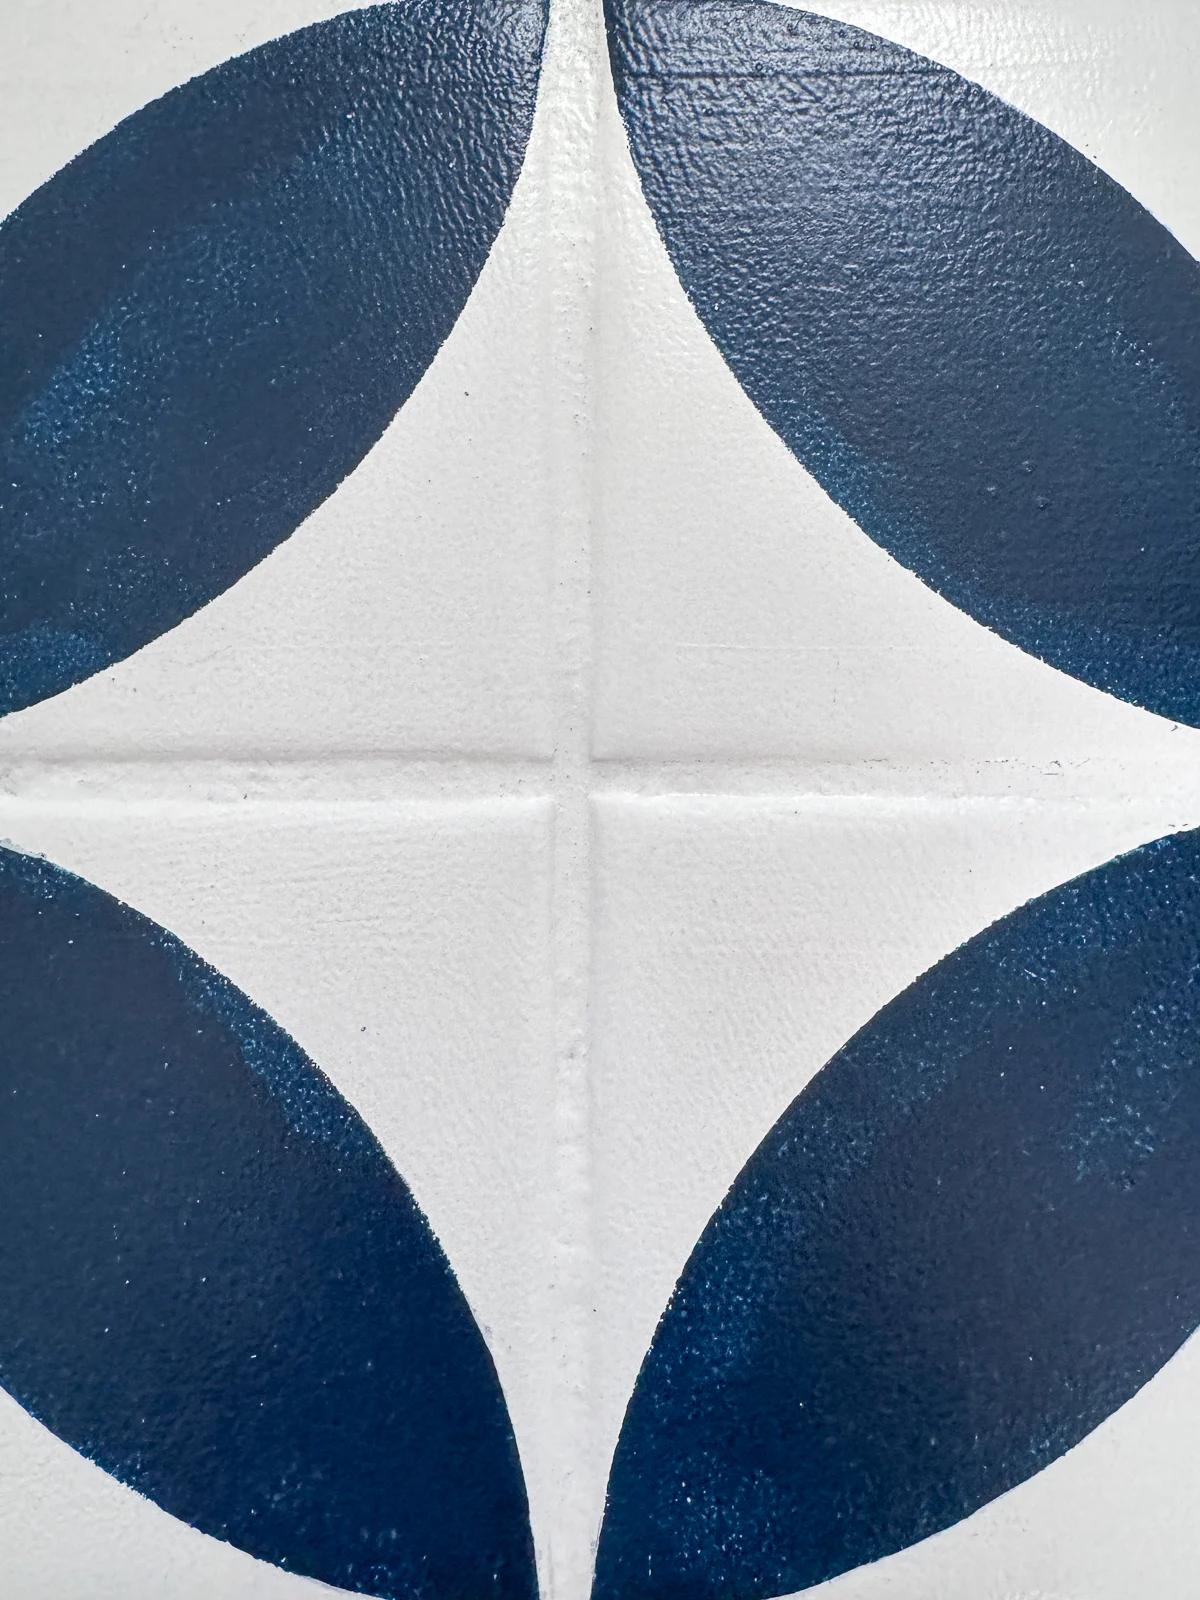
I grabbed the Magic Eraser again and did a quick test...gone! I quickly wiped the rest of the grout lines all over the bathroom and instantly had a cleaner floor!
Under the trash can
Now, I said you couldn't see any chipping or peeling, but that doesn't mean it's not there. For some reason, this spot under the trash can has a little bit of damage to the paint.
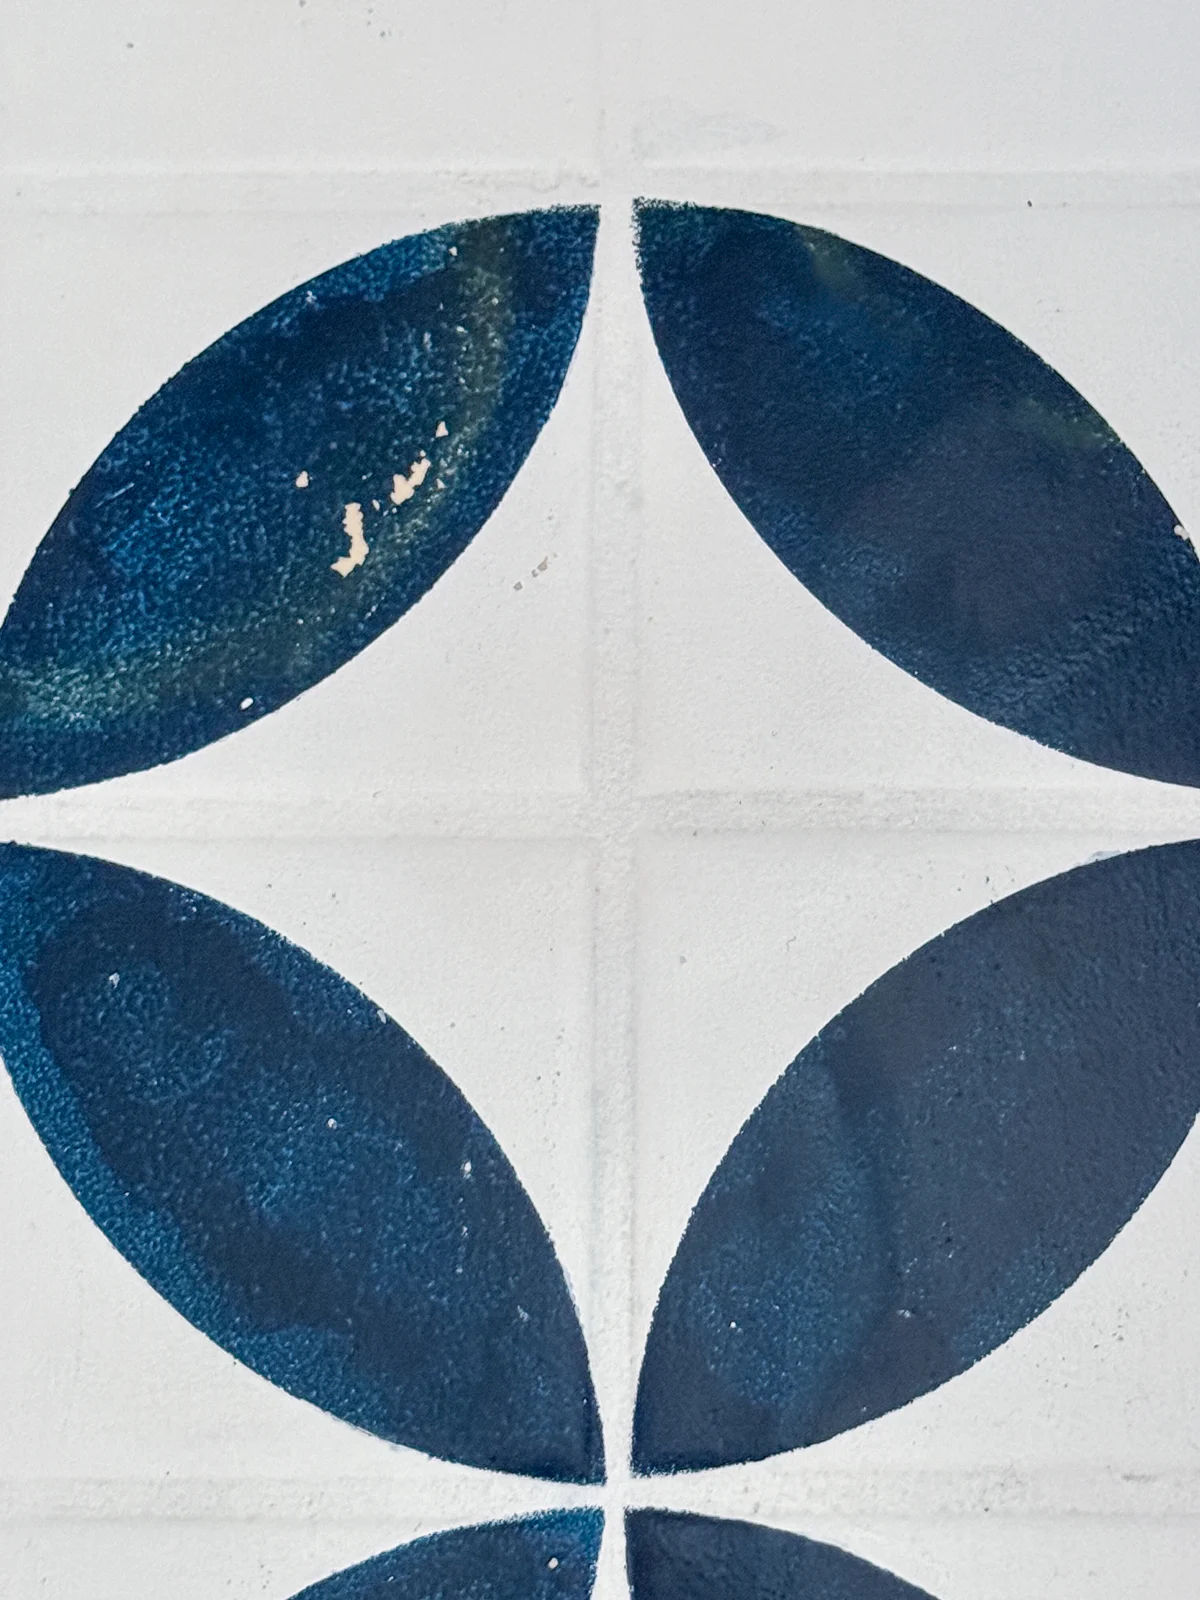
My theory is that when the floor is washed and the trash can is placed on the wet surface, the moisture trapped underneath caused the paint to peel. This issue could have been avoided by waiting until the floor is dry before putting the trash can back in its spot.
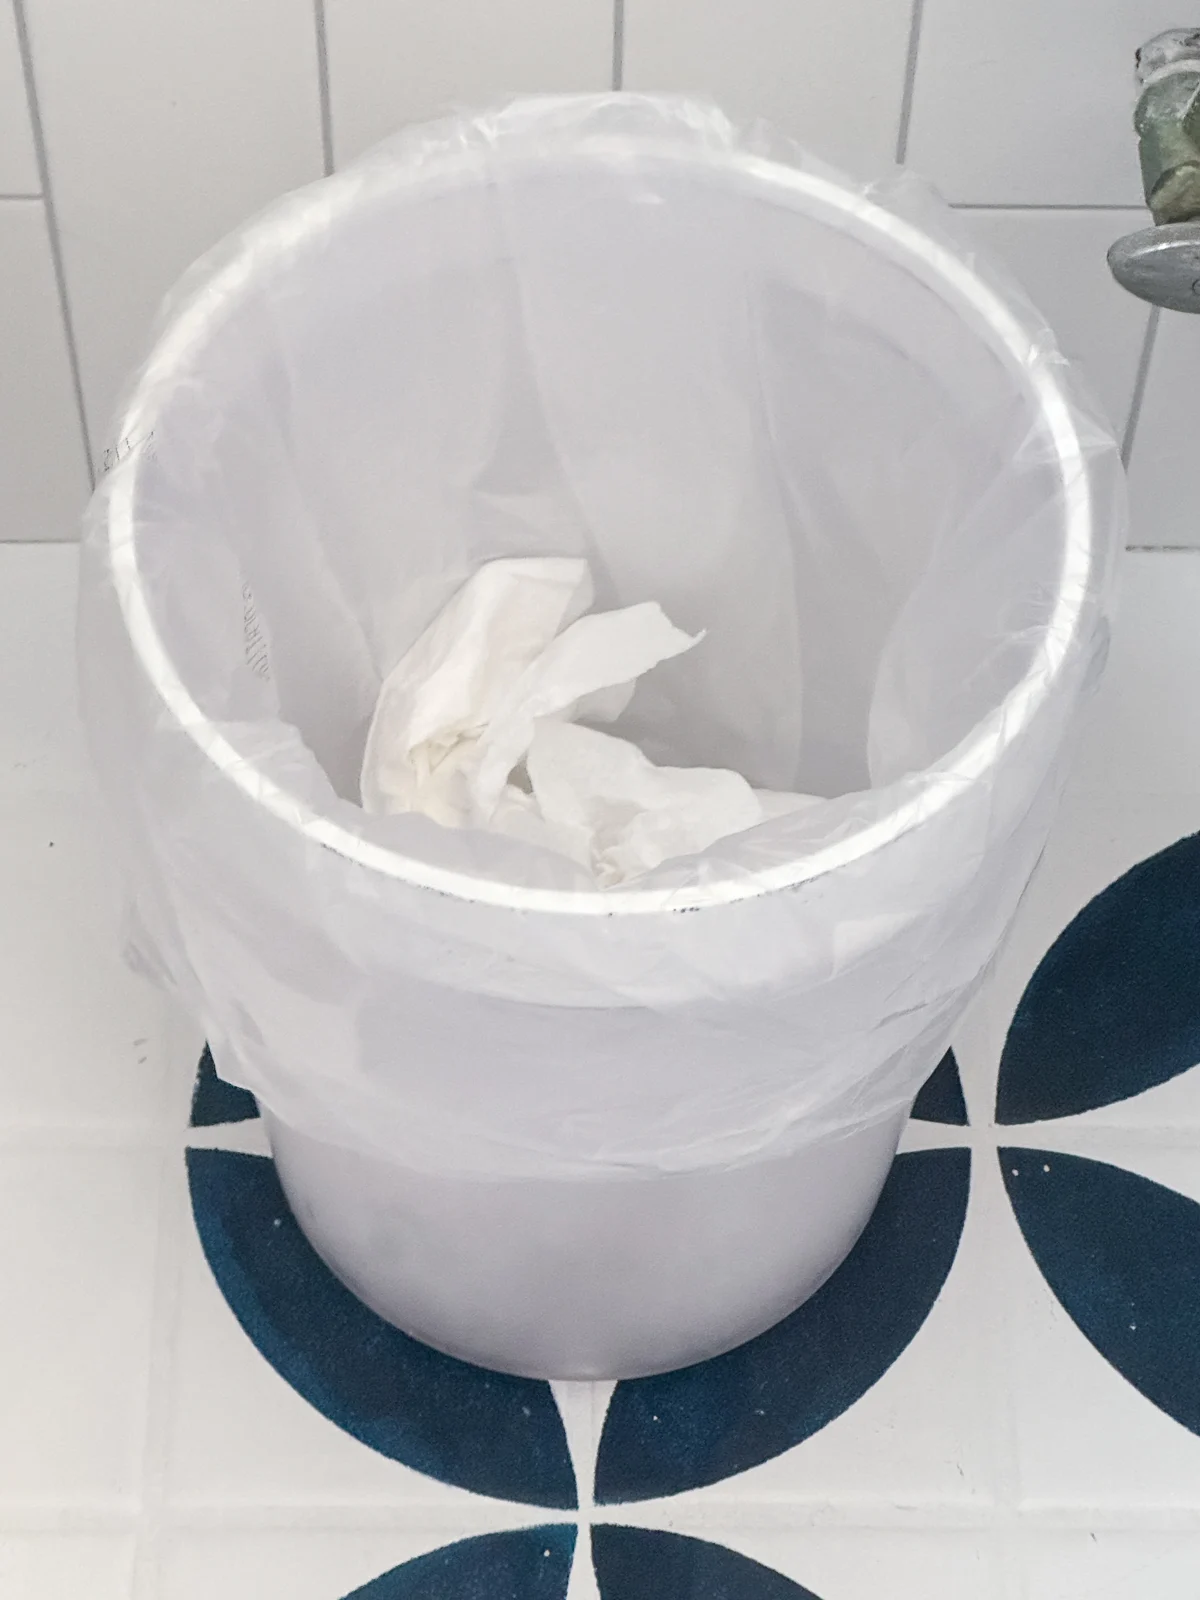
Luckily, this spot is always hidden, so no one needs to know!
Things I've learned since painting my tile floors
So now that you've seen what my painted tile floors look like after five years, would I do it again? Absolutely! But there's a few things to keep in mind if you decide to tackle this project yourself.
Keep it small
This is a half bathroom, and it's a tiny one at that. It's basically a glorified closet with plumbing. It would have taken me longer to rip everything out and replace it with new tile, especially if I had skipped the stencil during the painting process.
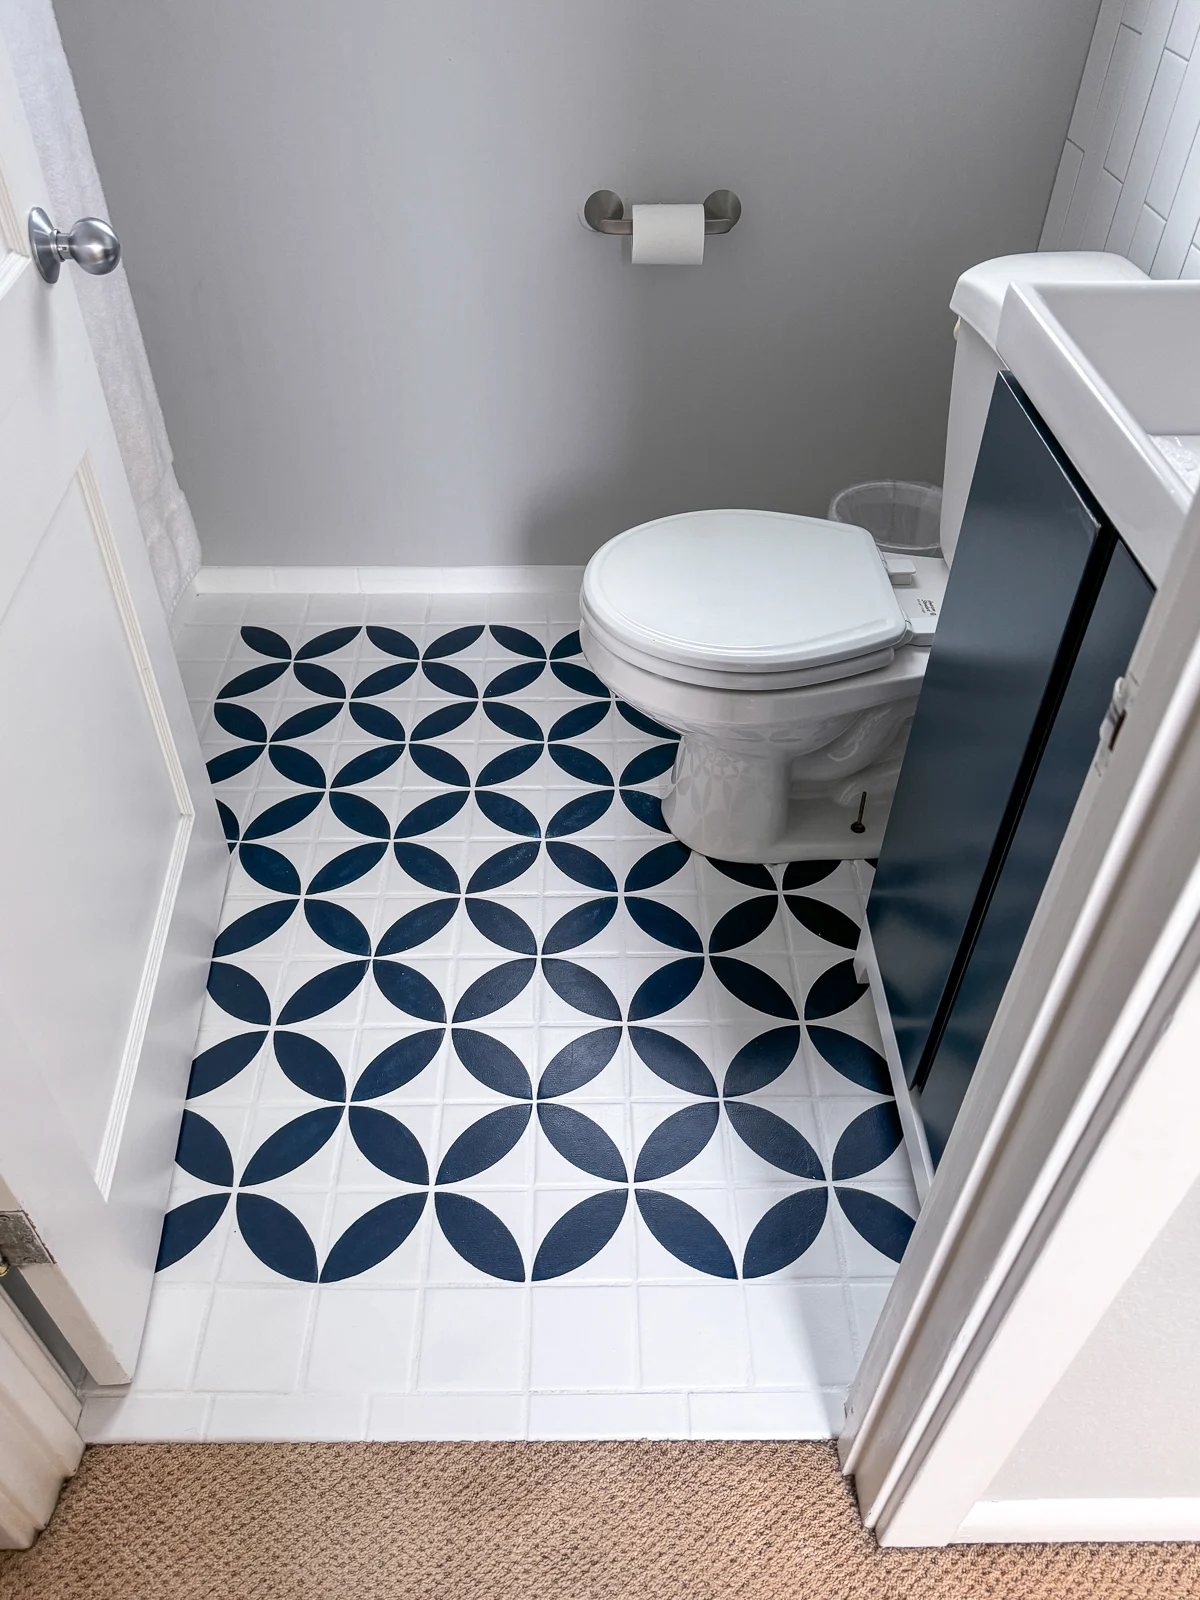
There's no shower or tub to splash a bunch of water around, which is why it stayed looking so nice. As you can see from the little bit of damage under the trash can and along the bottom of the toilet, moisture is the enemy of painted floors!
But for a powder room like this, it's the perfect solution!
Keep stuff off the floor
That spot under the trash can gets ZERO foot traffic. The only reason why it's peeling is because it sits on the floor 24/7. Even the slightest bit of moisture trapped underneath can cause damage.
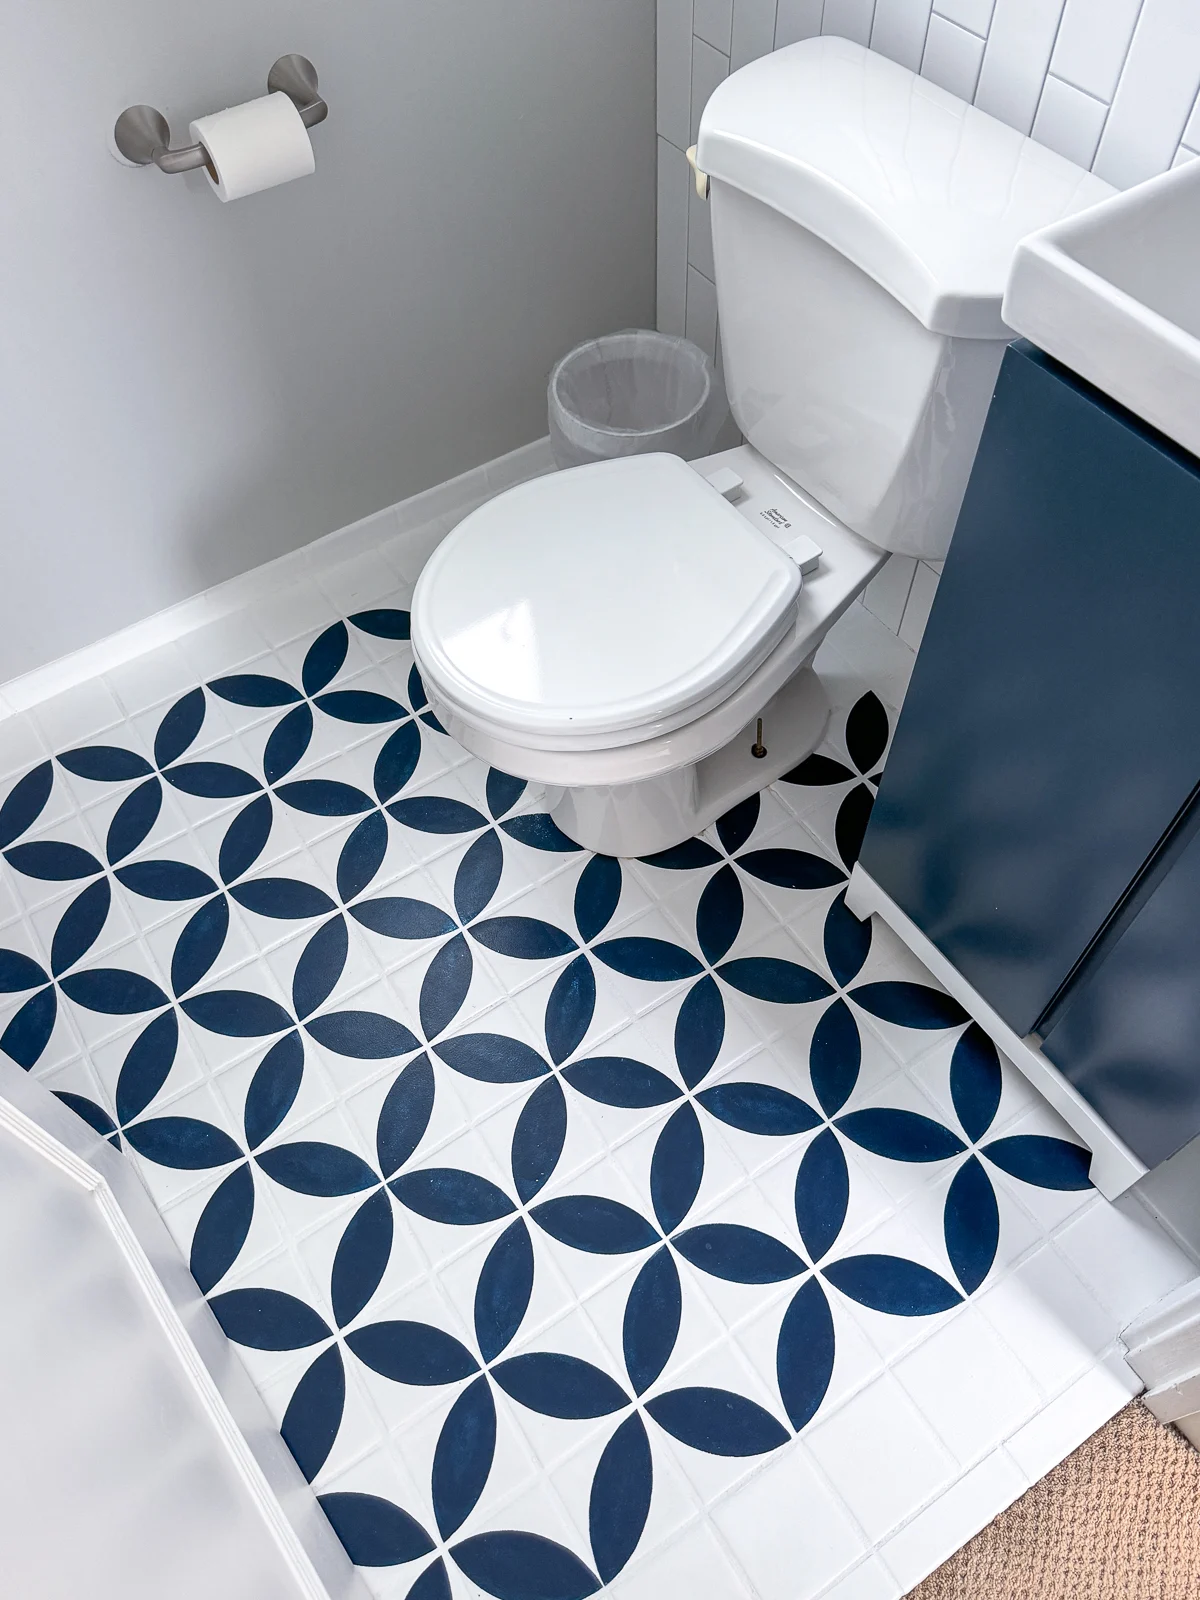
So if you're the type of person wants bath mats, potted plants or other items on the floor of the bathroom, painted tile isn't for you.
Magic Erasers are magic
I honestly never really noticed the scuffs in the entryway or the grout lines until I zoomed in for these photos. But once I saw them, I couldn't unsee them!
I remembered using a Magic Eraser to clean tomato sauce stains from our painted backsplash tile, so I figured it was worth a shot here on the floor. It worked like a charm!
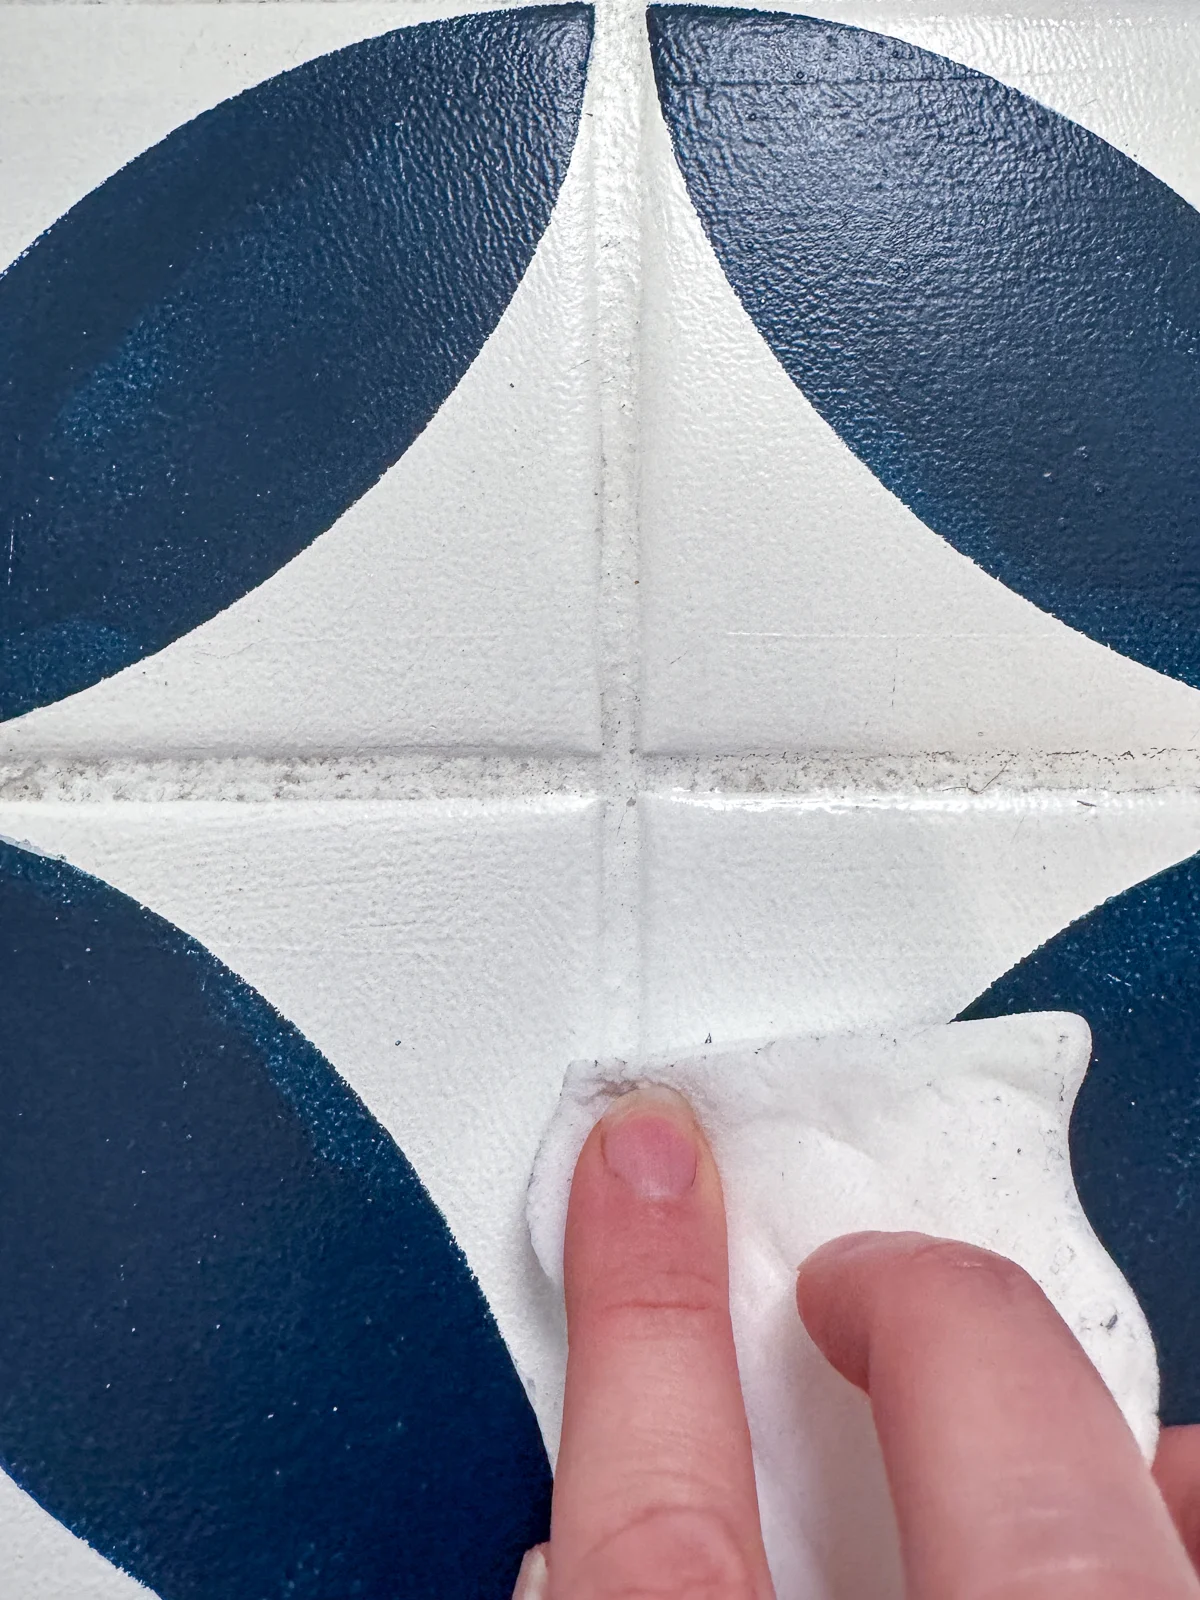
Just be careful not to scrub too hard, especially on paint colors other than white. I noticed that the eraser had picked up a slightly blue hue by the time I was done, just from rubbing it on the dark blue areas.
I hope this before and after of our painted tile floors helps you decide whether it's worth the time to tackle this project yourself! It's not for everyone and every space, but it worked out great for this bathroom!
Check out these other home improvement tutorials!

