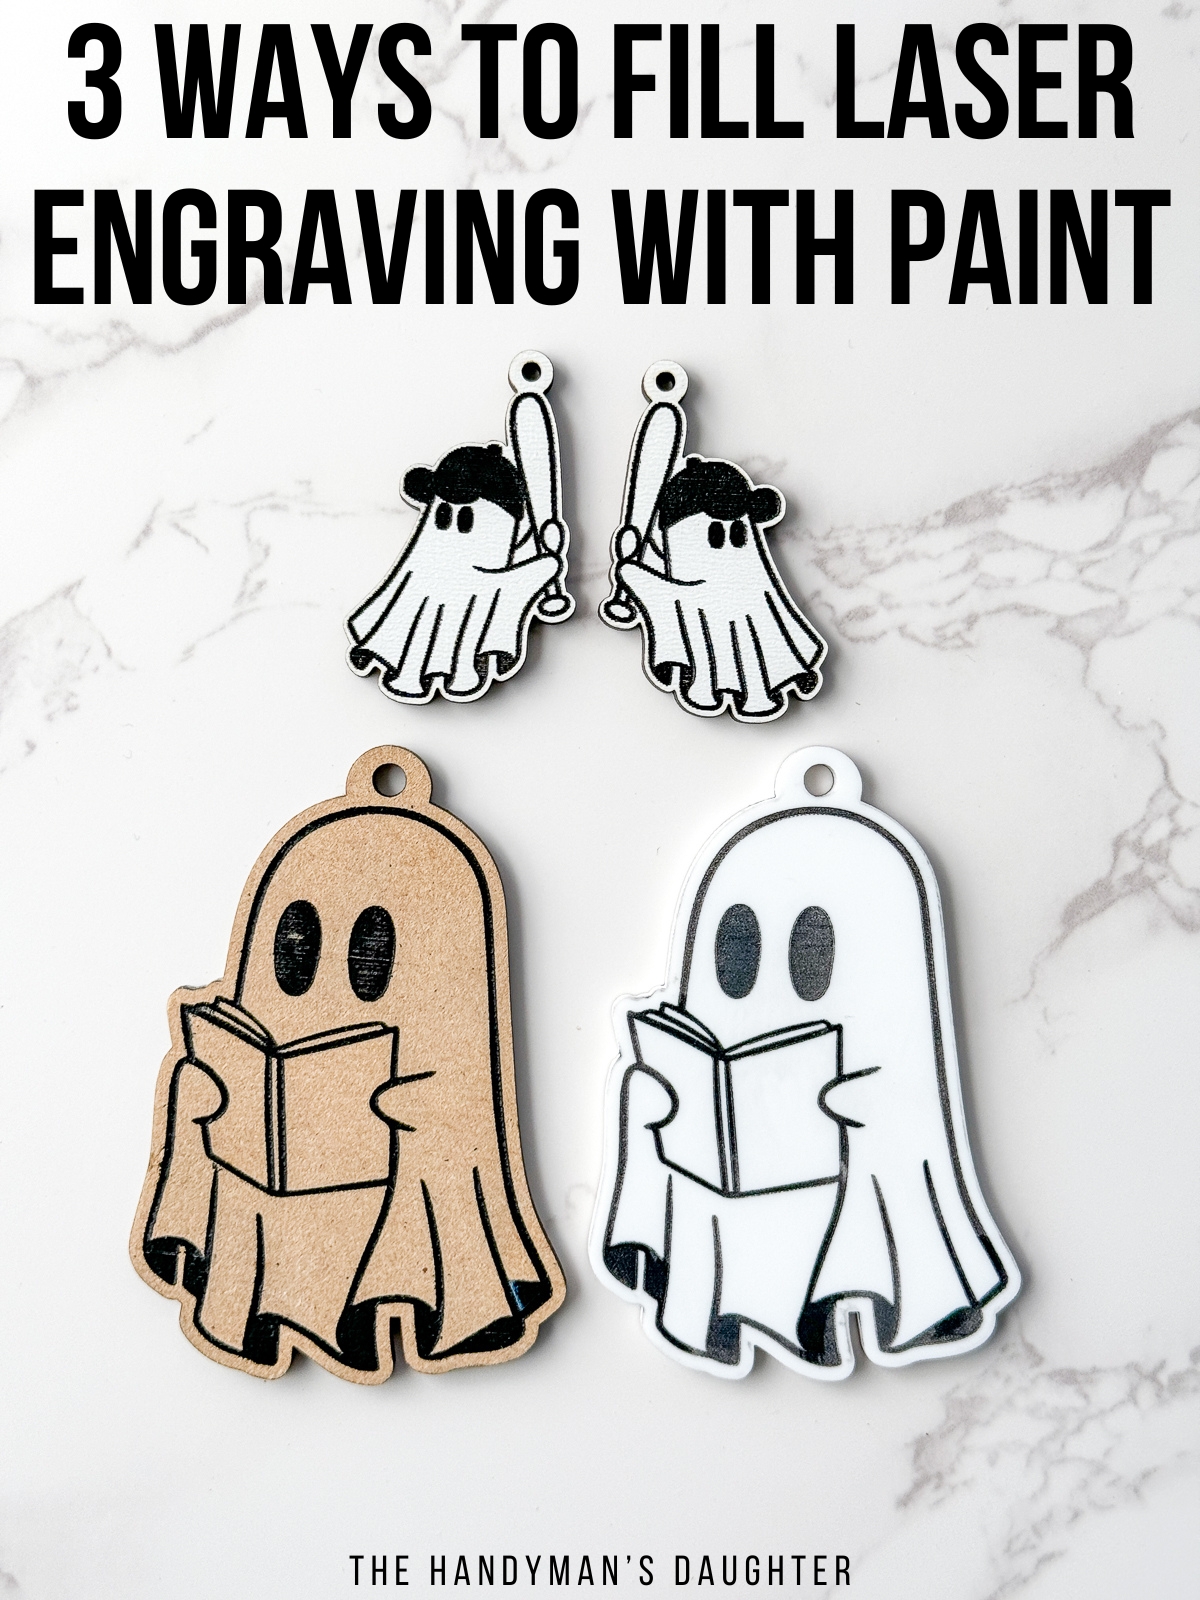
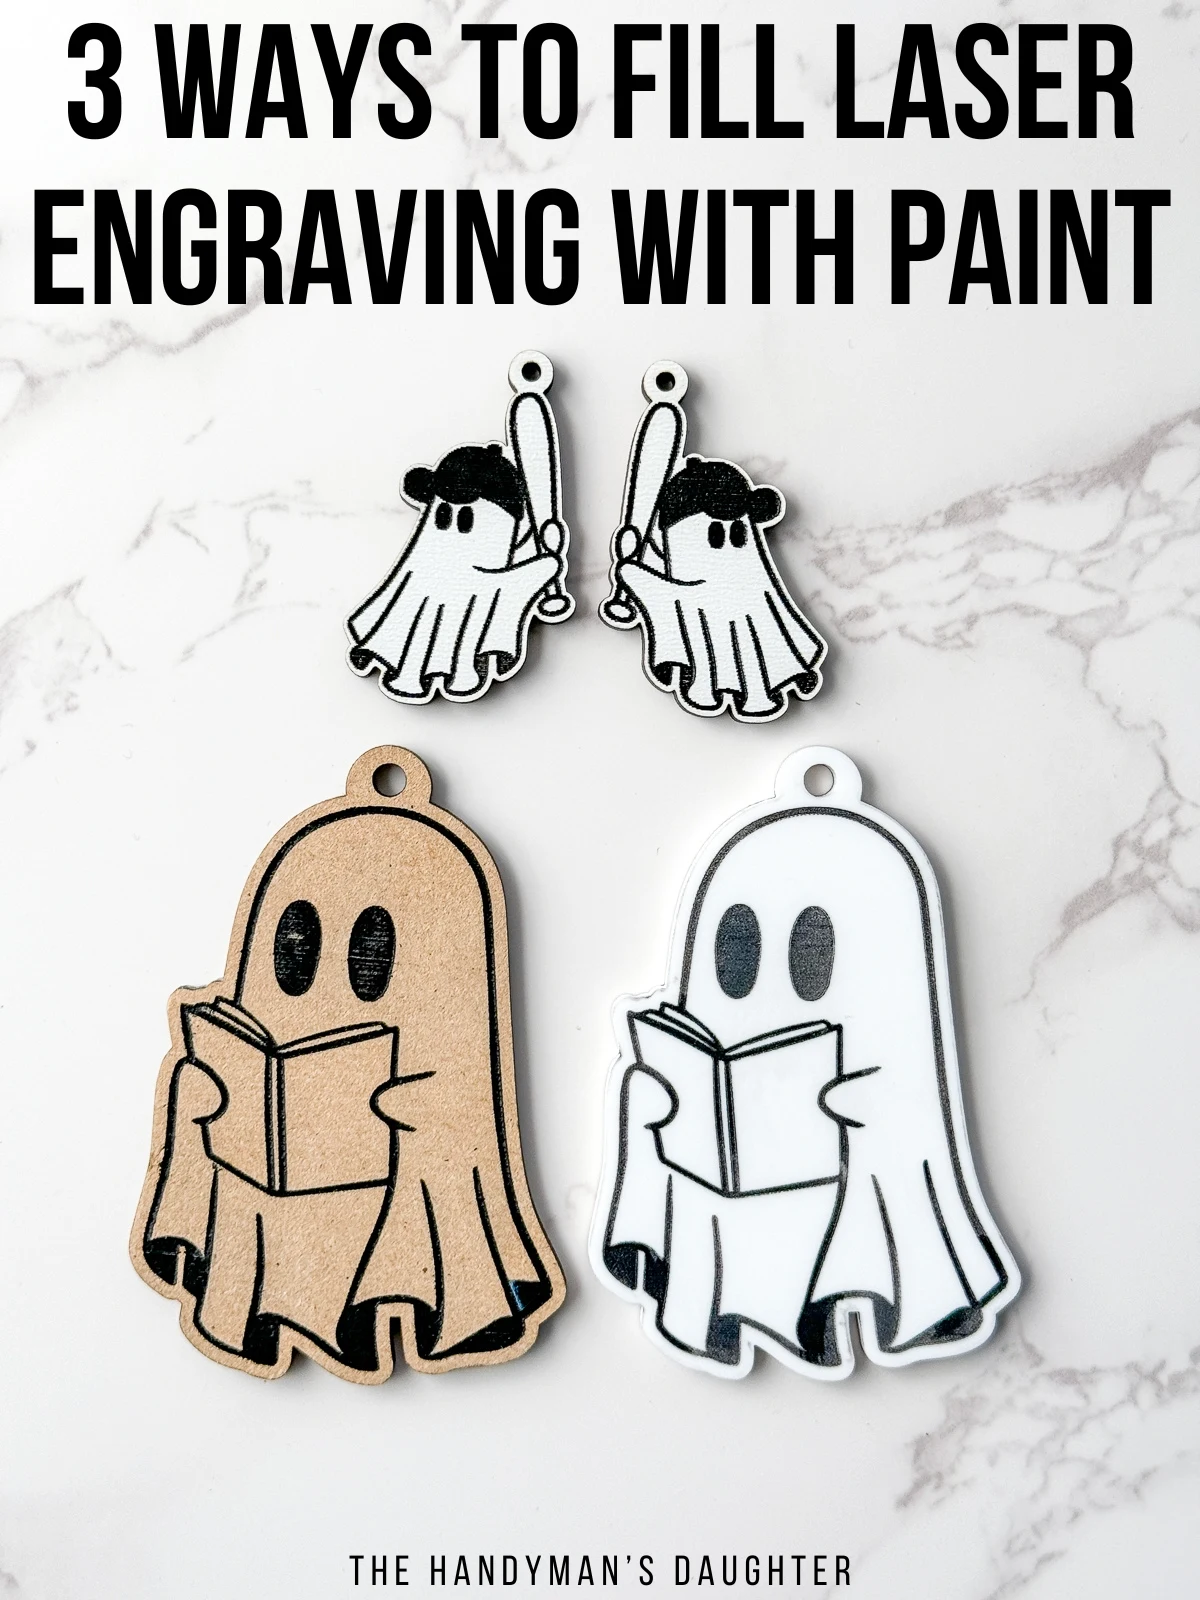
Make your laser engraved designs pop with color! In this tutorial, I'll show you three different ways to fill laser engraving with paint!
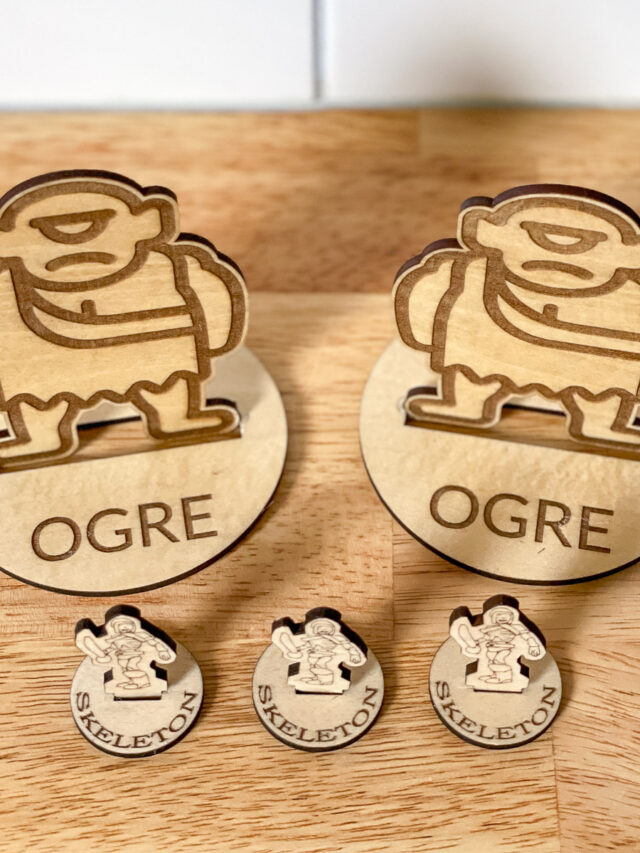
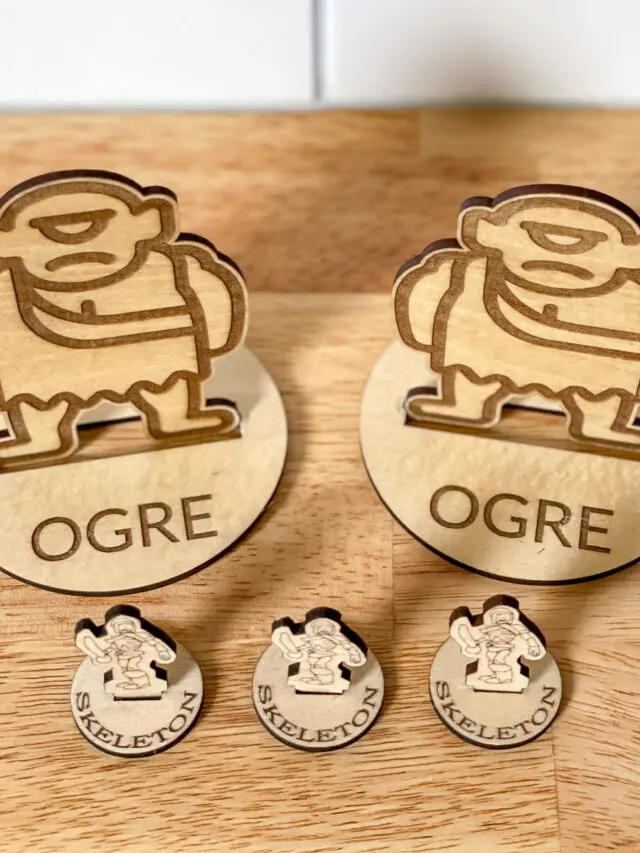
Laser engraving is a great way to personalize gifts and etch designs on wood, acrylic and other materials. But those dark brown lines can look a little blah on their own, like the ones on these Dungeons and Dragons miniatures I made for my son last year.
Painting inside those tiny lines can be a challenge! I've tried using fine tip paint pens to get into engraving, but it can leave a mess on the surface that's hard to remove.
But with the right laser settings and proper preparation, filling an engraving with paint can be easy! I'll show you three different methods, so you can choose the right one for you!
This post contains affiliate links for your convenience. Purchases made through these links may earn me a small commission at no additional cost to you. Please visit my disclosures page for more information.
Don't have a laser, or looking to upgrade? Use the code VINETA100 for $100 off an xTool laser! Click here to check them out!
Prepare your laser file
All three methods require your laser file to be prepared properly for paint filling. You'll need a deeper engrave, so the paint sits inside rather than on the surface.
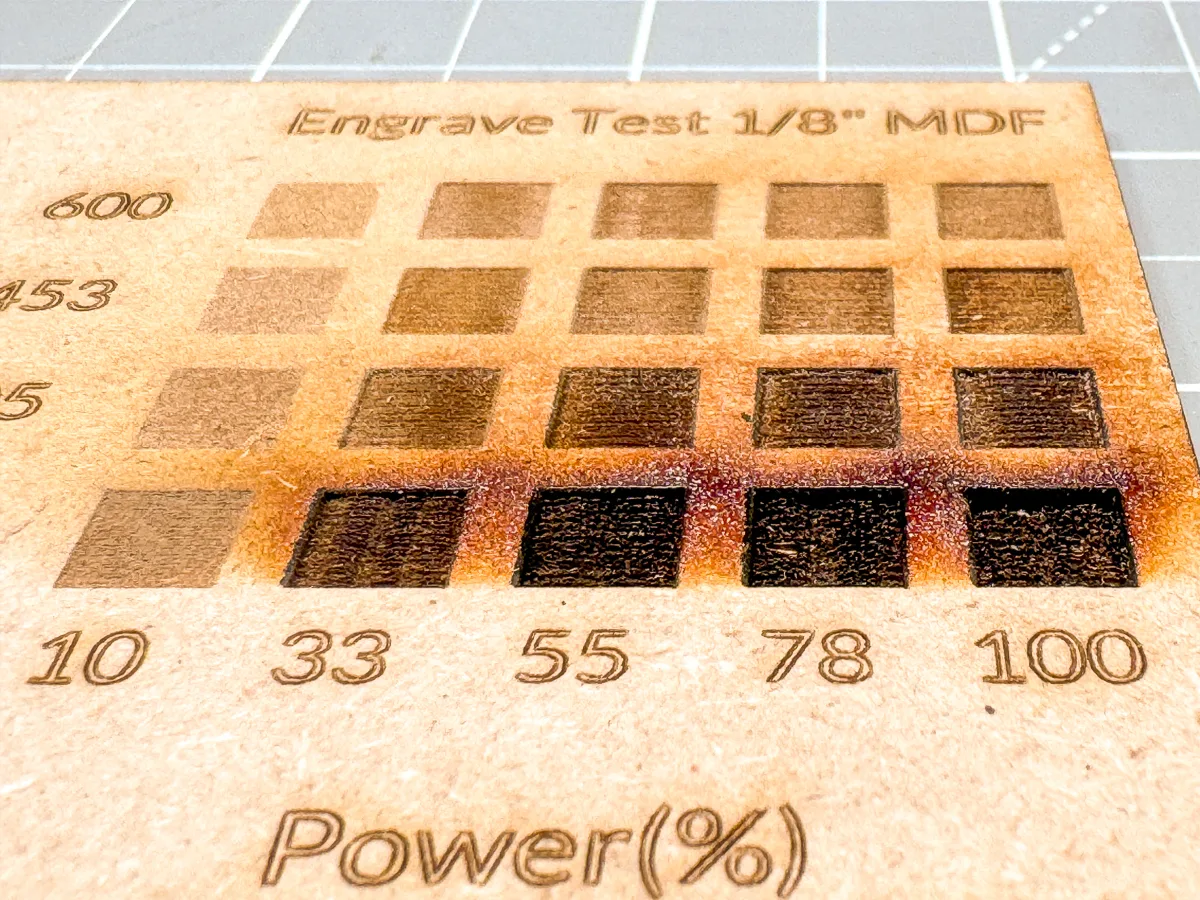
To choose the right settings, run a test grid on your material first. This will show you exactly which combination of speed and power is perfect for your project. I save all my grids, so I can refer back to them later.

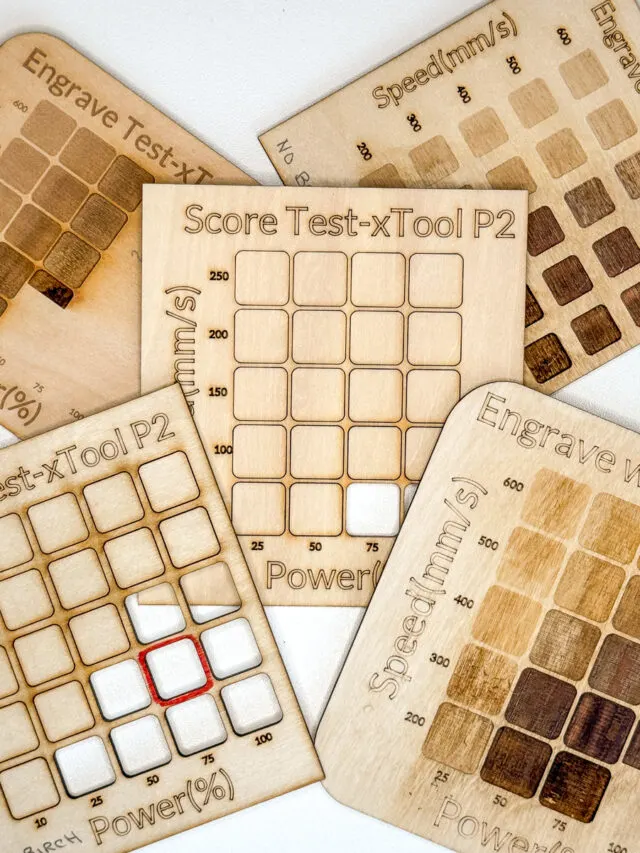
For a paint fill, you want to look for the settings that result in a little lip around the edge of the square, without excessive charring that makes cleanup more difficult.
On this test grid, I would choose 450 speed and 100% power on 3mm MDF with my xTool P2 (second row, last square). It's deep enough to hold paint, without charring around the edges like the slower speeds.

Another thing to keep in mind is how the laser performs an engraving. The laser head moves back and forth like a printer over the entire design, stopping and starting the beam as needed.
This can lead to slightly jagged lines along the edges of the engraving. These lines may not look bad until you start to fill them with paint. Then every little flaw jumps out!
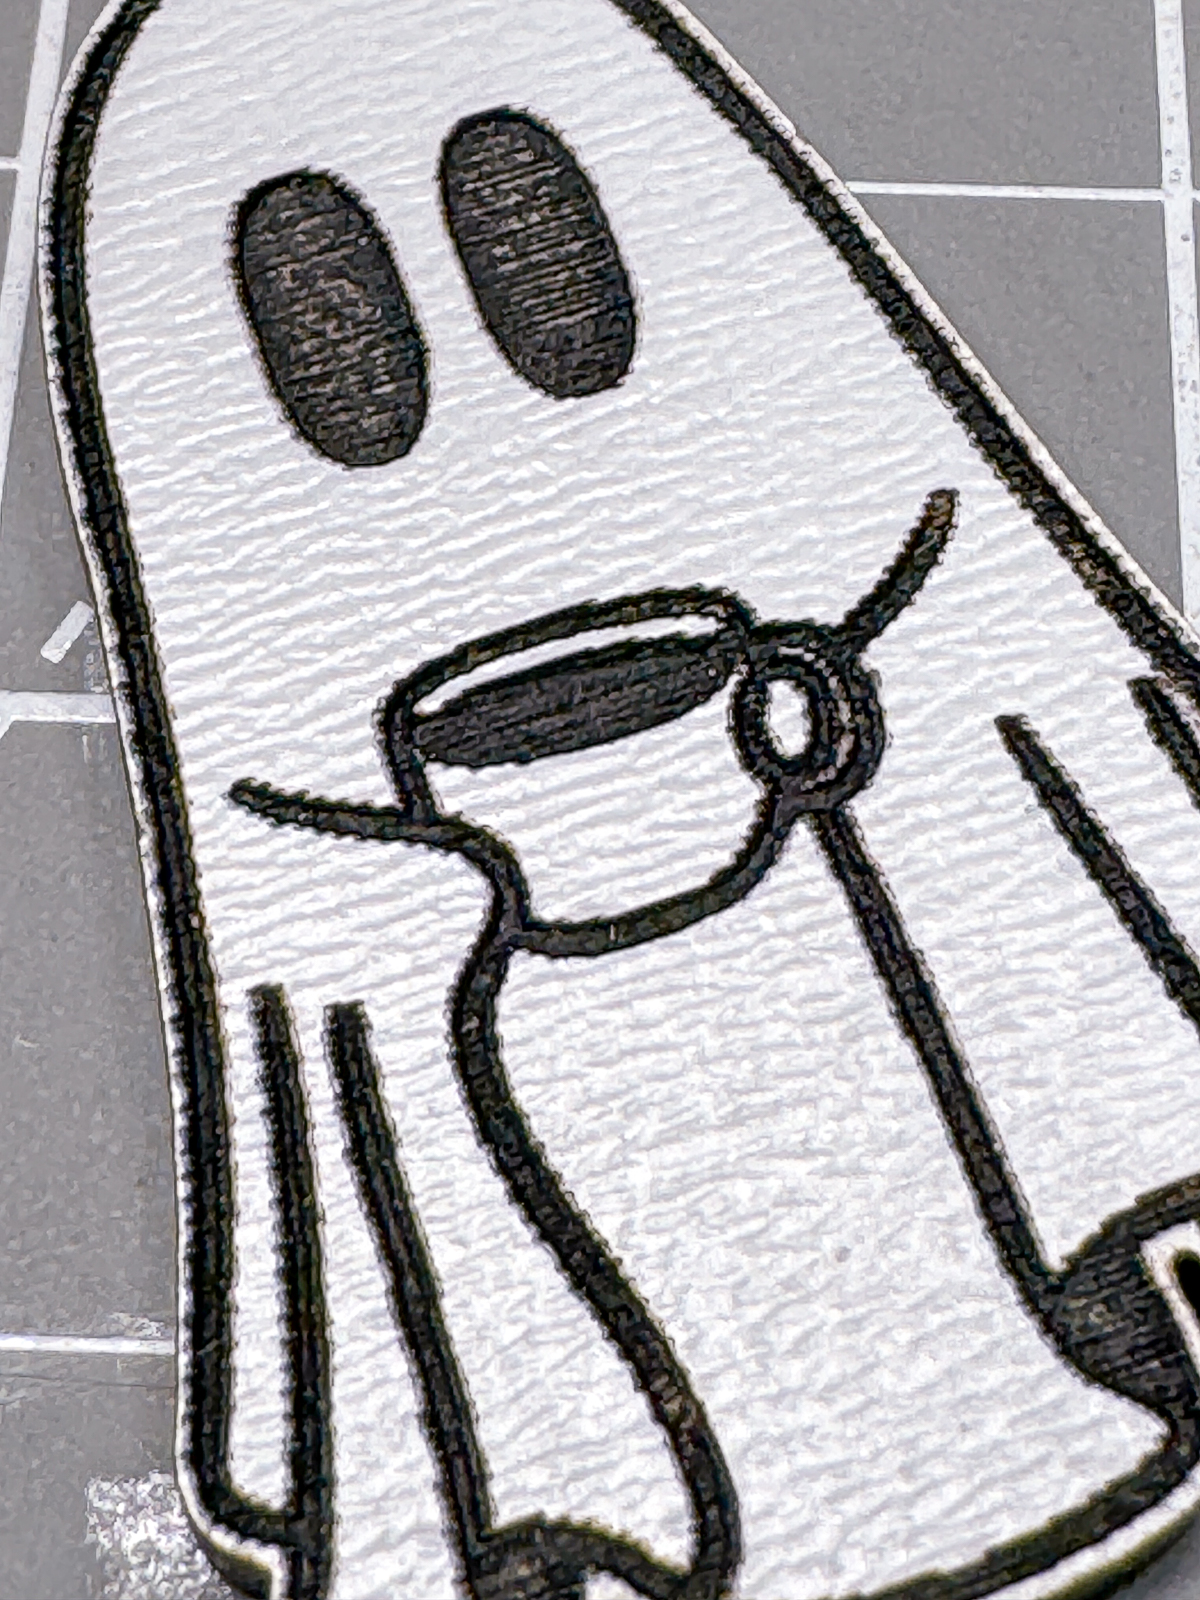
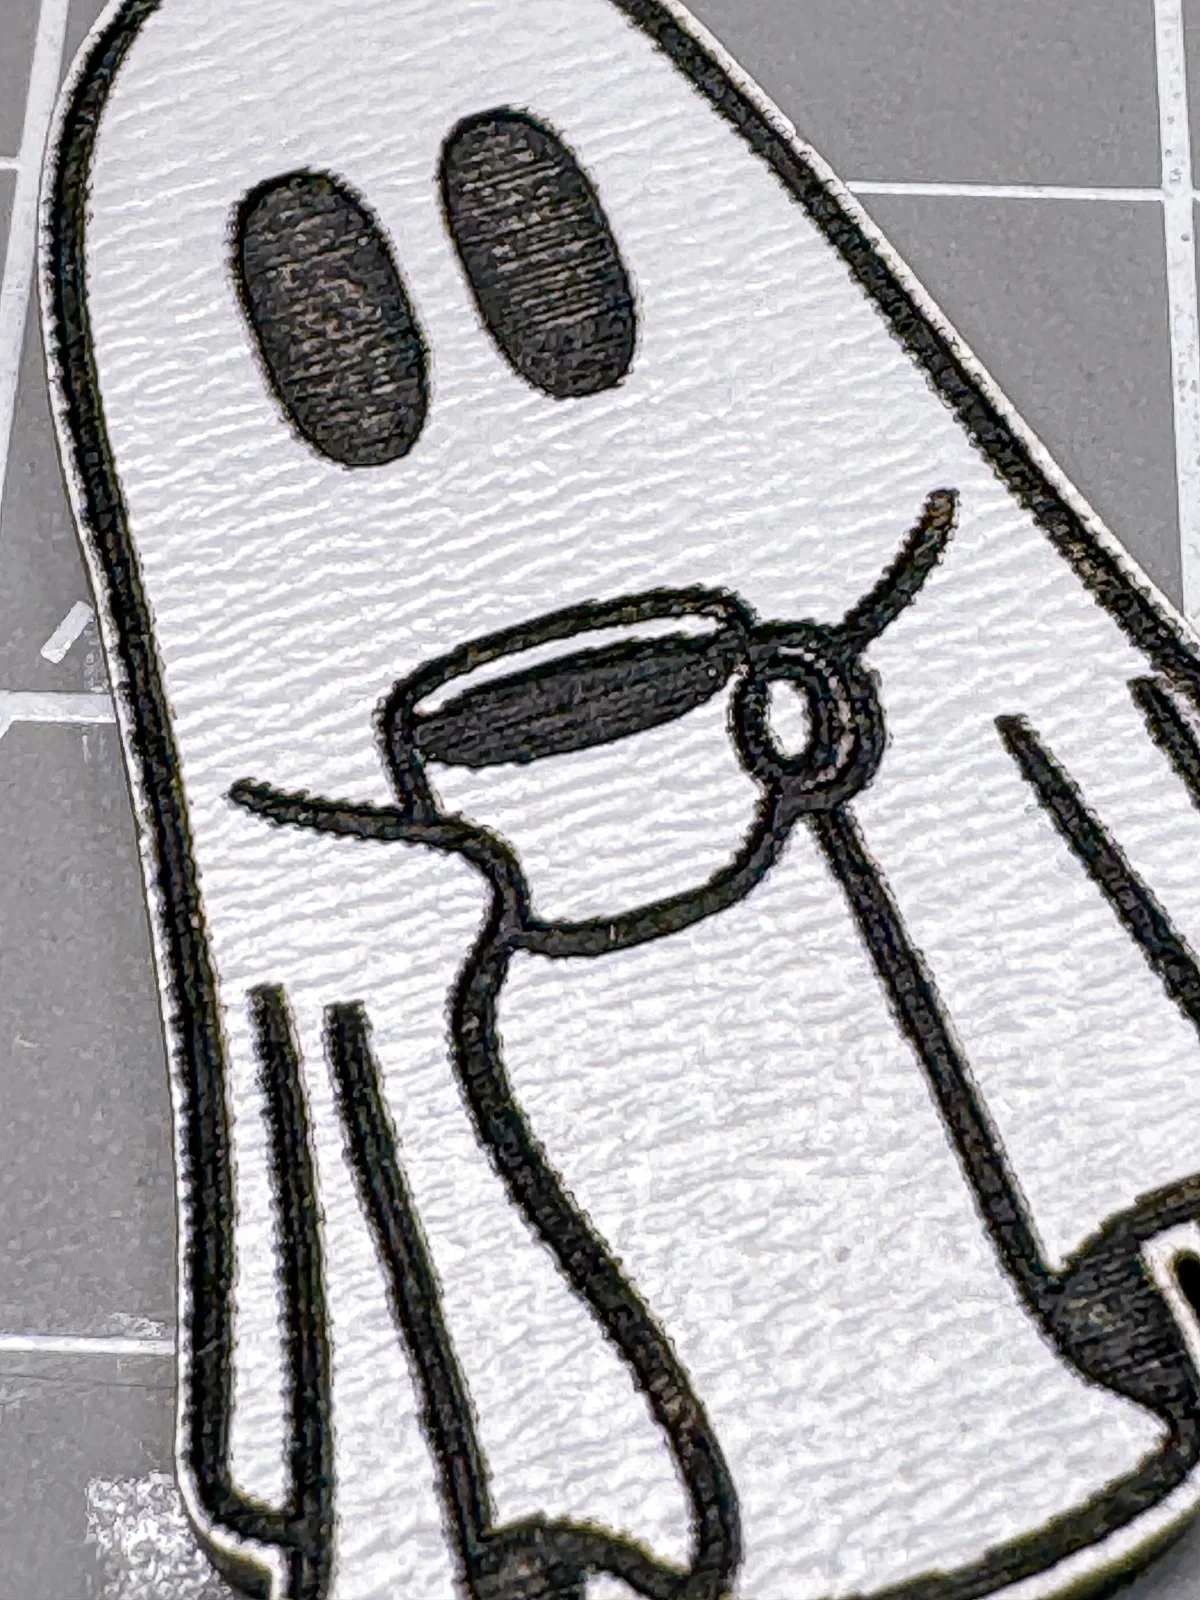
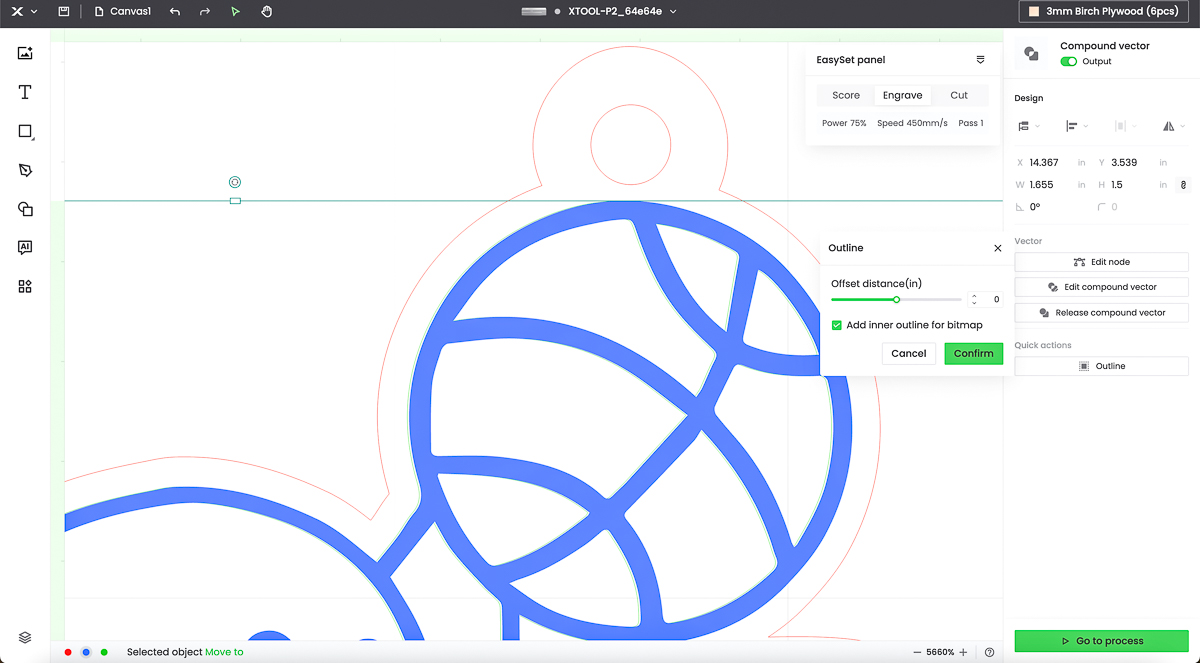
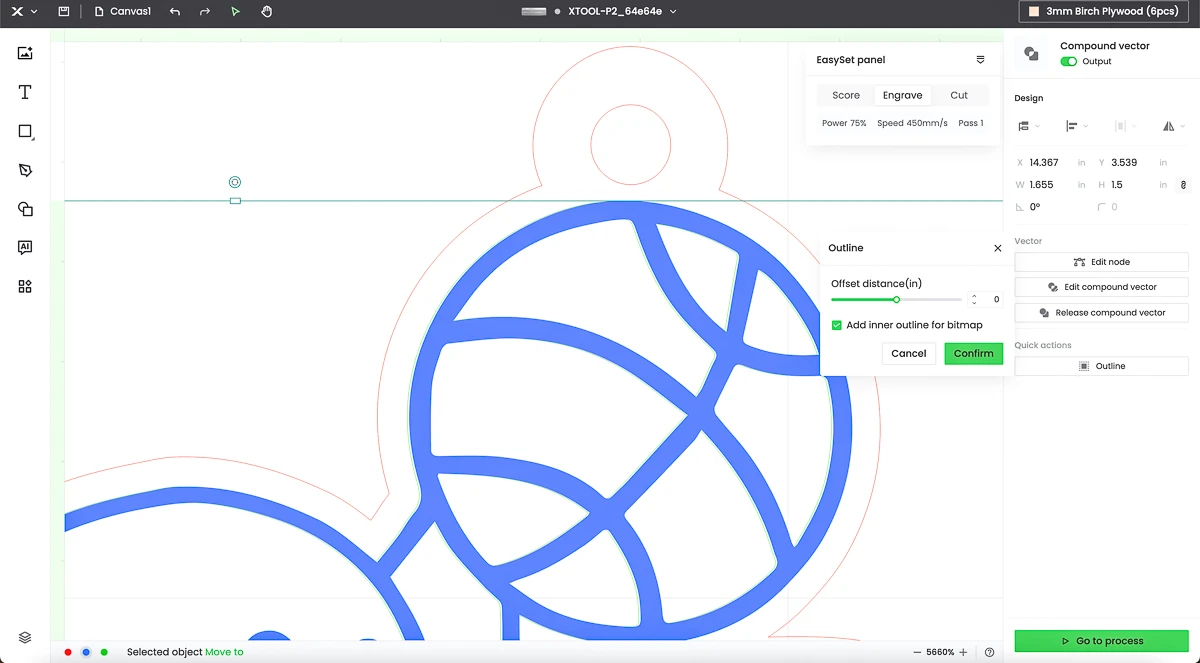
There are two ways to get crisp lines around an engraving. You can increase the lines per centimeter, although this also increases the char. For this file, I added a score line around the perimeter instead. The score is done after the engraving, so it cleans up all those jagged edges.
To do this, select the engrave layer in your design software. Then create an outline with an offset of 0 and set it to score. Make sure to change it to your score line color before you click off of it, because it will be hidden behind the engrave and hard to grab again!
Now your design is ready to be engraved!
Choose your paint
The next thing to consider is the paint you use to fill the engraving.
Cheap acrylic craft paint takes more coats to achieve the coverage you want. If you're applying masking to your material before engraving, more coats means more chances that the paint will seep under the mask and ruin your project!

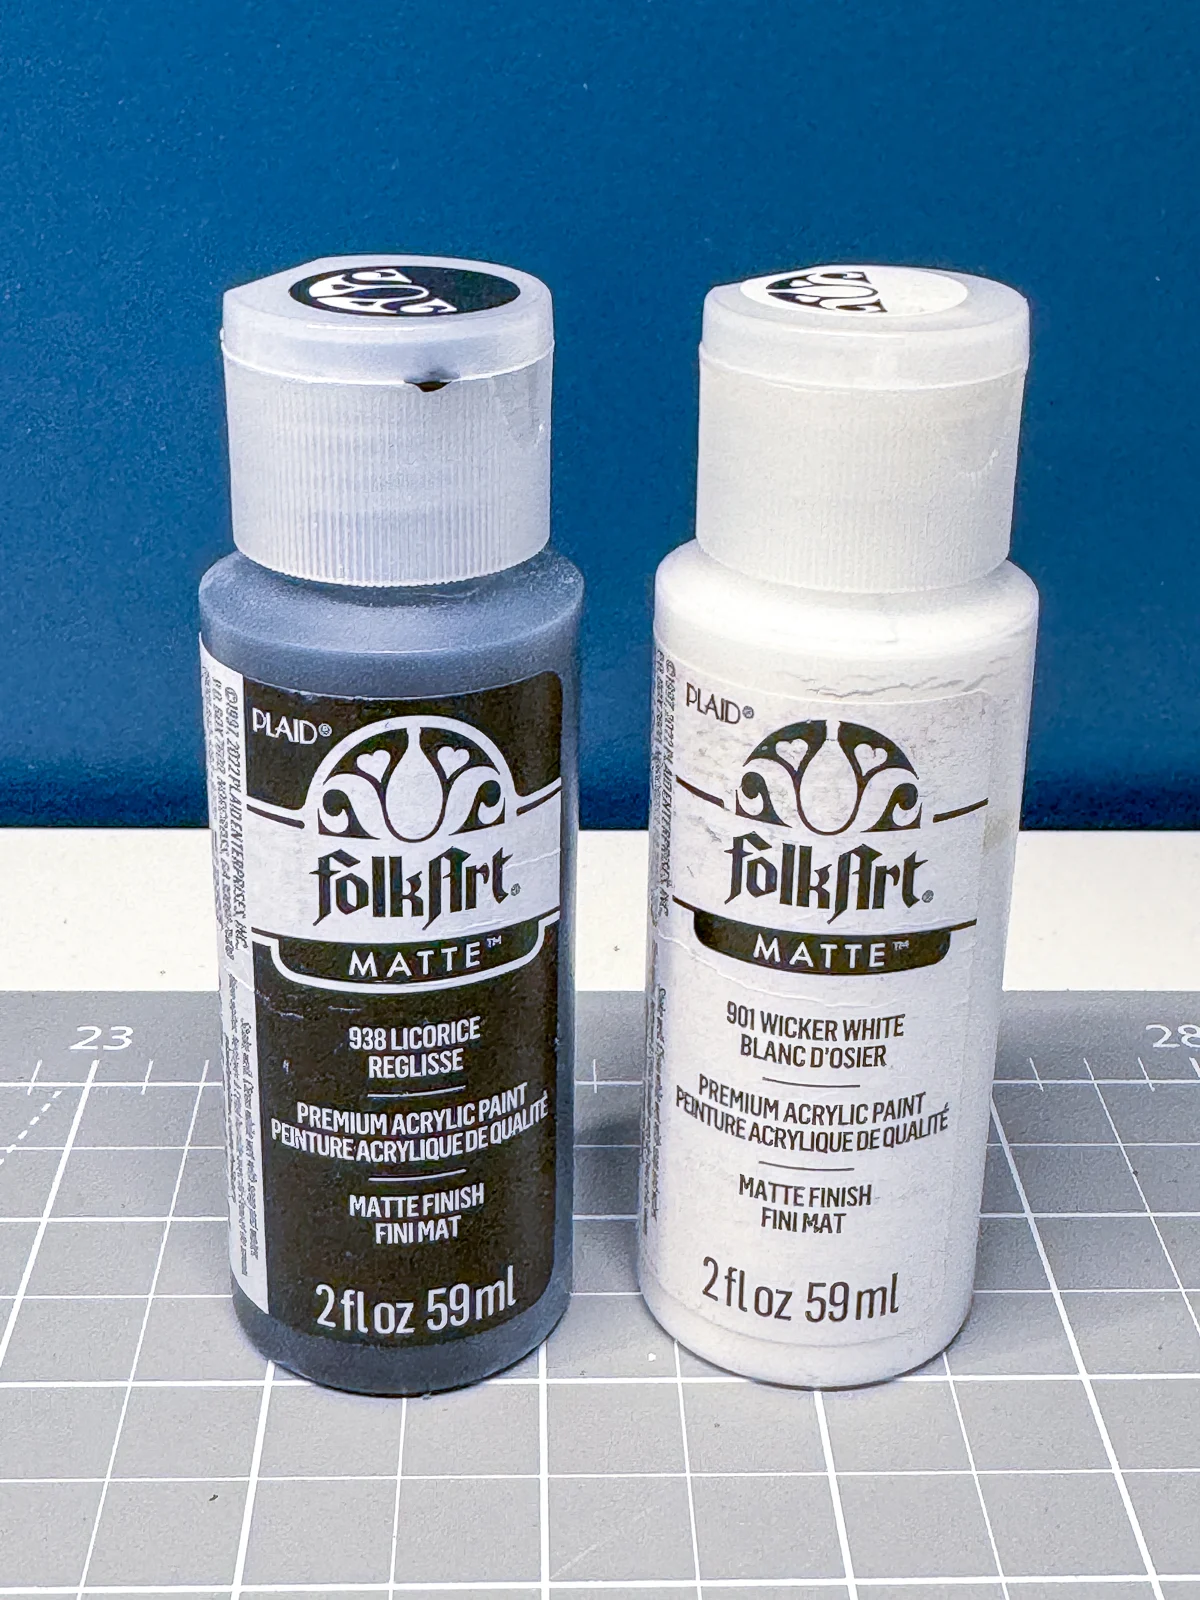
Heavy body acrylic paint, like the type artists use on canvas, requires less coats for the same result. But it's more expensive, and you might have to mix colors to get the one you want.
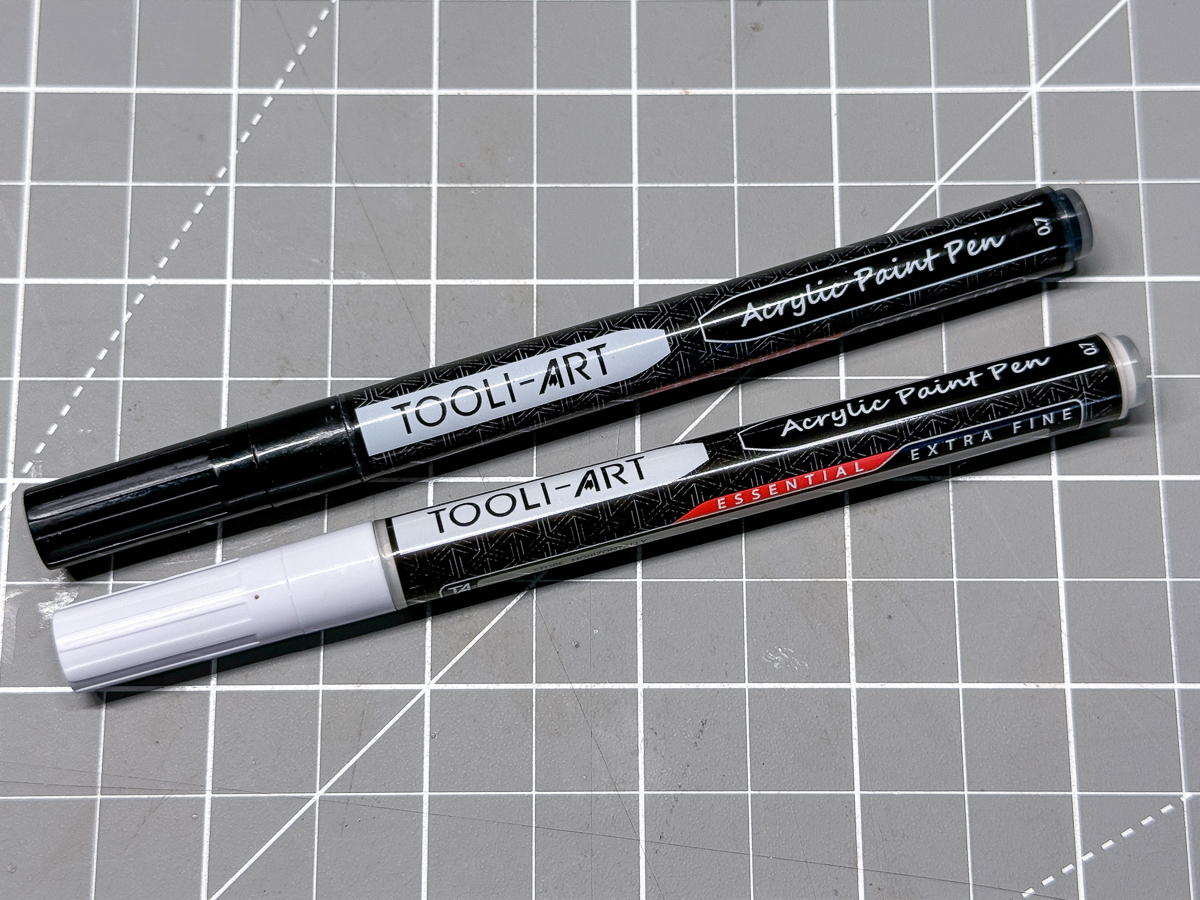
Acrylic paint pens give you more control, but take longer to fill an engraving. I typically use these on text or fine lines.

If you're masking your material, you can use spray paint to fill the engraving. The mask will protect the areas you don't want painted, so you just peel it away when it dries. But spray paint can be messy, and the overspray can get on the edges.
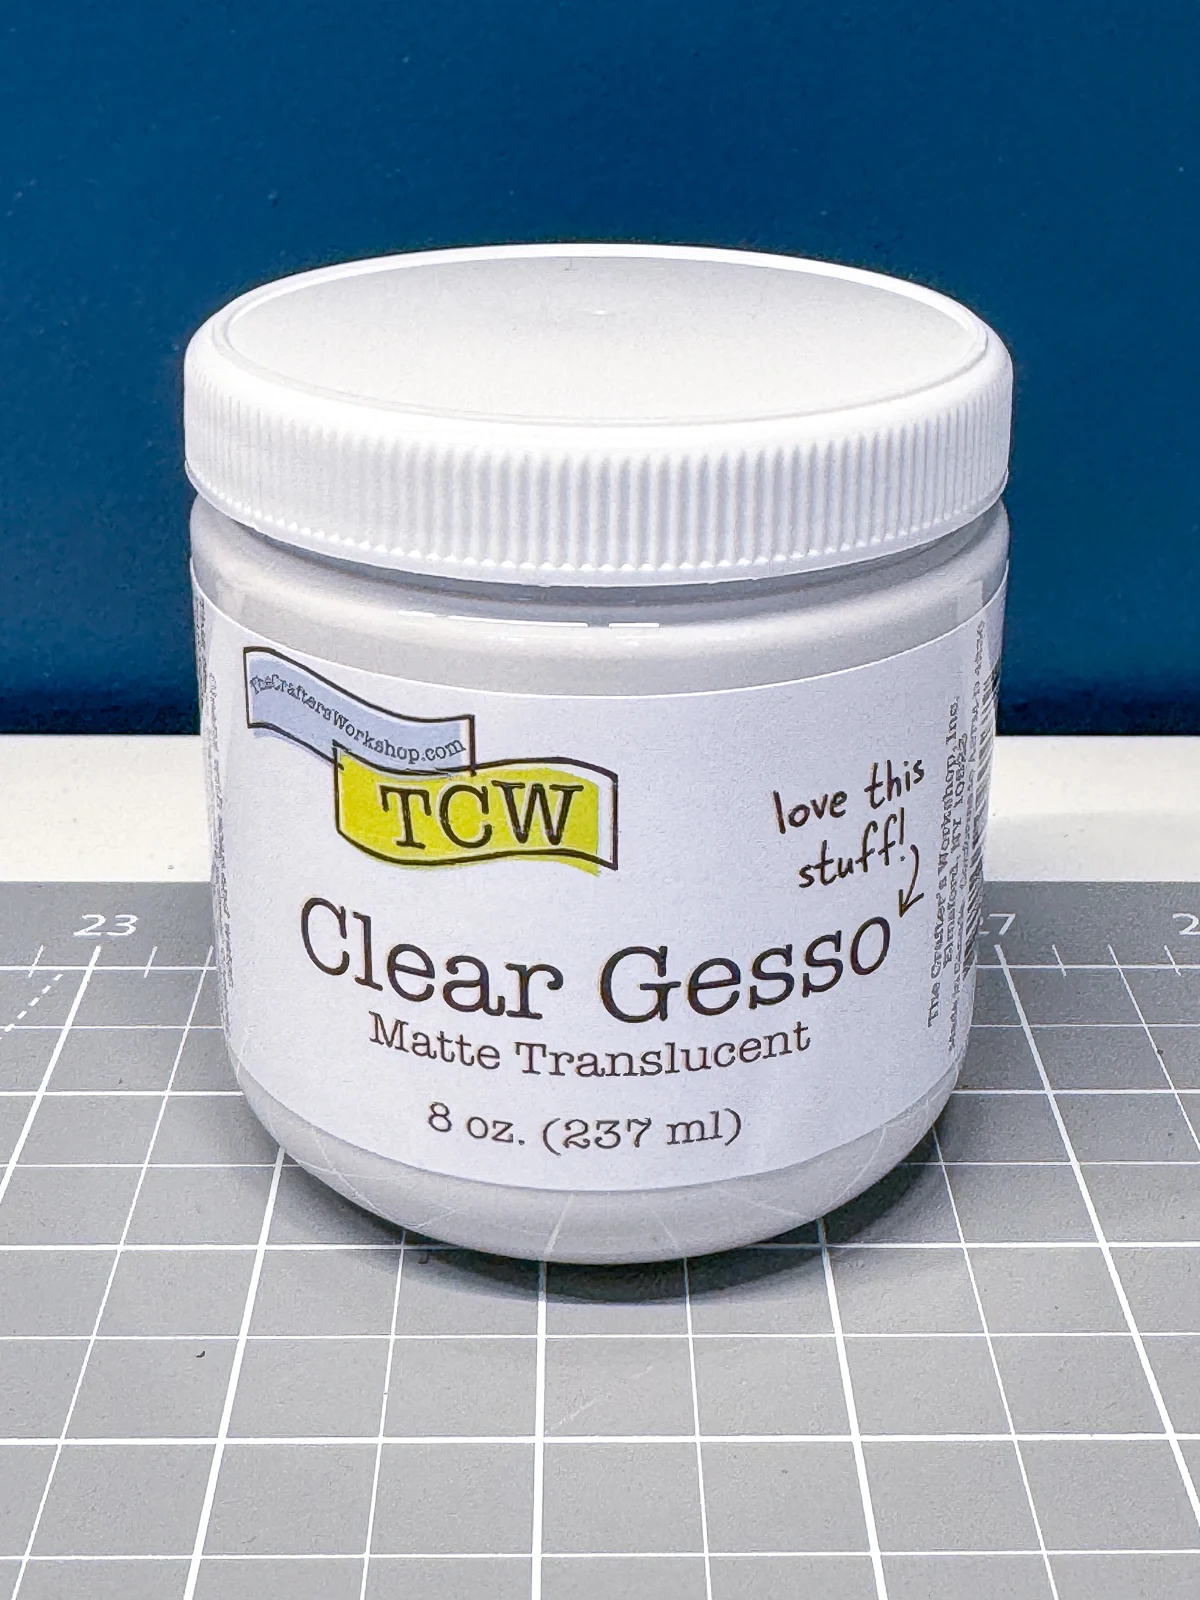
Finally, consider applying a primer before painting. Deep engraves leave a darker color in wood, making it hard for light colors to pop! Transparent gesso also works well, but make sure to apply a really thin coat so it doesn't fill the entire engraving.

Method #1: Masking
Whenever I'm engraving unfinished wood, I apply masking first. This saves me from sanding off the char later, which I always try to avoid!
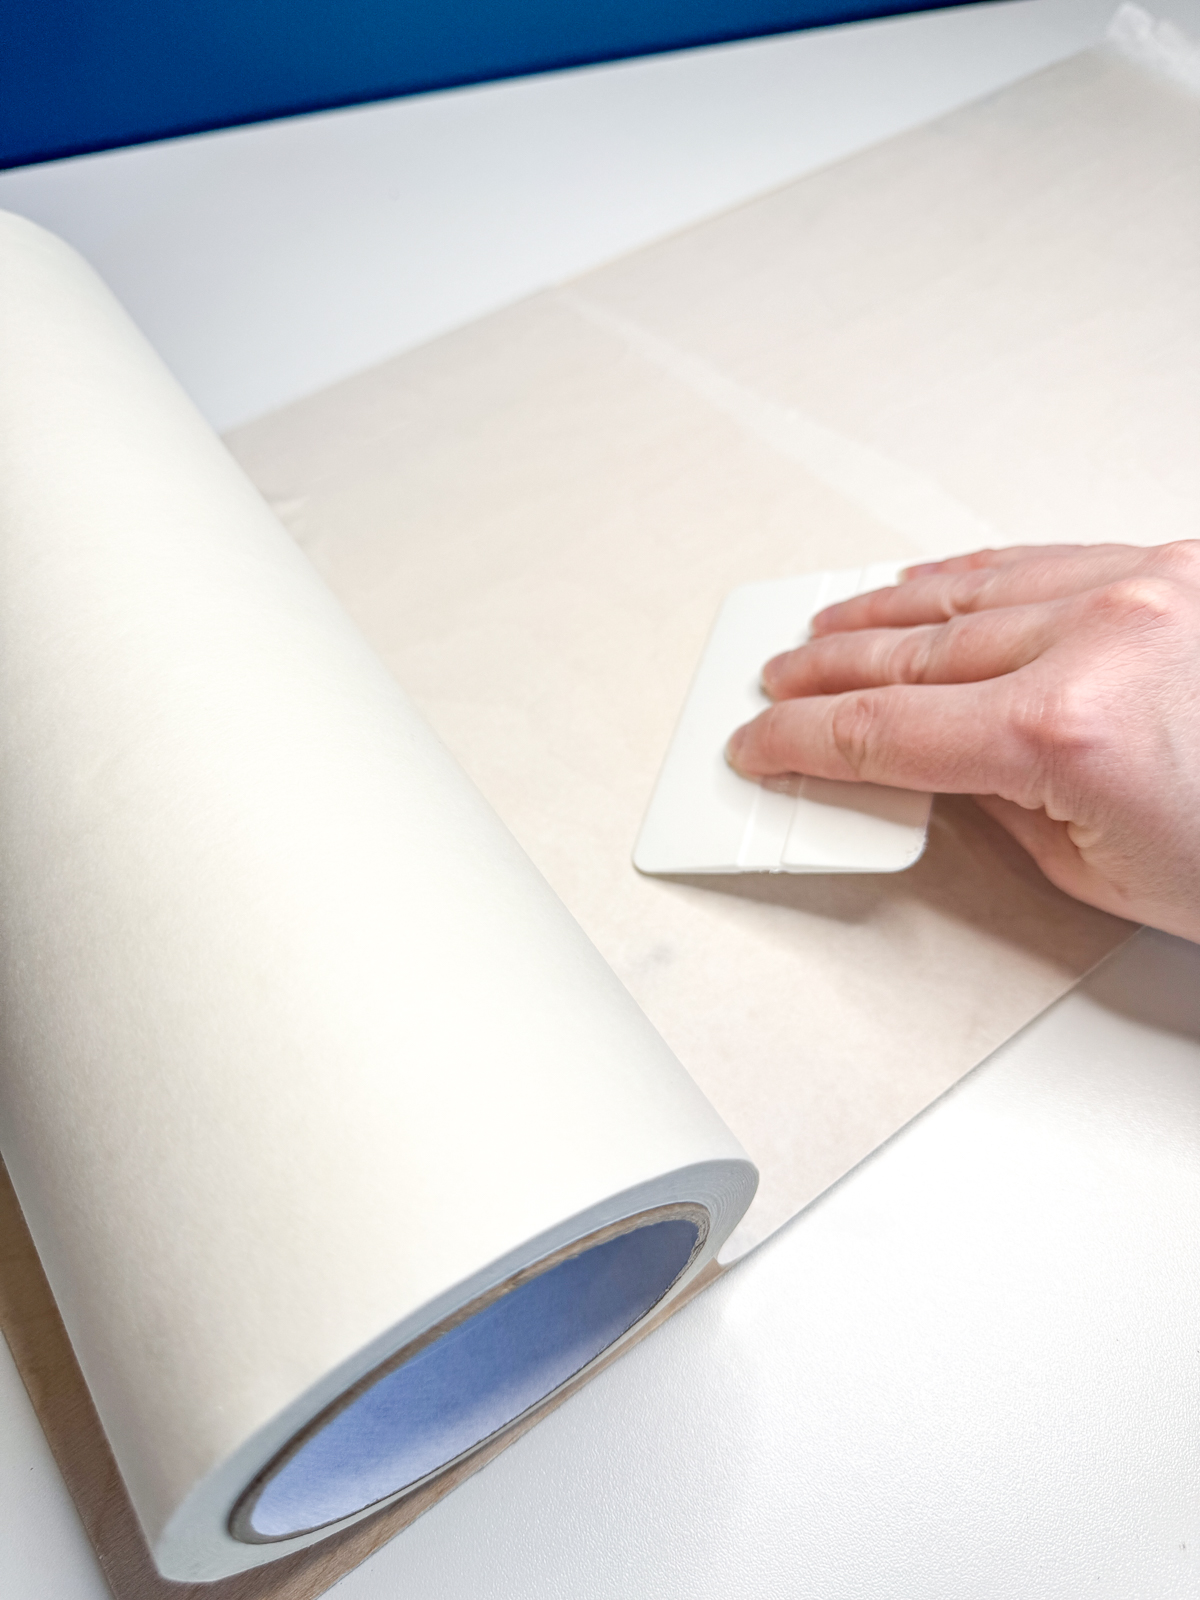

You can use a large sheet of paper masking like you see above, or something as simple as wide painter's tape. Use a smoothing tool or an old credit card to get out any air bubbles before popping it into the laser.
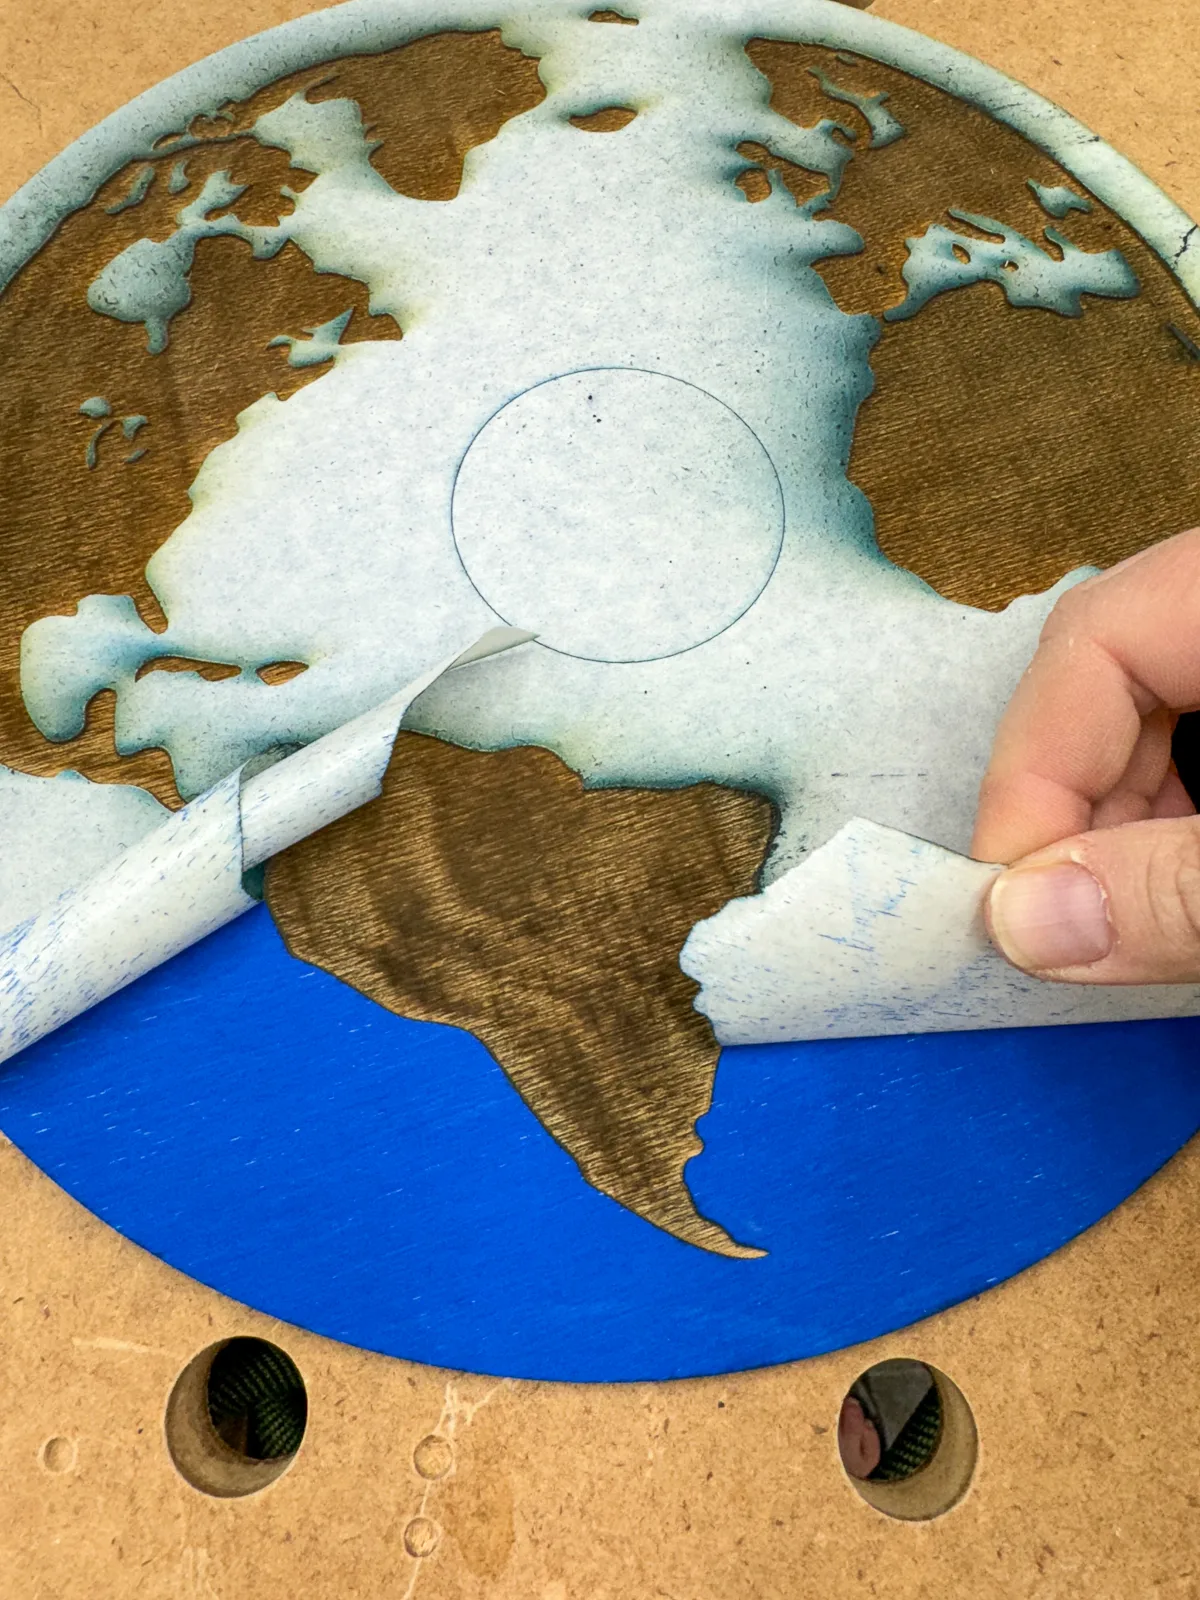
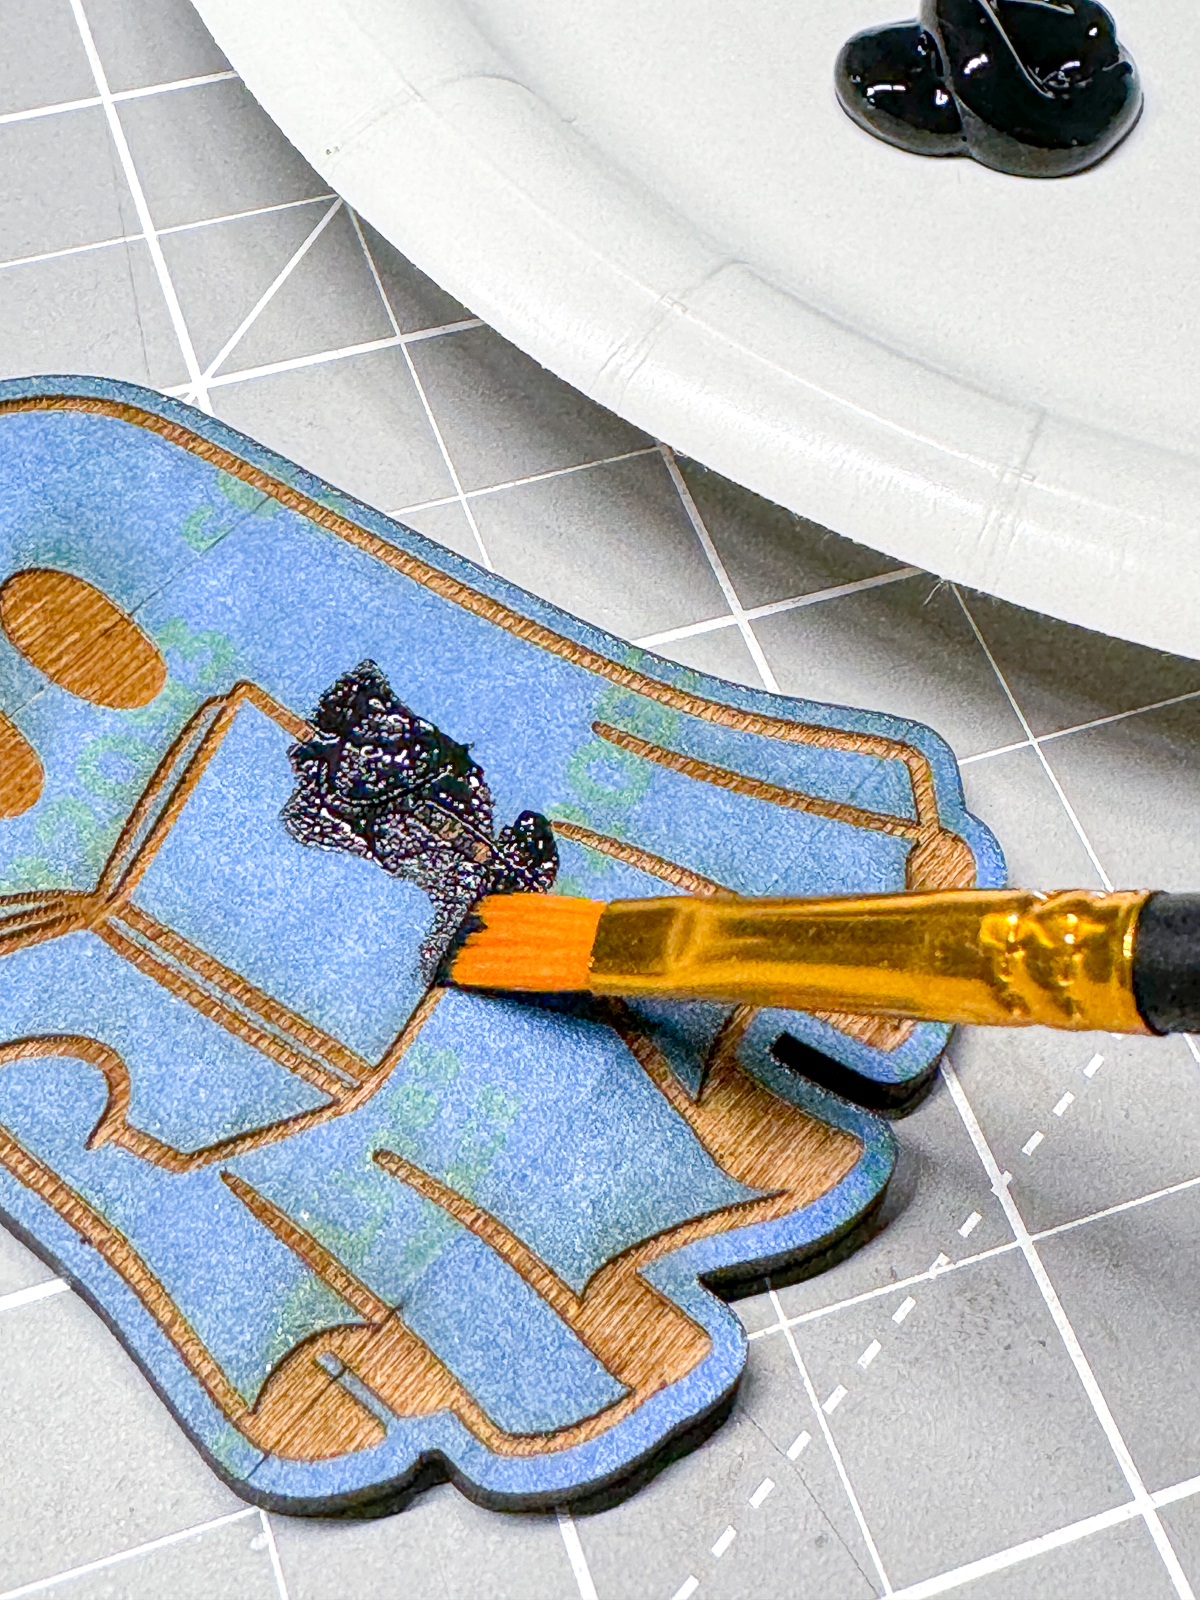
I also like to use masking if I applied stain to the wood without a clear coat over it. For example, I used a blue wood stain for the water in this travel coin holder, then covered it with masking before engraving the land into it.

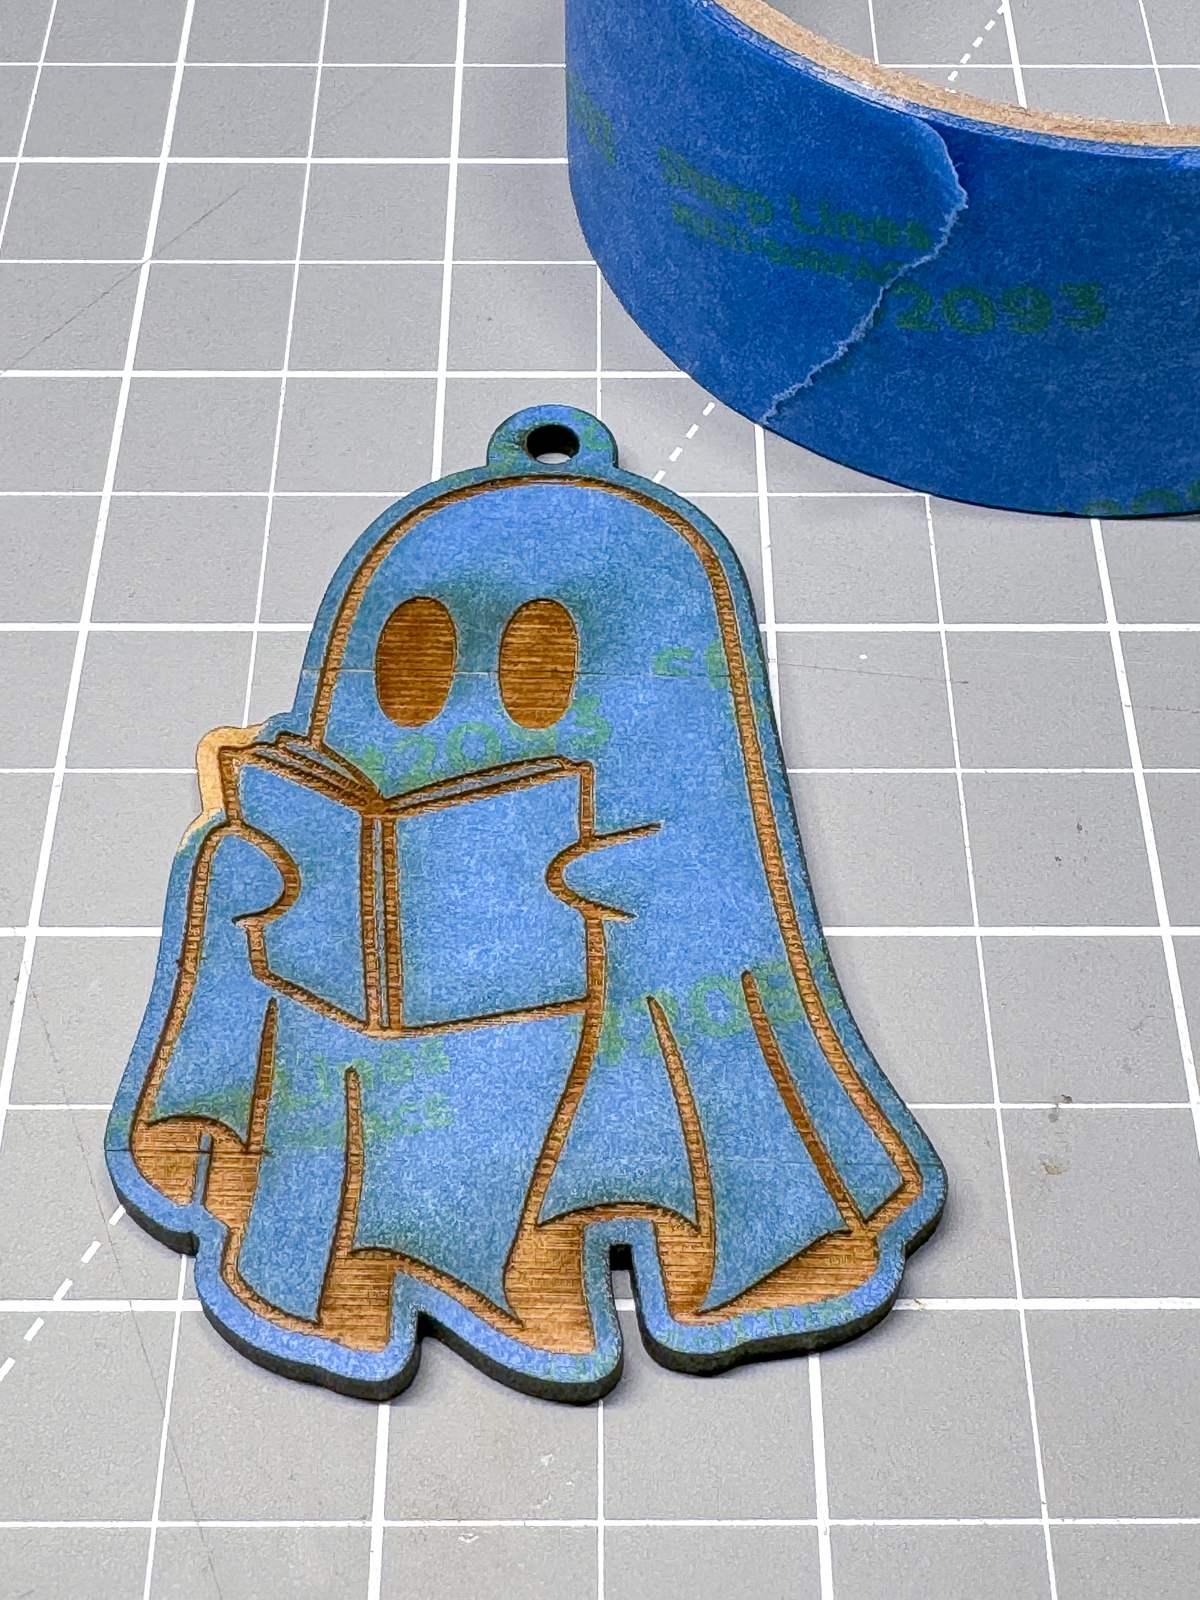
After engraving, make sure the masking is still stuck to the wood before you start painting. Sometimes I prefer the blue painter's tape because it's easier to see where it is (and isn't!) For example, you can clearly see the tape is missing from the corner of the book below.

Wood can wick paint under the tape and into the surrounding grain. A quick coat of clear finish can seal the wood to prevent bleeding and maintain those crisp lines.
Now you can apply paint to the engraving! Dab it in with a brush, rather than pulling it along the surface. You don't want to pull up the masking in the process!

One of the downsides to the tape method is that it can be difficult to get it off, especially with lots of layers of paint. A strip of duct tape wrapped around your hand can help peel away all of them at once!

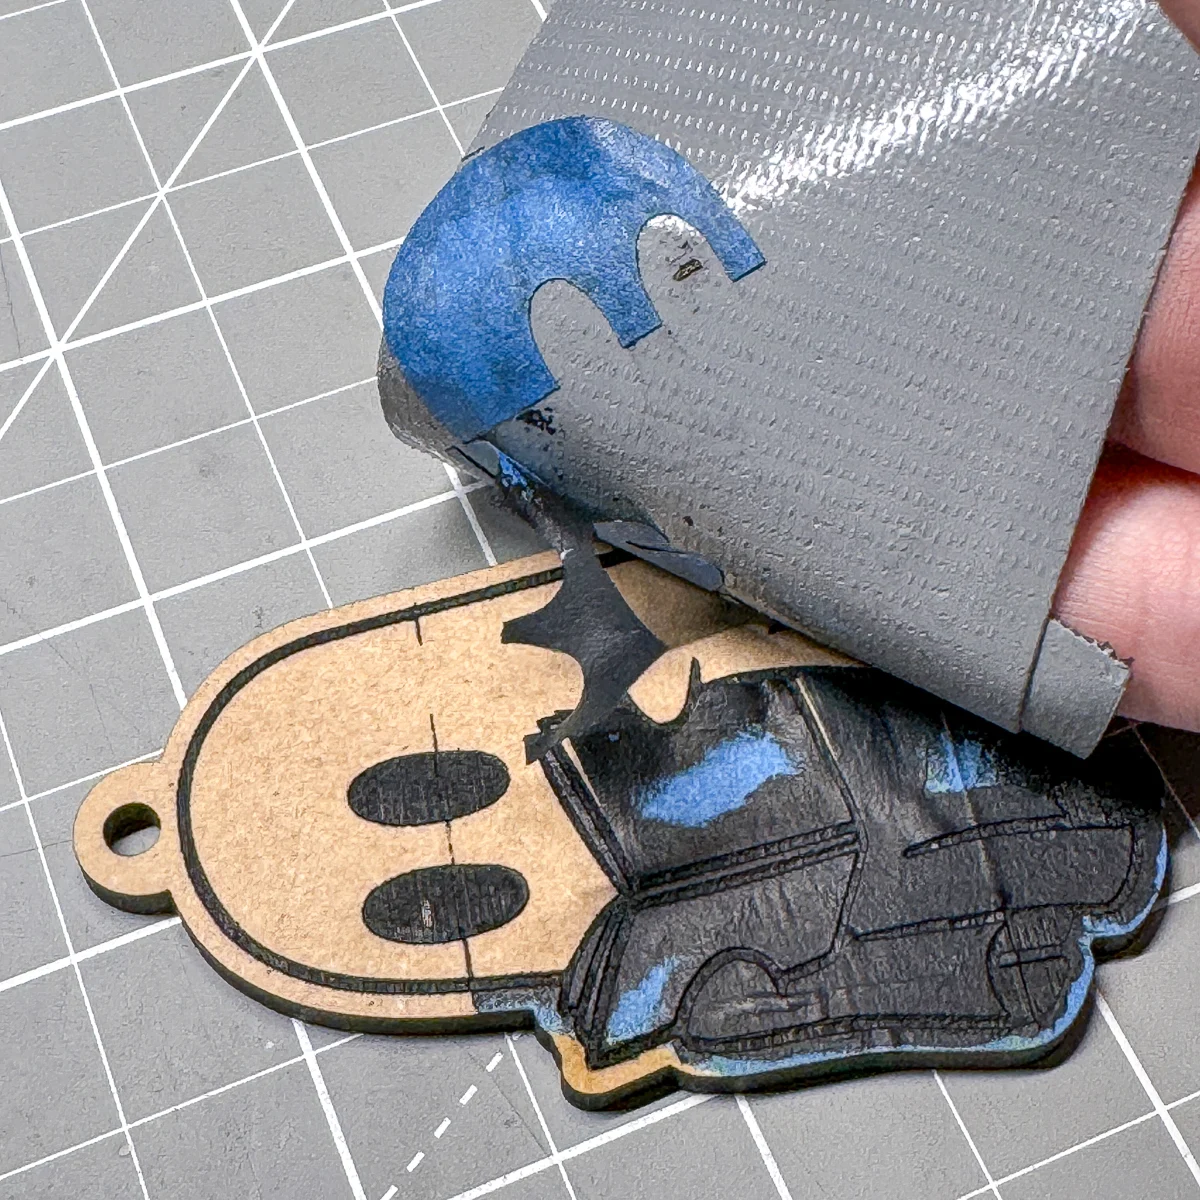
As you can see, the masking didn't work well in the areas between the strips of tape. There were also a few spots where the paint seeped under the tape, especially in the tight corners.


Since this MDF is unfinished, I was able to sand out most of the trouble spots. But if I had pre-painted or pre-stained this board before engraving, it would be much more difficult to fix.

Method #2: Prefinished Wood
Does all that masking and peeling sound like a ton of work? It can be a pain!
That's why, for most engraved projects, I use prefinished wood instead. Acrylic paint doesn't stick to it, so it only goes in the areas where the finish was engraved away!
You can find prefinished plywood at various laser supply companies online. My personal favorite is Smokey Hill Designs, where they have a bunch of different wood species plus solid colors like white and black!

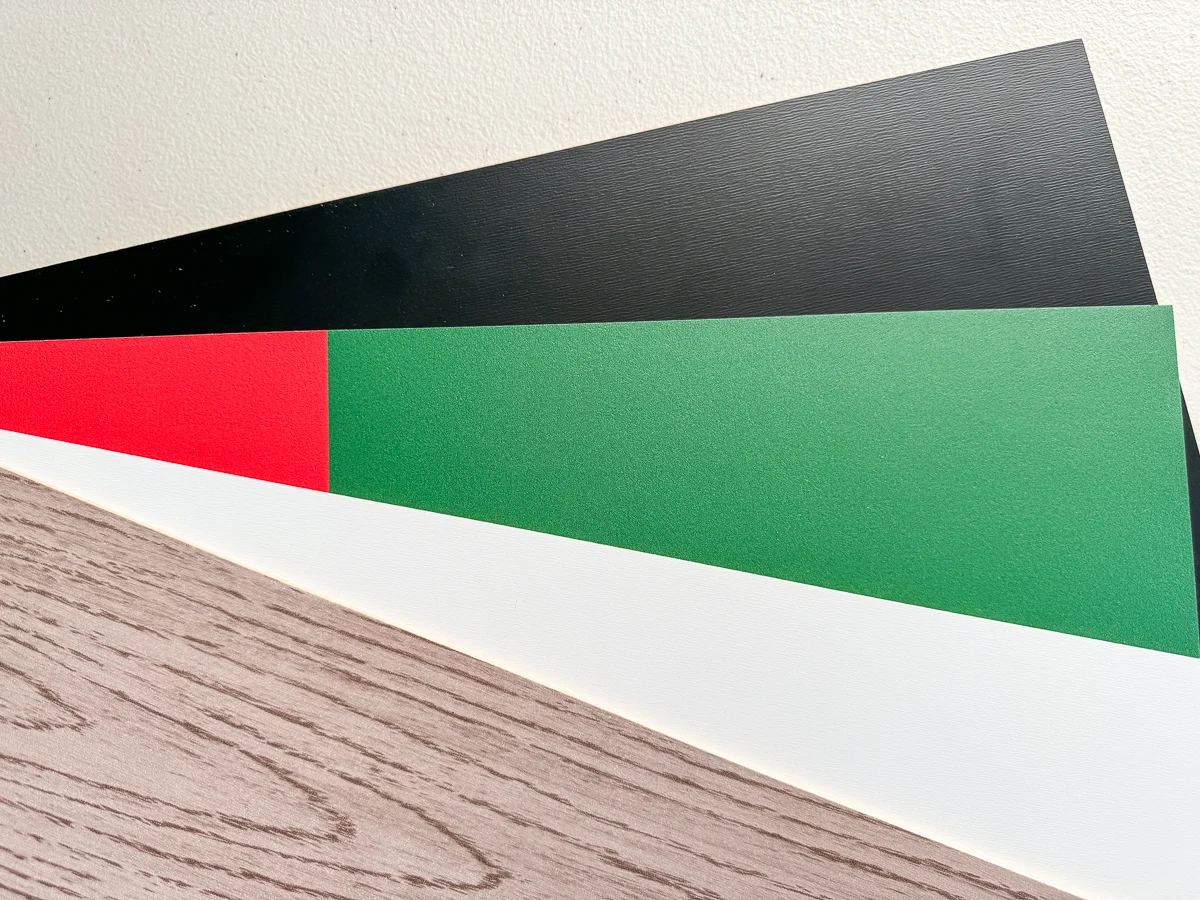
Whiteboard is another inexpensive material that you can find at your local home improvement store. You can get a 2'x4' sheet for under $10, and it's white on one side and black on the other.
You can also apply a clear finish to your wood before lasering. Water based finish like polycrylic or polyurethane or a natural finish like shellac is best. Avoid oil based finish, which can catch fire in your laser! Check the label before you apply it to your project.

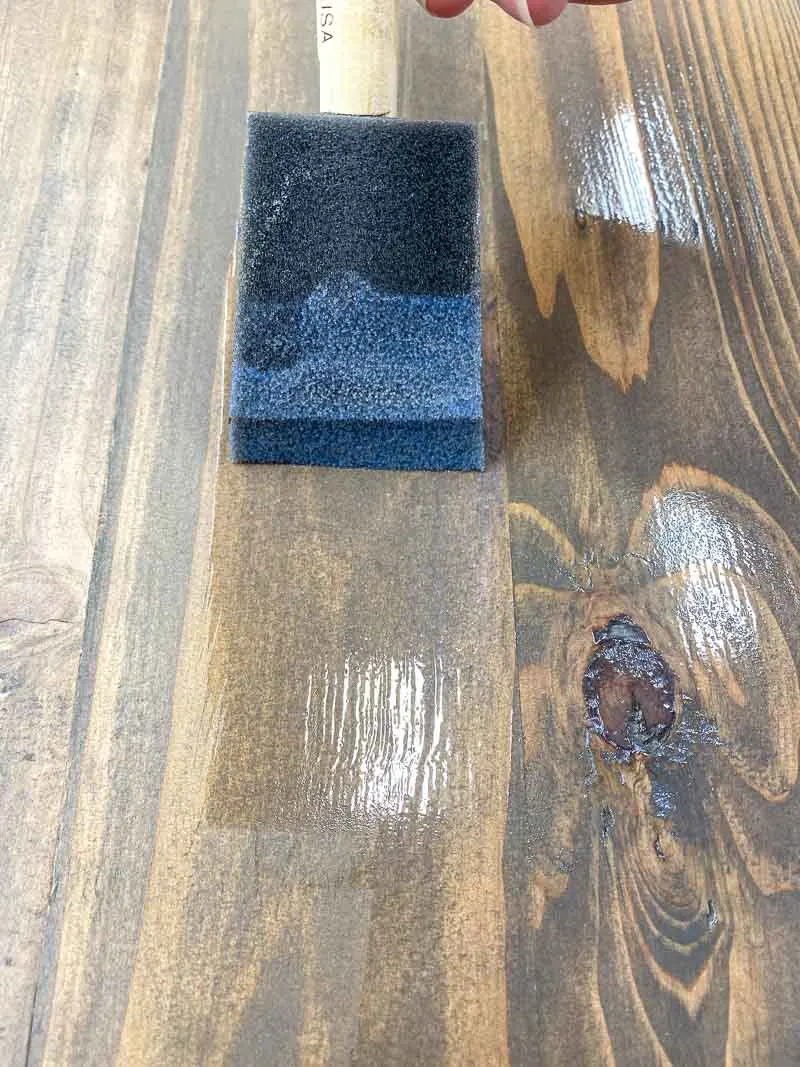
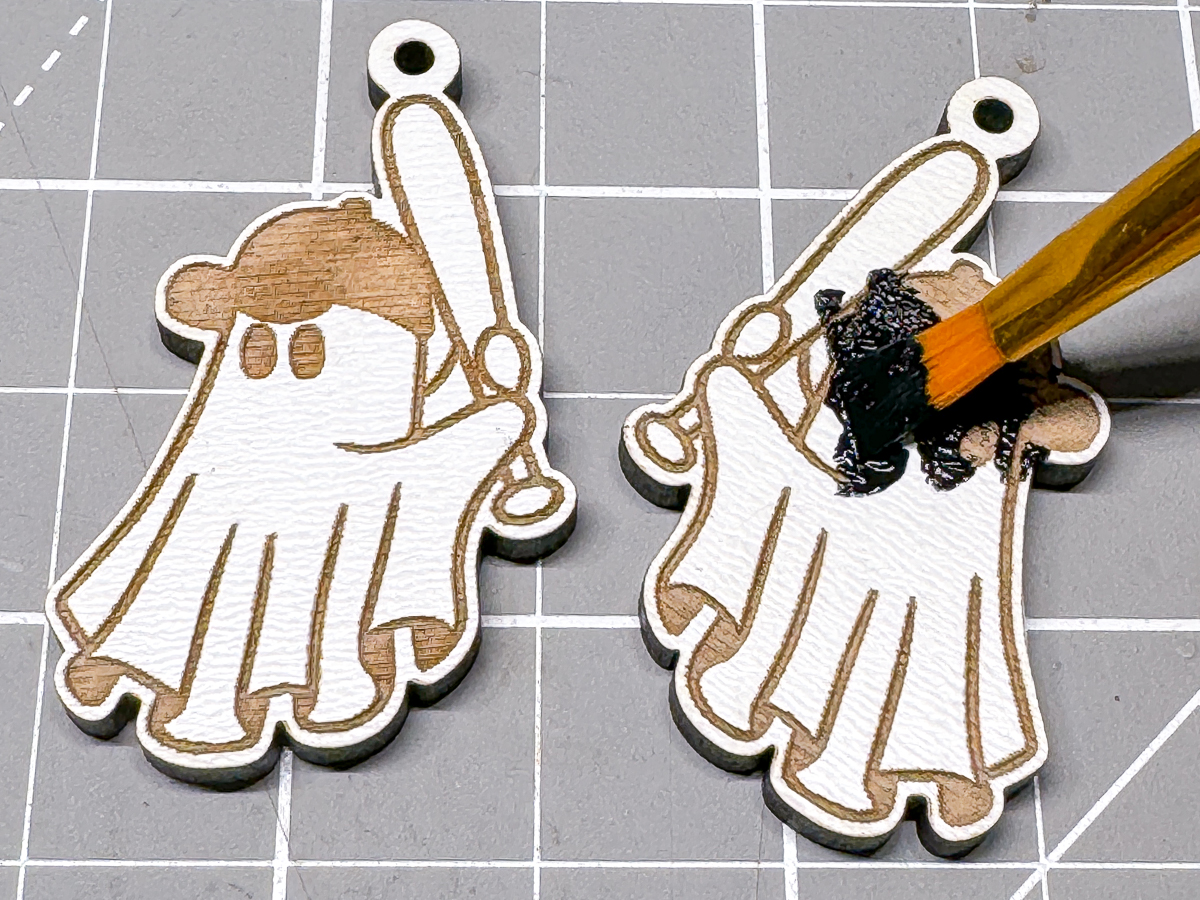
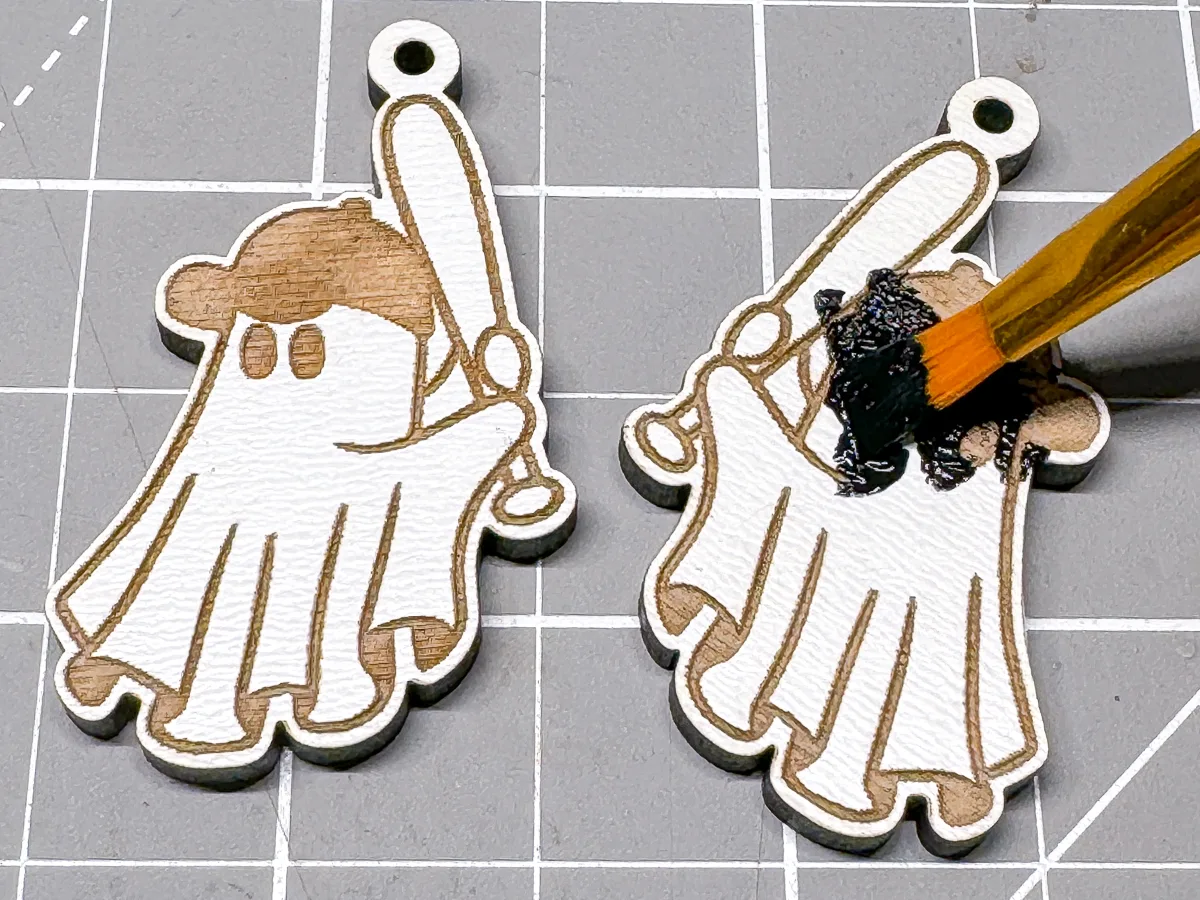
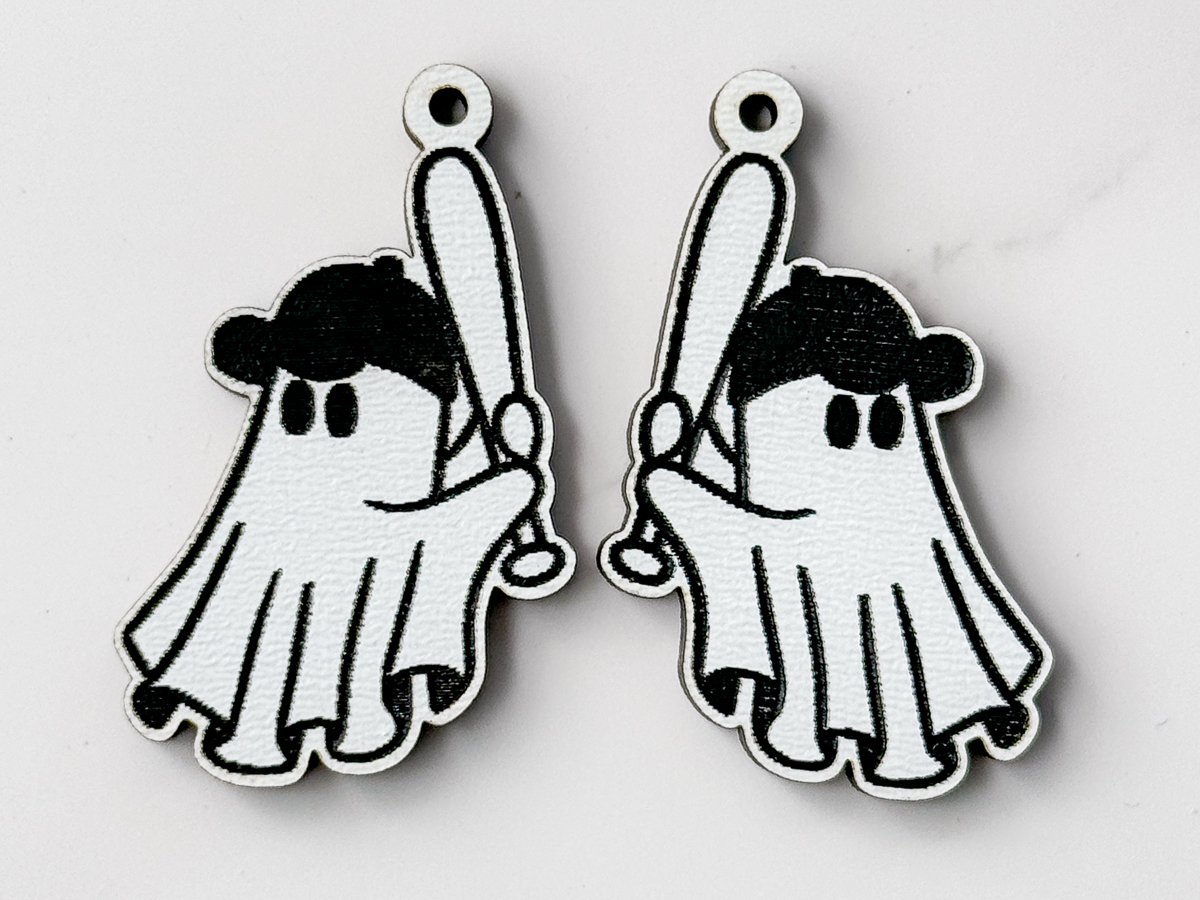
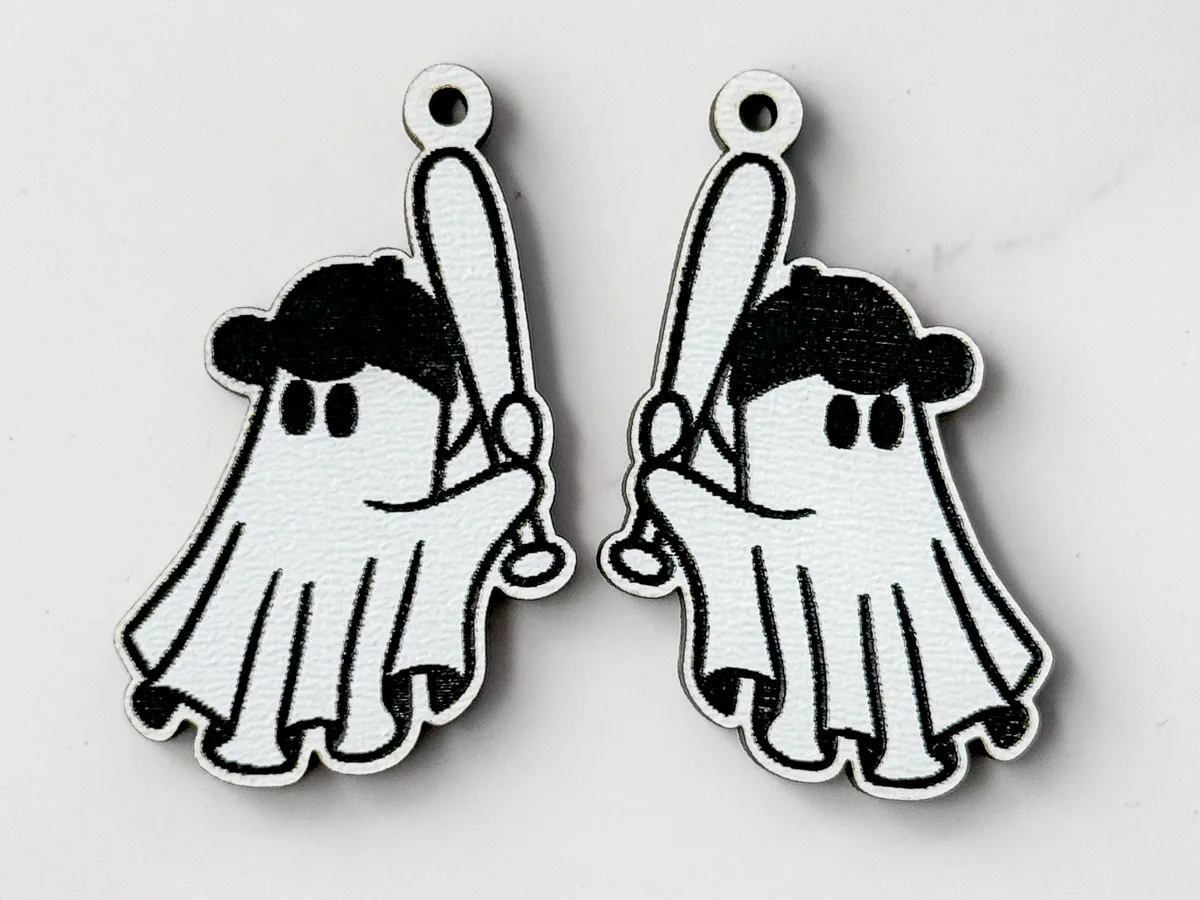
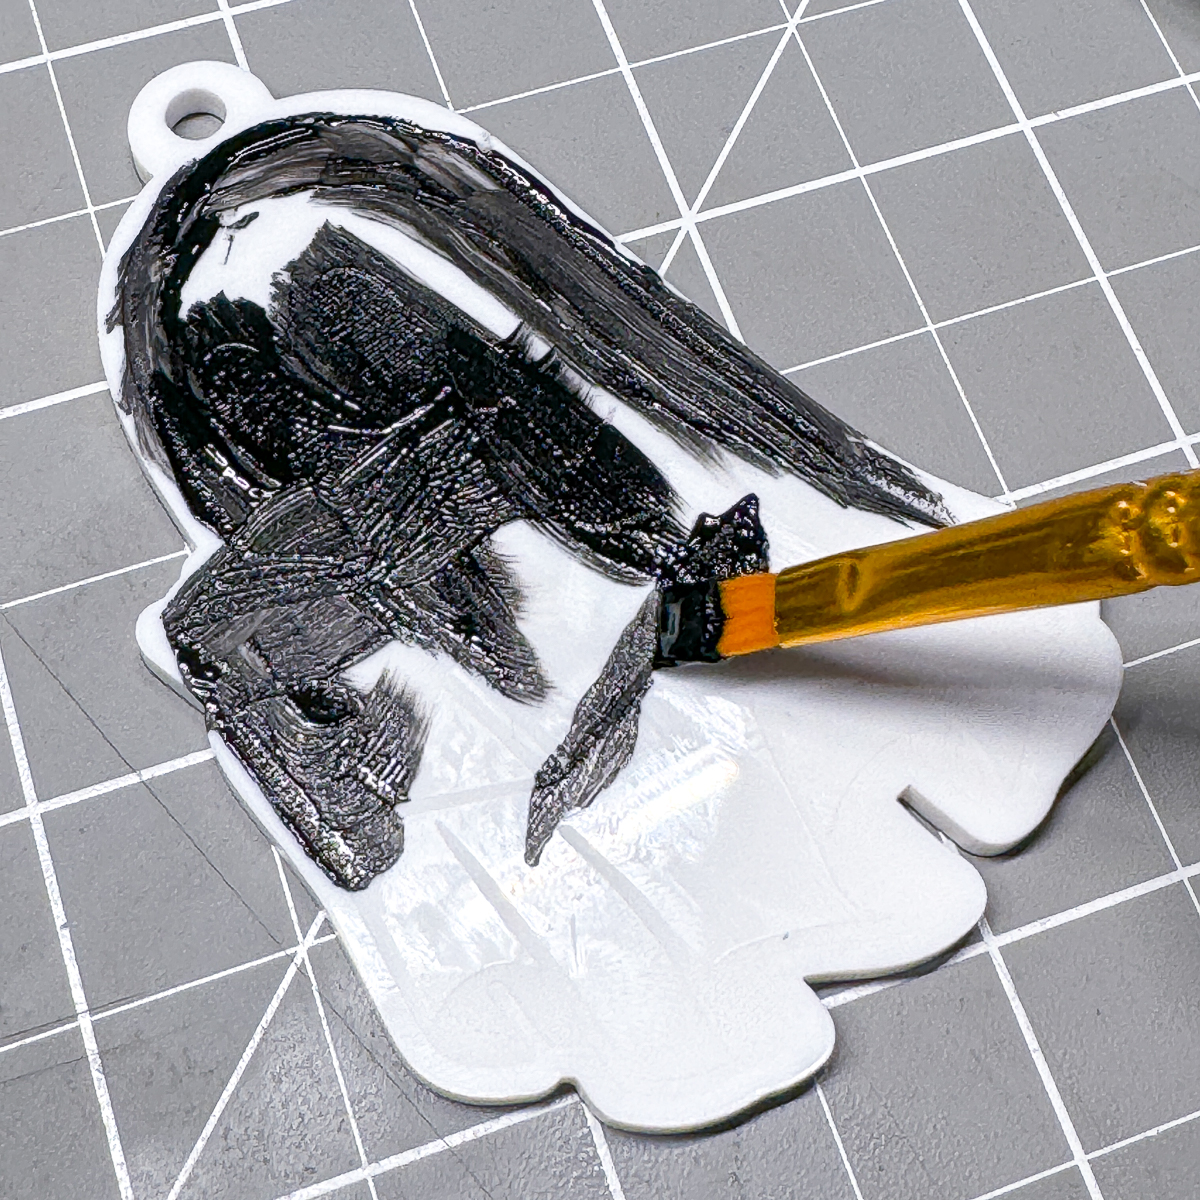
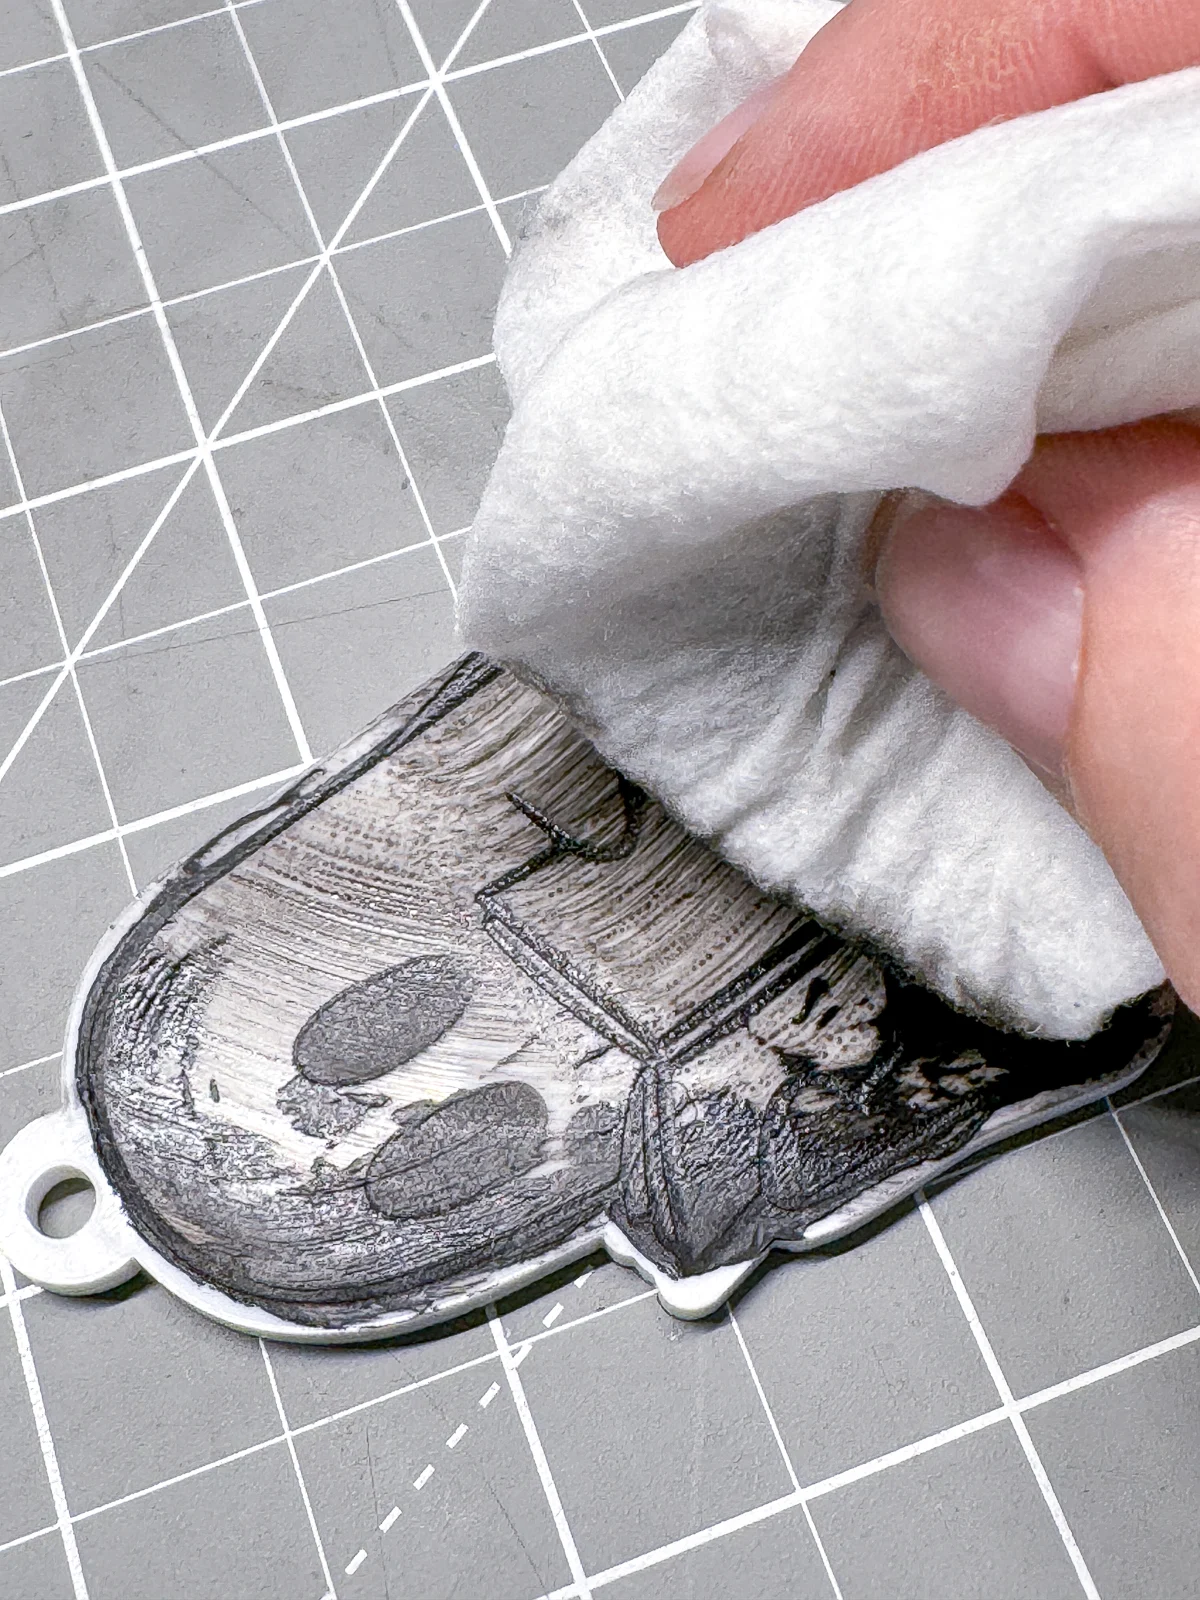
You just slather on the paint over the engraving and let it dry! It will wipe off the surface easily, leaving the paint ONLY in the engraving where the finish was burned away.
I've found that baby wipes are the easiest way to remove the excess paint. To keep it flat across the surface, I wrap it around a melamine sponge cube. It's soft enough to prevent scratching, but stiff enough to stay out of the engraved areas so it doesn't pull out the paint.
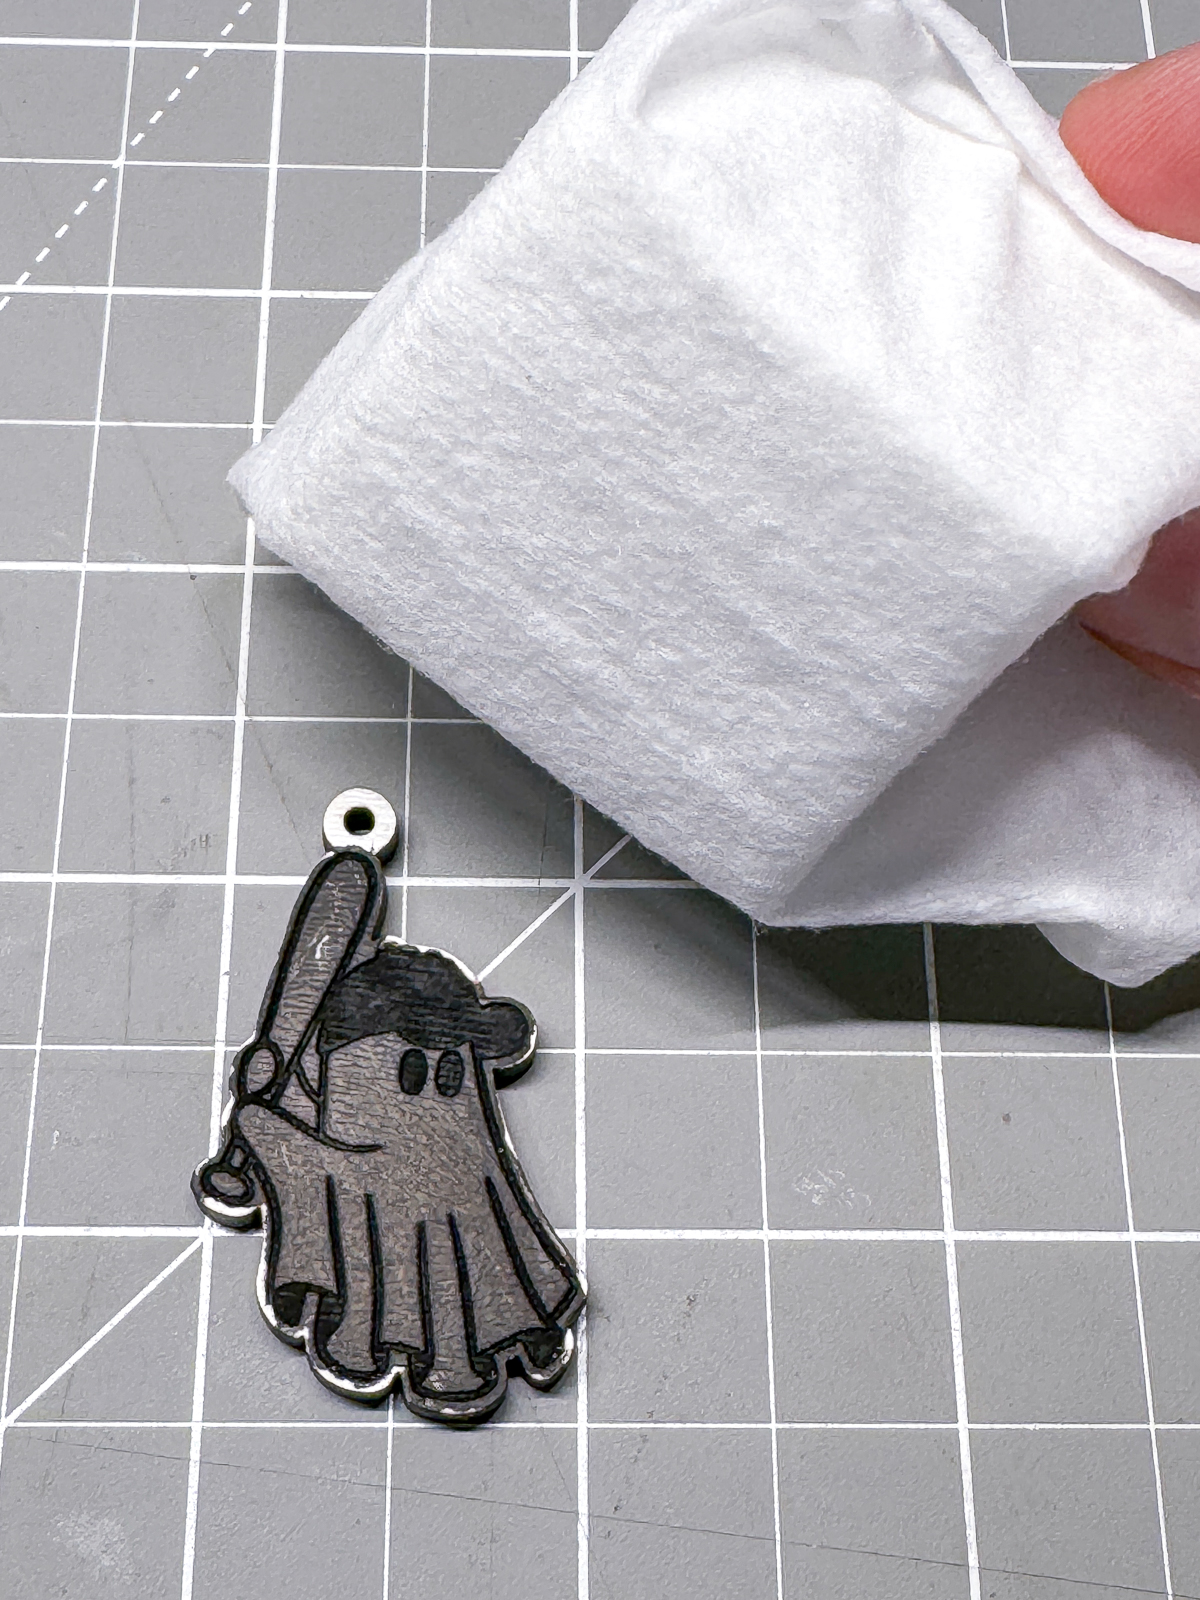
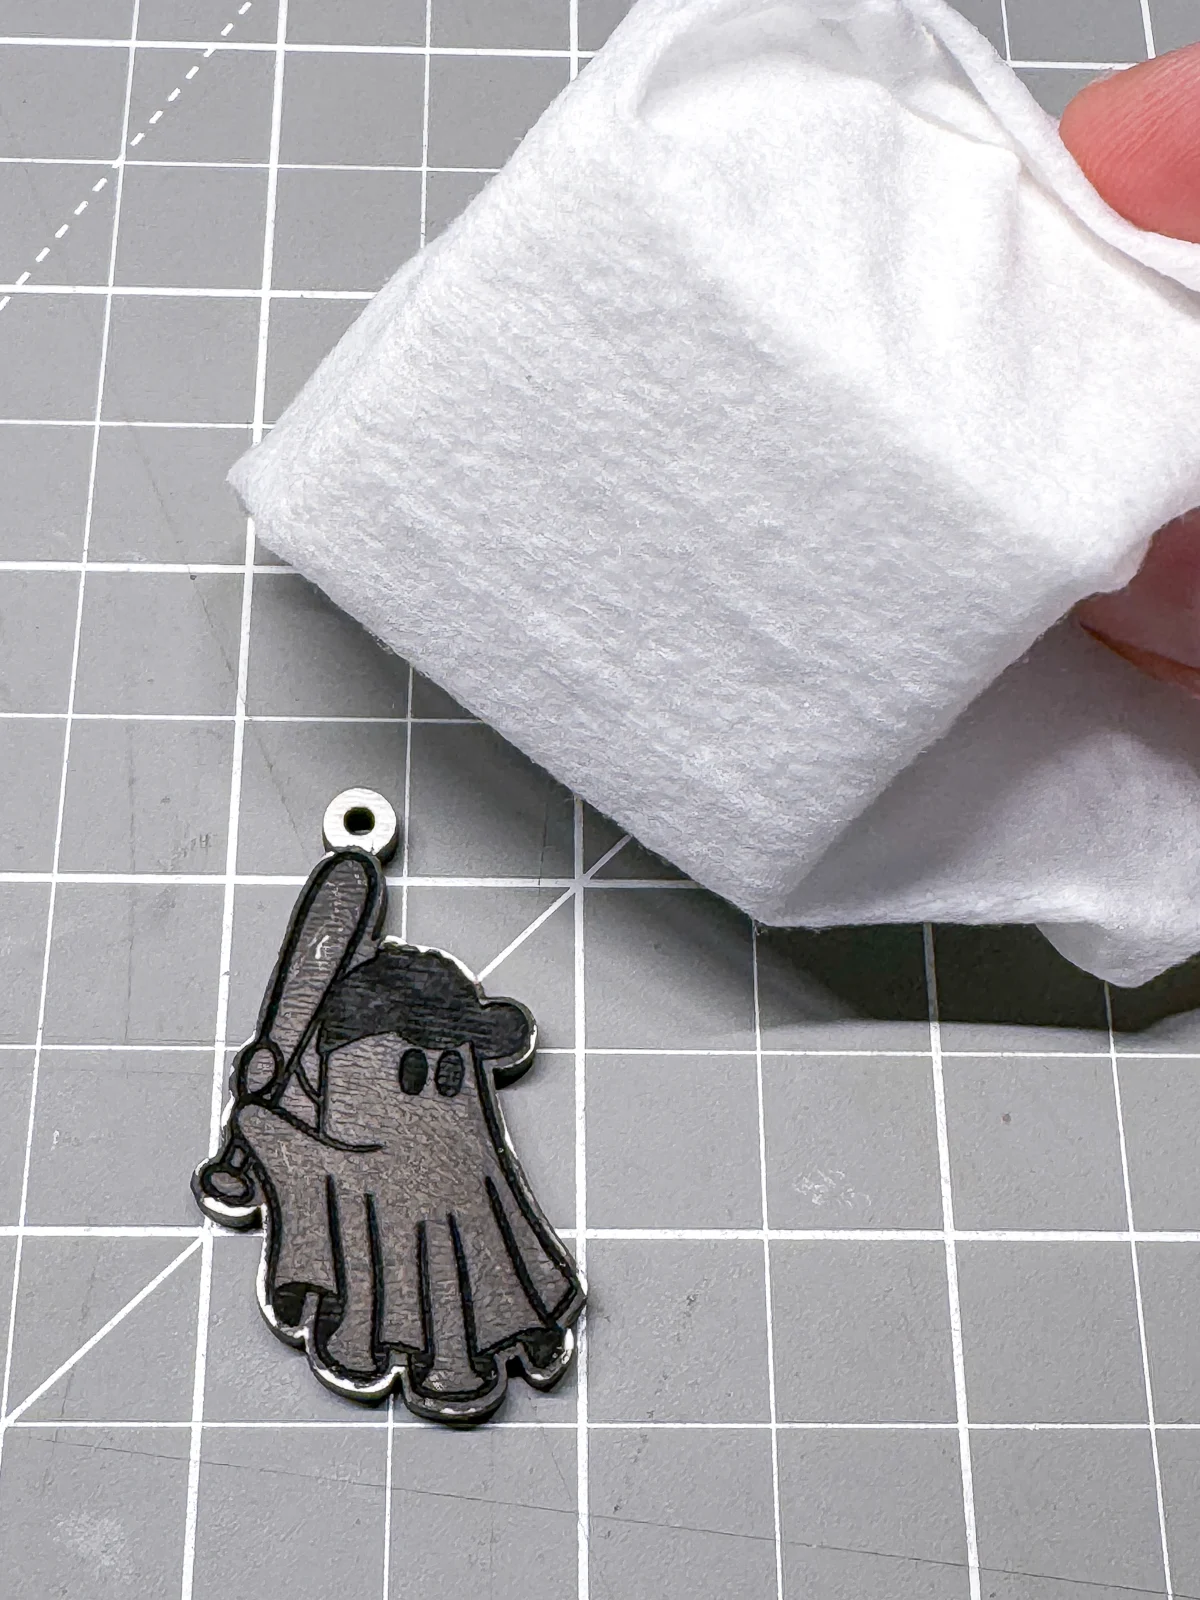
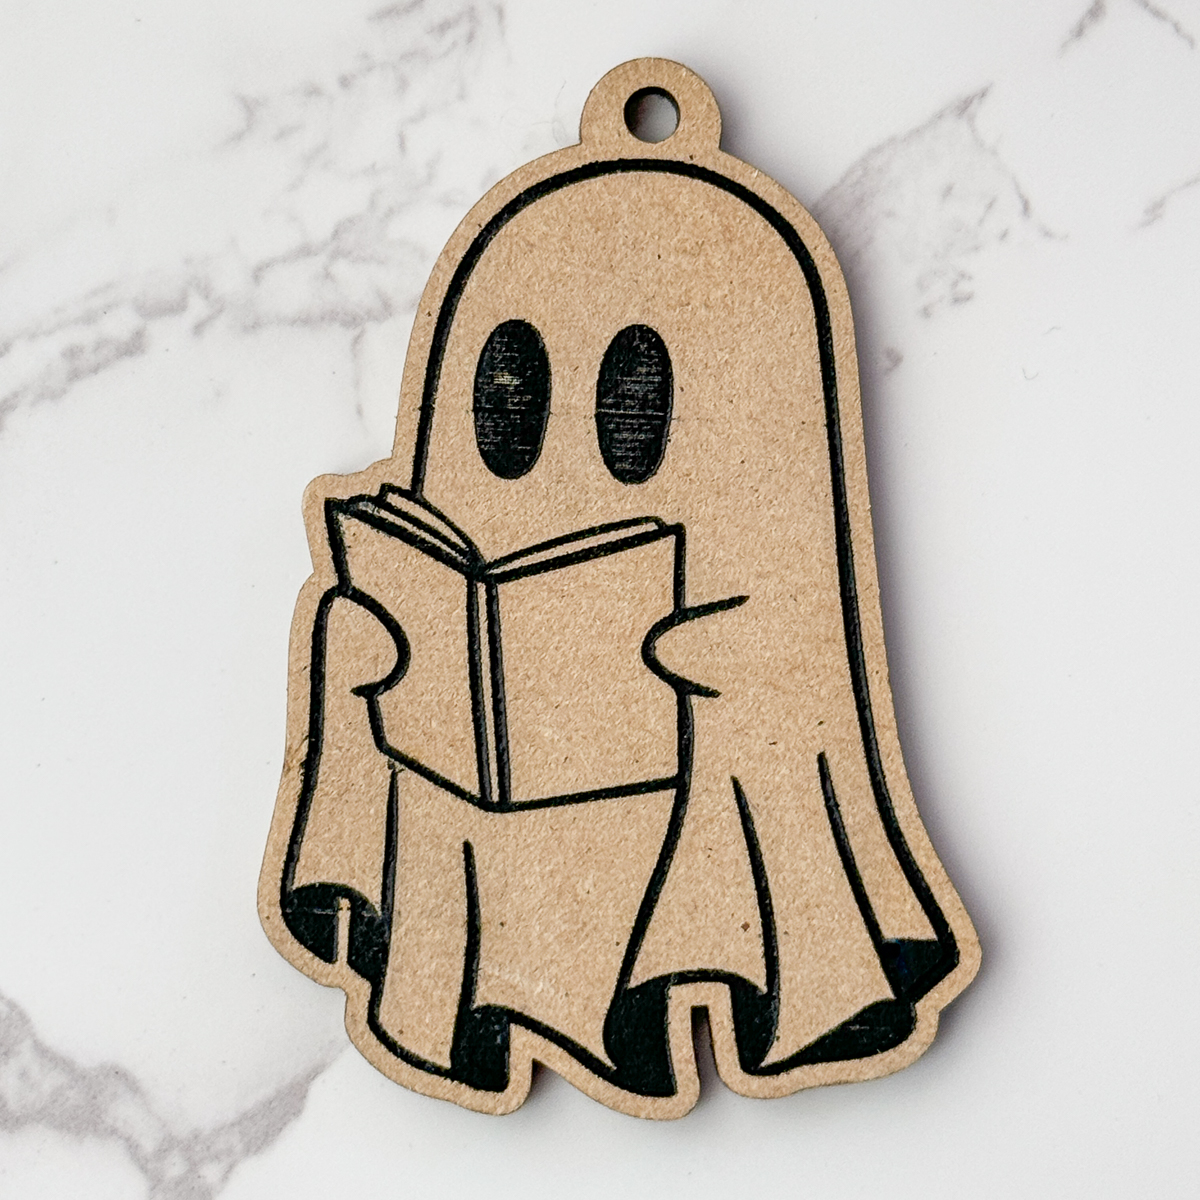
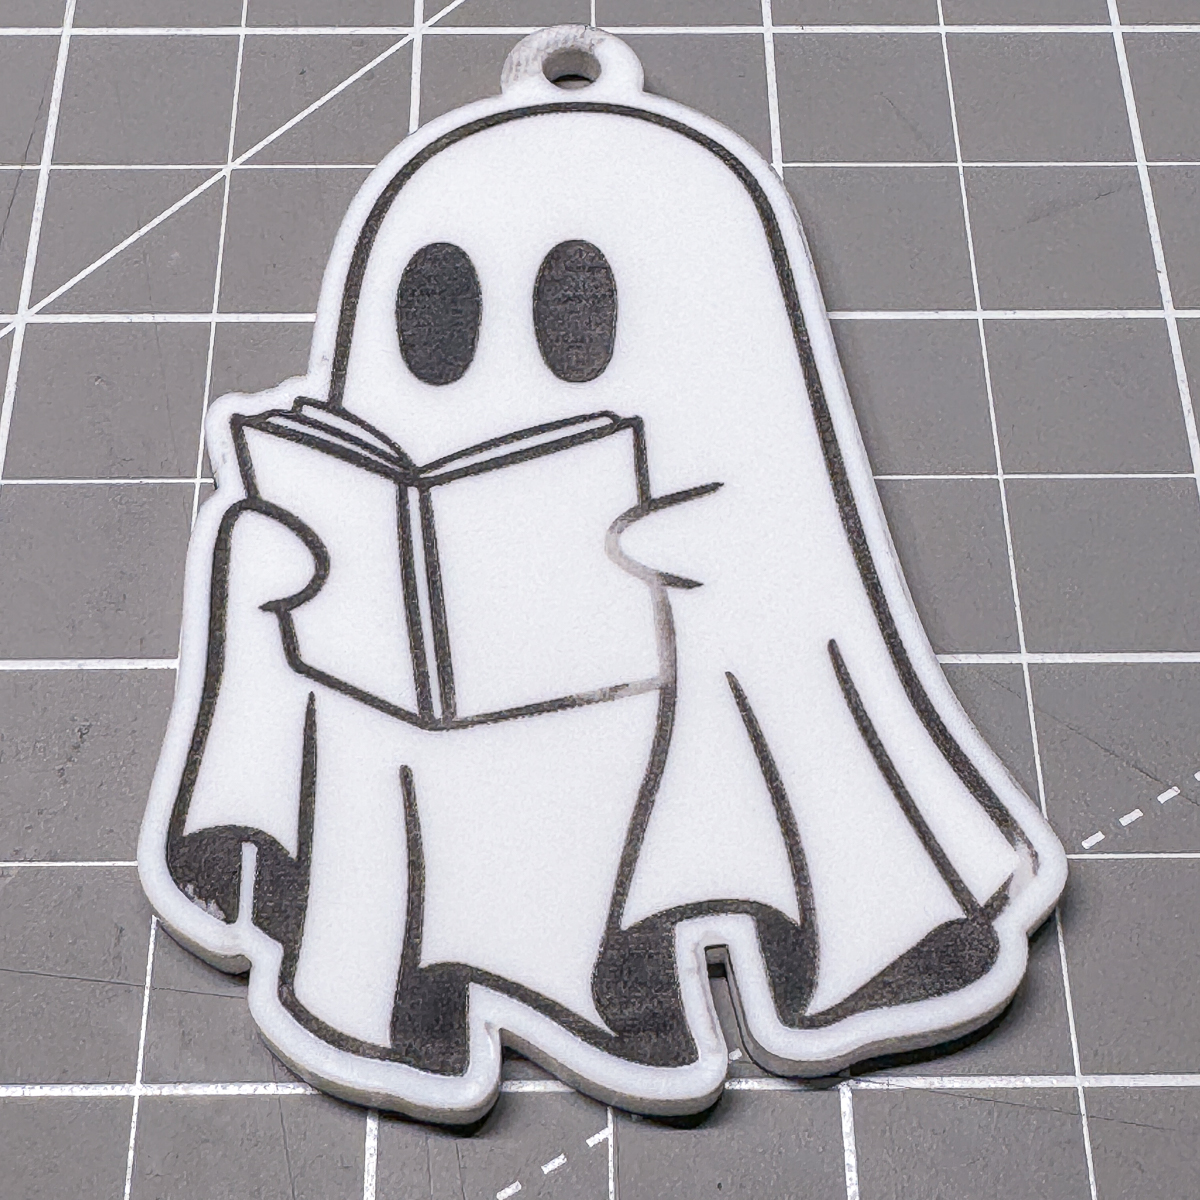
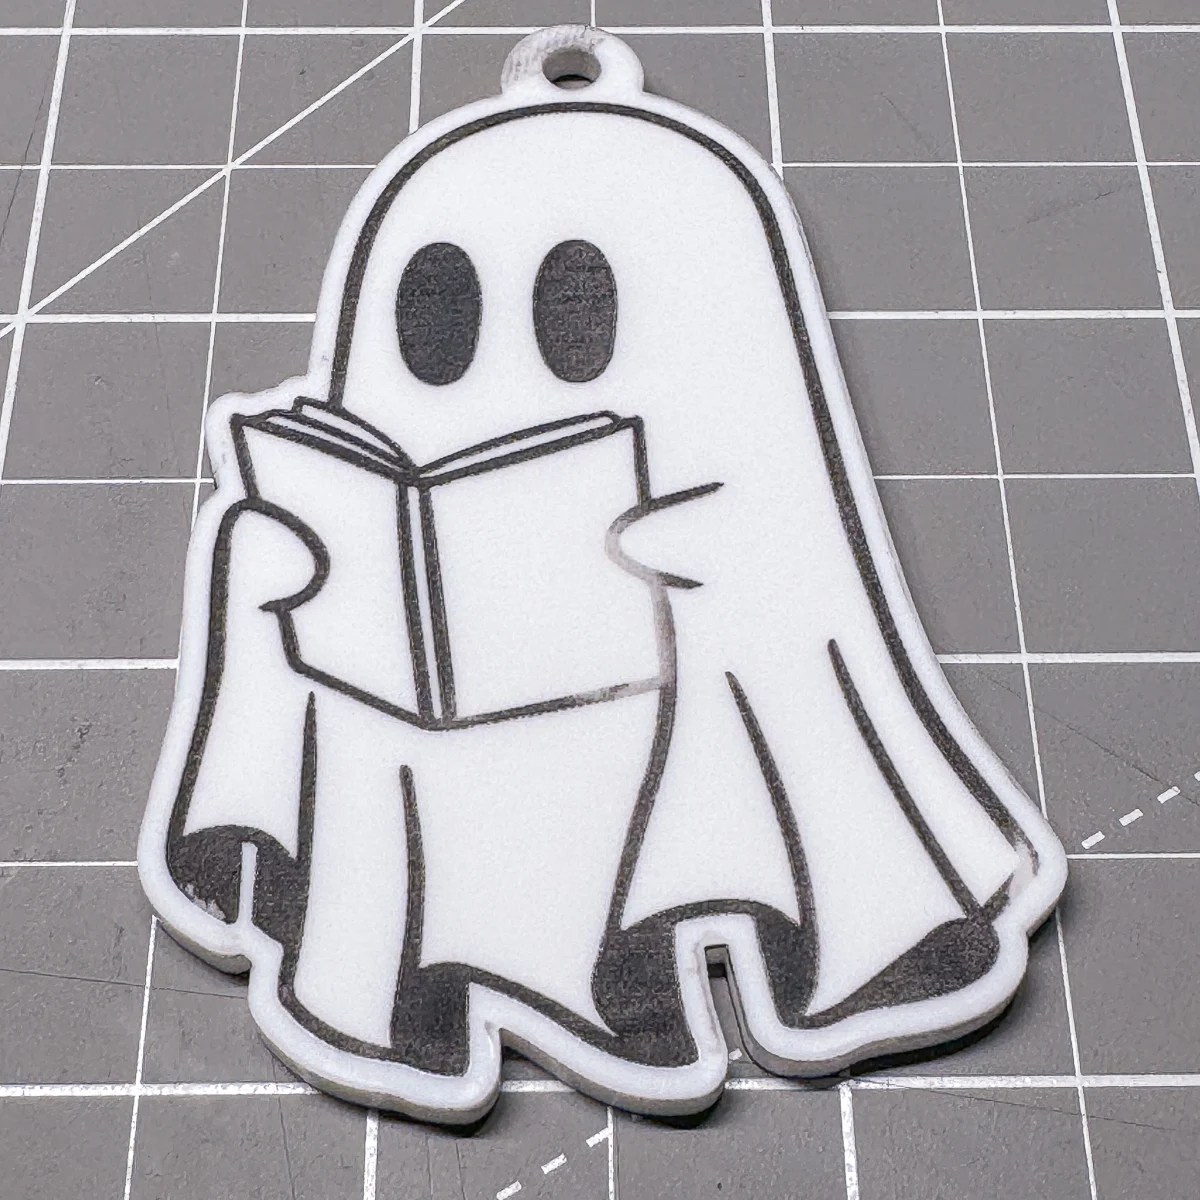
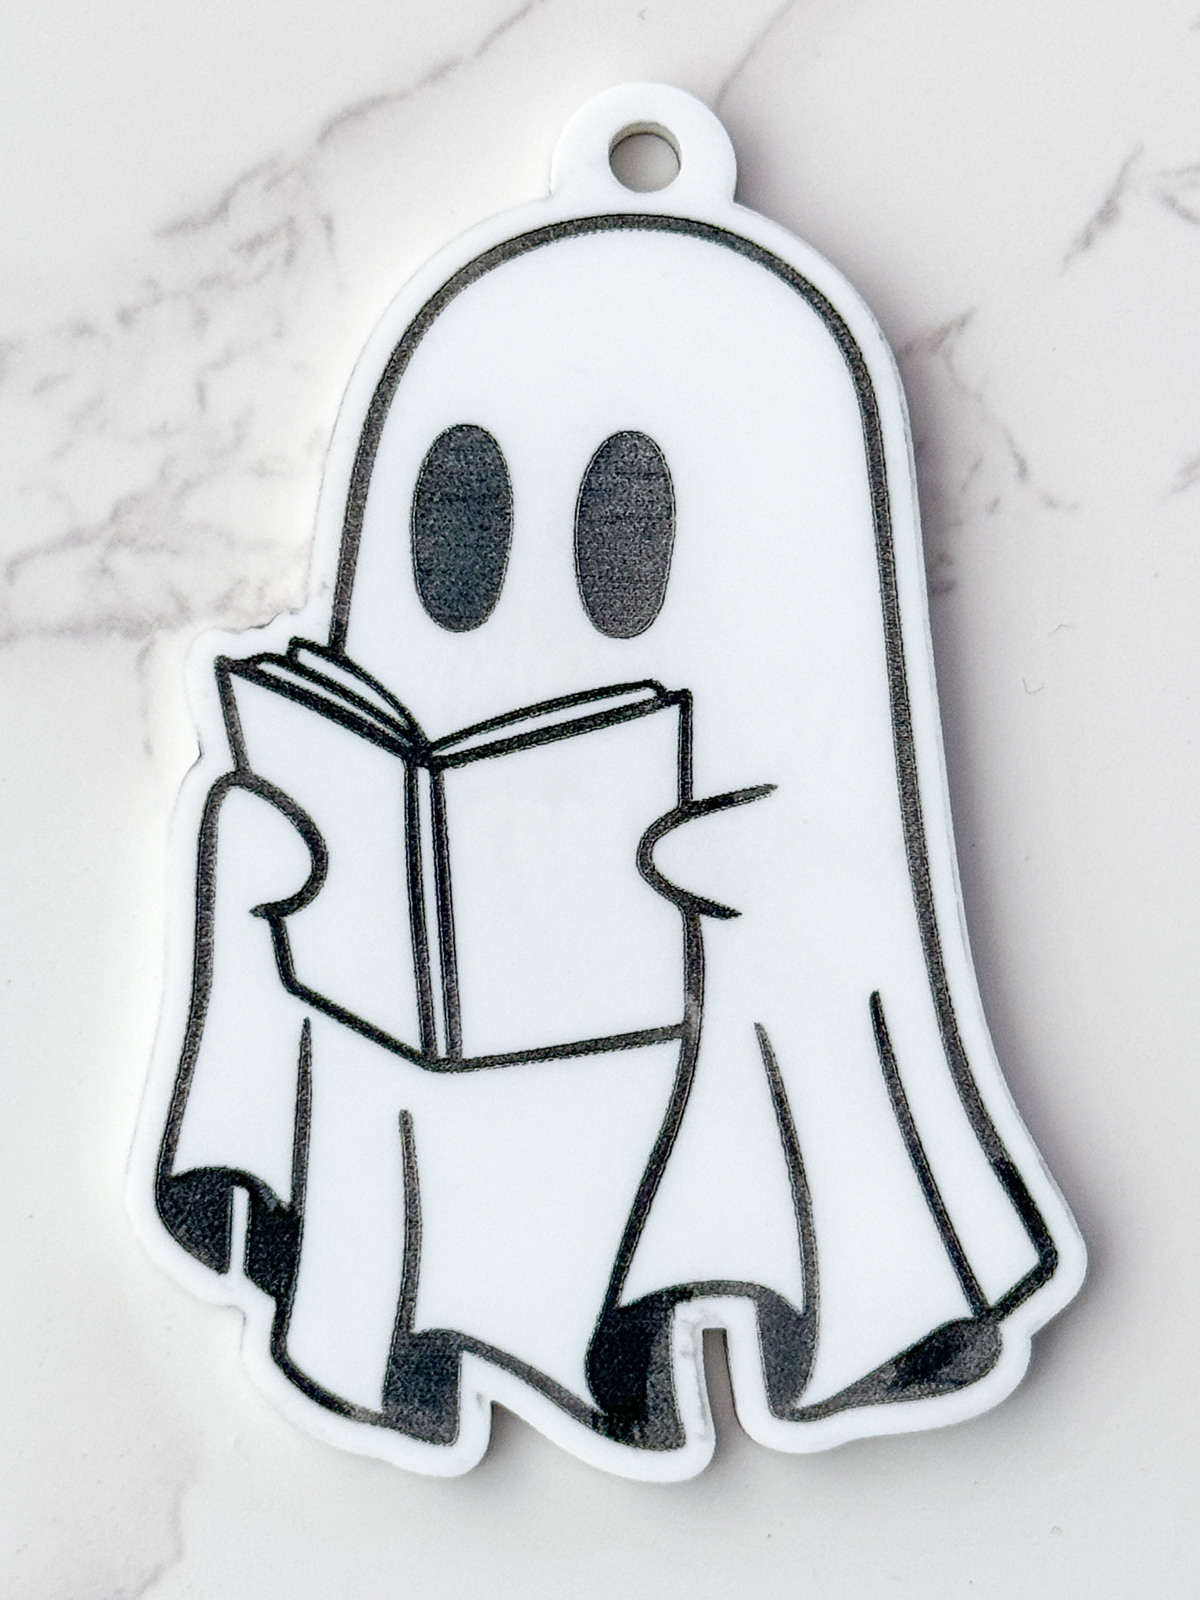
I've found myself reaching for these prefinished sheets more often than regular plywood for my projects. It saves sooooo much time, and gives you a much better result! I've used it to make tons of cute ghost earrings, which you can find in my Etsy shop here.
Method #3: Paint filling engraved acrylic
I don't cut a lot of acrylic, simply because I hate the smell! But all those pretty colors and patterns are so fun to use, so occasionally I'll crank up the air purifier and deal with the headache I'll inevitably get later.
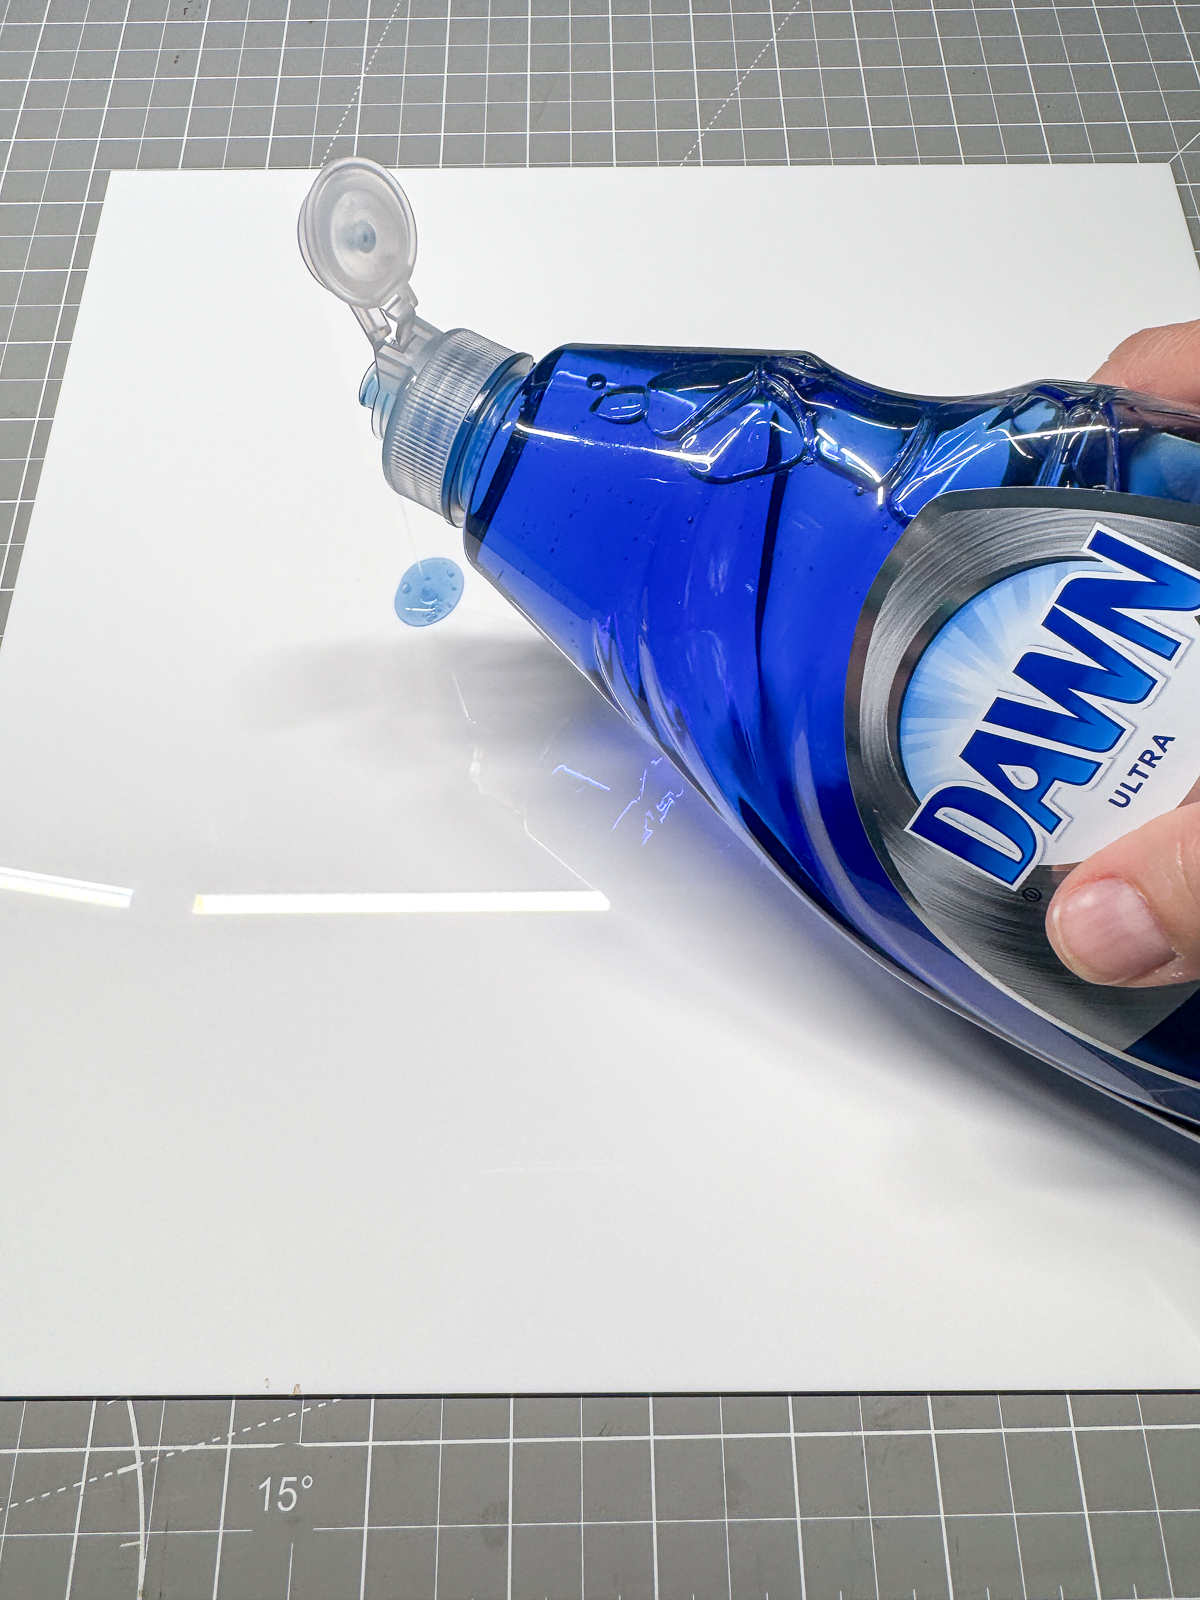
One hack I've used before to prevent flashback and hazing on acrylic is to apply dish soap to the surface before putting it in the laser. The same technique can be used on the top for paint filling an engraving!
Before you put the acrylic sheet in the laser, apply a thin coat of dish soap across the area to be engraved. Let it dry, then run the file.

Just like with the prefinished plywood, flood the surface of the engraving with paint.

Allow the paint to dry, then wipe off the excess with a damp paper towel or a baby wipe. Don't use isopropyl alcohol, which can cause acrylic to crack.

The dish soap acts like liquid masking, and allows the paint to come off the surface easily. The paint sticks to the inside of the acrylic, which is rougher and has more "tooth."
One coat of paint wasn't quite enough, so I added a second. It was a little harder to remove the paint from the surface this time, since most of the dish soap was already wiped away. You can see where some of it stuck to the cut edges as well.

I recommend doing multiple coats of paint on acrylic before wiping any of it away. The liquid masking does its job, but only once!
I hope these tips and tricks will help you get a better result on your next laser project! Let me know how it turns out in the comments below!
Don't have a laser, or looking to upgrade? Use the code VINETA100 for $100 off an xTool laser! Click here to check them out!
Check out these other laser project ideas!