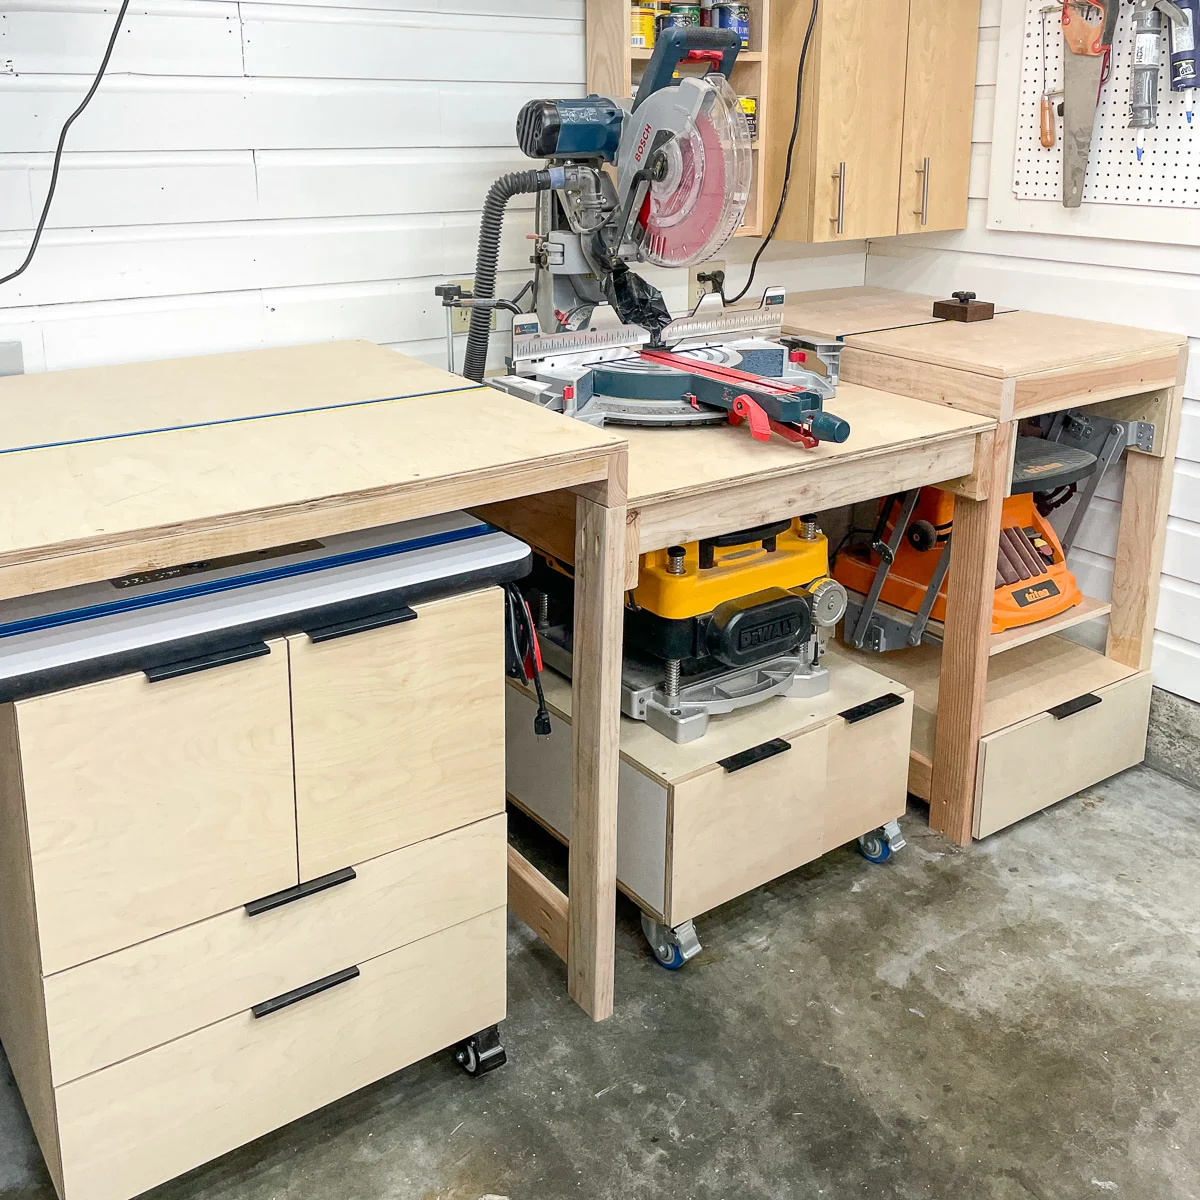
You need this DIY miter saw station in your workshop! It combines up to four major tools in one small footprint to maximize space and productivity!
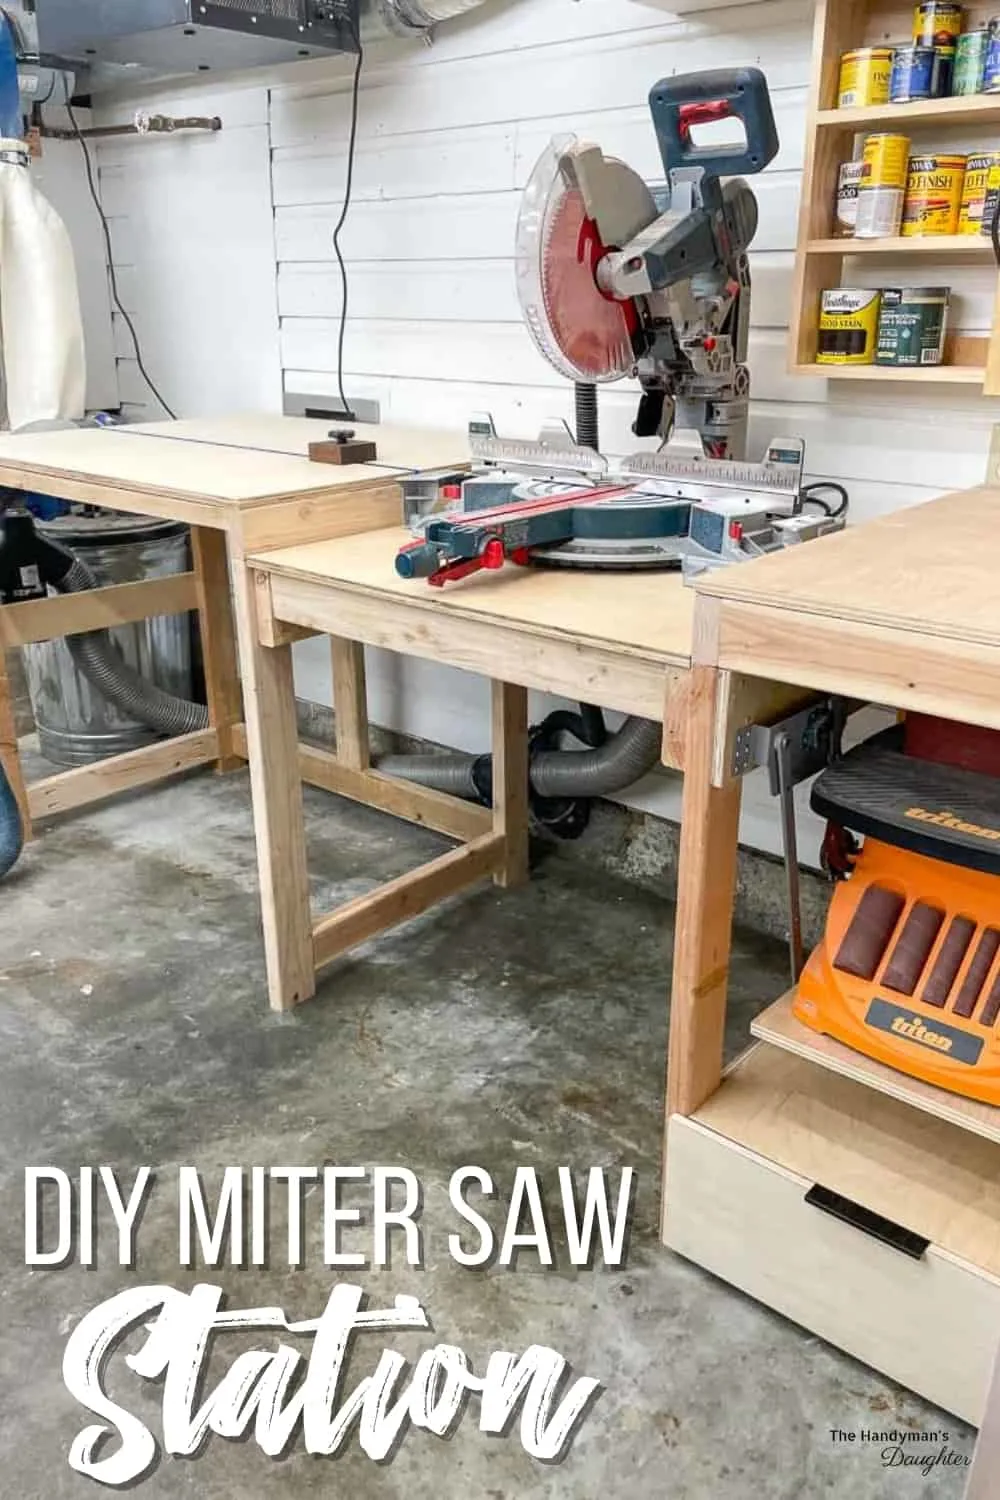
My woodshop is in a one car garage in the basement of our house, and space is always an issue! I'm constantly looking for ways to squeeze more tools into this tiny space, while still making it functional.
My previous miter saw stand
My old miter saw stand just wasn't cutting it anymore (pun intended). 😉 It was on casters to make it easy to move, but it was so big, it couldn't really go anywhere! And it took up way too much space for just one tool.
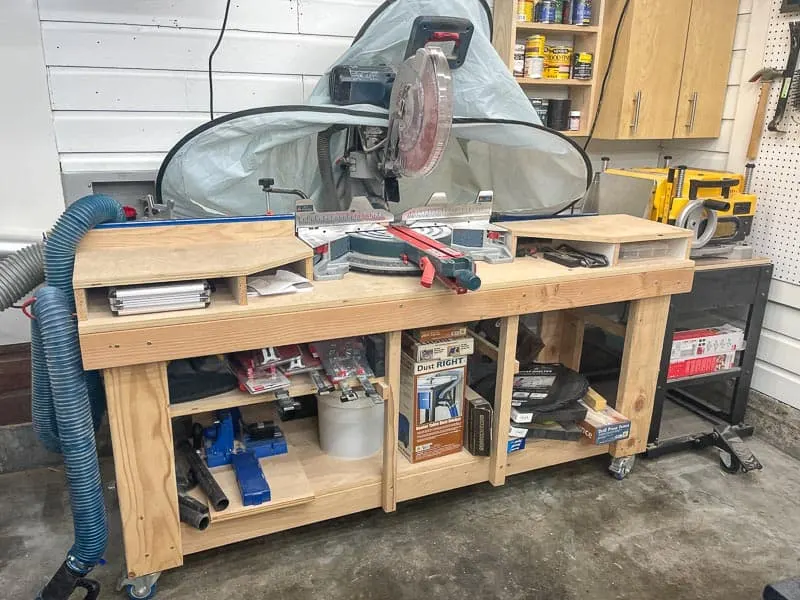
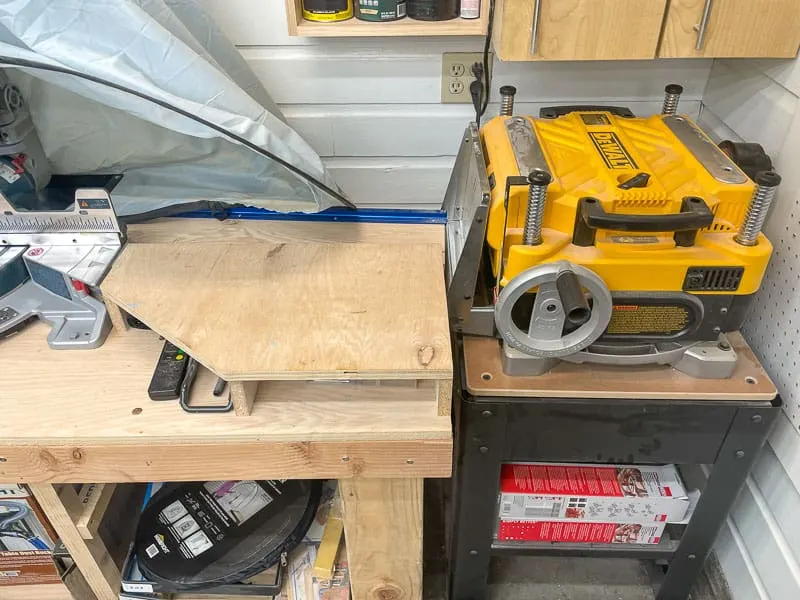
The "wings" on either side of the saw are used to support the lumber during the cut, but aren't good for much else. I never bothered to reset my Kreg Stop Trak and fence extension when I upgraded to a new miter saw, so it was just wasted space. I also had to wheel the thickness planer out of the way whenever I wanted to make a longer cut!
New miter saw station features
I tried to fit as many tools and features into this miter saw station as I could! You can substitute different tools in each of the sections, depending on what you have and use regularly.
- The top will hold the miter saw itself, with large work surfaces on either side that can also be used for assembly or glue ups.
- A T track stop block system embedded into the work surface for repeatable cuts at the miter saw without a fence to get in the way.
- A tool stand with a lift to raise and lower the belt sander under the workbench easily.
- A planer stand that slides under the miter saw when not in use.
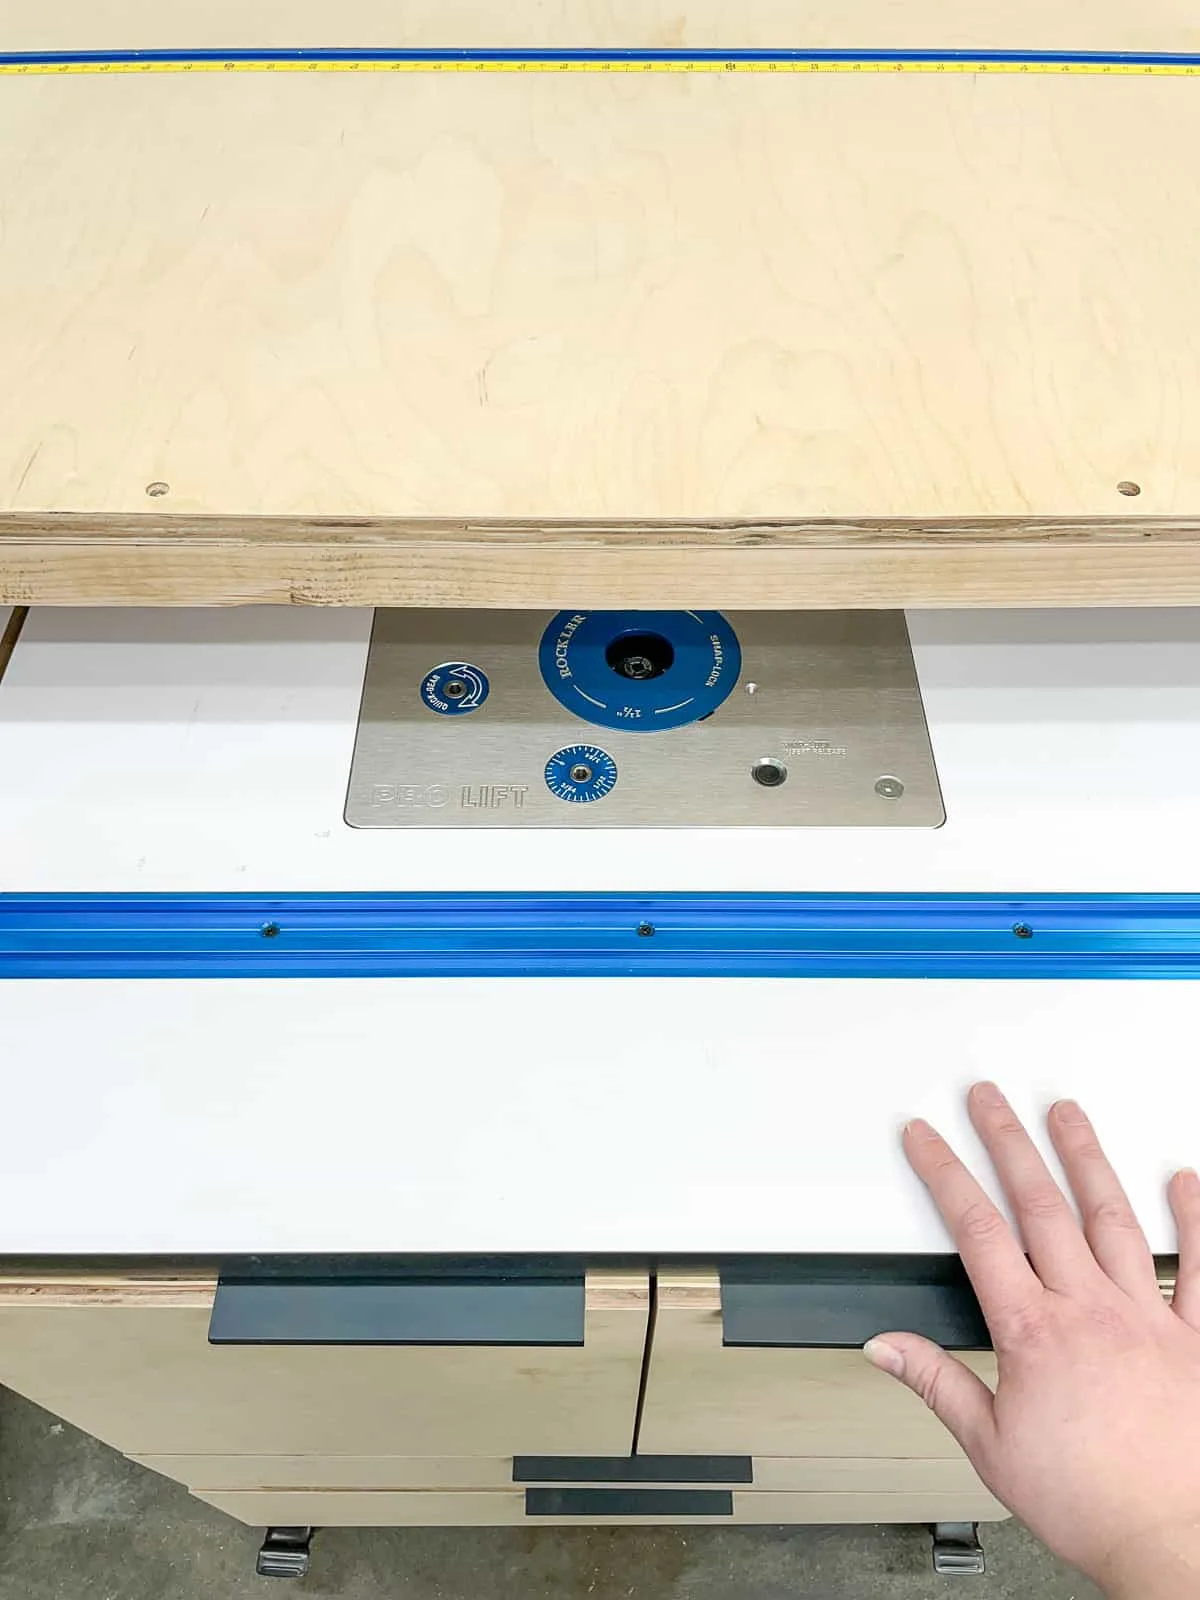
- A router table that fits under the larger side of the miter saw station and rolls out when needed.
- Miter saw dust collection that ties into the wall mount dust collector with hoses and fittings hidden behind the back legs.
- Lots of storage space!
You can get the basic miter saw station plans by clicking the box below. Want the full set of four woodworking plans that also includes router table, planer stand and tool stand with lift? Click here to get a discount on the bundle! Thank you for your support!
Ready to start building a miter saw table? Here's what you'll need!
This post contains affiliate links for your convenience. Purchases made through these links may earn me a small commission at no additional cost to you. Please visit my disclosures page for more information.
Materials needed for miter saw station
- Ten 2x4 boards (8 feet long)
- One sheet of ¾" plywood
- You can cut the plywood yourself with a table saw, track saw or circular saw, or have the pieces cut to size for you at the store.
- Pocket hole jig
- 2 ½" pocket hole screws
- Drill
- Miter saw
- Level
- Square
Miter saw station build instructions
Before you begin, don't forget to download and print off the miter saw stand plans! You'll get all the dimensions, a cut list and plywood cut diagram, and detailed instructions with 3D models of every step of the build!

Assemble the sides
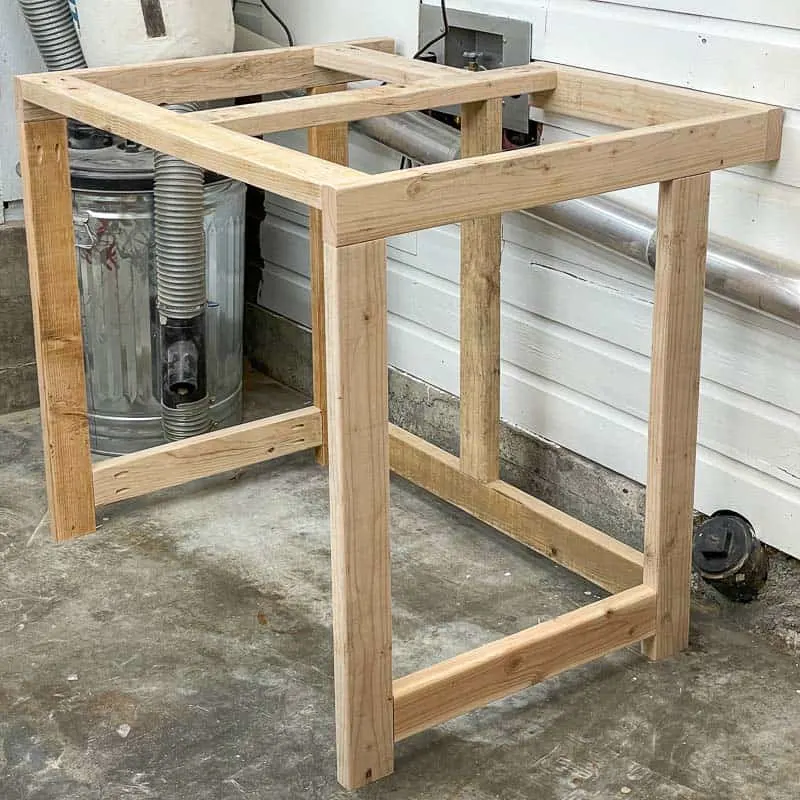
Last week, I wrote up a more detailed tutorial on how to make the right side of the miter saw stand, which can also be a separate tool stand. Assemble the legs, then attach the stretchers across the top and bottom to connect the legs together.
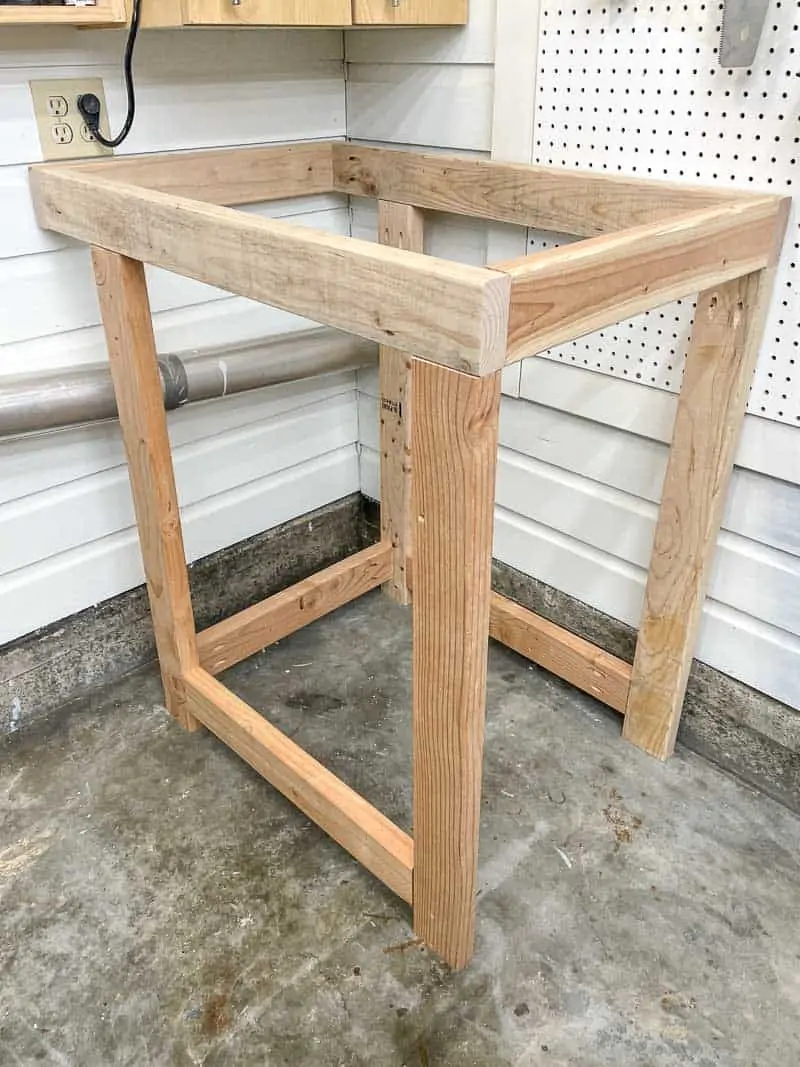
The right side is a bigger version of the left, but I had to adjust mine to work around the old laundry hookup behind it. There's a lot of weirdness on this wall, and I'm so glad I can finally hide it all! 🙂
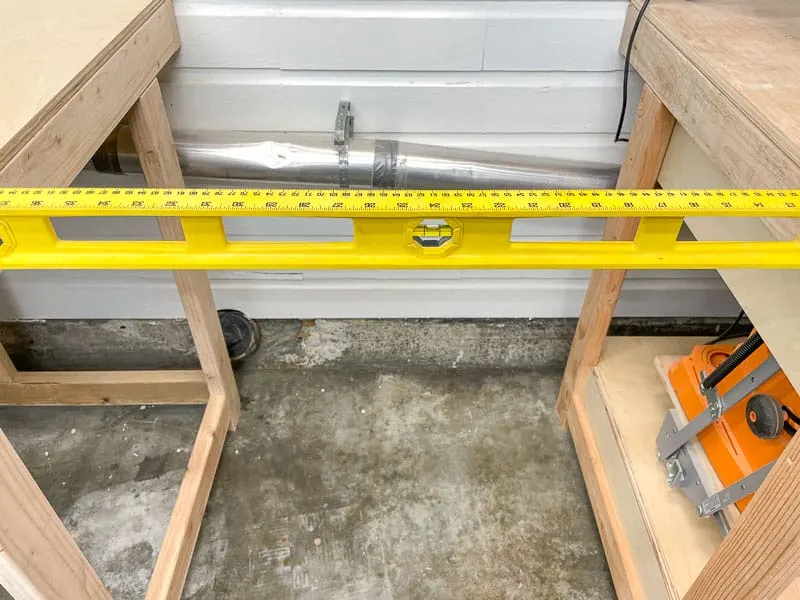
Cut the plywood for the tops to fit the frames, then check to make sure both sides are level with each other. By some miracle, mine were dead on without having a shim anything!
Install the miter saw platform
The miter saw sits on a platform lower than the sides, so that the cutting surface is even all the way across. Measure the height of the miter saw to determine where to install the platform.
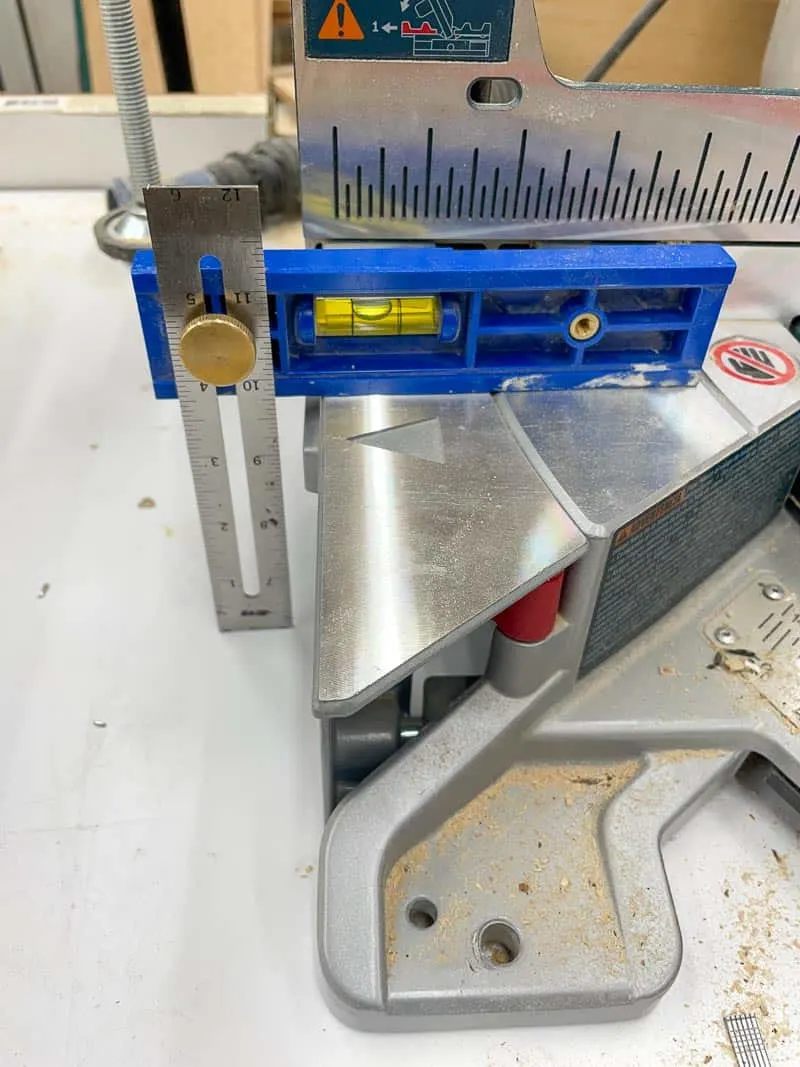
Mark that height on the two sides, and clamp the platform supports so the plywood top will be even with that mark. I clamped a scrap of plywood on top of the 2x6 I used for the supports, so I could get the exact placement.
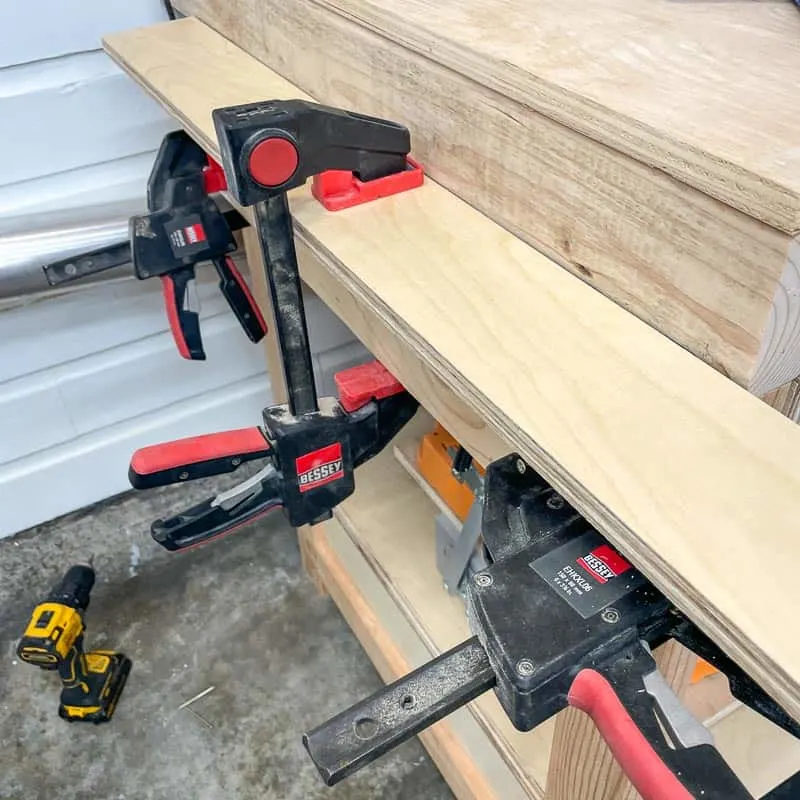
Once everything is lined up, screw the platform supports to the legs of the two sides. Measure the full range of motion of the miter saw, and move the two sides apart until they span that width.

Cut a piece of plywood to span the gap, then slide the plywood on top of the platform supports. Place the miter saw on top and check to make sure the height and width are correct before installing the cross supports underneath.
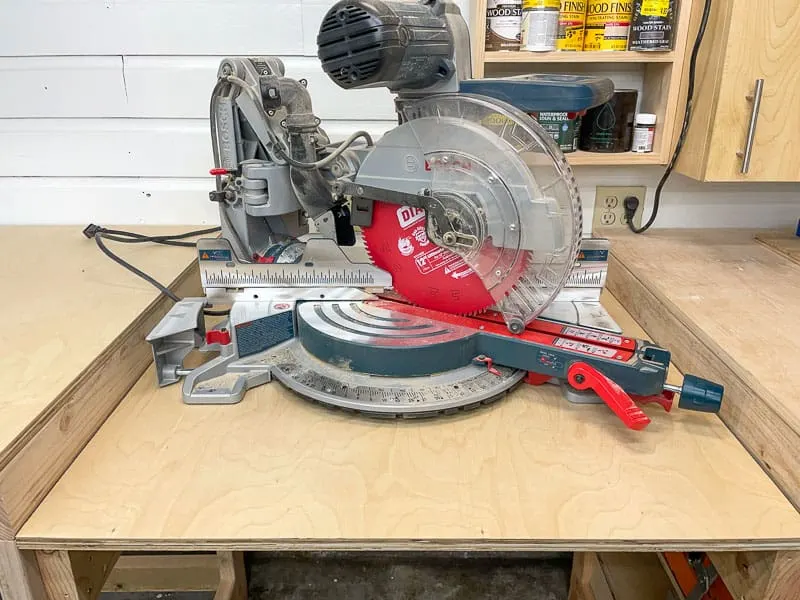
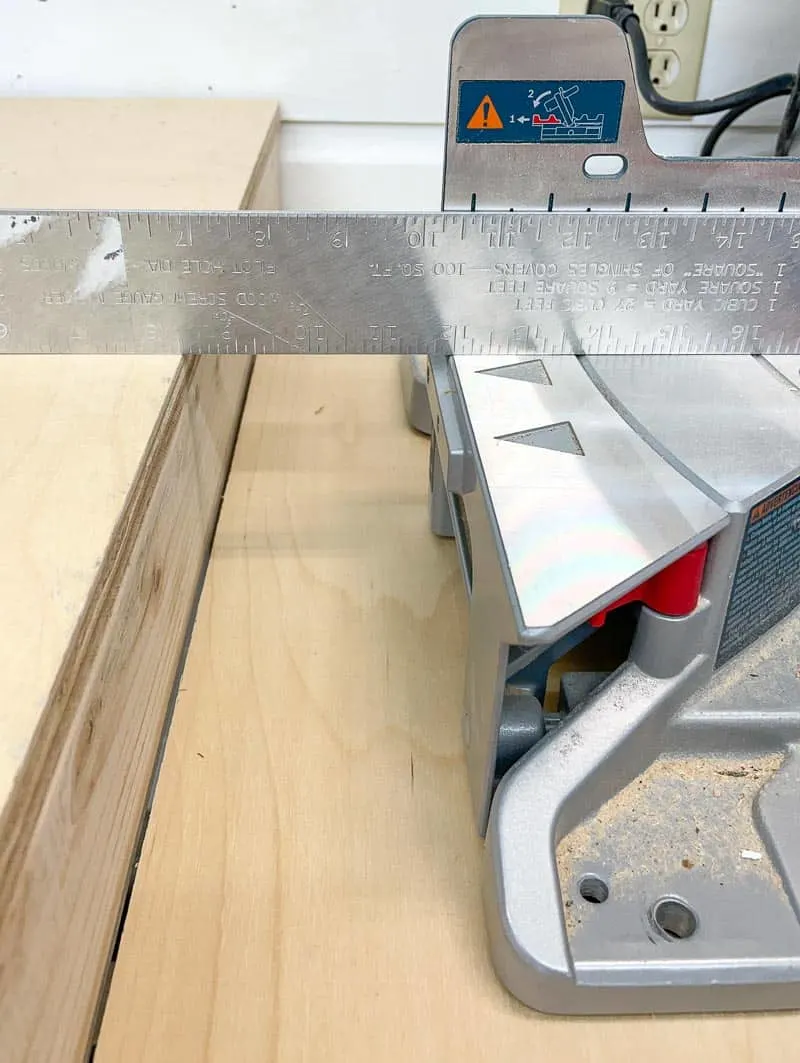
I used a metal ruler to check that everything lined up. Perfect! If your miter saw is sitting a little low, you can add shims underneath to raise it up to the right height. If it's too high, you'll have to reinstall the supports lower.
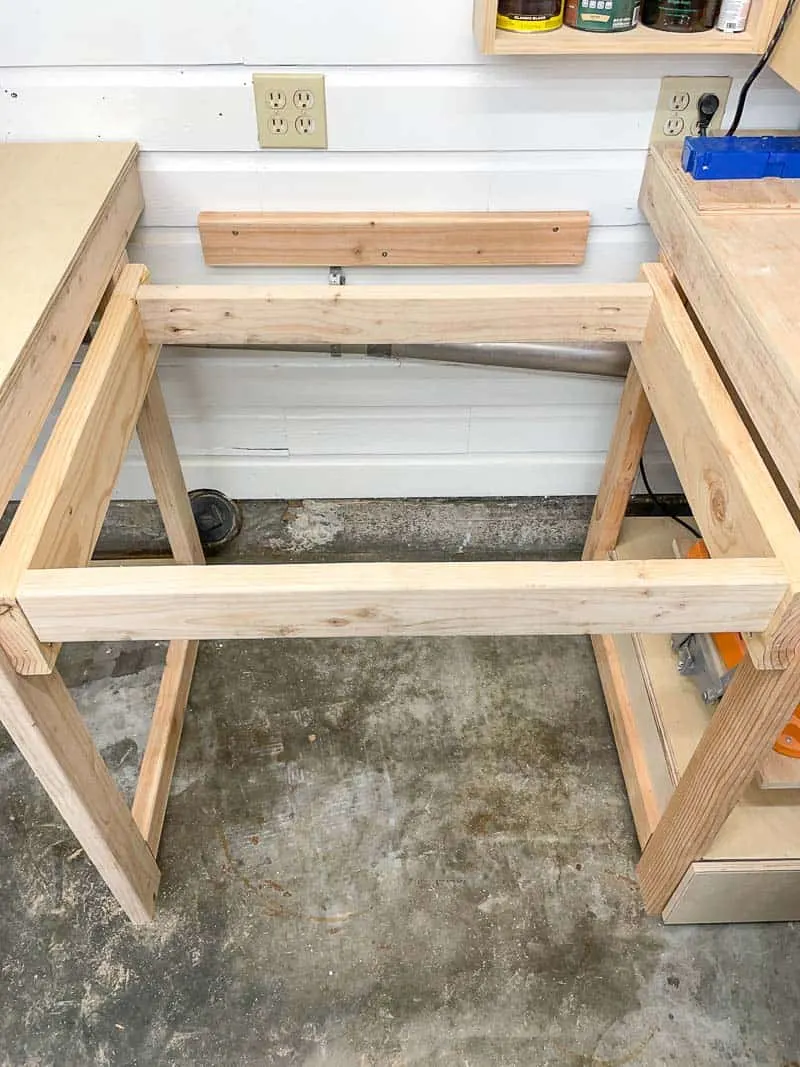
Once everything is just where you want them, add the cross supports. These pieces tie the two sides together and prevents the plywood from sagging under the weight of the saw. I attached the back support to the wall to avoid the dryer vent, so the plywood will just rest on top.
Add miter saw dust collection
I've written a lot about miter saw dust collection over the years, and I thought about creating a new miter saw dust hood for this stand. The old one was made out of a baby tent, and the lightweight metal frame was starting to get bent and deformed.
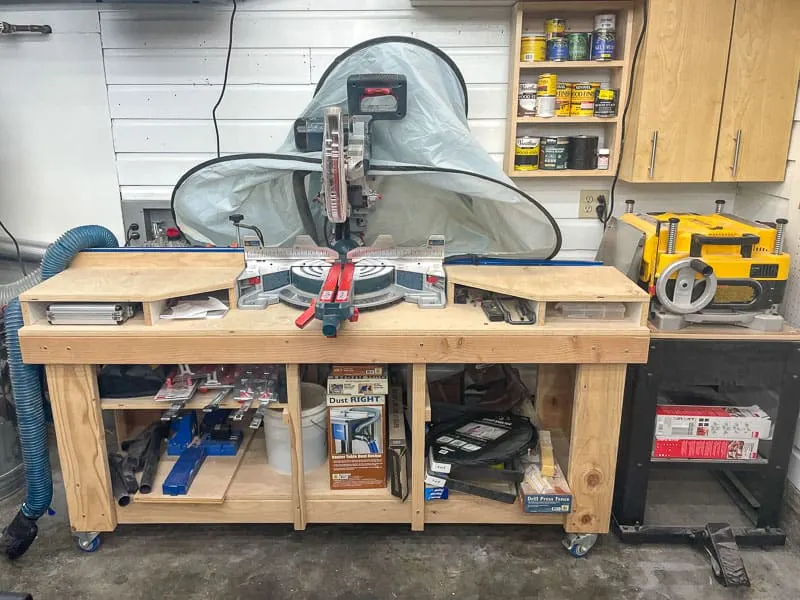
Plus, I no longer had the miter saw with a long rail in the back that took up all that space. My new Bosch Glide miter saw can go right up against the wall!
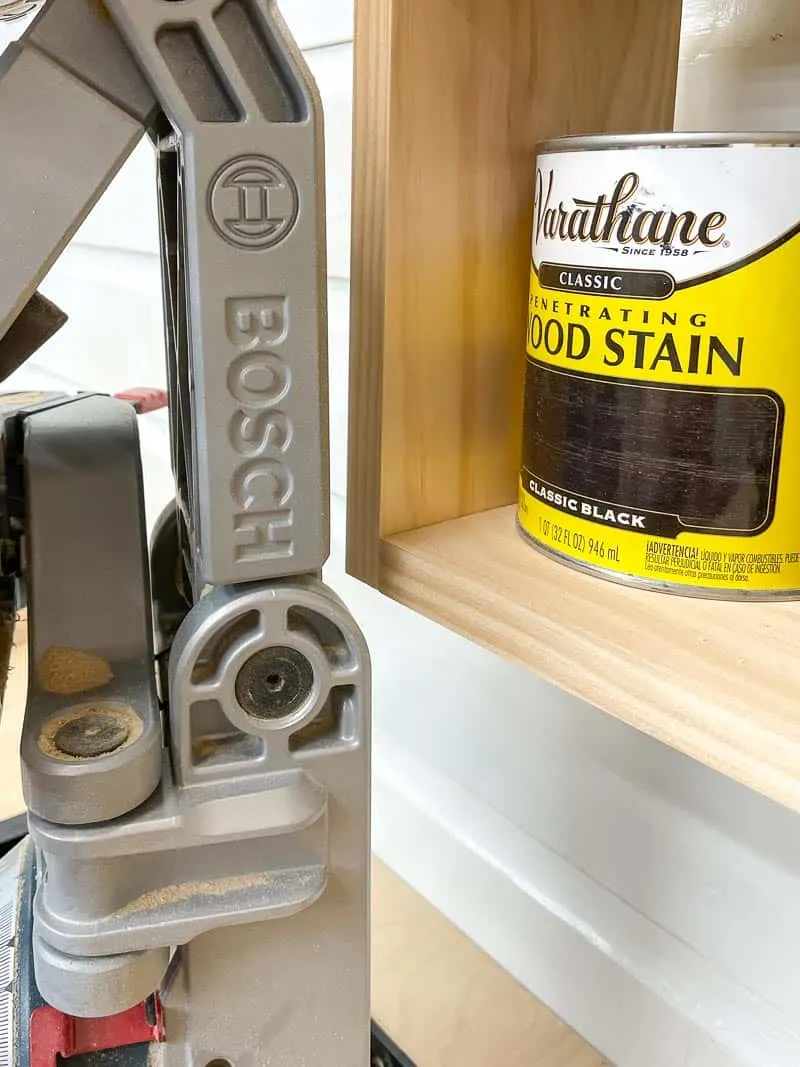
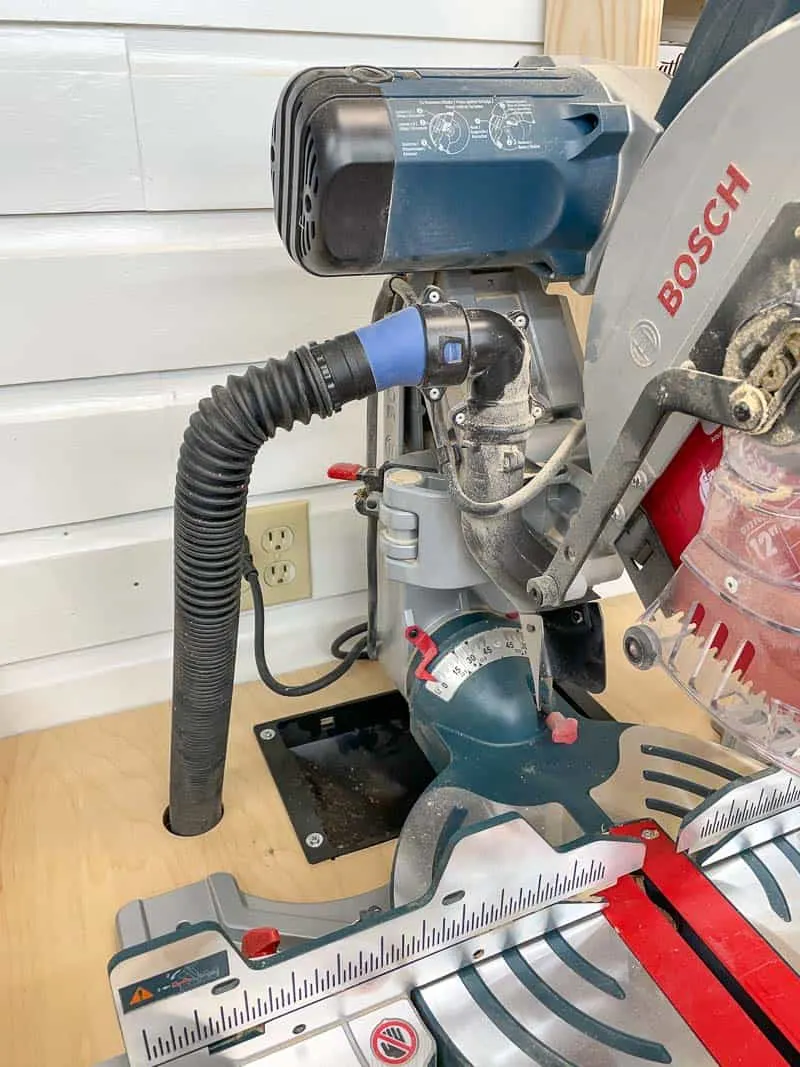
So I reused the dust funnel from the old dust hood and installed it into the back of the new miter saw station. I also drilled a hole for the dust port hose to go through.
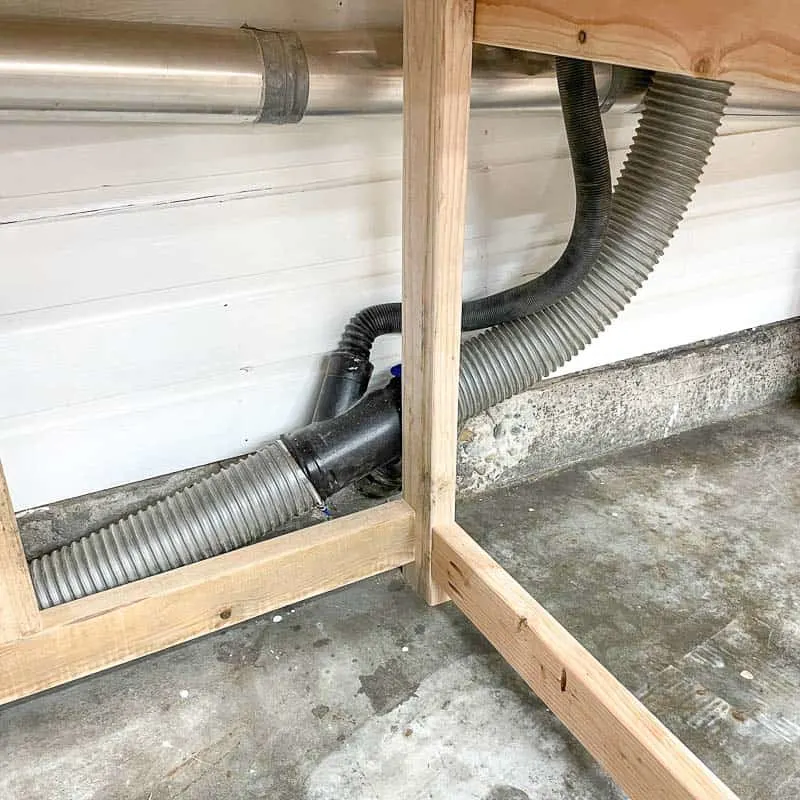
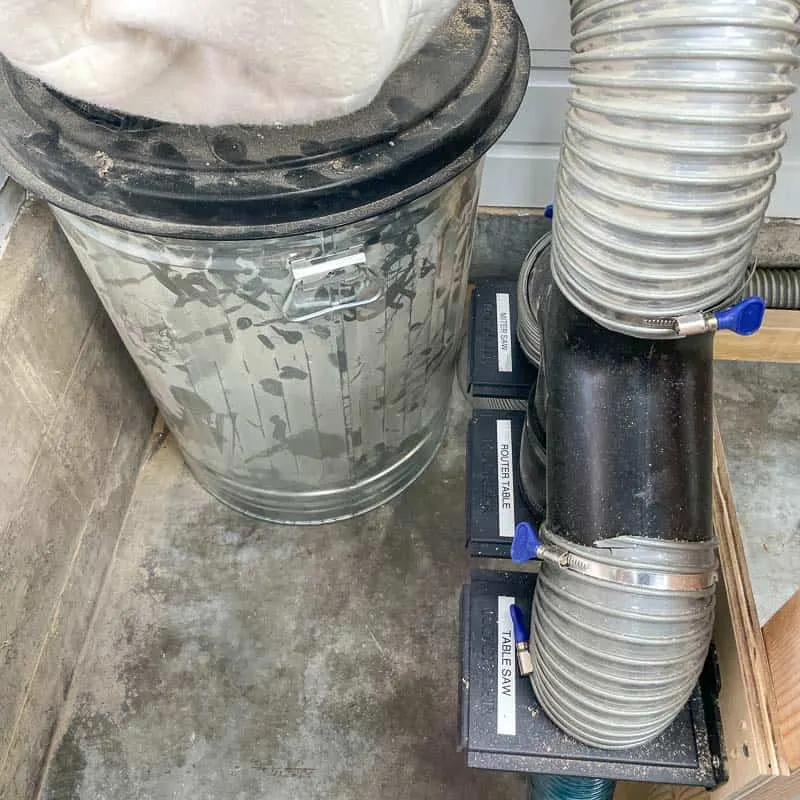
Both hoses connect at a Y junction underneath, and runs behind the legs of the miter saw station to the wall mount dust collector.
Instead of switching out hoses all the time, I simplified my dust collection system with a 3-way Y junction and three blast gates mounted to the side of the miter saw station. Each tool gets its own connection, and it shortens the lines to improve air flow overall.
Add a t-track and stop block (optional)
A stop block allows you to measure once and cut multiple boards to the exact same length. I loved the Kreg stop track system I had on my old miter saw stand, but didn't love how it bisected the workbench space.
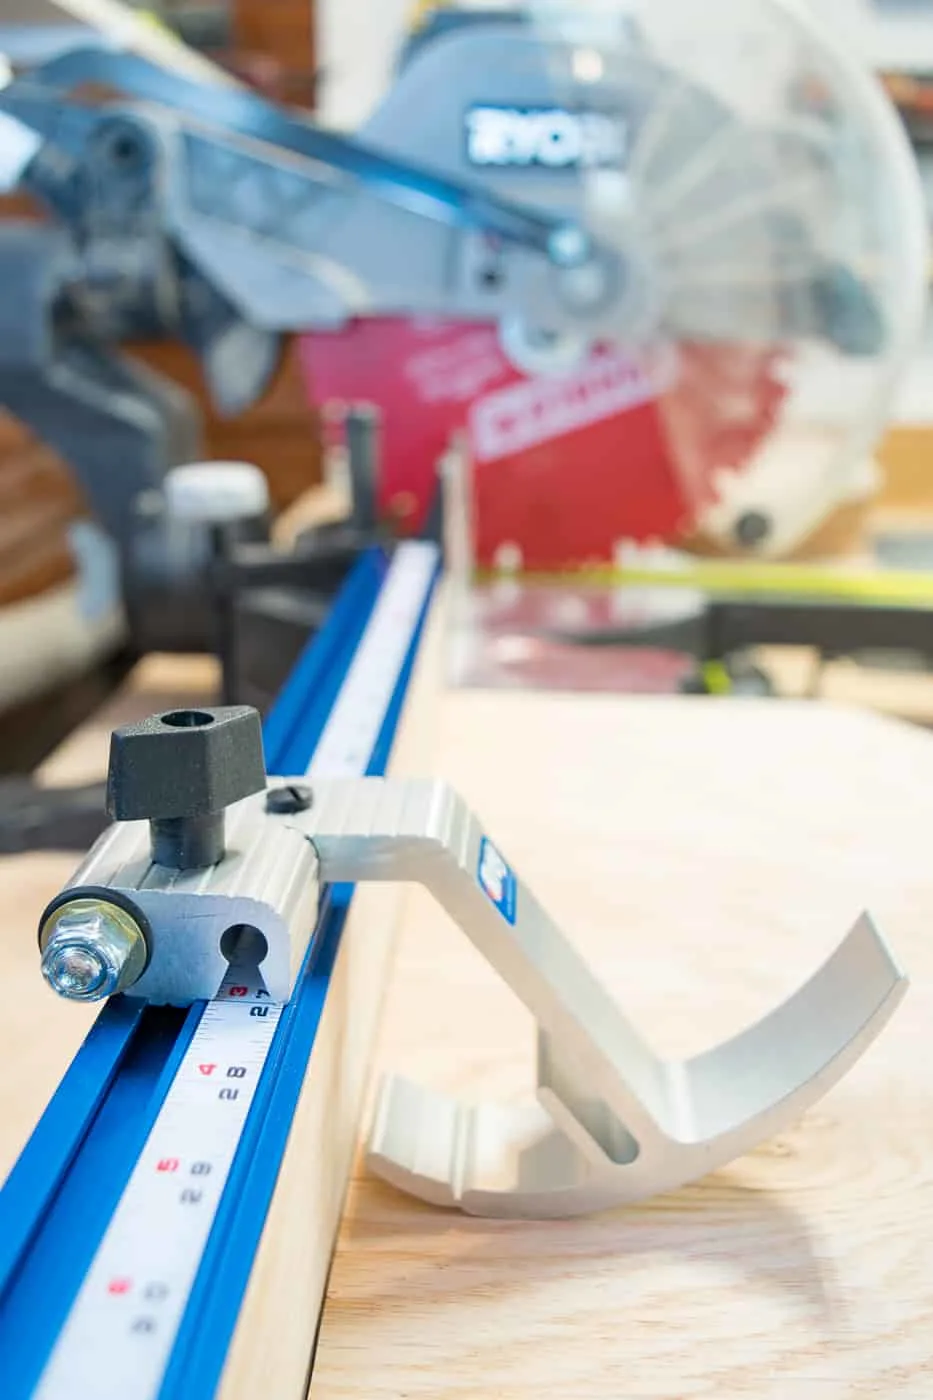
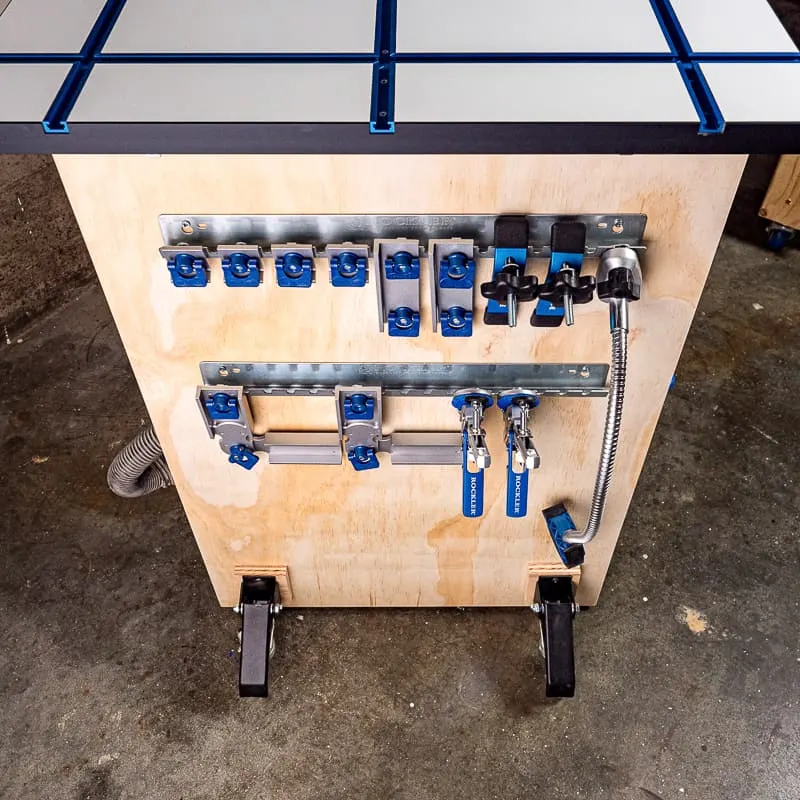
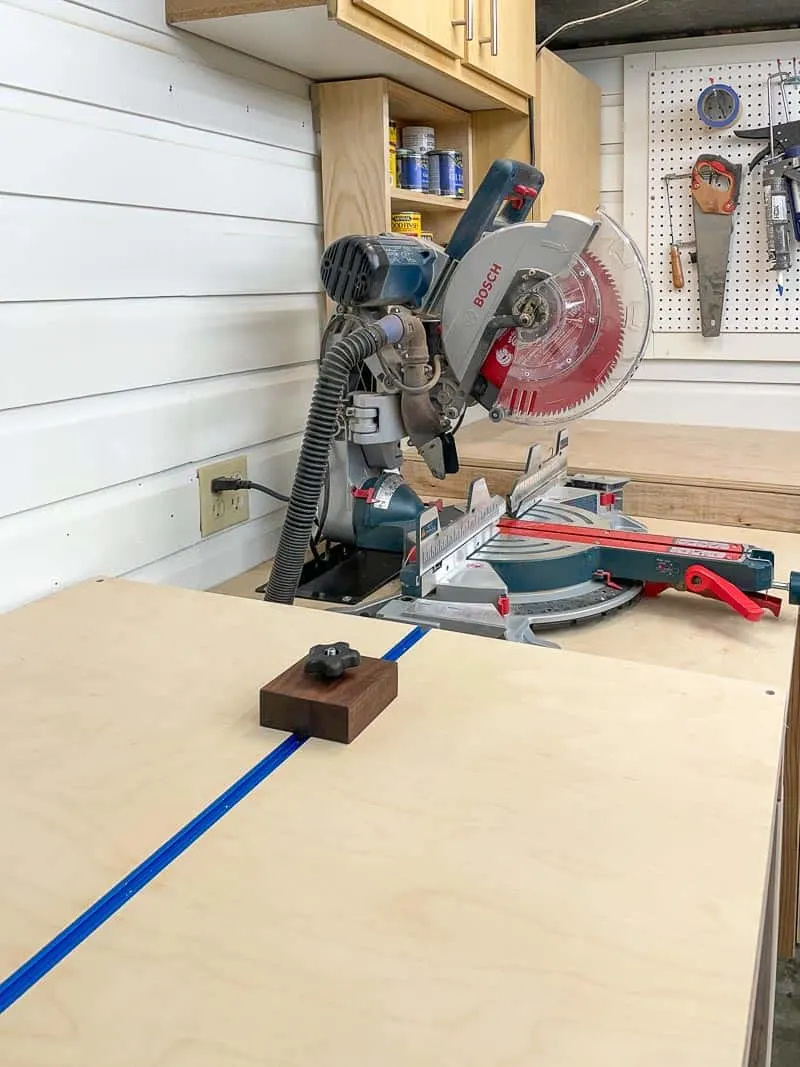
Instead of a vertical fence with a t-track on top, I decided to recess the t-track into the surface. Now I can utilize the entire 36" deep work surface for more than just cutting! I can swipe some of the accessories from my t-track table to make assembly easier, or just to hold a board in place while I sand.
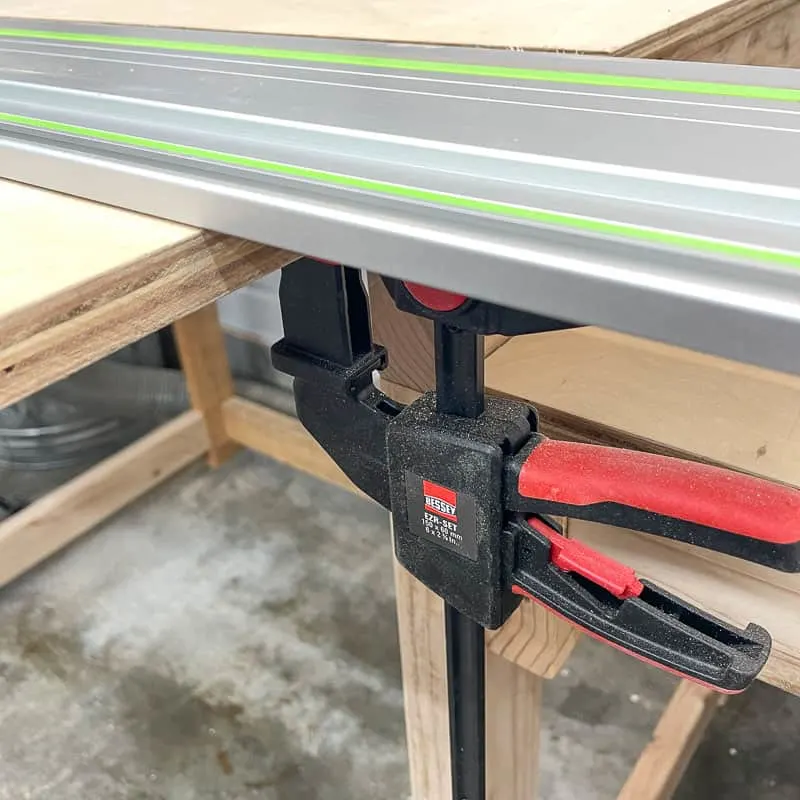
I installed my t track about 2" in front of the miter saw fence along the left side. Set up a straight edge so that the router bit will cut in a straight line across the plywood surface.

I used my track saw track, and held it in place with these new clamps that Bessey sent me to try out. They hold the track firmly in place, so you get a perfectly cut line every time! I'll be writing up a full tutorial on how to use a track saw soon, so stay tuned!
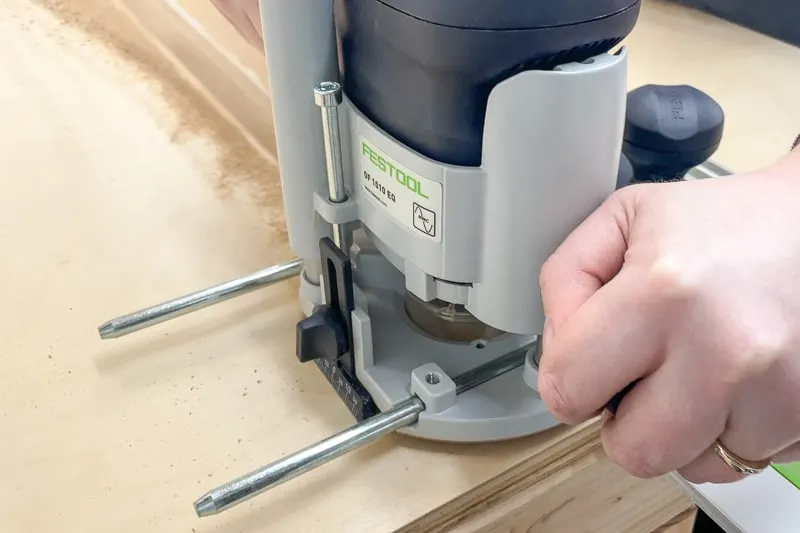
With a ¾" straight bit in my router set to the depth of the track, I cut a groove in the middle of the miter saw station top. This was a little nerve-wracking and a LOT messy, but it worked like a charm!
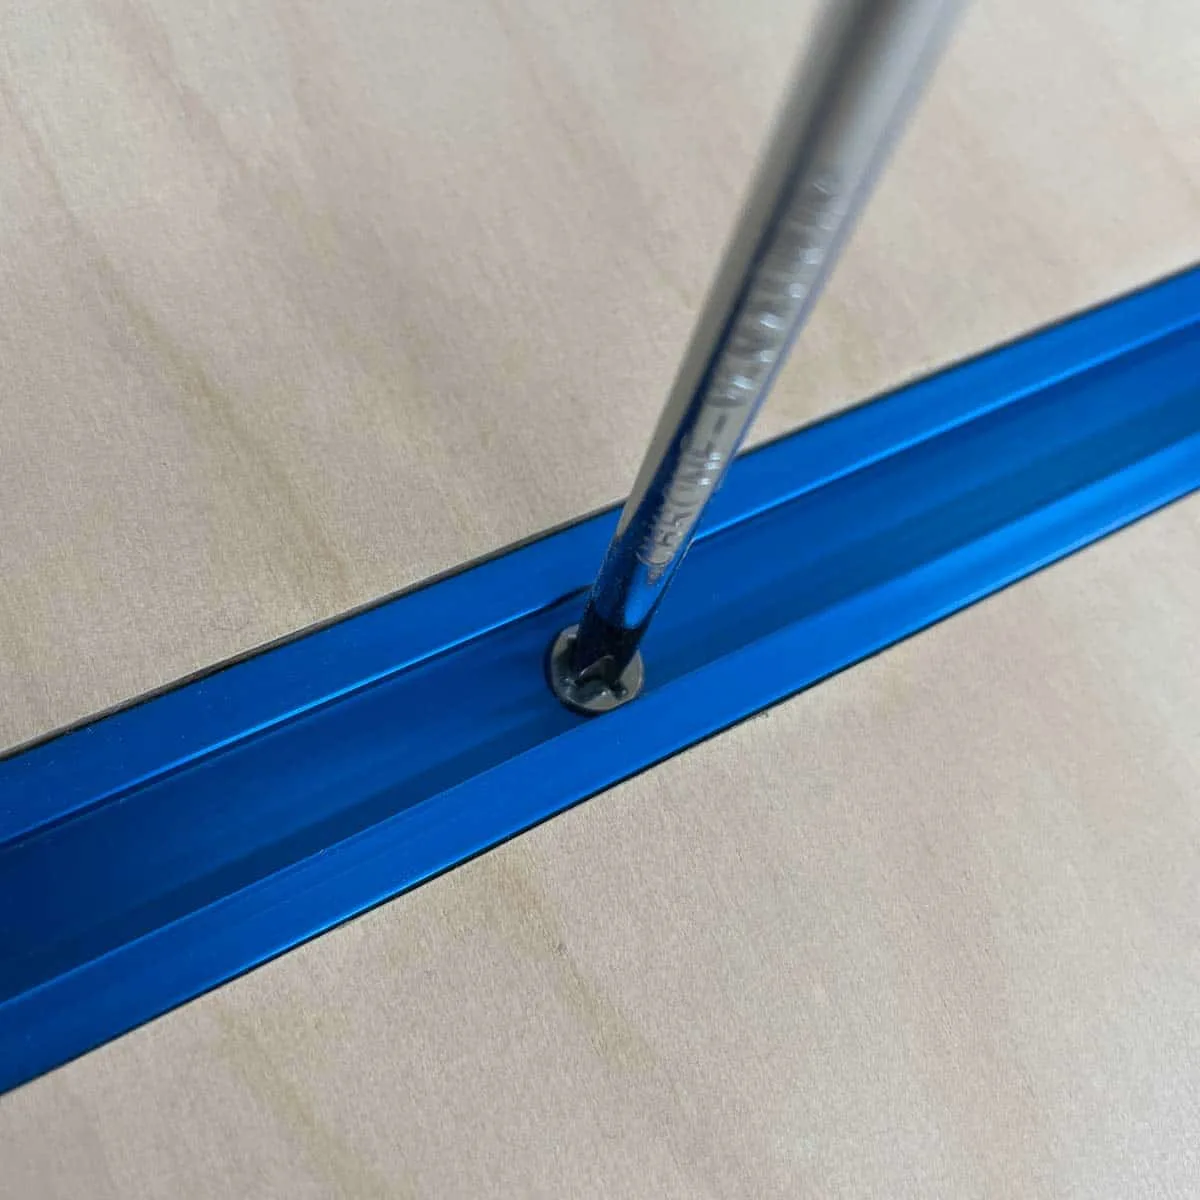
I used this t-track kit, which comes with the track, knobs and bolts you'll need. Just cut it to size at the miter saw, then fit the track into the groove and screw it into place with ½" flat head screws. You may want to move the 2x4 underneath to line up with this groove to give it more support.
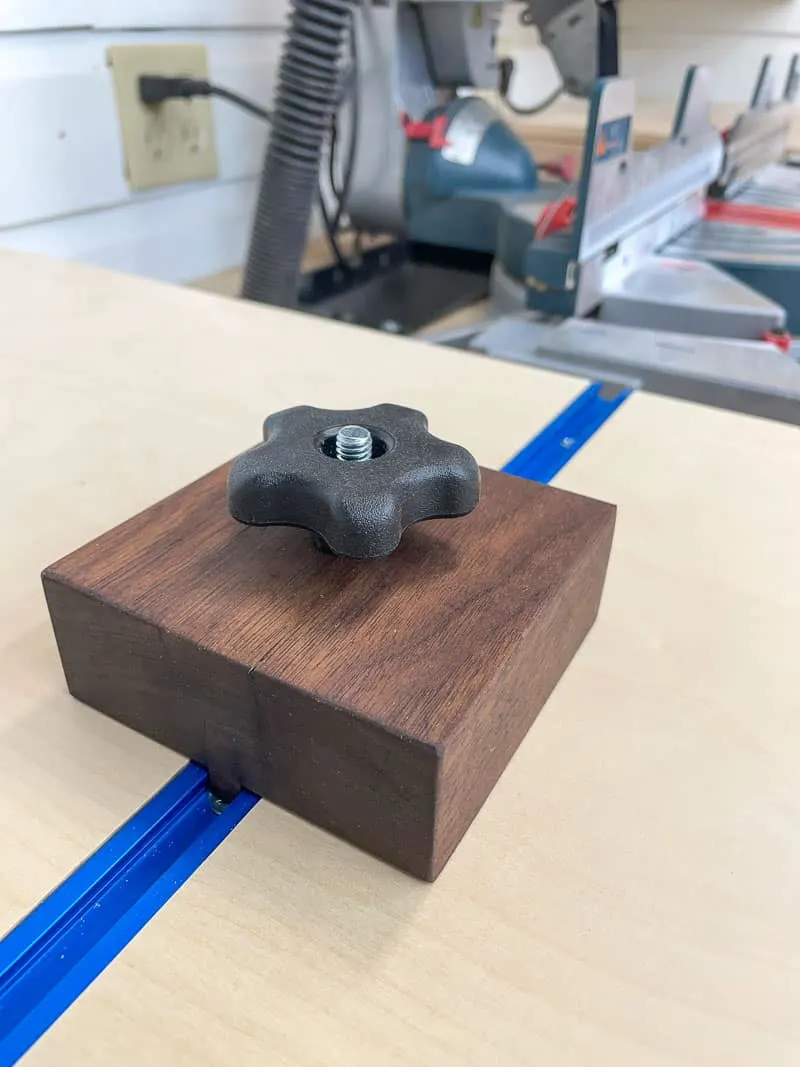
I made my own stop block out of a scrap of walnut left over from my cutting board project. This is why I save every little piece of nice hardwood! 🙂
Enjoy your new miter saw stand!
I'm really loving how this whole miter saw station is coming together! I finally have my miter saw back in its own spot (instead of cluttering up my workbench), so I can use it for the rest of the projects in this build.
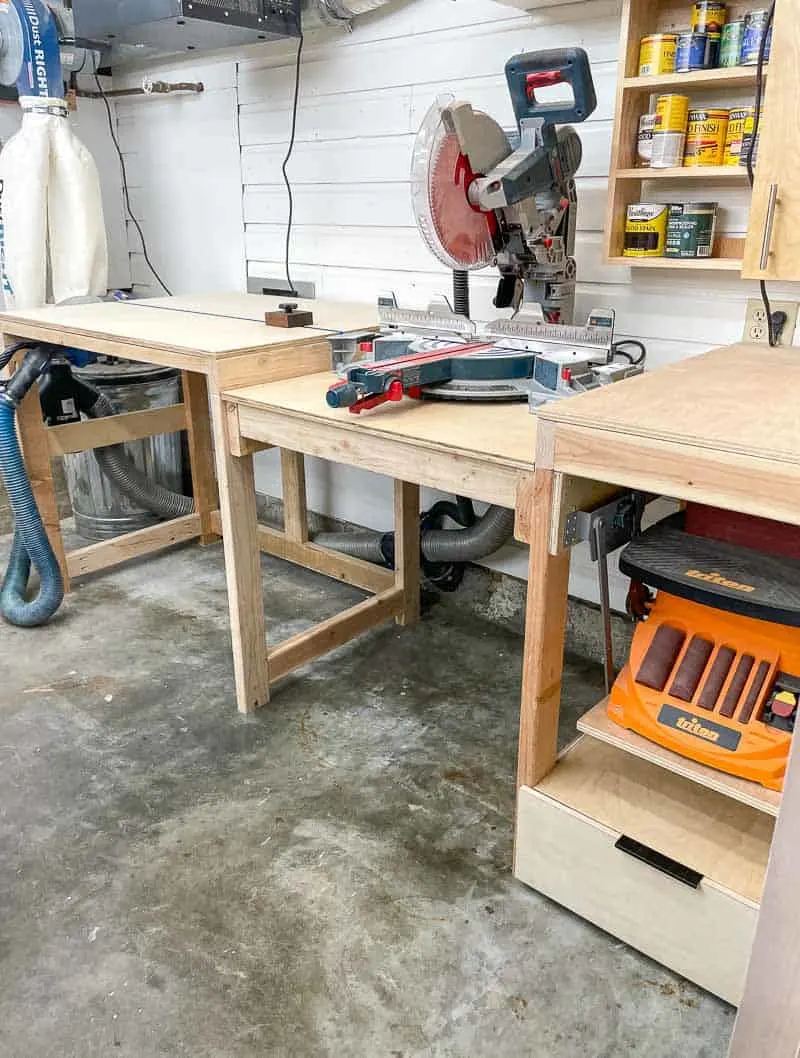
Since the only way into my workshop is through our finished basement, I have to haul lumber through the house to get it in here. I'm thinking of replacing that non-functioning window so that I can slide boards right through it and onto my new miter saw bench!
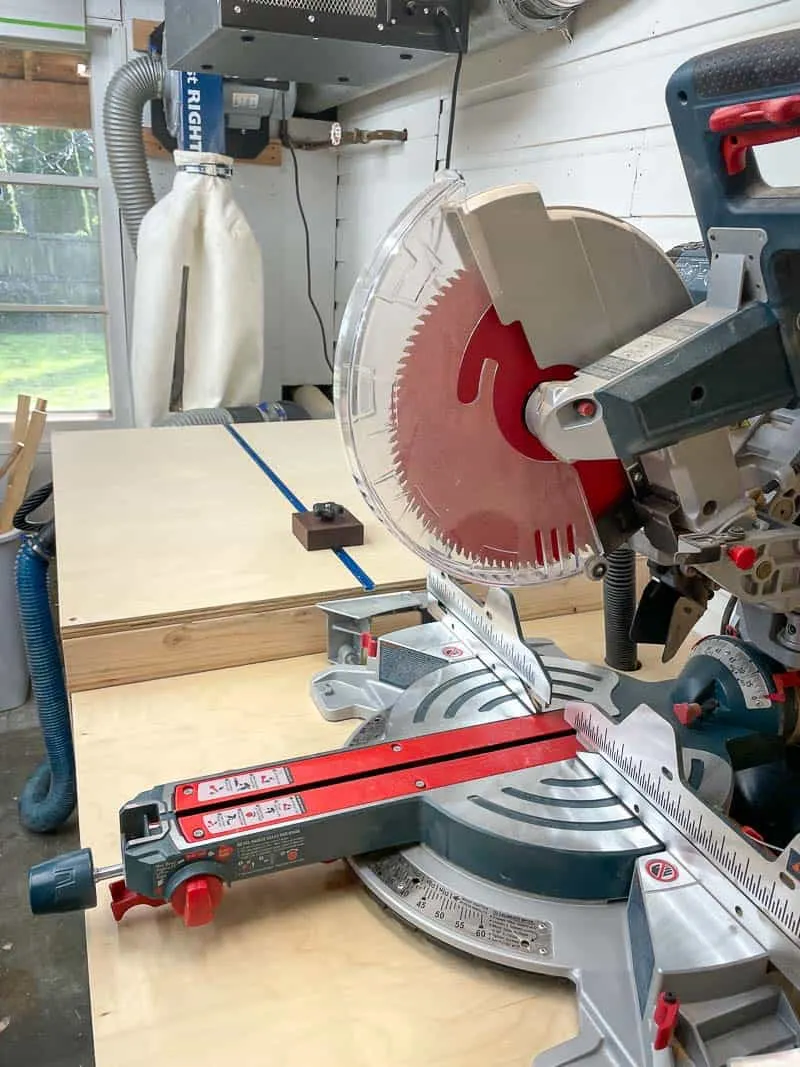
Just look at all this space! At first, I thought the 36" deep top would be a little much, but I'm loving it! Especially since I no longer bang my hip on the knob on the front of the miter saw as I walk by...
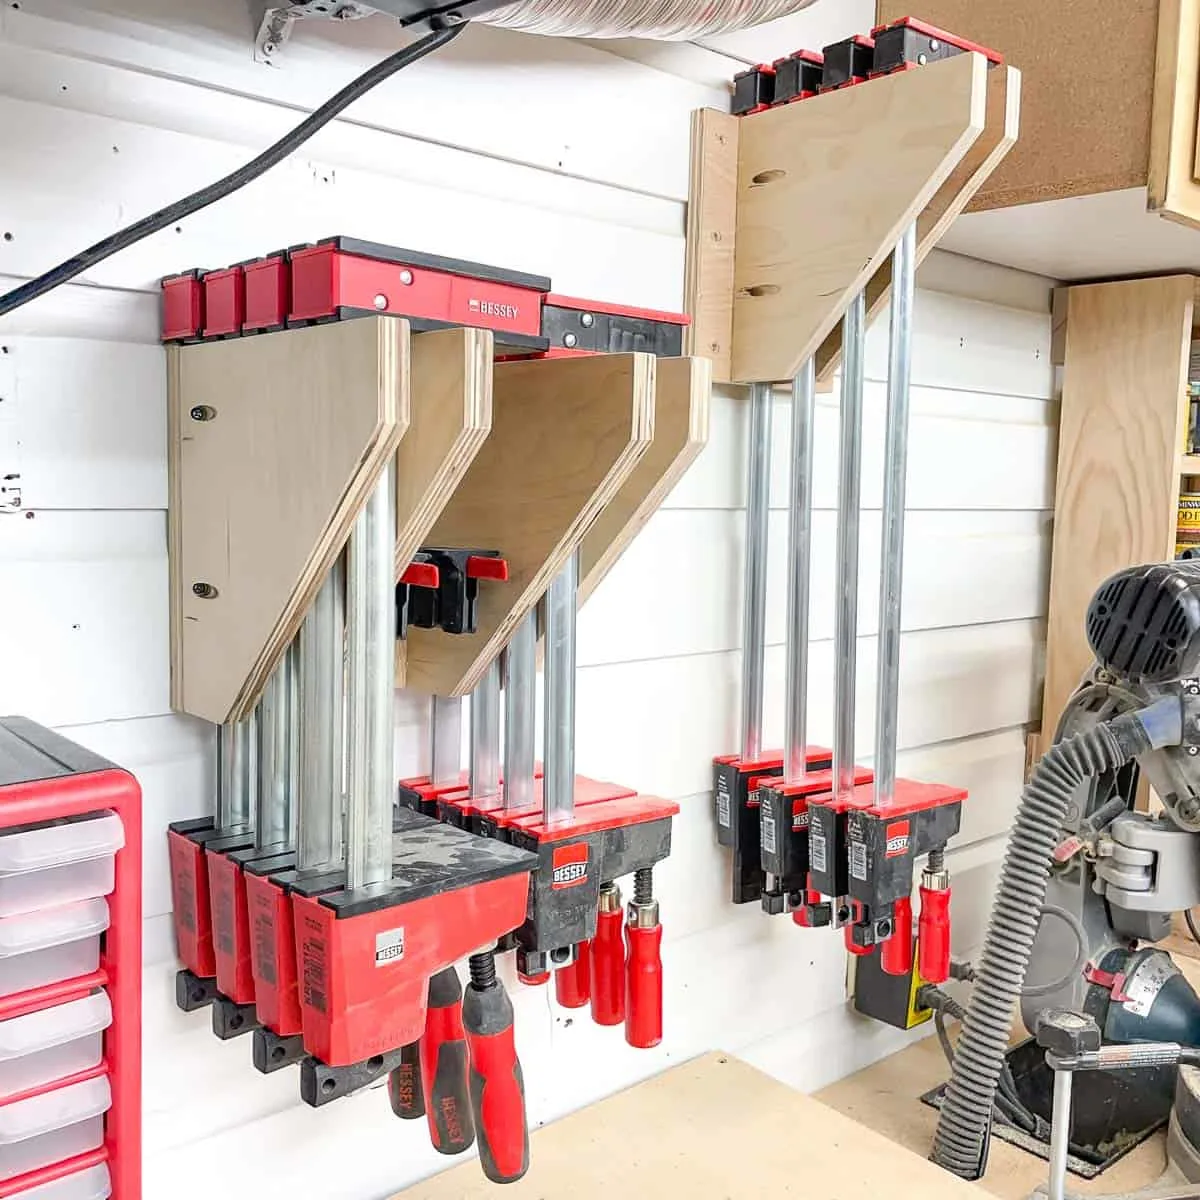
I recently added a few clamp racks to the wall behind the miter saw. It's a great way to use that awkward space under the ductwork, and get those heavy clamps up on the wall!
The space under the miter saw is now the home of my planer stand! It rolls underneath easily, and has two big drawers for extra storage.
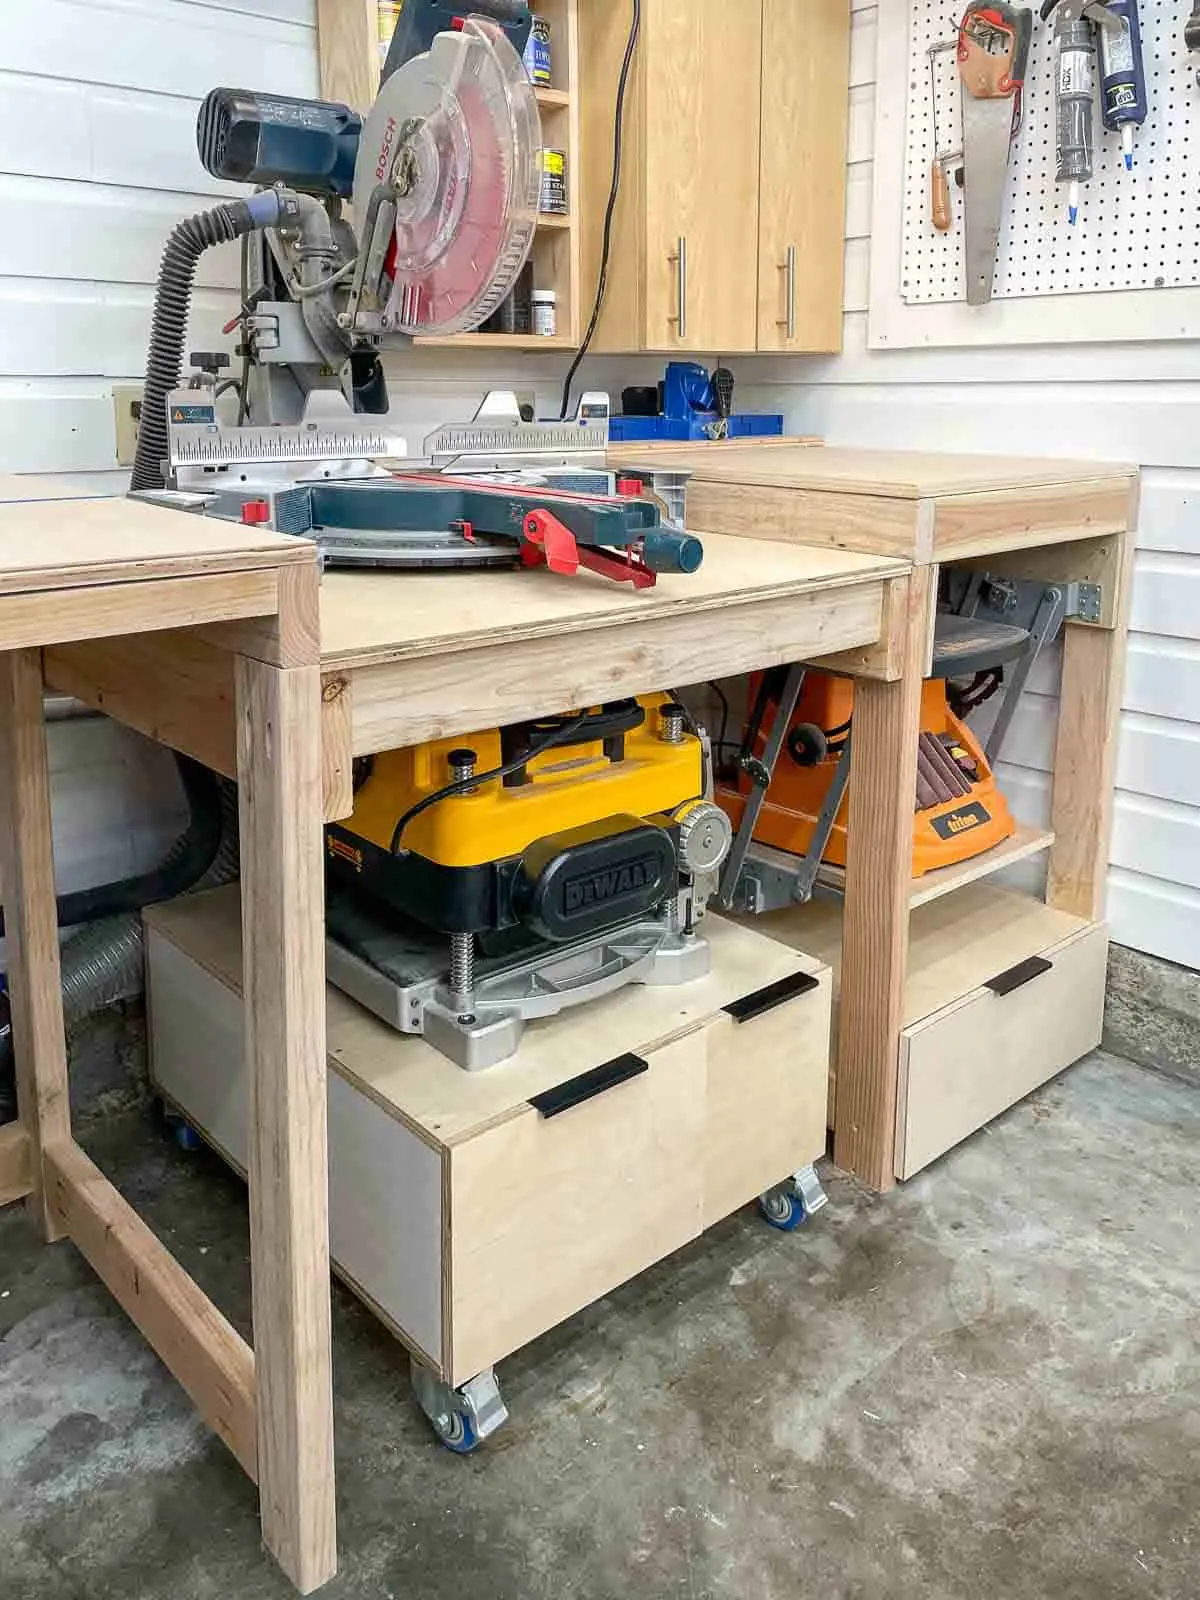
The router table slides under the left side of the miter saw stand with an inch of room to spare!
It's amazing how many tools I packed into this footprint! The router table, planer and sander are all easily accessible, but roll underneath when not in use.
If you're looking for a similar setup, I have the woodworking plans for all these projects available for purchase at a discounted bundle price. Or you can use the basic miter saw station plans to create your own version!

