Want to build your own cabinet doors? This handy guide will show you how to measure for cabinet doors and get the exact dimensions you need!
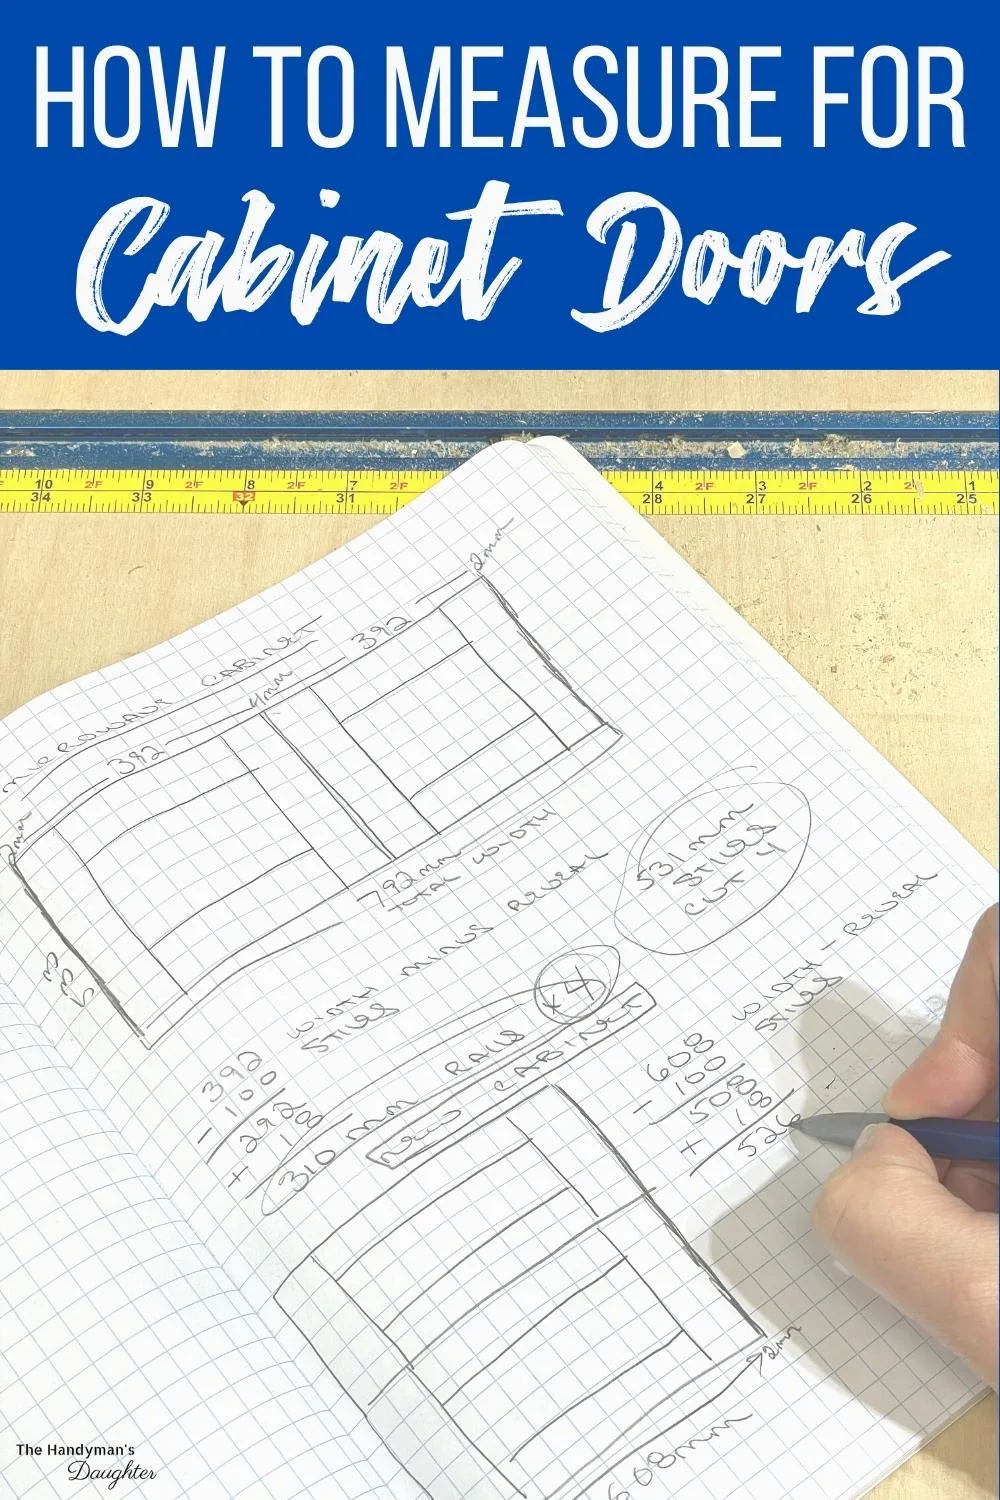
The most important part of building any cabinet door is to get the measurements right. While you could always trim down a door that's too big, there's nothing you can do if it comes out too small!
But with a few basic calculations, you can be confident your cabinet doors will fit perfectly! Download my free worksheet to help keep all your numbers straight, and keep reading to learn more!
This post contains affiliate links for your convenience. Purchases made through these links may earn me a small commission at no additional cost to you. Please visit my disclosures page for more information.
The typical cabinet door is made up of five parts: two rails at the top and bottom, two stiles on the sides, and a center panel. It's crucial to get all of these dimensions exactly right, so your door is square on the opening with a consistent reveal around the outside.
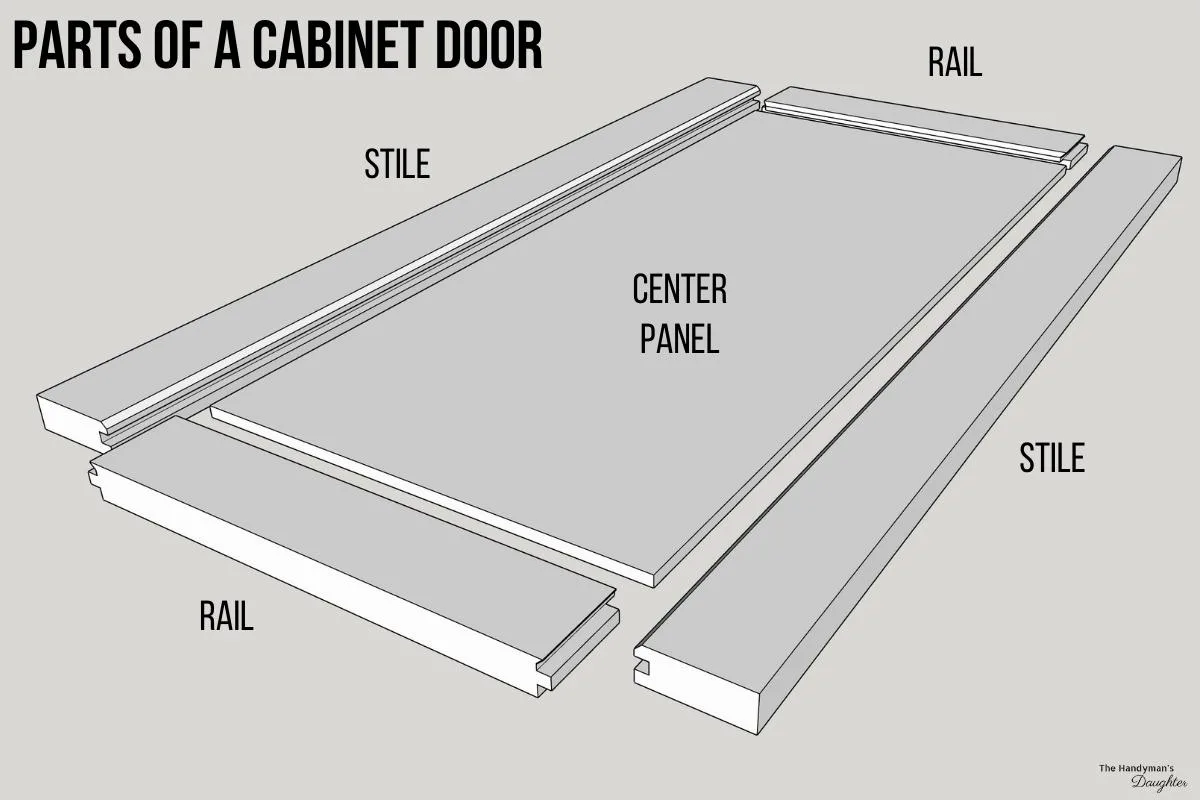
I'll be using rail and stile router bits to build the frame of my cabinet doors. I can batch out an entire kitchen's worth of parts in just a few hours on my router table! Check out my tutorial on how to make Shaker cabinet doors yourself!
You can also use a table saw to cut the grooves and tenons, but it takes much longer to cut each piece. Check out other DIY cabinet door ideas here for more inspiration!
Before we begin, a quick tip for all those Americans who use the imperial system of measurement...consider using metric for this task. Trust me, the math is soooooo much easier when you don't have to deal with all those fractions! I use this tape measure that has both units on it so it's easy to switch back and forth. You can learn more about how to read a tape measure accurately here!
Measure the cabinet box
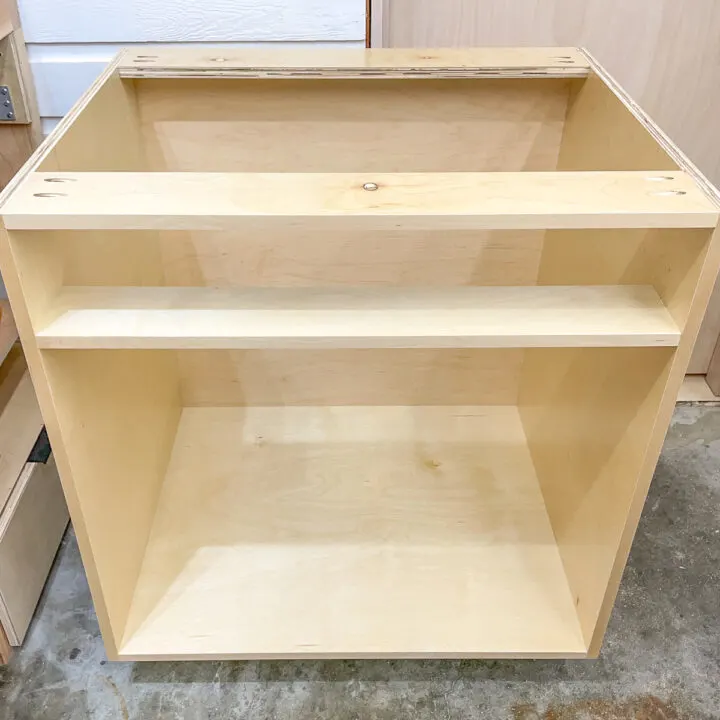
My cabinets are frameless, so all the cabinet doors are full overlay. If you're not sure what kinds of cabinets you have, check out this article on the parts of a cabinet for more information.
For full overlay doors, measure the entire width and height of the cabinet, not just the opening. If it's a base cabinet, measure to the bottom of the cabinet box without the toe kick. Check the measurements at several points to make sure they're all the same.
Determine the reveal
The reveal is the space around the outside of the door on all sides. This space should be the same between all the cabinet doors. My preference is to subtract 1/16" from all sides, which will create ⅛" of space between the doors.
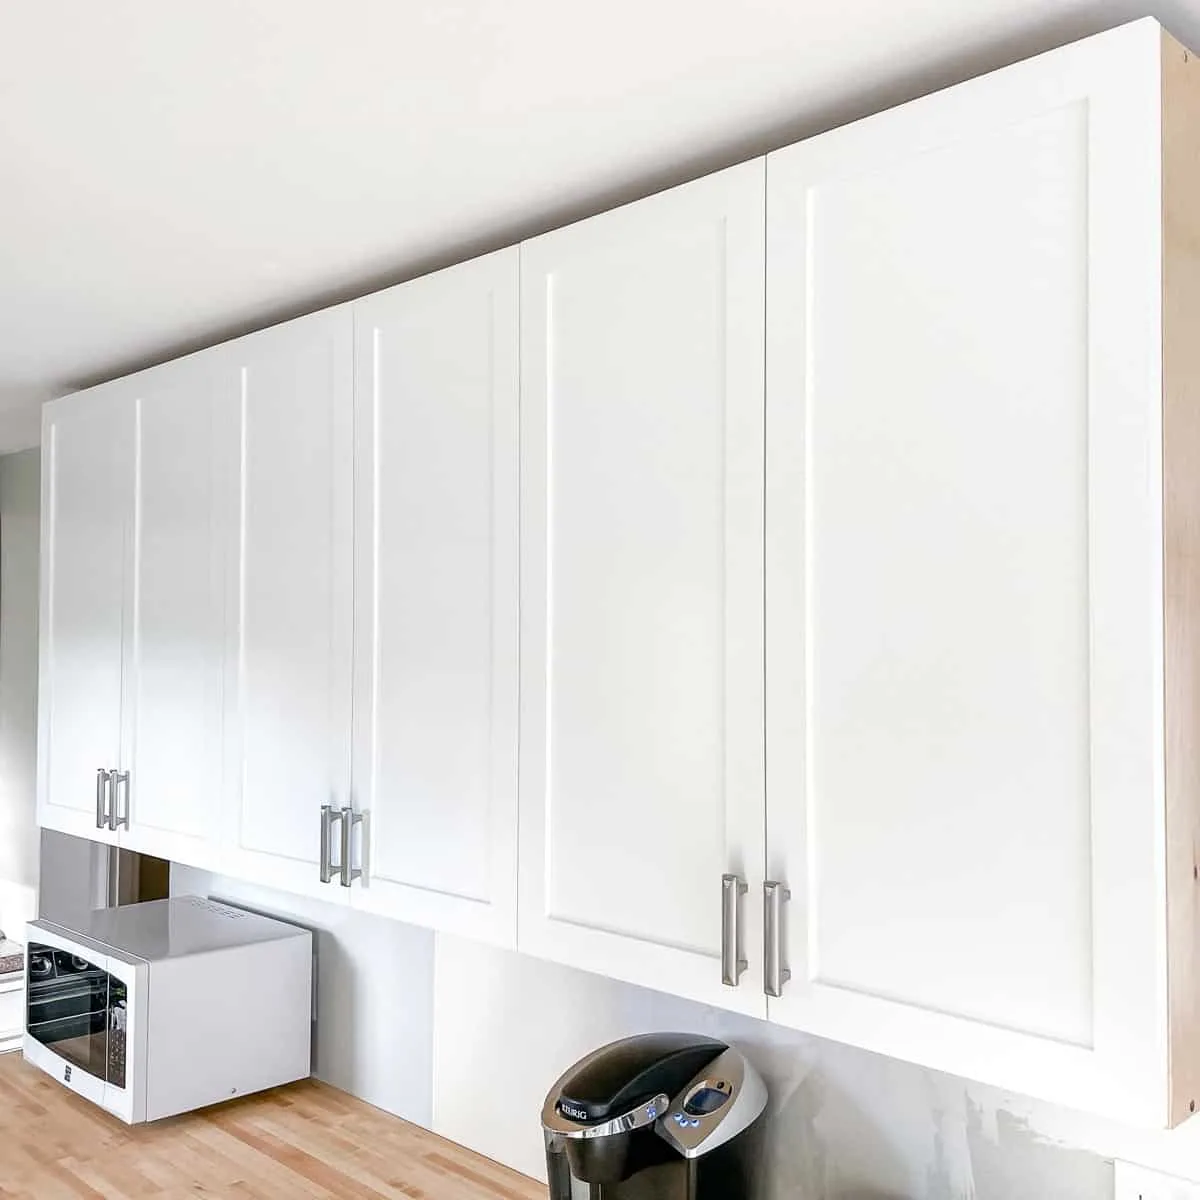
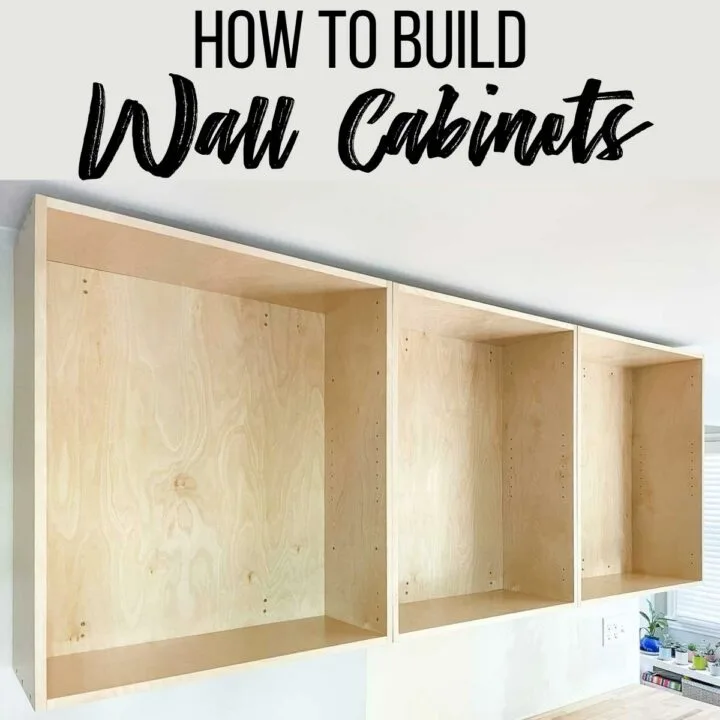
If you have a bank of cabinets with an exposed side like the ones above, it may seem like a good idea to have the doors go all the way to the edge of the cabinet box. But you'll need that extra space for the doors to open properly when the cabinet end panels are installed later!
Calculate the stile length
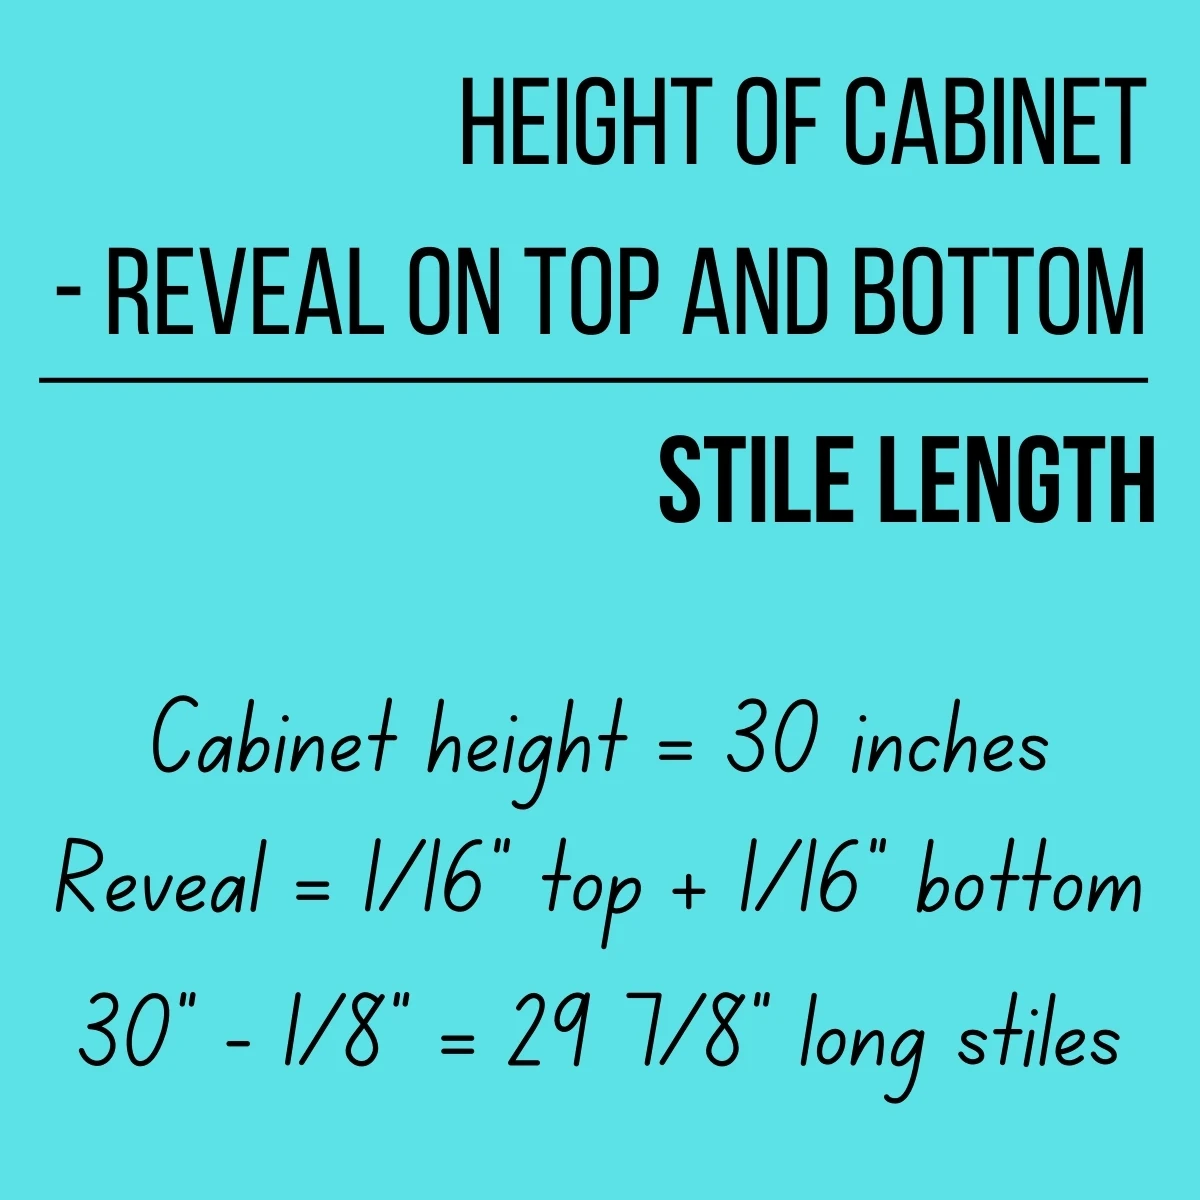
Now that you know the size of your cabinet and the size of the reveals, you can calculate the length of the stiles! These are the vertical pieces on either side of the cabinet door. The stile length is simply the height of the cabinet minus the reveal on the top and bottom.
Calculate the rail length
To calculate the length of the rails, we need a little more information. First, you need to decide how wide the stiles will be. This can vary depending on the look you're going for, but it's usually between 1 ½ and 3 inches. On a typical Shaker cabinet door, the rails and stiles are 2" wide.
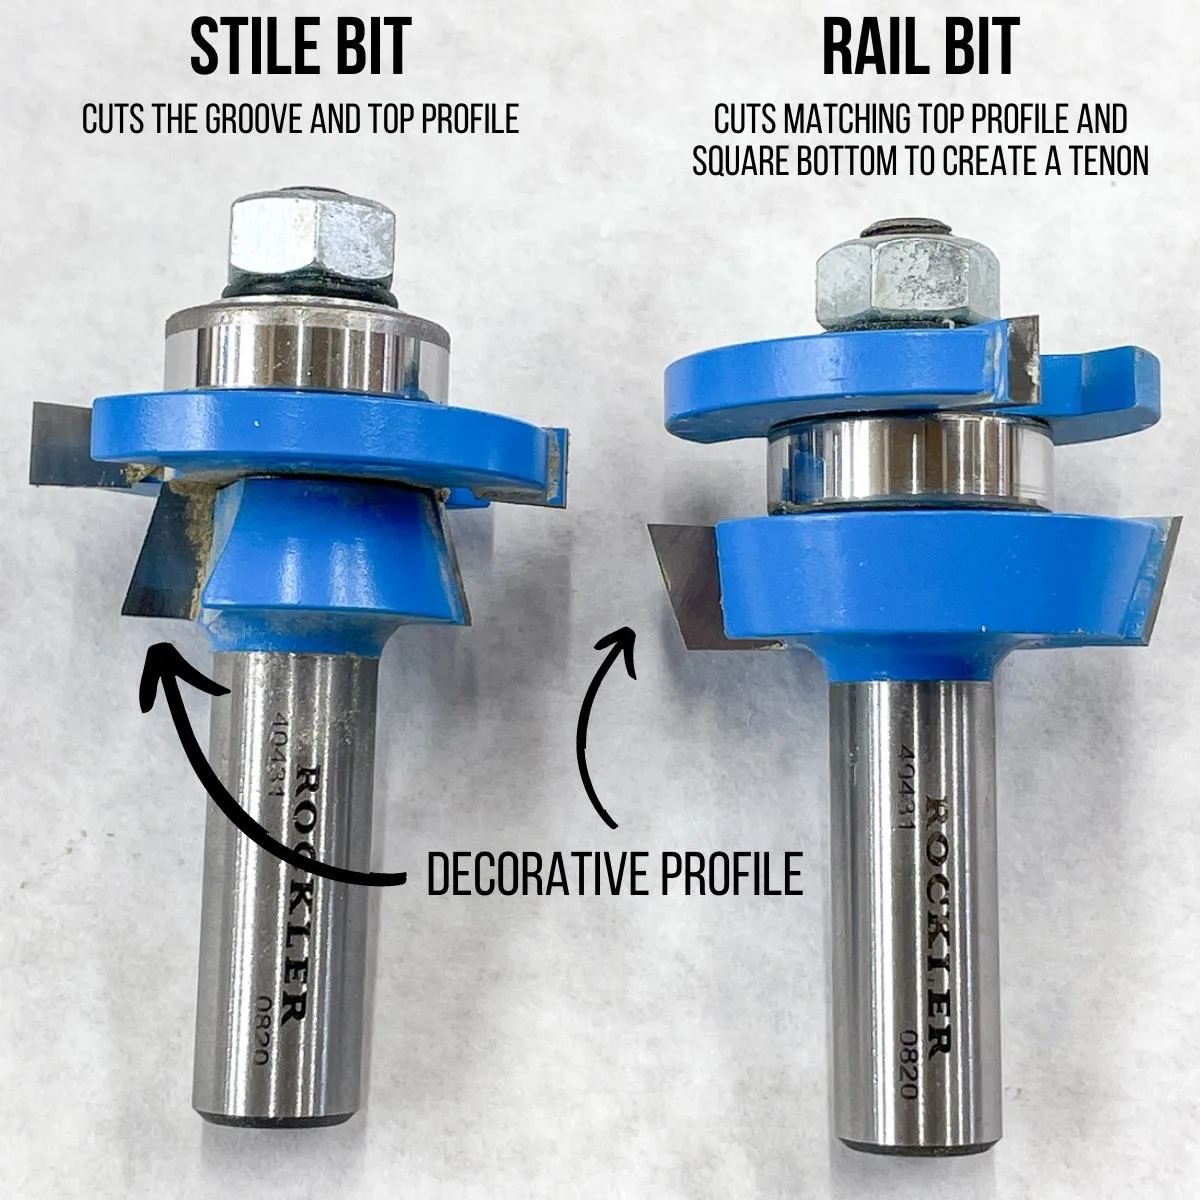
You'll also need to know how long the tongues on the ends of the rails will be. Measure the router bit that will be used to make the tenon, from the tip of the blade to the bearing. If there's a decorative element like this bevel, you'll want to measure from the straight edge, not the angle. Mine measures ⅜" long.
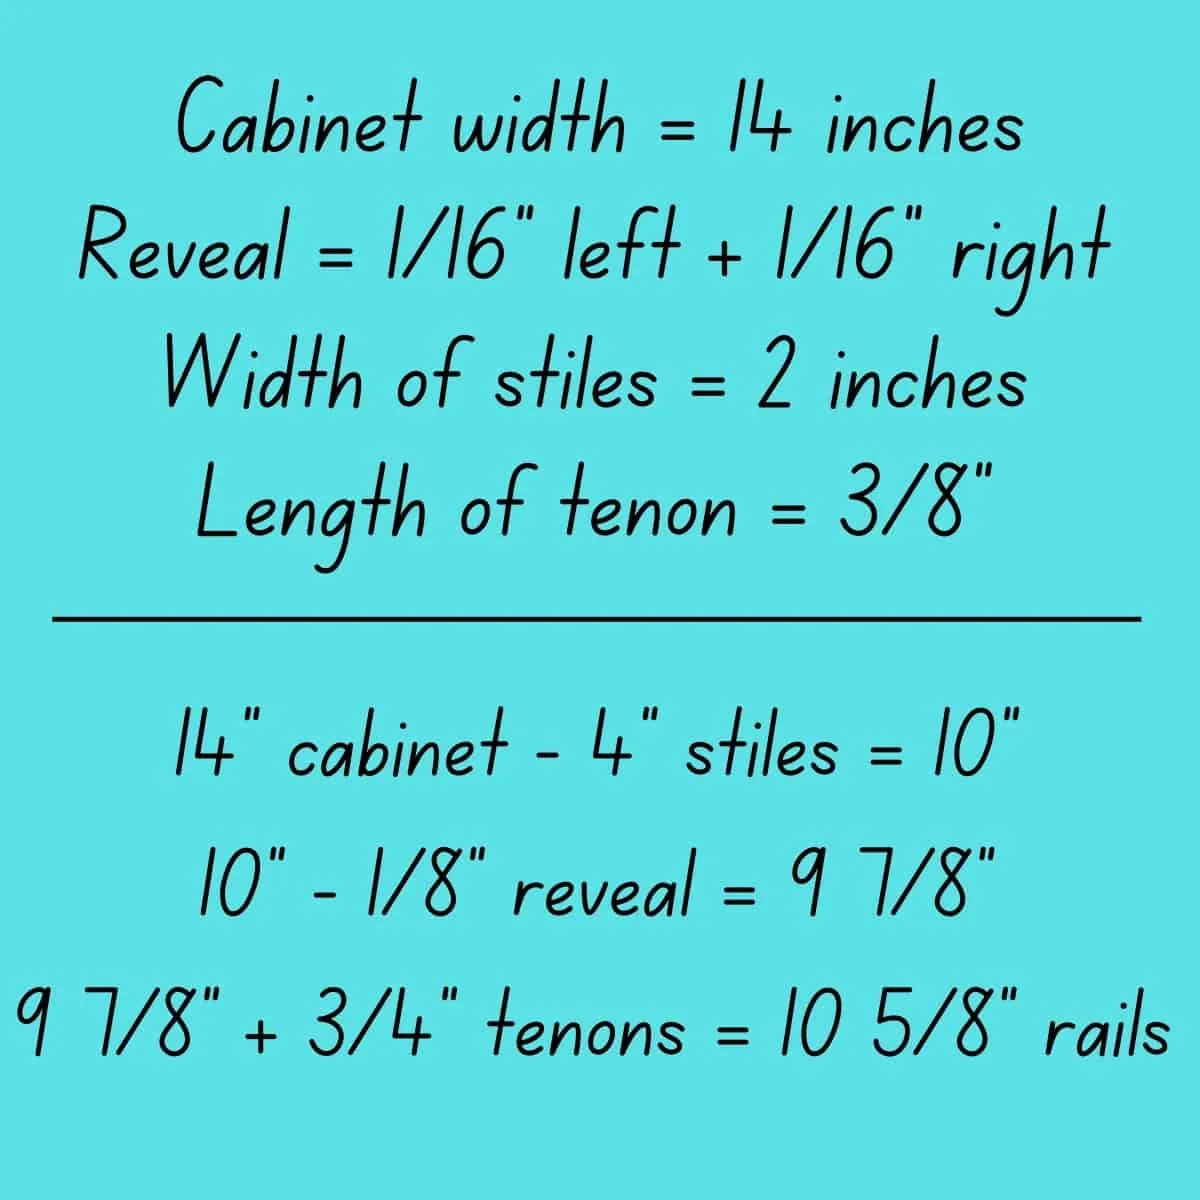
Now we have all the information we need to calculate the rail length! For a cabinet with a single door, start with the measurement of the entire width of the cabinet. Subtract the width of both of the stiles (in this example, a total of 4 inches). Then subtract the reveal on the left and right of the door (⅛"). Finally, add the length of the tenon on both ends of the rails (⅜" + ⅜" = ¾").
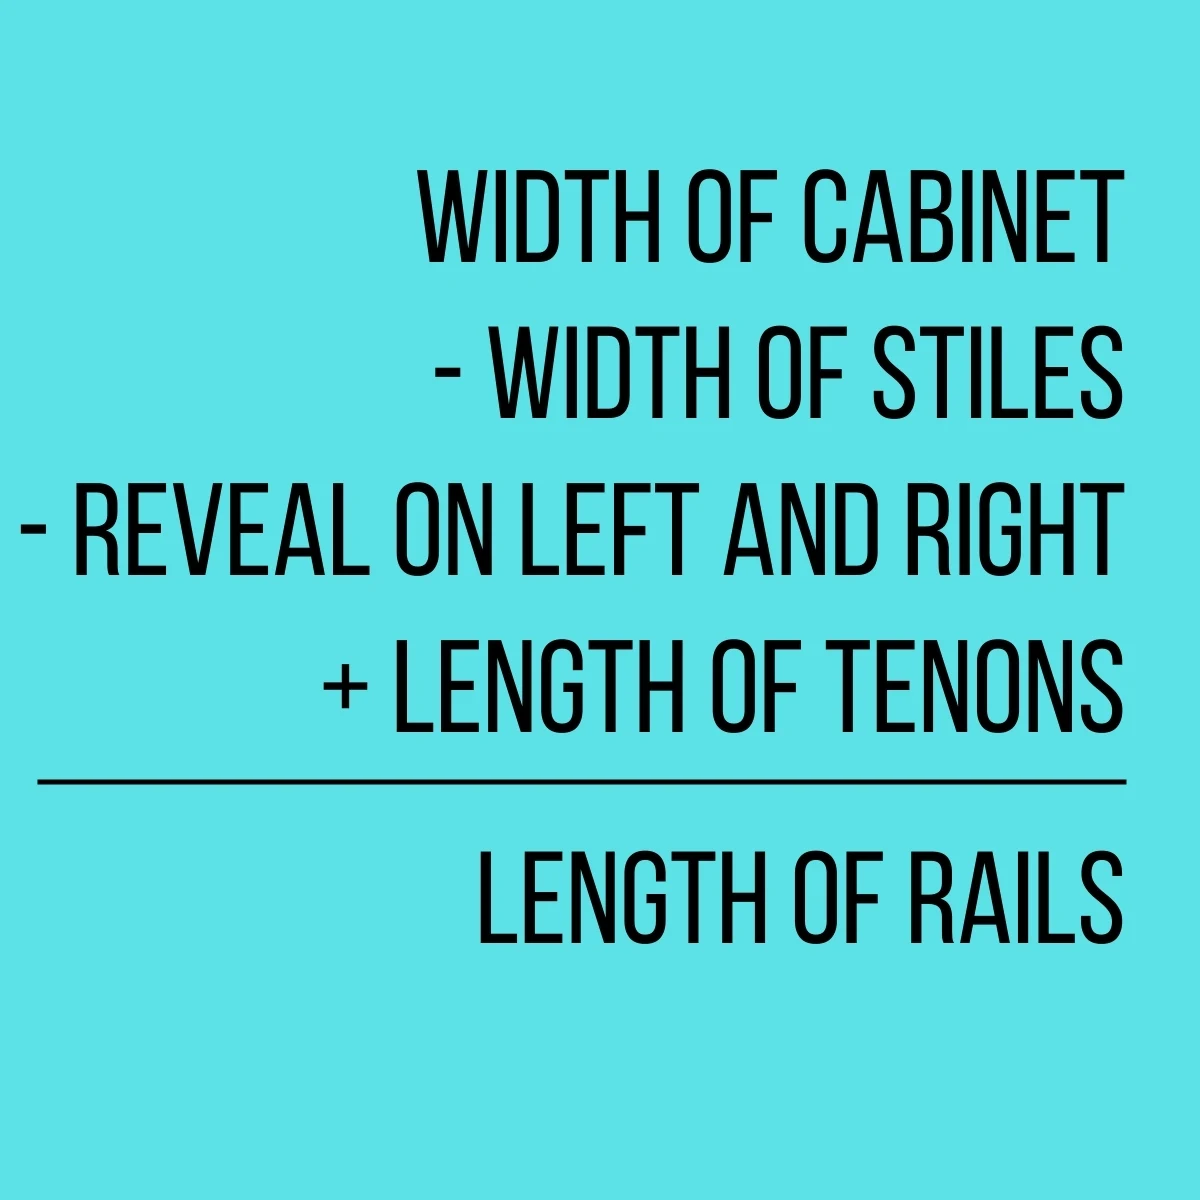
Say we have a 14" wide cabinet with 1/16" reveals, 2" wide stiles and ⅜" long tenons on the rails. Subtract the width of the stiles from the width of the cabinet, then subtract the reveals. Then add the length of the tenons to get the full length of the rails.
For a cabinet with two doors, divide the cabinet width in half before starting your calculations. A reveal of 1/16" on both doors should leave a ⅛" gap in the middle to allow them to open and close smoothly.
Calculate the center panel dimensions
The final piece of the cabinet door puzzle is the center panel. This can be made of plywood, MDF or even solid wood, depending on your preferences. It should be thin enough to fit into the groove cut by the stile router bit.
I'm painting my cabinet doors, so I'm using ¼" MDF for the center panel. It's dimensionally stable, so I don't have to worry about seasonal wood movement. It also paints beautifully, so wood grain won't show through. As an added bonus, it's exactly the same thickness as the groove, so it won't rattle around like undersized plywood might.
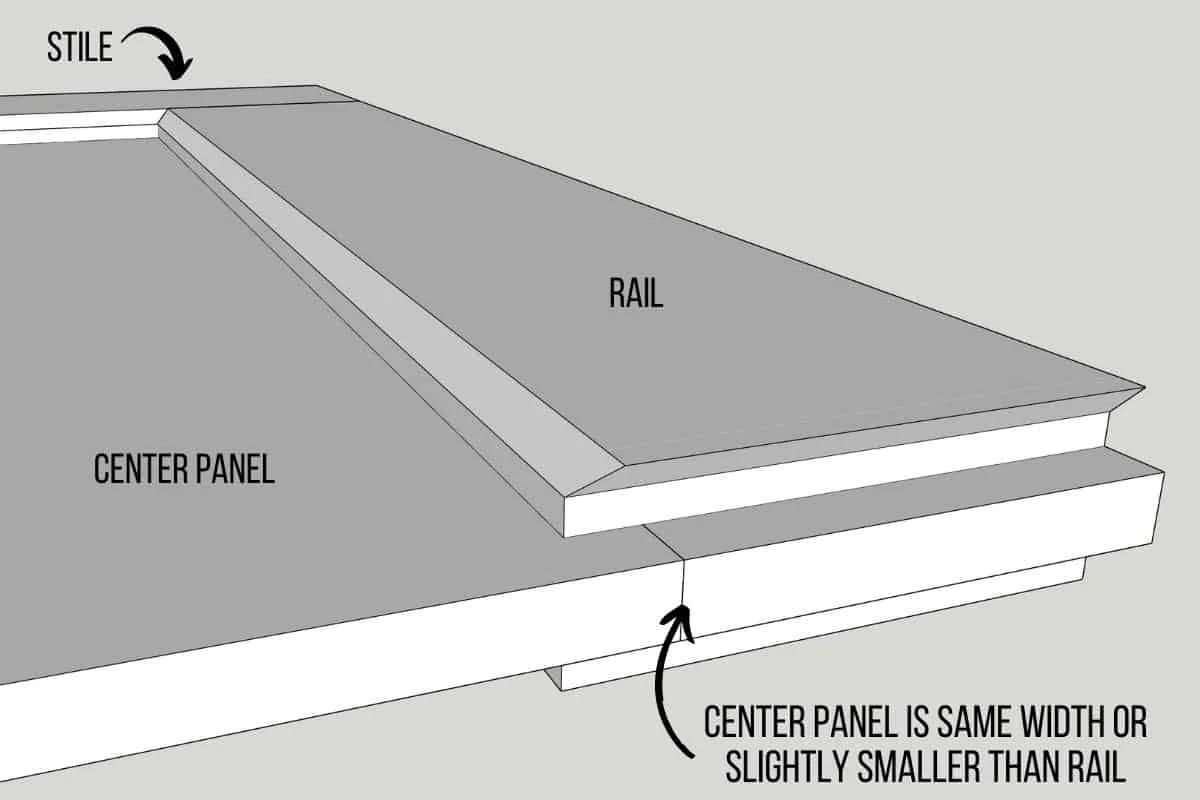
The width of the center panel should be the same or slightly shorter than the rails. Consider cutting it just a tiny bit smaller so the wood glue has somewhere to go.
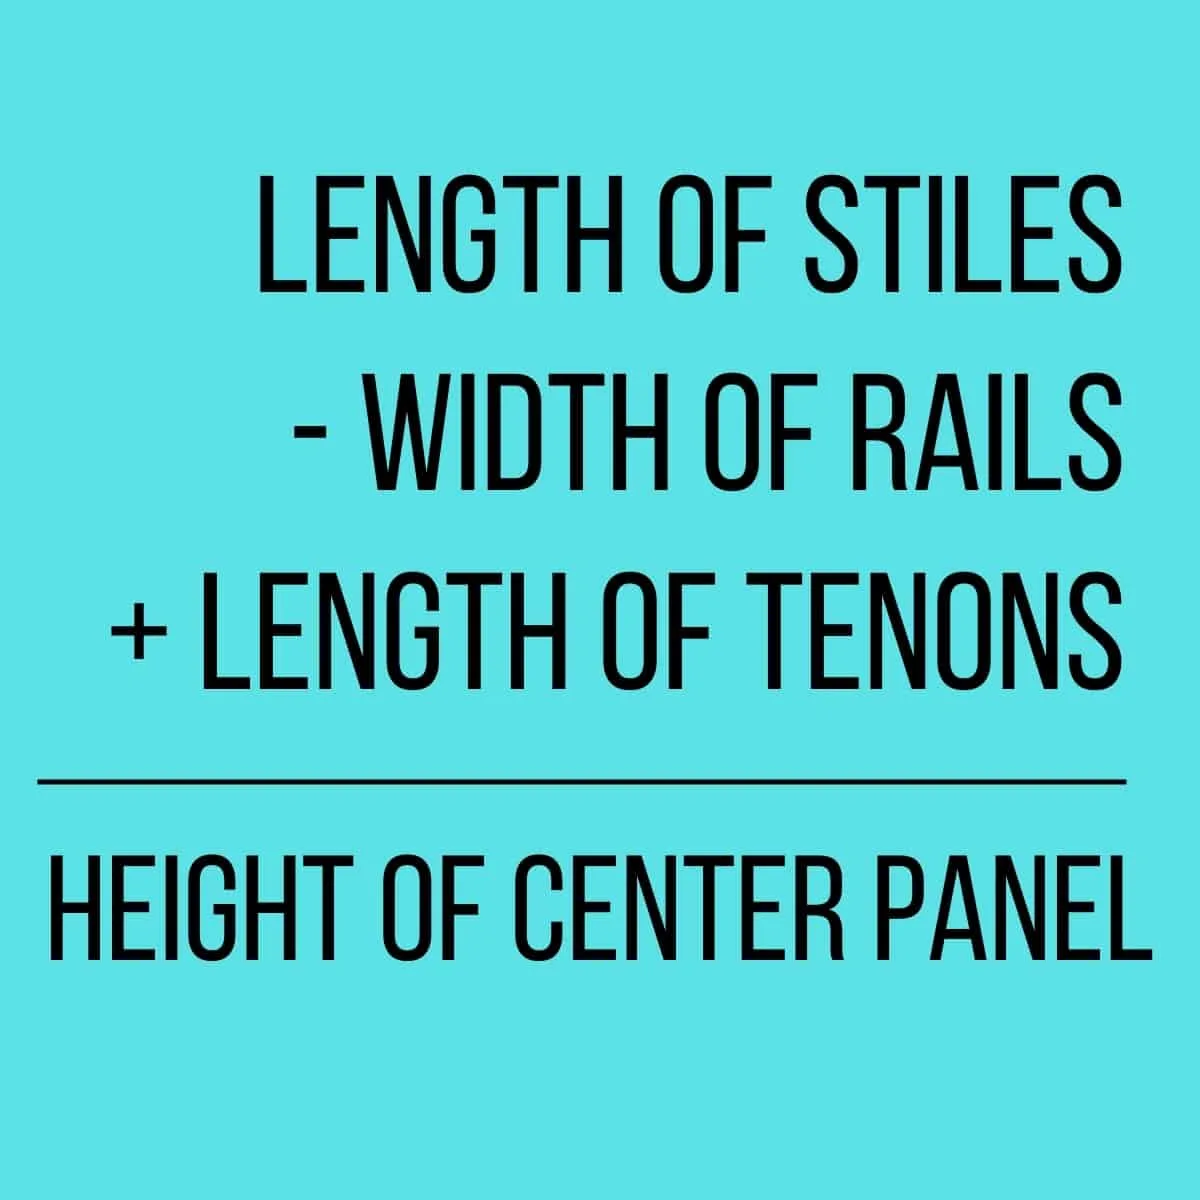
The height of the center panel is calculated by subtracting the width of the rails (in this example, 4 inches) from the length of the stiles, then adding back the length of the tenon).
Cut all the cabinet door pieces
Now that you have all your measurements, you can cut the cabinet door pieces to size. Remember to label each piece, so you don't get them mixed up!
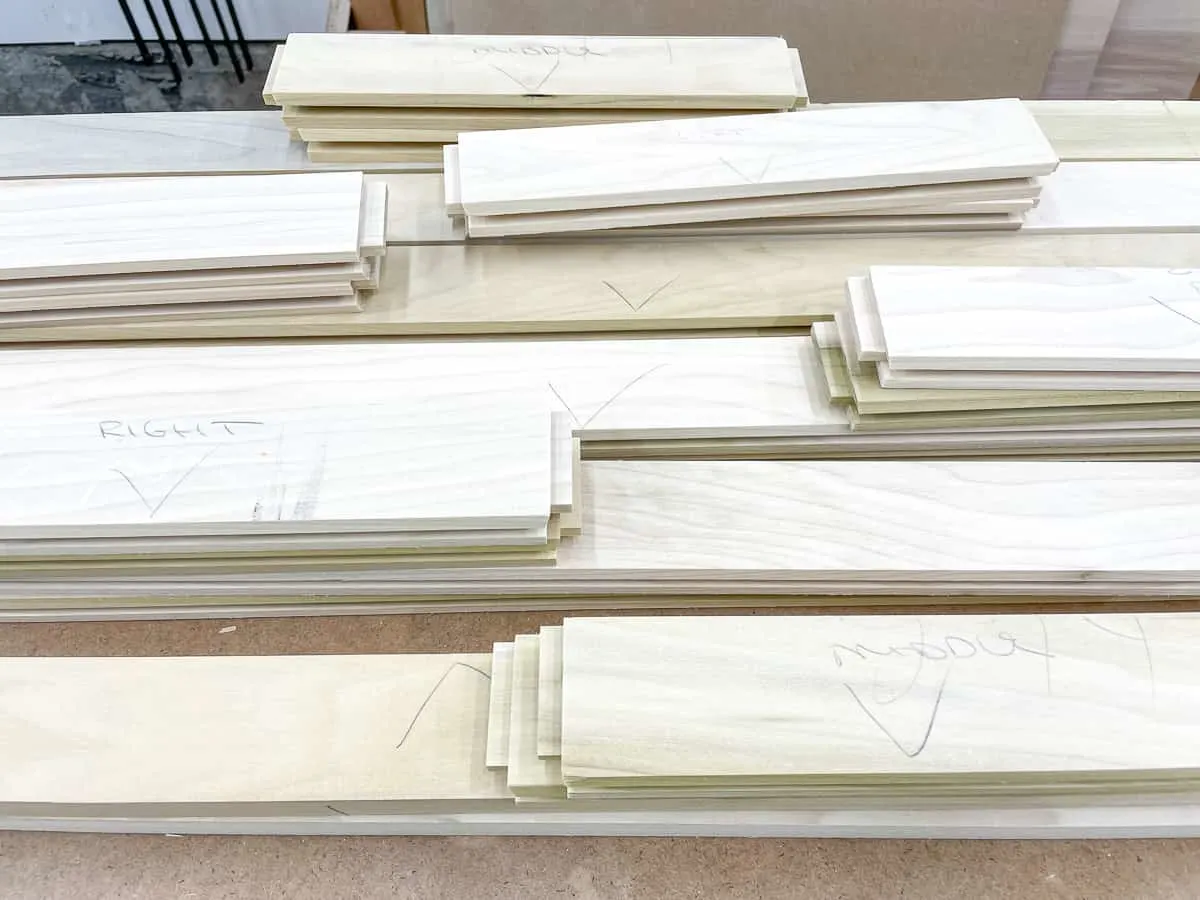
If you have a jointer and planer, I recommend using them to get the flattest, straightest parts possible for your doors. You'll also get a consistent thickness throughout all your pieces, so they fit together perfectly! If you're buying pre-milled lumber, check each board to make sure they're straight.
Setting up the rail and stile router bits can be a bit of a chore at first, but once you get them dialed in, you can crank out dozens of pieces in minutes! You may need to give them a quick sanding to remove any excess material and get them ready for the glue up.
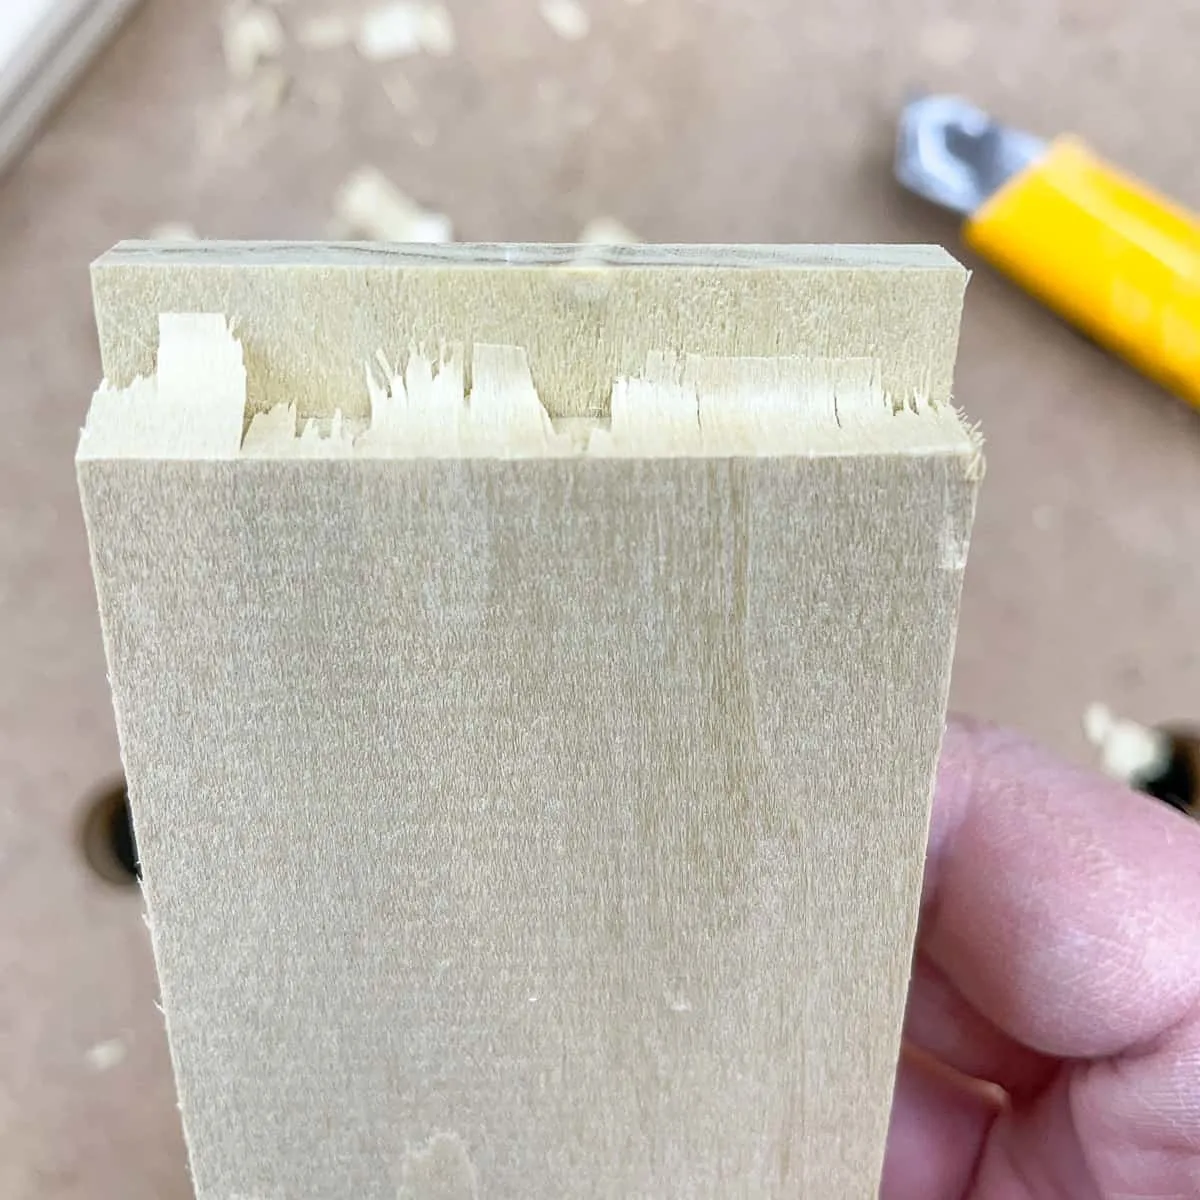
Ready to put the pieces together? Here's how to make a Shaker cabinet door!
Check out these other cabinet tutorials!

