Keep your life organized with a DIY whiteboard! I'll show you three different ways to make a dry erase board in any size or shape!


Whiteboards are a great way to organize ideas, keep track of to do lists, or just doodle. But no one wants their home to look like a boring office!
Believe it or not, you can turn almost any surface into a dry erase board! I'll show you three different methods for making a DIY whiteboard, along with the pros and cons of each.
This post contains affiliate links for your convenience. Purchases made through these links may earn me a small commission at no additional cost to you. Please visit my disclosures page for more information.
Whiteboard panels
This white panel board is really inexpensive and can cover a large area quickly. A 4'x8' sheet costs around $20, and can be framed with trim pieces that match your room!
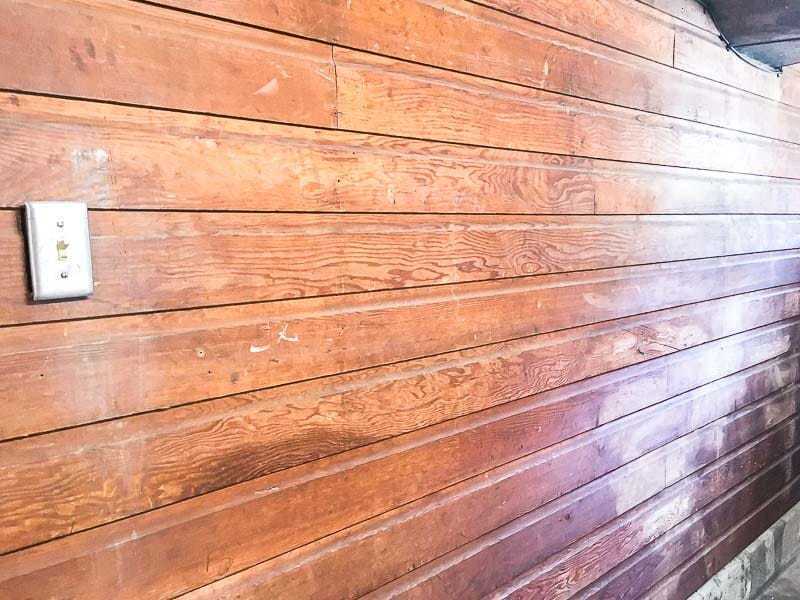
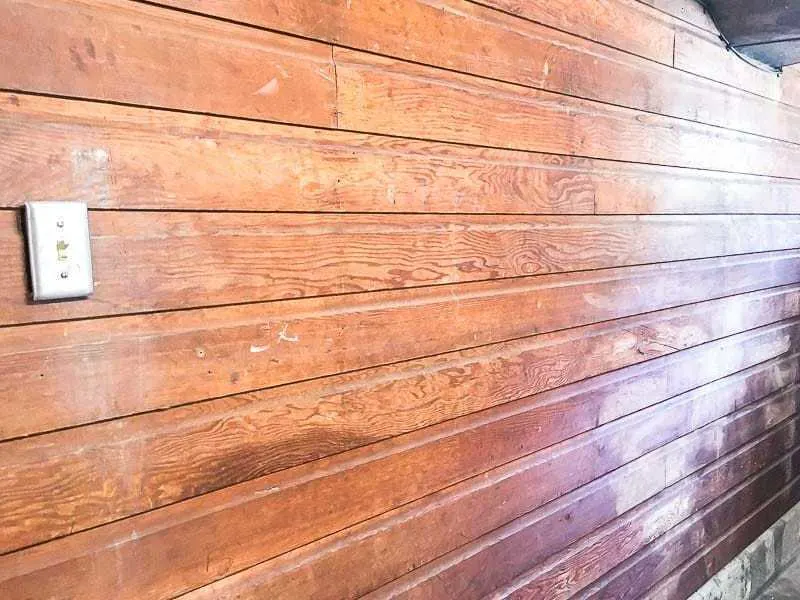
I wanted to cover this entire wall in my workshop with whiteboard. Painting the wood paneling in a smaller section took DAYS, so I decided this would be quicker and also functional!
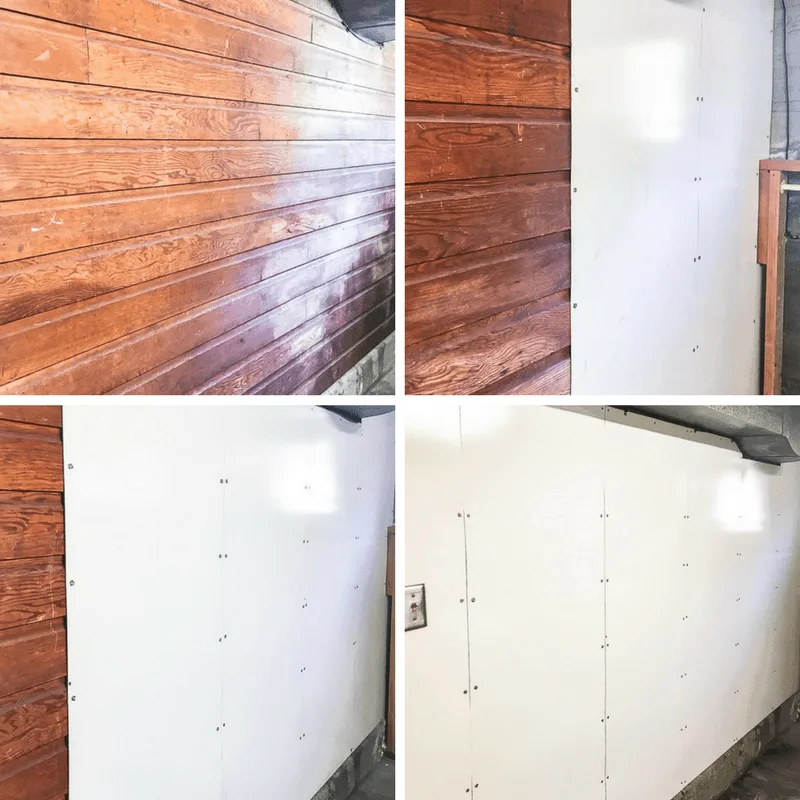
I had three sheets cut into 2 foot wide strips at the store so I could get it all into my car. But if you want an uninterrupted 4' wide span, rent or borrow a truck to get full size sheets home in one piece.
I attached each panel to the wall with screws. You could also use Liquid Nails if you don't want to see the screw heads along the edges.
My workshop gradually transformed from dark and dreary to bright and airy as each panel went up!

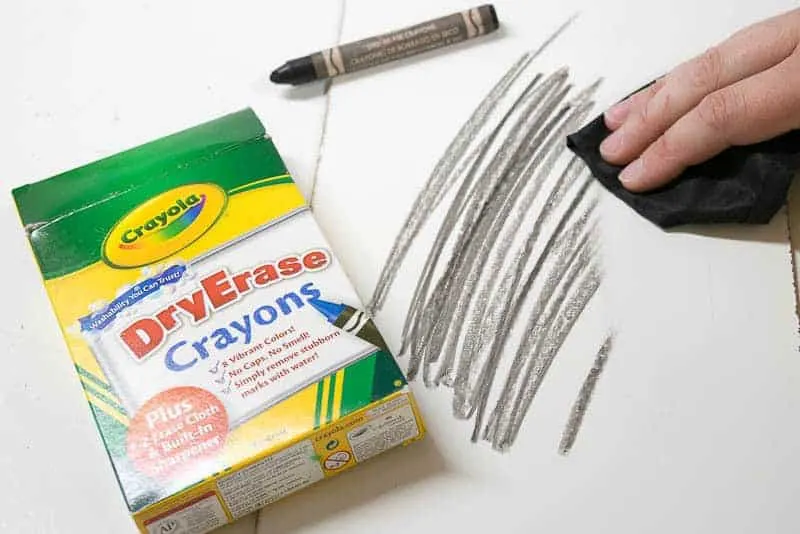
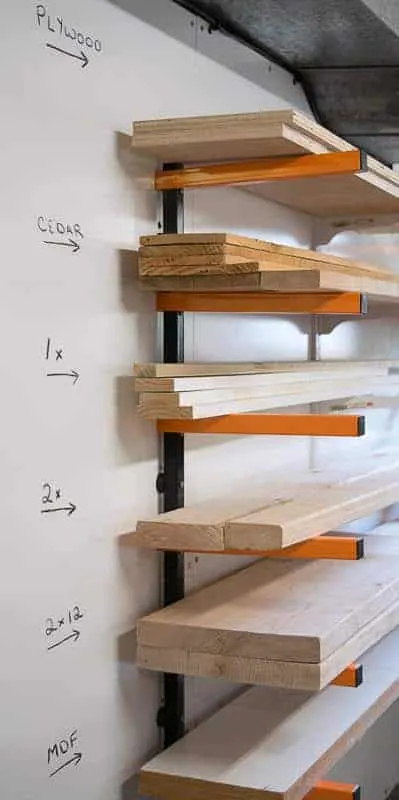
One issue with whiteboard walls is that it's easy to brush against it and accidentally erase your work! I tried a few different types of dry erase markers, and found Crayola dry erase crayons stay put and don't dry out.

Now I can clearly label the contents of each shelf of my lumber rack, so I know what scraps go where! As my collection changes, I can easily change how things are organized.

Pros
- Quick to install
- Can cover a large area
- Inexpensive
Cons
- Requires power tools to cut to size
- Gaps between panels
- Large sheets require a truck to transport home
Whiteboard contact paper
Another cheap and easy way to make any flat surface into a whiteboard is with contact paper. I've used this stuff everywhere in my house, from the windows to the countertops!
A few years ago, I found a sturdy wall cabinet that was perfect for the workshop. The problem was, the doors were bright red!
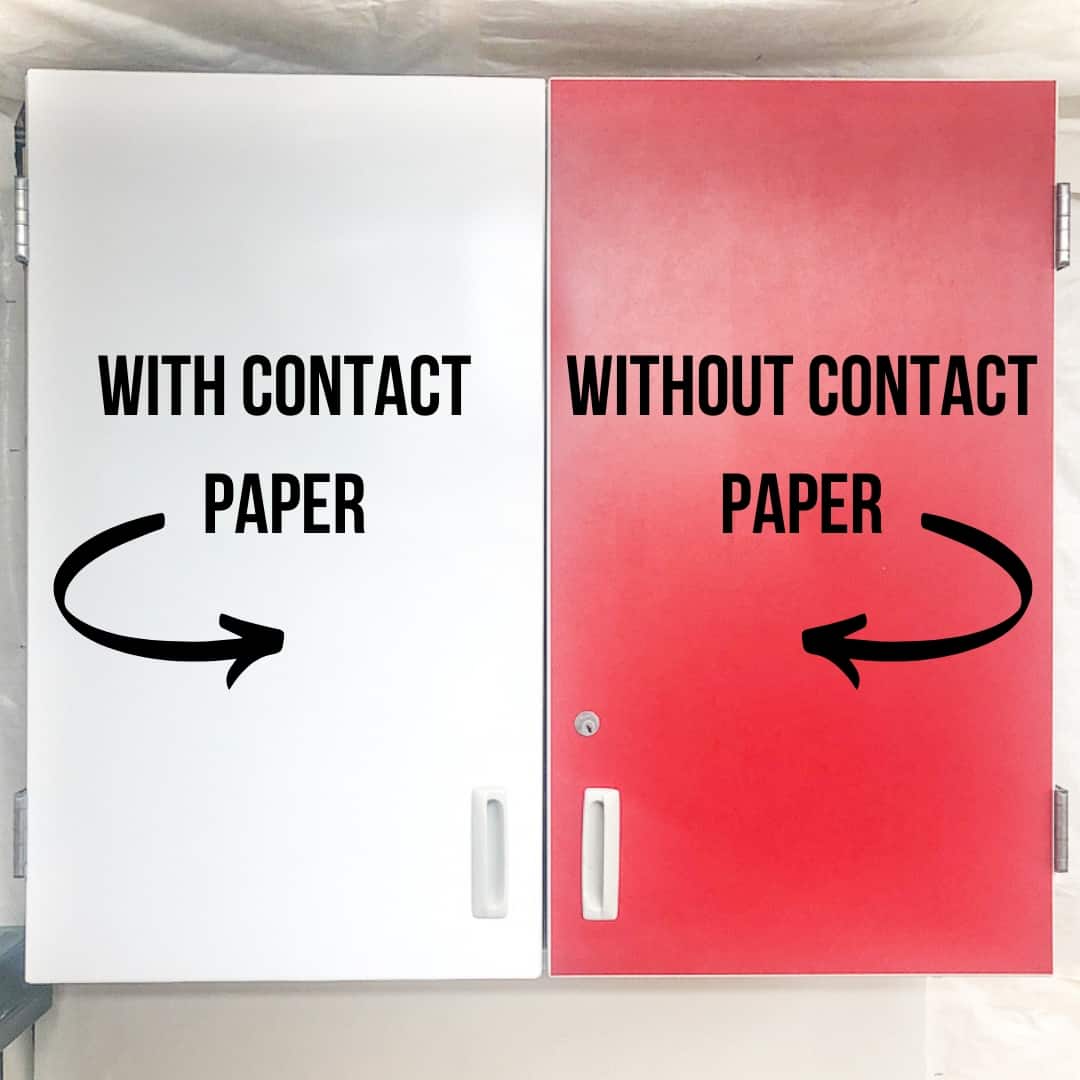
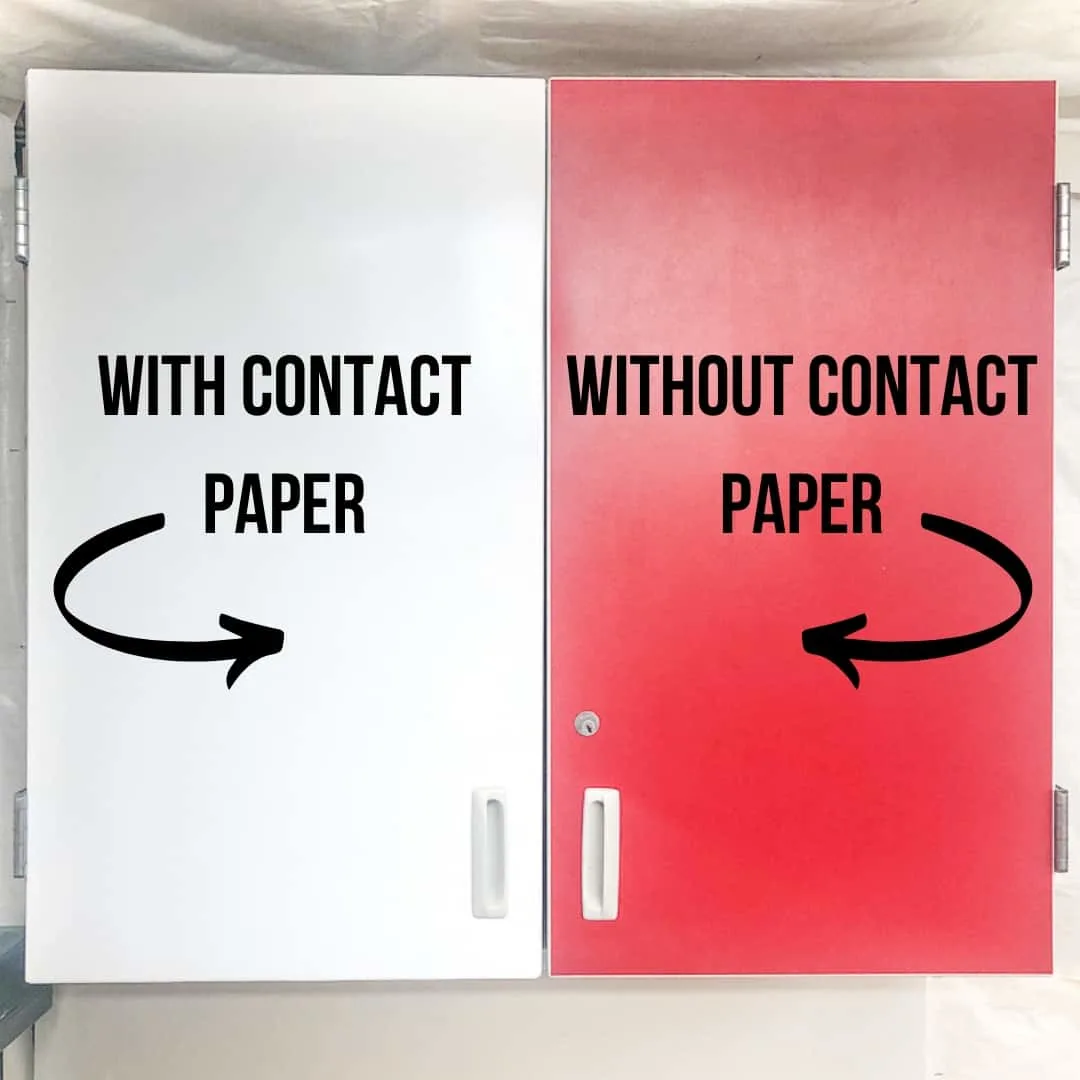
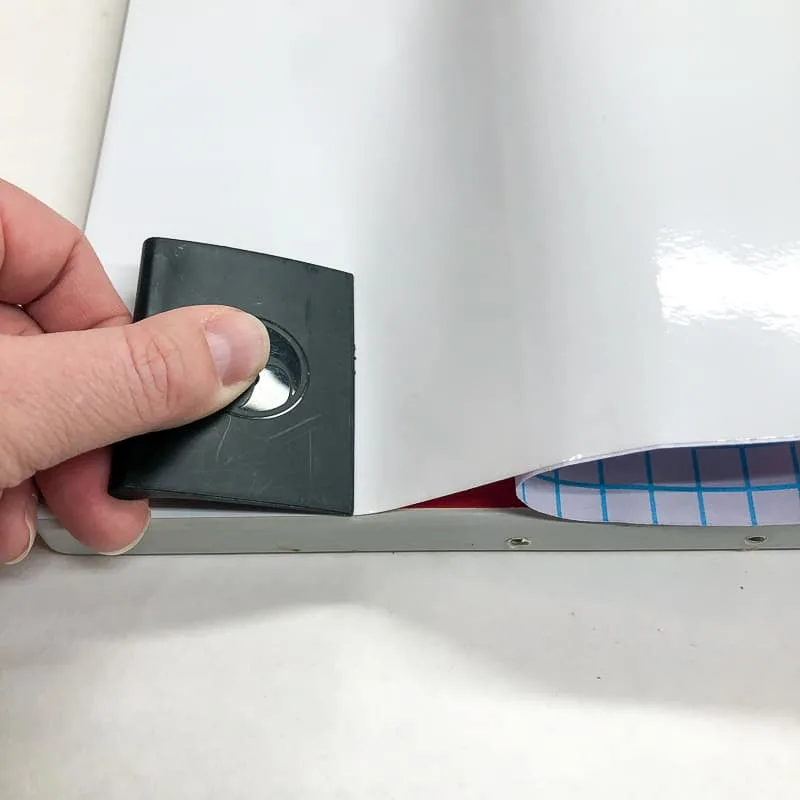
But within minutes, the cabinet doors transformed into whiteboards! All you need to do is stick it on, rub out the air bubbles, then trim away the excess.

Contact paper is great for anyone who doesn't have access to power tools, or if you just want a temporary solution. You can turn any flat surface into a dry erase board in minutes, and peel it off when you're done!

Pros
- Easy to install
- Removable
- Only requires scissors to cut
Cons
- Limited sizes
- Requires a smooth surface
Whiteboard paint
Dry erase paint is another great way to creatively turn a wall or piece of furniture into a whiteboard. It comes in both white and clear options if you want to preserve the color underneath.
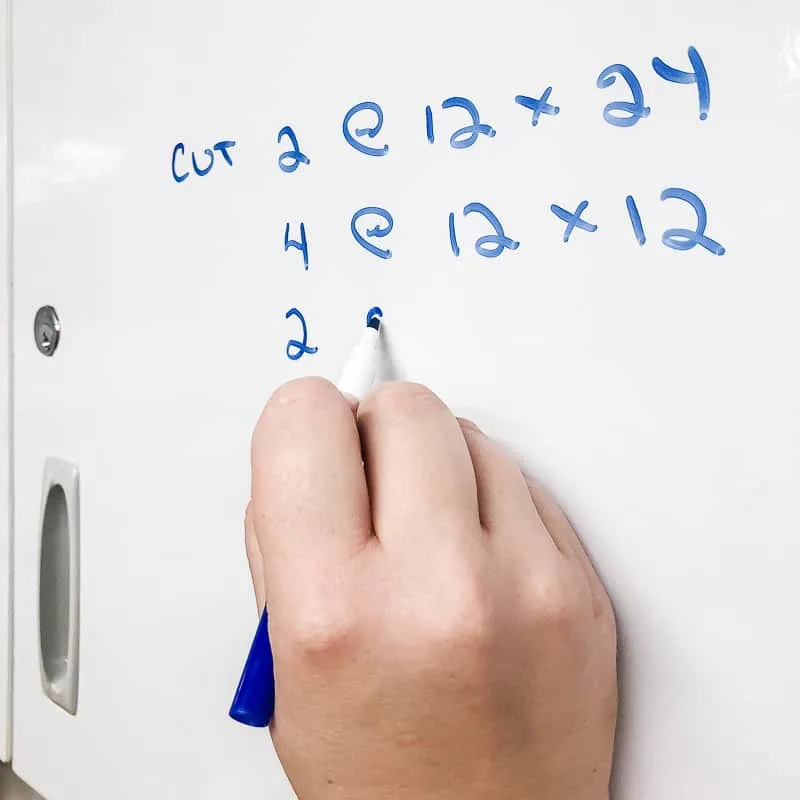
I'm building a fold-down table for my craft space, and I wanted the front to be useful even when it's closed up. I usually have several projects going on at once, and a whiteboard would be a great way to keep track of them all.
But I didn't want to add any extra depth to the table with a whiteboard panel, and I was worried that contact paper would peel with constant use. So I decided to try out dry erase paint instead!

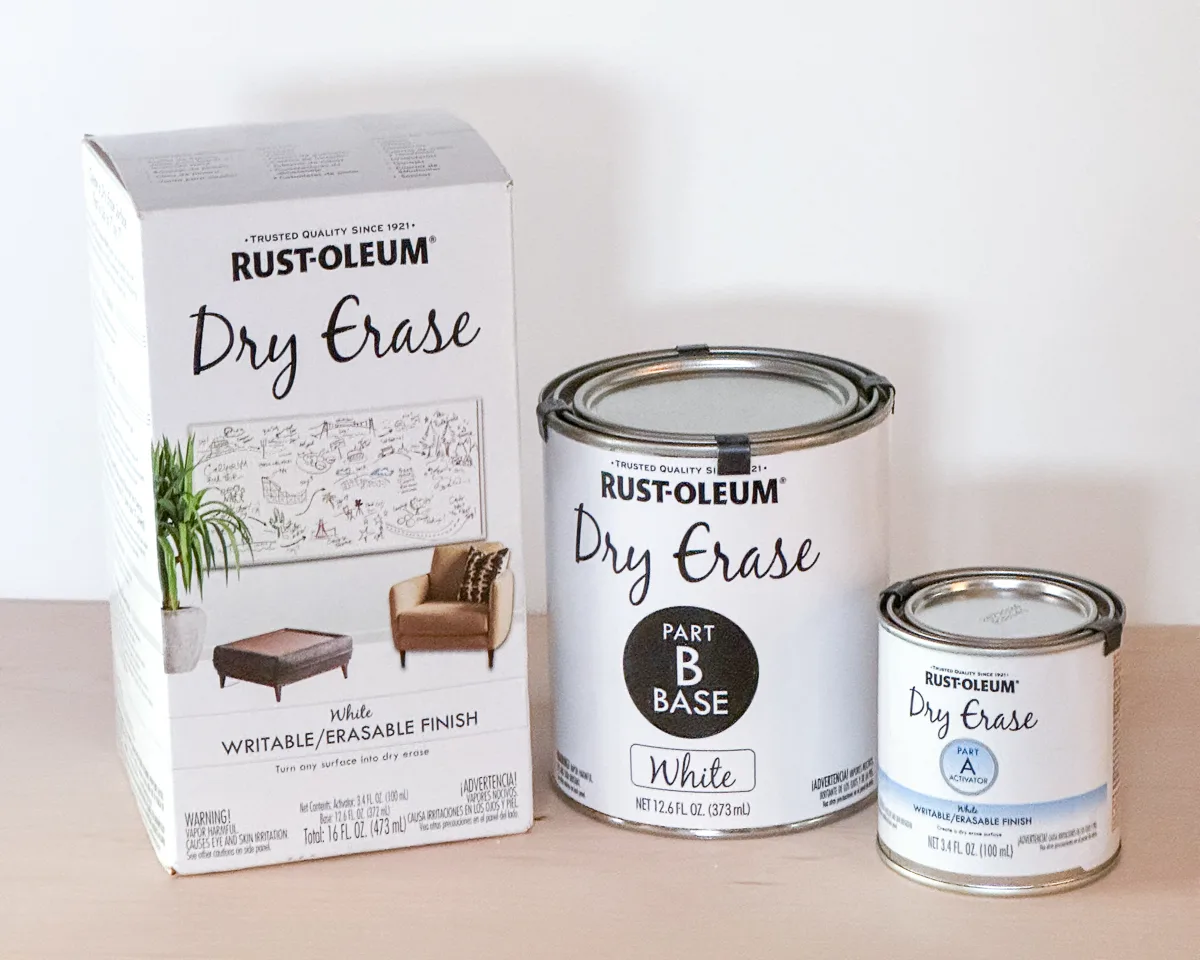
You don't get much in the can, so I recommend applying a primer to your surface first. This will reduce the need for multiple coats to cover up the underlying color, and give you a better result.
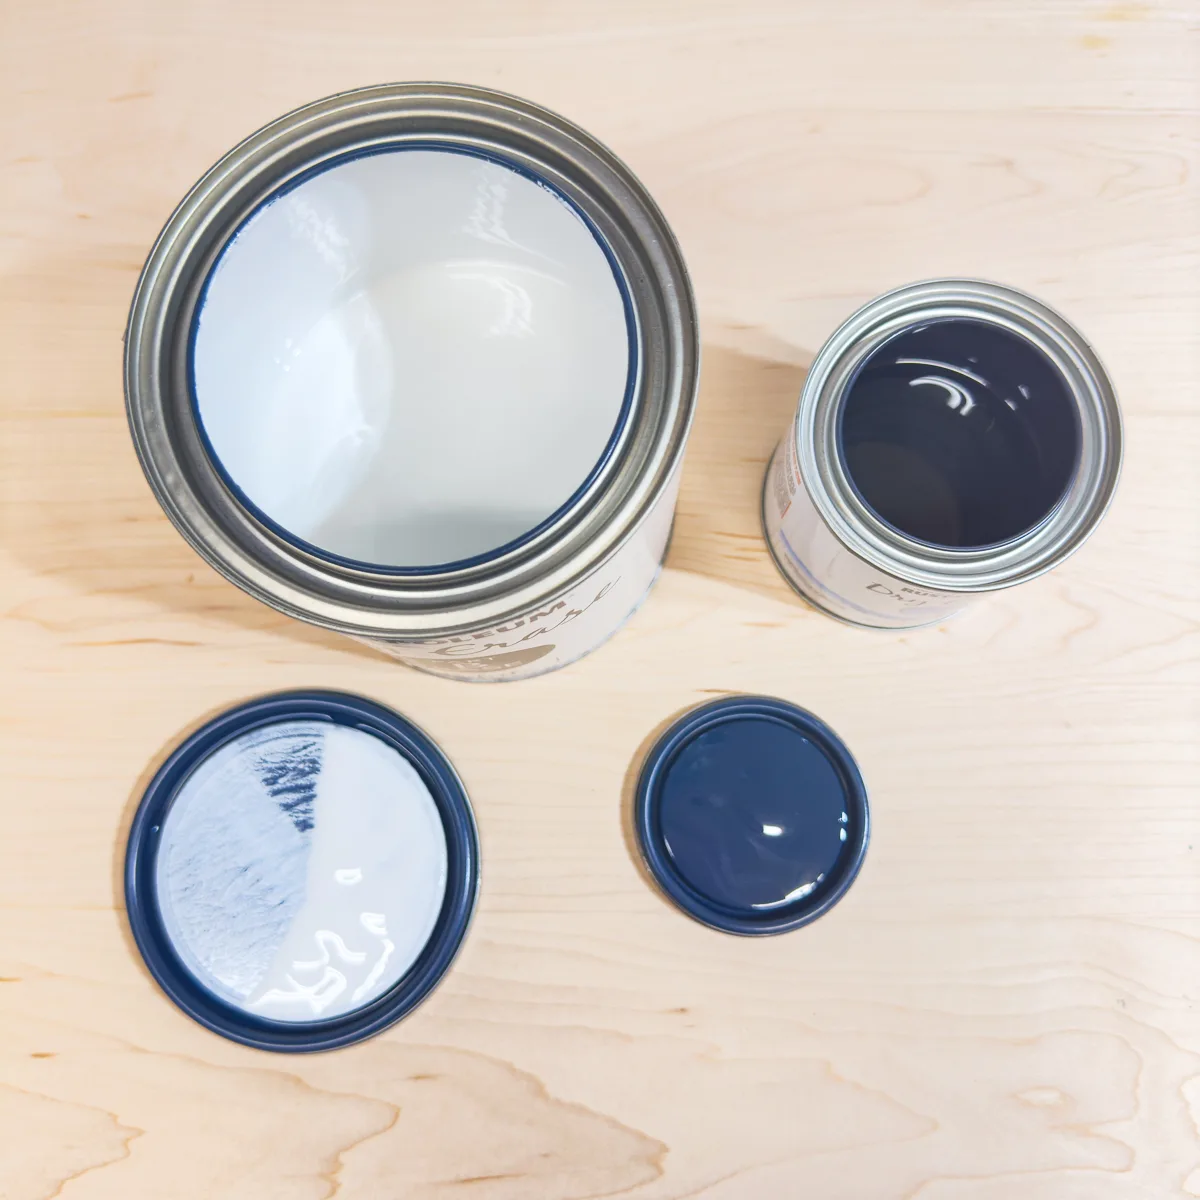
This stuff comes in two parts, which are mixed together before applying the paint. You only have about an hour of working time before it hardens, so you need to work fast!

After you're done painting, you need to wait 3 days for it to cure. Once I've finished the drop down desk, I'll share the photos and my opinions on this dry erase paint!
Pros
- Covers irregular surfaces
- No cutting or power tools involved
Cons
- Expensive
- Takes 3 days to cure
- Messy
Now that you know how to make a DIY whiteboard three different ways, which one would you prefer? Have you tried out any of these methods? I'd love to hear from you in the comments below!
Check out these other tips and tricks!
Bonnie
Wednesday 25th of December 2024
glass from a picture frame of an old window painted white or any color on the back side and frame and use the clear unpainted side works great or repurpose an old mirror
April R - Uncookie Cutter
Thursday 24th of August 2017
This is amazing!! I'm copying you...
Vineta
Thursday 24th of August 2017
Copy away! I really love being able to write on the walls!
Ashley | Handmade with Ashley
Friday 4th of August 2017
I love what you did with the space! I'm especially loving that white board wall. :)
Toni
Thursday 3rd of August 2017
What a great idea! Our garage is old and ugly and even installing this board over the studs would be instantly bright and wouldn't need to be painted. I love that you can label all your boards. Plus that wood storage system is fantastic! If only I had a free wall in the garage to install it I'd totally get one.