Create beautiful, custom laser engraved slate coasters and trays with these great tips, tricks, and design ideas.
Laser engraving slate coasters and trays is a fun and practical way to create personalized gifts or unique home decor. The contrast between the engraved design and the natural slate surface really makes your project pop!
In this tutorial, I'll show you how I test the settings on my CO2 and diode lasers to find the ideal engraving power and speed. Then I'll make a few different trays that would be perfect for the holidays or to give as gifts!
This post contains affiliate links for your convenience. Purchases made through these links may earn me a small commission at no additional cost to you. Please visit my disclosures page for more information.
Don't have a laser, or looking to upgrade? Use the code VINETA100 for $100 off an xTool laser! Click here to check them out!
Run a test grid first
Whenever you're using a new material in your laser, it's always a good idea to run a test file first. Every machine is different, and you really want to dial in those settings for the perfect result!
It may seem like a waste to use one or two coasters for a test. But it's better than ruining a whole batch or a large tray because they're all too light to read!
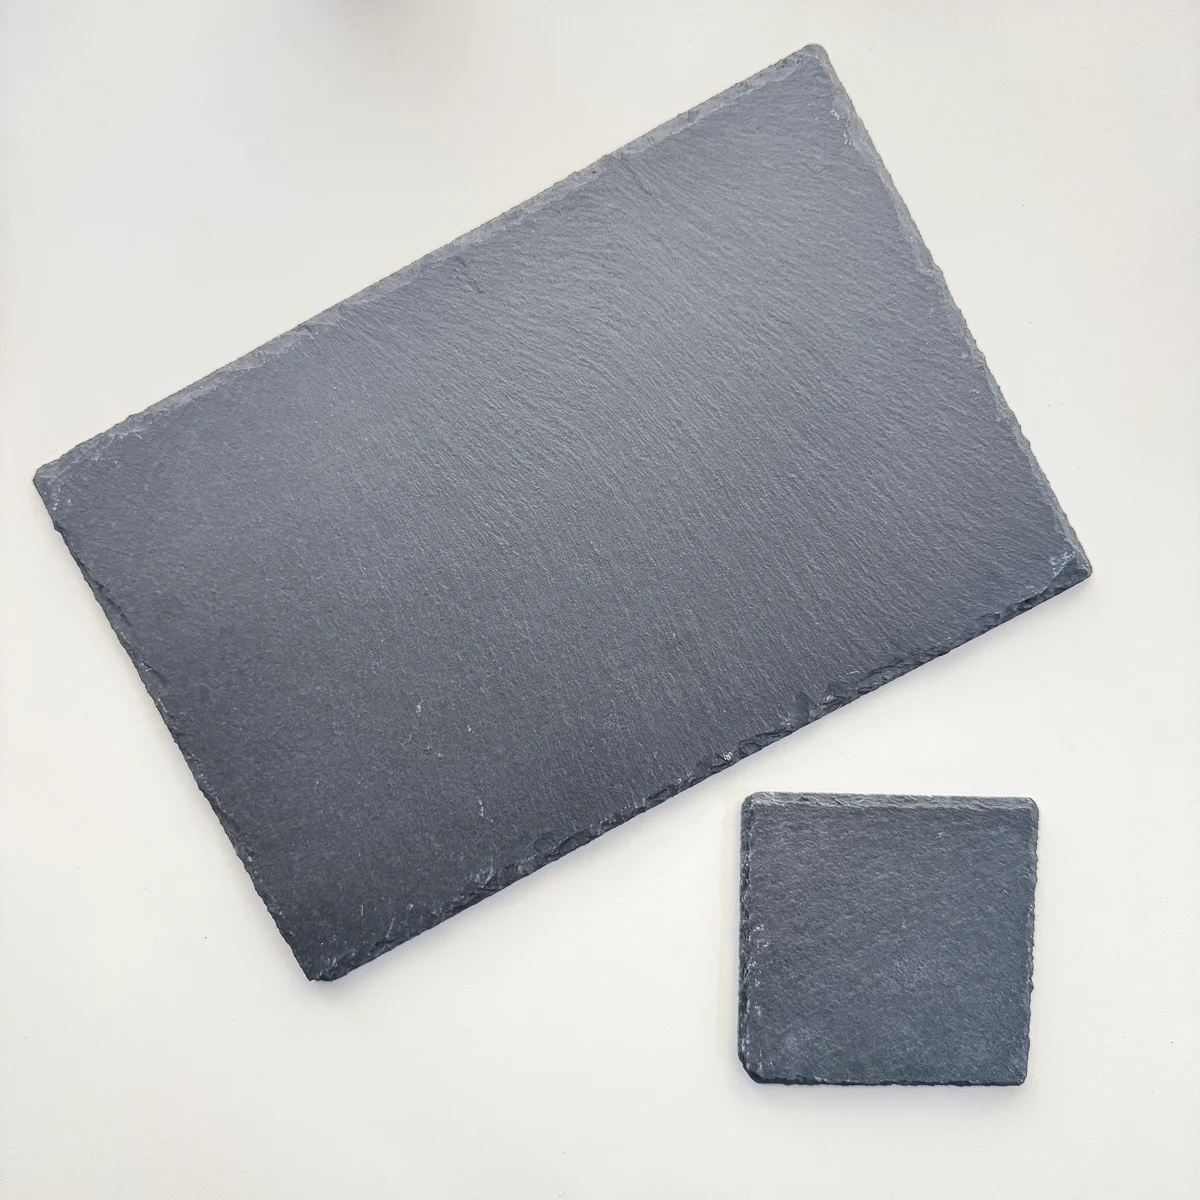
I bought this pack of 24 slate coasters for less than $1 each, so I can use one to test on my xTool P2 before moving on to the bigger trays.
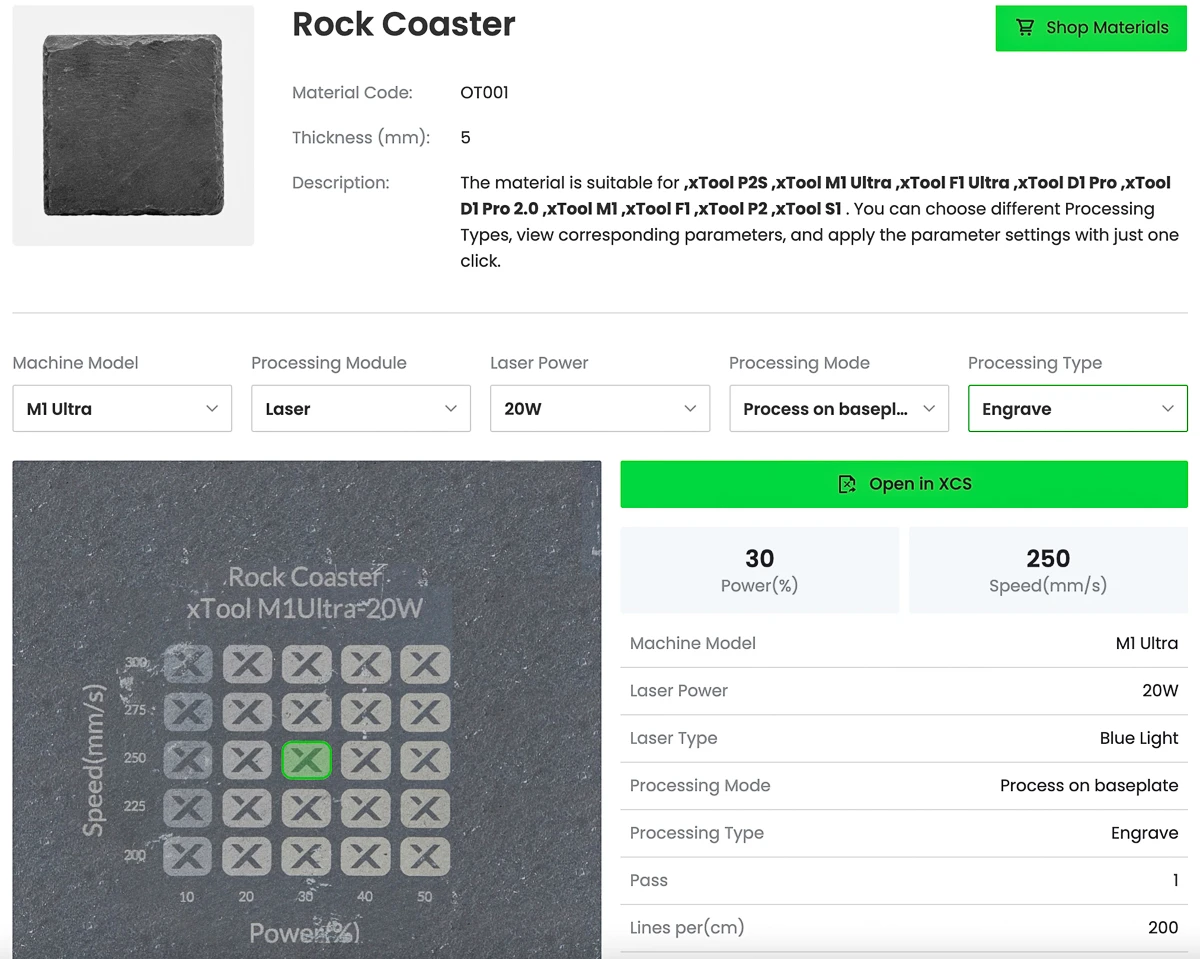
xTool Creative Space provides a good starting point to test your materials with their EasySet Library. Some of them even have a photo of their own test, like this one for the 20W M1 Ultra.
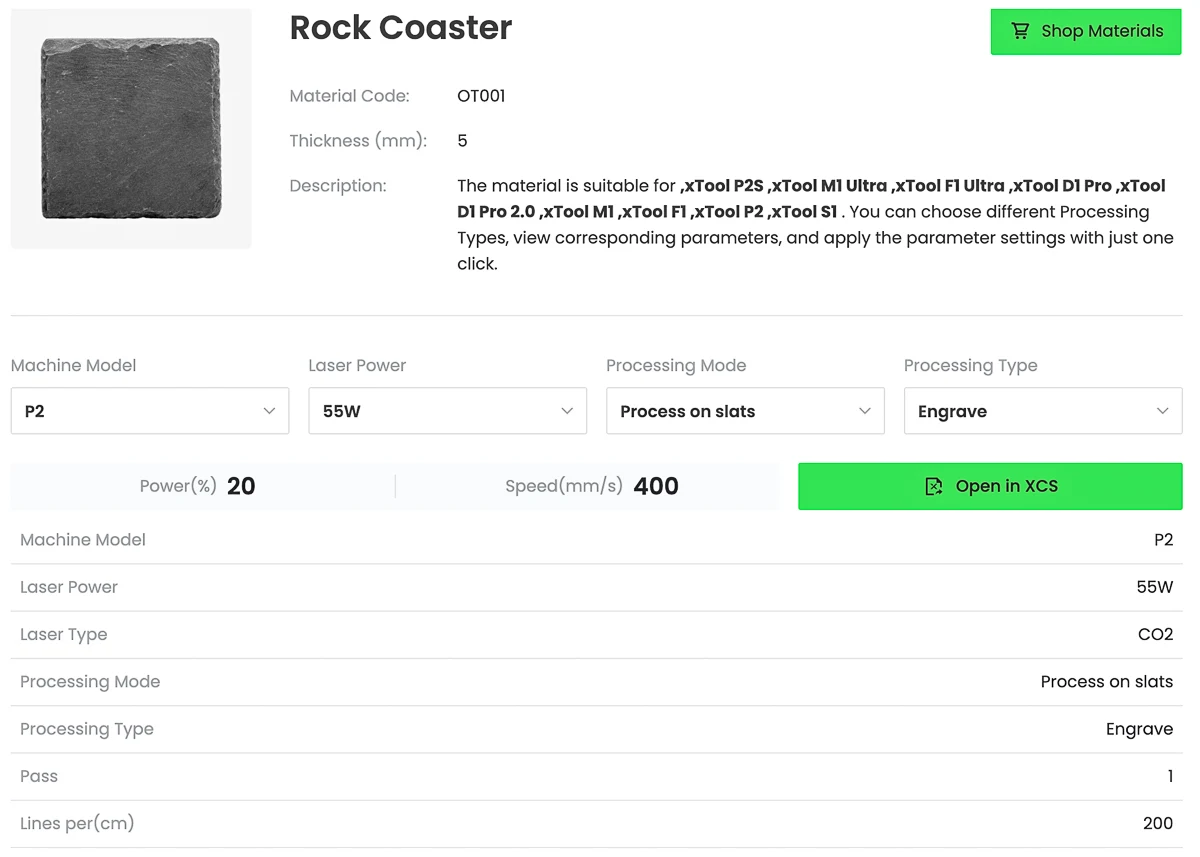
I started with the suggested setting for engraving rock on the P2, then increased the range in the test to really dial in the perfect power and speed.
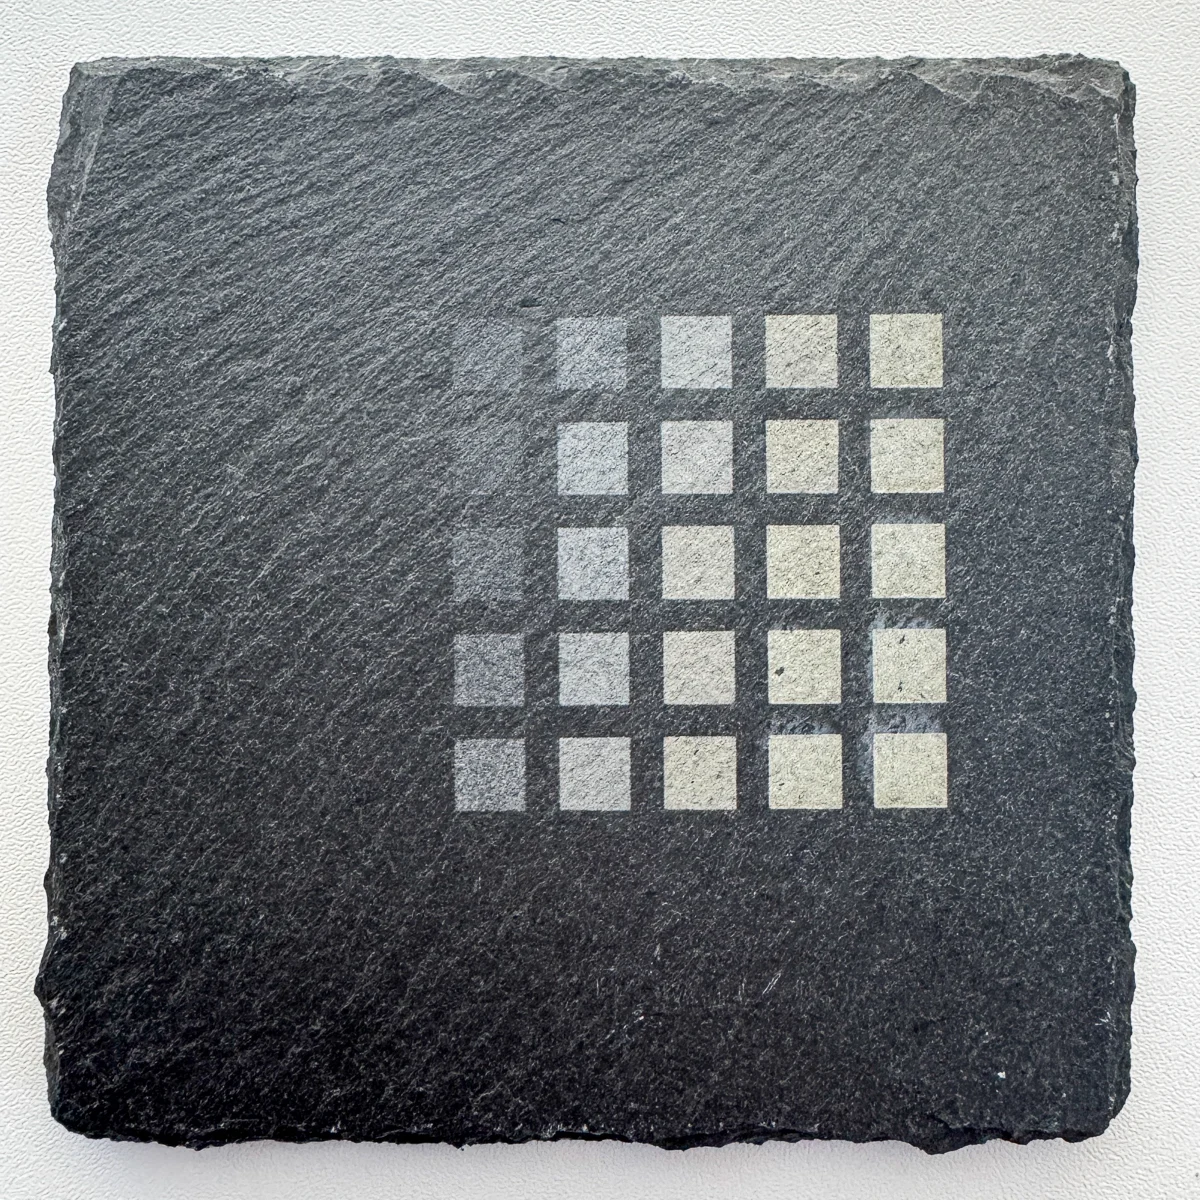
Here's how the test came out! You can't really see the score lines with the numbers on the sides, but I just referred to the grid on the screen to check the settings. I chose 25% power and 400 speed (4th column, middle row).
Create your design
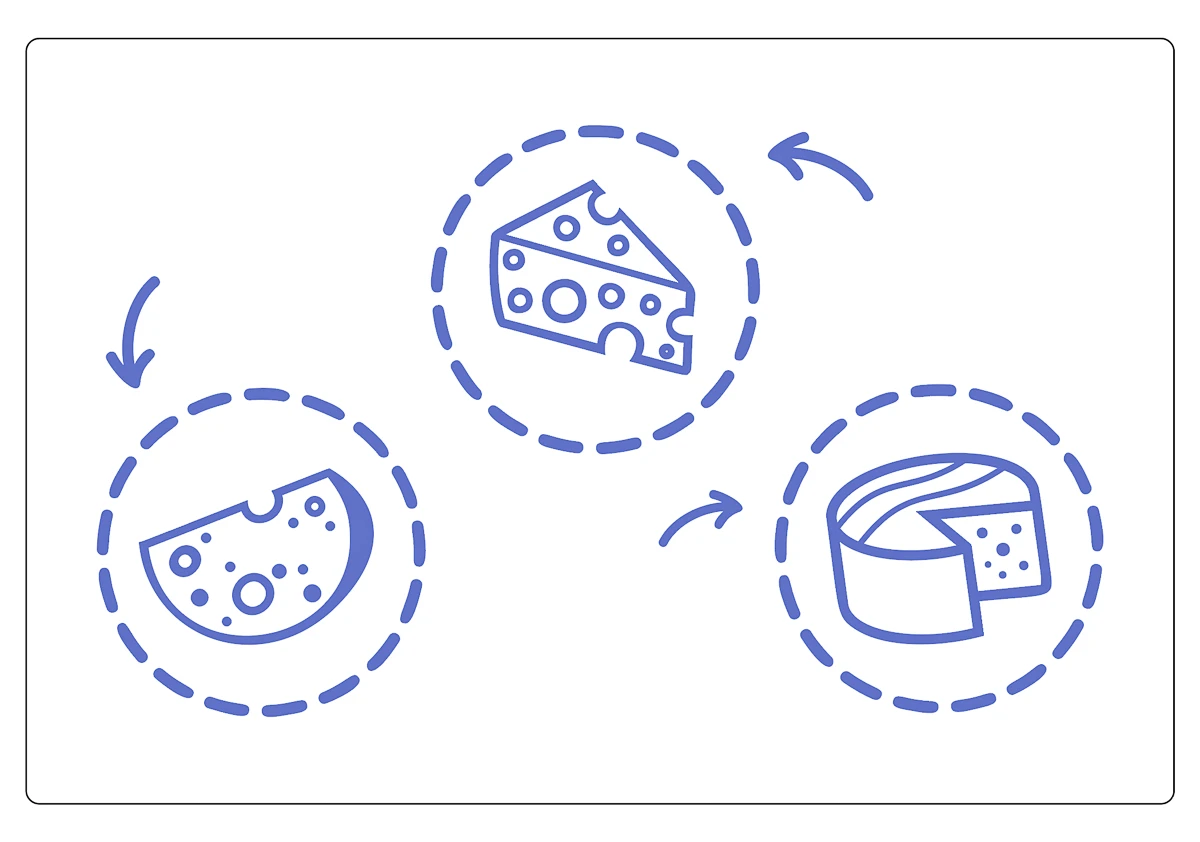
There are tons of laser files you can download from Etsy or Creative Fabrica for just a few dollars. I started with this cheese board design and this Santa cookie tray design, but changed them up a bit.
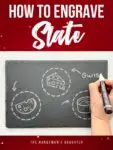
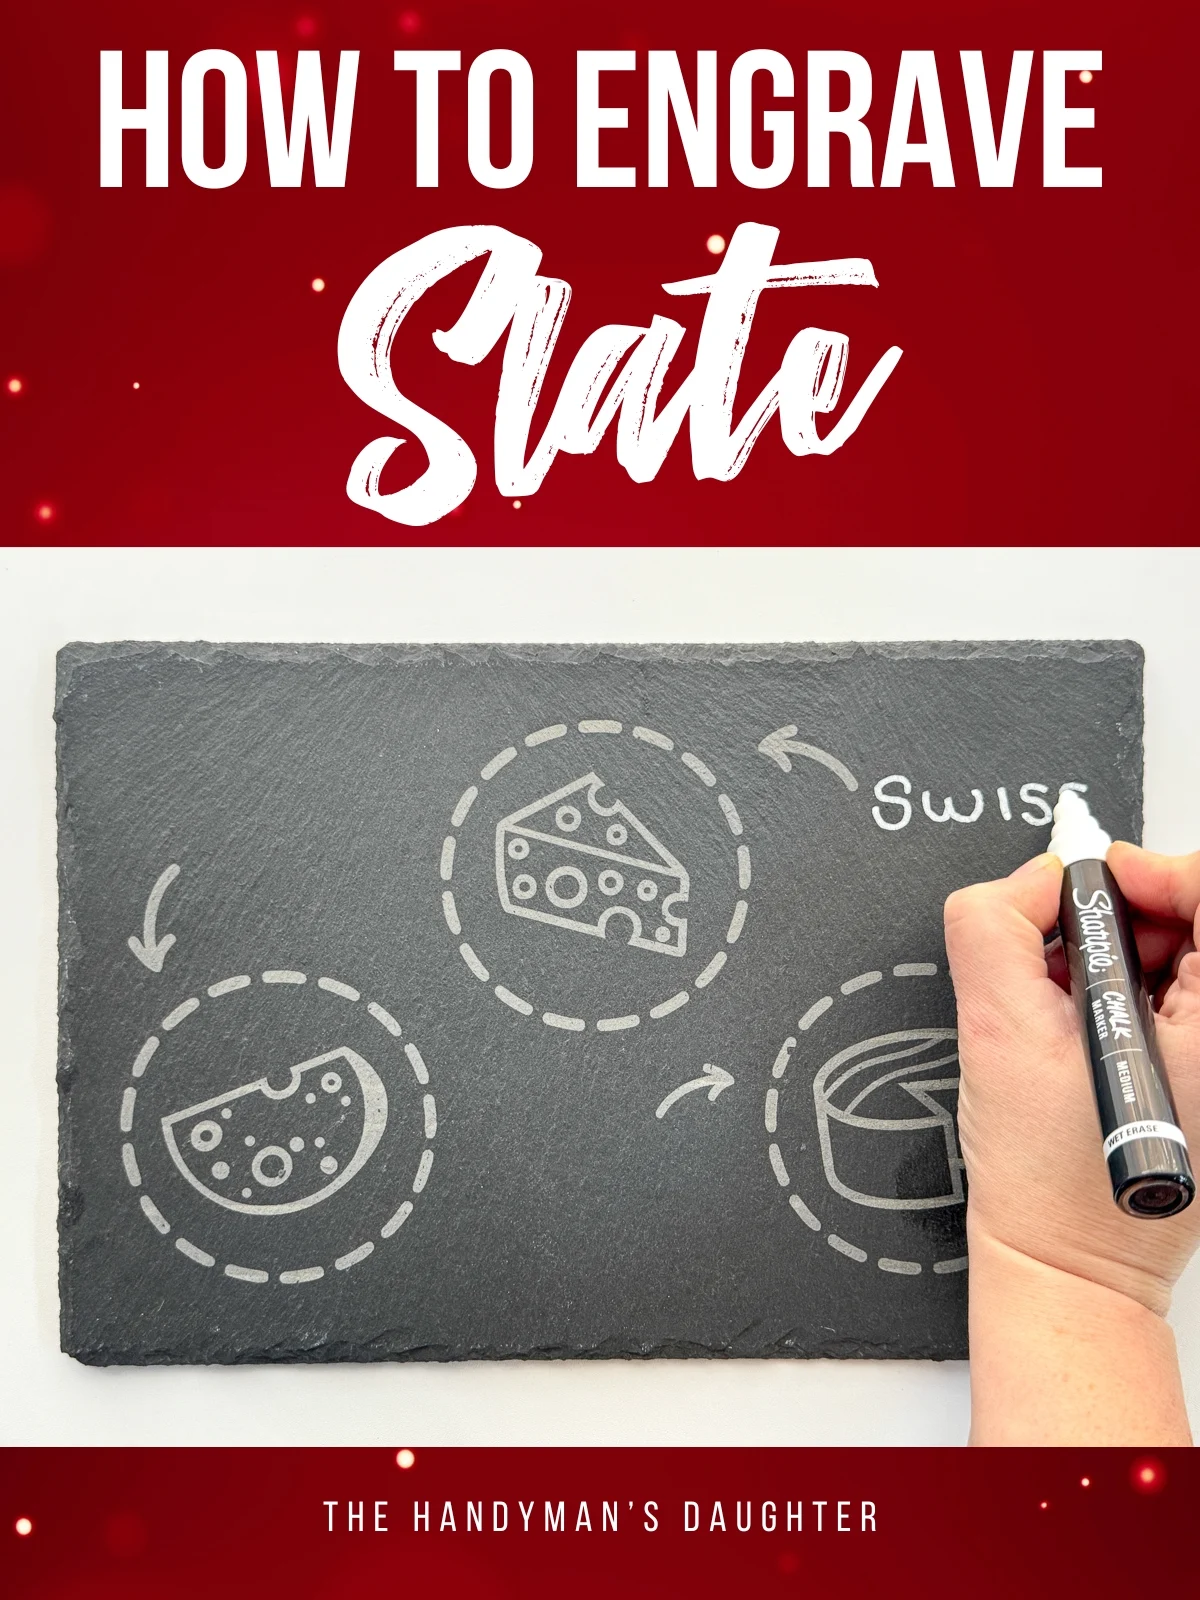
My slate tray can only fit three different cheeses, so I picked my favorite images and deleted the rest. I also removed the words so I can write my own in chalk later.
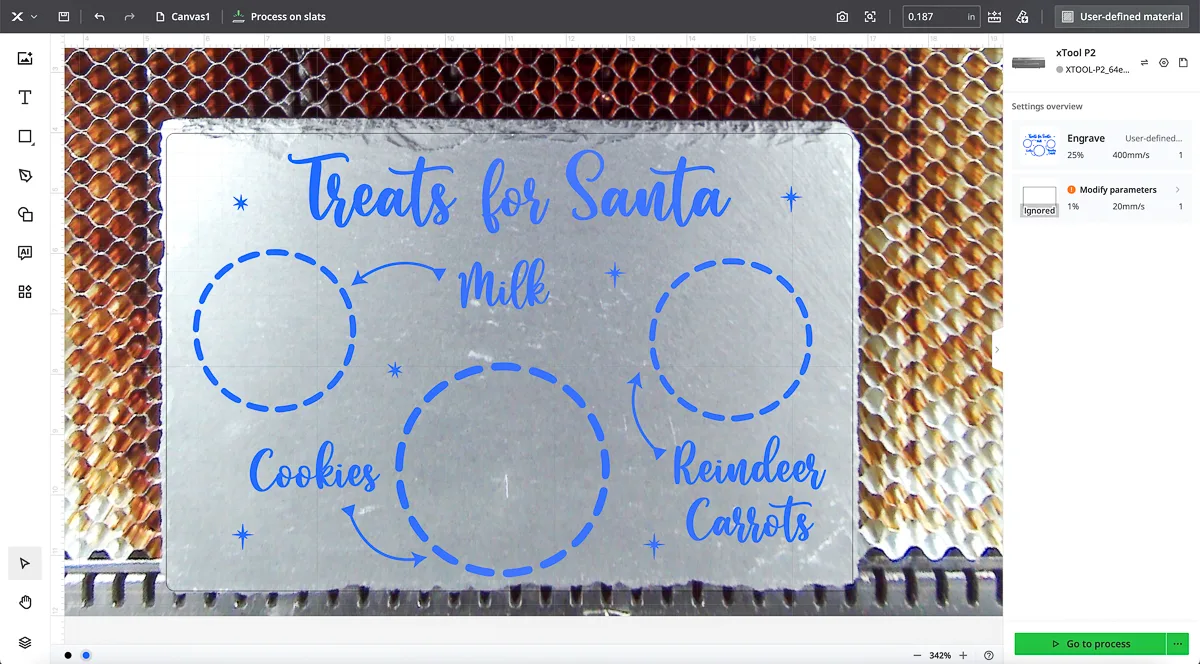
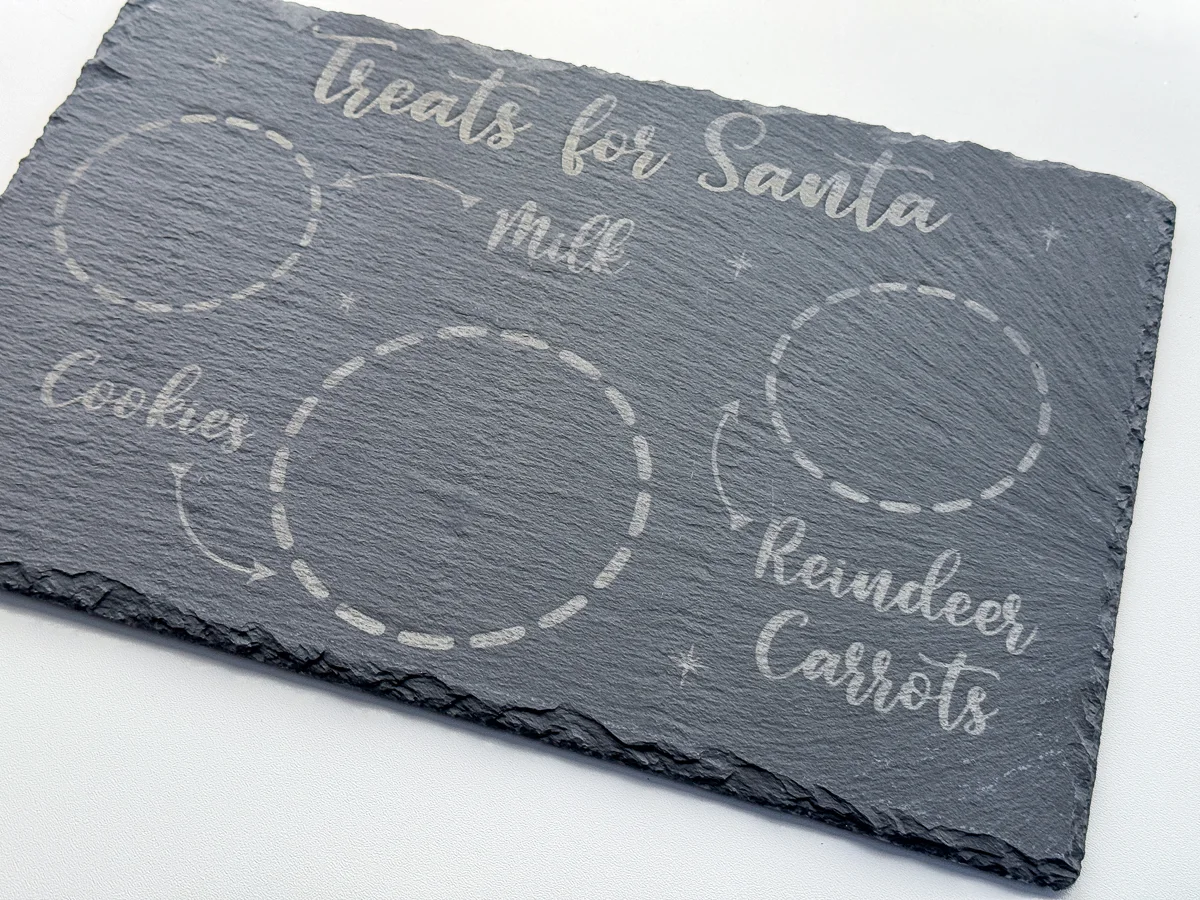
I also simplified the Santa cookie tray and changed the wording a bit. Then I lined up the design with the slate tray using the camera in the P2.
Prepare your slate (optional)
If you want your design to really pop, you can spray your coaster or tray with polyurethane or lacquer before you engrave. This will darken the color of the slate, and the natural color revealed underneath will appear brighter.
Since my trays will be in direct contact with food, I decided to play it safe and skip this step. As you can see below, they turned out great!
Engrave your design
Once you have your design aligned with your slate, just hit the button and let the machine do its thing! It took about 20 minutes to engrave these large trays with the CO2 laser, and would take twice that long on the diode laser.
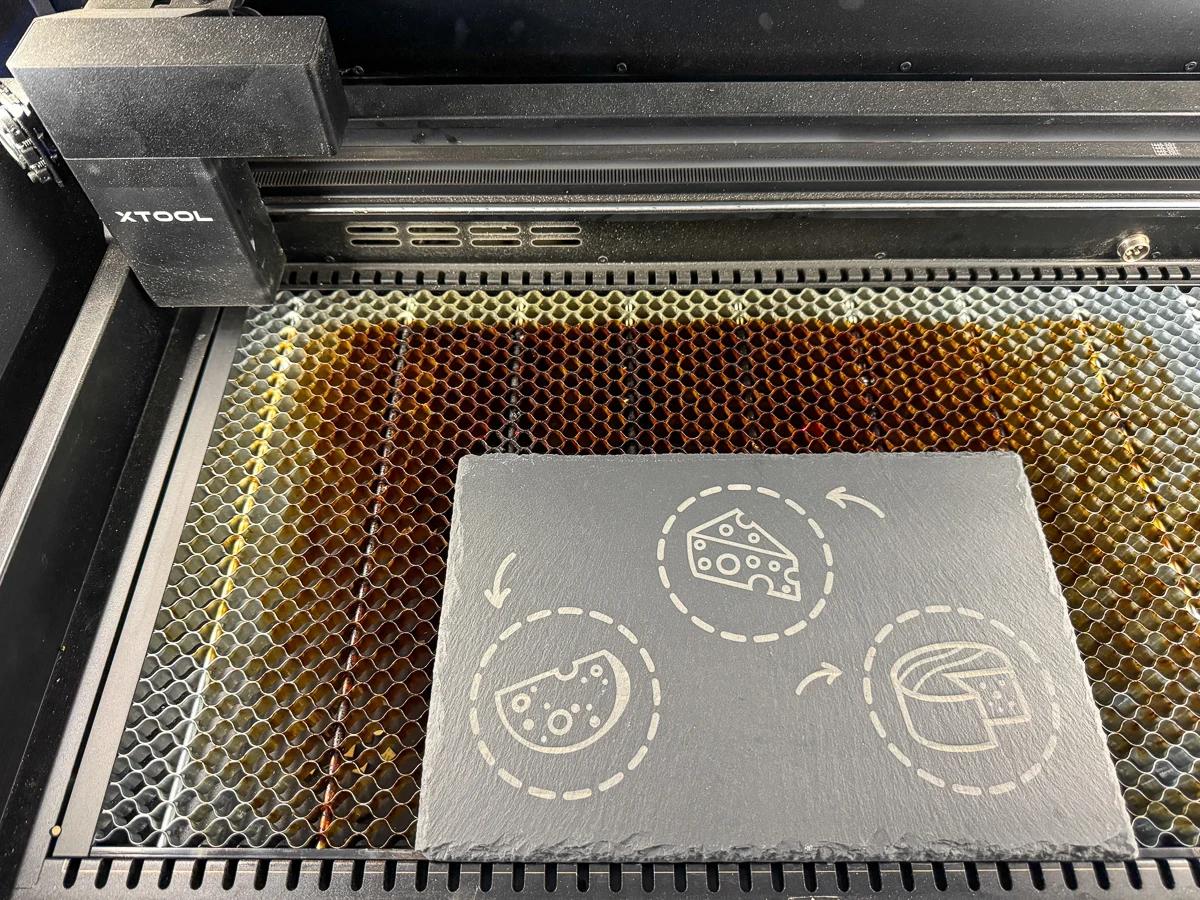
Because I took the time to dial in the settings ahead of time, the slate didn't need much in the way of cleaning afterwards. Just a light rub with a damp rag was all it took to remove any dust or debris from the engraving process.
Enjoy your laser engraved slate tray!
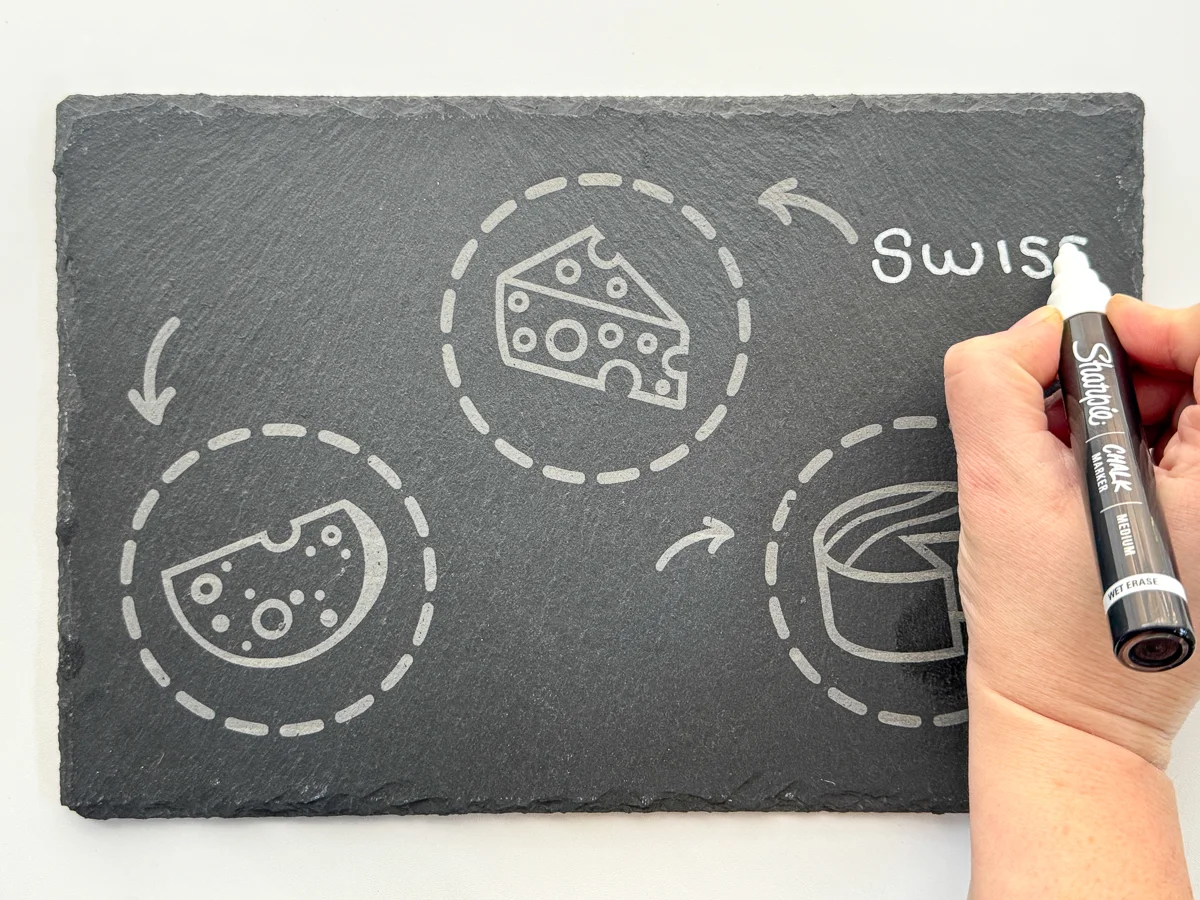
This cheese board will be perfect for holiday get-togethers! I used a chalk marker to write the different varieties right on the tray. It washes off easily with water, but won't smudge and get into the food.
The Santa cookie tray came out really cute! I probably should have moved the text at the top down a bit, because the rough slate edges made the engraving less clear. But it will still work great for the one night a year it's used!
I plan to do a batch of slate coasters with engraved photos and 3D images next, so stay tuned! What kind of designs would you like to see? Let me know down in the comments below!

