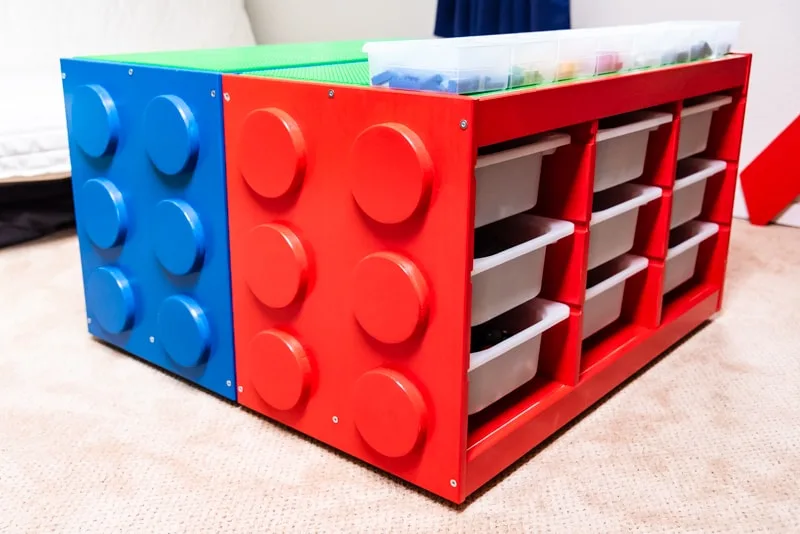
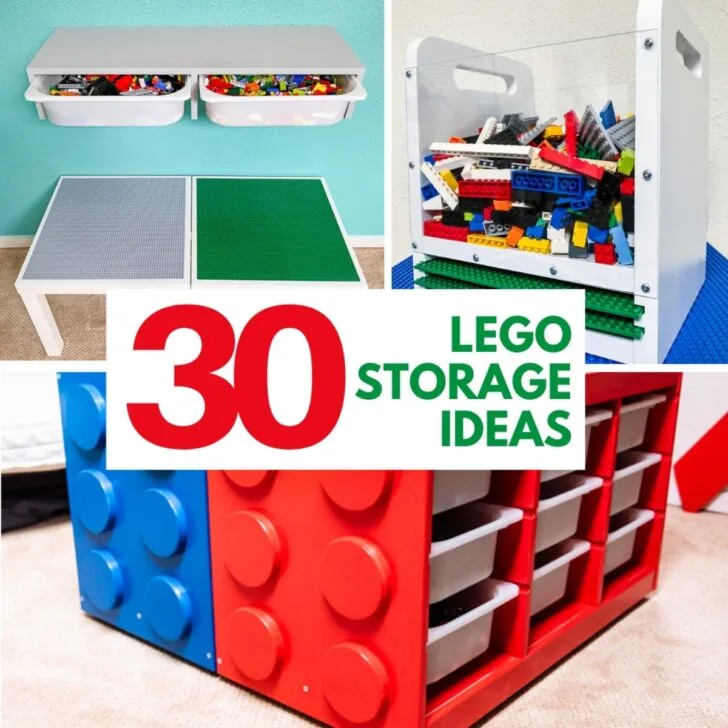
This IKEA Lego table hack will be a huge hit with your little Lego fan! Turn that boring IKEA Trofast into a jumbo size Lego brick with loads of storage!
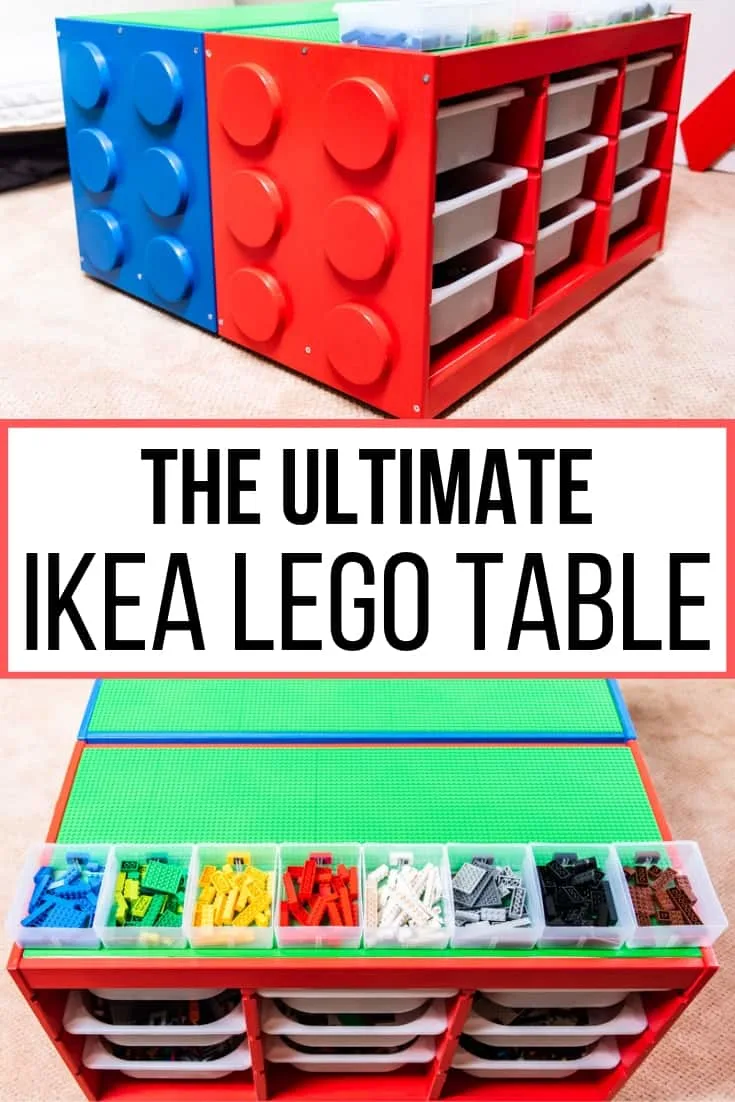
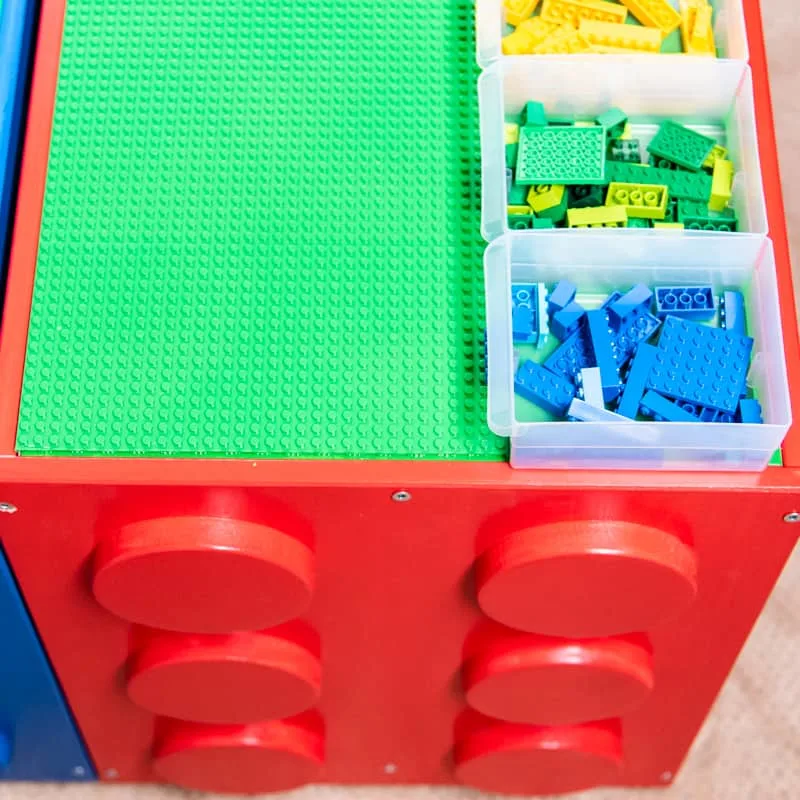
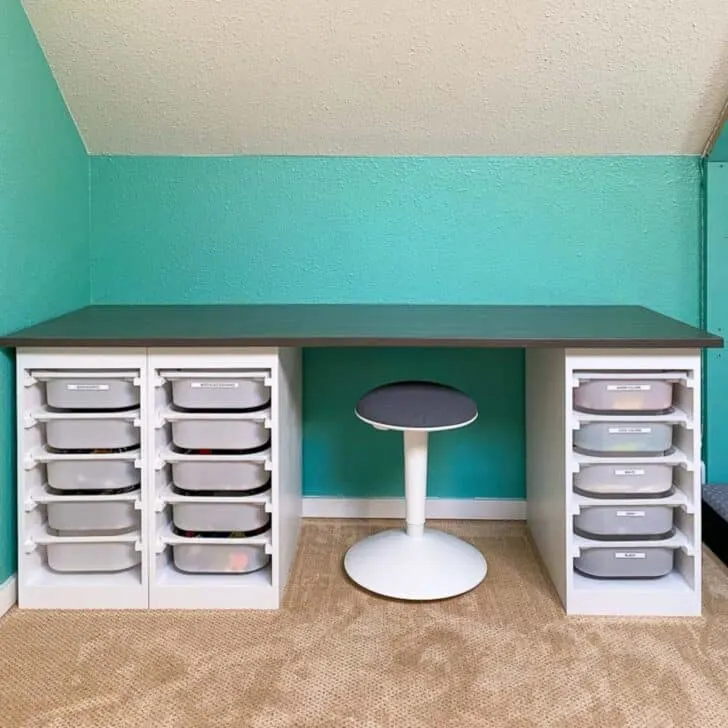
My son has a ridiculous amount of Lego in his playroom, and the DIY Lego table I made for him a year ago wasn't cutting it anymore! His new IKEA Lego table made with Trofast drawer units has 18(!!!) shallow bins inside, plus more on top for sorting. Best of all, it looks like two jumbo Lego bricks!
This post contains affiliate links for your convenience. Purchases made through these links may earn me a small commission at no additional cost to you. Please visit my disclosures page for more information.
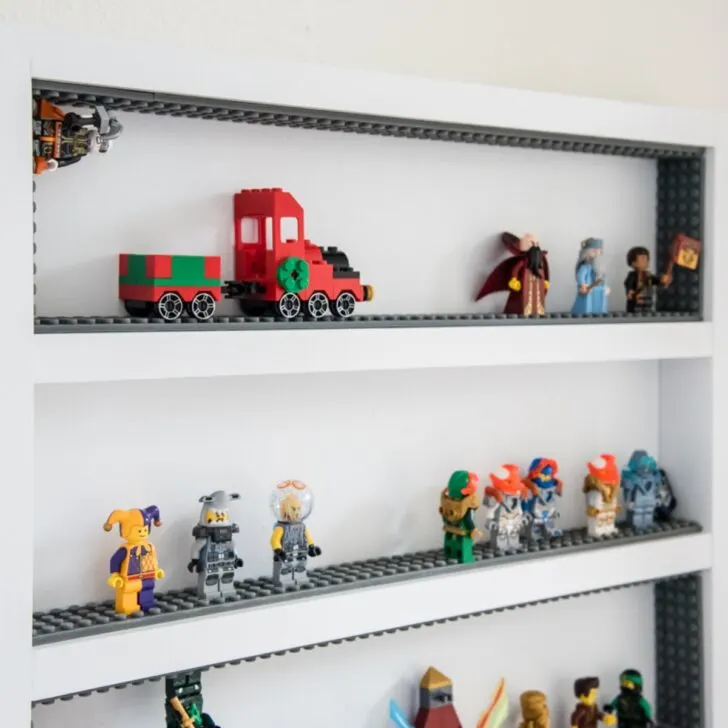
I'm always looking for Lego storage ideas to corral all these plastic bricks that seem to multiply in our house. You'd think that after making him the first Lego table, a minifigure display and a travel Lego bin, we'd have them under control by now! But then his birthday and Christmas came, and we were flooded with pieces again!
IKEA Trofast hacks are pretty common out in blogland, so I wanted to kick mine up a notch! It's painted an exact match to the red, blue and green bricks, and it's on casters so he can move it around easily. Plus, what kid wouldn't want two giant Lego bricks in their playroom? 🙂
Ready to make your own? Here's what you'll need!
Materials Needed for IKEA Lego Table
- IKEA Trofast frame
- I prefer the solid pine version because it's sturdier than the particleboard version.
- Shallow Trofast bins
- 5" premade circles (6 per side) OR
- One 1 x 6 board
- 5" hole saw
- Drill or drill press
- Brad nailer and 1" brad nails
- Wood filler
- Sander and sandpaper
- Bonding primer
- Semi-gloss paint
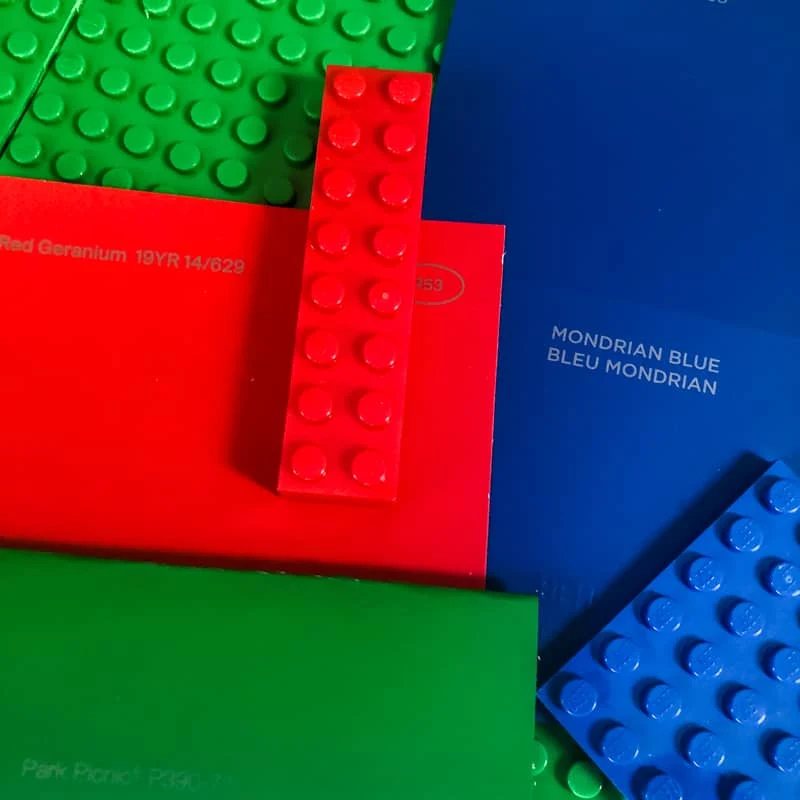
- I used Glidden's Red Geranium, Behr Marquee's Mondrian Blue and Behr's Park Picnic for the red, blue and green.
- 3" tall casters
- Lego baseplates
- Carpet tape (to hold the baseplates to the top)
How to Make an IKEA Lego Table
Cut and Sand the Lego Dots
If you follow me over on Instagram, you might have seen the newest addition to my workshop... a drill press! It was always one of those tools that would be nice to have, but I never had enough space. But after moving some junk out from behind the "white tarp of doom and mystery" I managed to squeeze one in!
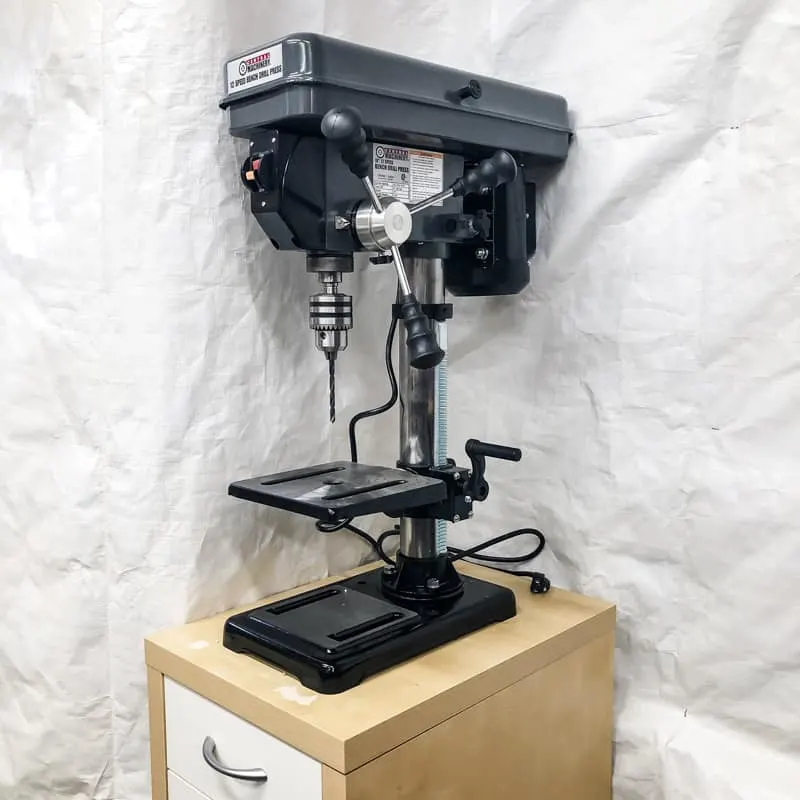
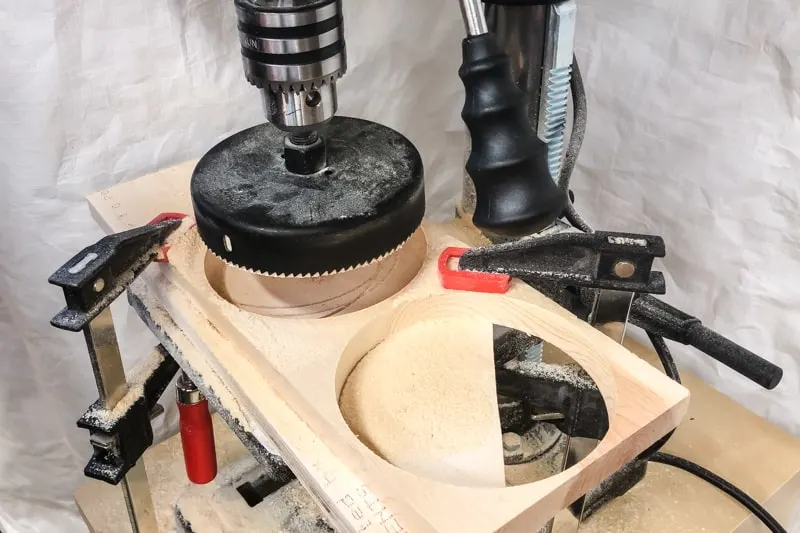
I dug out all the 1 x 6 end cuts from the scrap wood bin for this project. After loading a 5" hole saw into the drill press, I quickly cut out a dozen perfect circles. You could also do this with a regular handheld drill, or buy premade 5" circles.
Check out all my tips and tricks for cutting perfect circles in wood here! If you have a band saw, I'd recommend making this simple bandsaw circle cutting jig to make lots of circles really quickly!
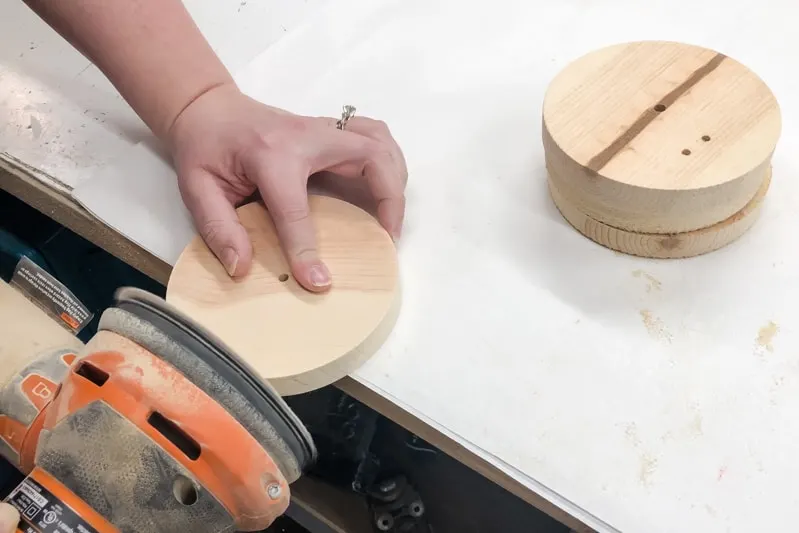
I still don't have a bench sander (yet!), so I held the random orbital sander vertically to sand the cut edges of each circle. Then I tilted it at an angle to round over the edges.
Attach Dots to IKEA Trofast Side Panels
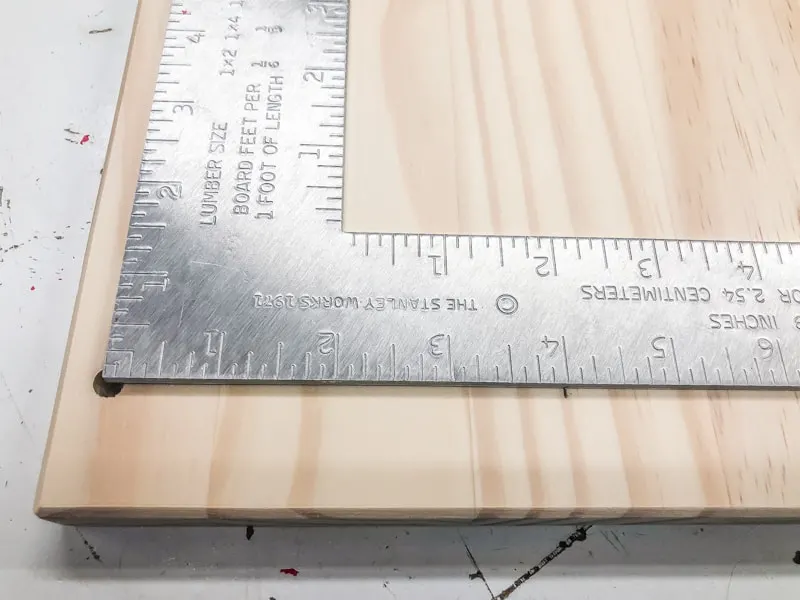
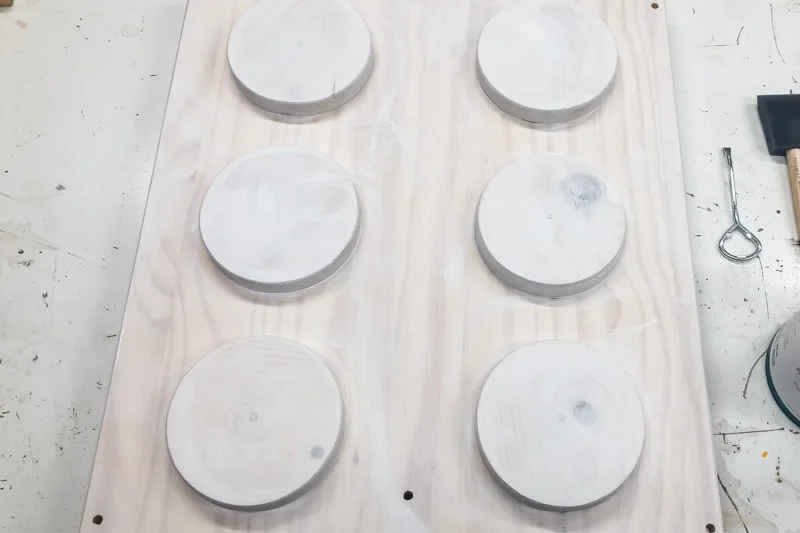
Getting the right spacing is key to making these side panels look like Lego bricks! I drew a line 4" in from the screw holes on the sides of the panels first.
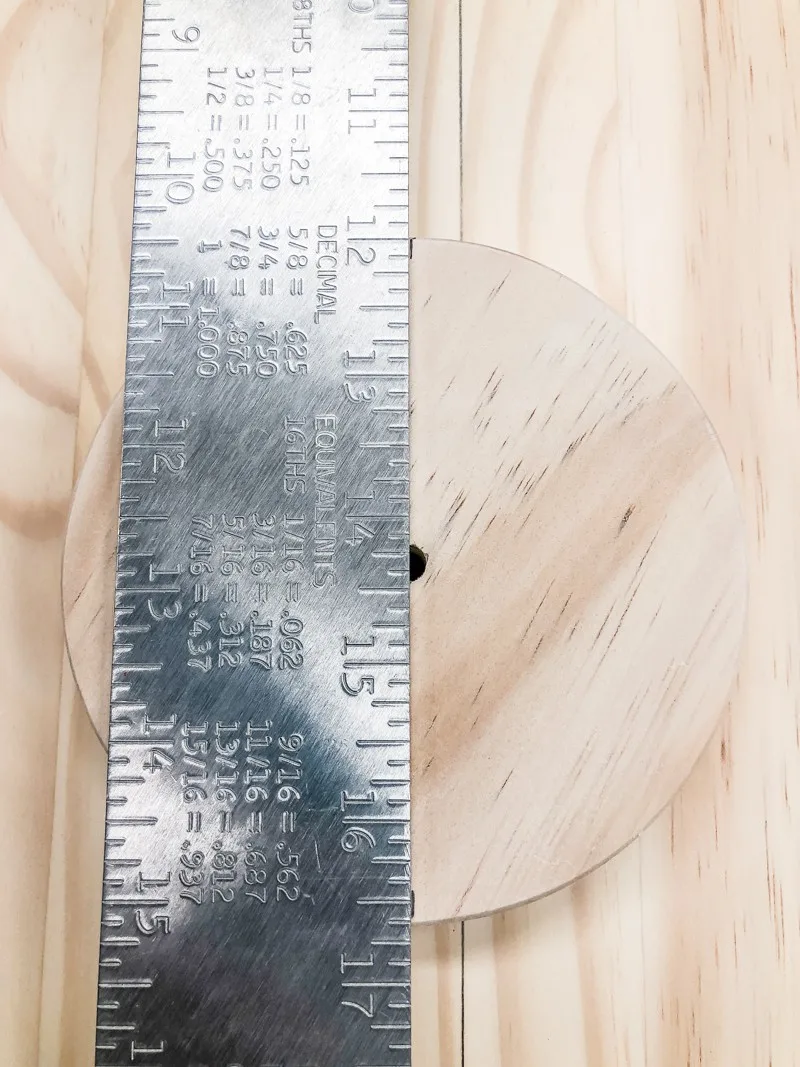
Then I marked a straight line across the middle of each circle.
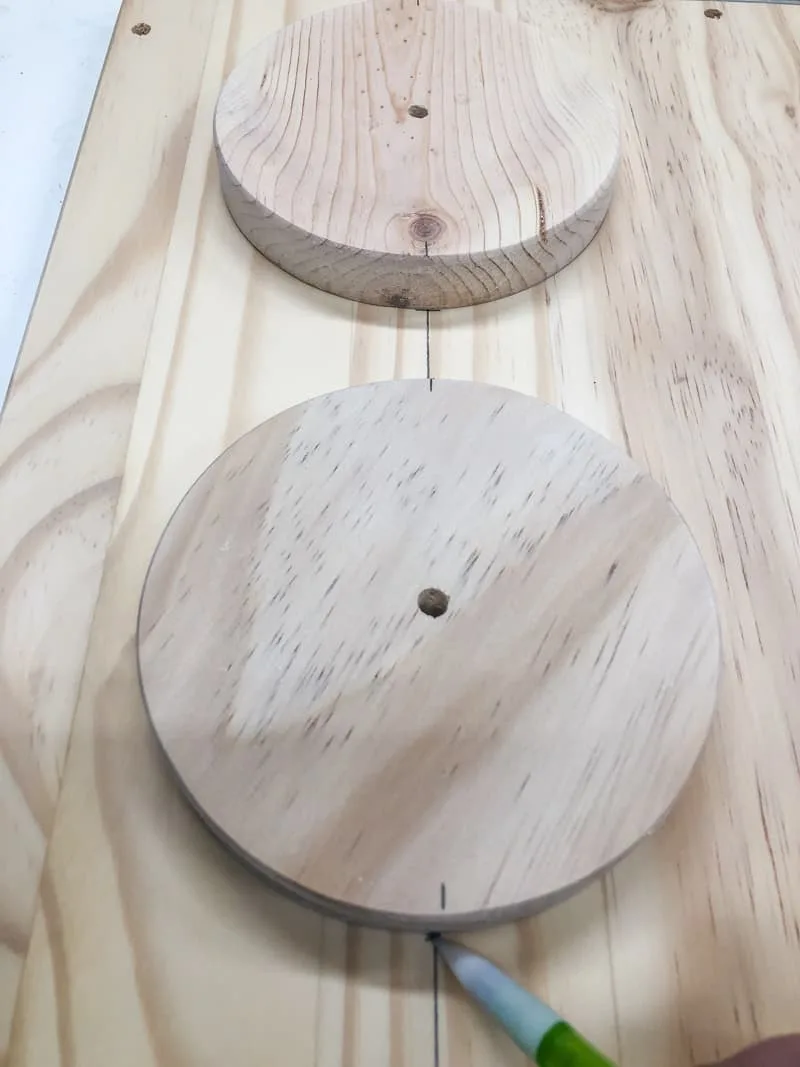
Align the marks on the circle with the line on the panel, spacing the dots 1 ½" apart. I found it easier to mark the edge of the circle first, then remove it and measure 1 ½" down.
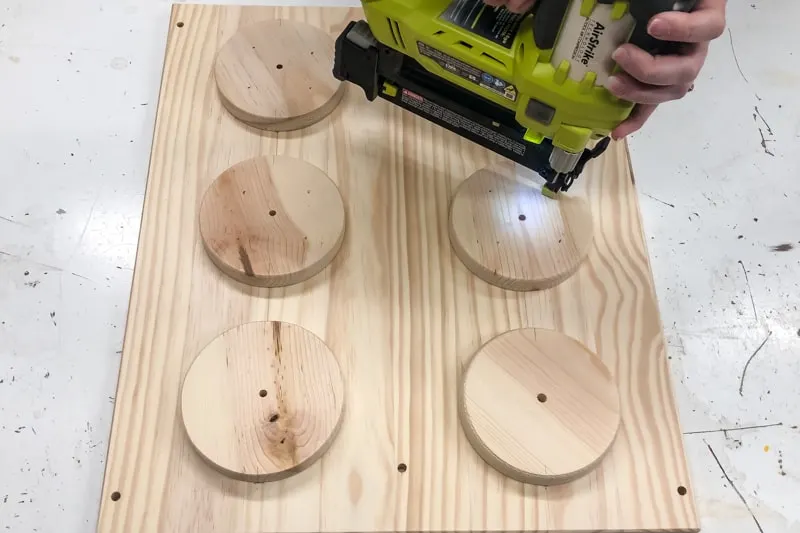
Once all the dots are in place, attach them with wood glue and 1" brad nails.
Fill the holes with wood filler and sand smooth when dry.
Prime and Paint IKEA Trofast Pieces
Trust me, do NOT paint these IKEA Trofast pieces without a bonding primer! Even though they look unfinished, they have a clear coat of sealant that prevents paint from sticking to it. I got halfway through painting mine without primer when I discovered that the paint just peeled right off! Ugh!
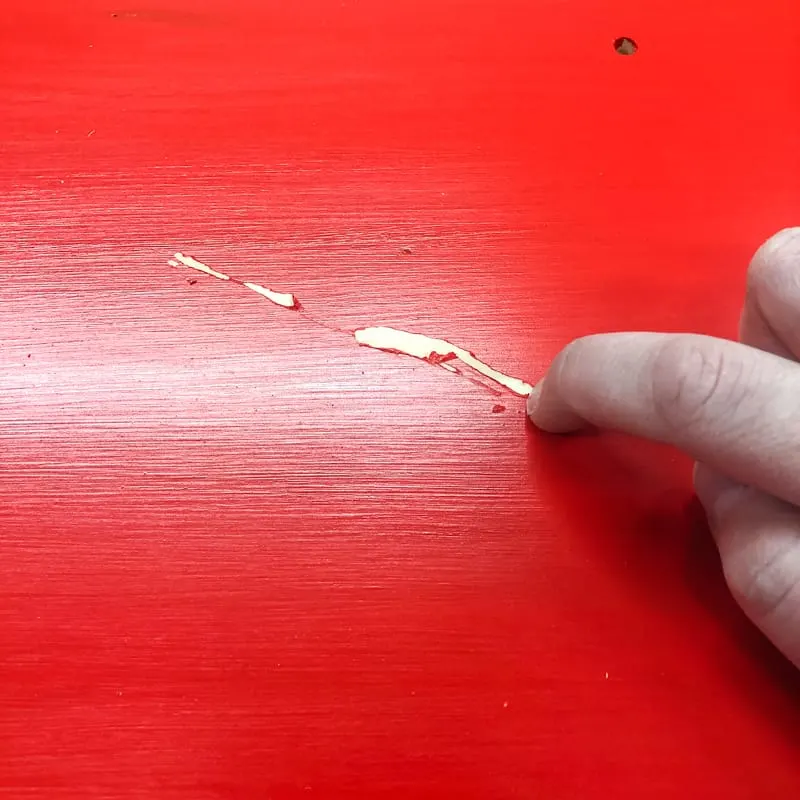
Here are my tips for painting over polyurethane and other clear top coats, including using a bonding primer like the one I applied to my tile floors before painting them. If it can hold up on tile, it can handle IKEA furniture! 🙂
I brought red, blue and green Lego pieces with me to the store to find the perfect color match. It turns out that Glidden's Red Geranium, Behr Marquee's Mondrian Blue and Behr's Park Picnic are spot on!
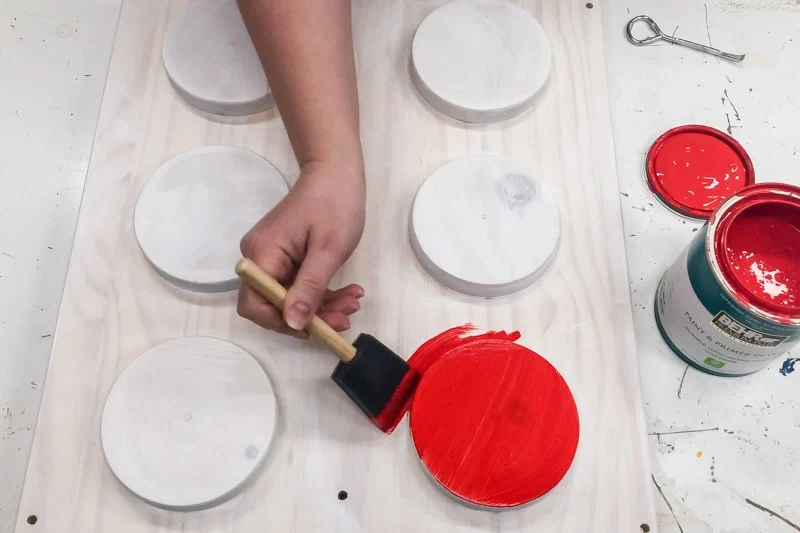
Deep colors like this need multiple coats to get good coverage. Three coats later, my IKEA Lego table was ready to be assembled!
Assemble the IKEA Trofast Frames
Putting together the IKEA Trofast frames is pretty easy, although the paint made it a little harder to fit the side rails into the grooves. Nothing a hammer won't fix!
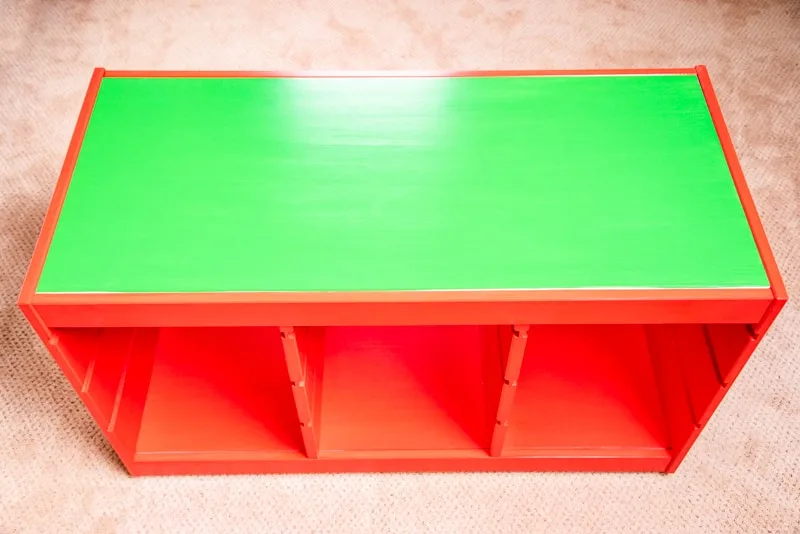
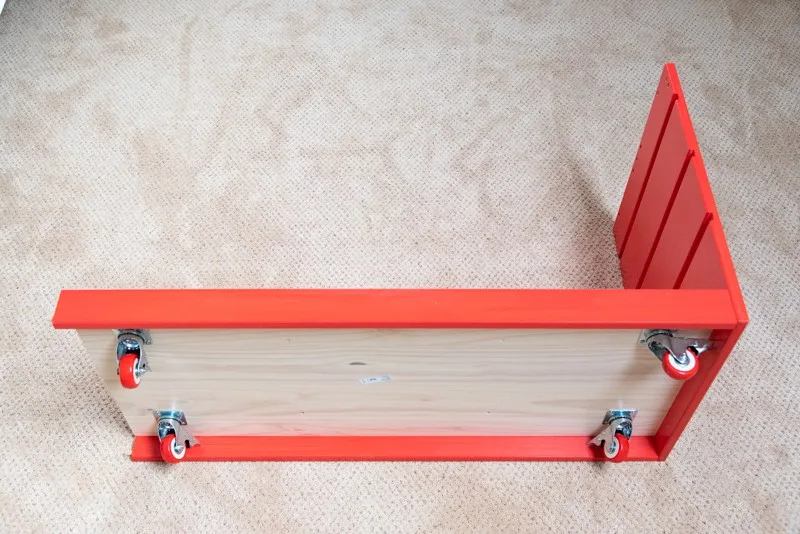
After assembly, flip the frame over and attach 3" casters to the bottom. Make sure they can swivel freely in each corner. I attached them to the red side before I assembled the frame, and the wheels were stuck in the corners! Oops!
Add Lego Baseplates to the Top
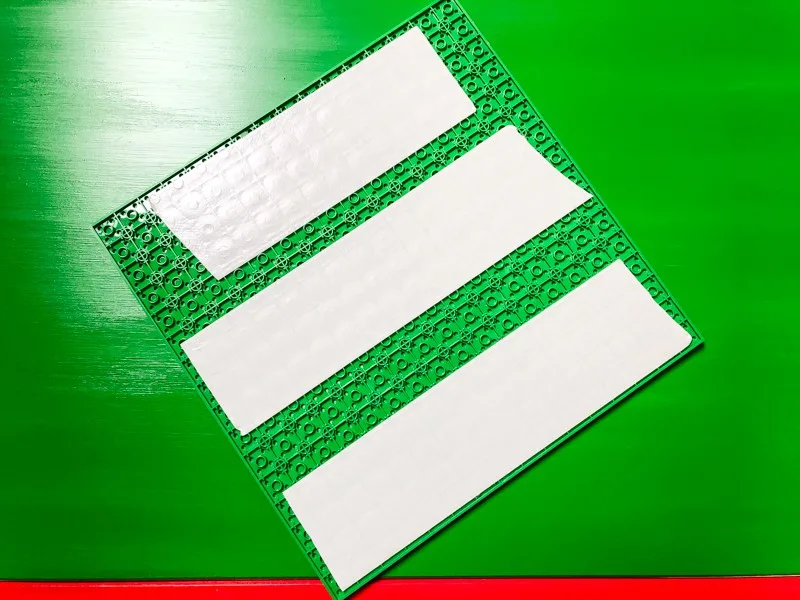
Official Lego baseplates cost a fortune, so I used these off-brand ones that are a fraction of the price. Three packs would have been enough to cover both tops, if I hadn't messed up one of the cuts!
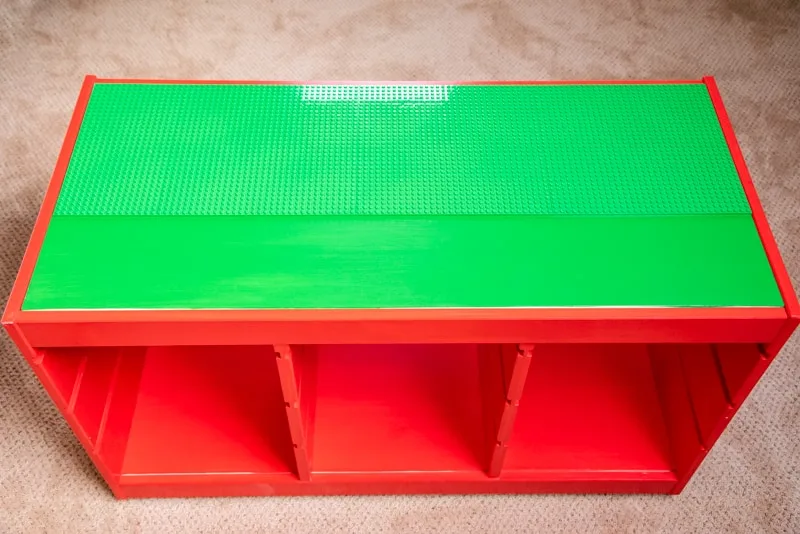
Luckily, the wall storage bins over the other Lego table fit almost perfectly in the empty space! My son doesn't sort the pieces as much as I hoped he would (wishful thinking!), so hopefully this will be a better use for them.
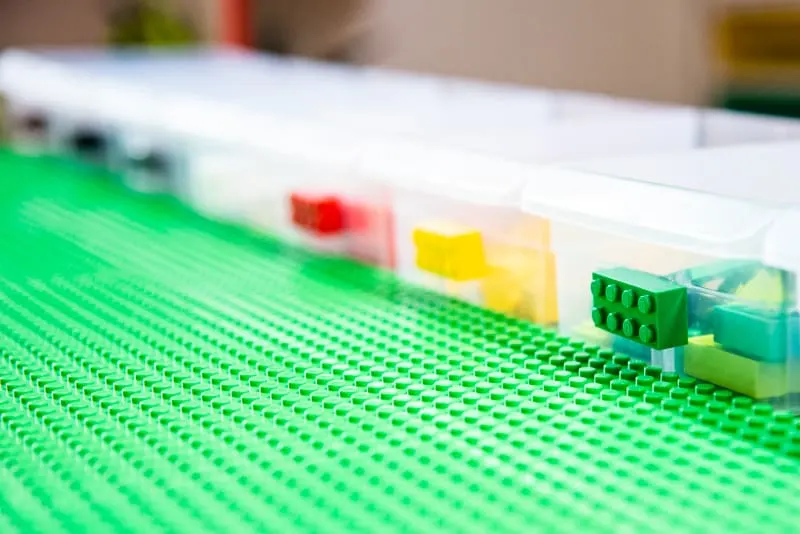
I decided to use double sided carpet tape to attach the baseplates to the tops. It's super thin and super sticky, and it seems to hold better than the glue I used previously.
Fill Up the IKEA Lego Table Bins and Start Building!
It's amazing how many Lego pieces you can fit into 18 of these bins! I'm hoping this setup will be enough storage to last him many years!
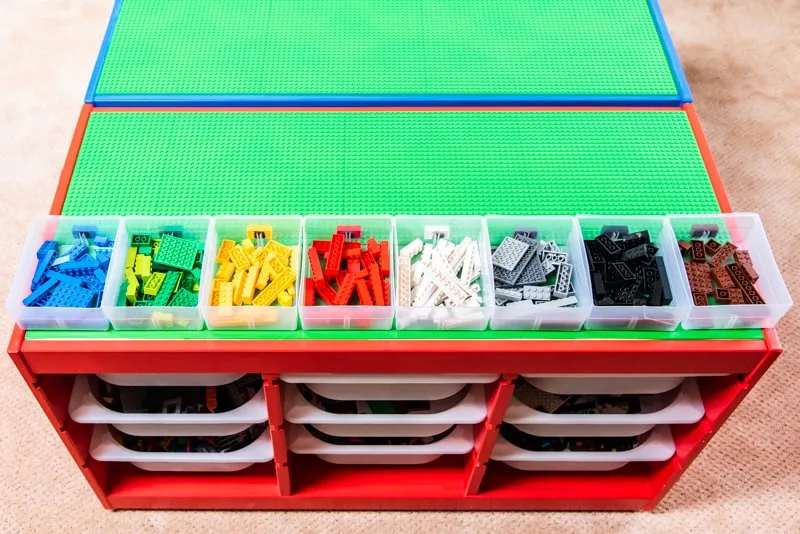
When my son rushed upstairs to check out his new Lego table after school, his face was priceless! He couldn't wait to get in there and start building.
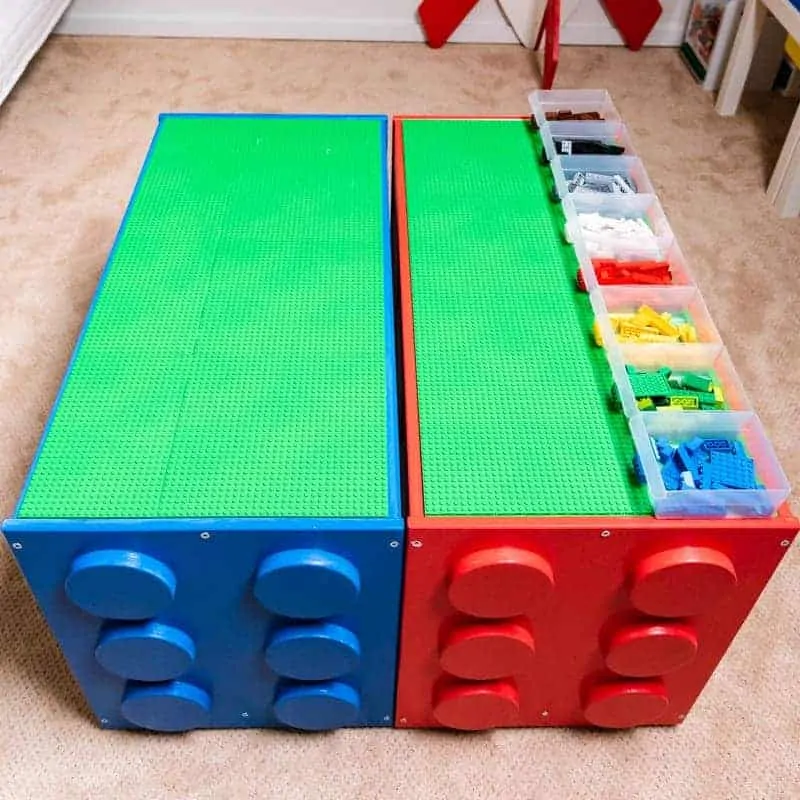
I showed him how he could move the tables around the room, and he decided he liked a U-shaped setup that incorporates the old IKEA Lego table with the new one. Now he has every single Lego piece at his fingertips!
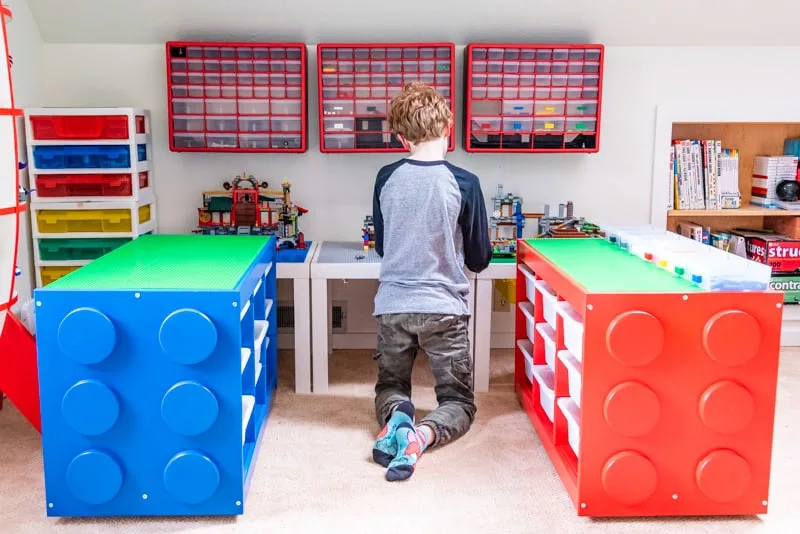
Now the playroom truly is the ultimate Lego building room!
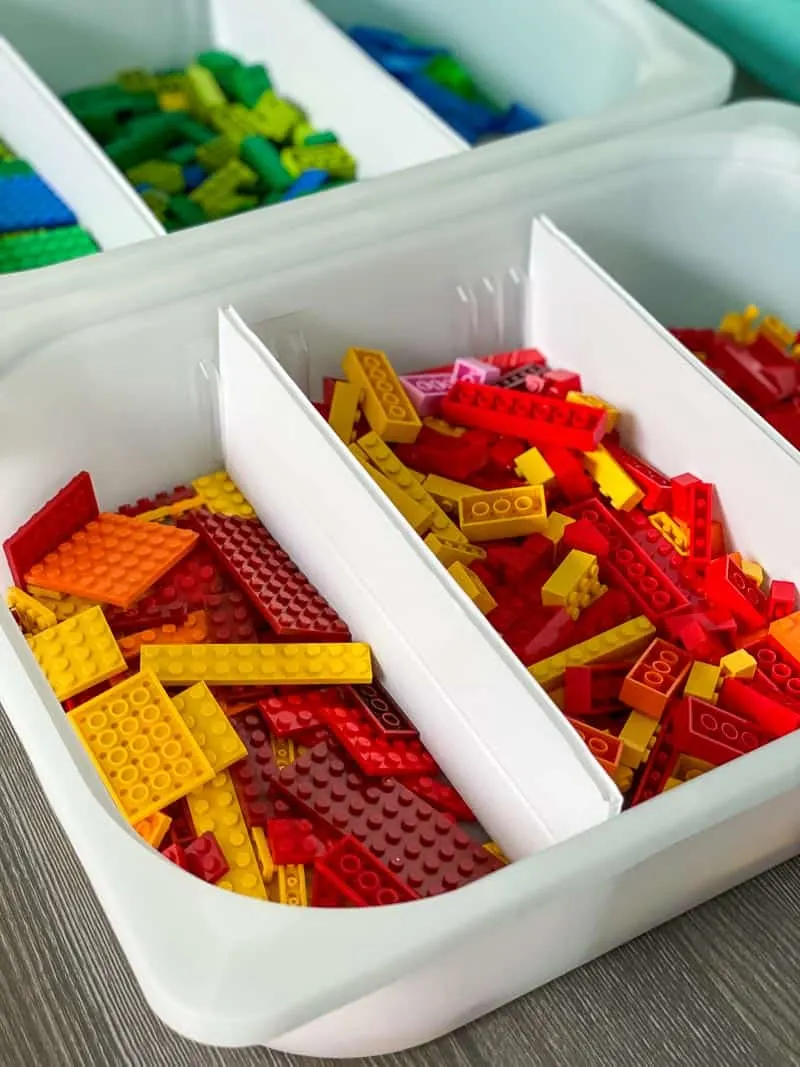
Want to get those Trofast bins more organized? Add these simple DIY drawer dividers to help sort Lego pieces by color or shape!


Deangelo Pichardo
Sunday 3rd of February 2019
very nice post, i certainly love this website, keep on it
DIY Home Sweet Home
Monday 28th of January 2019
This is so cool. My girls are obsessed with Legos and they are slowly taking over my home!! ARG!! I love everything about your set up and it has given me some great ideas. Thank you. -Jamie
Vineta
Monday 28th of January 2019
Thanks Jamie! I'm glad it was helpful. We're always battling with the Legos, but hopefully this will keep them in one spot!