Learn how to remove paint from wood to bring a piece of furniture back to its former glory! No harsh chemicals or dusty sanding required!
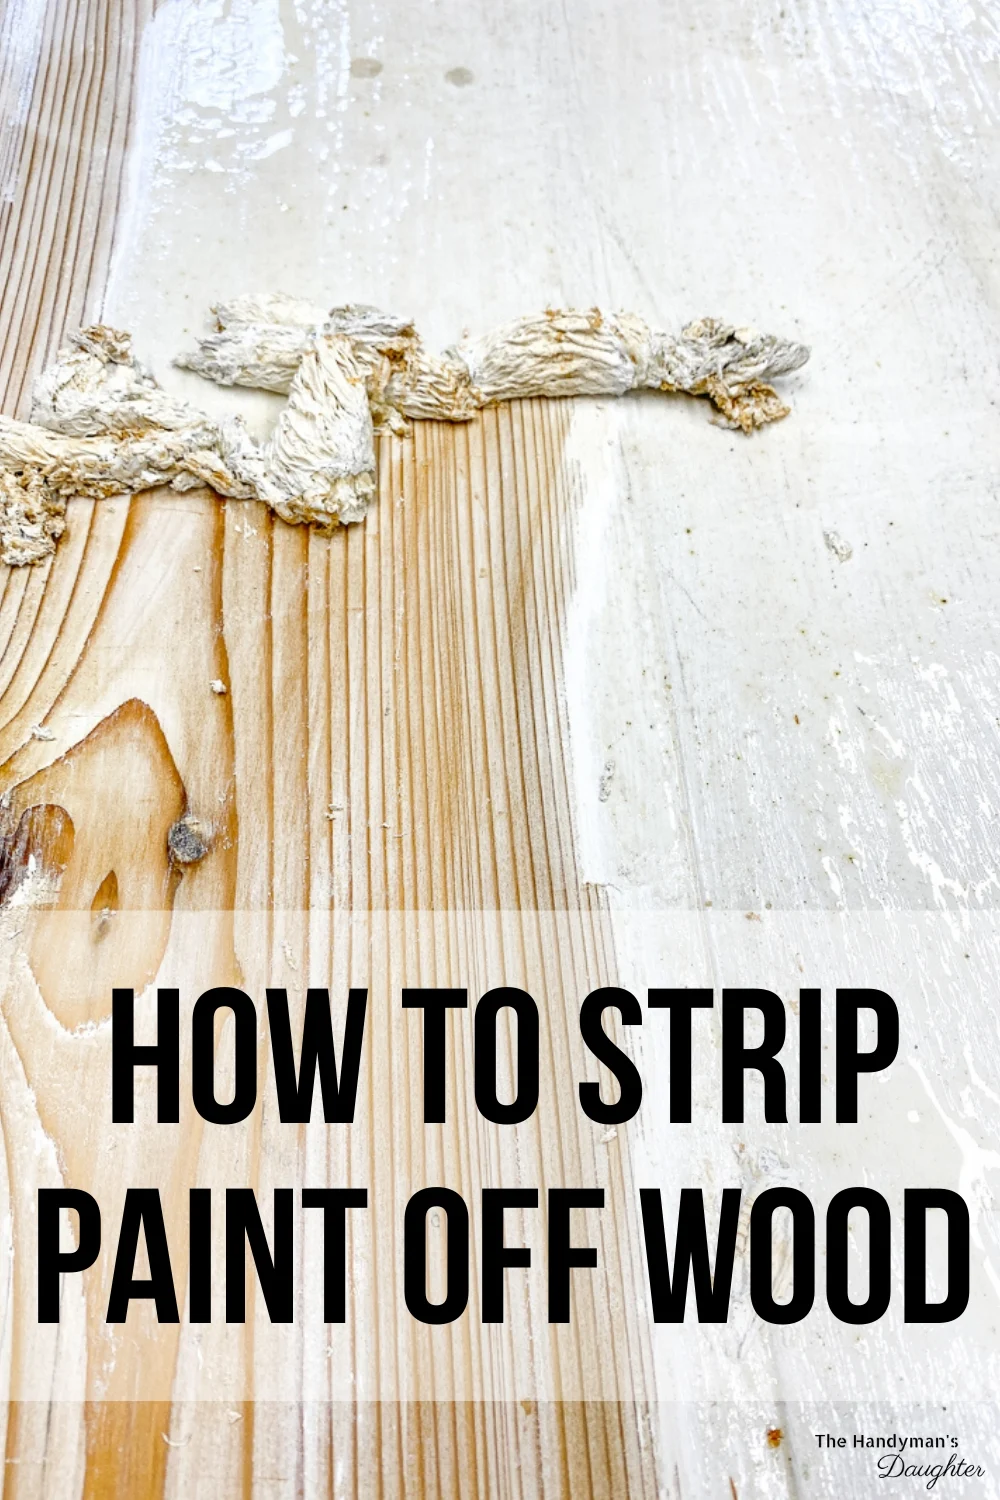
Do you have a piece of furniture that you love, but the color is all wrong? Do you shudder at the idea of paint covering up beautiful antique wood? I'll show you how to strip paint from wood to bring back its natural look!
This post contains affiliate links for your convenience. Purchases made through these links may earn me a small commission at no additional cost to you. Please visit my disclosures page for more information.
In the past, I showed how I refinished my dining table and chairs and re-stained them with my favorite grey wood stain. That involved removing the old stain with stripper and sanding it clean. Removing paint from wood is a similar process, but there are a few things to watch out for!
I'm working on a new outdoor storage box for our front porch, and I wanted to reuse the painted cedar top of the existing storage bench I built years ago. I've learned that Pacific Northwest rain is not kind to white paint!
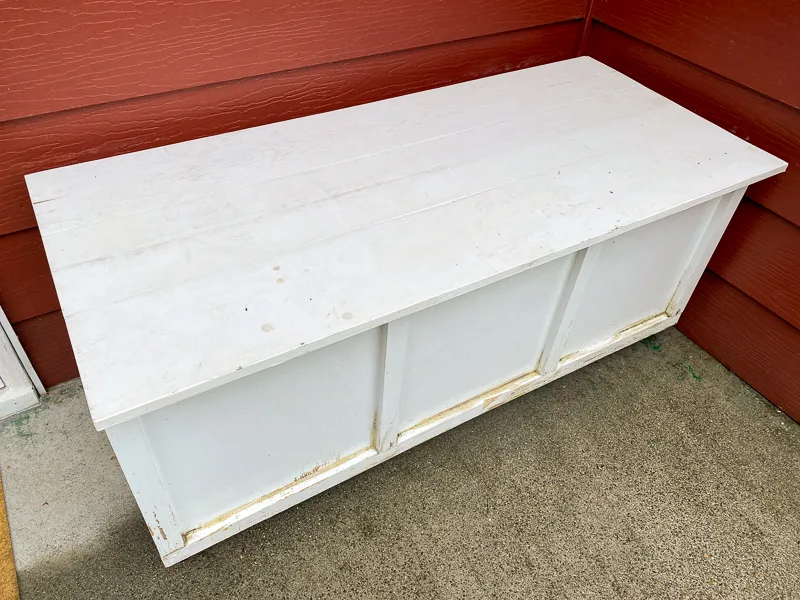
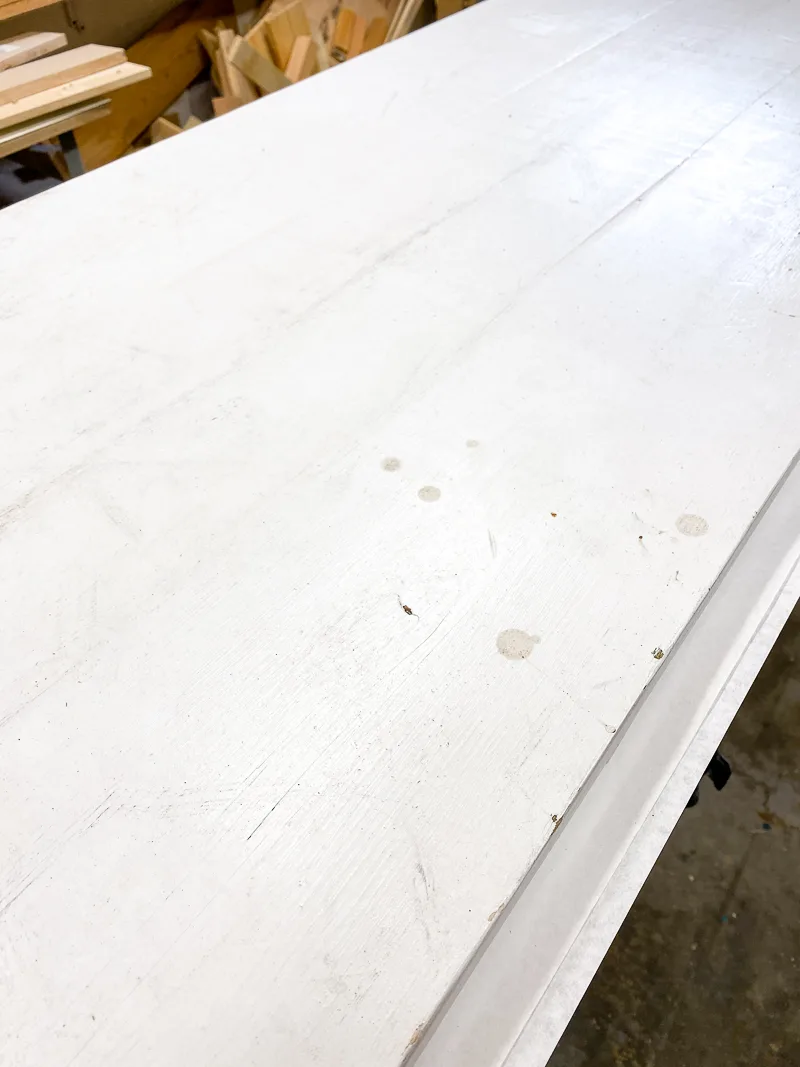
The new outdoor storage box is a bigger version of the planter box I made for the porch, with a natural cedar stain finish. If I'm going to reuse this lid, I'm going to have to remove the paint to get it back to bare wood!
Materials Needed to Remove Paint from Wood
- Paint stripper
- I use Blue Bear Paint and Polyurethane stripper, because it doesn't have any harsh fumes and it's non-toxic. Citristrip is a citrus based paint remover, but that sickly sweet orange smell makes me nauseous!
- Chip brush or old paint brush
- Don't use a foam brush, because it will disintegrate in the paint stripper! Guess how I know that... 🙂
- Paint scraper
- Putty knife
- Paint stripping brush or pads
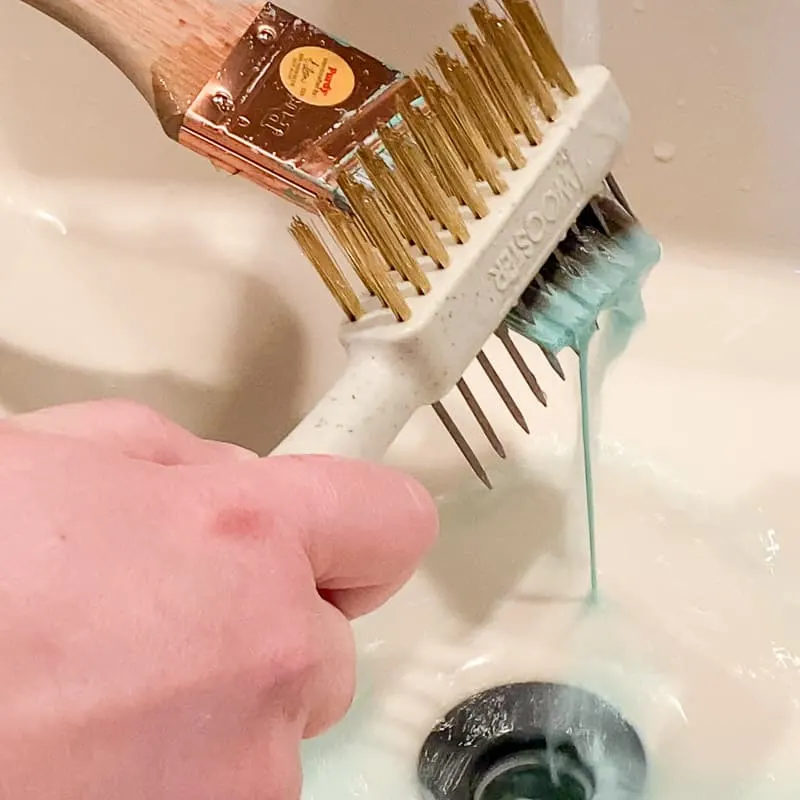
- I found this pad with a handle at my local hardware store, and it worked great and kept my hands out of the gunk!
- Mineral spirits (if your paint stripper calls for it)
- Chemical-resistant gloves
- Respirator (if working indoors in a not-so-well ventilated area)
- Lead test kit (if you're working on an older piece of furniture or wood trim that might contain lead paint)
How to Strip Paint from Wood
There are a few different ways to strip paint from wood, but I'm only going to cover my method for using chemical paint strippers here. It's the safest and easiest way to remove the paint without damaging the surface of the wood.
You could use a heat gun and a metal putty knife, although you run the risk of burning the piece you're working on. Sanding takes forever, and gets dust everywhere. Trust me, this is much easier!
Protect your work area
Whether you work indoors or out, you'll want to protect your work area from the sticky mess you're about to make. I covered my Kreg workbench with heavy duty trash bags, so all I have to do is roll them up and throw them away when I'm done!
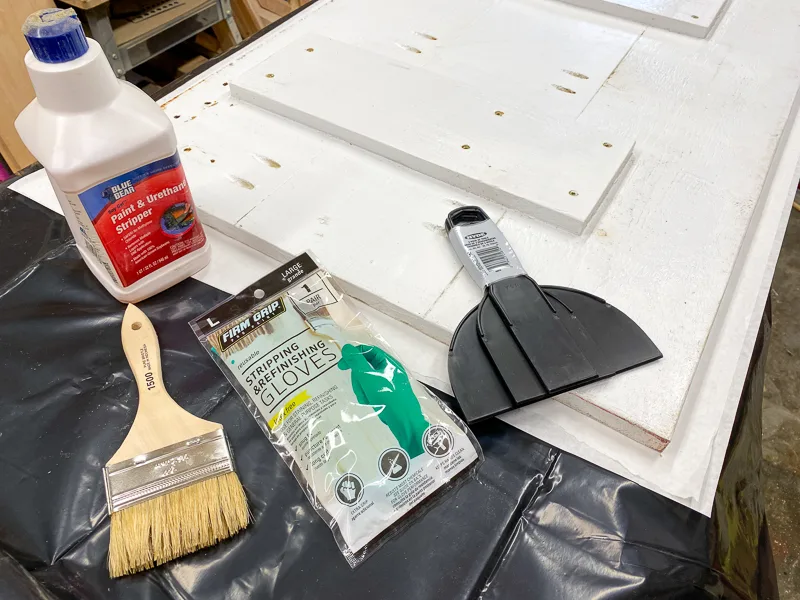
Gather up the rest of the materials you'll need, and let's get started!
Apply paint stripper
Put on your respirator (if working indoors in a not-so-well ventilated area) and chemical-resistant gloves. Squirt a heavy line of paint stripper onto your painted piece, making sure you have enough to cover the entire area.
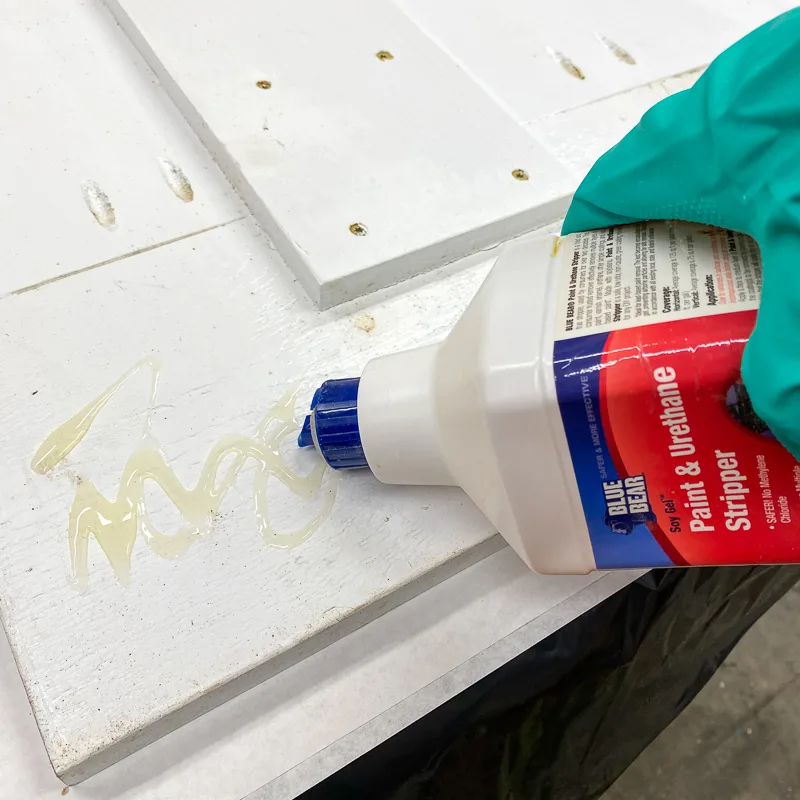
Then use the chip brush to even out the stripper over the entire surface. Do NOT use a foam brush! I learned the hard way that it will disintegrate in chemical paint stripper!
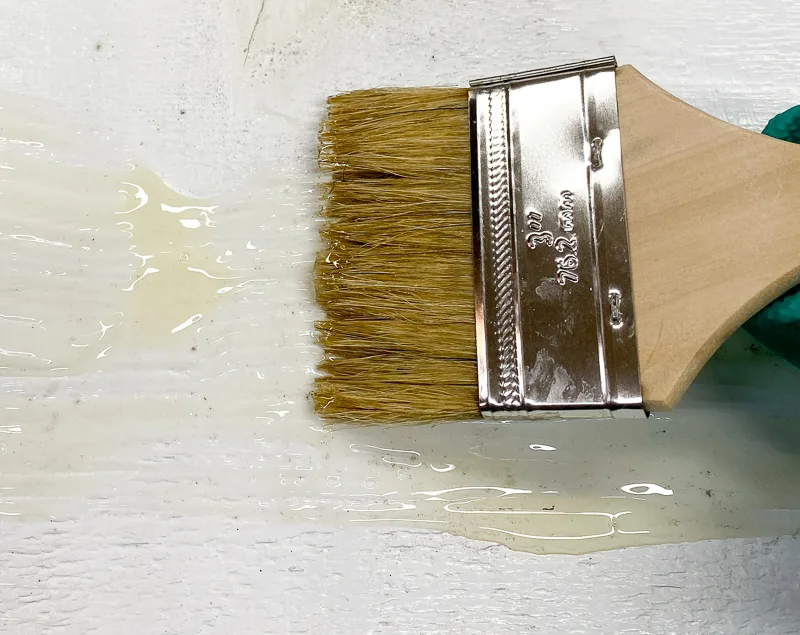
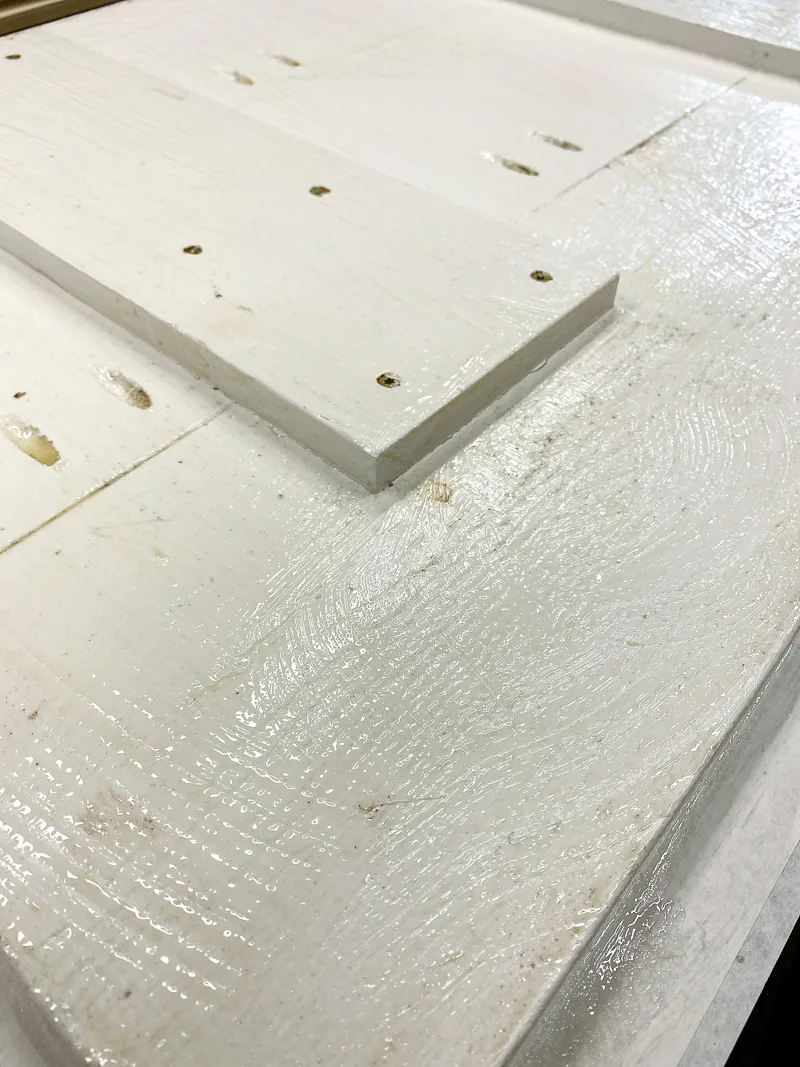
You want a fairly thick coat that won't dry out too quickly. Let it sit for at least half an hour, checking on it periodically to make sure it's still damp. If you live in a hot climate, you can put a plastic sheet over the top to keep it from drying out.
Scrape off the paint
After about half an hour, start testing to see if the paint comes off easily. At this point, it was still stuck pretty hard to the surface of the wood.
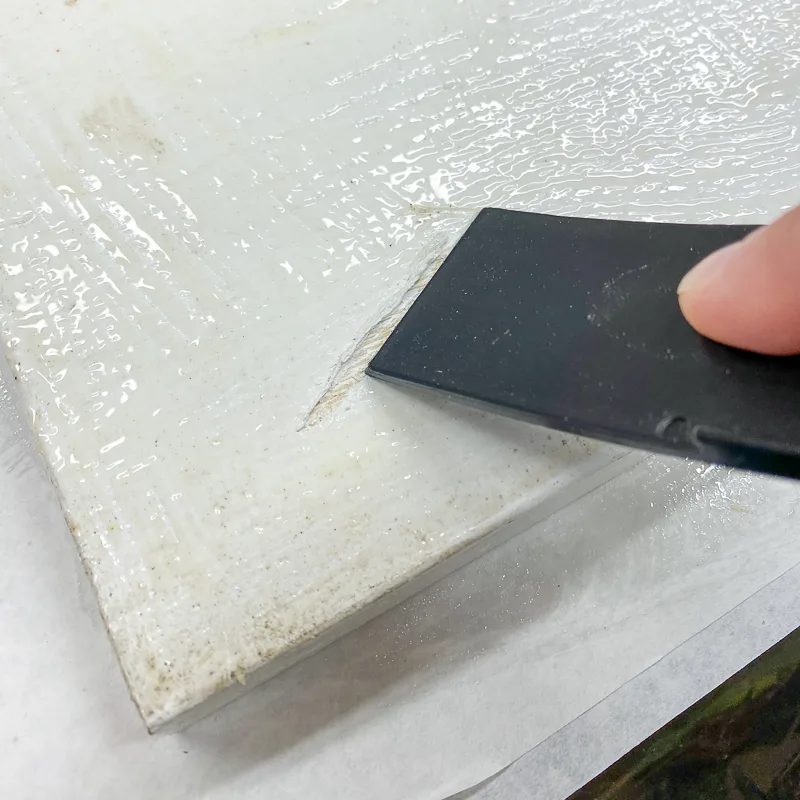
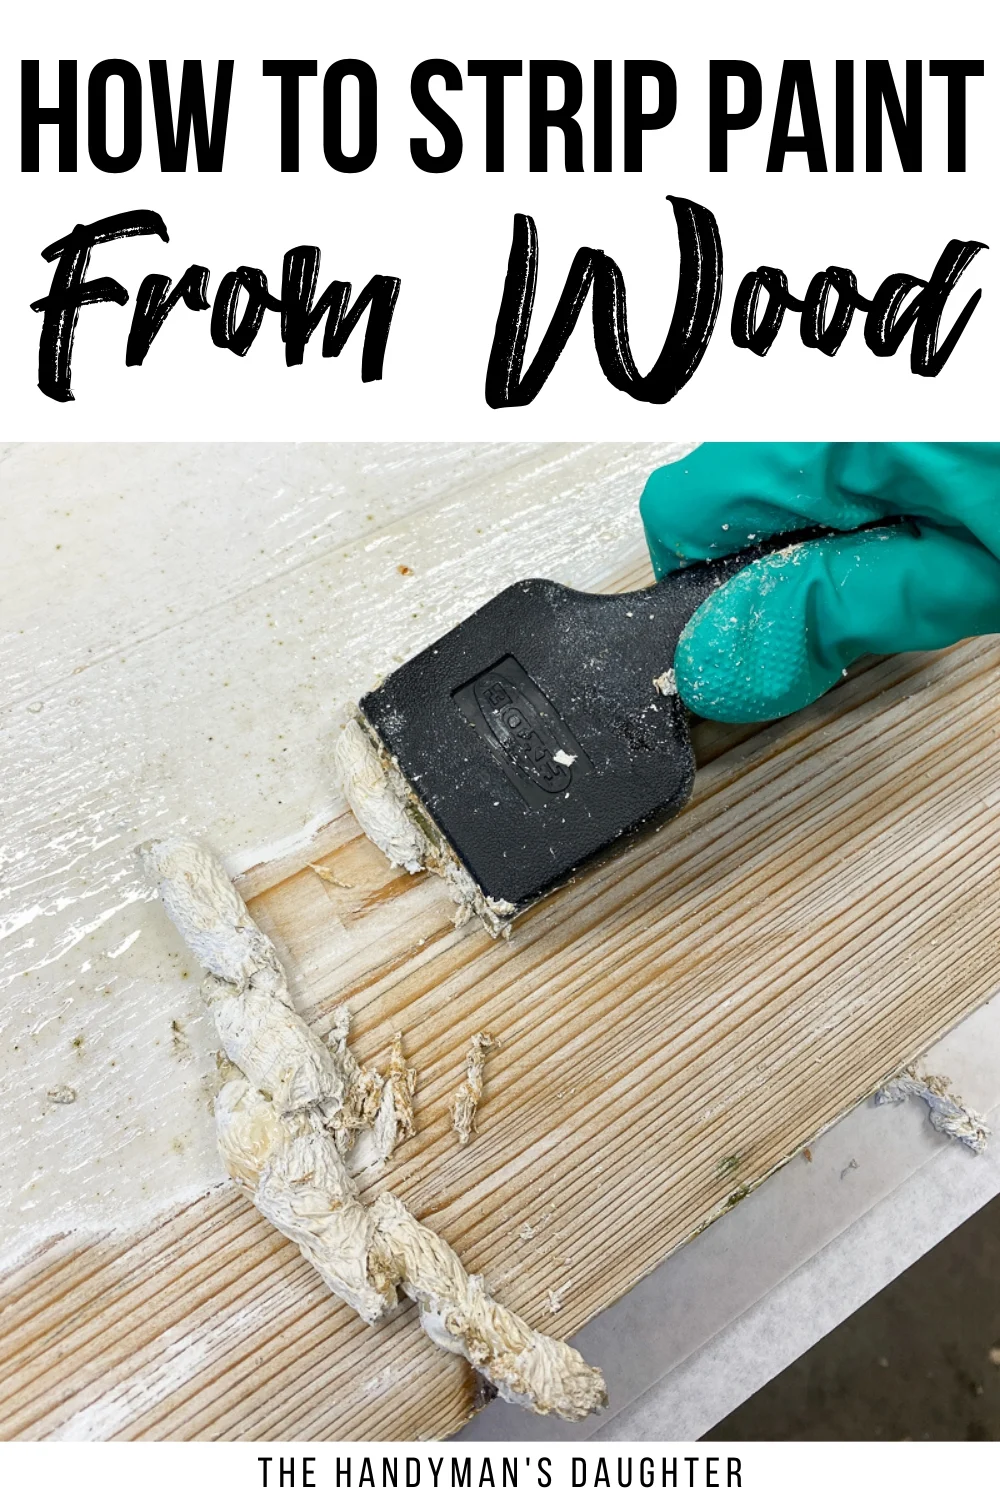
I gave it another fifteen minutes, and it had softened up the paint considerably. I switched to the paint scraper, and it rolled all the paint up like really nasty ice cream!
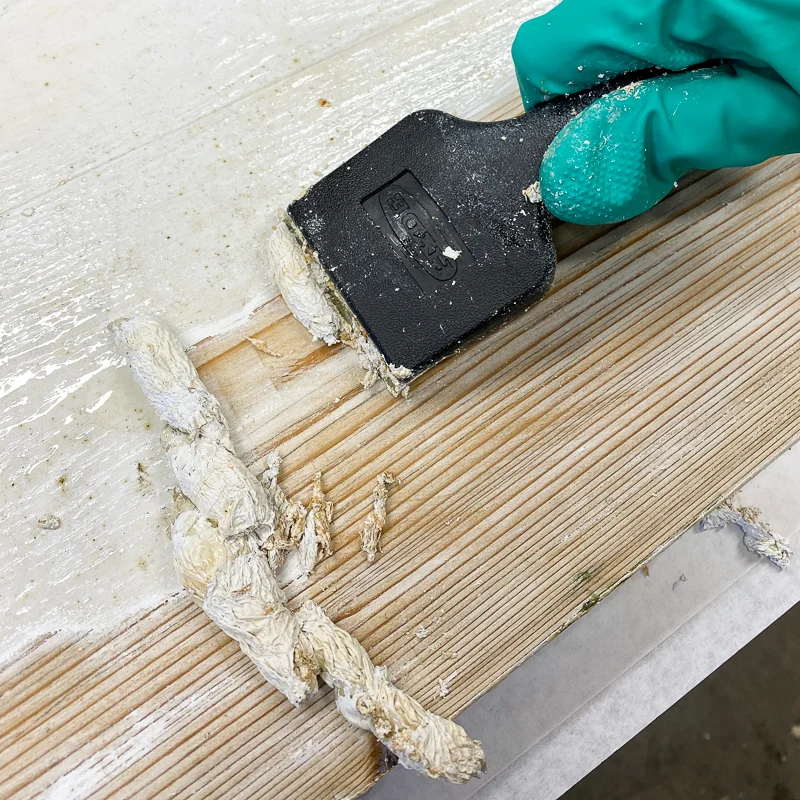
Even with a decent amount of pressure on the scraper, it didn't gouge the wood or leave marks. And it's much more effective than the plastic putty knife!
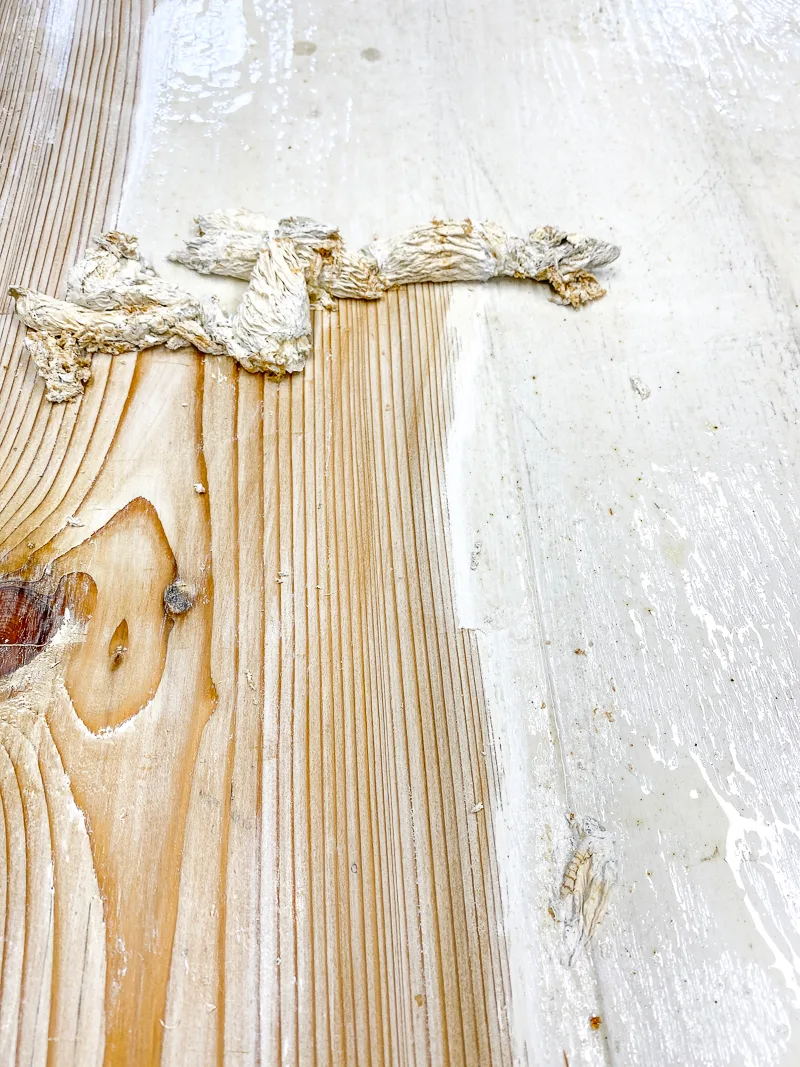
There was still some paint left after scraping, so I switched to the next technique to loosen it up.
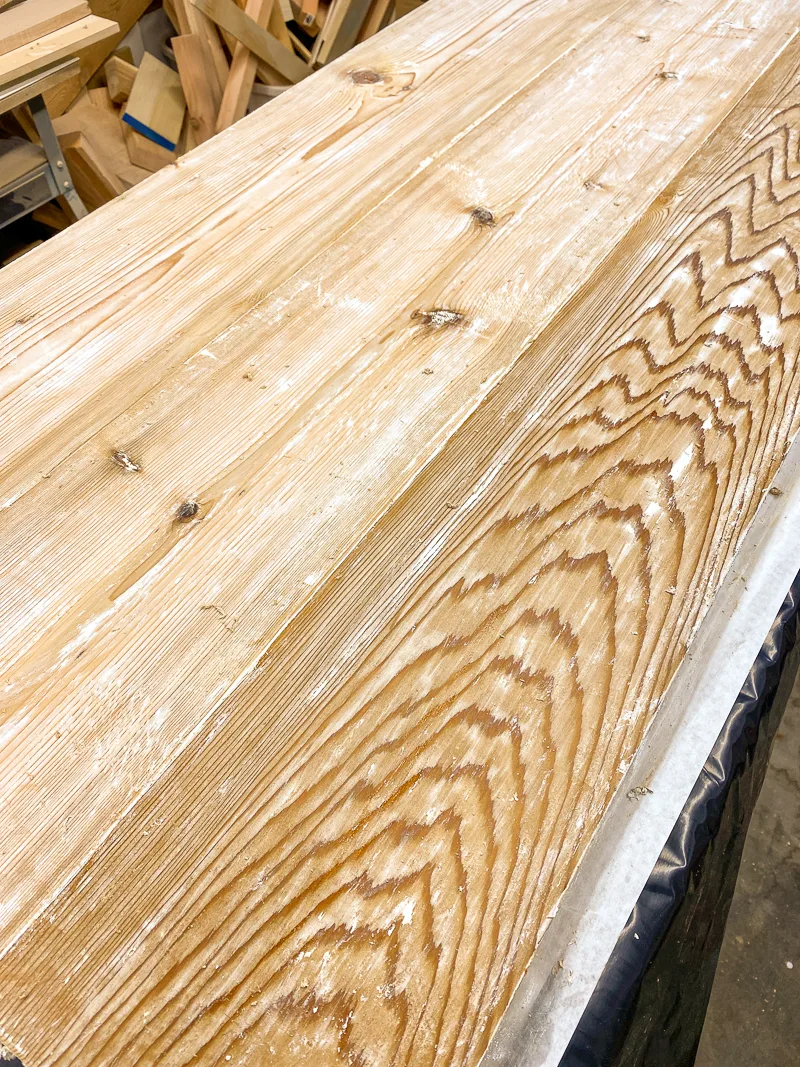
Scrub off the remaining paint
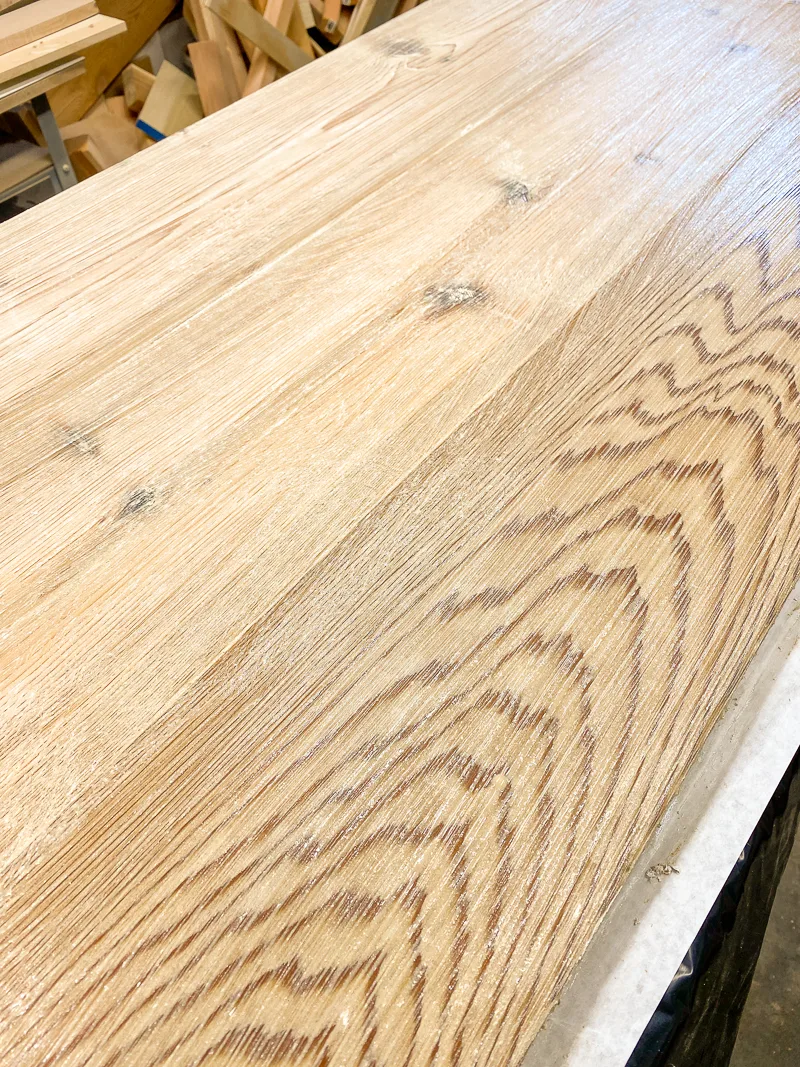
Apply a little of the paint stripper onto the sections of wood that need more work. Let it sit for a few minutes to loosen up the paint a bit, then hit it with a scrub brush or wire brush. This scrubbing pad with a built-in handle made this process super easy!
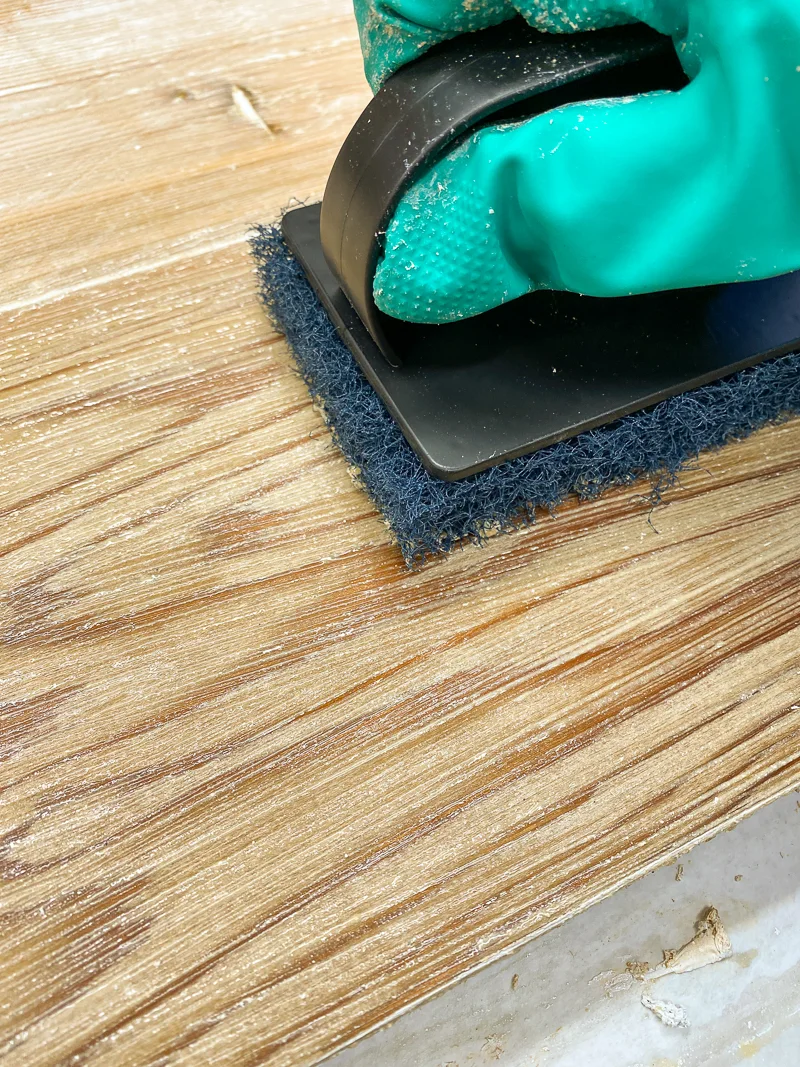
You could skip this step and go straight to sanding, but scrubbing helps encapsulate the paint flecks in the gel instead of sending it flying into the air. Now you can really see the natural wood that was hidden underneath all that paint!
Wipe or hose down the stripped wood
Some paint strippers require mineral spirits to remove the chemicals from the wood. I especially love this Blue Bear soy-based stripper because all you need is a hose or damp rags!
Keep in mind that water will cause the wood grain to raise up and swell a bit, but you're most likely going to sand it down before you apply a new finish anyway. You shouldn't use a lot of water on anything with plywood components, because it will cause the layers to separate.
I just plopped the lid right in the middle of the backyard and dragged the hose over. Turn the hose to the most powerful setting and watch all that sludge just melt right off! I concentrated the stream on one board so you could see the difference. You could also use a pressure washer to really get it clean.
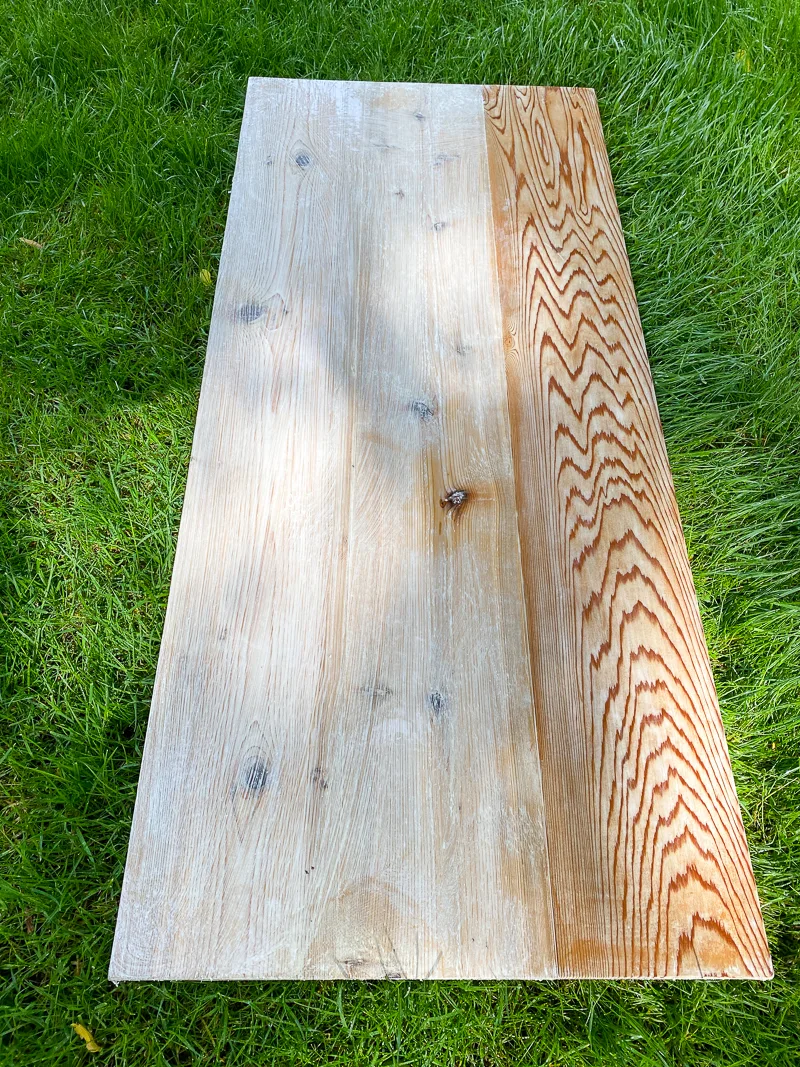
If you can't hose it down, just grab some damp rags or shop towels (those thick blue paper towels) and wipe away the gunk. Allow the piece to dry overnight.
Sand off any remaining paint
You thought you were going to get away without sanding, didn't you? 😉 Don't worry, if you did a good job with the paint scraper, there shouldn't be much sanding to do!
Most of the remaining paint will be stuck in the wood grain and any seams and joints between the boards. Use a random orbit sander and 80 grit sandpaper to clean up the flat areas, and sponge sanding blocks to get into all the nooks and crannies.
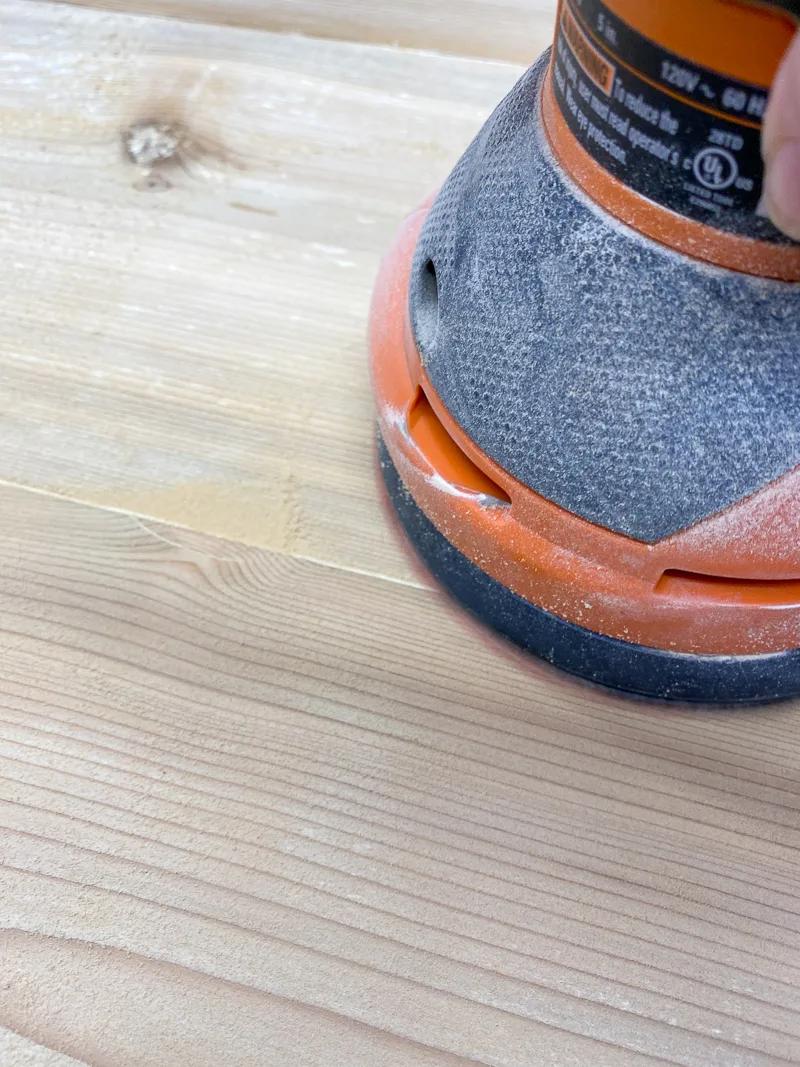
After just a few minutes of sanding, the bottom part of the lid was already looking like fresh, new wood! The top area hasn't been sanded yet, so you can see the difference.
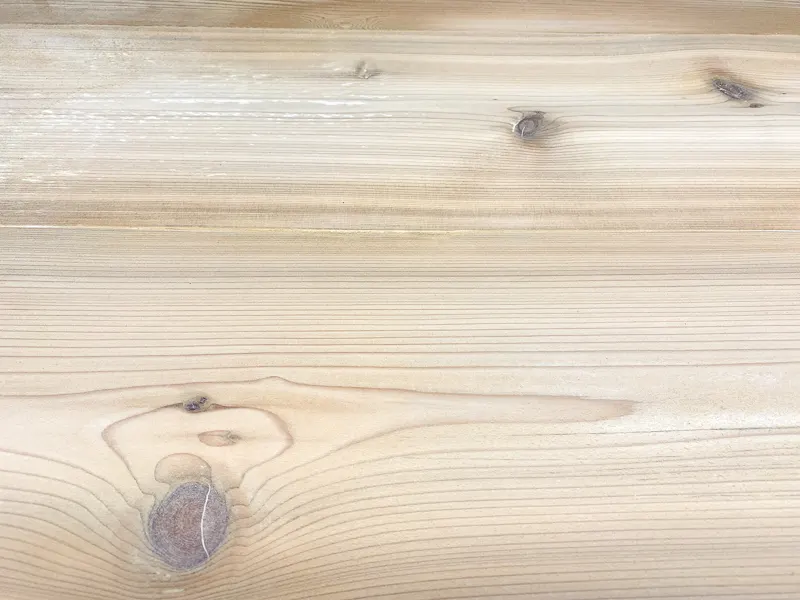
You may find that after sanding off that first layer, the wood is still a little damp. Let it dry another day before applying a new finish so it soaks in properly. Now it's ready for its new life!
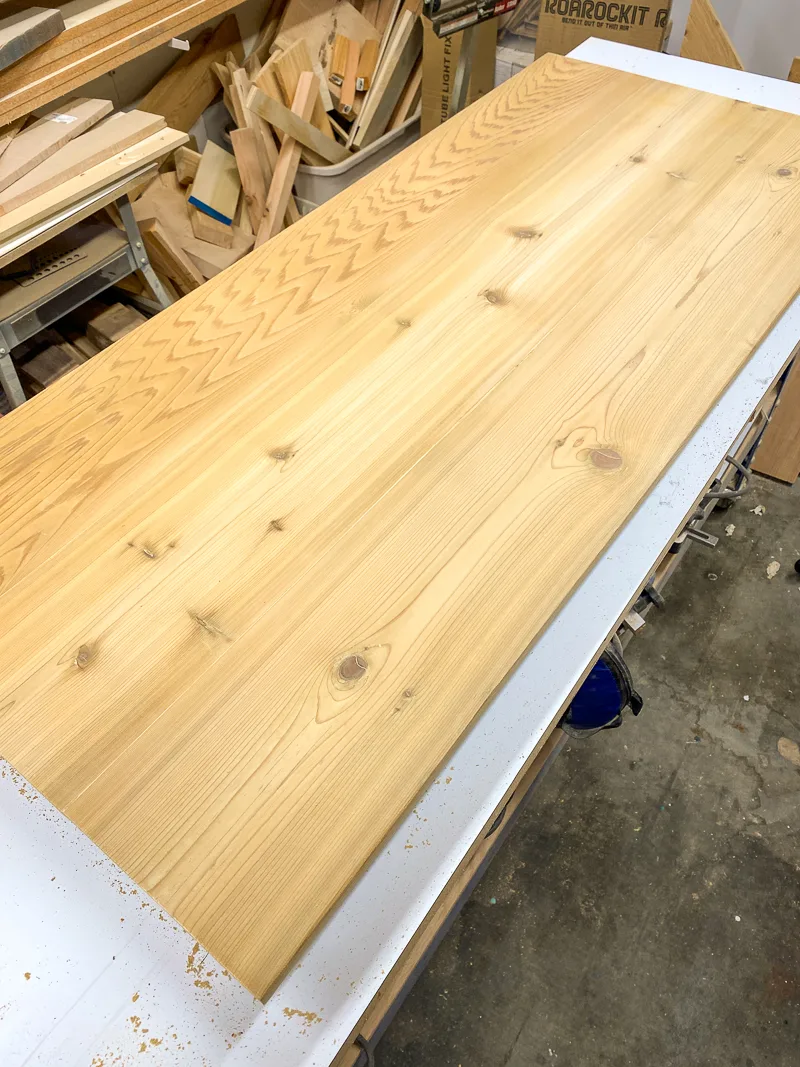
It may seem like a waste of time to strip the paint off this bench top when I could have easily built myself a new one. But I hate throwing away perfectly good wood (especially expensive cedar!), even if it takes a little elbow grease to make it work for my new project!
Check out these other handy painting tips!


Kenneth
Friday 19th of June 2020
One thing I might add, on tough thick paint put on striper then cover for a time with plastic wrap. Comes off like butter
Margaret Renfranz
Thursday 18th of June 2020
Thanks, Vineta, for another wonderful project!