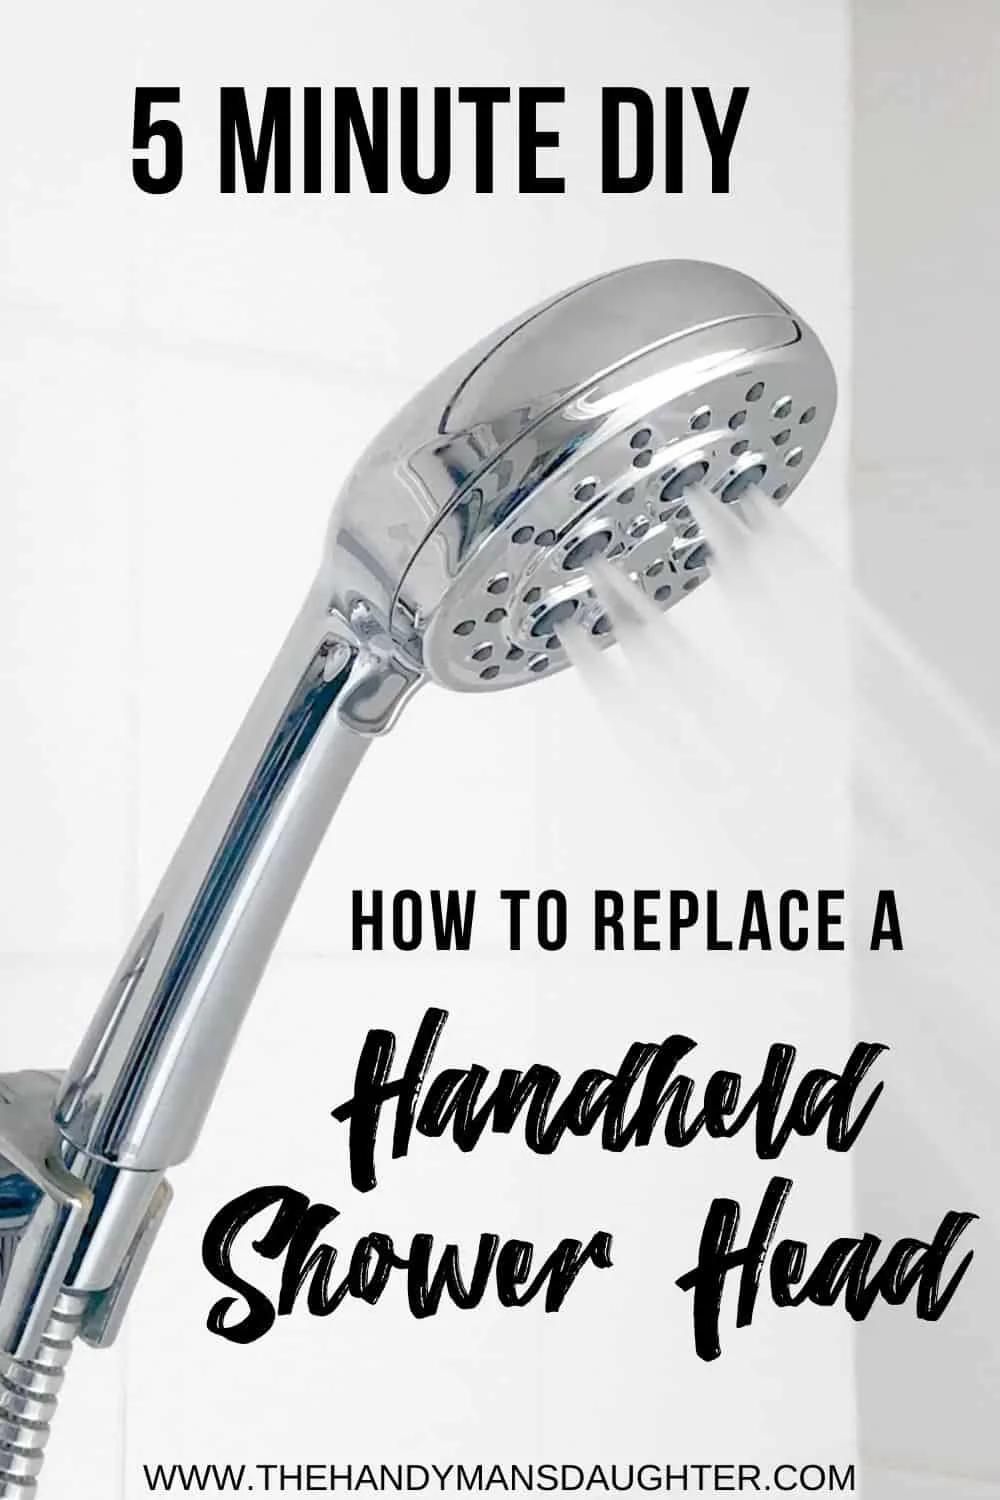
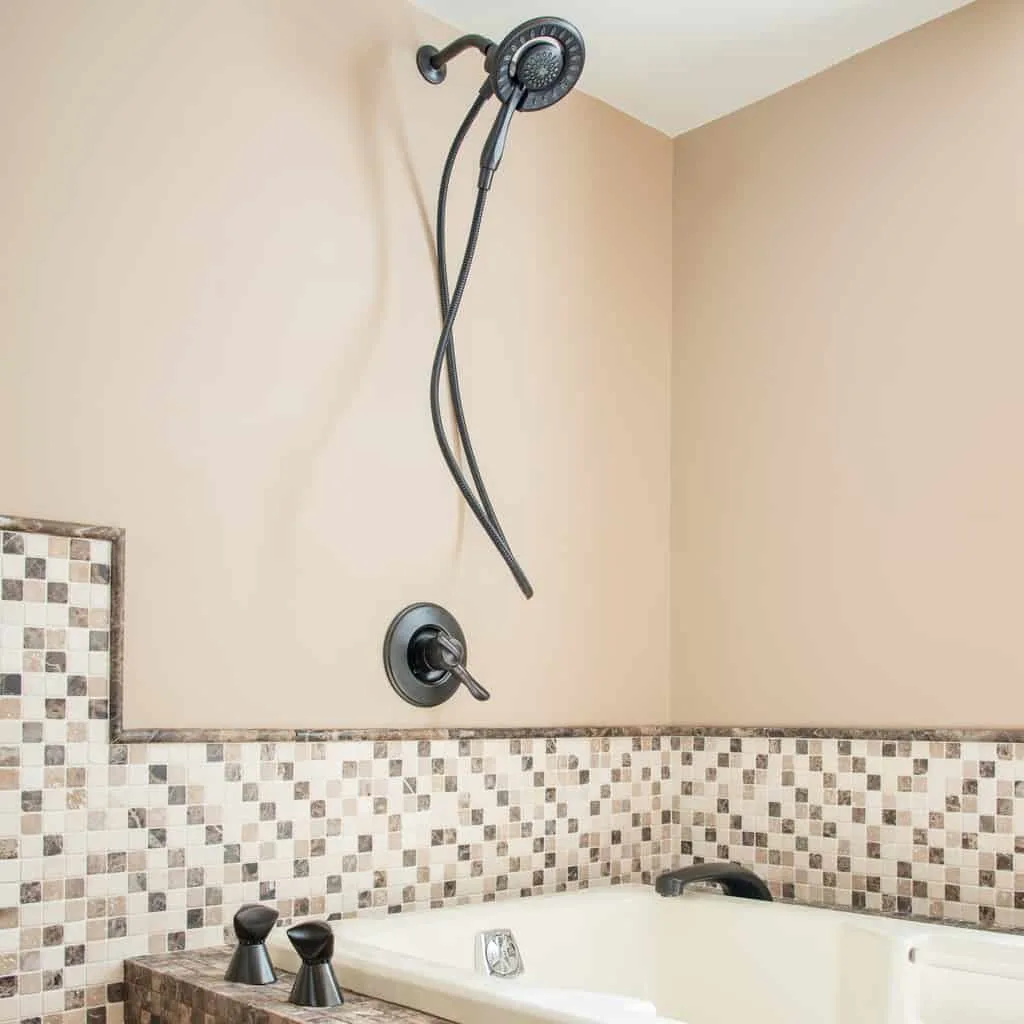
I'll show you how to replace a handheld showerhead in less than 5 minutes! Upgrade to a better showerhead that reaches every spot in the tub!
Over the past year, I've remodeled the half bathroom upstairs and the full bathroom in the basement. But the main bath sees most of the action, and hasn't gotten any of the love! Today, I'm changing that by showing you how to replace a handheld showerhead in three simple steps!
This post is sponsored by Pfister and contains affiliate links for your convenience. Purchases made through these links may earn me a small commission at no additional cost to you. Please visit my disclosures page for more information.
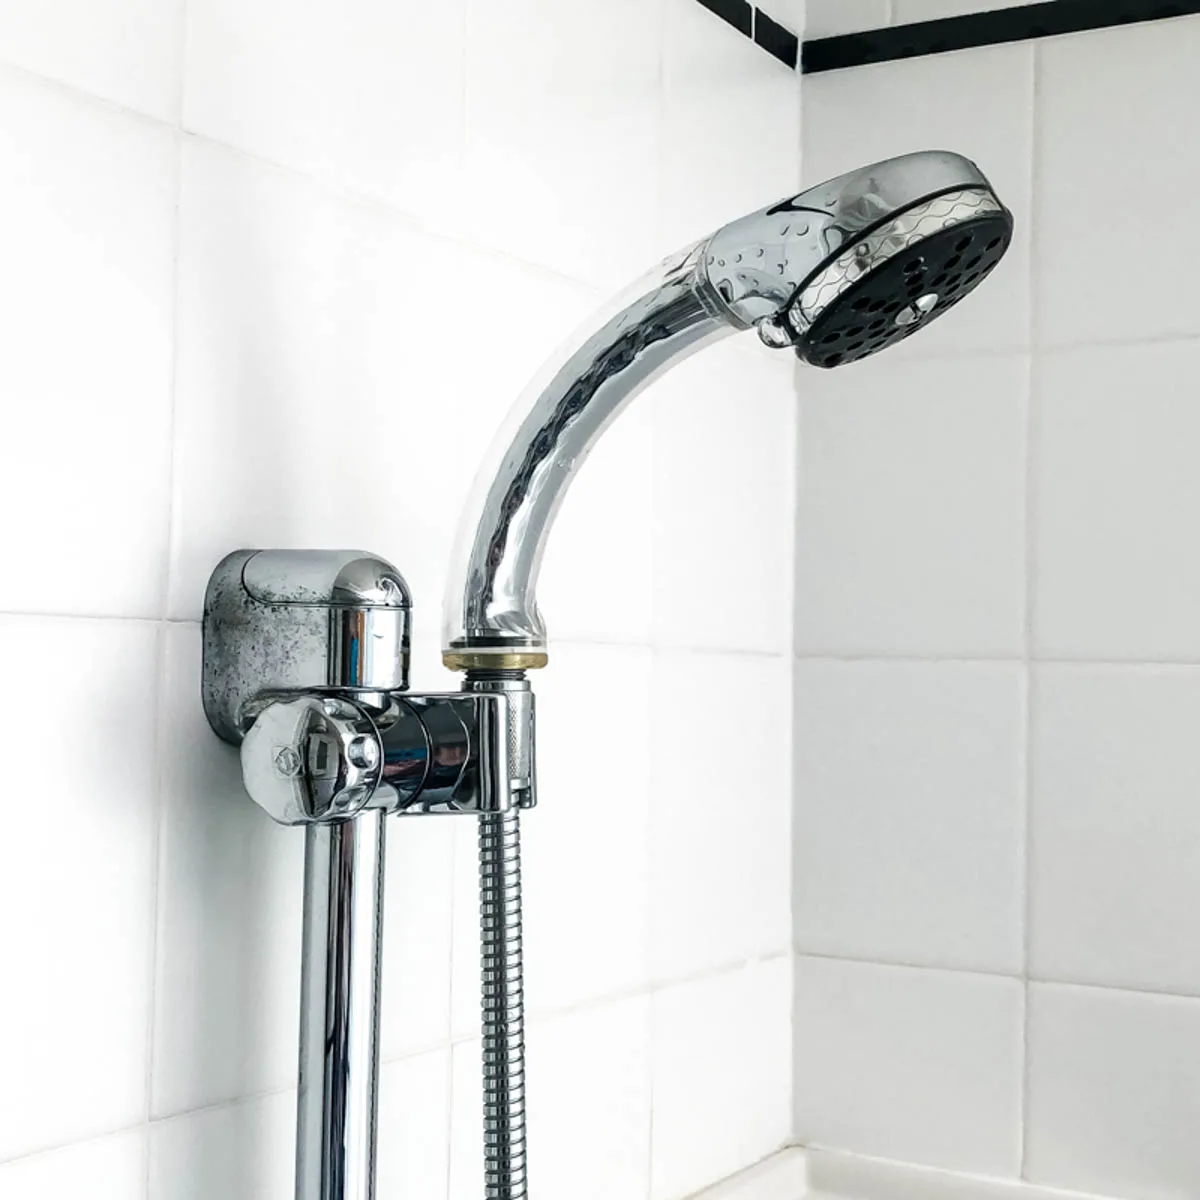
Our main bath was last updated in the 80's, but luckily the white and black tile is pretty timeless. One thing that desperately needed to be replaced was our old shower head! It leaked and wasted a lot of water. Plus, it only had two settings: lackluster spray and dribble.
The adjustable vertical bar is bolted through the tile, so it's staying put until we get around to remodeling the bathroom. But that doesn't mean we have to suffer with this leaky, water-guzzling showerhead! Technology has come a long way since the 80's, even when it comes to plumbing fixtures!
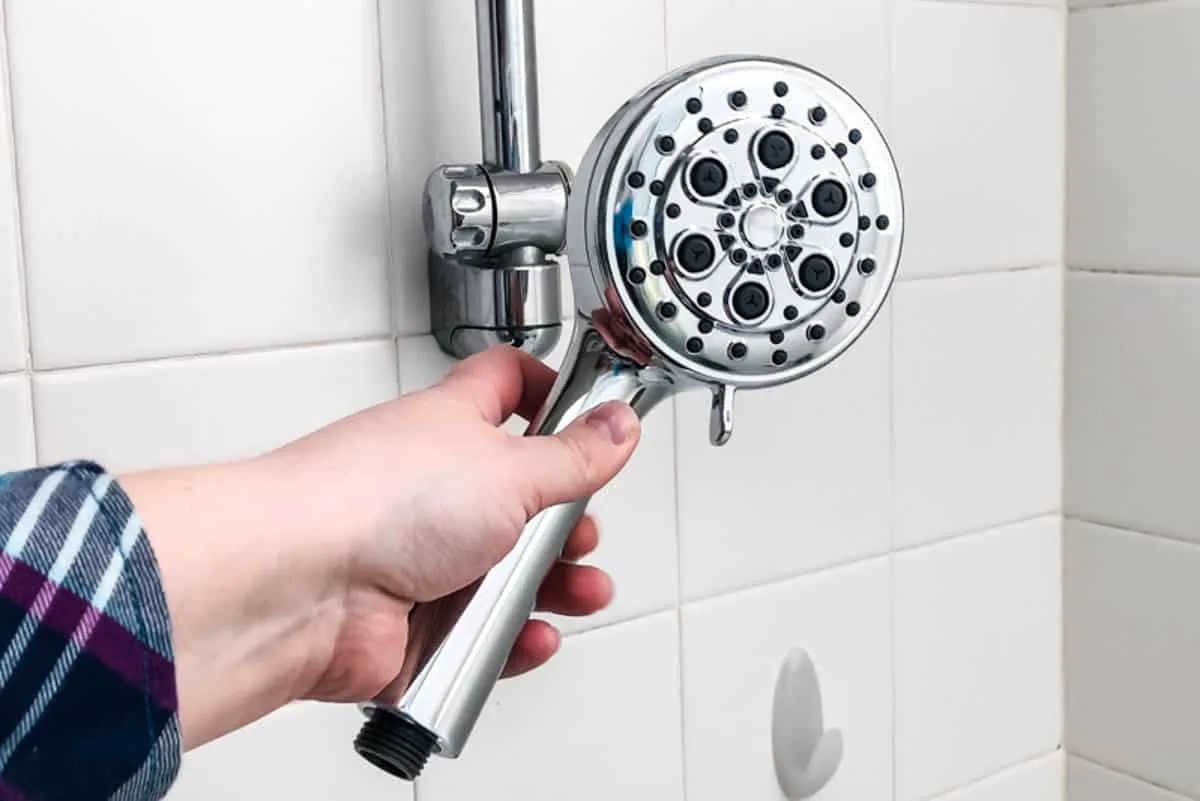
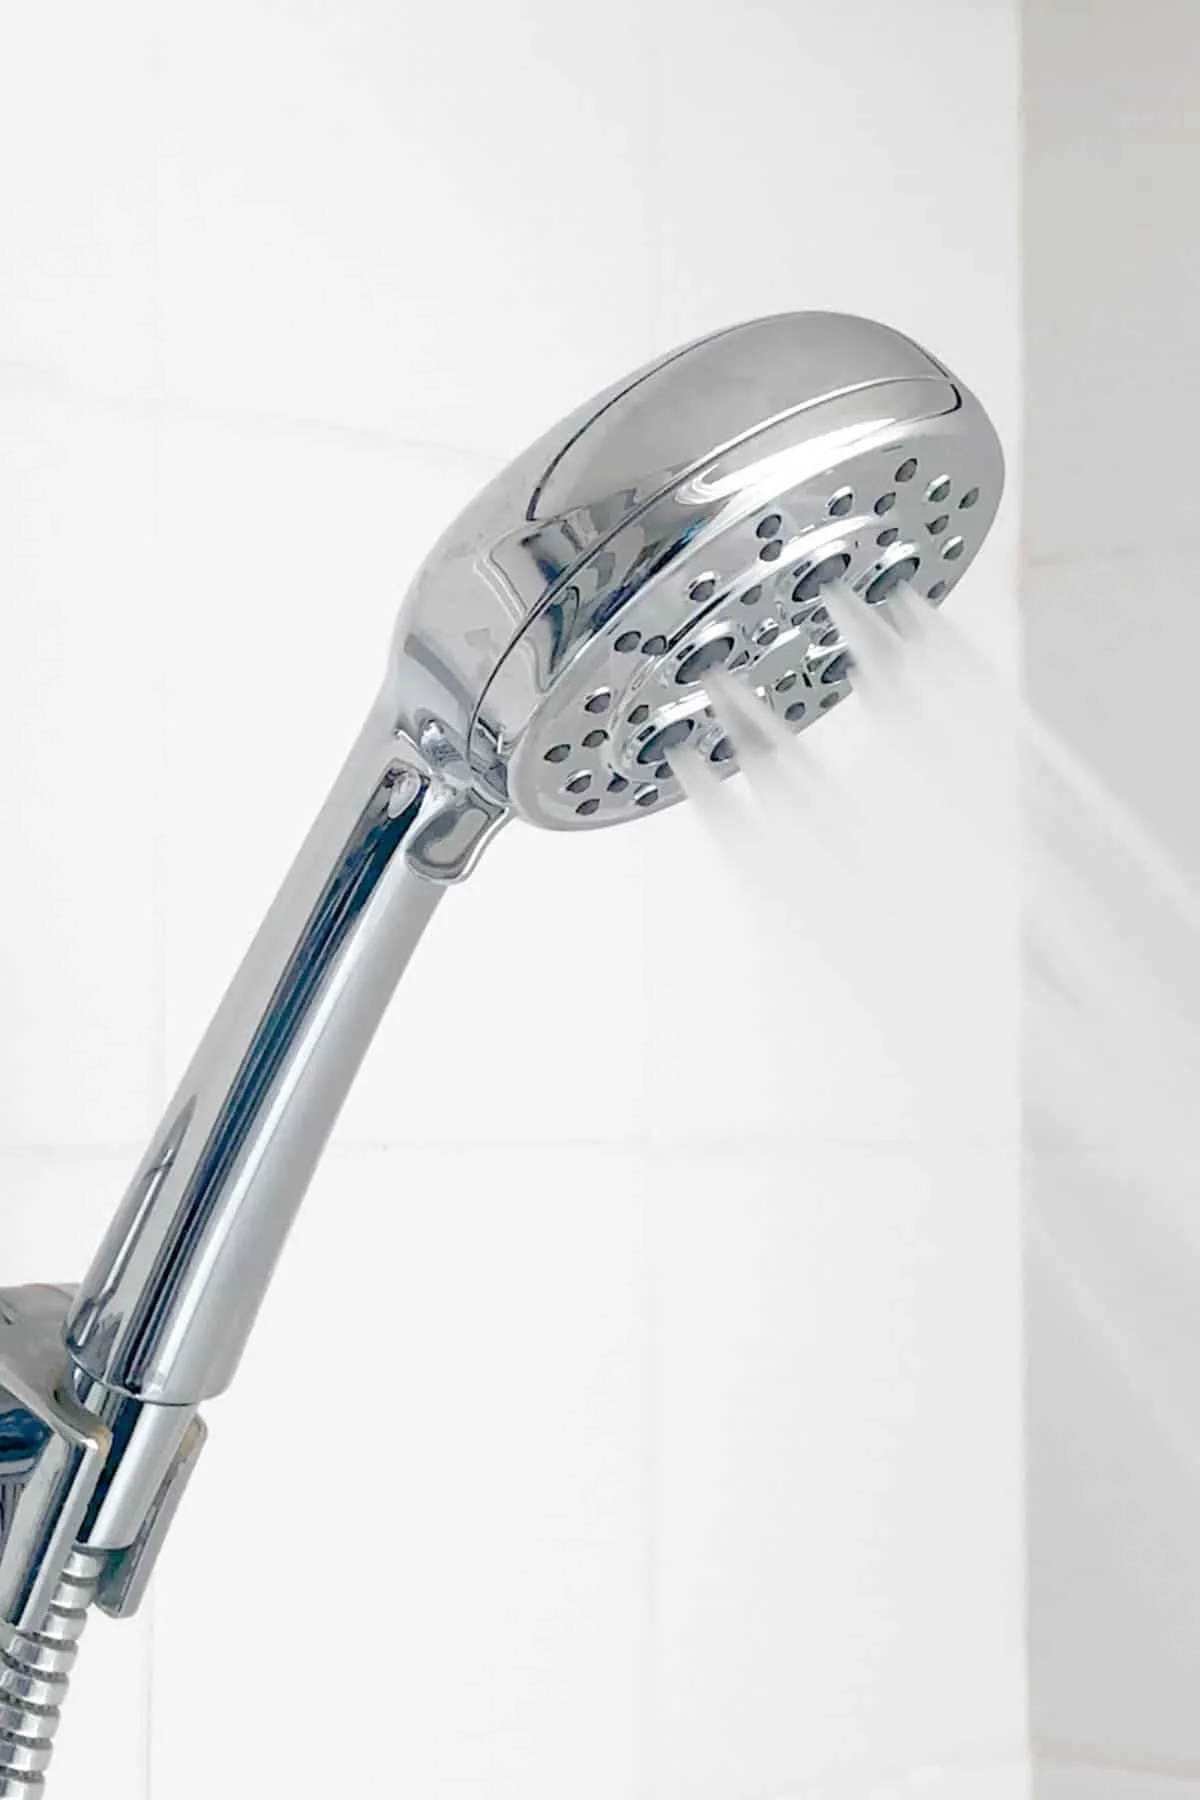
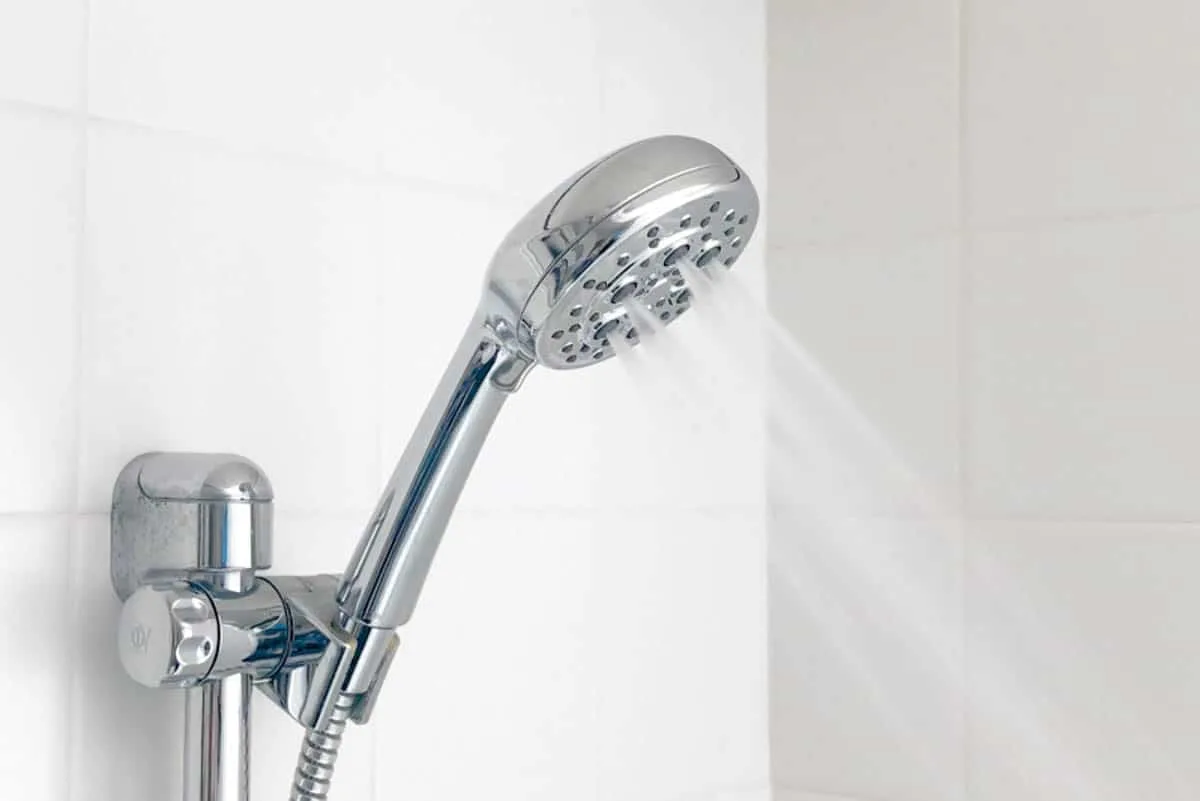
Pfister has debuted a new line of Vie showerheads with Hydrodrench technology, available exclusively at Lowe's. See those larger nozzles towards the center? They form bigger water droplets in a more concentrated area, making your shower feel warmer and more luxurious. Best of all, even though it feels like there's more water, you're actually conserving it instead!
A handheld shower head is a great addition to a tub, especially if you have dogs or little kids that need a quick rinse. It also makes it so much easier to clean the shower because you can reach into every corner!
Ready to have a better shower experience with just five minutes of work? Let's do this!
Materials Needed to Install a Handheld Shower Head
How to Change a Handheld Shower Head
You can check out my quick video showing how it's done, or follow the written tutorial below.
Remove the Old Shower Head
If you're switching from a regular shower head to a handheld version, you just need to unscrew the old one from the wall. If it's really stuck on there, use an adjustable wrench and a quick spray of WD-40 to work it loose.
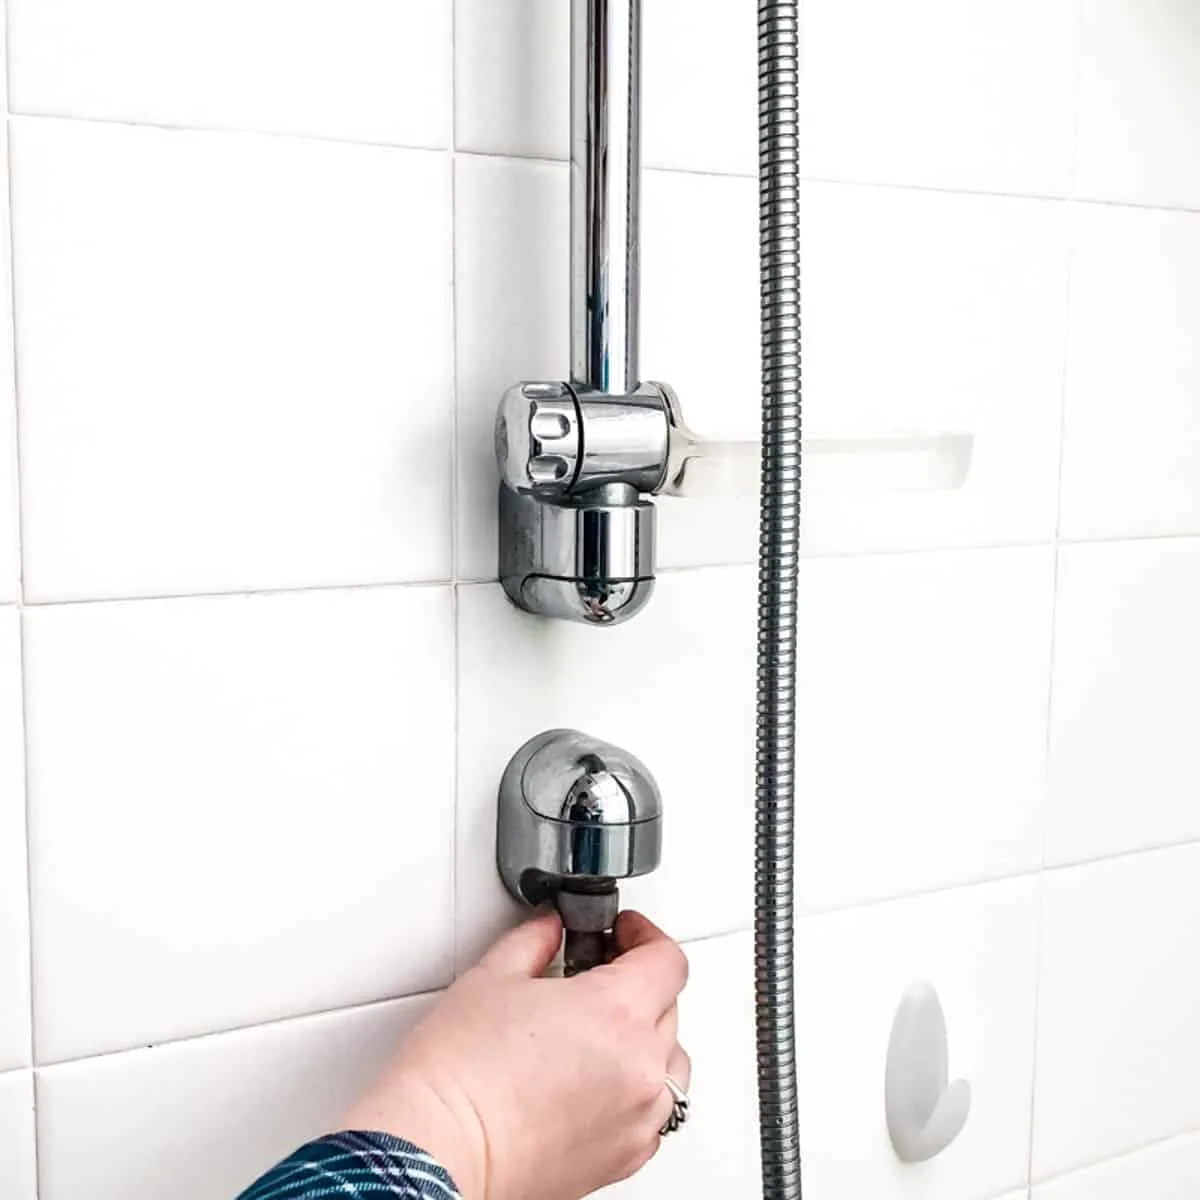
If you're replacing your old handheld shower head with a new one, follow the hose to where it connects with the wall. Usually it's at head height, but our house is weird and has it positioned at waist height.
Clamp the adjustable wrench around the end of the hose where it meets the wall pipe, and turn it counterclockwise. Once it's loose, unscrew it the rest of the way by hand until it comes off. Drain any water left in the hose before taking it out of the tub.
Clean the Threads
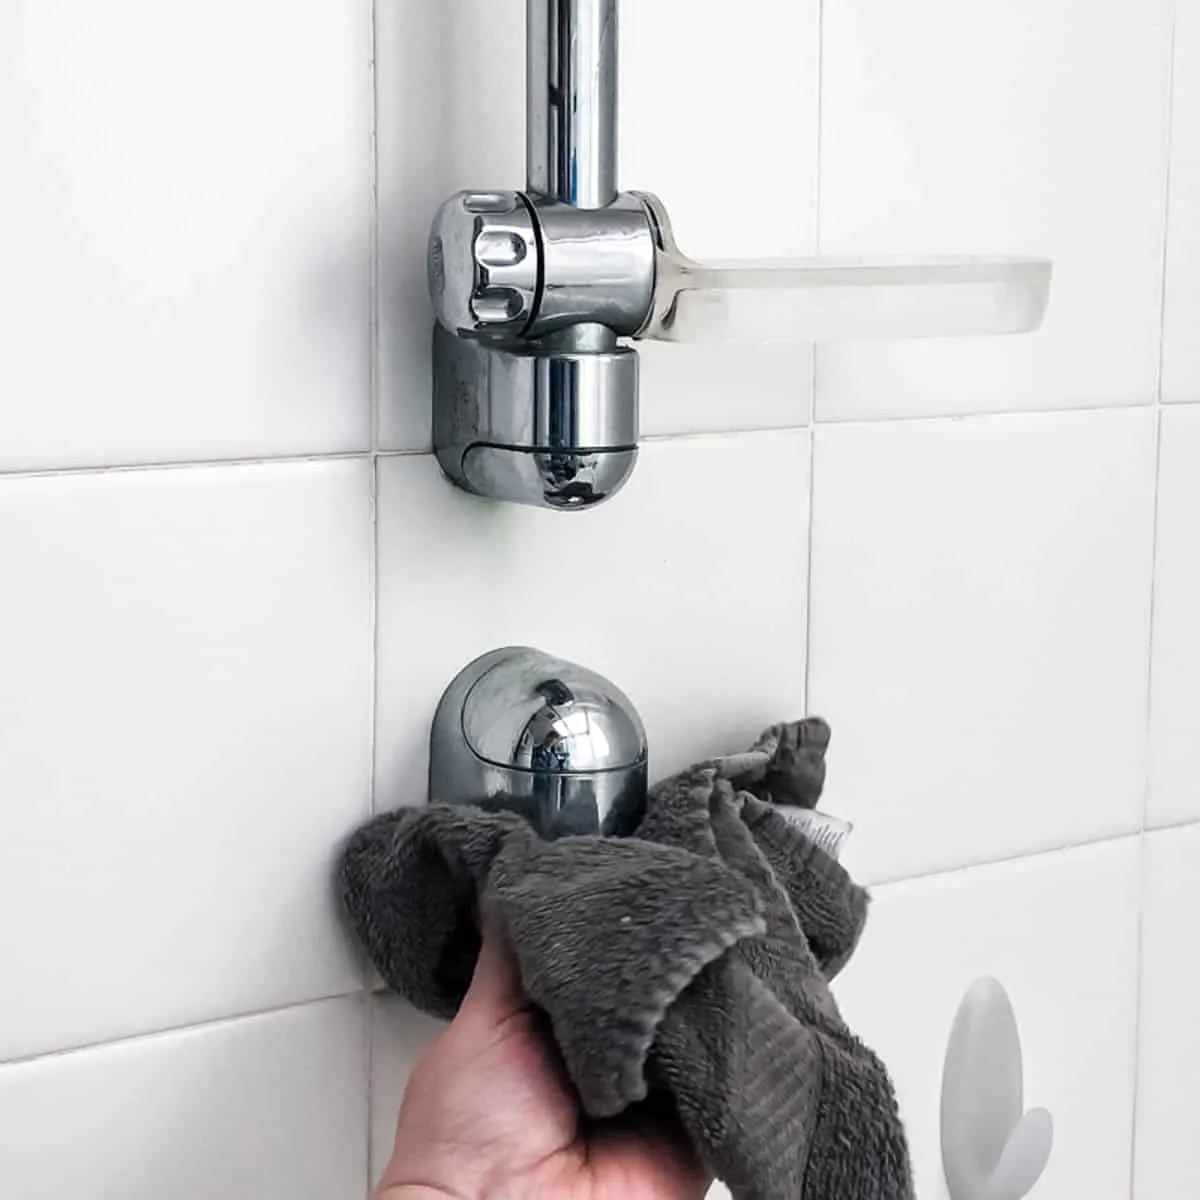
My pipe didn't have any plumbers tape to remove (no wonder it was leaky!), so I just wiped it down with a washcloth to remove any debris.
If your pipe is rusty, use a toothbrush or a wire brush to clean it up.
Wrap the Threads in Plumbers Tape
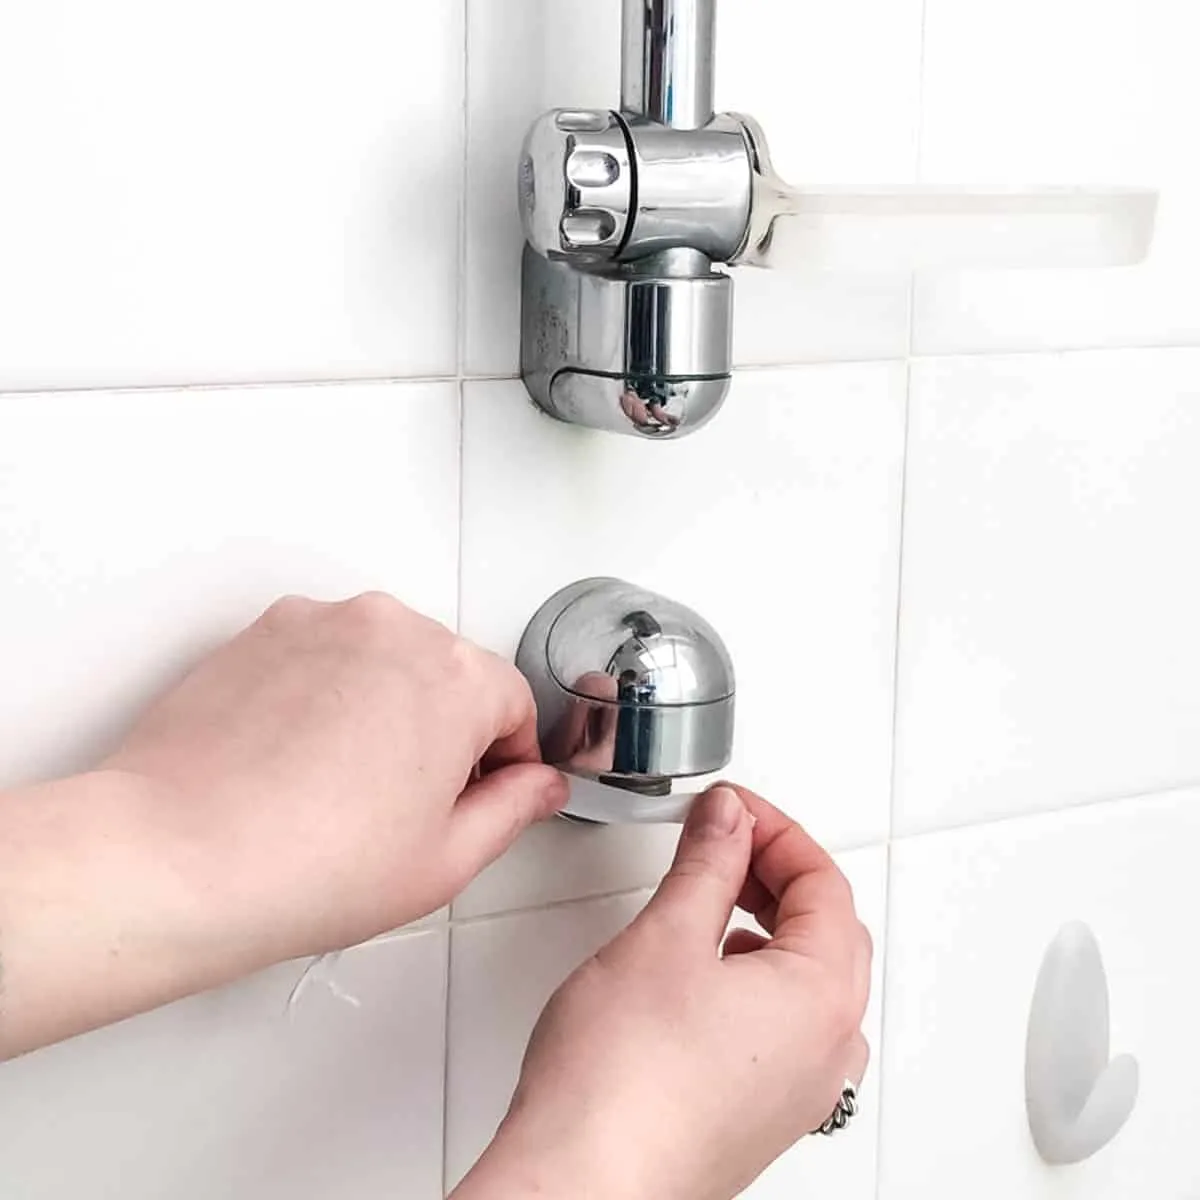
Hold the end of the plumber's tape over the threads of the pipe, and wrap it a few times in a clockwise direction. This will ensure a watertight seal between the threads.
Here's a good video on how to wrap the Teflon tape correctly.
Attach the Shower Head Bracket
If you're switching from a regular shower head to a handheld, you'll need to attach the mounting bracket to hold the wand in place. Usually they're included with the shower head, but you can also purchase separate shower arm mounts like these.
Just screw the mounting bracket to the wall pipe where your old shower head used to be, making sure to wrap the threads tightly with Teflon tape to prevent leaks.
Screw the Hose and Shower Head in Place
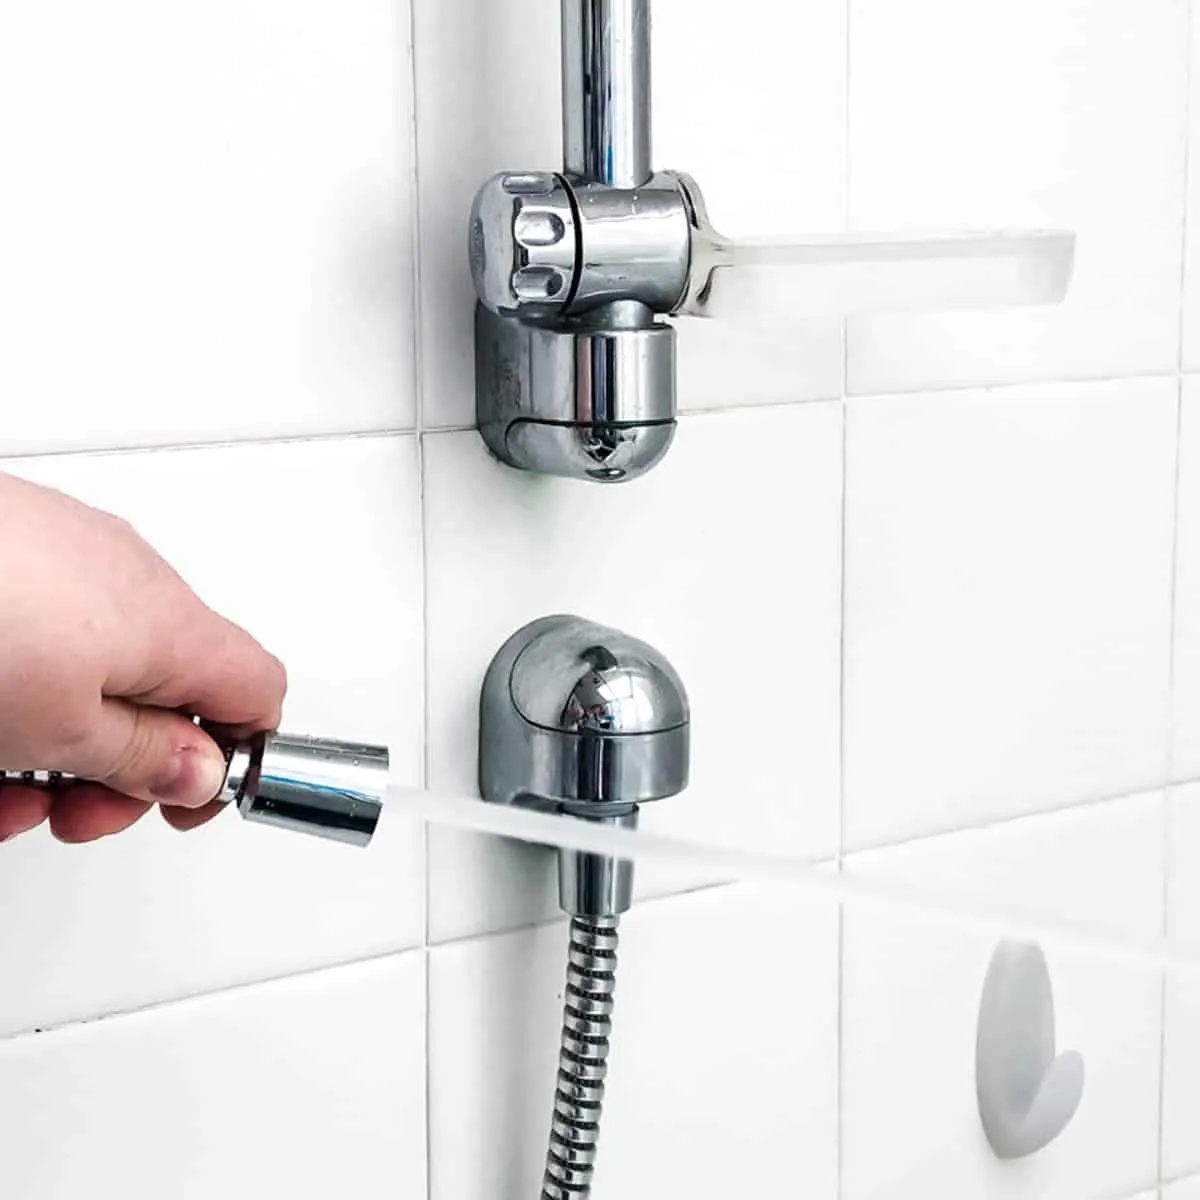
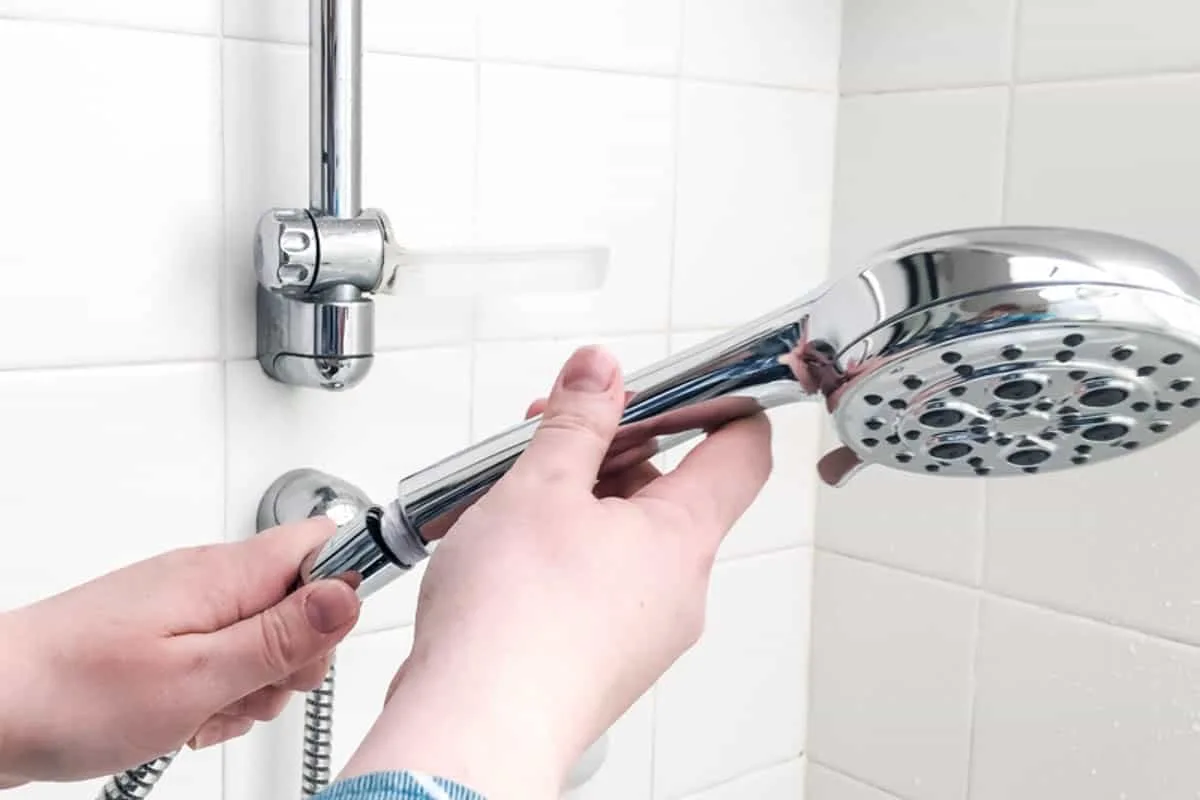
There should be a rubber washer that fits into one end of the hose for a tight seal. Once that's in place, screw that end into the lower opening of the mounting bracket (or to the wall itself, in my case). Turn on the shower water to flush the hose of any residue and test for leaks.
Then insert the other black washer with the mesh screen into the other end and screw the showerhead on tight.
Pop it in the bracket and you're done!
The HydroDrench setting feels like you're standing under a waterfall! There's also a massage, full coverage and power rinse settings if you want to change up your shower routine.
This is definitely one of the fastest and easiest DIY home improvement projects I've done. I can't believe it's taken me this long to get around to it! Even if you're a renter, you can easily install a handheld shower head and switch back when you move out. Don't suffer with a mediocre shower head any longer!
Check out these other easy home improvement projects!

