Learn how to use a stud finder correctly so you hit a stud on the first try! Get my tips for finding a stud to securely hang a TV or floating shelves.
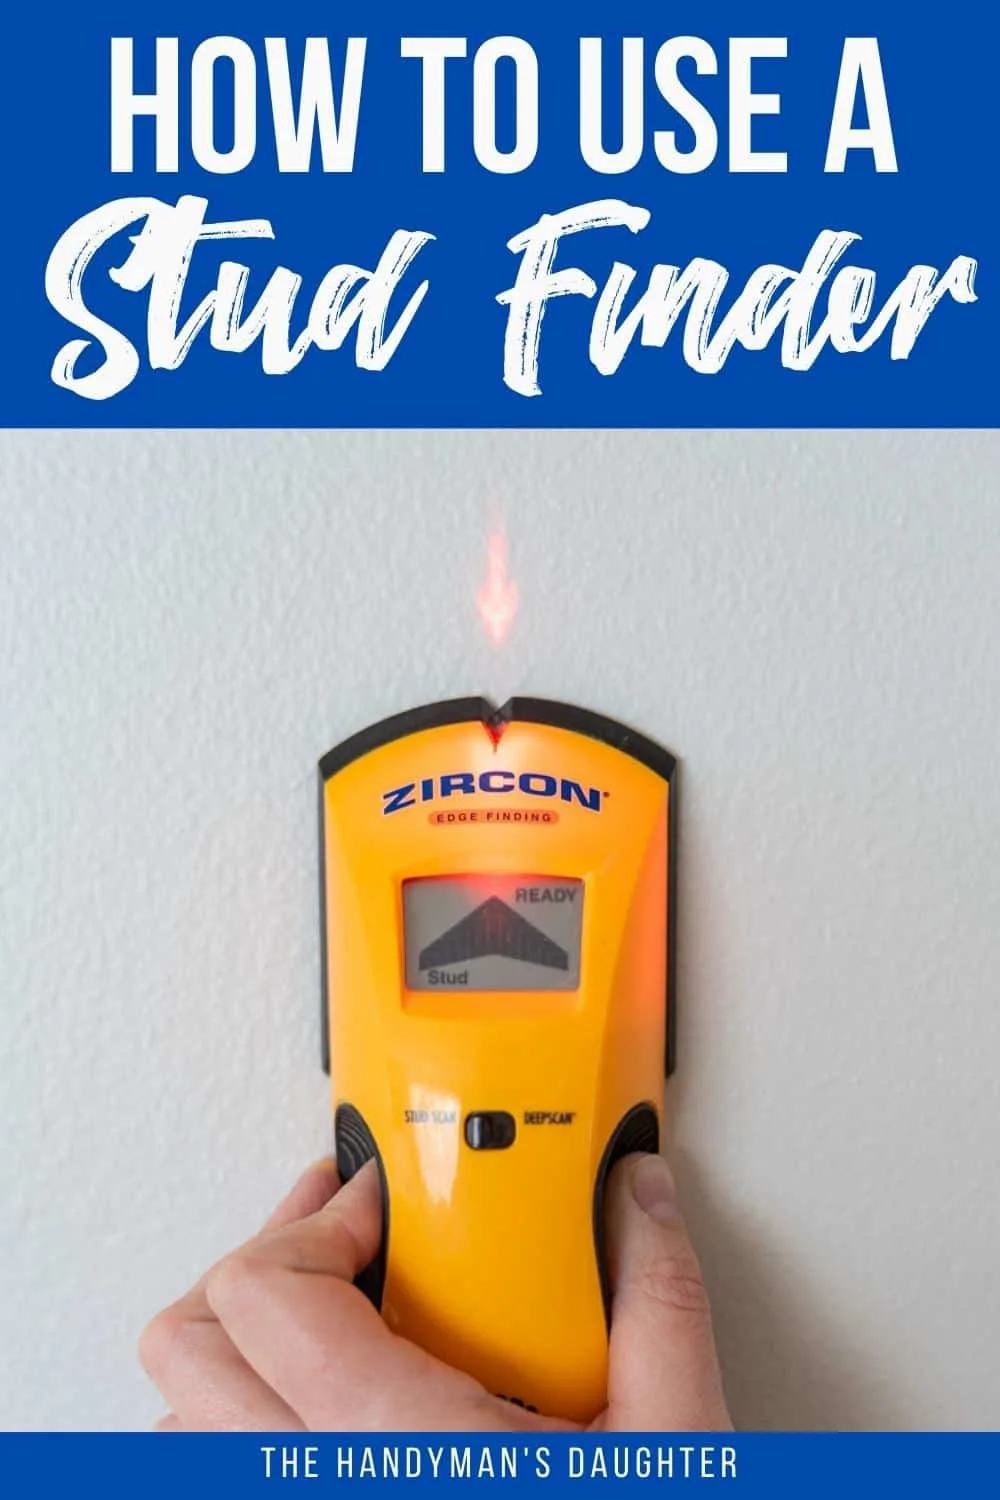
Trying to find studs in the wall can be frustrating. No one wants to repeatedly drill holes in the wall and only hit air! Luckily, there are a few techniques that should keep your walls in good shape and your project running smoothly!
This post contains affiliate links for your convenience. Purchases made through these links may earn me a small commission at no additional cost to you. Please visit my disclosures page for more information.
Hitting a stud is important when you're hanging something heavy on the walls, such as a flat screen TV or floating shelves. Wall anchors can only hold certain amounts of weight, so you generally want to hit at least one stud if possible. Studs are anchored into the frame of the house, so anything you properly attach to them is going to be secure.
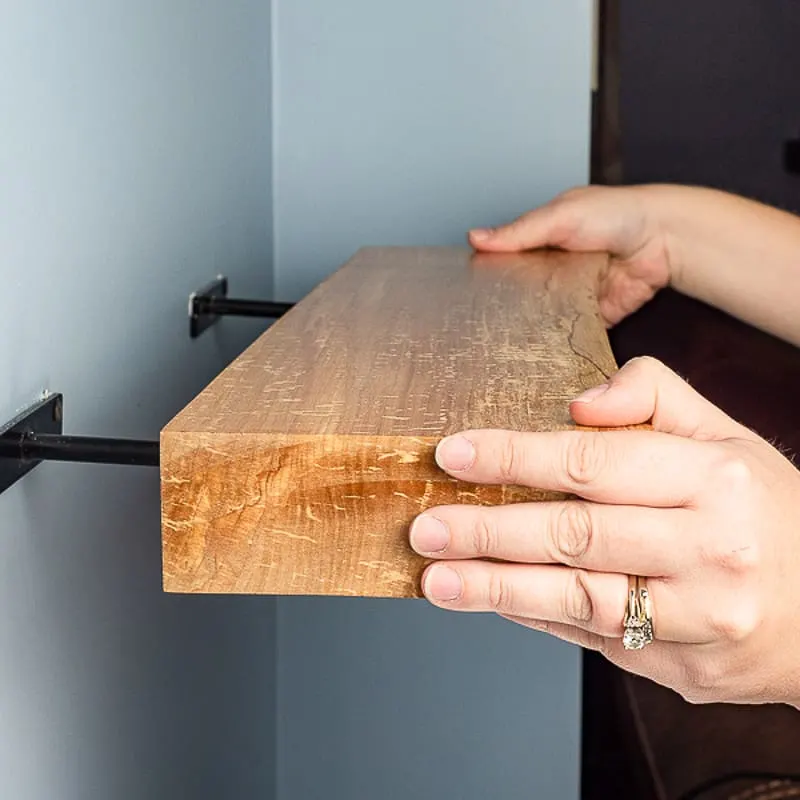
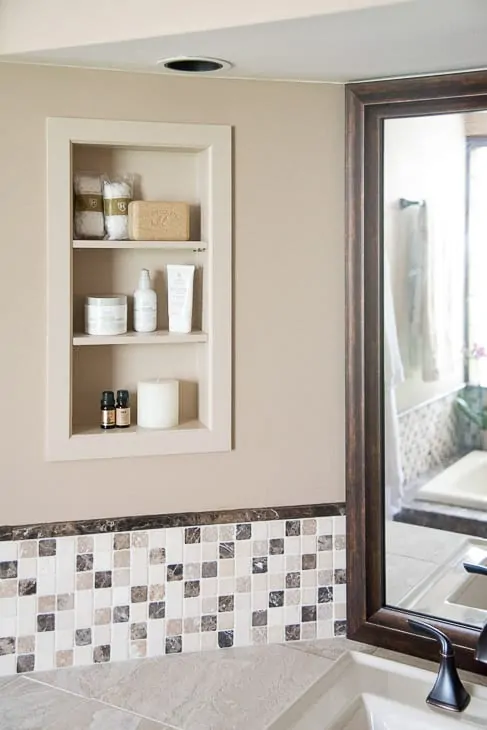
It's also necessary to find the studs in a wall when you plan to install recessed shelves. This little nook in our bathroom is attached to the sides of the studs to hold it in place.
The same process also applies to ceilings! Those studs are called joists, and it's important to find them when installing ceiling hooks or lighting so your item doesn't come crashing down!
If you don't want to shell out the cash, there are ways to find a stud without a stud finder! Some of these low-tech methods can be more accurate, and should serve as a backup in case you're not sure of your tool's readings.
Types of Stud Finders
The easiest way to find a stud in most cases is with a stud finder. There are a few different types that can be broken down into two main categories: Electronic stud finders, and magnetic stud detectors.
Electronic Stud Finders
Electronic stud finders work by sensing tiny changes to the electric field inside the wall. These scans allow the device to read the density of the wall.

If the density reading is high, then there's a stud. If it's low, then there is nothing but space. Some models have advanced settings that allow you to scan for other things in the wall, like pipes and wires.
Magnetic Stud Finders
Magnetic stud detectors have a more indirect way of locating studs. Instead of sensing the stud itself, it uses a magnet to find the nails or screws which hold the drywall to the studs. It will hang on the wall in the exact location of a drywall screw, leaving your hands free to mark it with a pencil.
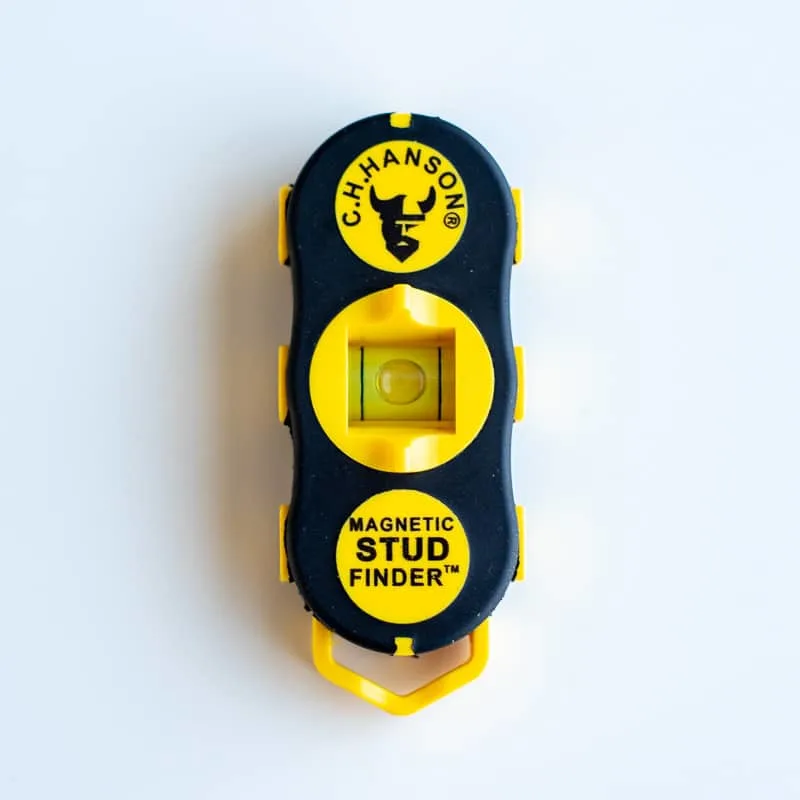
Be careful with this kind of detector, especially if you are drilling or cutting into the wall. If a pipe or some other metal object is inside the wall, this kind of sensor can sometimes read it as a stud.
This method also assumes that the builder screwed the drywall down the exact center of the studs. We all know that's not always the case!
Smartphone Stud Finders
There is a third type of stud finder that you most likely already own! Most smartphones have magnetometers built-in, which allow them to function as magnetic stud finders.
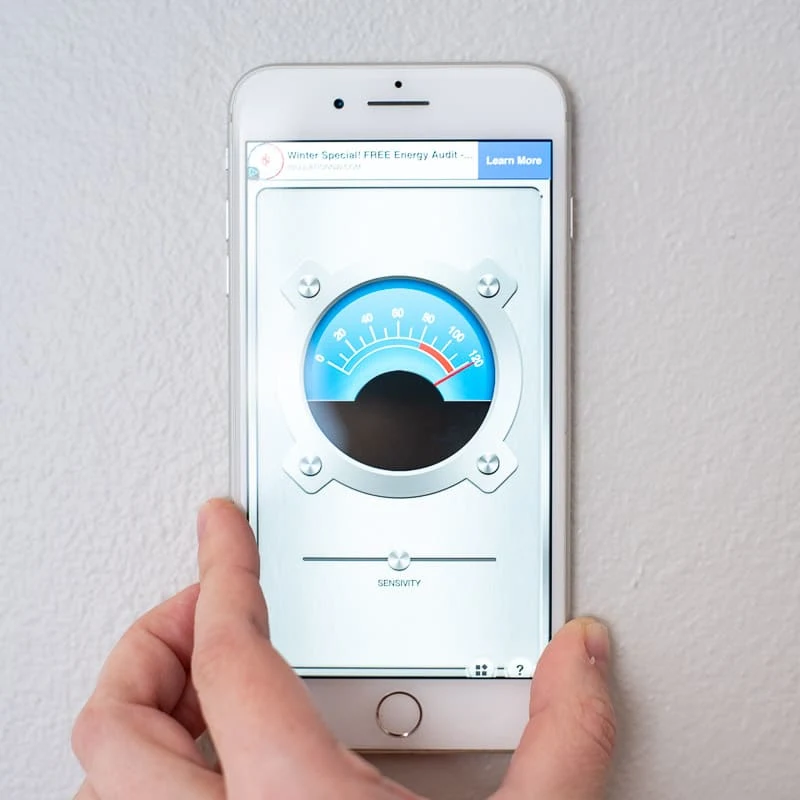
You can find plenty of free stud finder apps for both Apple and Android. However, since they operate in the same way as any magnetic stud detector, they also have the same issues and are far less accurate than electronic stud finders.
So Which Kind Of Stud Finder Should I Buy?
A magnetic detector is cheaper (or even free if you use a smartphone app) and will have a lower chance of breaking since there are no electronic parts or batteries to replace.
But for the average homeowner, a base level electronic stud finder is the way to go. You can get one for about 25 bucks, and they are much more accurate than the magnetic kind. This is the one I have.

One important thing to check for, if you decide to buy an electronic finder, is its depth capacity. The one I use has a switch to toggle between the typical drywall depth and a deep scan of up to 1 ½" to find a stud through a fire wall or two layers of drywall.
How to Use an Electronic Stud Finder
The operation of a stud finder is very simple, but you would be surprised how many people use it incorrectly! I've had to educate more than one friend (names have been omitted to protect the innocent 🙂 ) about how to use a stud finder the right way.
Hold the Stud Finder to the Wall when Turned Off
You might think that you need to press the button before you begin, but the unit calibrates to the wall when you turn it on. Simply hold the unit to the wall in the area you are searching and turn it on with the button located on the side of the device.
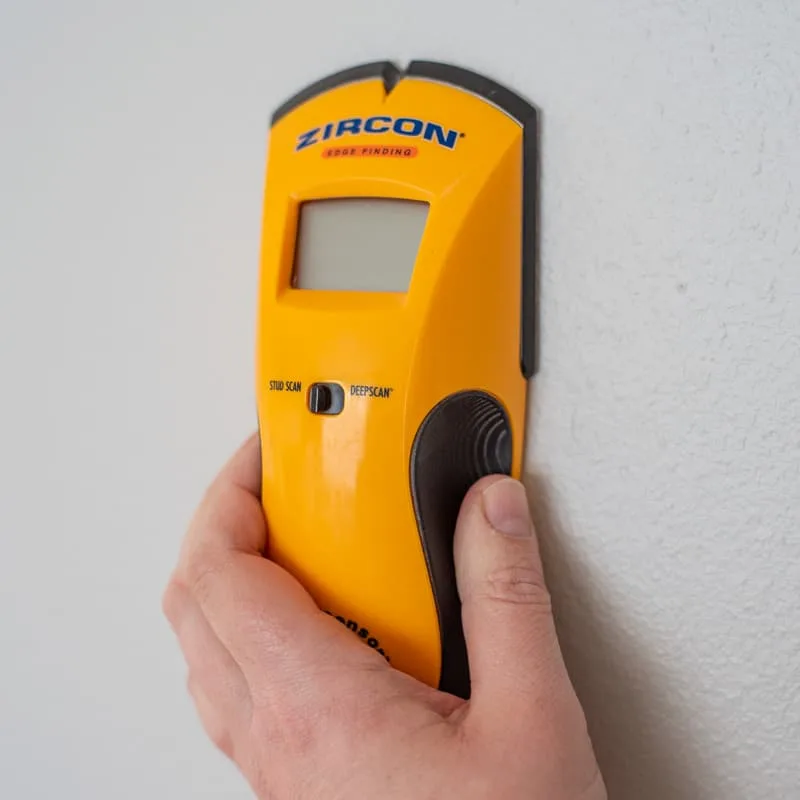
If you happen to start your scan on a stud, it will show an error message. Just turn it off, move it over a few inches, and try again.
Move the Stud Finder in One Direction Until it Beeps
Once the screen turns on and is calibrated, slowly slide the stud finder in one direction, keeping the button pressed. When a stud is detected, it will beep and display an image on the screen.
The diagram on the screen will show a sequence of ascending bars. The more bars that appear, the closer to the stud you are. Once you hit the edge of the stud, the triangle will fill in completely. On this model, it even has a big glowing arrow that just screams "Your stud is right here!"
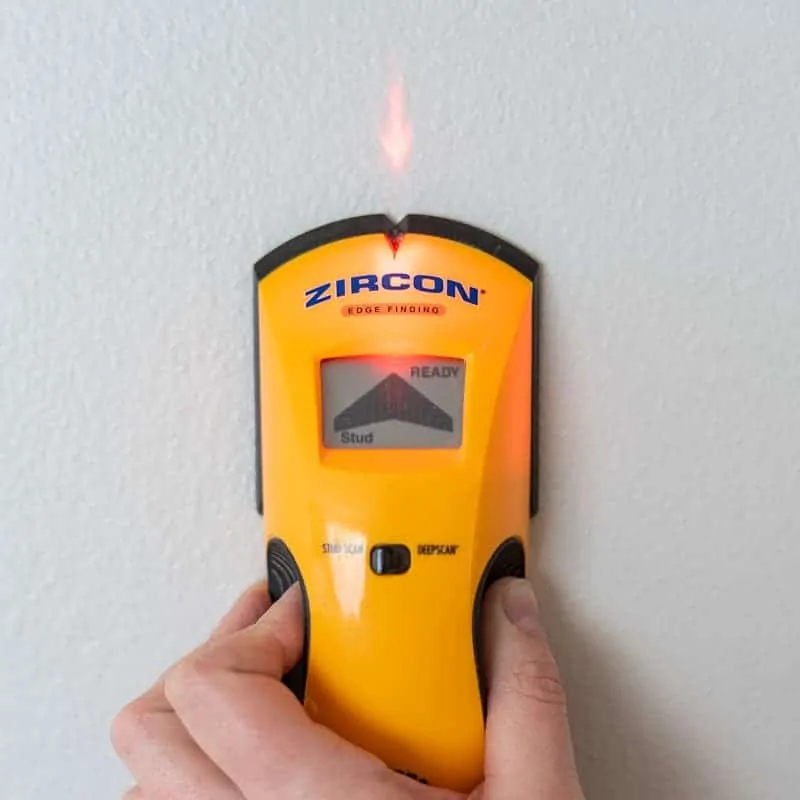
Keep in mind that the stud finder is showing you the edges of the stud, not the center. It is very important that you find the center of the stud.
Mark the Edges of the Stud to Find the Center
Mark the edge point with a pencil on the wall, then move the stud finder to the other side of the stud. Repeat the process going the opposite direction.
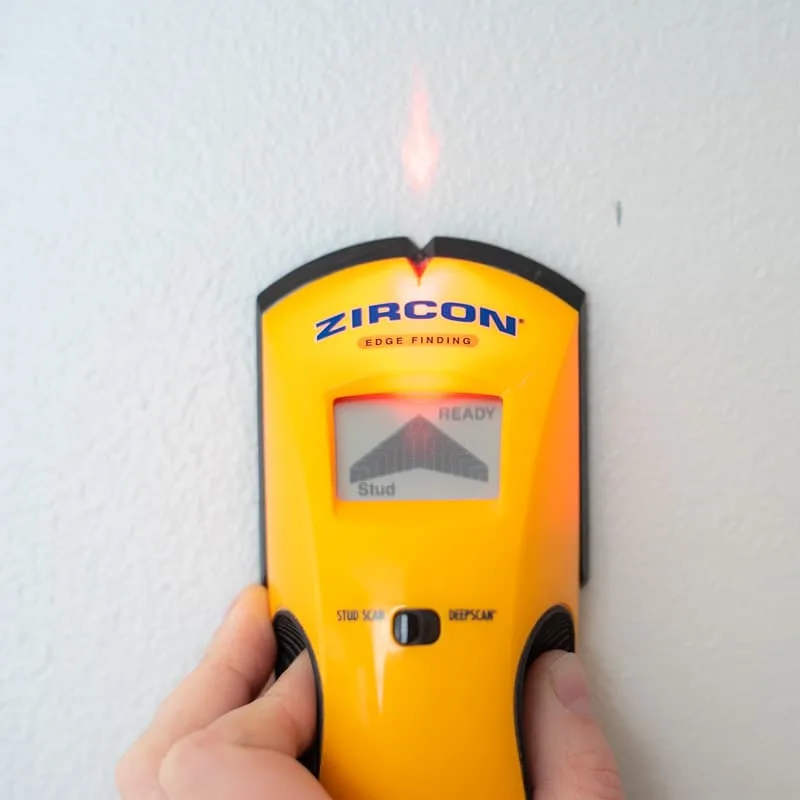
When the stud finder beeps again, you've found the other edge of the stud. The center is between those two points. Typically a stud is 1 ½" wide, so the center will be at ¾".
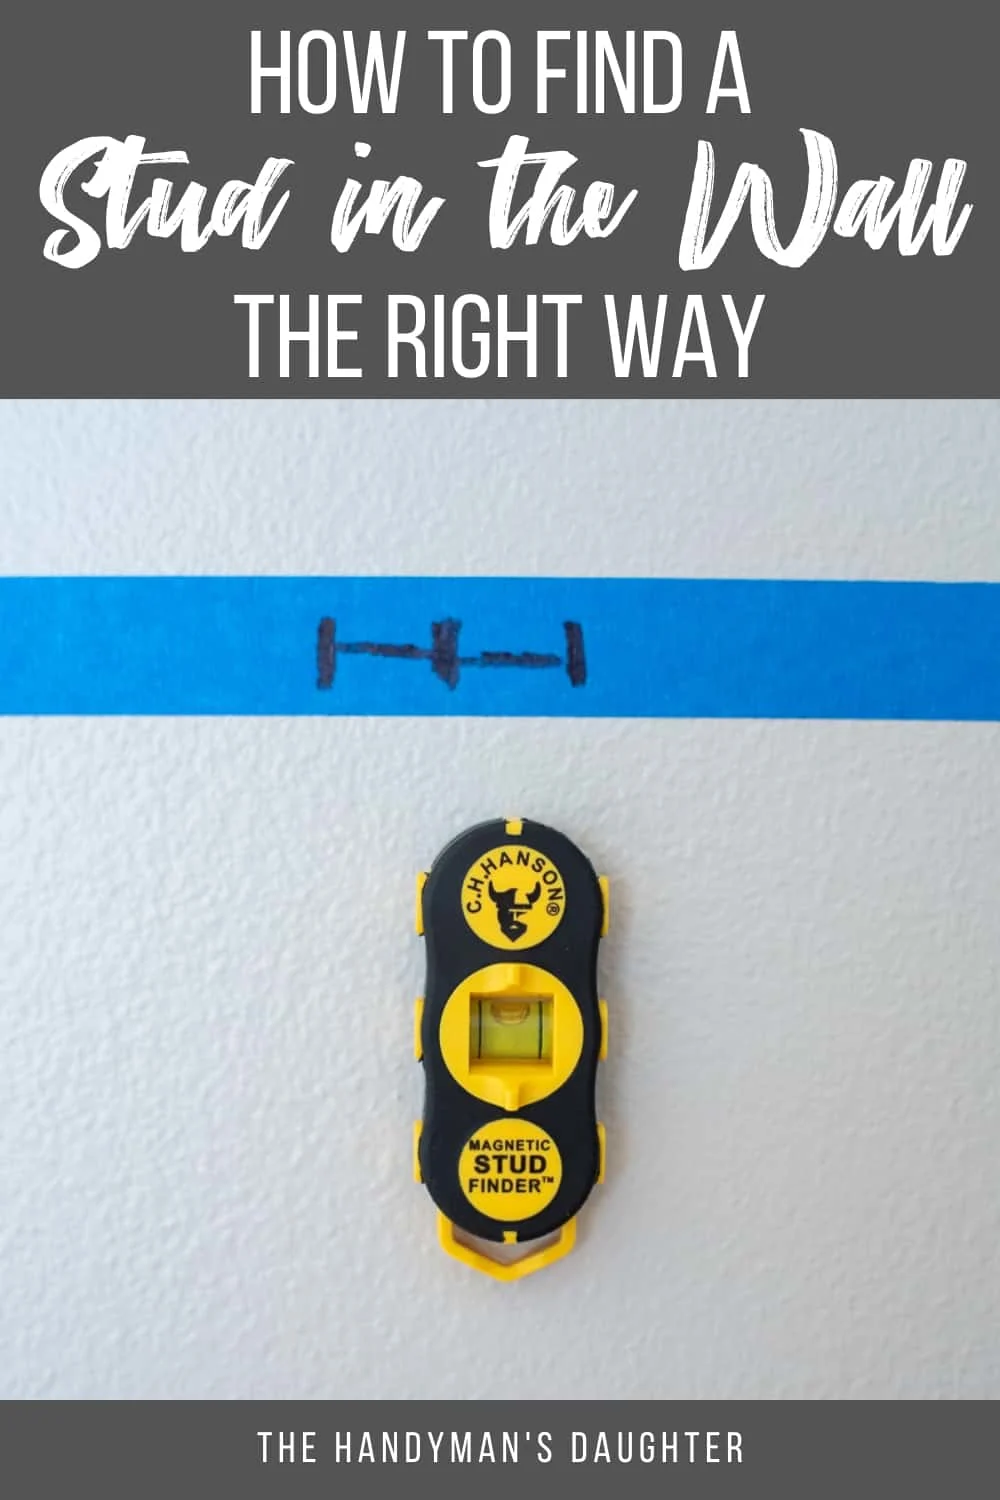
If you don't want to write on your walls, you can stick a strip of painter's tape to the wall and mark on the tape like I did below.
Finding Additional Studs
Once you have found the center of two studs, you have found them all! According to building code, studs must be either 16 or 24 inches apart, based on the type of building you are working in. Many tape measures have a special marking for studs to help make it easier to spot.
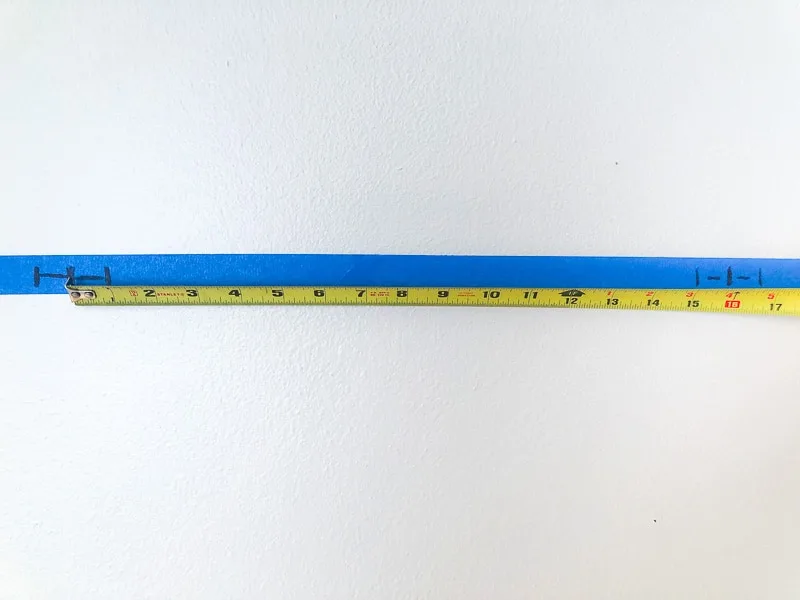
After you have found two studs, mark their centers and then measure between them. Now you know the distance between every stud in the building. For the rest of your project, you can simply find a stud then measure in either direction to find the other studs in the wall.
Note: Be warned that, sometimes, builders put studs in strange places or use odd spacing on a short wall. Always check before installing something on the wall.
Places Where A Stud Finder Might Not Work
Ceilings
If the ceiling you are working on is heavily textured or covered with popcorn, an electronic stud finder will not work. You may have marginal success with a magnetic unit, but it may not give you an accurate reading.
However, if the ceiling is smooth just like the wall, then your stud finder will work fine and the process is exactly the same.
Plaster or Stucco
When a wall is finished with plaster or stucco, the backing that holds up your facade is made of wooden slats. These slats are spaced apart so that when you apply your finish, it pushes through the gaps and provides a better hold.
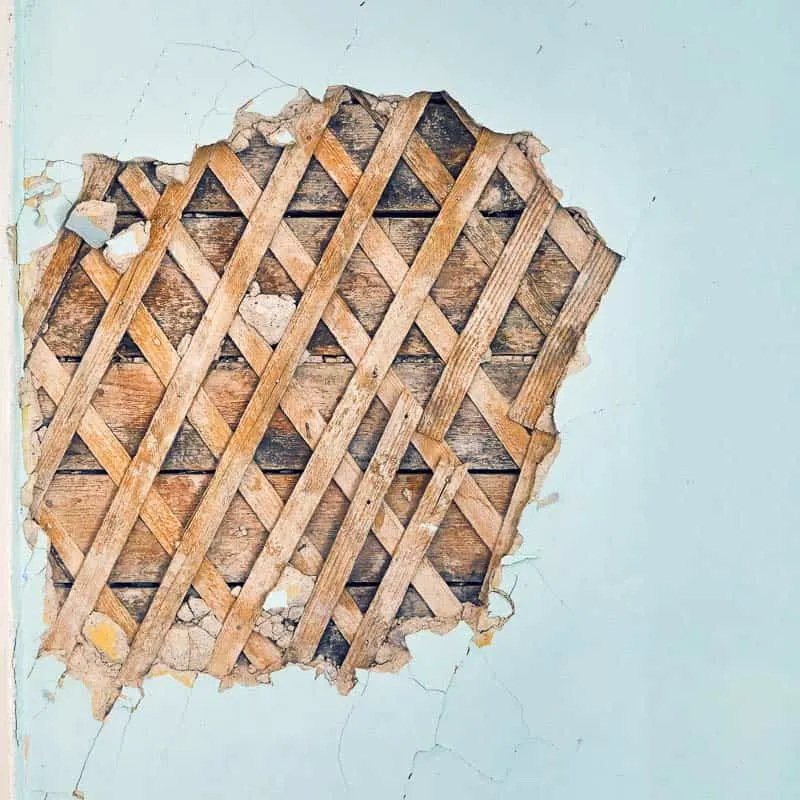
However, this means that the thickness of the wall is different at almost every point. Also, there is a density difference between the plaster/stucco and the wood, which means that if the plaster did not push through the slats, the electronic unit would give an inaccurate reading.
There is a possibility that you could use a magnetic stud finder, but even this is uncertain. There's sometimes a layer of metal mesh between the facade and the wood. So, if this is the case, your magnetic detector will read the entire wall as one big stud!
With all these tools in your belt, you should be able to find any stud without a problem. Happy hunting!
Check out these other home improvement tutorials!

Patty G
Sunday 9th of February 2020
I love your posts and all your "how to do" articles. I have a suggestion to this post for those of us who live in areas where, due to termites, humidity, or other reasons, the code requires the use of metal studs. Using a stud finder is somewhat more challenging but still doable; however, drilling into a metal stud is something I am having difficulty with. Any hints would be appreciated :).
Vineta
Monday 10th of February 2020
That's gotta be tough! Most drill bits can make a hole in a metal stud, but they tend to wander across the surface so it feels like you're drilling forever! You can drill a hole through the drywall first, then use a center punch and a hammer to make a dimple in the metal. That way, the drill bit will stay in one spot and go through the metal stud a little faster. You can also start with a smaller drill bit to clear away some of the material, then finish with the size you need. Then use a toggle bolt to anchor the screw in the stud.
Hope that helps!