Think your saw blades are getting dull? Maybe they just need a good cleaning! This article shows you how to clean saw blades the right way.
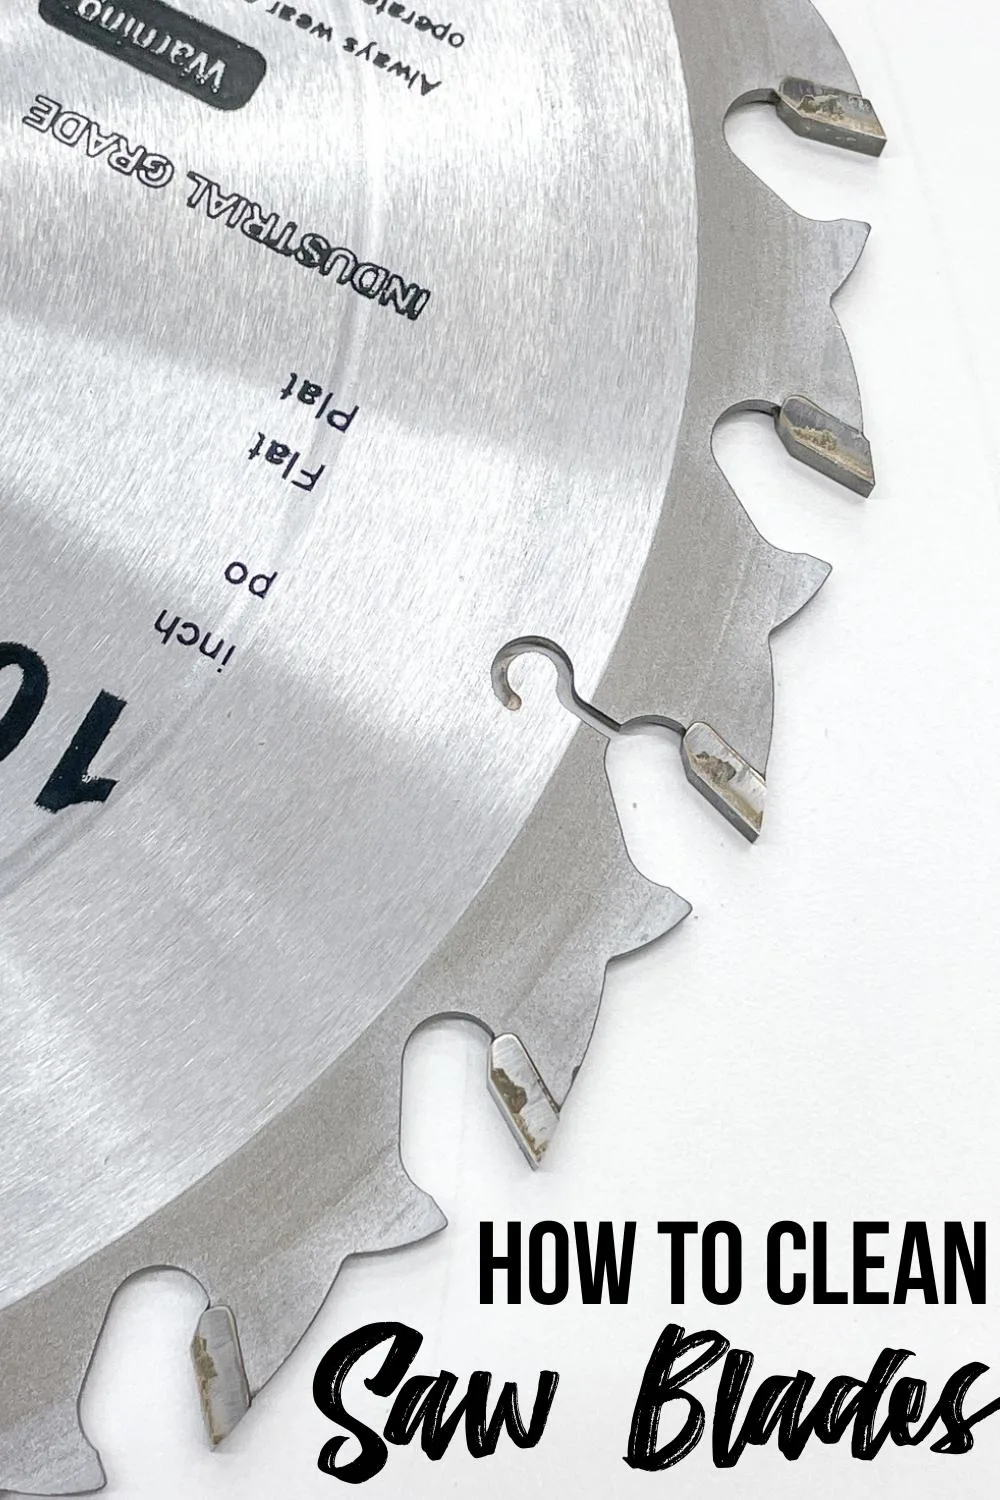
Over time, pitch and sap can collect on the teeth of your saw blades. You may also experience glue build up if you've been working with a lot of plywood. A dirty blade can cause burn marks and splintered edges on your cuts.
Cleaning your saw blades is one of the secrets to prolonging the life of your power tools. Dirty blades will increase friction and stress the saw's motor (or your arm, if it's a handsaw) because it has to work harder to make the cut.
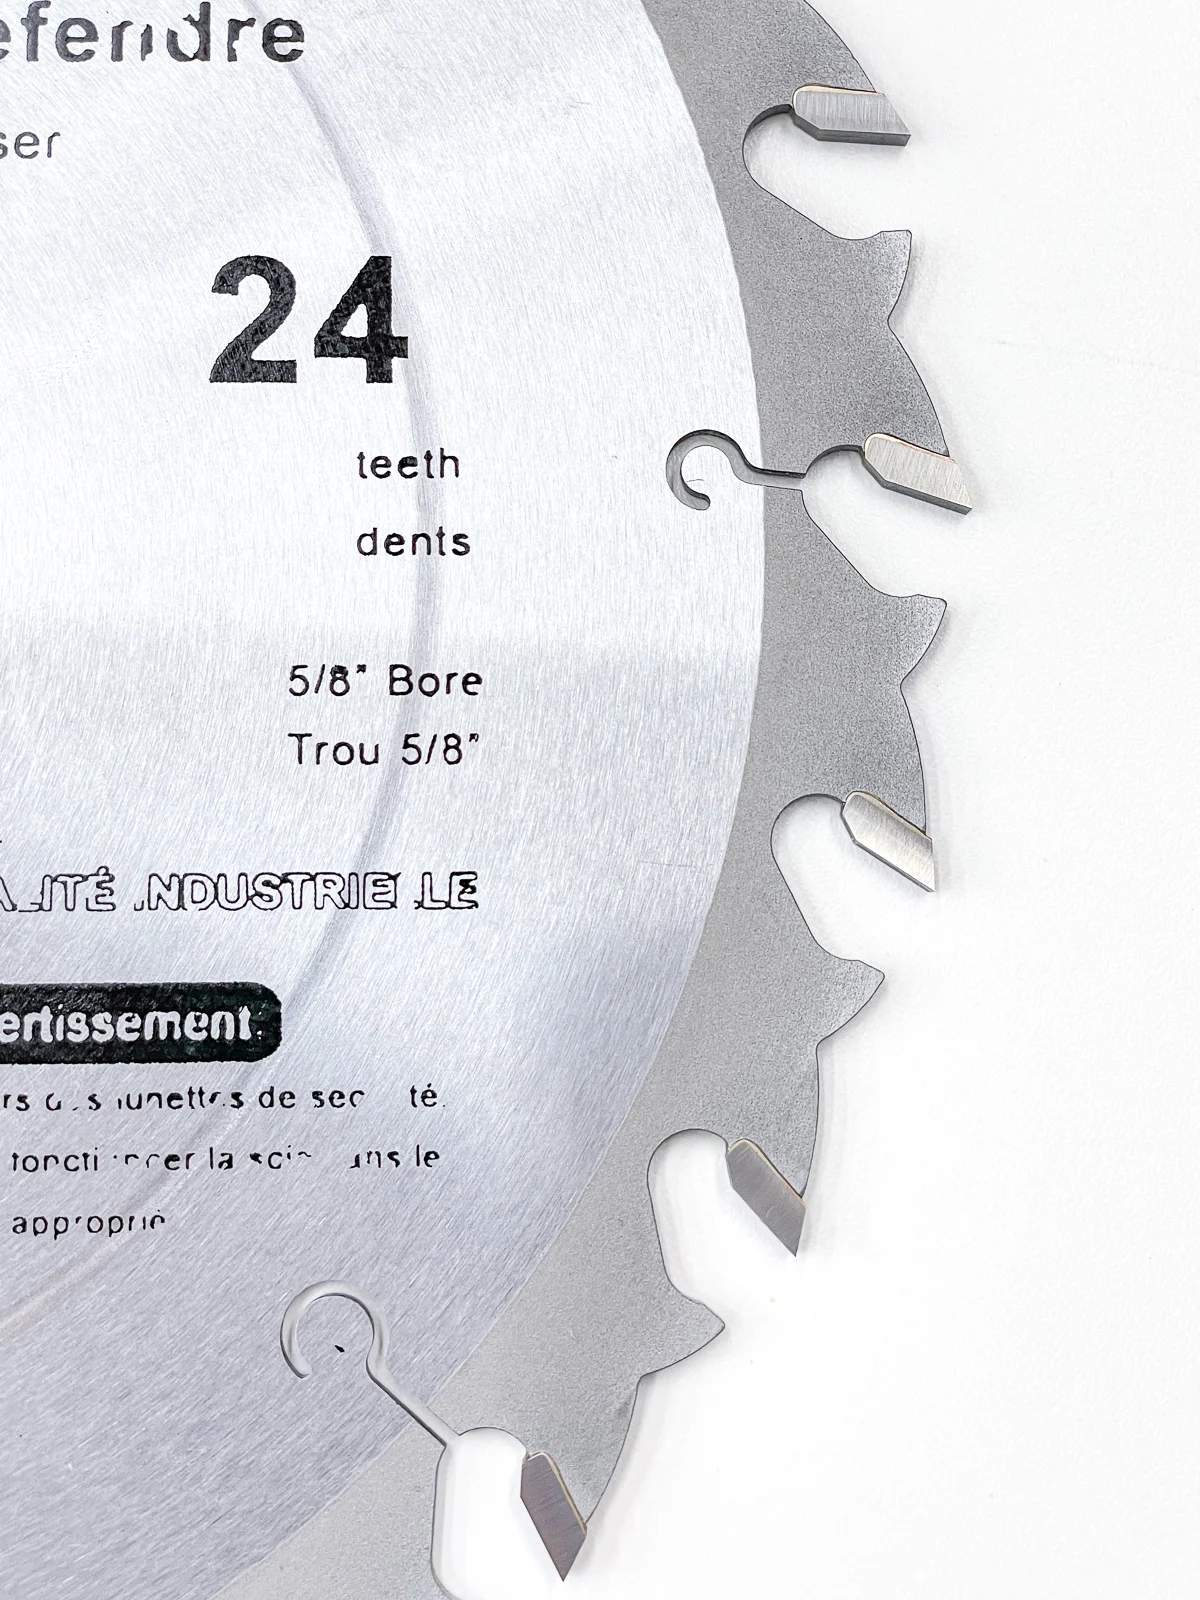
Once you learn how to clean saw blades, you'll be surprised by the increased cutting power and reduced tear-out. Also, I'll give you some tips and tricks to tackling this task safely to avoid cutting yourself or exposing your family to harsh chemicals.
Let's get cleaning!
This post contains affiliate links for your convenience. Purchases made through these links may earn me a small commission at no additional cost to you. Please visit my disclosures page for more information.
Supplies needed to clean saw blades
To start, let's discuss the tools you'll need. You'll probably have most of these somewhere in your house!
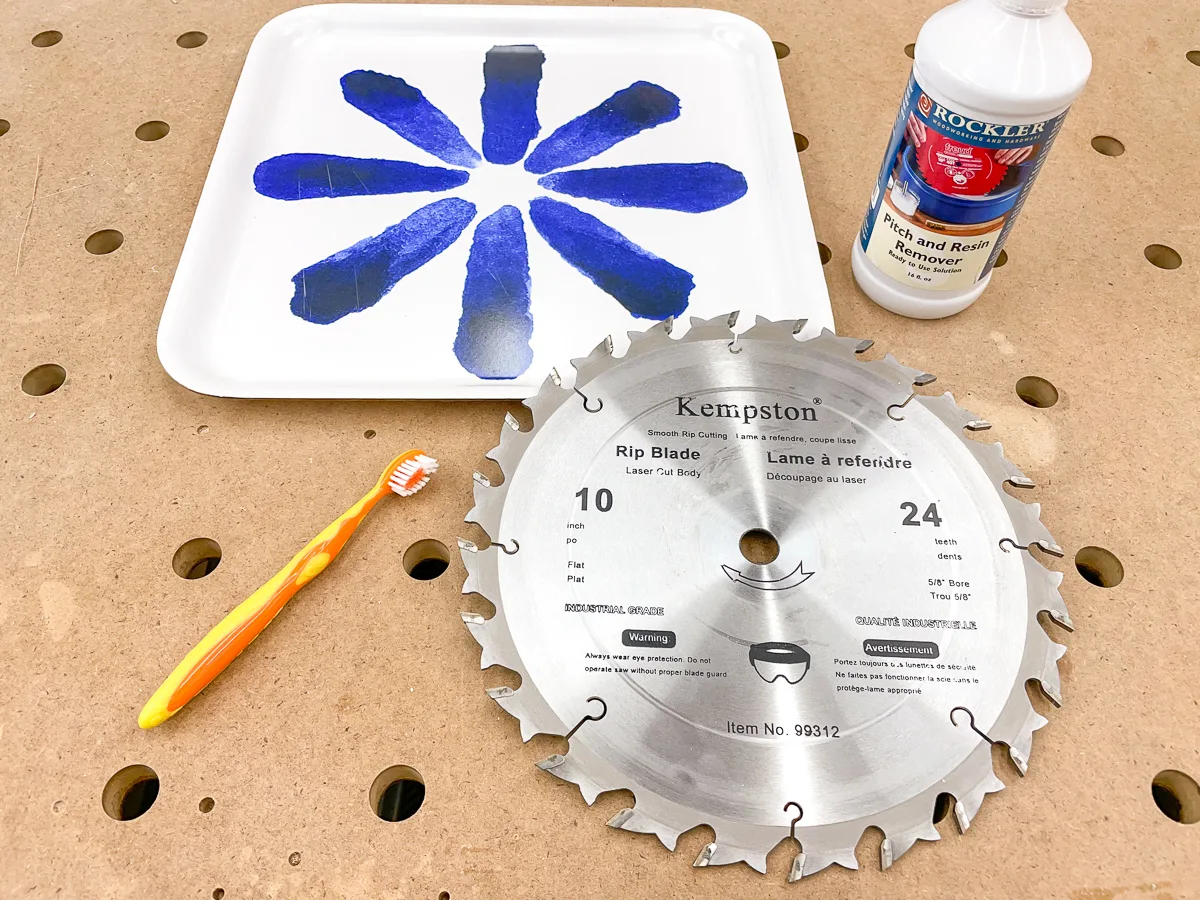
- Toothbrush
- Shallow container that will fit the blade
- Stiff bristle brush
- Blade cleaner
Best brushes for cleaning saw blades
Toothbrush
A toothbrush is perfect for cleaning saw blades because it's stiff enough to remove gunk, but it's not abrasive to the point that it scratches or damages any coatings.
We all have an old toothbrush lying around. However, if you're cleaning a lot of saw blades, you might consider buying a pack of them, so you always have one ready.
Tip: Consider trimming the bristles with scissors, making them stouter and harder to bend out of shape. I have a few toddler sized toothbrushes left over from when my son was little that I keep in the workshop just for this purpose!
Hard bristle brushes
Along with the toothbrush, you may also need a stiffer wire brush if you have a really dirty blade. This pack has steel, brass and nylon brushes to cover all your needs!
A steel bristle brush is fine to use on plain steel saw blades. However, if you're cleaning a Teflon-coated blade, steel might be too abrasive.
Instead, you can try a brass brush instead. This will still have a high level of stiffness; it just won't be as damaging to the carbide tipped teeth. You can also opt for a nylon brush that can remove tough grime without scratching the finish.
Best containers for cleaning saw blades
You need a shallow container that can submerge the entire saw blade, as well as some water and the cleaning solution. It doesn't have to be very deep, but it should be wide enough for the blade to sit flat inside. Here are some ideas:
- Five gallon bucket. Some people choose to use a five gallon bucket to soak multiple blades at a time - especially if you have a wide variety of circular saw blades and table saw blades.
- Five gallon bucket lid. You can use just the lid of the five-gallon bucket for cleaning one saw blade at a time-it's cheap and the perfect size. Also, the center of these lids usually has a small indent. This indent lets you remove the blade by lifting from the center to prevent cutting your hands on the sharp teeth.
- Baking sheet. An old baking sheet or disposable aluminum pan is another popular option. The pan gives you enough room to flip the blade over and clean both sides while keeping the liquid contained.
- Collapsible cleaning tray. There are cleaning trays made specifically for saw blades! They're made of silicone and collapse flat for easy storage in your workshop.
Best cleaning products for saw blades
You don't necessarily need a speciality cleaner for this process. Most likely, you have a few of these options under the kitchen sink or on the laundry room shelf!
- Bit and blade cleaner. Products like this are specially formulated for woodworking tools. It's a non-toxic citrus cleaner that provides rust and corrosion protection as well. It comes in a spray bottle, so it's easy to apply to hand saws and router bits without having to soak them.
- Simple Green. This standard household cleaner also works for cleaning saw blades. The nice thing about Simple Green - you don't need to worry about wearing gloves. It's friendly to the environment and doesn't have any dangerous fumes.
- Laundry Detergent. Laundry detergent is the secret weapon of saw blade cleaners. Just dilute the detergent with some water, let the blades soak, and give the teeth a quick scrub! Detergent has powerful grease busters, so it works on tough resins. Make sure to spray the blade with rust inhibitors afterwards to protect the metal.
There are mixed thoughts about oven cleaners. Some say you should avoid it, as the lye will begin to erode the welds on the teeth. However, others state they've been using it forever with no problems! Personally, I don't want a saw tooth to come flying off while I'm working, so I'll stick with more gentle cleaning products that work just as well.
How to clean a saw blade in 8 easy steps
The blade in my table saw has been due for a cleaning for a long time. I've been busy building my kitchen cabinets out of prefinished plywood, and glue and finish have built up on the teeth. I'm noticing some less-than-perfect cut edges lately, so it's time for a scrub!
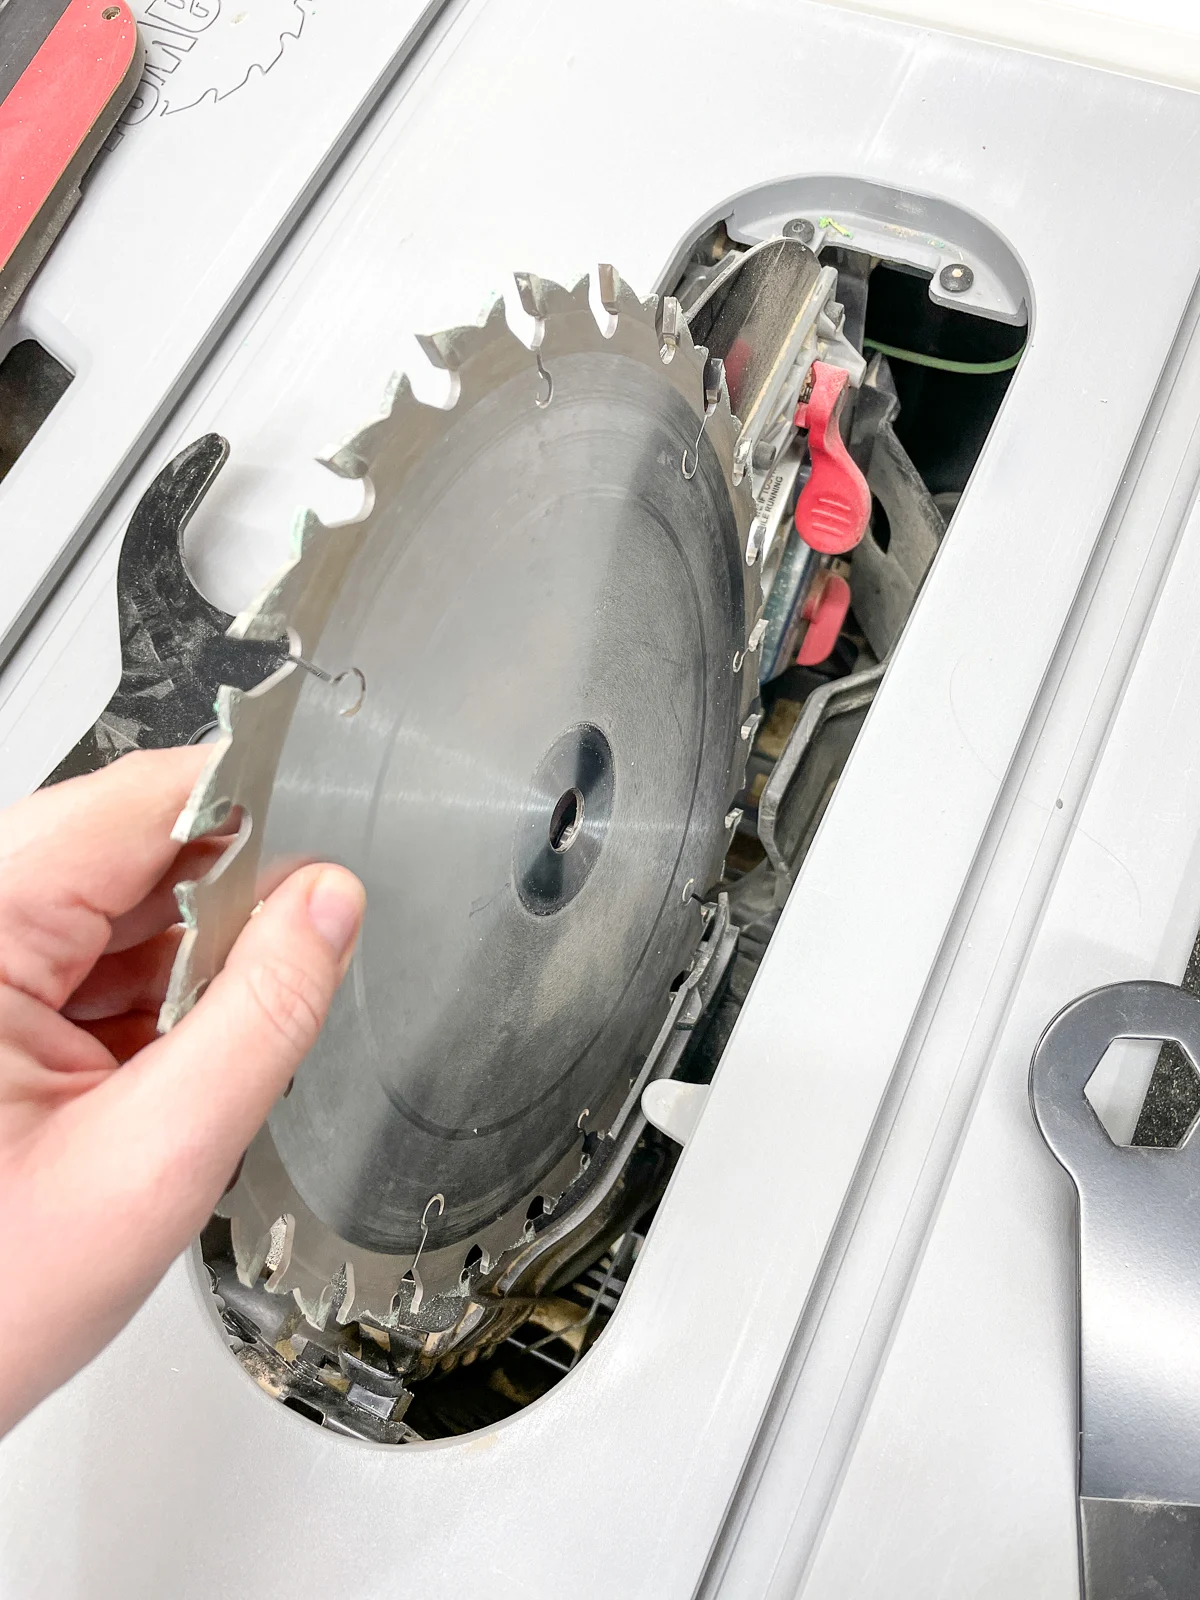
In case you're wondering, this is a flat tooth blade that I've had in my table saw for at least a year now. It cuts really clean dados and grooves with a flat bottom, as well as regular rip cuts. Most of the dados I cut are for ¼" plywood, and two passes with this blade creates the perfect fit!
Make sure to ALWAYS unplug your saw before removing the blade. You don't want to accidentally turn it on while you're working on it!
Before you start, it's always wise to refer to the saw blade manufacturer's website for specifics about cleaning. There's a chance some blades will require distinct care. However, for the most part, cleaning a saw blade is straightforward. Here's how to do it!
Remove any obvious contamination
Before you soak the blade, try to remove any obvious debris. There's no reason to have a chunk of sawdust or clump of glue floating around in the cleaning solution when you can easily brush it off beforehand.
See that green stuff? That's what happens when your Grripper push block goes too close to the blade. I was cutting narrow strips for my cabinet doors, and I wasn't paying attention to where the grippy stuff on the push block was. At least it wasn't my hand!
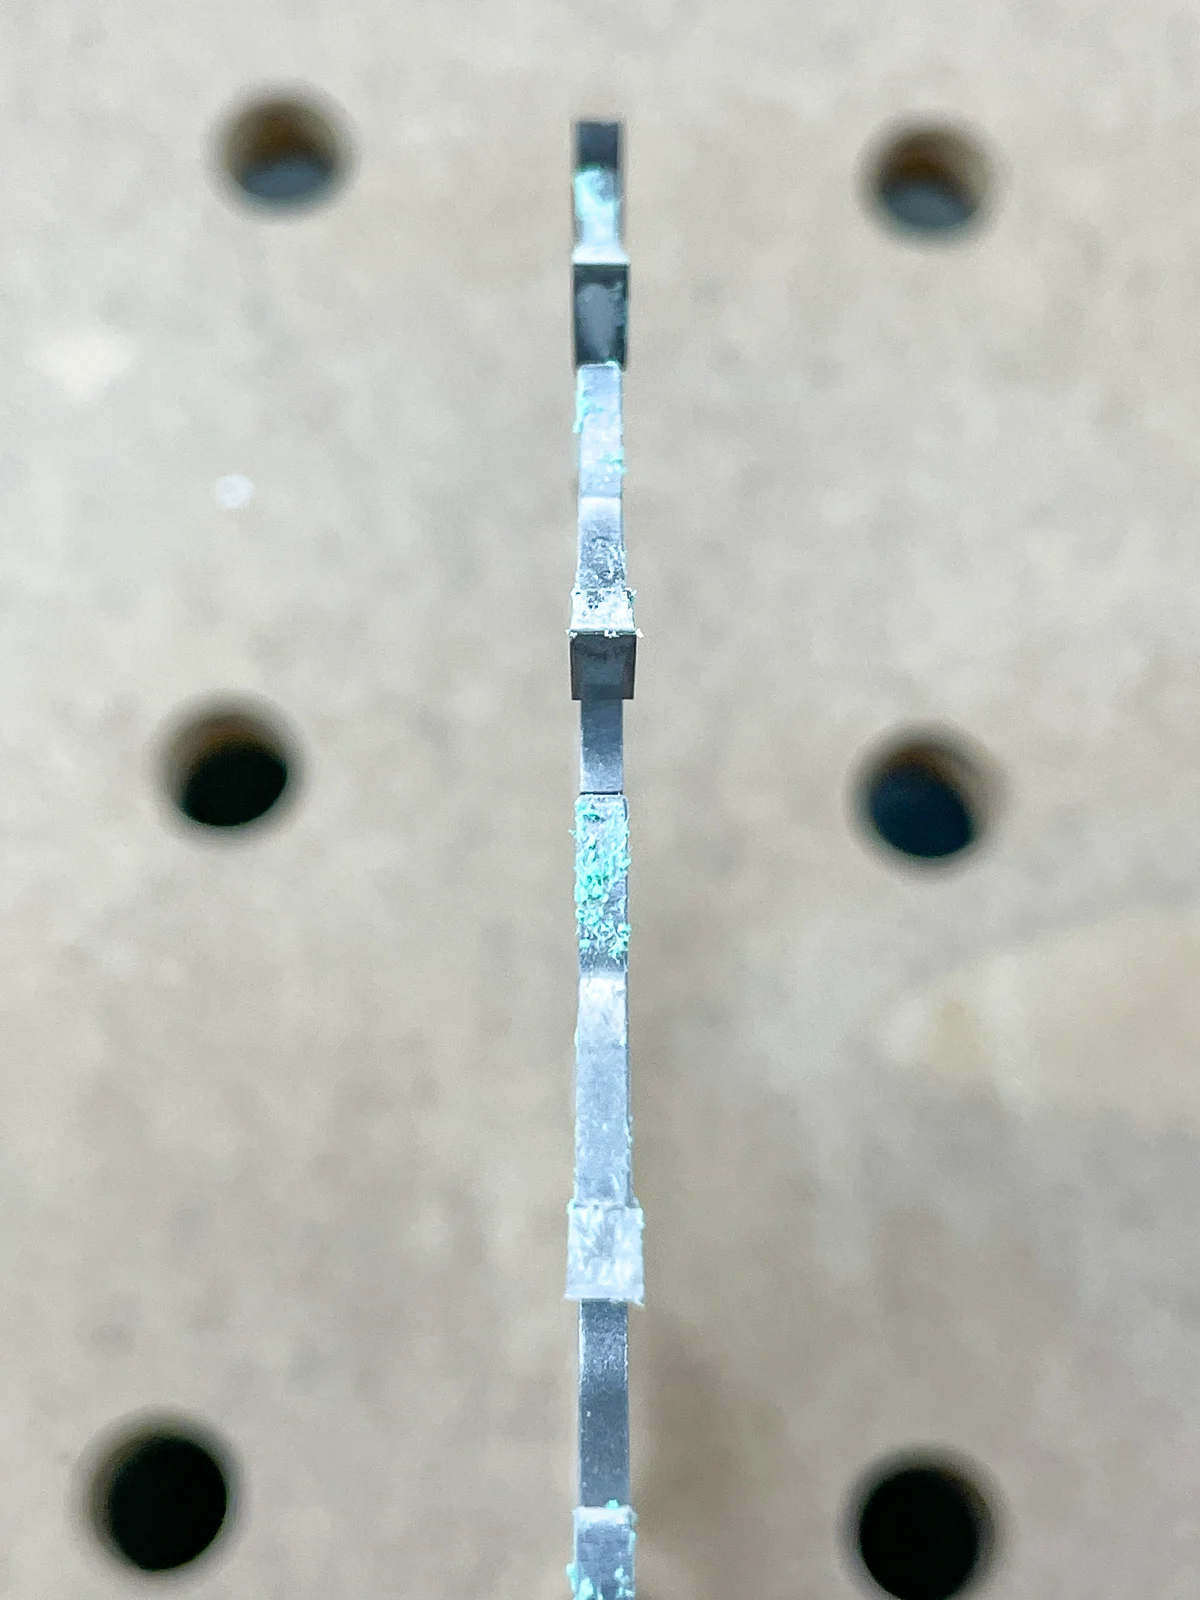
You can carefully wipe off the larger bits with a cloth, or blow it away with an air compressor. While you're at it, inspect each tooth of the blade carefully. If you notice any big chips or missing pieces, it's time to either get the blade professionally sharpened, or replace it entirely.
Prepare the cleaning solution
I had a bottle of Rockler's pitch and resin remover in my workshop cabinet that I used for this process. It's ready to use, so there's no need to add water.
If you're using a household cleaner, mix it with water to dilute the solution. Depending on the product (and how dirty your blade is), you might choose to use it full strength instead.
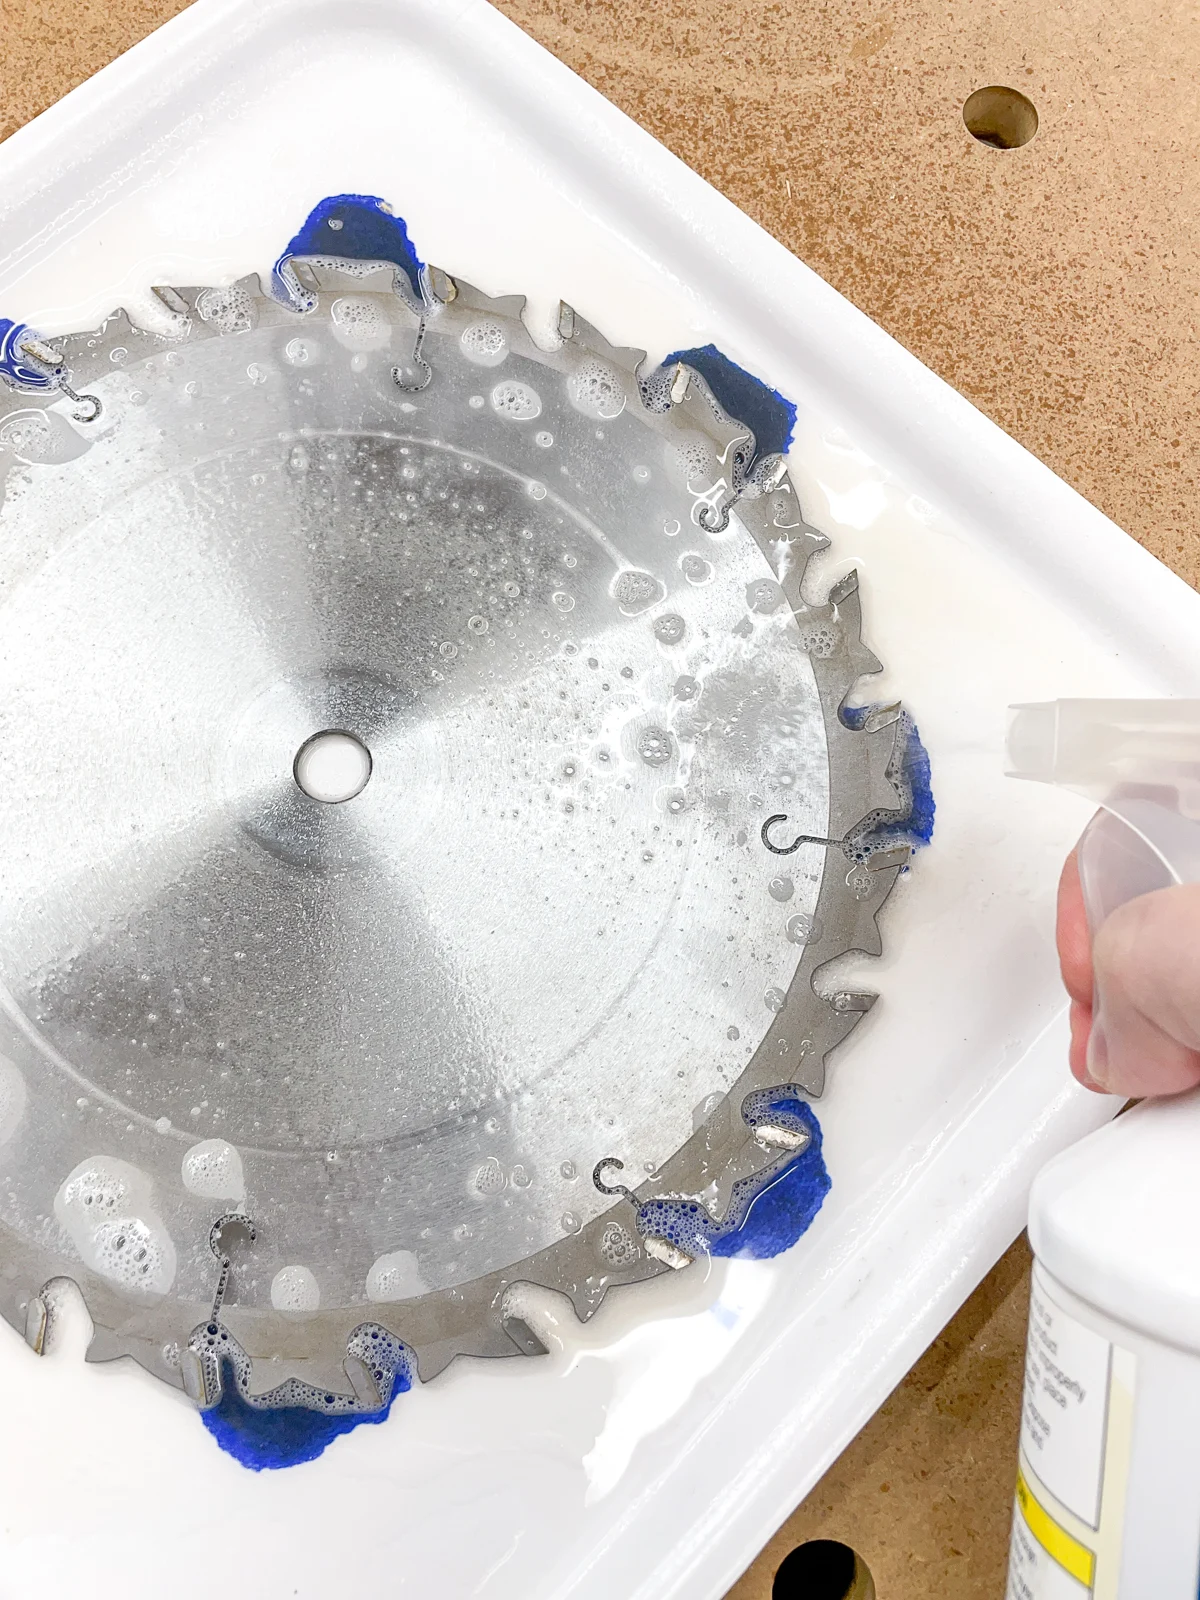
Give the underside of the blade a quick spray with the solution before laying it down in the tray. I rescued this old IKEA tray from our donation pile, and it fits a 10" table saw blade perfectly! Fill the tray with enough cleaner to cover the teeth.
Let the blade soak
How long should you let your blade soak? That depends on how dirty it is. About 5-10 minutes should be all it takes. If you begin scrubbing and the resin won't come off, let the blade soak longer (or try a different solution).
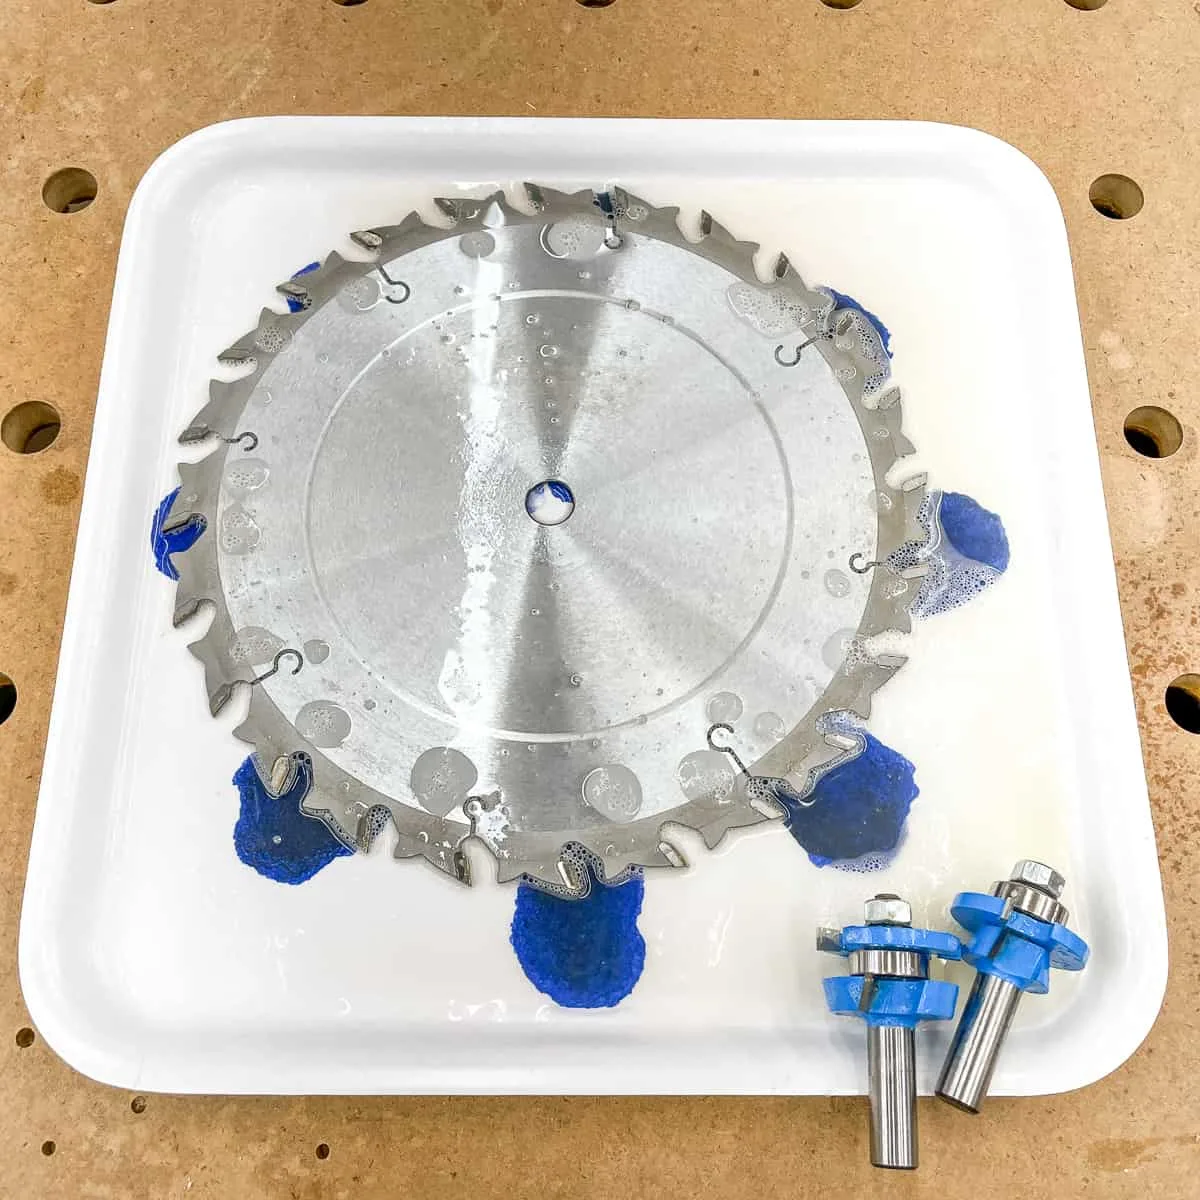
I sprayed my router bits at the same time, and let them soak in the corner of the tray. You could start to see yellow resin seeping out around the sides immediately!
Scrub the teeth
After allowing the blade to soak, begin scrubbing the teeth with your toothbrush. It's smart to scrub the teeth while the blade is still in the tray. It'll be slippery, and you don't want to drop the blade and cut yourself! Plus, the grime can easily float away in the cleaner, and you can dispose of the solution along with the dirt when you're done.
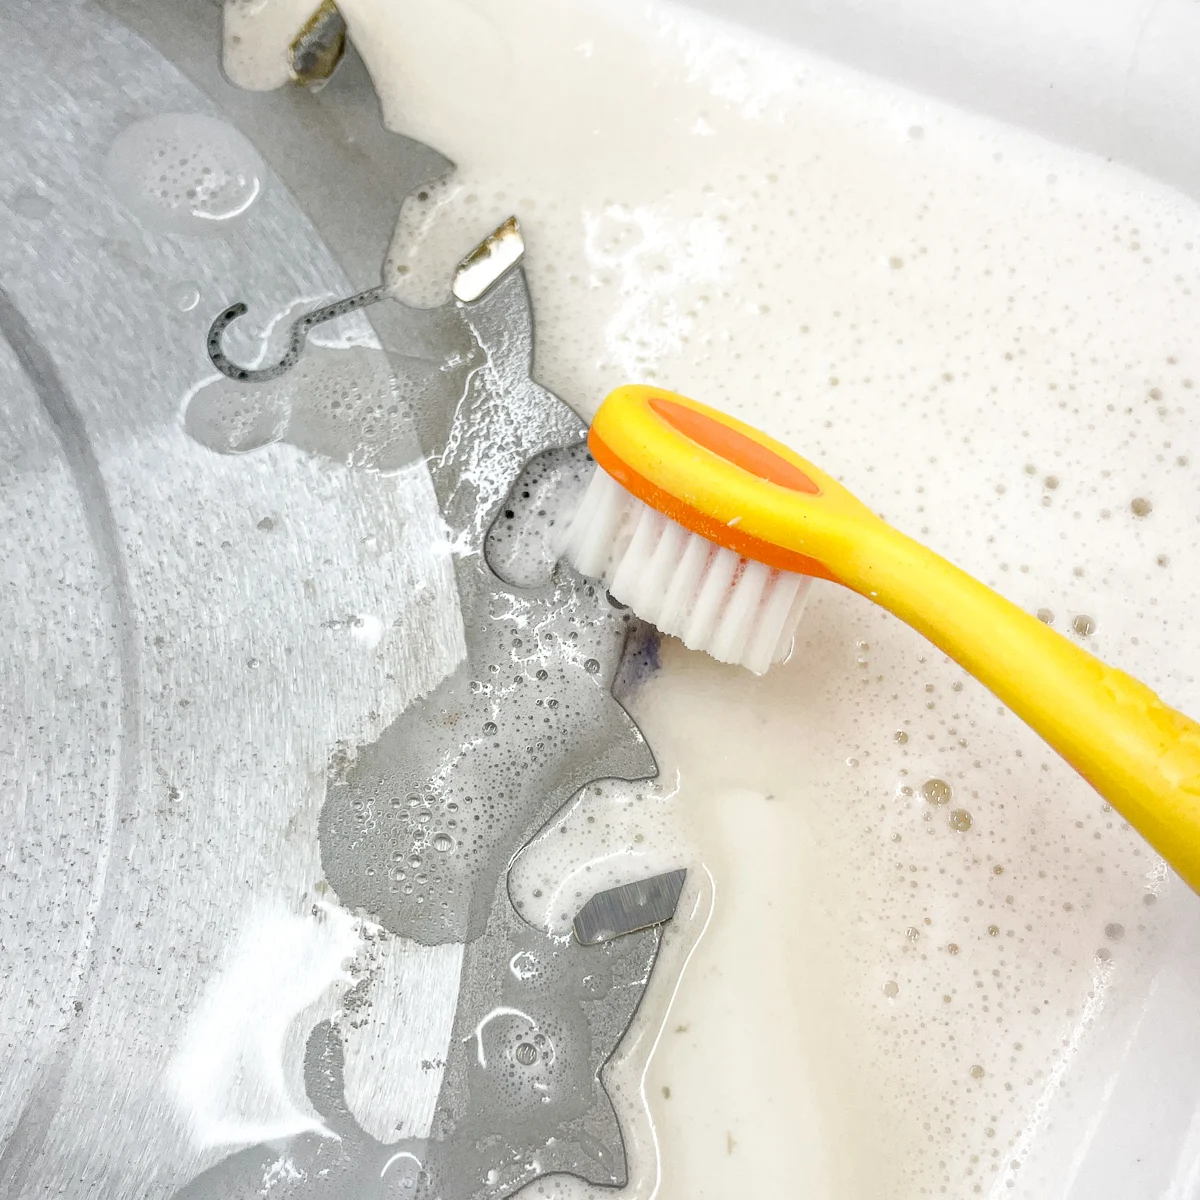
You can really see the difference a little scrubbing makes! The tooth at the top of the photo is covered in gunk, while the one at the bottom is sparkling clean. It only took a few seconds to remove all the grime.
Rinse off the cleaner
Give your blade a quick rinse with clean water before drying it off. Leaving the cleaner on the surface can lead to corrosion, so make sure it's all washed away before it dries.
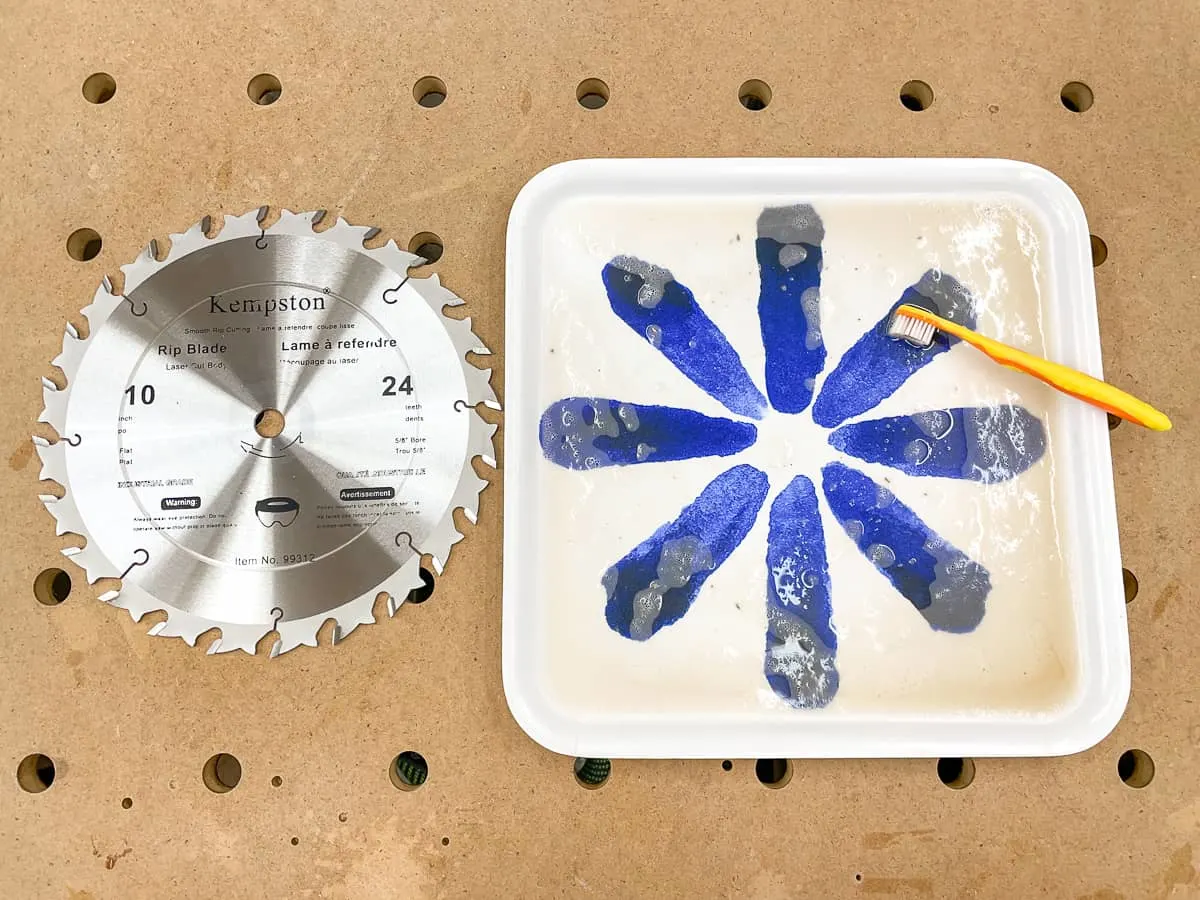
Just look at how dirty that cleaning solution is! You can reuse it on the rest of the blades and bits in your collection, then dump it all down the drain when you're done.
Dry the blade
After cleaning the blade, you'll want to dry it off quickly to prevent rust from forming. Just a quick pat from a towel, paper towels or microfiber cloth should do the trick! Make sure to rub with the cutting direction to avoid those sharp blades!
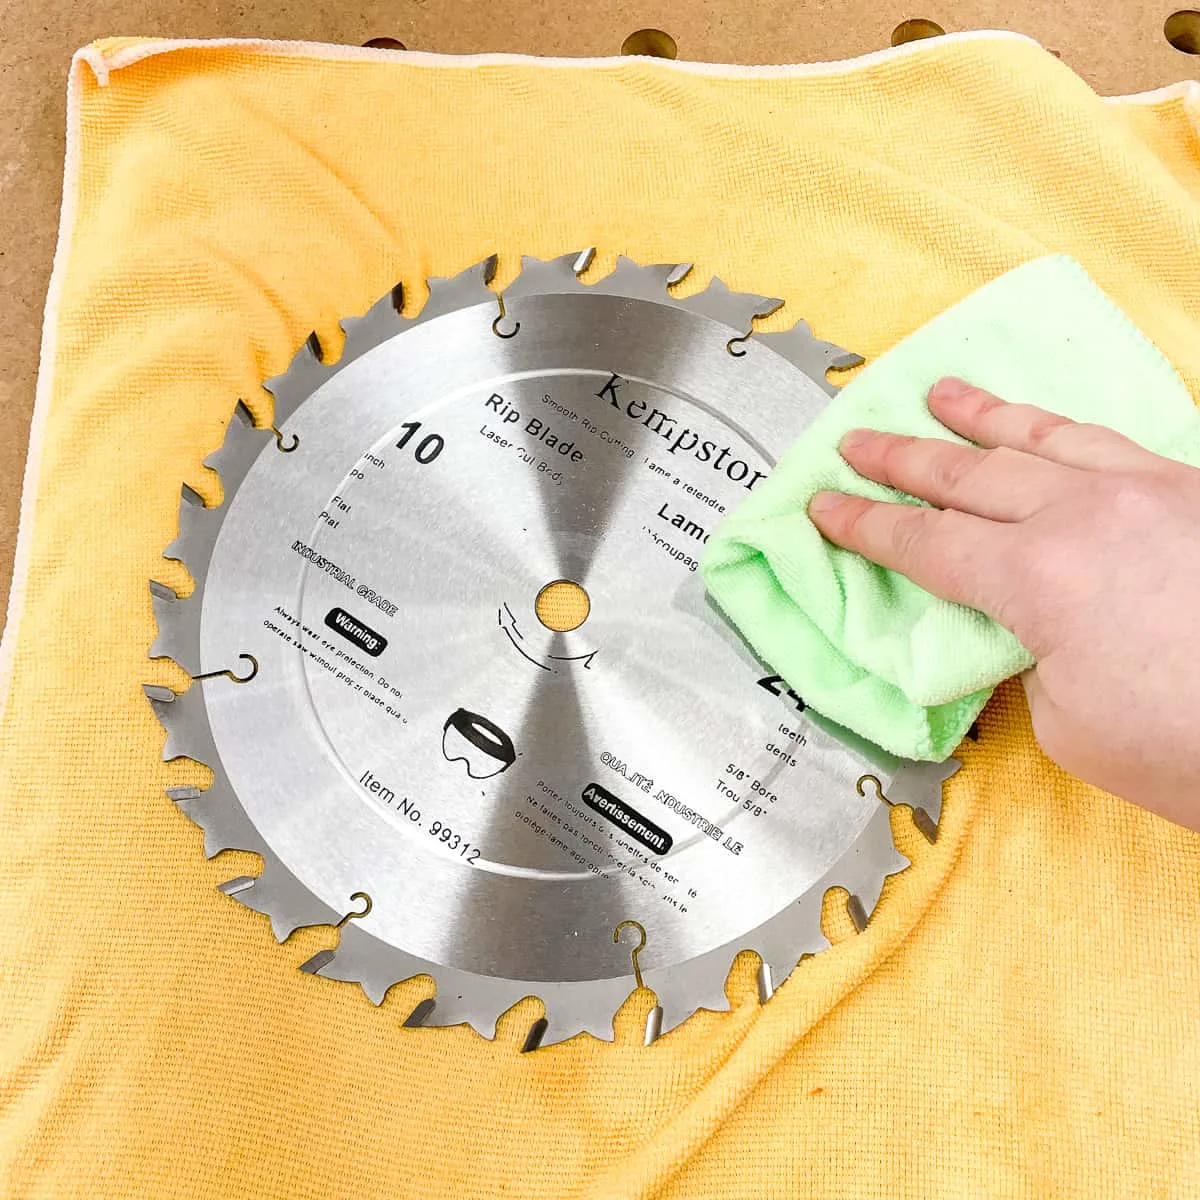
If you want to be more thorough, you could use an air compressor or a hair dryer to make sure all the moisture has been removed. This is especially important on router bits with bearings that could trap water.
Apply rust inhibitor
Some blade cleaning products, like the one I used, have built-in rust inhibitors. But if you're using traditional household cleaners, you'll want to apply a rust inhibitor to the metal surface. WD-40 makes a great corrosion inhibitor spray for this purpose, although the regular formula will do the same job.
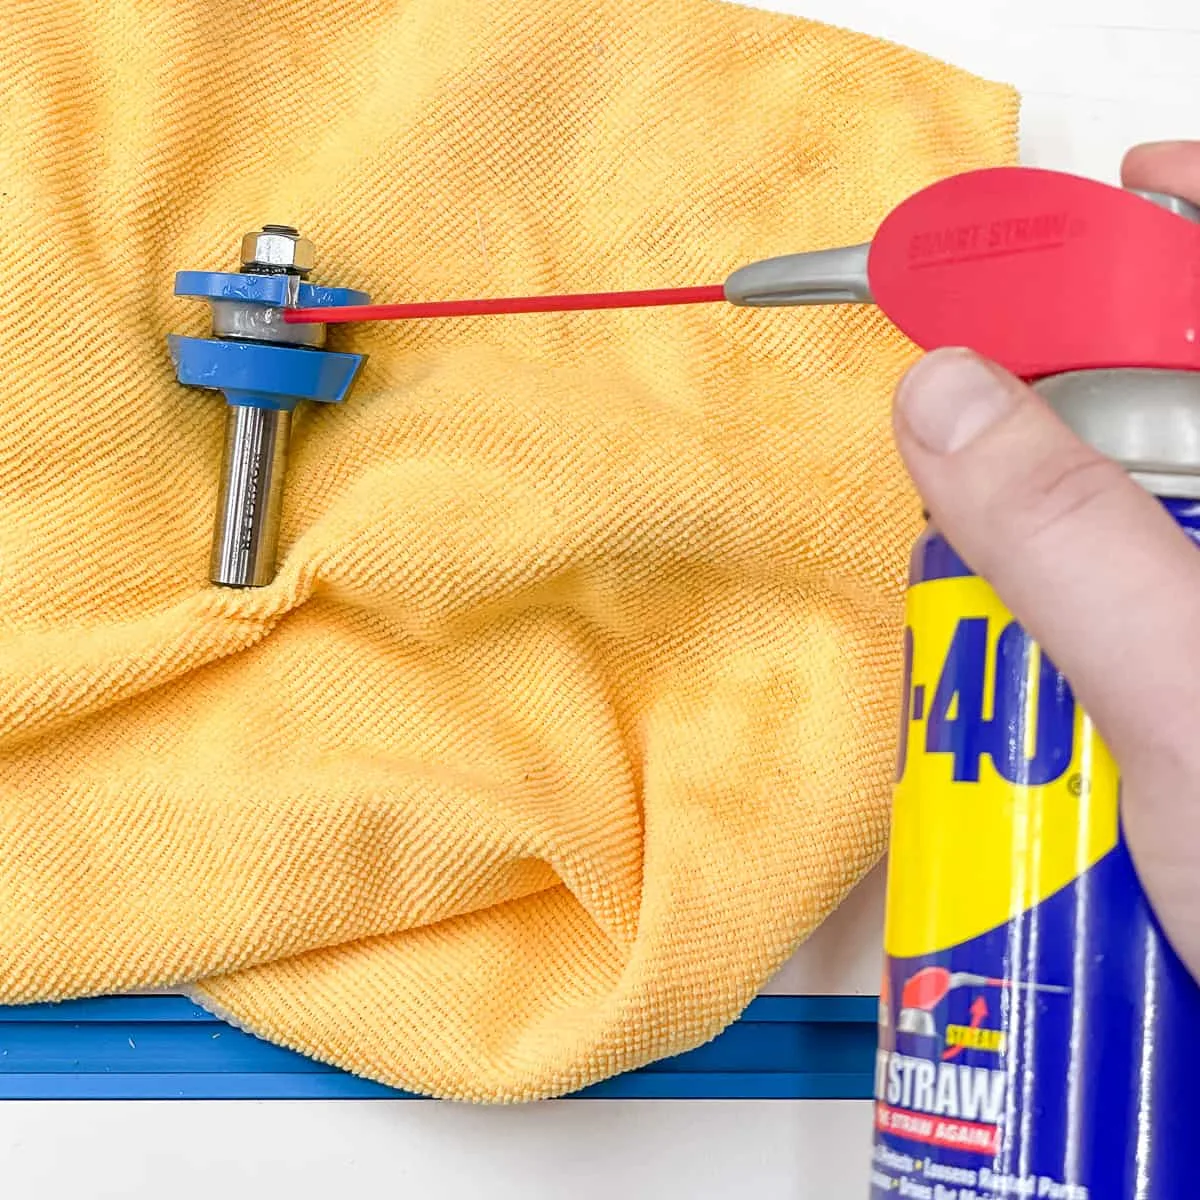
Just give all the metal surfaces a quick spray, then allow it to dry before putting the blade back on the saw.
Apply blade lubricant (optional)
When your blade was brand new, you might have noticed that there was a slippery substance on the teeth. This lubricant helps to prevent the resin build up you just washed away! Less friction also creates cleaner cuts with less burning, and prolongs the life of the blade between sharpenings.
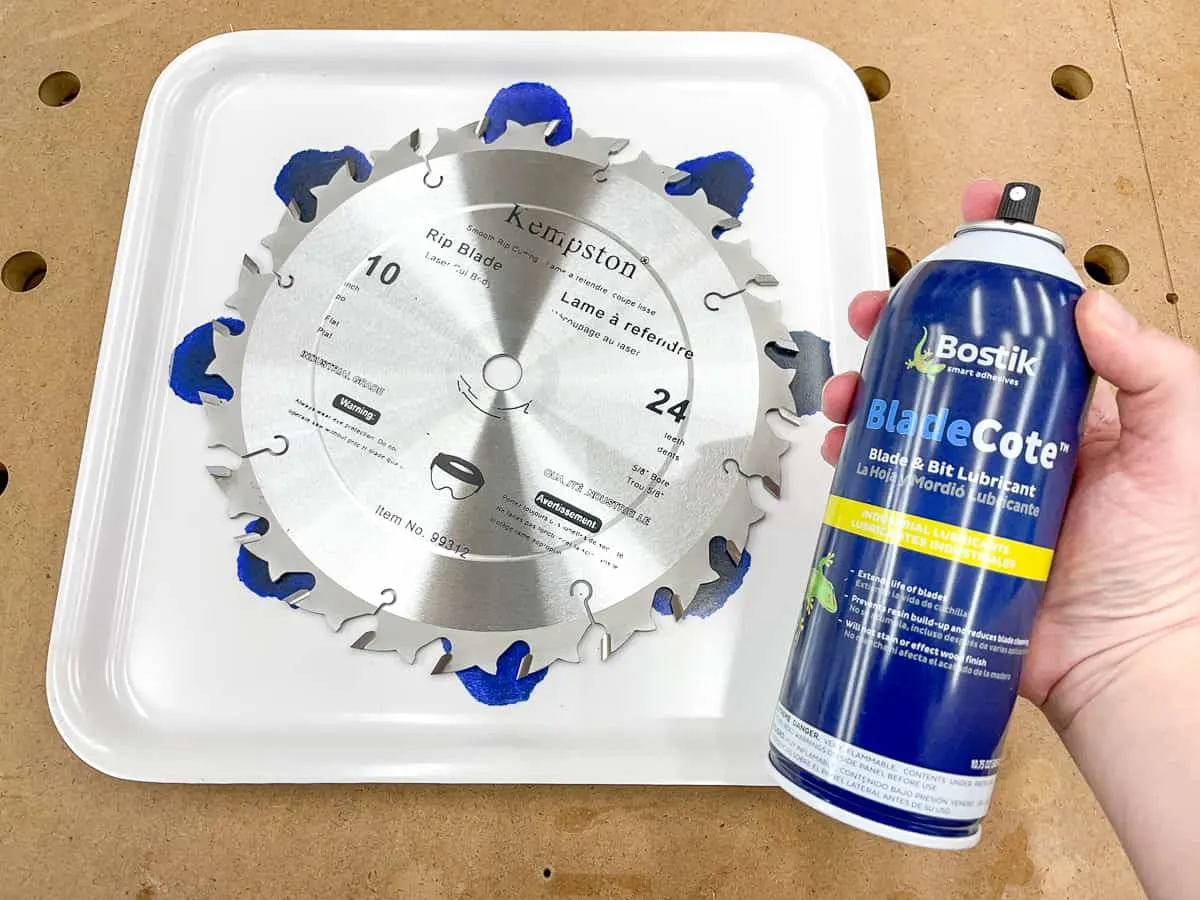
While this step is optional, it will give your blade that "fresh out of the package" feel again. Plus, you can go longer between cleanings, because less gunk will stick to your blade. If you hate taking your blade off the table saw like I do, you'll do anything to prolong the process!
Cleaning Different Types of Blades
Router bits
I've been using these rail and stile router bits to make all my kitchen cabinet doors, and I've been noticing a bit of burning on the edges of the wood. While the cleaner is already out on the workbench, I figured it was time to give these hard working bits a nice soak.
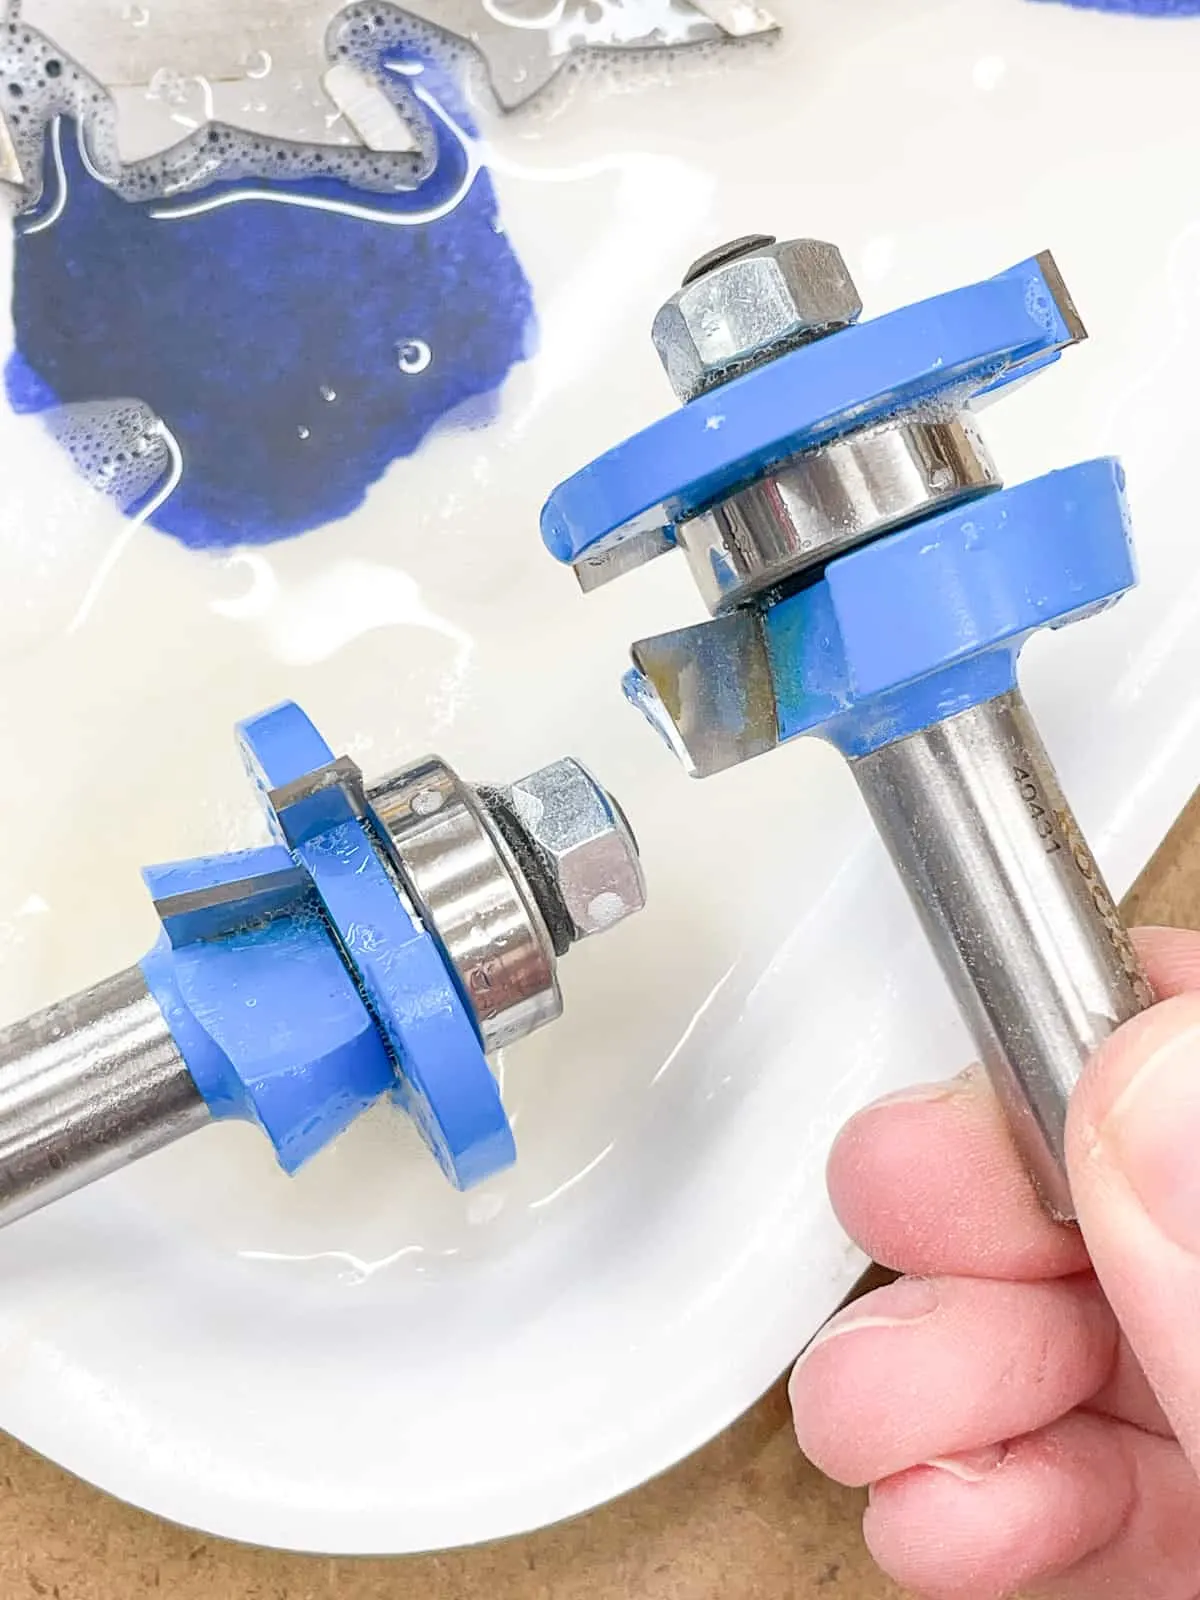
The process for cleaning router bits is the same as it is for saw blades, but you can use a plastic cup if you prefer. Just let them sit for about five minutes before scrubbing off the sticky residue.
It's especially important to dry and lubricate bits after cleaning to prevent rust from forming, and to keep the bearings moving smoothly. After the metal is dry, give it a quick spray with something like BladeCote to make them work like new!
Gardening saws and pruning tools
It's a little more difficult to soak blades with a wooden handle, like the pruning tools you use to trim tree branches. But it's important to keep gardening tools clean, so you don't introduce disease to your plants!
In general, you should follow the same rules as above. Sprays will be easier to control, followed up with a scrub of a toothbrush or brass brush.
It's especially important to apply rust inhibitor to gardening saw blades, since they'll have more contact with moisture outdoors.
Using the methods in this article, you can clean all the sharp objects in your workshop and garden shed! However, saw blades aren't the only thing you need to keep clean. Check out my other cleaning articles for more tips and tricks!

Col Rodrick
Sunday 13th of February 2022
Thanks for those tips. I just found your site, looking for some info on those hanger bolts. I hadn't ever seen that name while watching a John Heisz video just now. Maybe they have a different name here in Oz. Who knows? Anyway, I've never thought of cleaning saw blades on my table or circular saws, but of course it makes sense. And mine have had a lot of use. Including with heavy hardwood. They may also be blunt, but I am going to try to clean first, then sharpen if I can.
Thanks again. I found that useful.
Vineta Jackson
Sunday 13th of February 2022
Glad I could help!
Kathy
Saturday 5th of February 2022
Thank you for the great detailed info! Who knew!
Claudine Martin Nunez
Saturday 5th of February 2022
very helpful information for cleaning my saw blades. thank you.