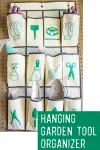
Are you always losing your hand tools, gloves, and other small gardening items? Hang this simple DIY garden tool organizer in your shed or garage for easy storage!
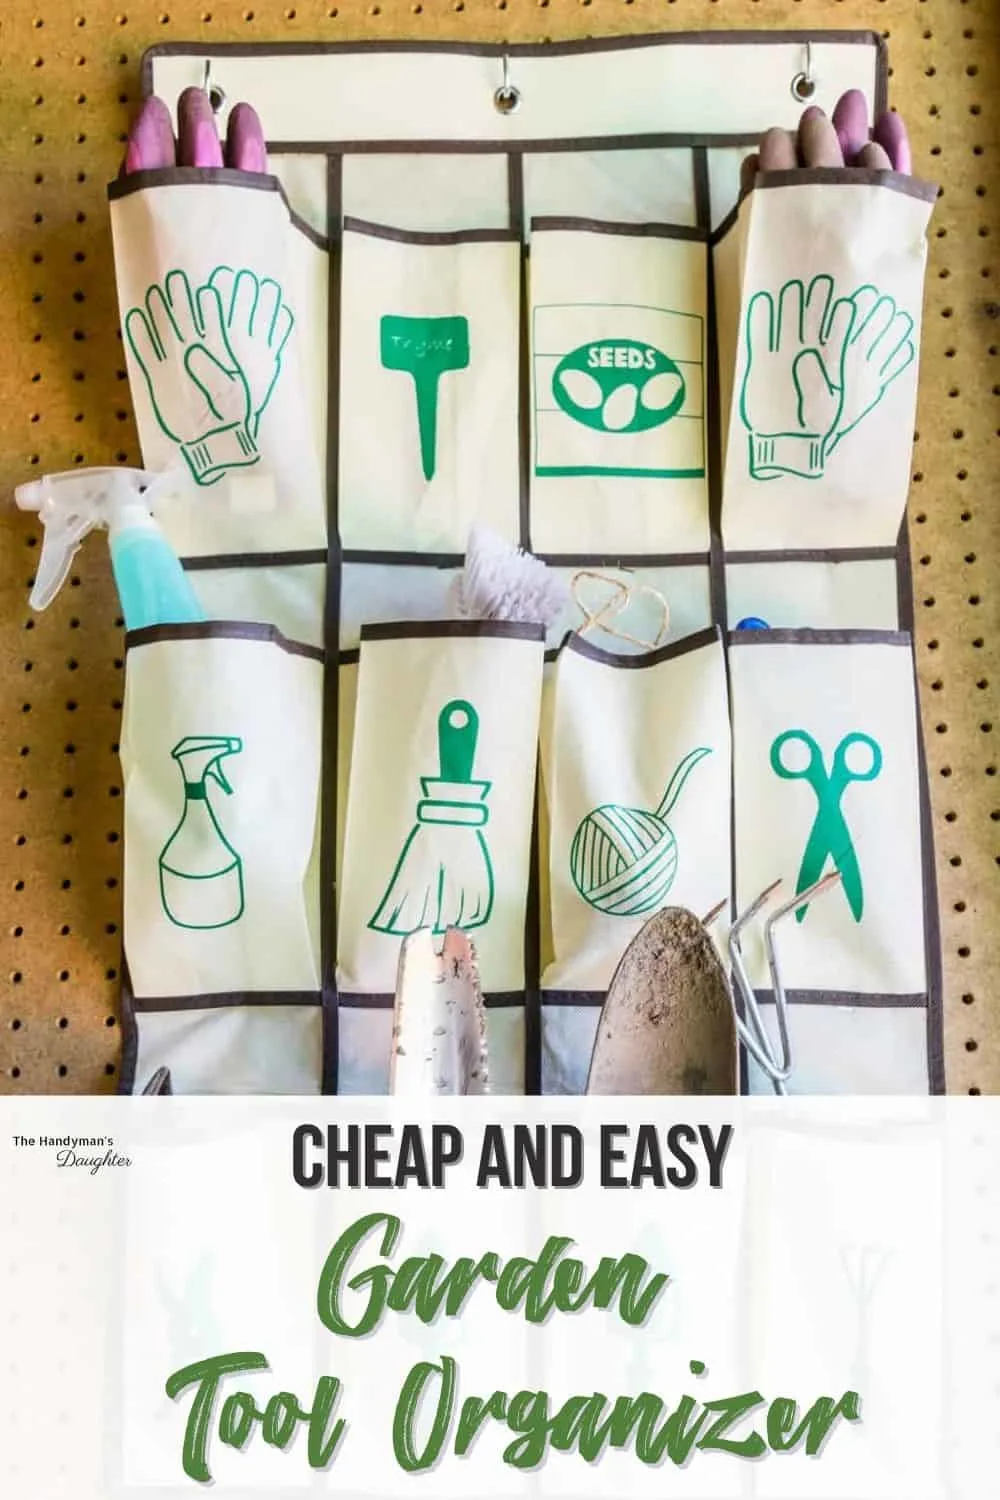
Small gardening tools like hand pruners and trowels can easily get lost and scattered in a large shed or garage. When you want to do a little pruning or dig up a stubborn weed, they're nowhere to be found!
I was always misplacing my gardening gloves or leaving my favorite hand spade out in the dirt where it would rust. With this simple hanging garden tool organizer, there's a place for everything and everything stays in place!
This post contains affiliate links for your convenience. Purchases made through these links may earn me a small commission at no additional cost to you. Please visit my disclosures page for more information.
We have two sheds in our backyard. One is a proper building where we store all our junk on these storage shelves, as well as the wall-mount bike rack I built to keep those wheels off the floor.
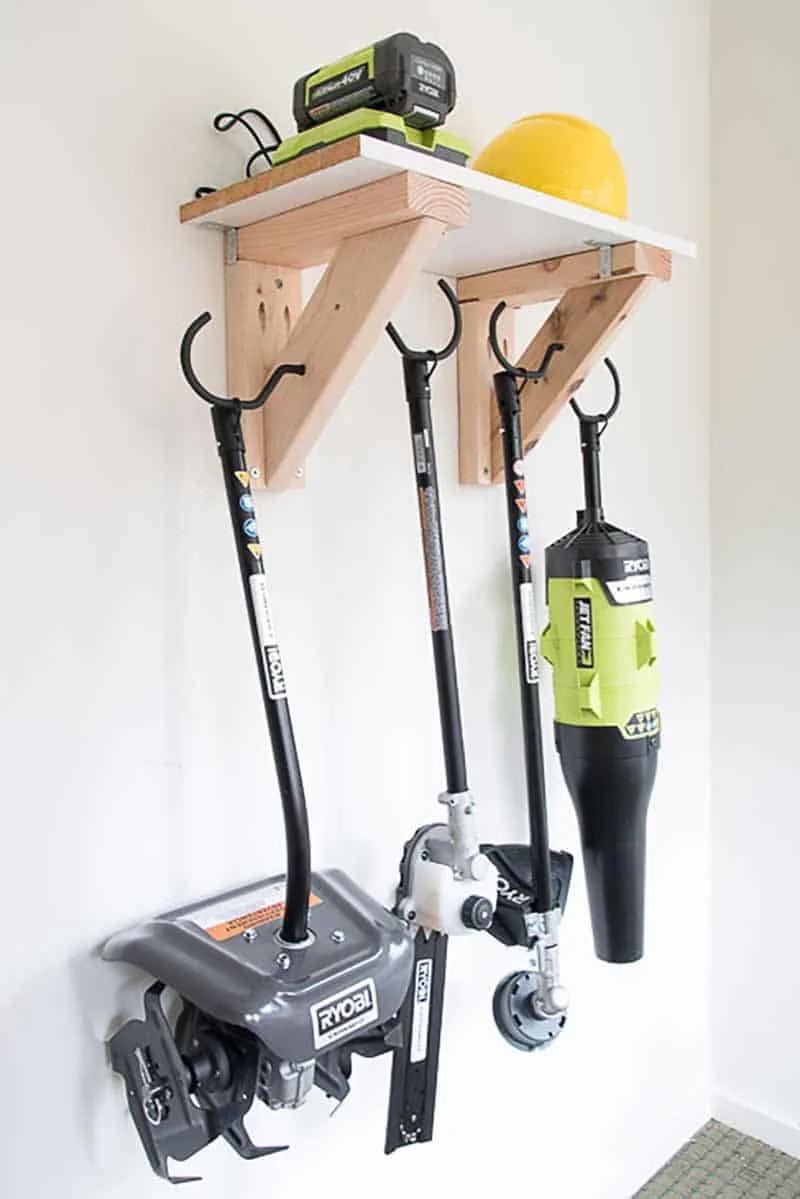
The bigger, battery operated landscaping tools are stored in this shed on a handy garden tool rack to keep them organized.
The garden shed is another story. It's become a catch-all for all the other gardening supplies. And toys. And other random junk that was supposed to go in the other shed but we forgot to bring out the key...
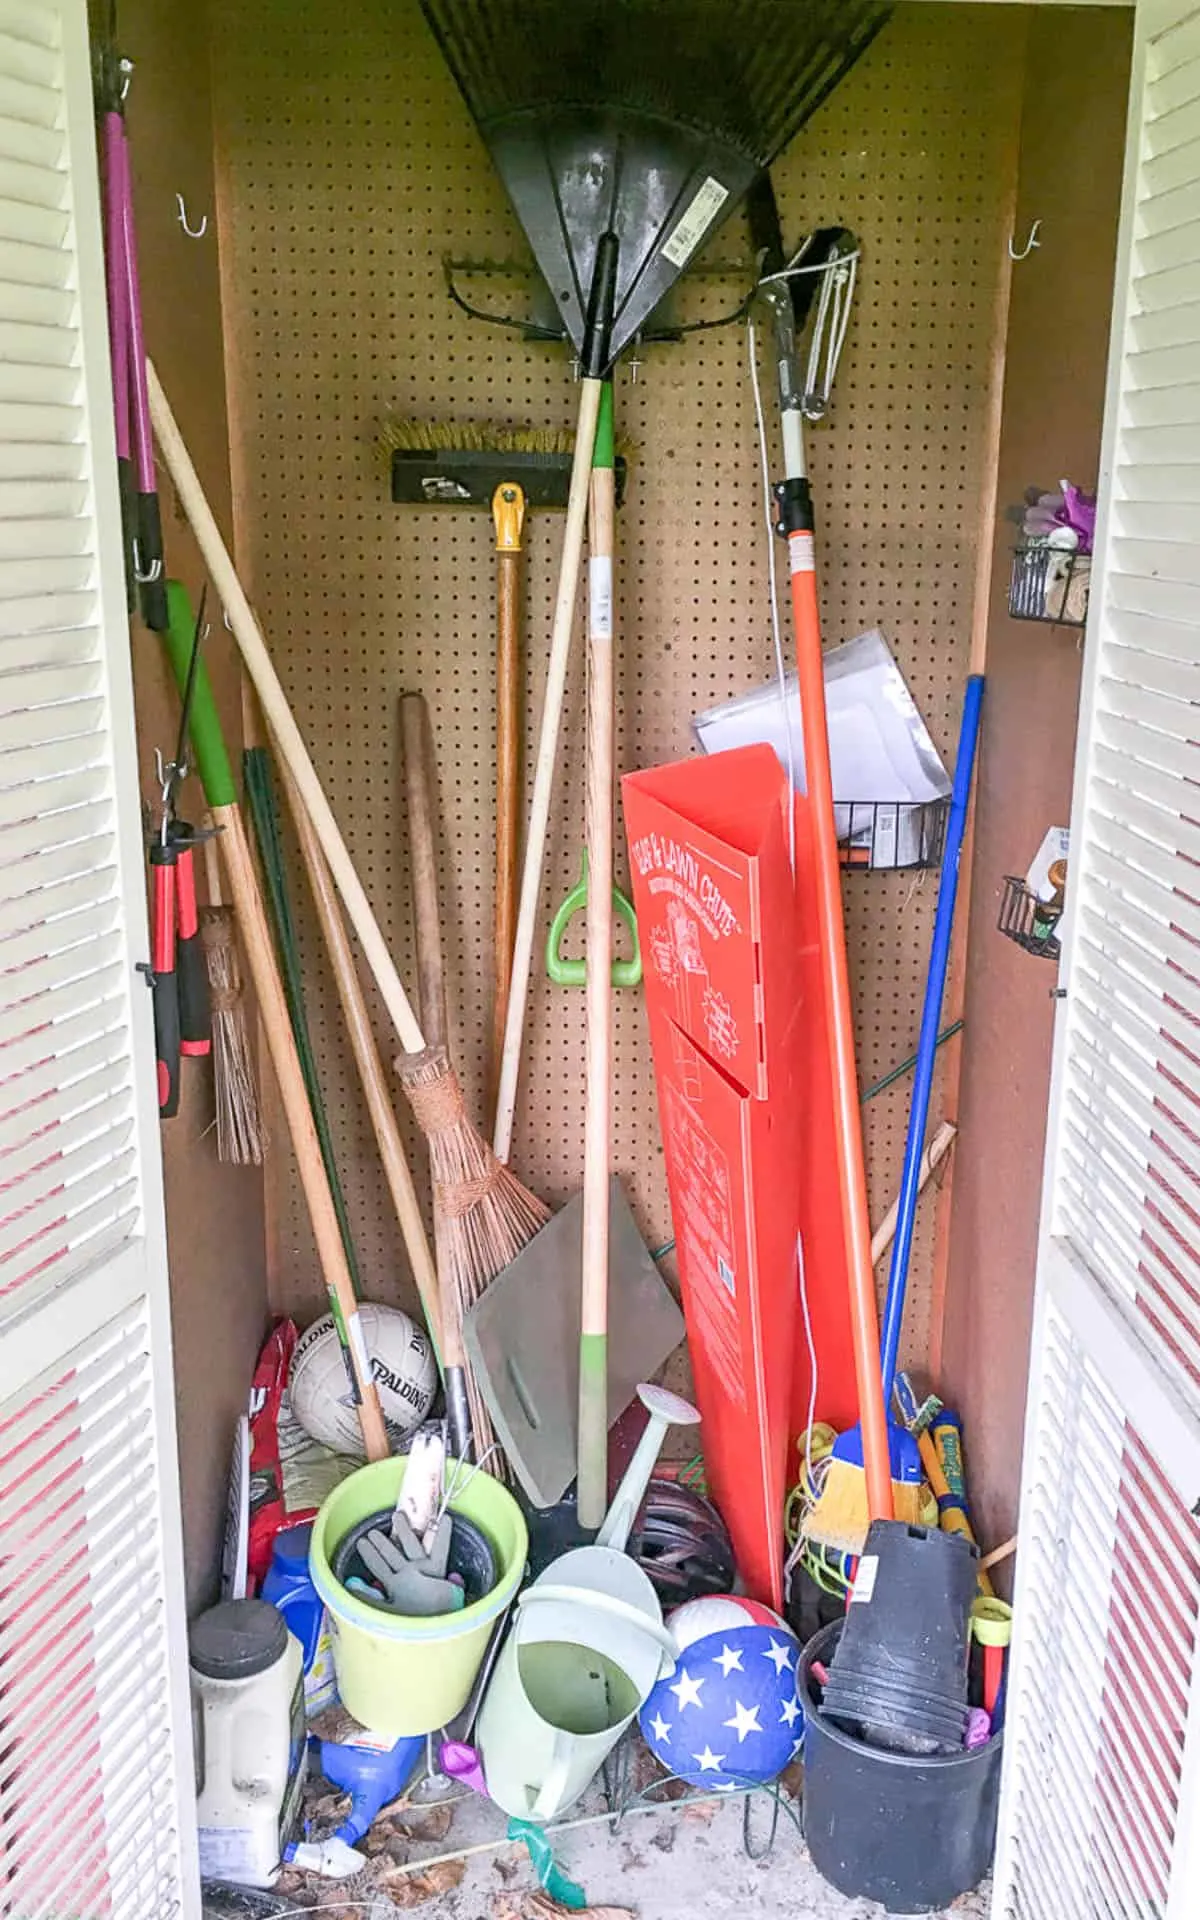
I decided to start with a clean slate. Toys were relocated to the outdoor storage bench where they belong. Hooks were reinstalled on the walls for rakes and shovels, and held firmly in place with these clips. But where do you put the smaller items?
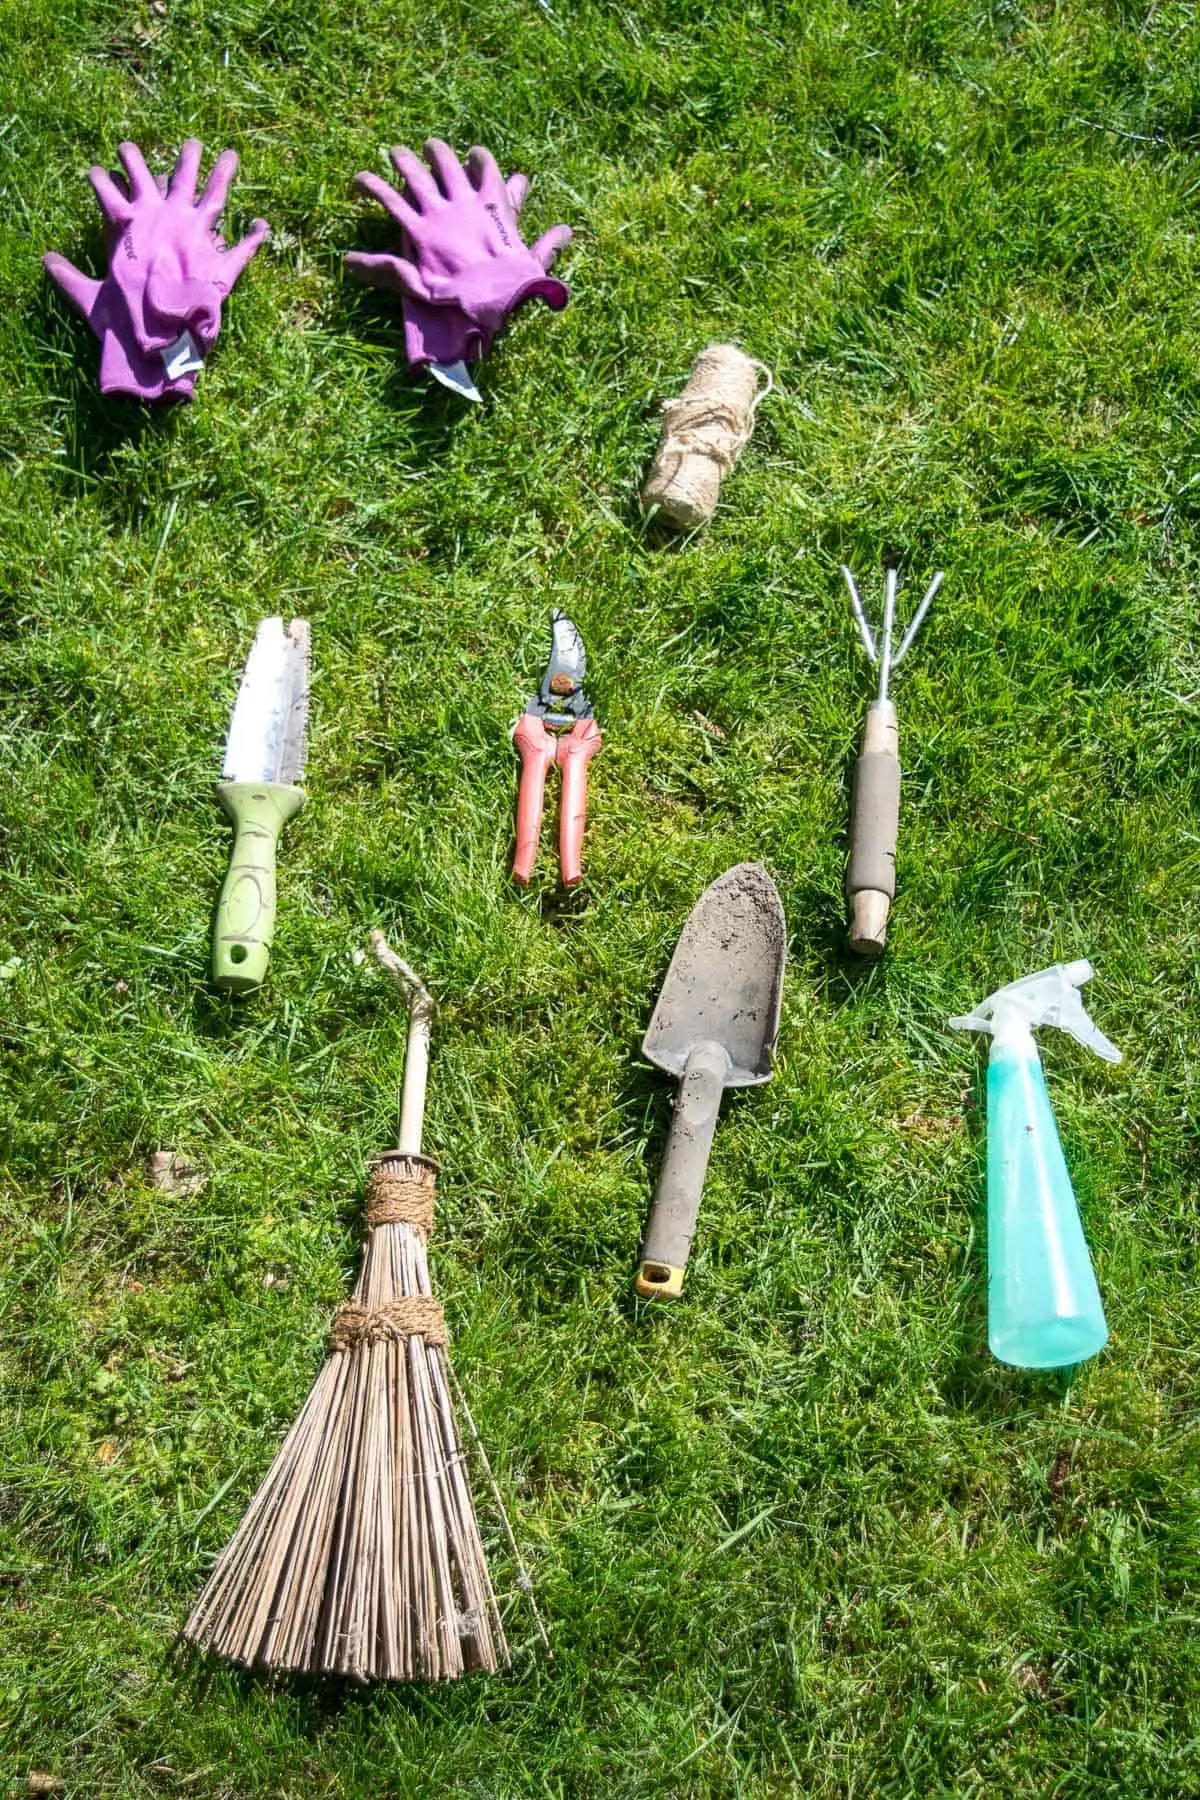
I was inspired by one of these clever garden tool storage ideas, but put my own spin on it with fun iron-on labels. You could always use permanent marker to label each pocket of the organizer, or skip this step altogether!
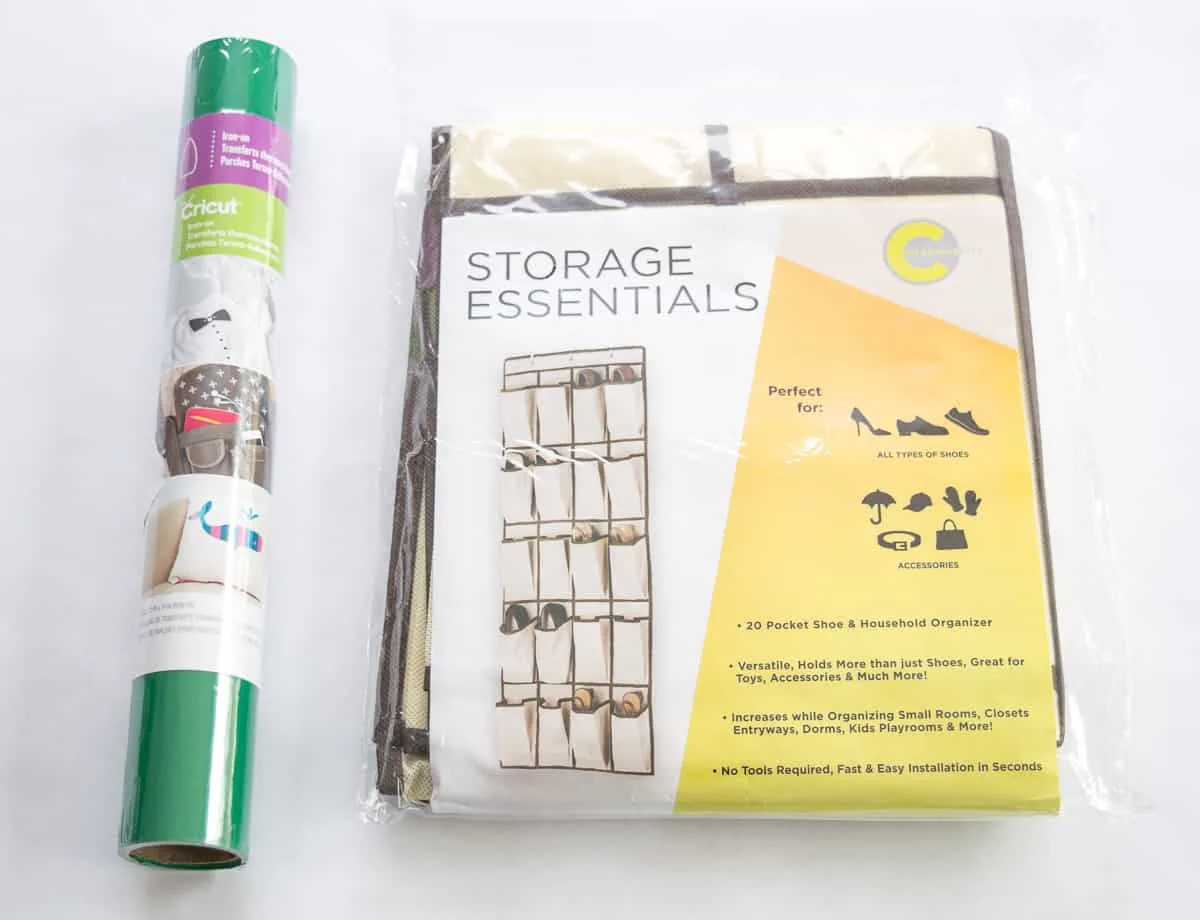
Materials needed for DIY garden tool organizer
- Fabric over-the-door shoe organizer
- Iron-on letters or vinyl
- Silhouette or Cricut machine (optional)
- Iron
How to Make a Hanging Garden Tool Organizer
Prepare the shoe organizer
These shoe organizers are great for storing all kinds of stuff. I chose the fabric version so I could attach iron-on vinyl designs, but you don't have to get that fancy. A clear vinyl organizer will allow you to see all your garden tools at a glance!
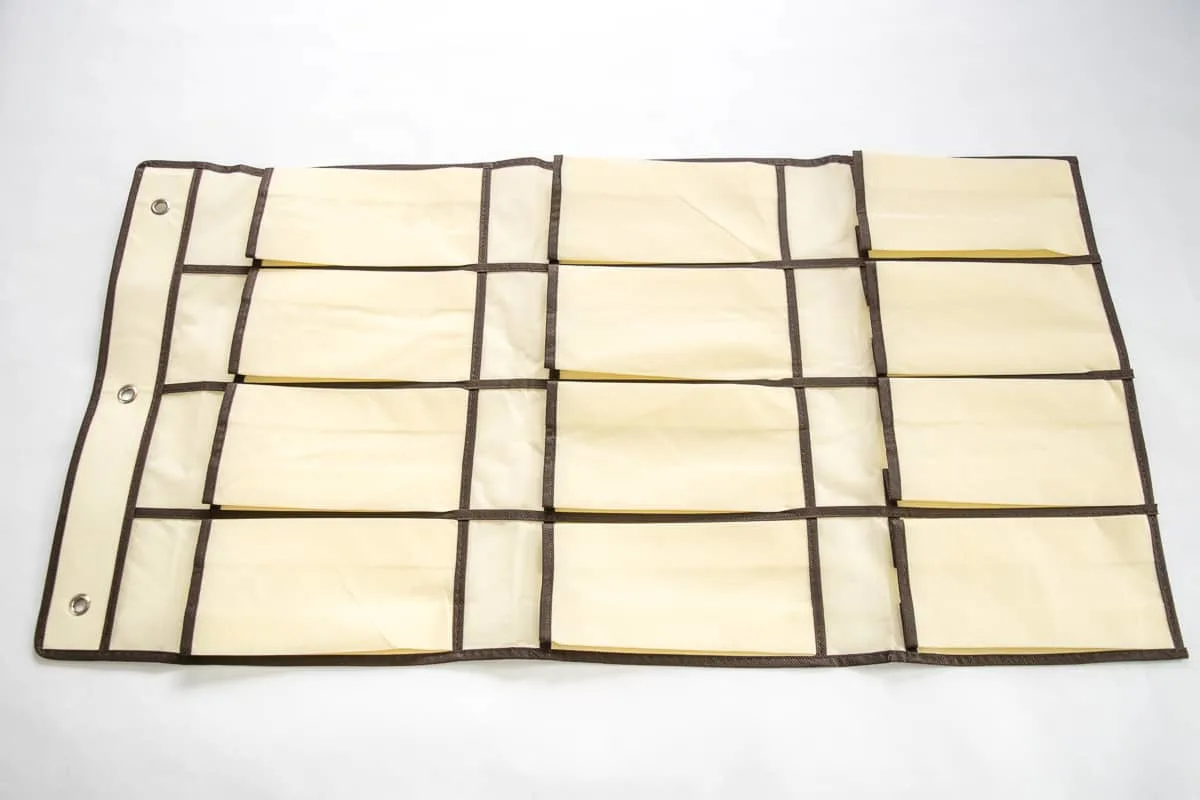
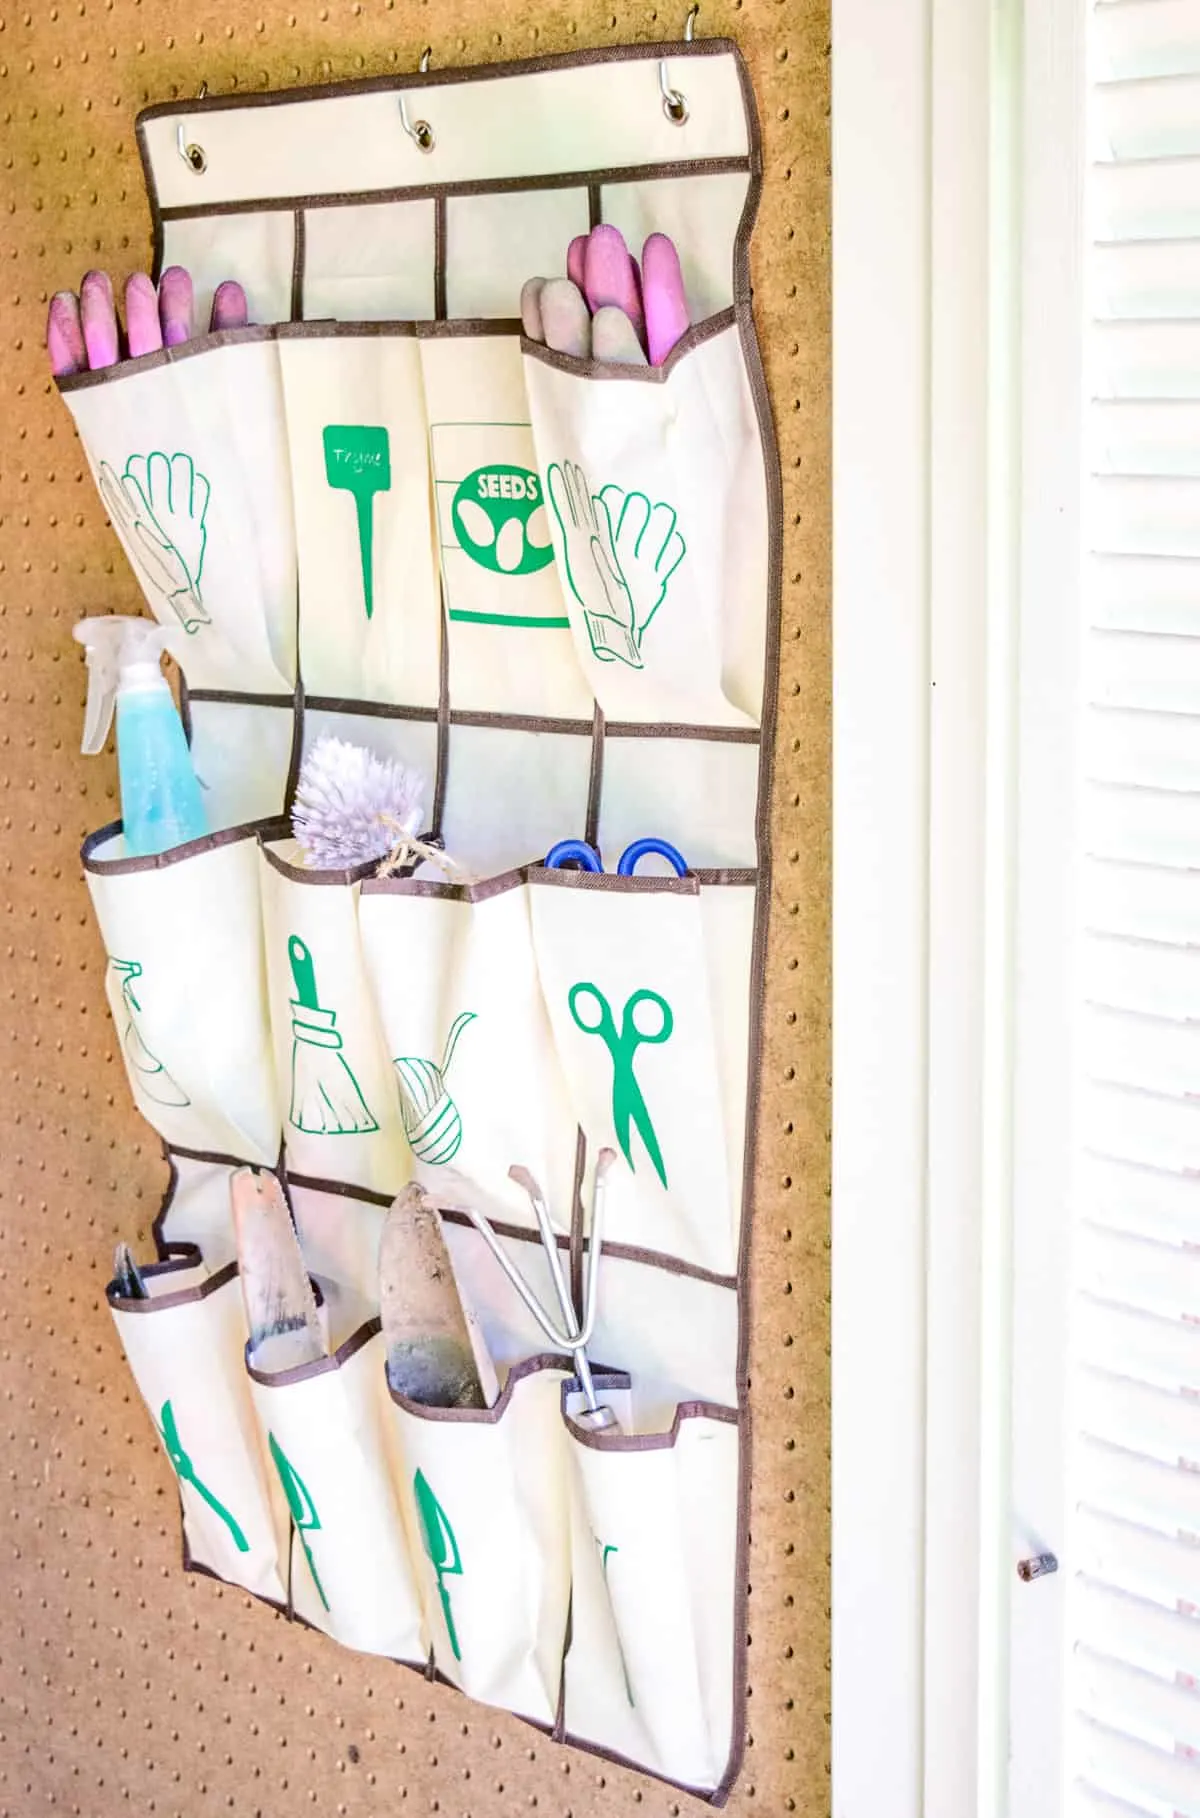
It holds a lot of shoes, but I didn't need quite that many pockets. I trimmed off the bottom two rows with scissors so I was left with 12 pockets.
Create the vinyl graphics (optional)
If you don't have a Silhouette or Cricut machine, you can make text labels with iron-on letters. You don't have to get fancy, but it really does help to have each pocket labeled so you can put away your gardening tools quickly and locate them easily.
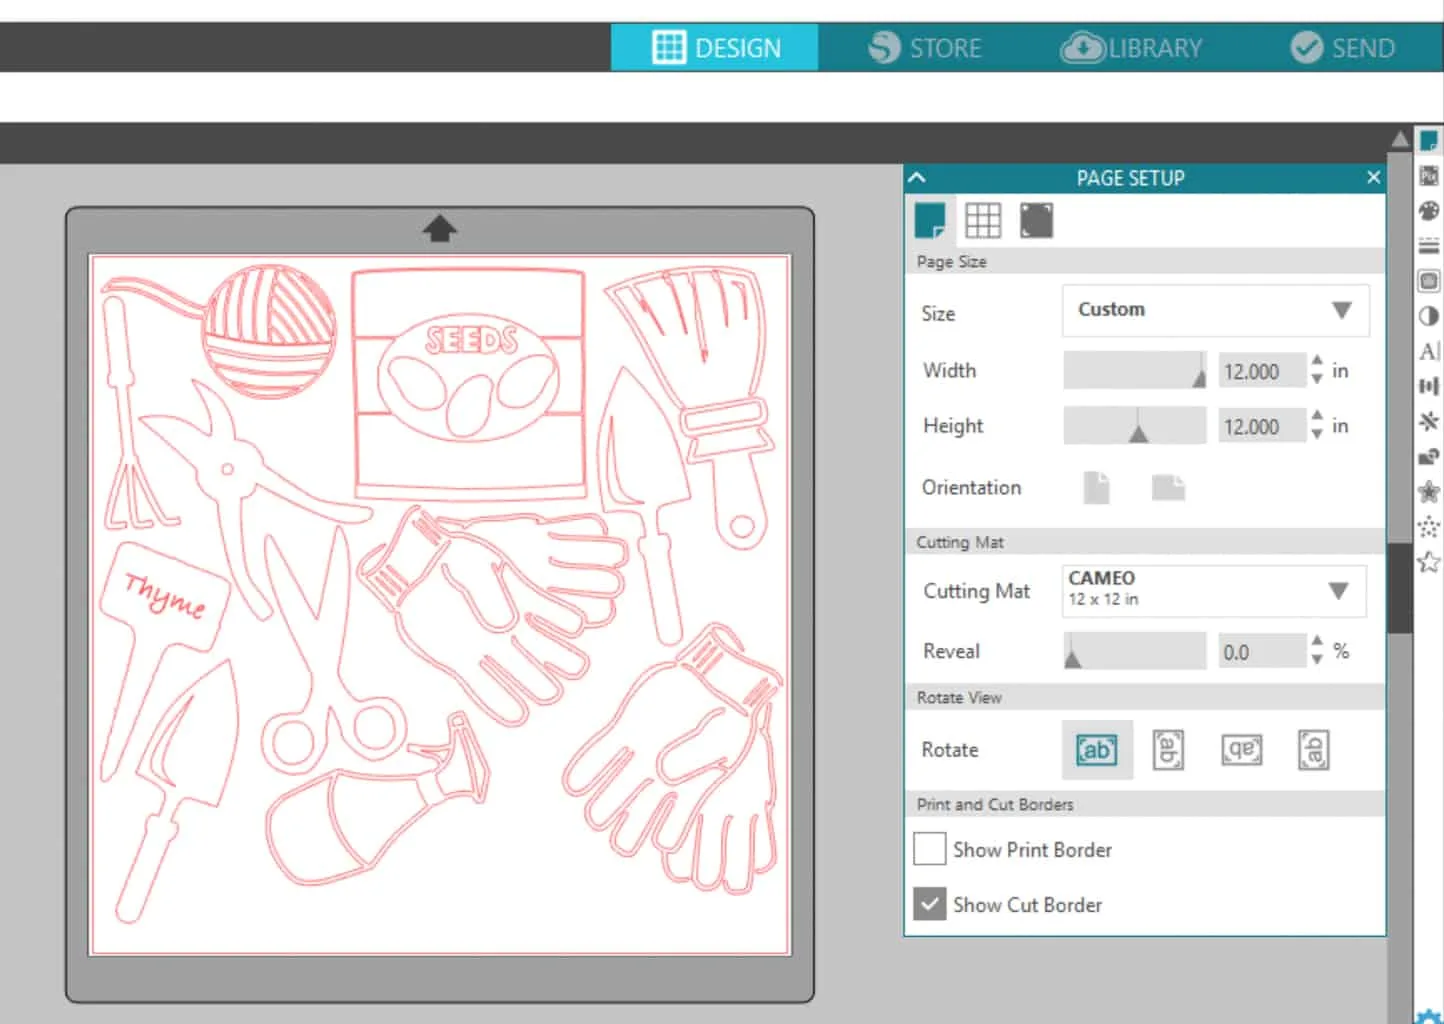
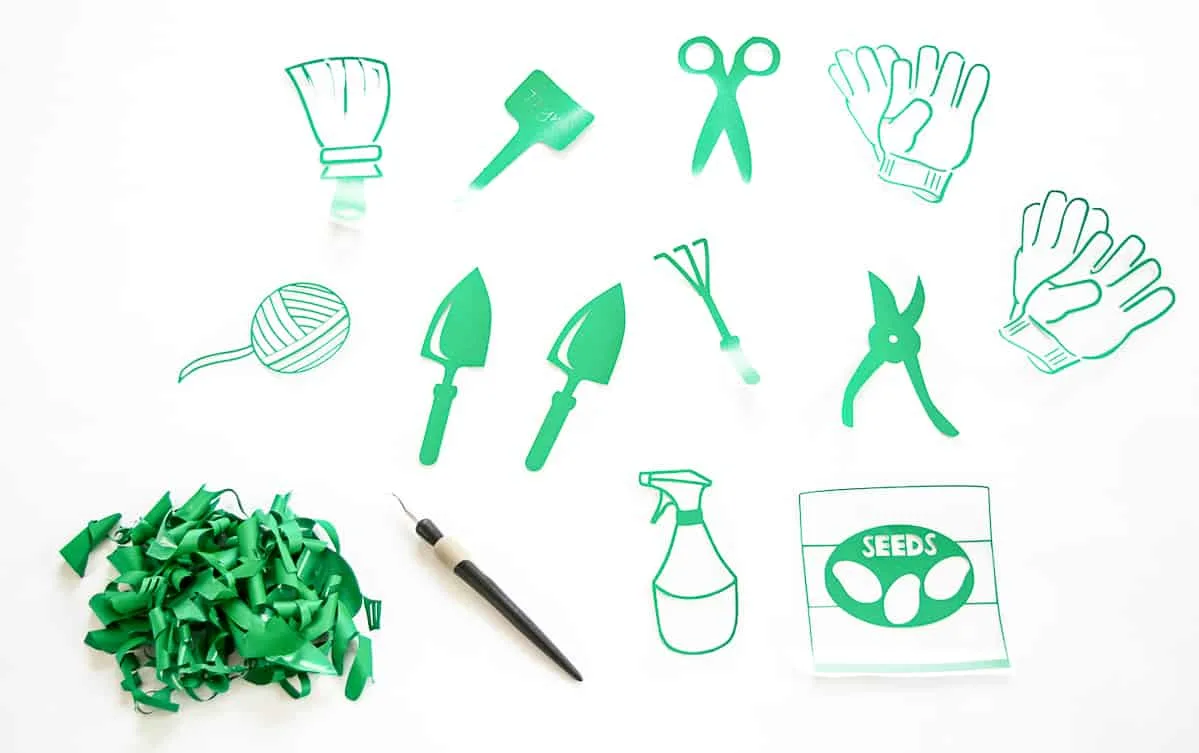
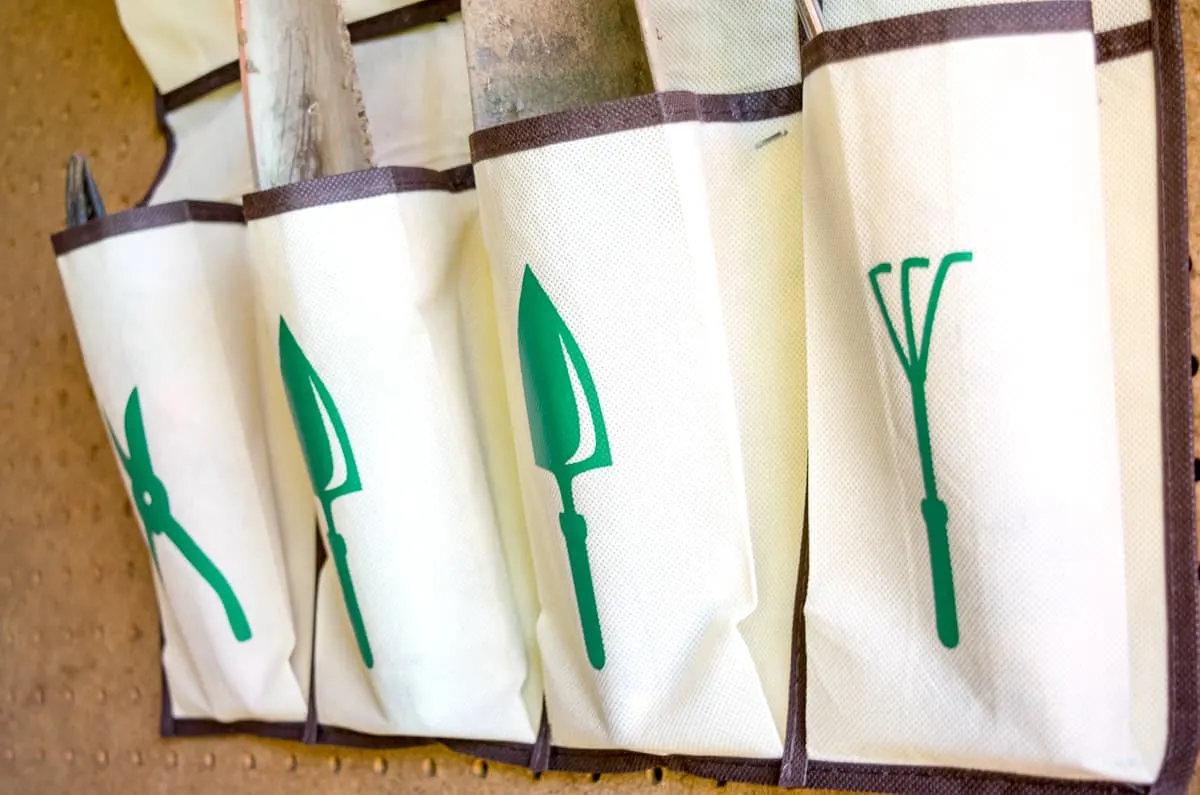
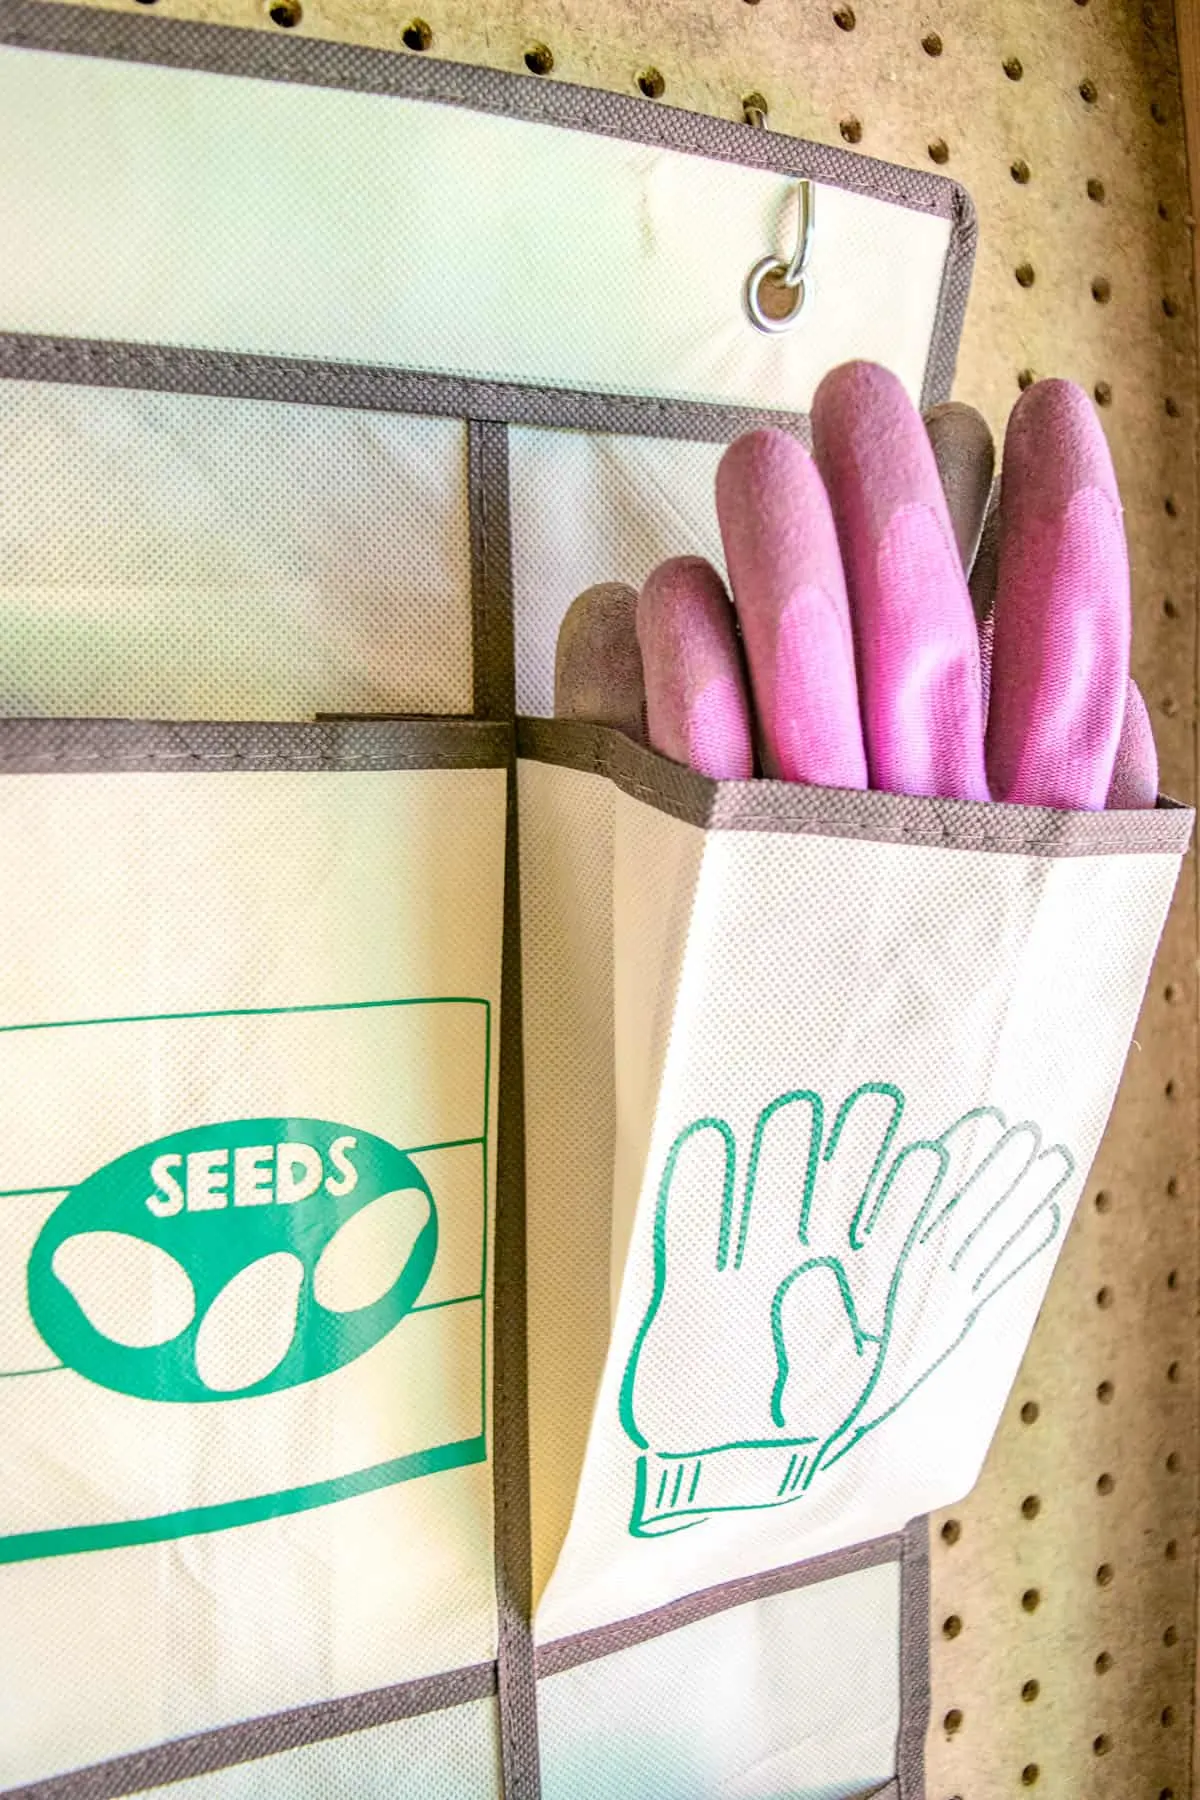
After taking inventory of all the tools you want to store, search for images that correspond to each one (you could also use text if you prefer). Mine are a combination of clip art I found online and this design from the Silhouette store. I managed to fit all my images onto a single piece of 12" x 12" iron-on vinyl.
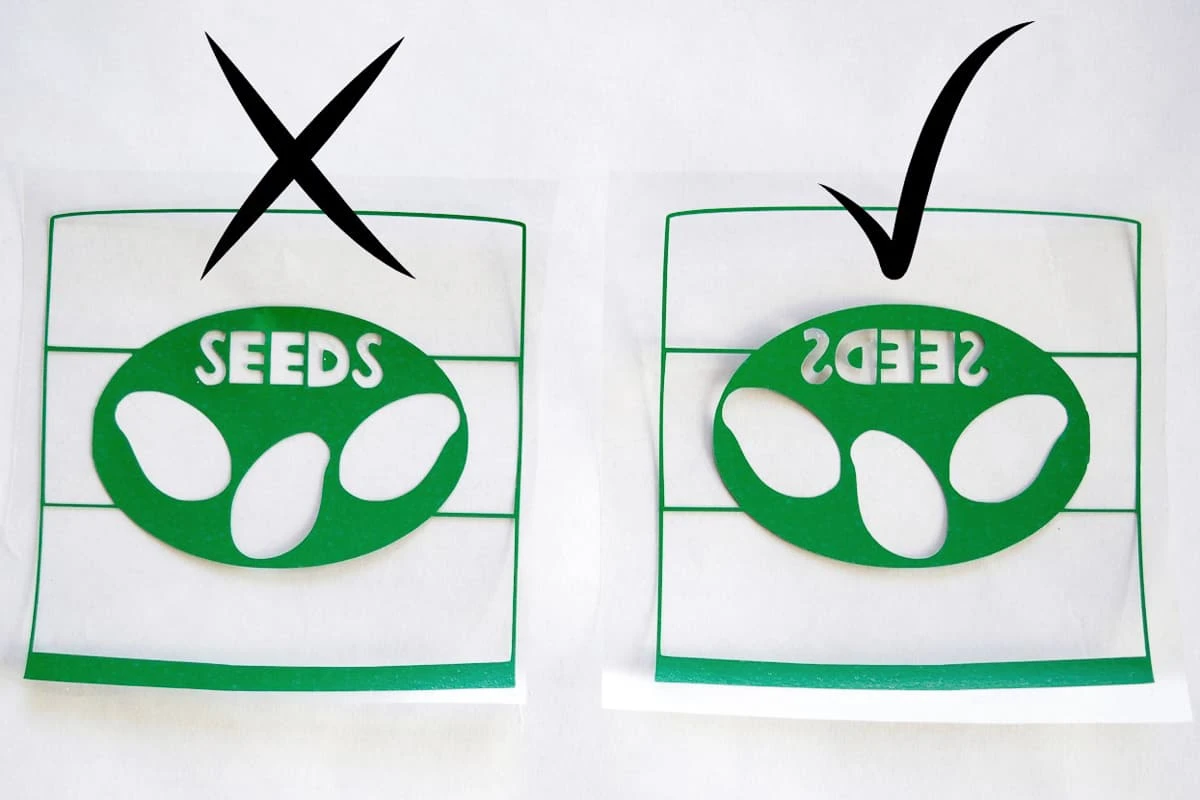
Be sure to flip any images that have text so that they are a mirror image. I learned this the hard way!
Place the iron-on vinyl onto the sticky mat of your cutting machine with the shiny side down. After cutting, separate the individual designs and pick out the excess vinyl.
Iron labels onto pockets
Arrange the designs on the fabric pockets, keeping the heavier tools at the bottom. The additional weight will keep the garden tool organizer in place on the wall.
Place a rag on top of the iron-on vinyl, then iron over it for about 30 seconds. Move the iron around a bit so you don't burn the fabric. Your design is stuck properly when the clear plastic peels away easily. If the design comes up with it, hit it with the iron again!
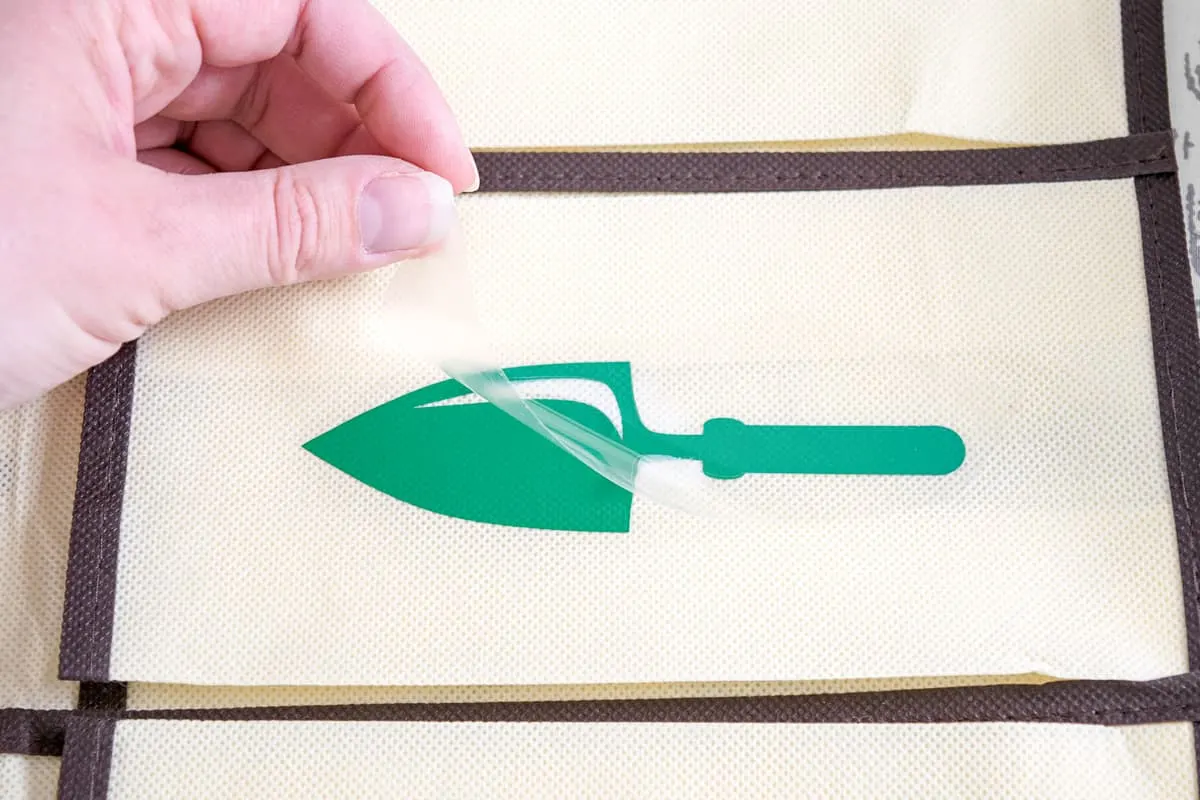
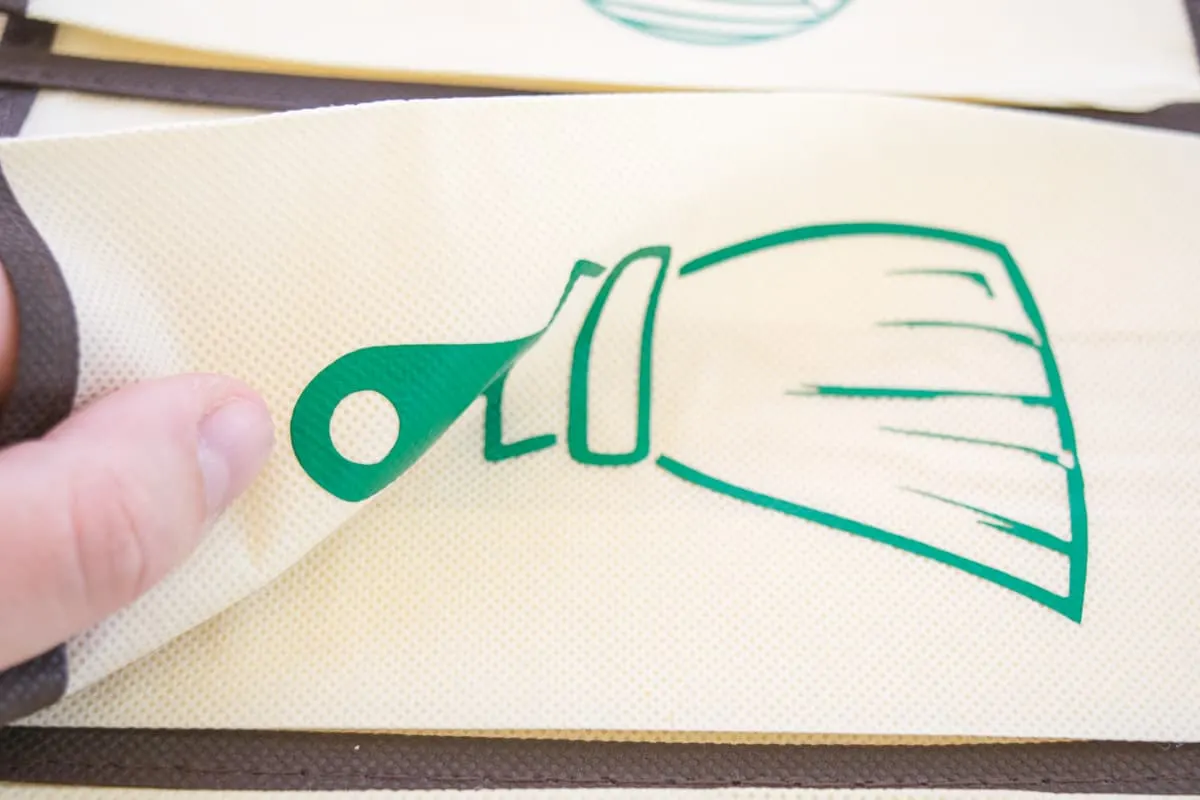
The vinyl material is really flexible and adhered firmly, even on this synthetic material. I could fold the pocket in multiple directions and it didn't budge!
Hang your garden tool organizer
I used hooks on the pegboard wall to hang my tool organizer, but it also comes with hooks to hang over the back of a door if you prefer to use it that way.
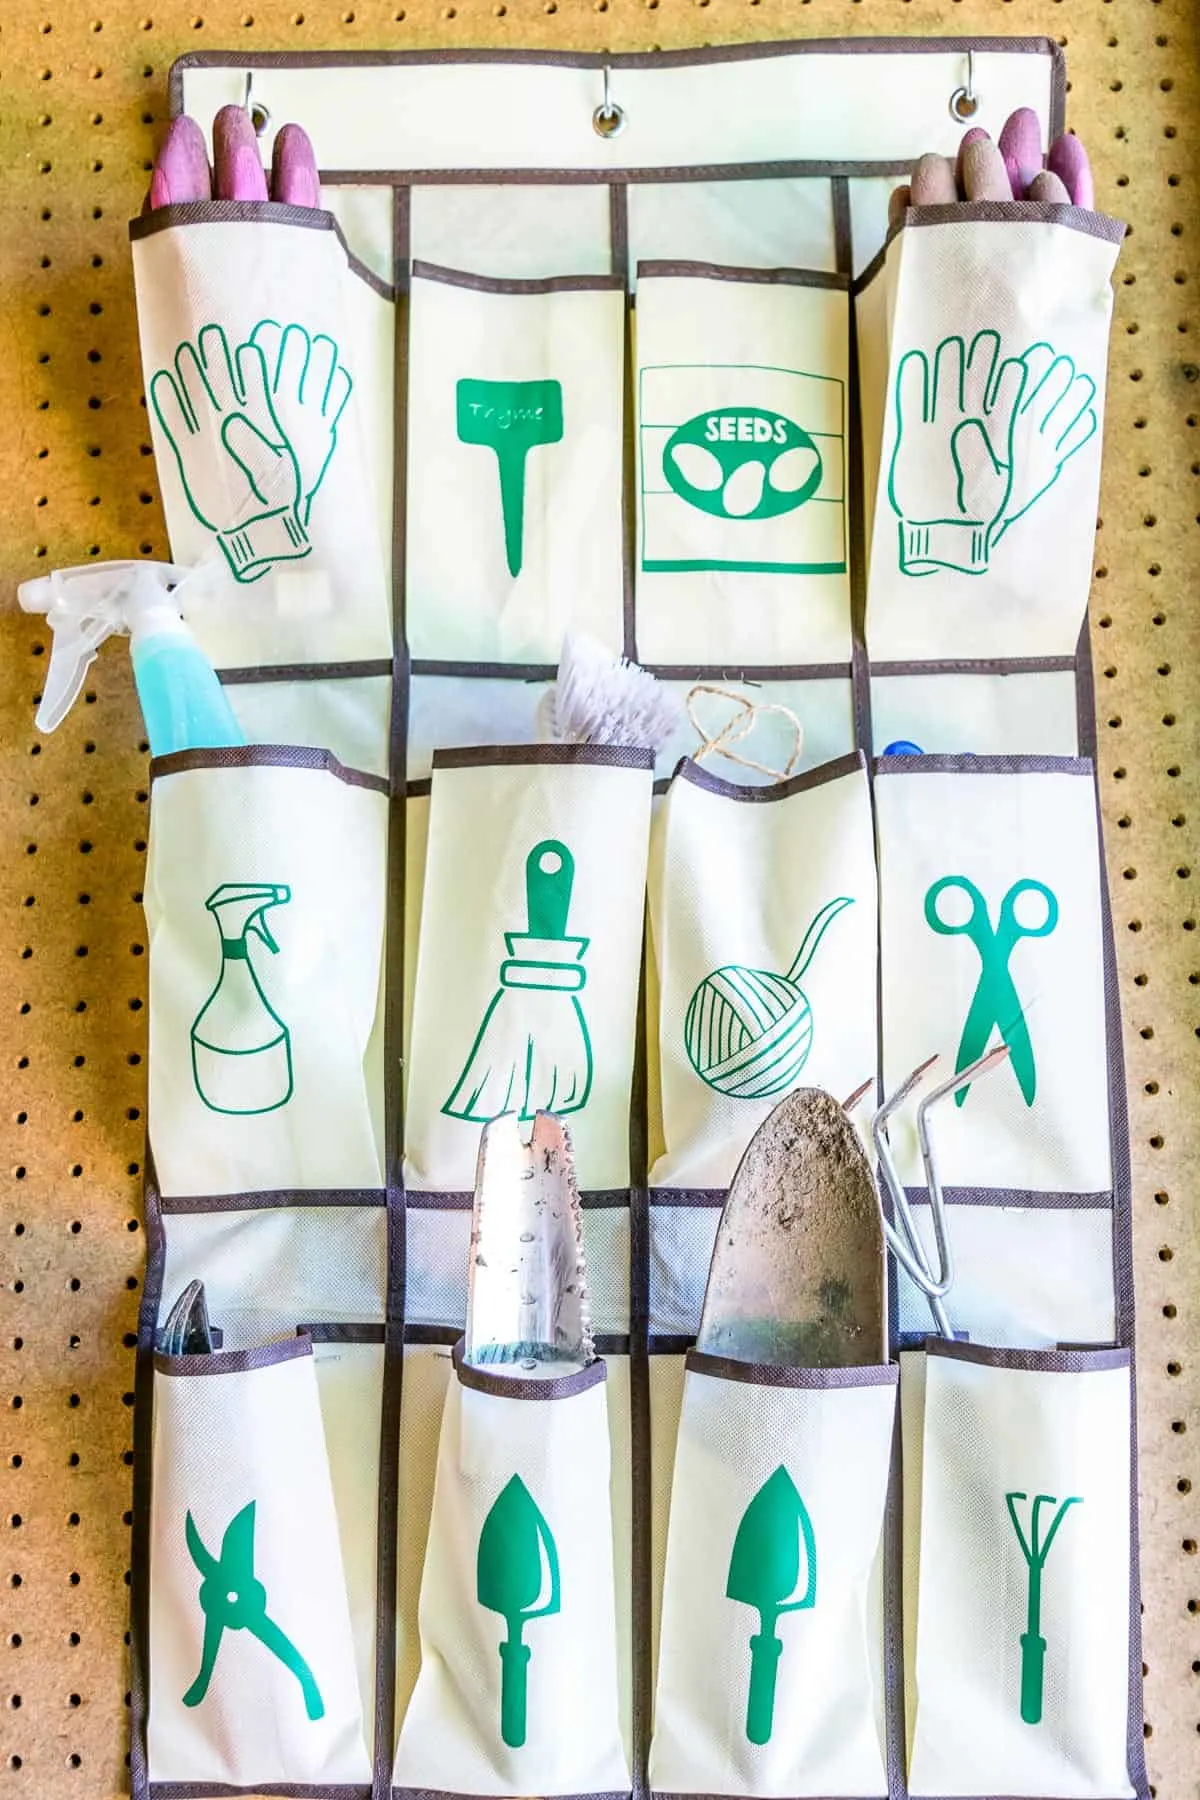
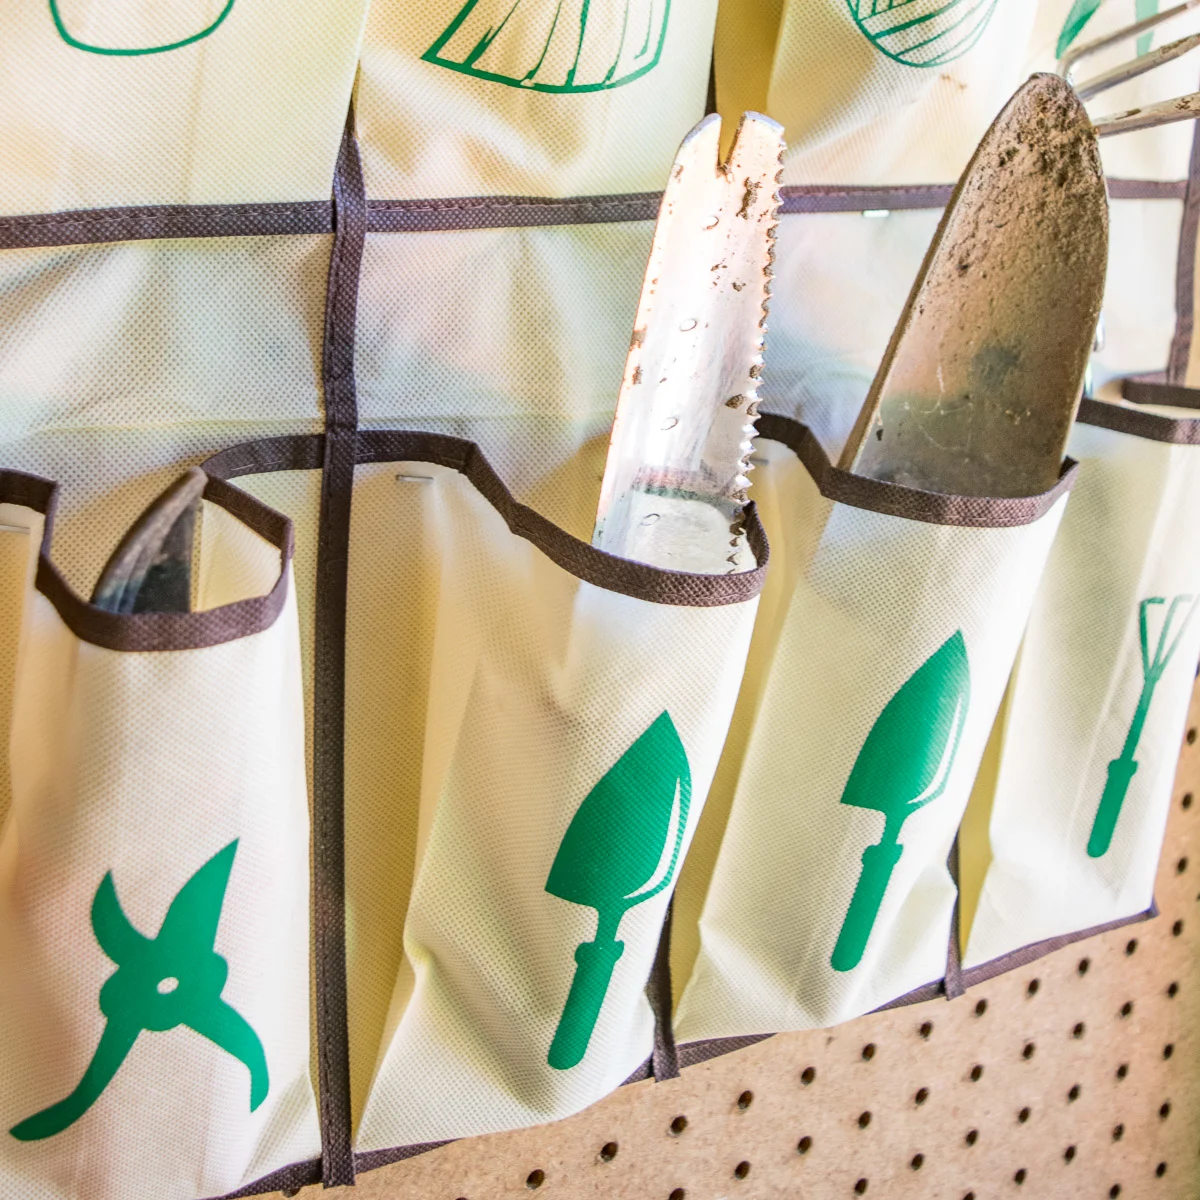
To prevent the heavier tools from falling forward and tumbling out of their pockets, I stapled the folds to the pegboard backing.
Gardening gloves will no longer go missing! I keep two pairs in this organizer, so I'll always have a dry set.
Now my garden shed is neat and organized! I can easily see what tools are missing and hunt them down before they rust in the rain.
It's so easy to just grab the gloves and a hand spade to dig up a few rogue weeds as soon as I spot them! Hopefully this will keep my garden from getting overgrown again!


creativejewishmom/sara
Saturday 1st of September 2018
Love it, brilliant! thanks so much for sharing way back in July on craft schooling sunday, the party is now back on and hope to see you there!
Theresa
Wednesday 1st of August 2018
This is an awesome diy for anyone who loves to garden. I have all my tools for my roses stuffed into a pot. But, I am all over making one of these for our home. Thanks for sharing your post at the Inspiration Spotlight @DearCreatives pinned and sharing.
Kippi
Monday 23rd of July 2018
Great idea! I love the graphics on the pockets. Any plans for the rows you cut off the bottom? So glad I found your post on the link party. Happy Summer, Kippi
Vineta
Thursday 26th of July 2018
Darn it, I threw away the bottom rows! I'm sure I could have found a use for them if I had thought about it!
Victoria @DazzleWhileFrazzled
Sunday 22nd of July 2018
Great idea! I love the idea of an organized garage but we never seem to get there, LOL.