
Save time and money by installing a drip irrigation system in your garden! This easy DIY project will make your plants AND your wallet happy.

Every summer, a few of my plants shrivel up and die because I've forgotten to water during our hot, dry days. Only the most drought tolerant varieties tend to survive my neglect!
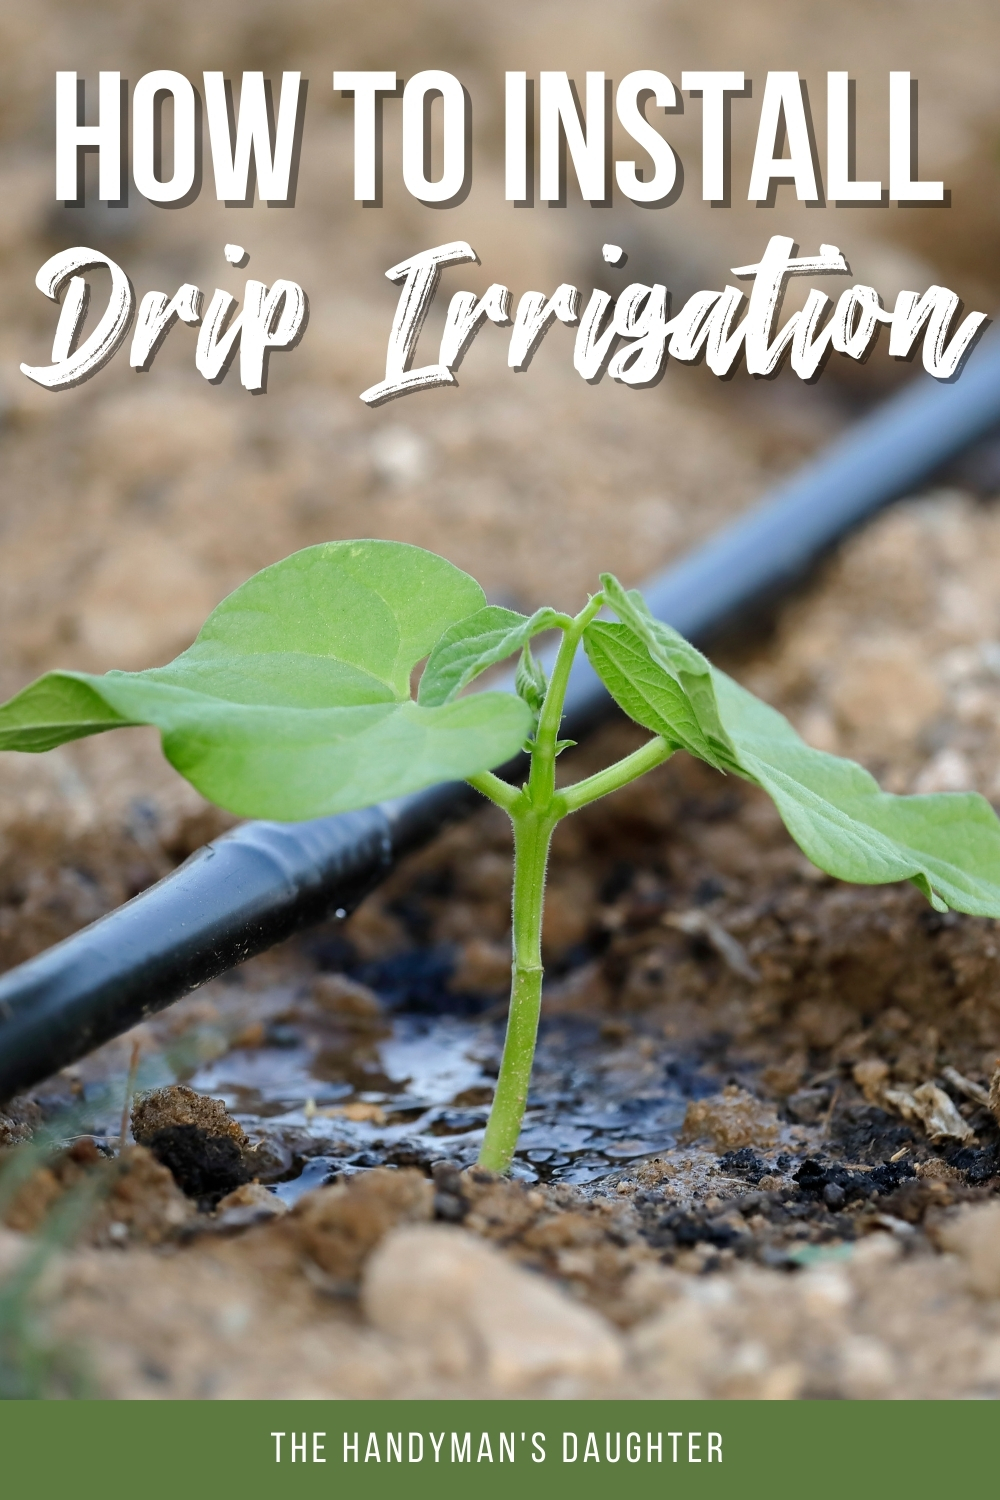
We used to have a sprinkler system for the garden beds, but the plants grew big enough to block the sprayers, even on these super tall risers!

This year, I'm installing drip irrigation in our flower beds. This simple DIY system will provide just the right amount of water to each individual plant, on a timer that never forgets!
This post contains affiliate links for your convenience. Purchases made through these links may earn me a small commission at no additional cost to you. Please visit my disclosures page for more information.
Make an Irrigation Plan
Before you start laying tubing around your garden, make a plan first! There are lots of options and accessories available, so it helps to map out which ones you'll need and where you'll put them. Draw a diagram of your yard or garden, and indicate where the faucets, plants, shrubs and trees are located.
½" or ¾" tubing will carry more water volume to the far reaches of your garden beds. I installed a line of ½" unperforated tubing along the back of each bed, with ¼" micro tubing junctions to direct water to each plant.
If your plants are in a densely packed raised bed, or you have a lot of large shrubs or trees, consider using soaker hoses, micro sprayers or tubing with emitter holes at regular intervals.


For larger trees that need more water, loop tubing with emitters every six or twelve inches halfway between the trunk and the outside of the tree canopy for even coverage.
Materials Required
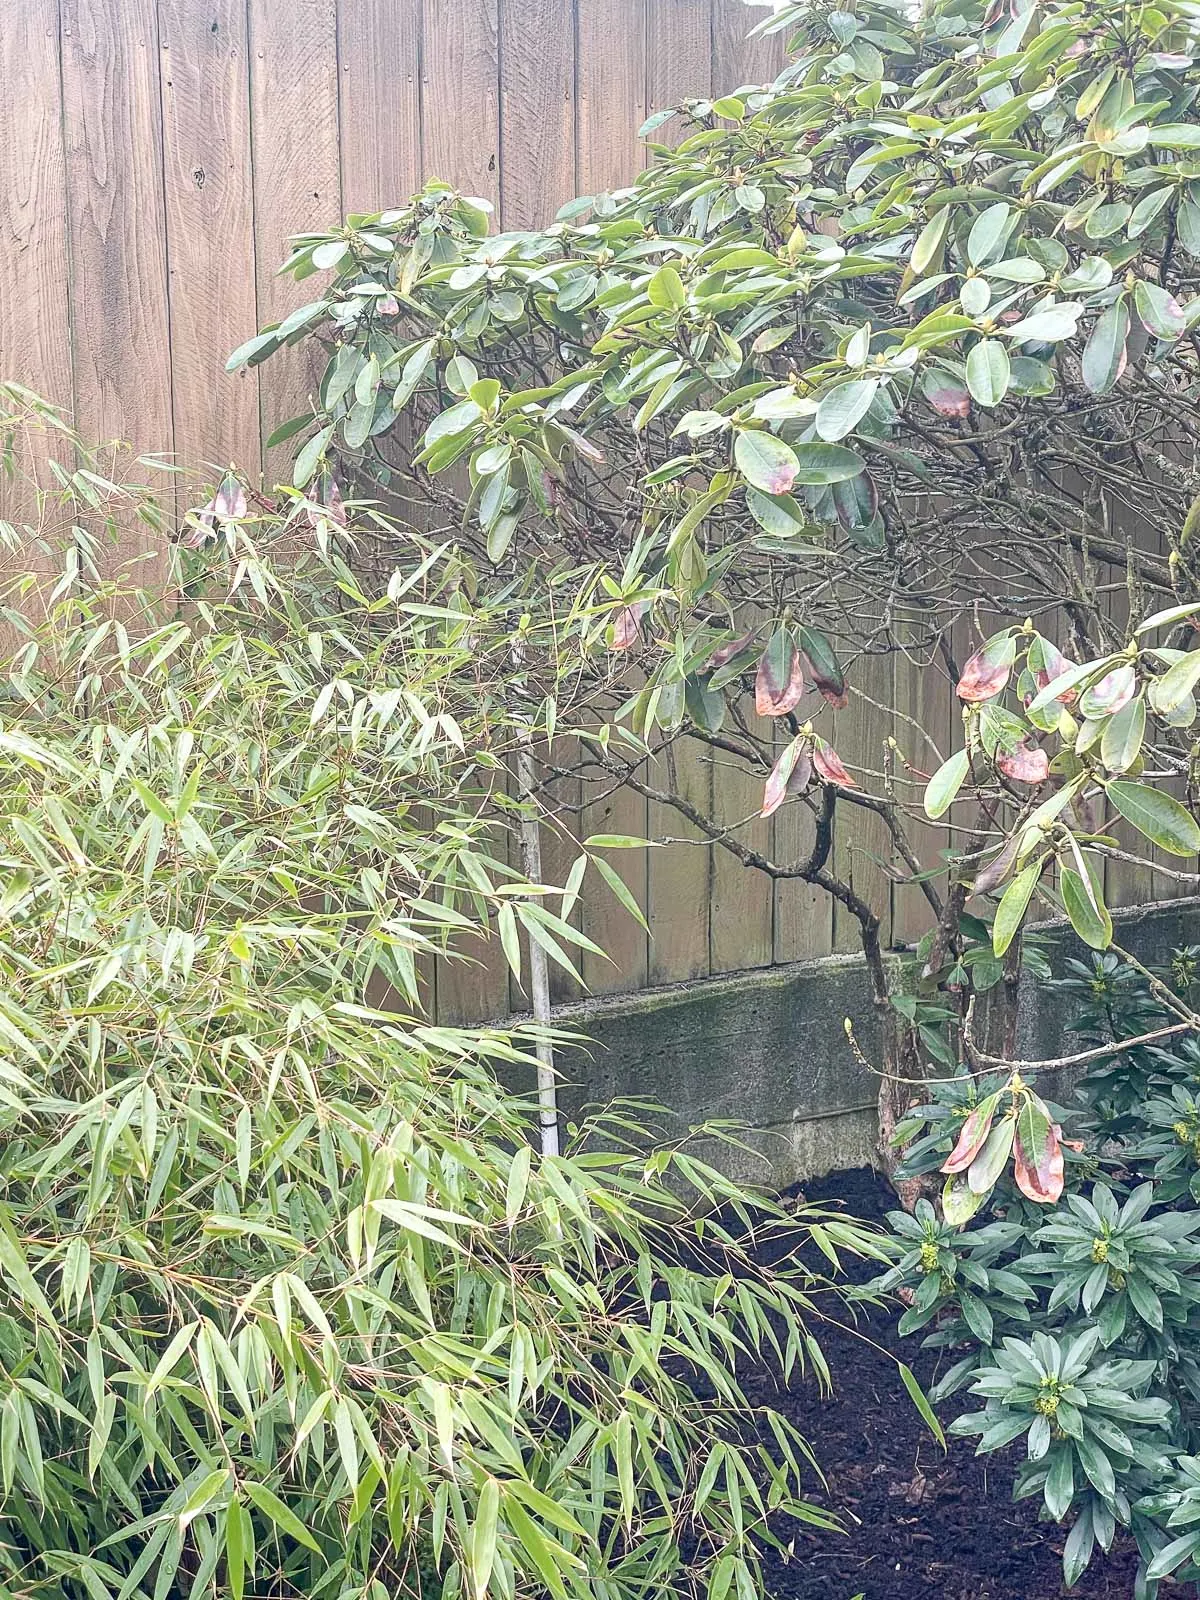
The individual components of the drip system will depend on your own garden's requirements, but a starter kit like this one will contain most of the items listed below. Once you've set up the basic system, you can easily customize it with additional components.
- ½" and ¼" tubing
- Assortment of barbed fittings
- Assortment of emitters and micro sprayers
- Stakes to hold tubing in place
- I recommend landscaping staples for ½" tubing and forked stakes to hold the emitters above the soil.
- Hole punch tool
- Pruning shears to cut tubing
- Timer
- Head assembly with backflow preventer, pressure regulator and hose adapter
- Y junction for outdoor faucet
- Parts organizer to store all the leftover components
I decided to use the Dig brand because it's easily available at my local Home Depot store. You can even order online and pick it up in the store to avoid staring at a wall of components trying to find the one you need.
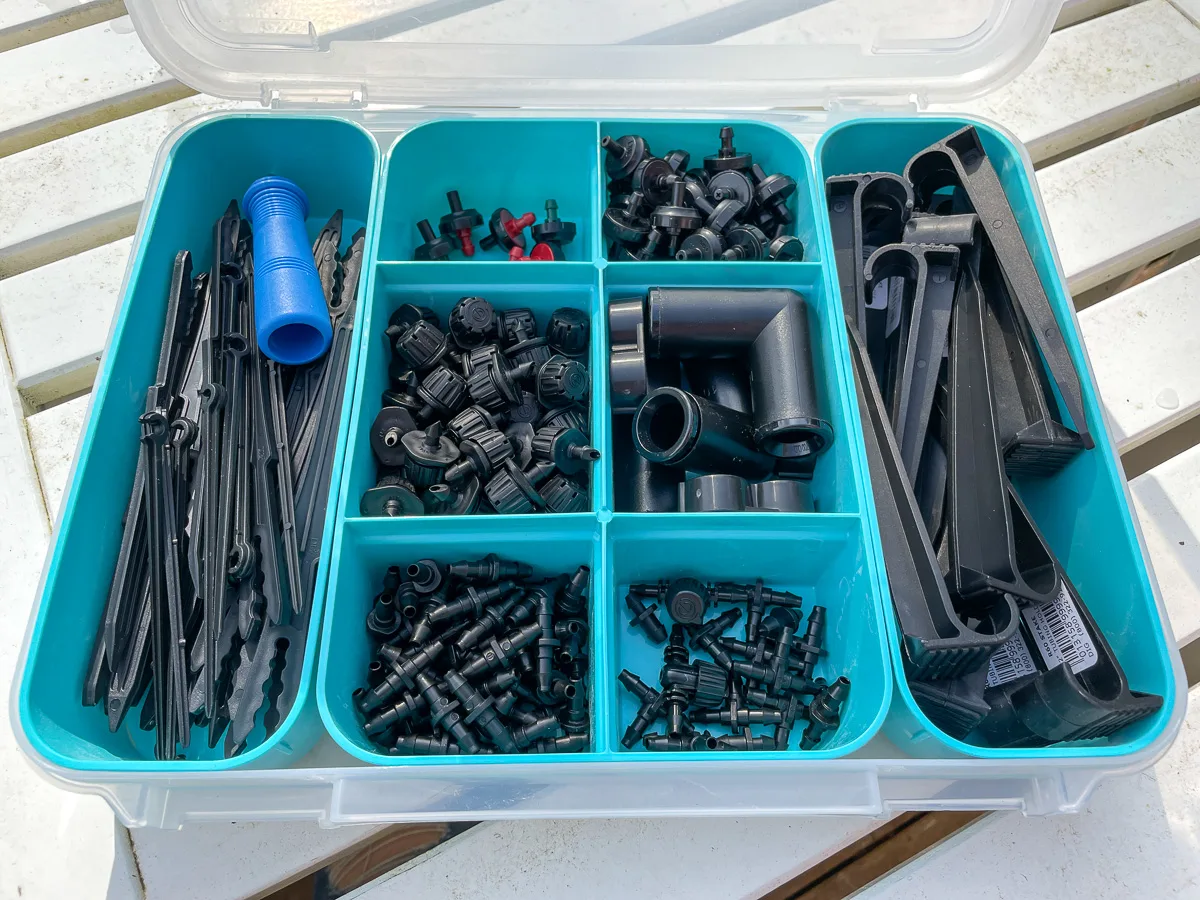
Keep all your drip irrigation components organized so you can easily find the parts you need when you add to the system. I use this screw organizer that I stole out of the workshop for all the emitters and connectors.
Start at the Faucet
Add a Y junction to your outdoor faucet hose bib first. This will allow you to attach a regular hose, fill a watering can or add another drip zone by splitting the water at the source. Make sure both sides have a lever to turn the water on and off individually.
In order to connect your hose to your new drip system properly, you'll need a few parts that form the head assembly. You can buy them individually, use the ones provided in the starter kit, or buy it preassembled. You'll need a:
- Backflow filter, which prevents dirty garden water from flowing back into your household water lines,
- Pressure regulator, which lowers the incoming water pressure to a level the drip system can handle, and
- Hose adapter, which converts the ¾" threaded hose to the ½" drip tubing.
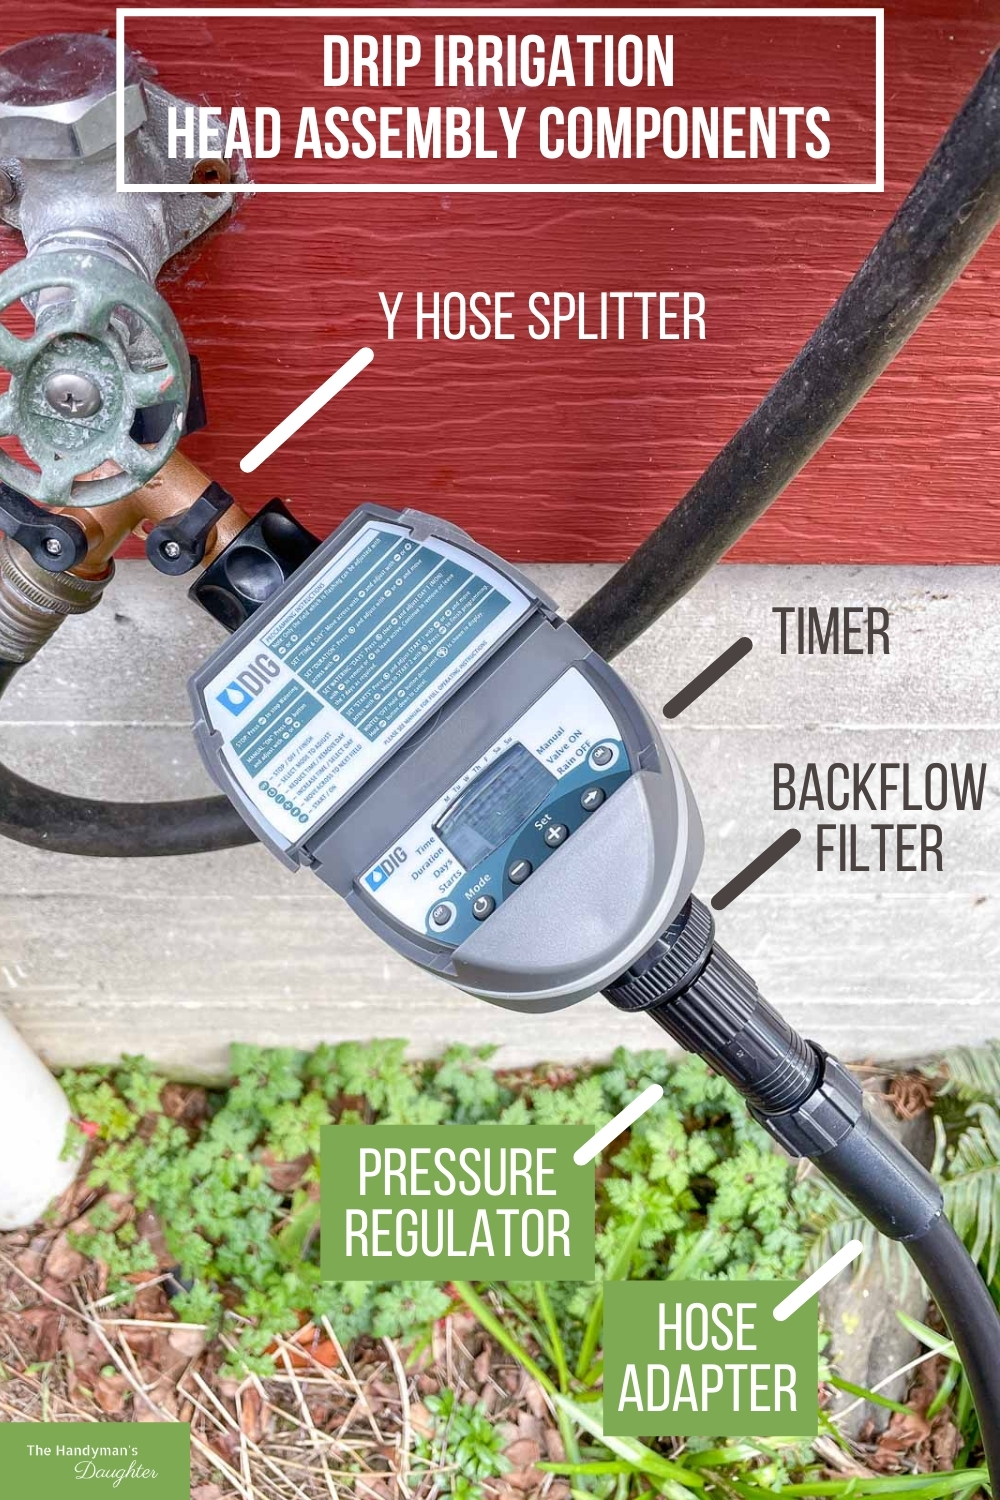
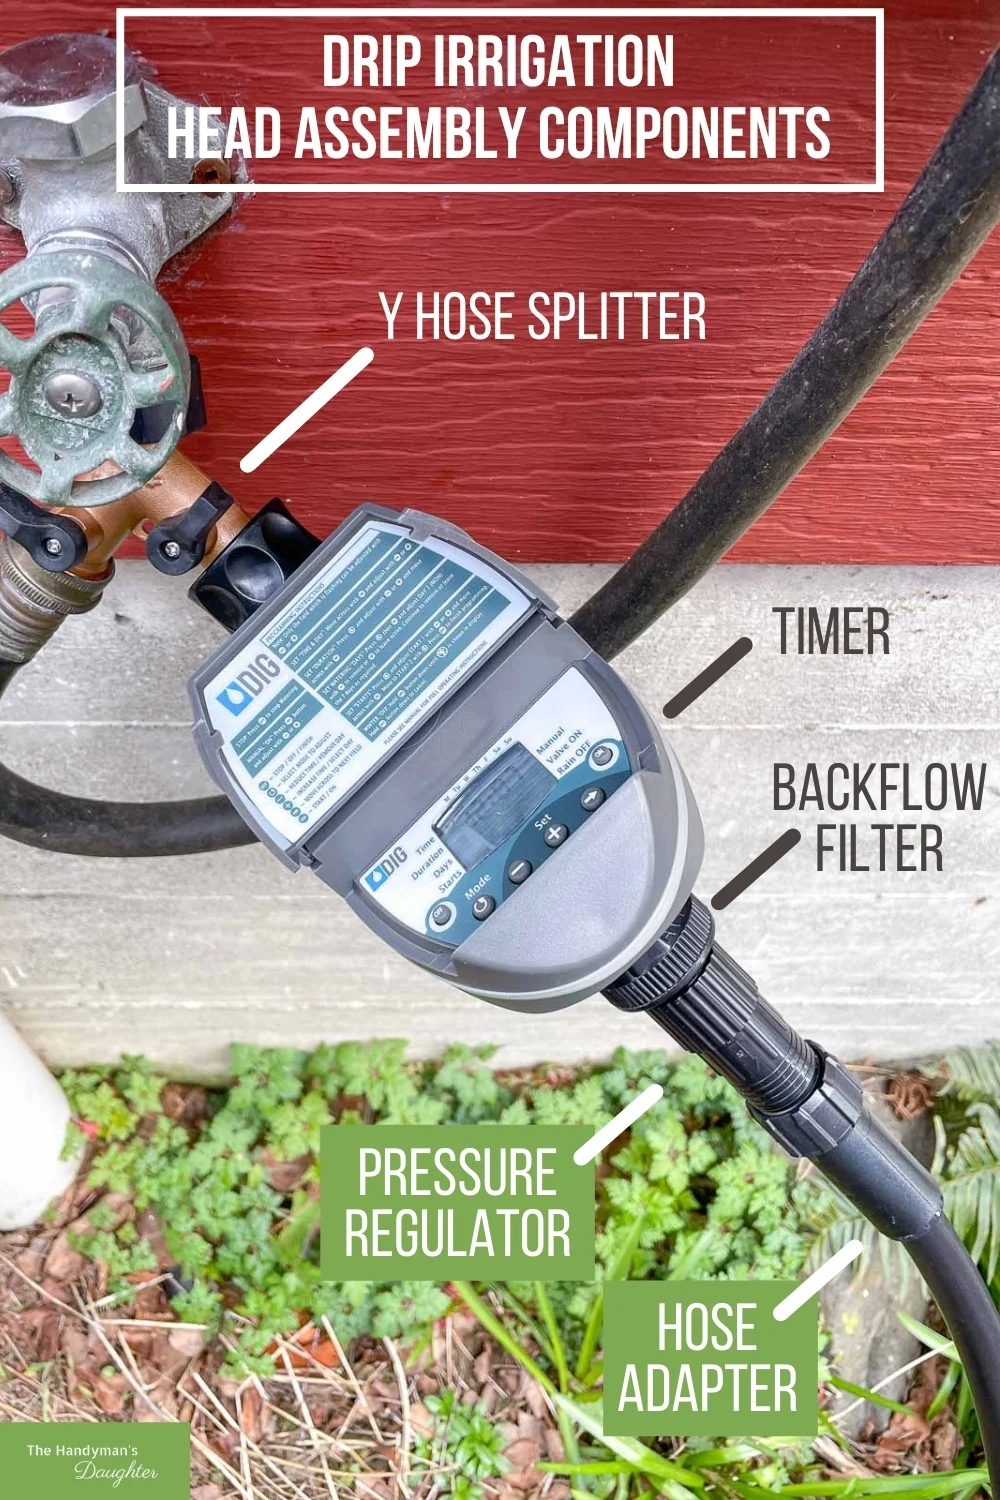
A timer makes your drip irrigation system foolproof! You can program it to water for a certain amount of time every day, or space it out further. You can even find models with Bluetooth so you can program the whole thing with your phone! I chose this model with a "rain delay" feature for days when Mother Nature does the watering for you!
Lay ½" tubing along the entire garden bed
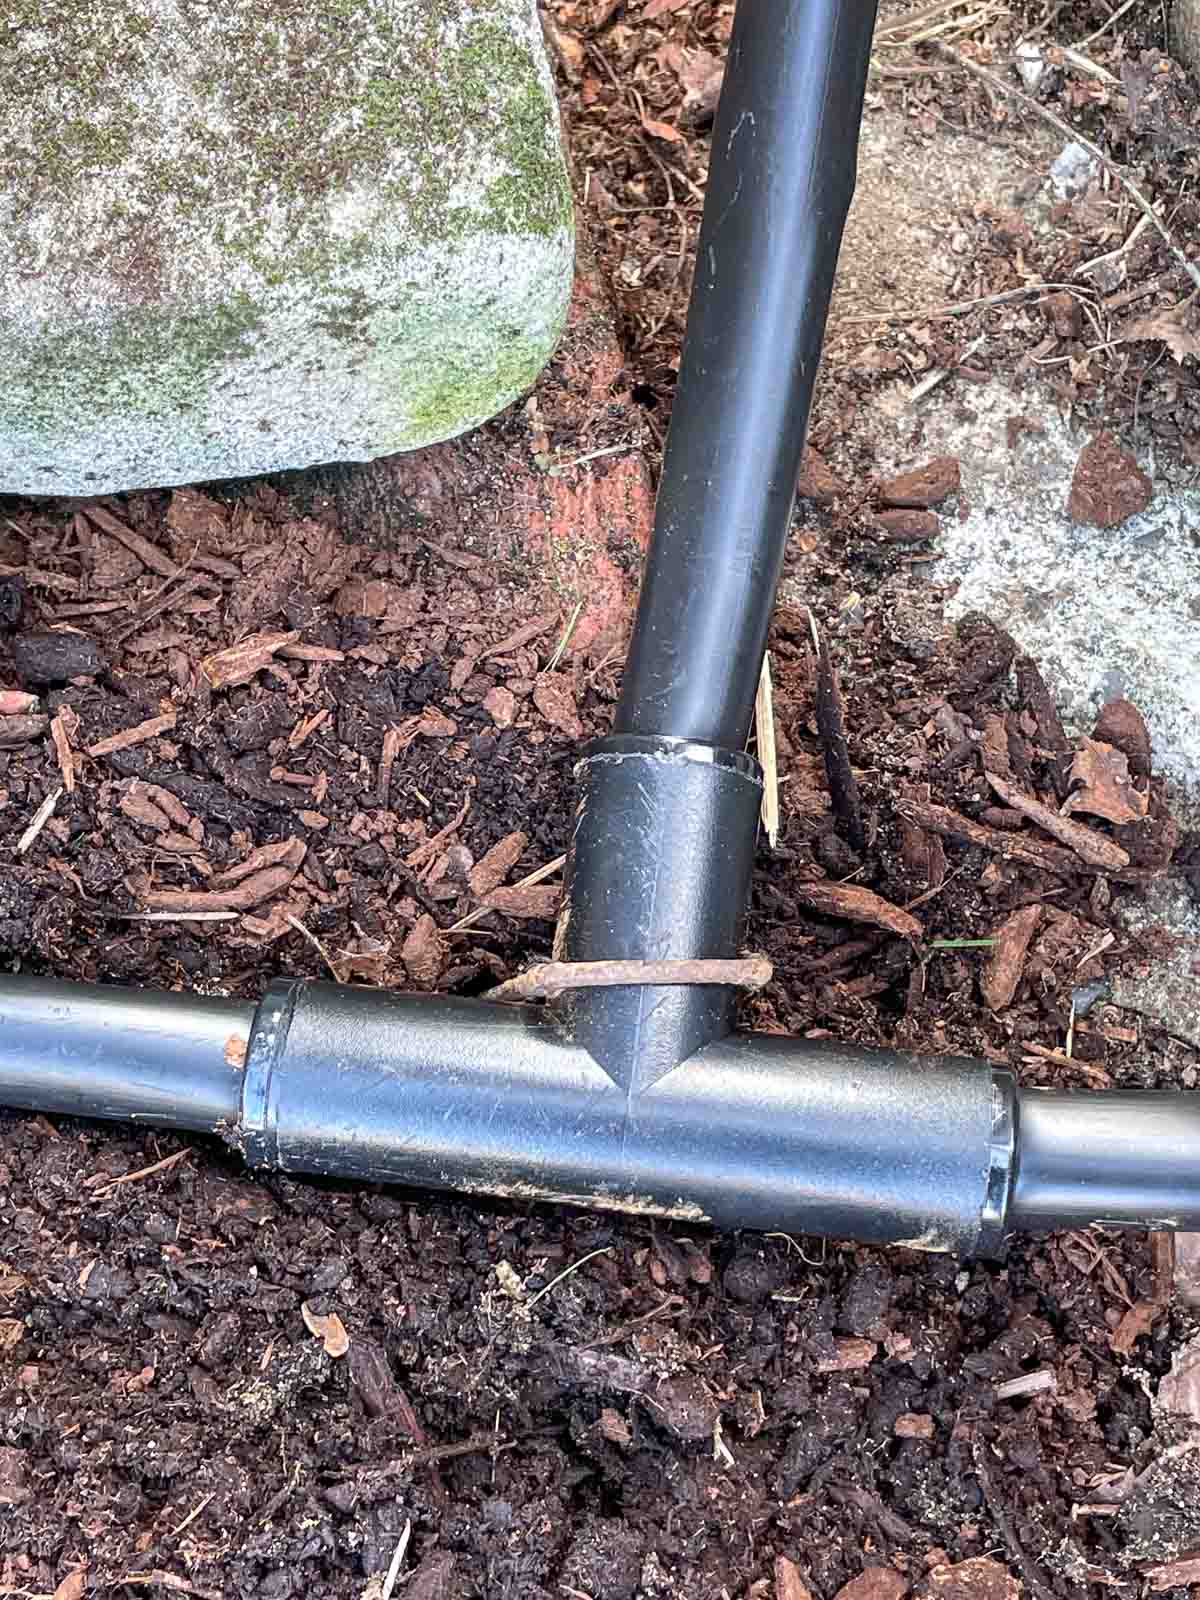
This faucet is on the side of our house behind a gate, with garden beds on both sides. A tee junction at the gate allows the water flow to split in two different directions. Use a landscaping staple to hold the junction in place.

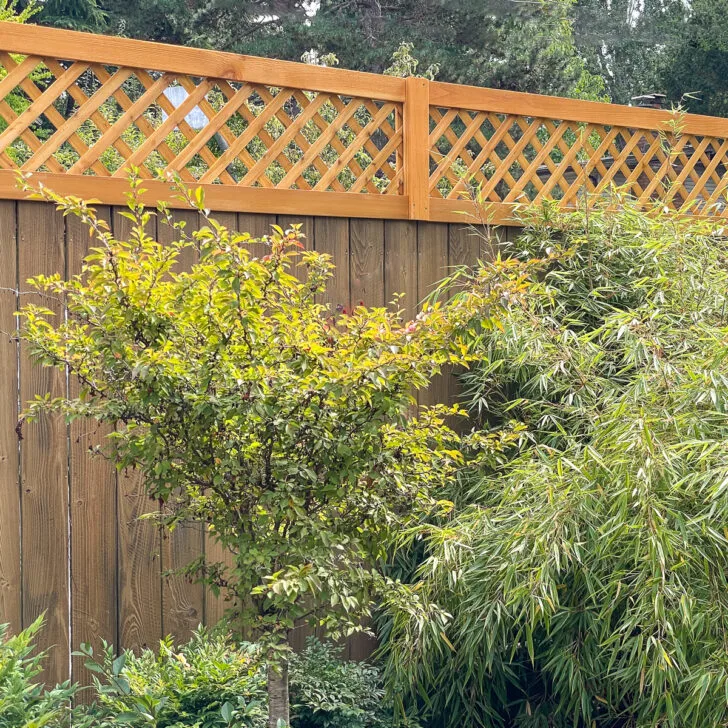
This garden bed doesn't look like much in early spring, but it'll be full of tall ornamental grasses soon! The large clump of cut back Miscanthus in the middle grows HUGE over the summer, so I ran the ½" tubing in front of it for easier access.

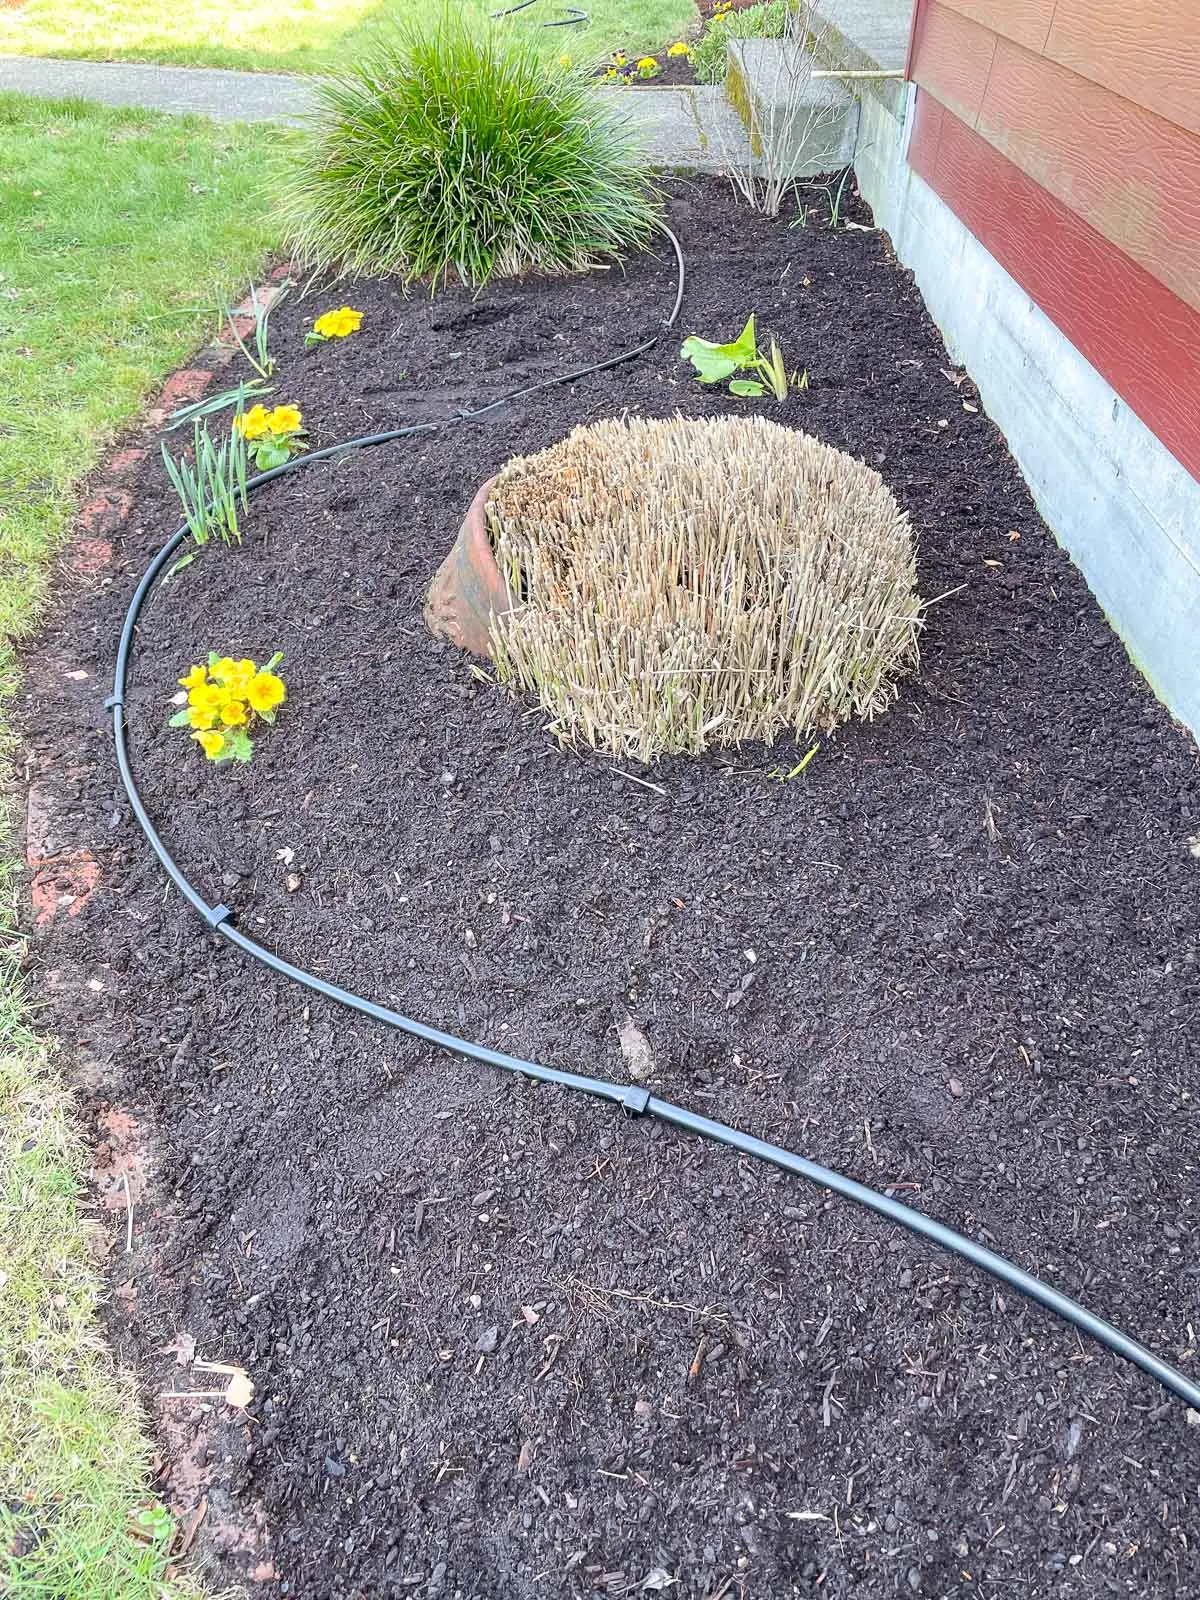
The tubing in the other direction is much longer, for a combined length of about 150 feet. You'll want to limit the length of ½" tubing to a maximum of about 200 feet per zone so you have enough water pressure to reach the end.
Speaking of the end, just bend it back on itself and add these figure 8 clips to hold it together. I hid it under the ornamental grass and added the first ¼" micro tubing with a 1 gallon per hour emitter.

Add ¼" tubing to each plant
You can easily customize your drip system with these ¼" tubing offshoots that plug directly into the ½" line. Just poke a hole anywhere along the length with this handy tool. If you make a mistake, just fill it with one of these goof plugs.

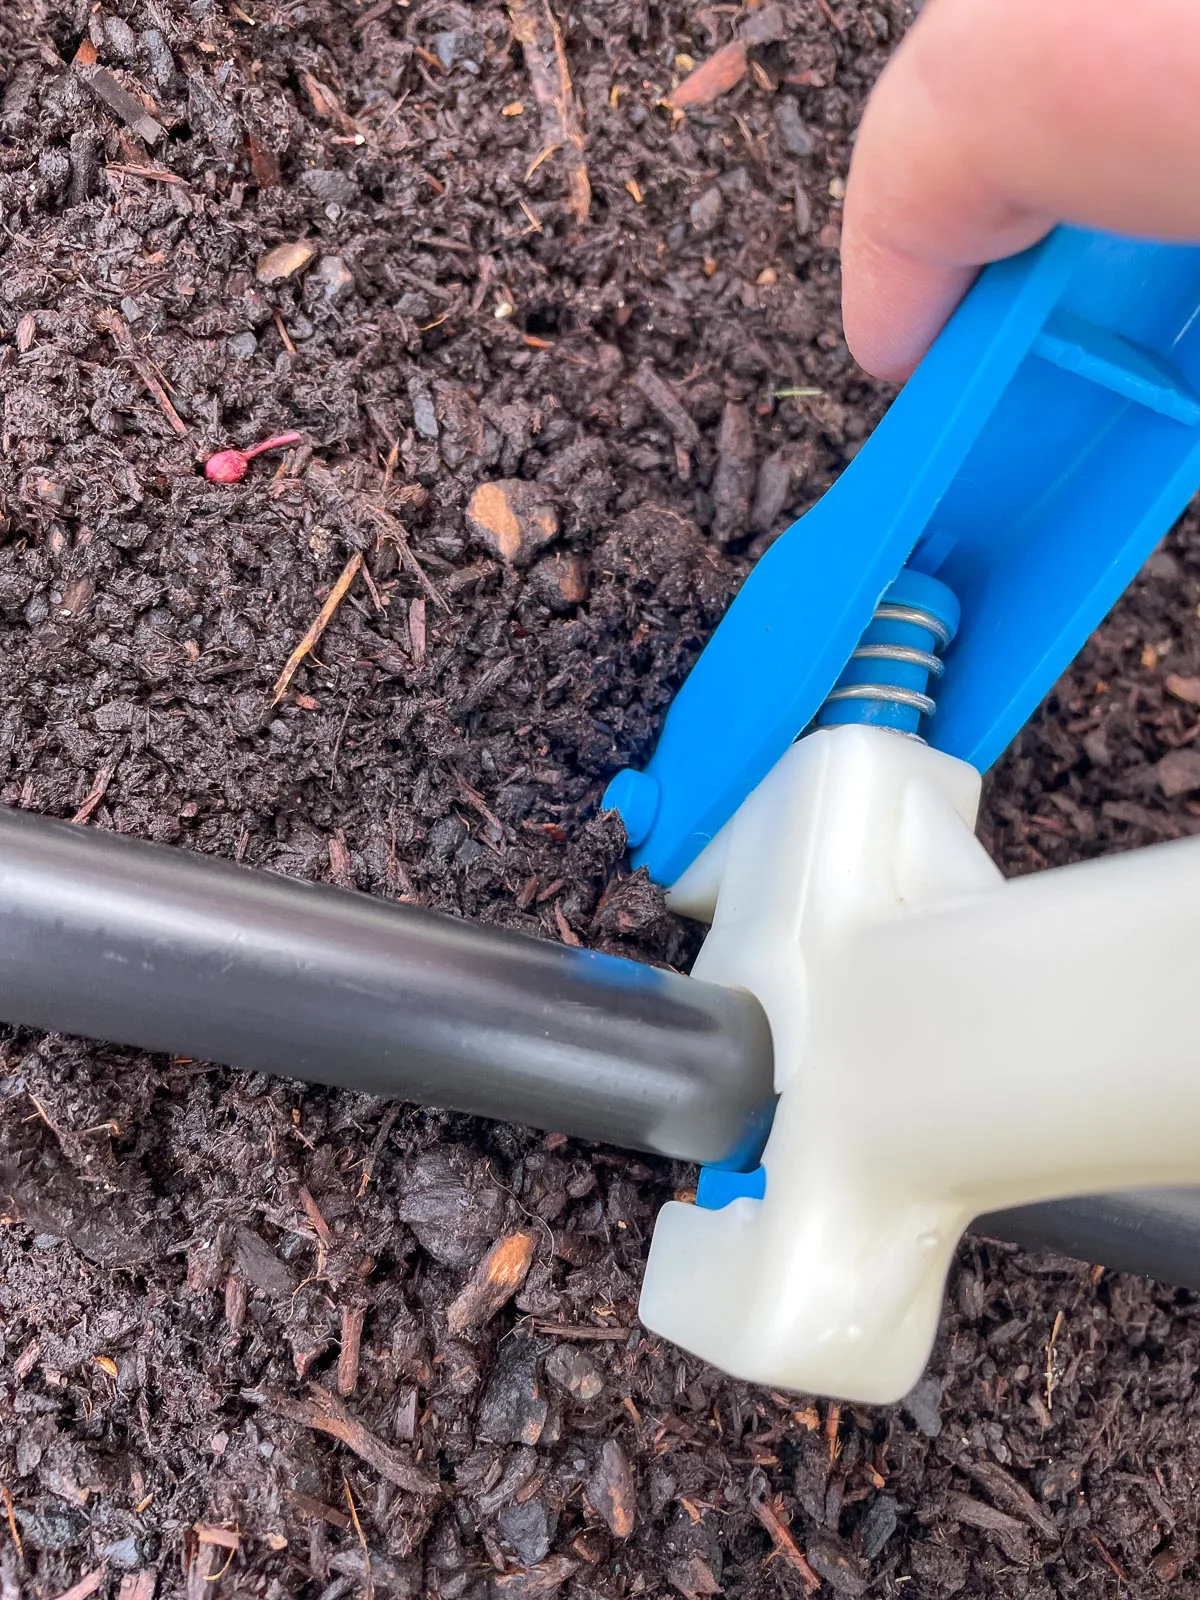
Insert a barbed connector into the hole, and slide the ¼" tubing onto the protruding end. I highly recommend keeping a mug of hot water nearby to dip the ends of the ¼" tubing before inserting the connectors. This helps soften the plastic and ensure a tight seal when it cools and contracts.
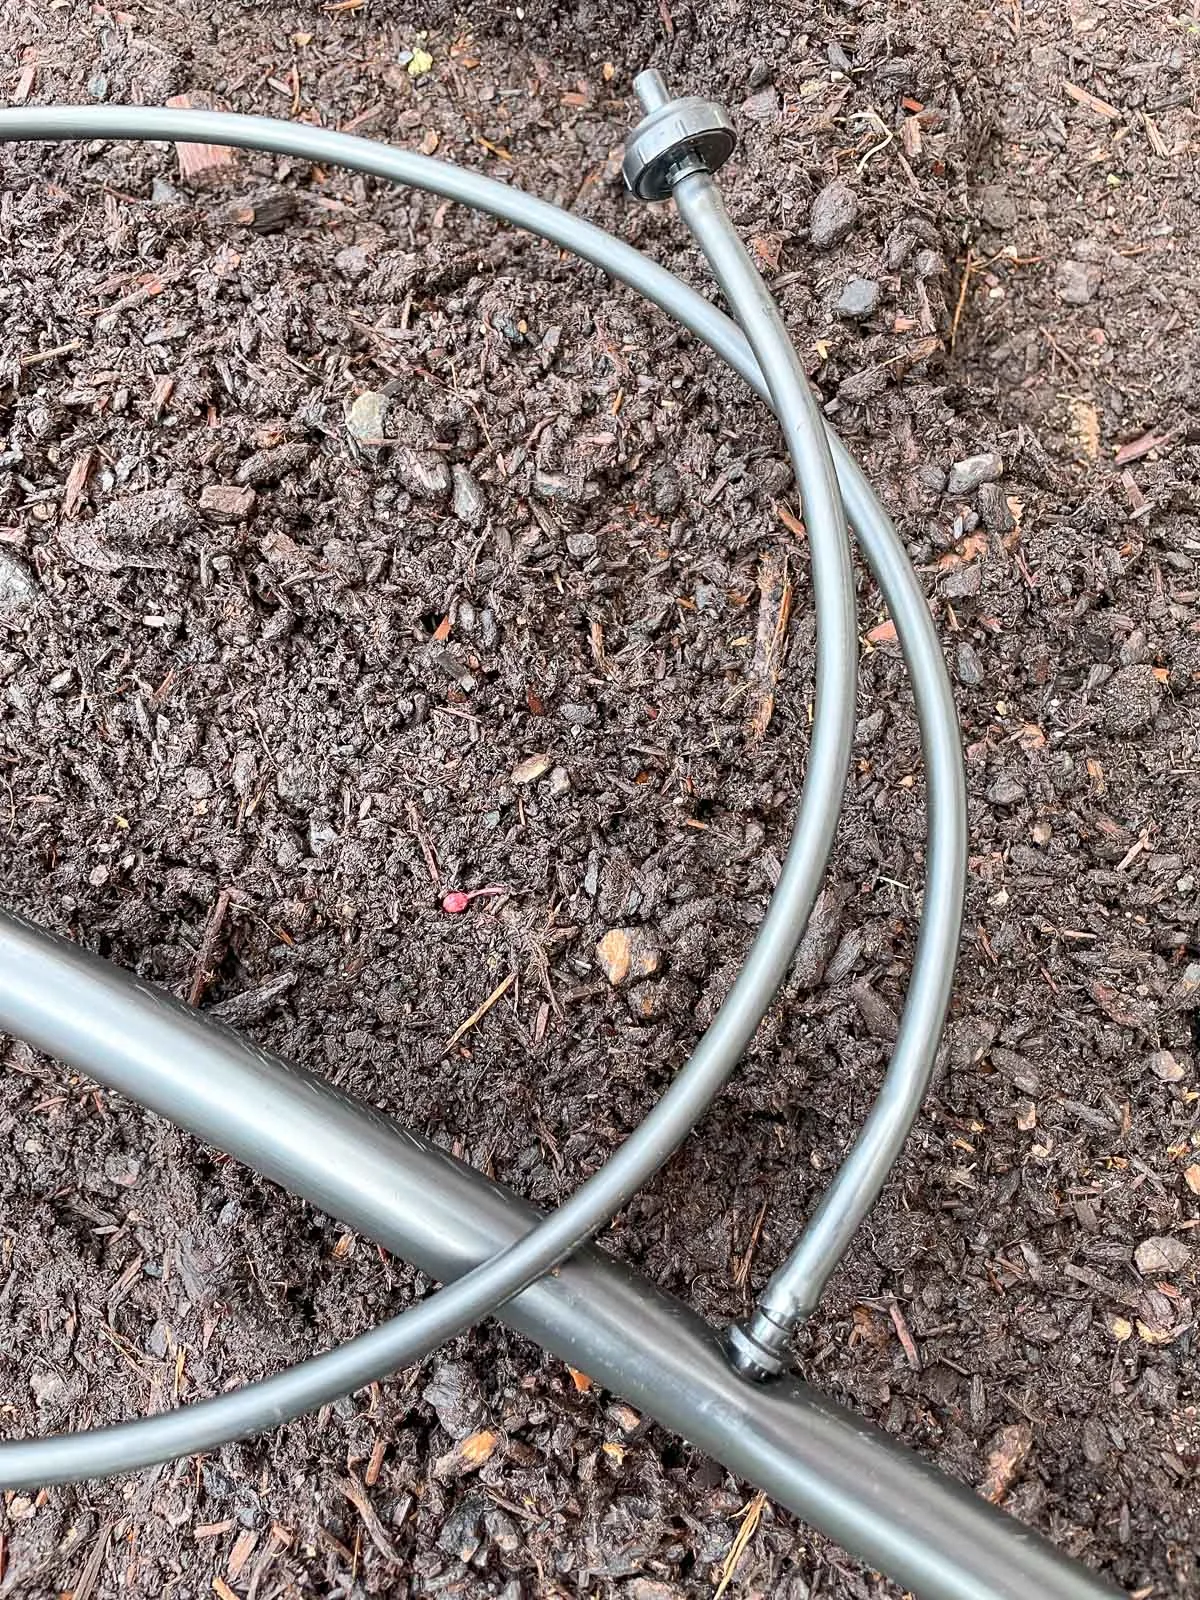
If you want to add offshoots from a single line of ¼" tubing, you can use barbed tees and crosses at the end. This will allow you to water more plants in a small area without running a bunch of ¼" hoses from the main line. Overall, you'll want to limit one length of ¼" tubing to a total of 25 to 30 gallons per hour.

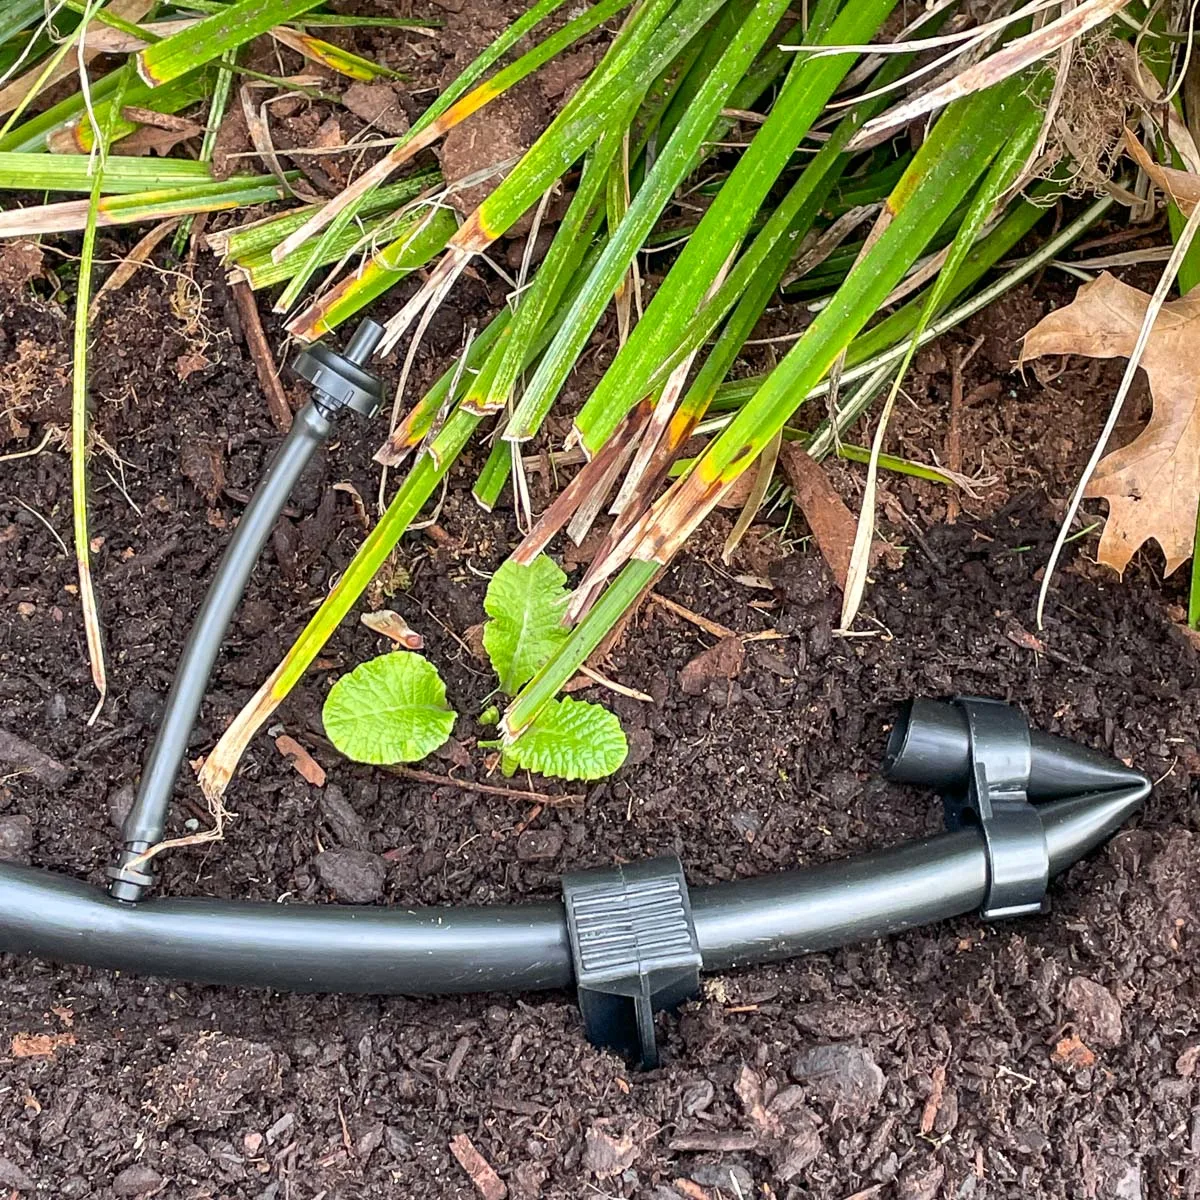
Add emitters to direct water to each plant
There's a huge variety of watering devices available for drip irrigation, from ½ gallon an hour emitters to mini sprinklers that cover a larger area. Determine how much water each of your plants need, and add the corresponding emitter to the end of each ¼" tubing line above the root ball.
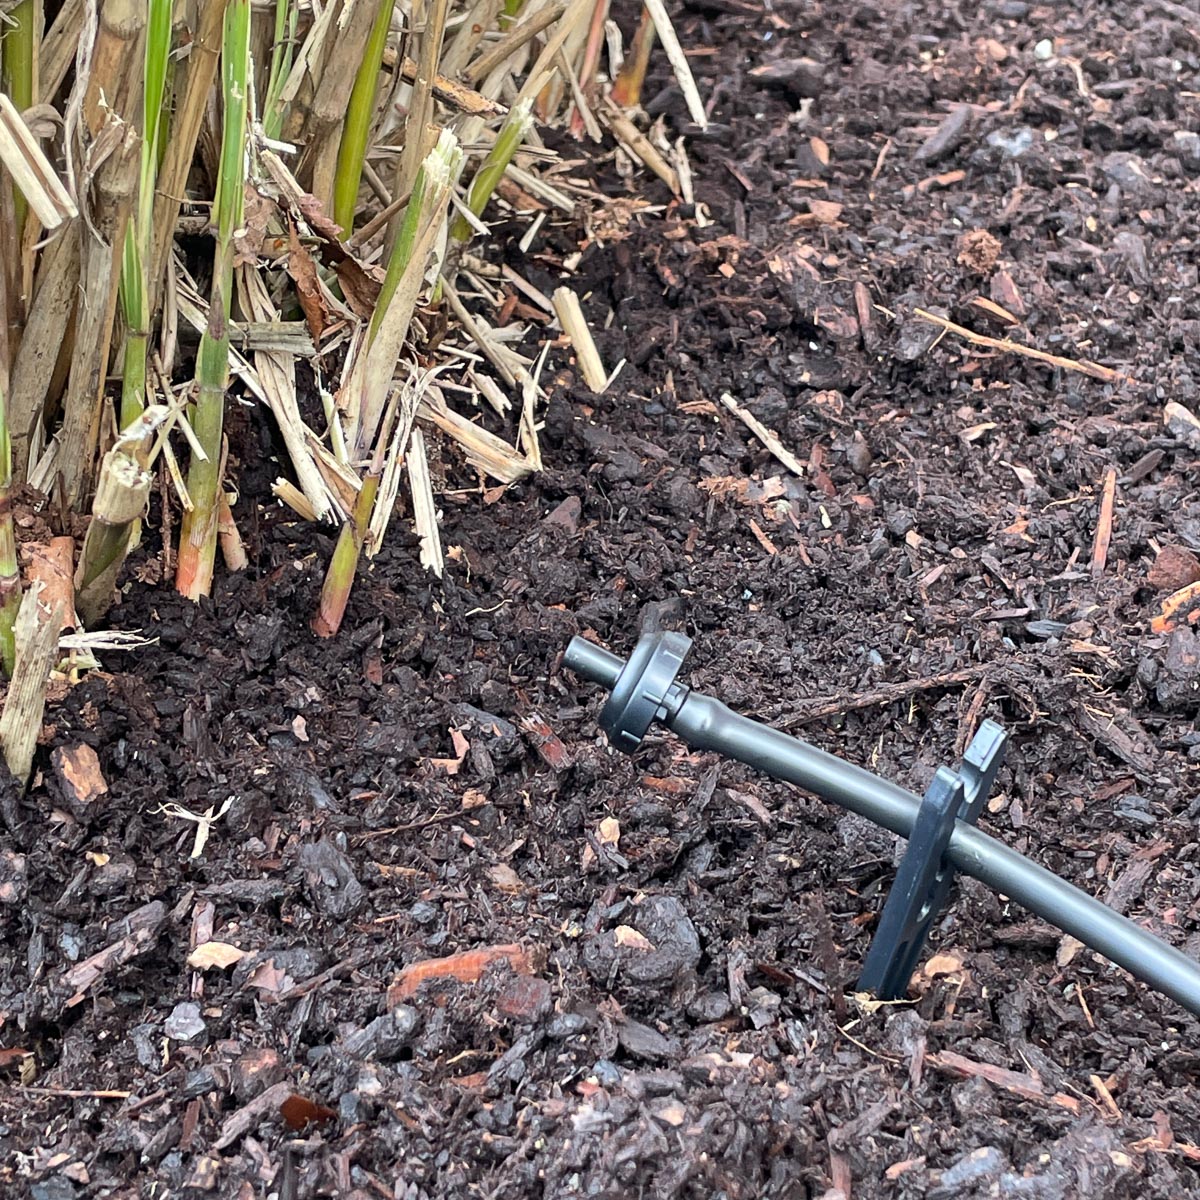

If you're not sure how much water your plant requires, I recommend using these adjustable emitters. With a turn of the top, you can change the drip rate from 0 to 10 gallons per hour. This is perfect for fine tuning your system without replacing your emitters!
Here are some general rules of thumb for watering with a drip system based on the type of soil in your garden.
| ½ gallon per hour | Clay soil |
| 1 gallon per hour | Loam soil |
| 2 gallons per hour | Sandy soil |
For dense plantings or groundcover, you can add various mini sprinklers and foggers. They can cover more area, and can be moved around more easily than in-ground sprinkler systems.
Check the system for leaks
Once everything is set up, test the system to make sure none of the connections are leaking and all the emitters are dripping or spraying. Tighten loose connections where drips are happening at the barbed junctions.
Cover the tubing with mulch
When everything is working correctly, you can hide all the pipes under a layer of mulch. This has the added bonus of keeping the water inside the tubing cool during the hot months. Make sure the emitters aren't covered, and don't bury it so deep that it will disrupt your plants if you need to add onto the system and have to dig it out.
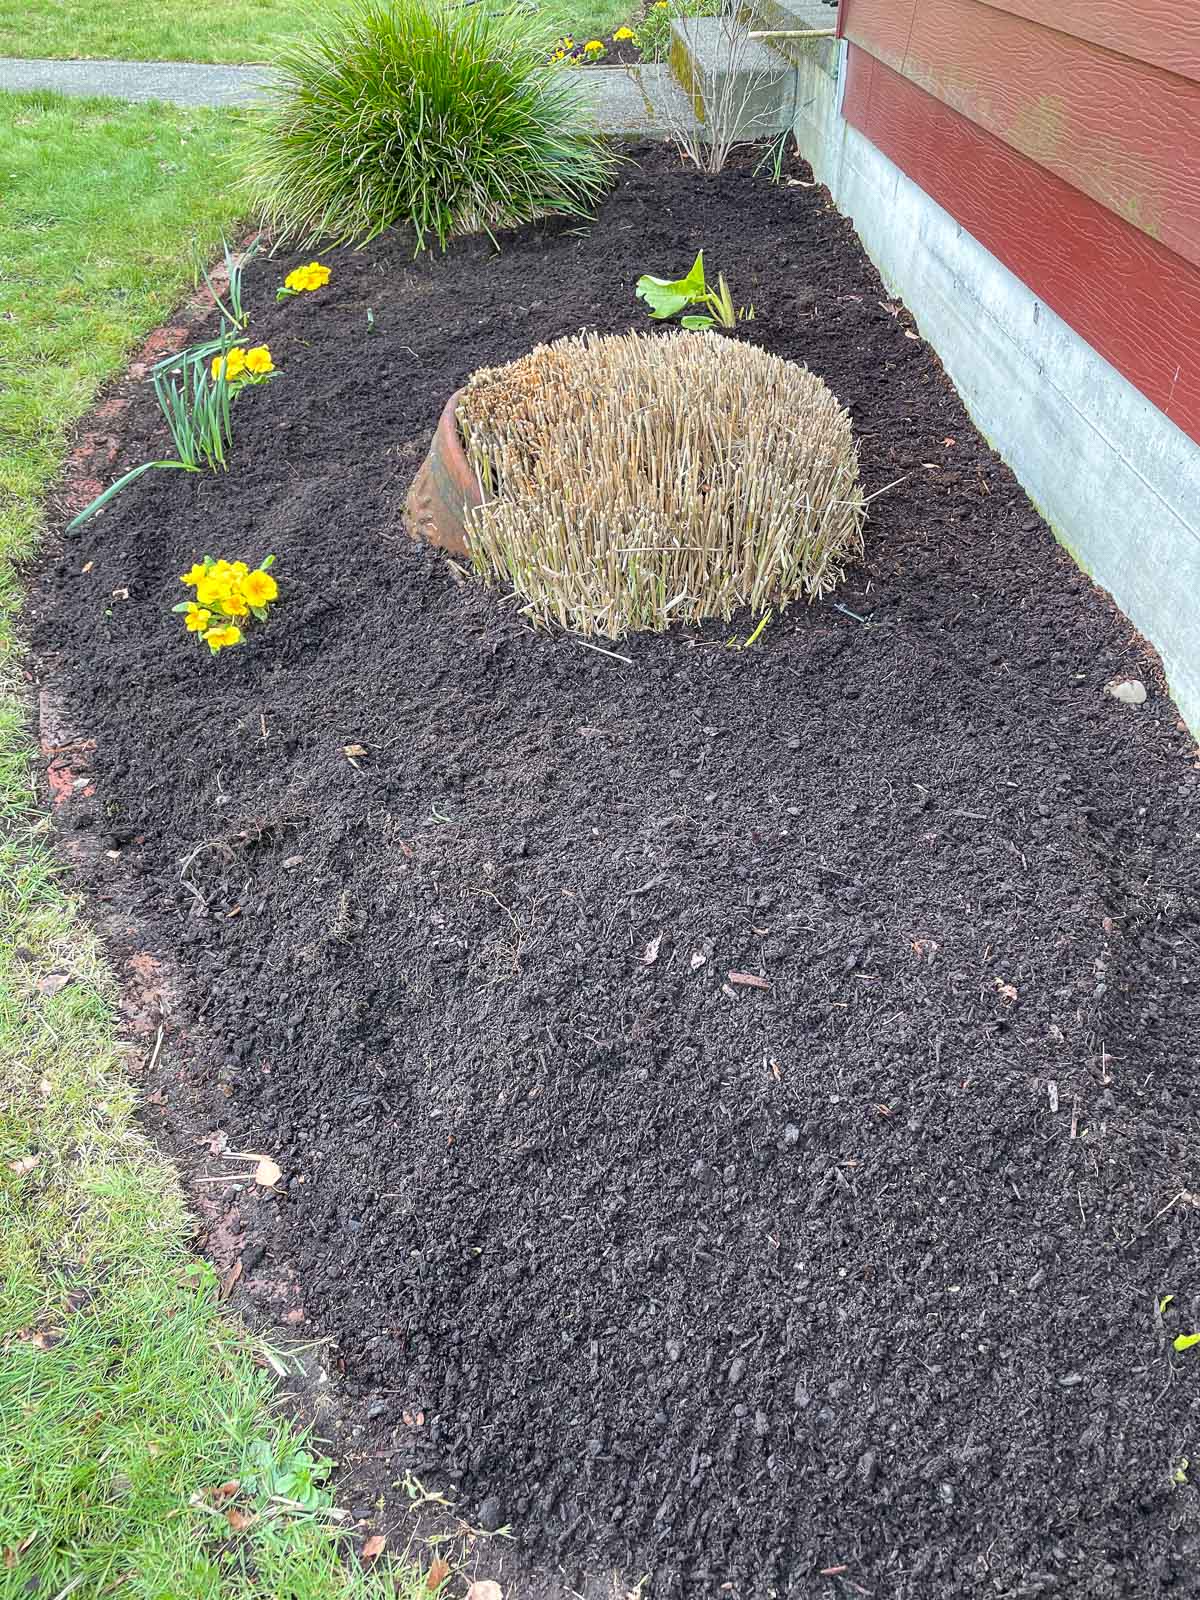
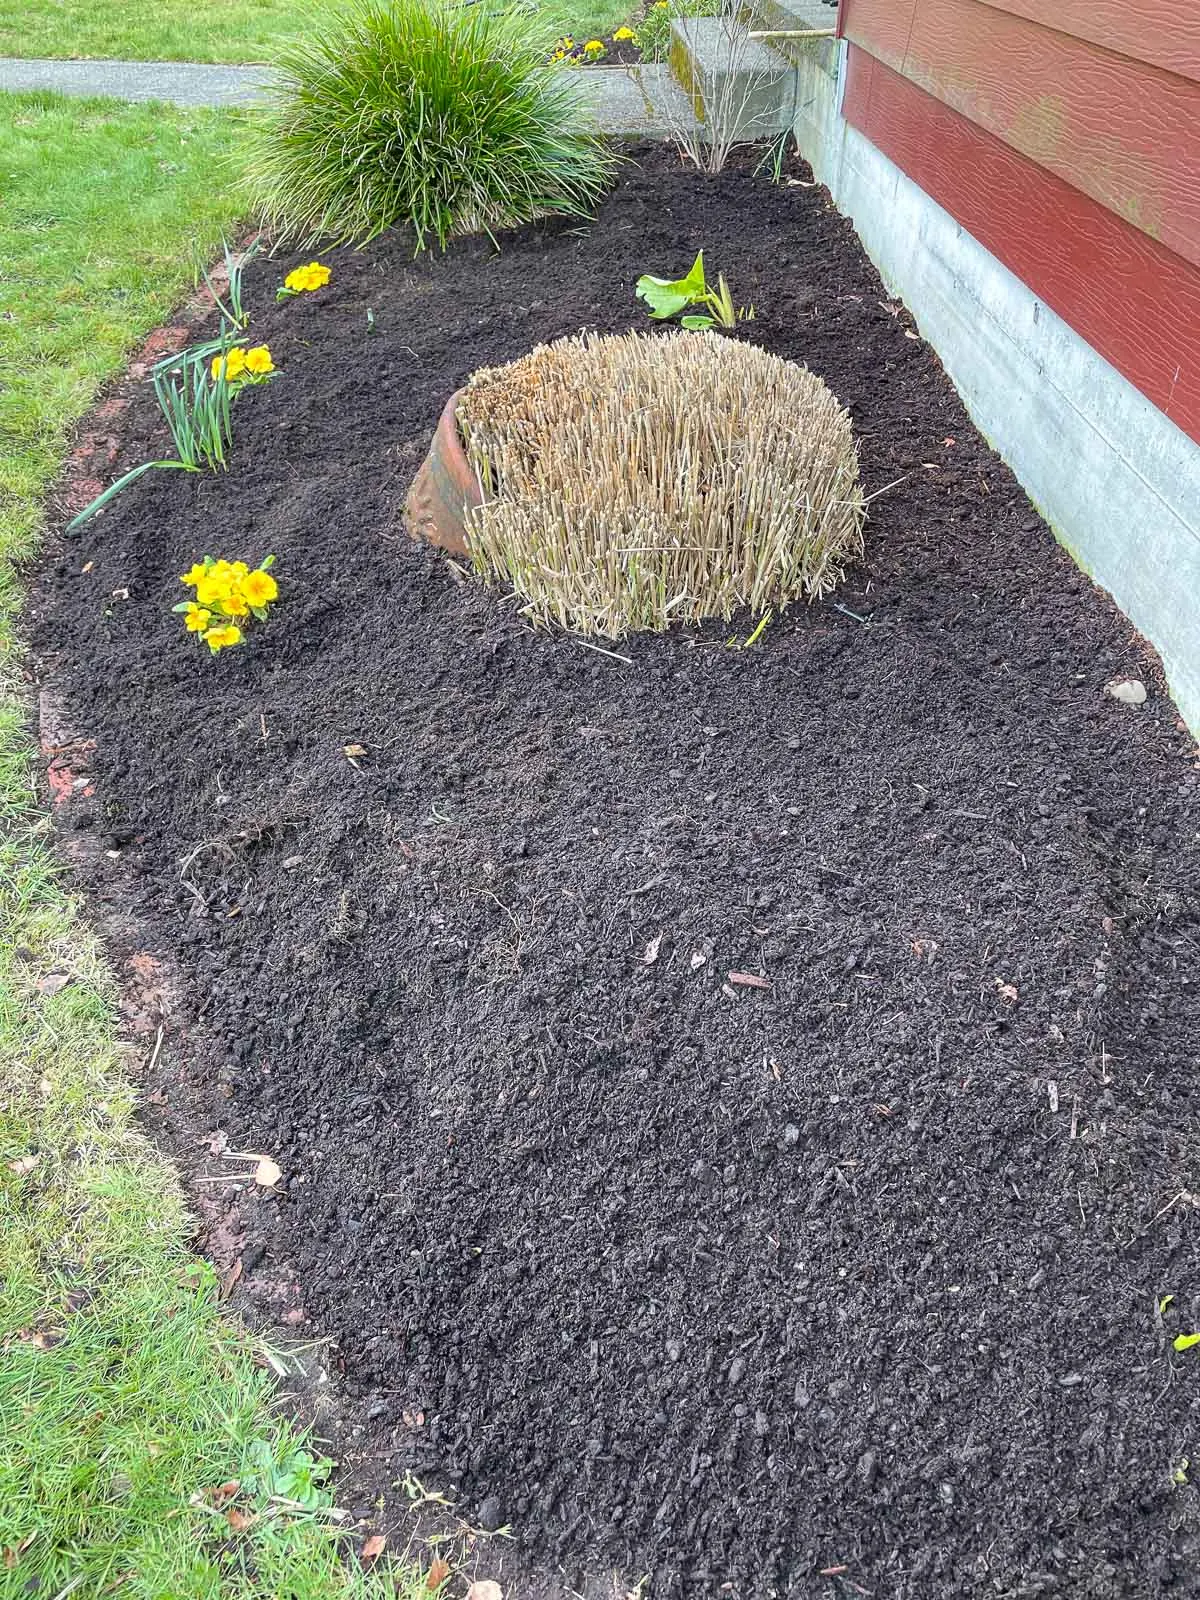
You can just barely see the emitters popping up in this flower bed! I left the tubing pretty close to the surface so I can find it easily when I add more plants this spring.
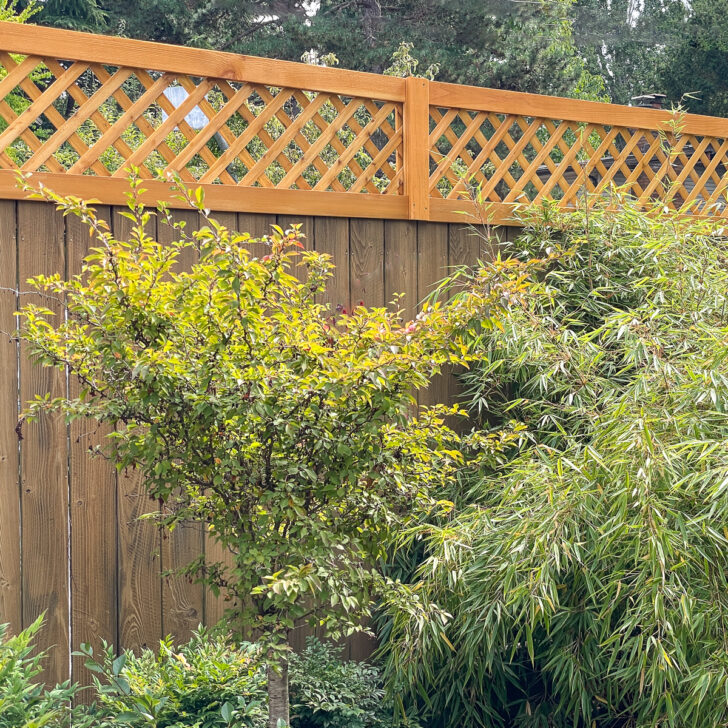
I'm really looking forward to fine tuning my new drip irrigation installation as my garden grows. No more time wasted watering with a hose, and no more sky high water bills! Just beautiful plants and flowers to enjoy all summer long!


Sue
Friday 19th of July 2024
I really want to give this a try. My husband can't do things like this any more, so I will try. I live in Florida where the heat is a real issue. We are just exiting a drought. It even killed my Bromeliads. I'm old, but I think I can do this!