Open your windows without bugs flying in! This super easy DIY window screen is made from a kit to custom fit in your window perfectly.
Back in April, we had this amazing greenhouse built in the backyard. We plan to use it both as a place to grow plants (obviously), but also as a hangout spot with a table for indoor/outdoor dining and a hot tub for relaxing.
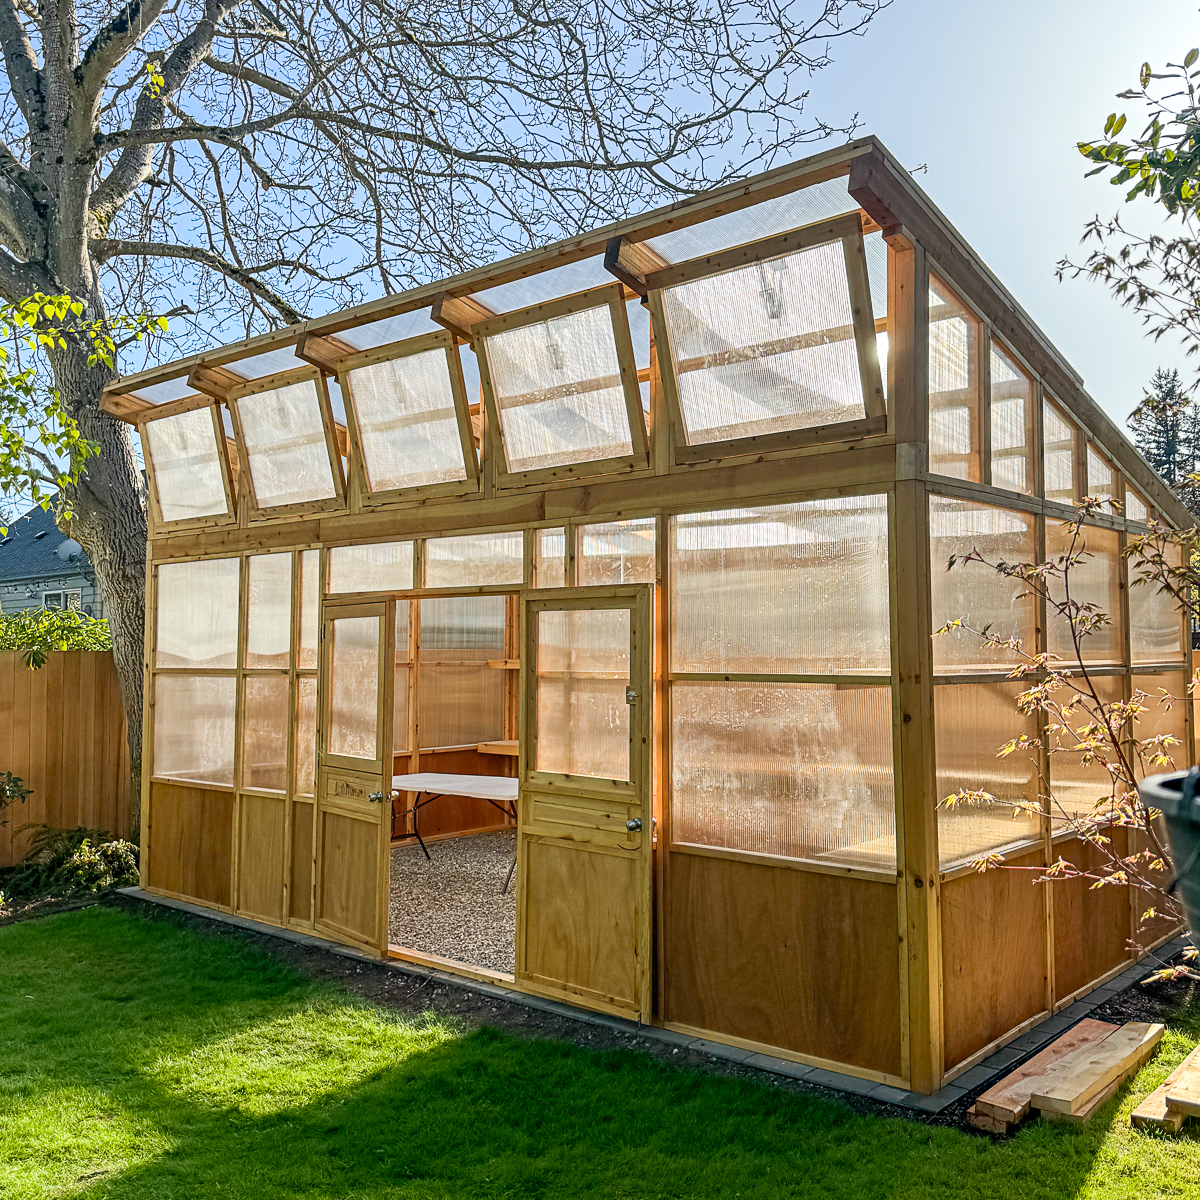

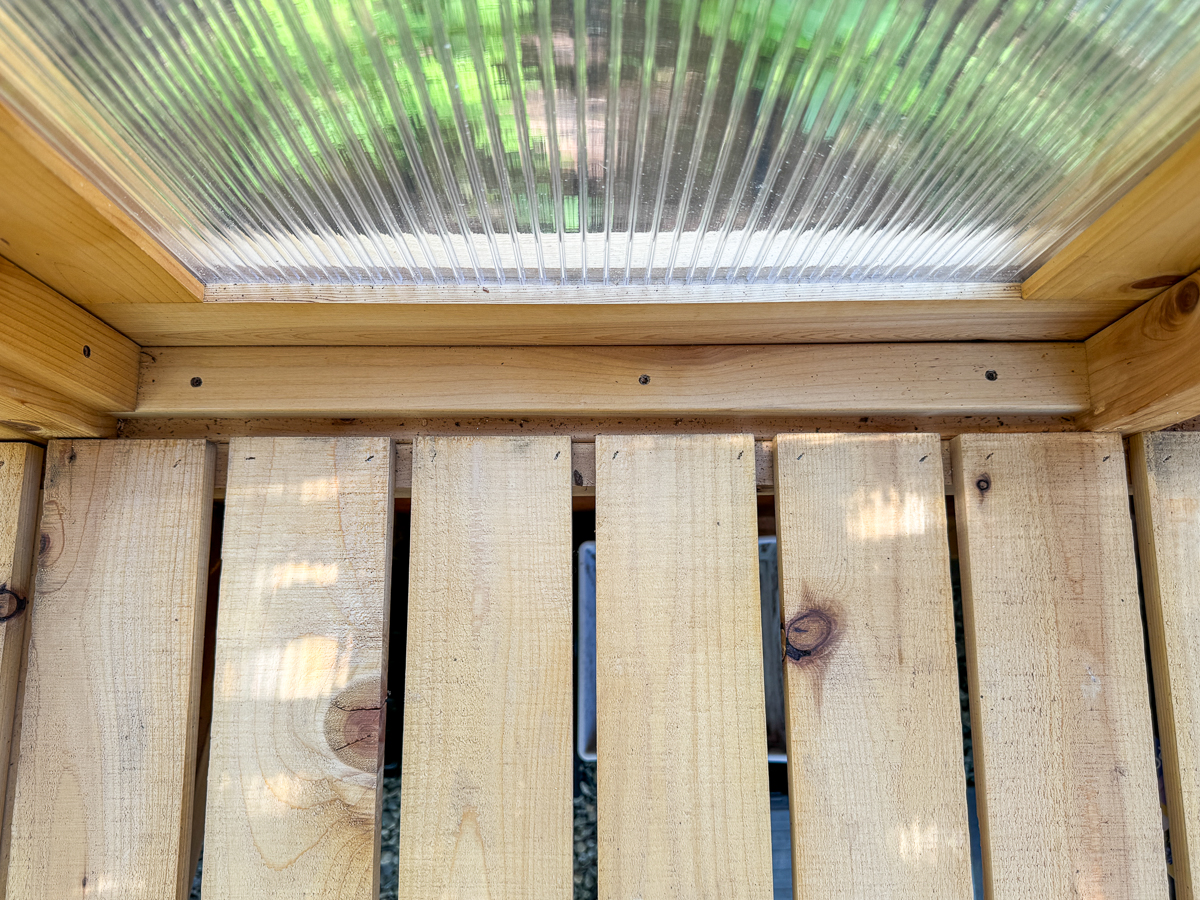
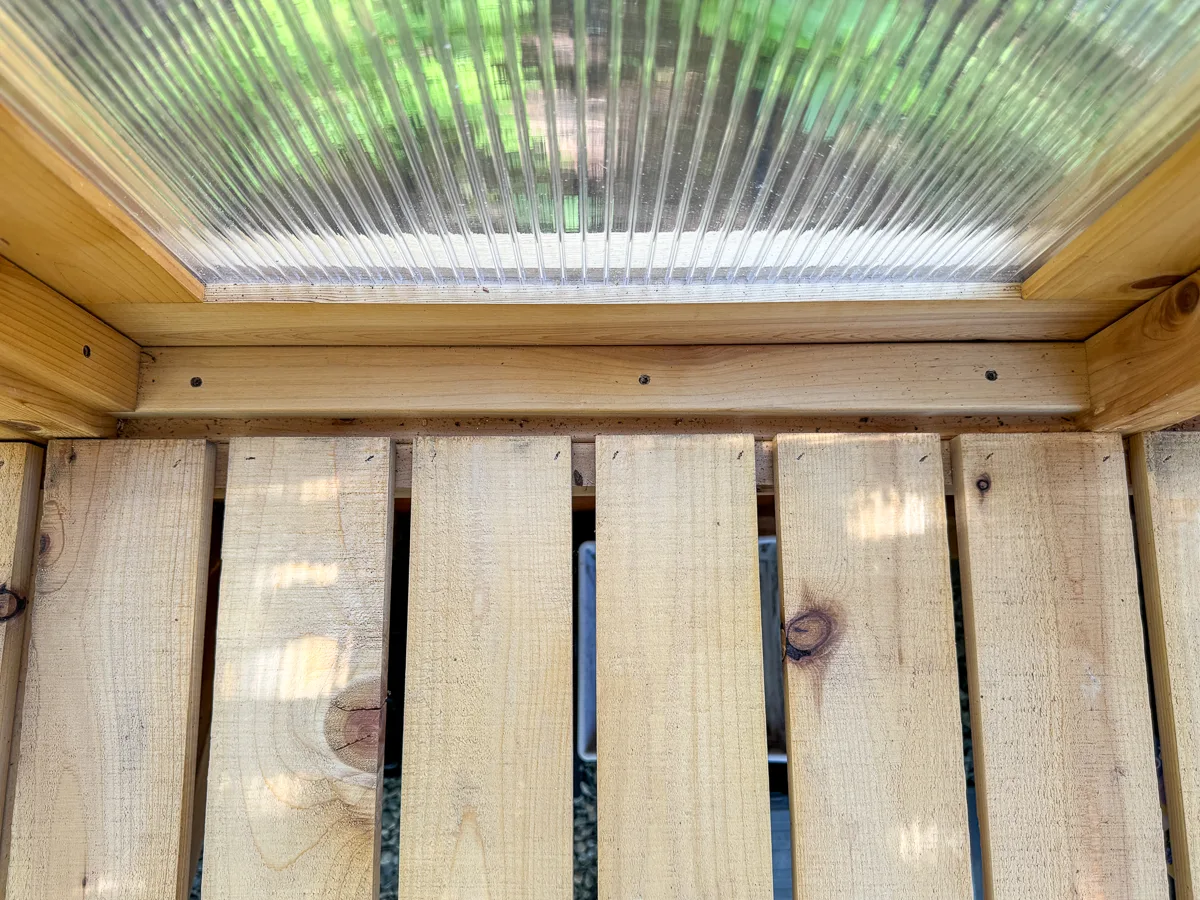
It's been a cold spring, so we haven't really needed to open the windows much. The ones at the top open automatically as the heat rises, keeping the temperature at a consistent 70 degrees most of the time.
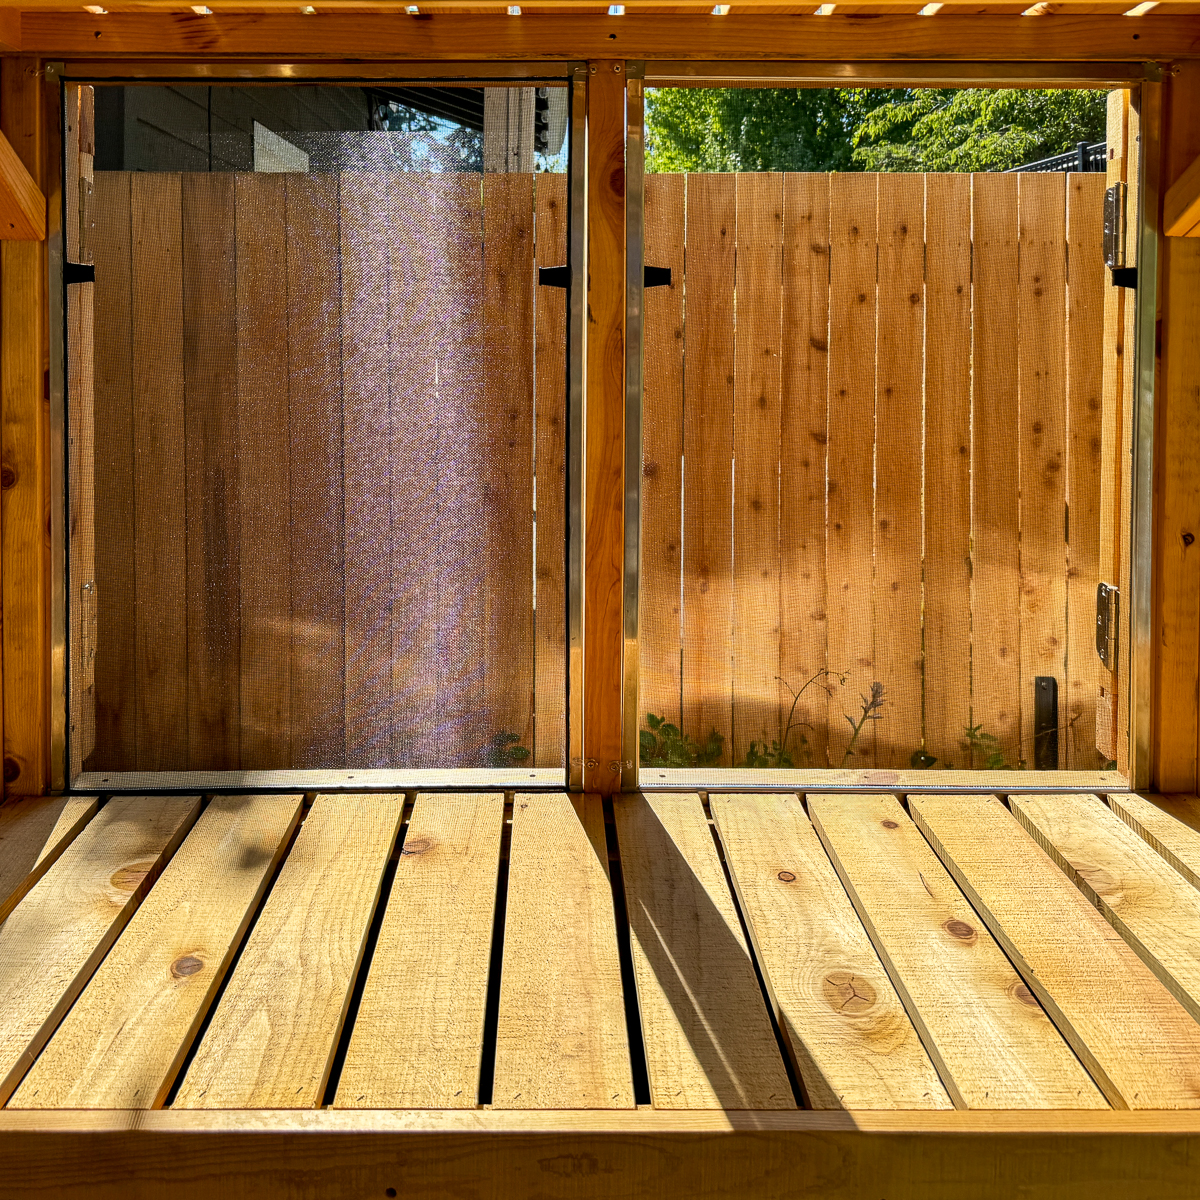
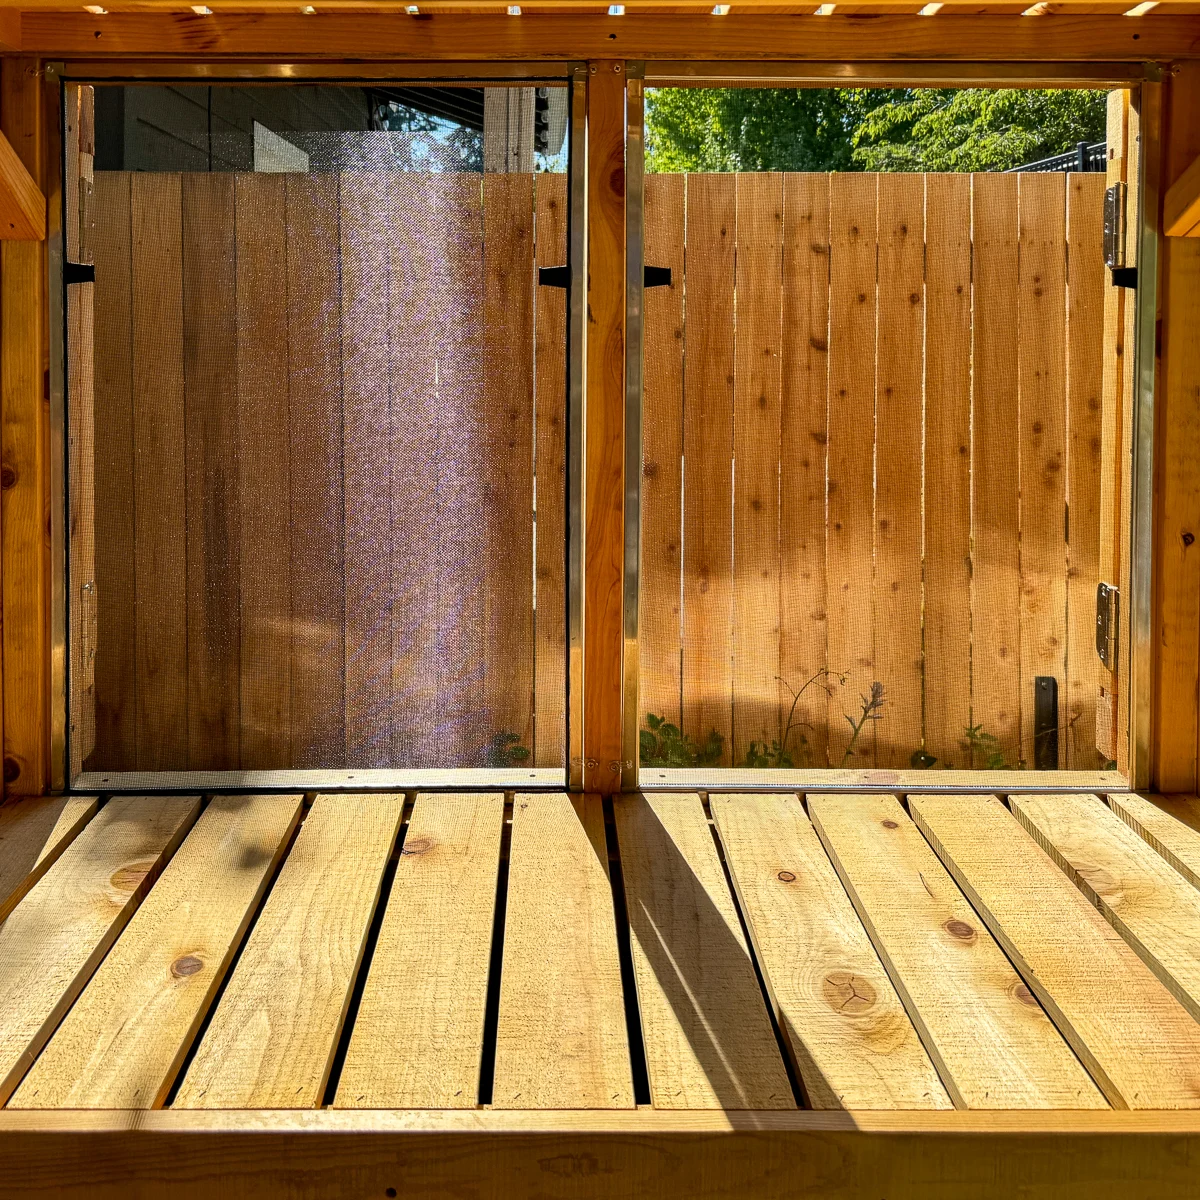
But now that summer is officially here, it's getting toasty in there! There's just one problem...the back windows don't have screens. Critters could easily hop through the opening and eat all my tomatoes!

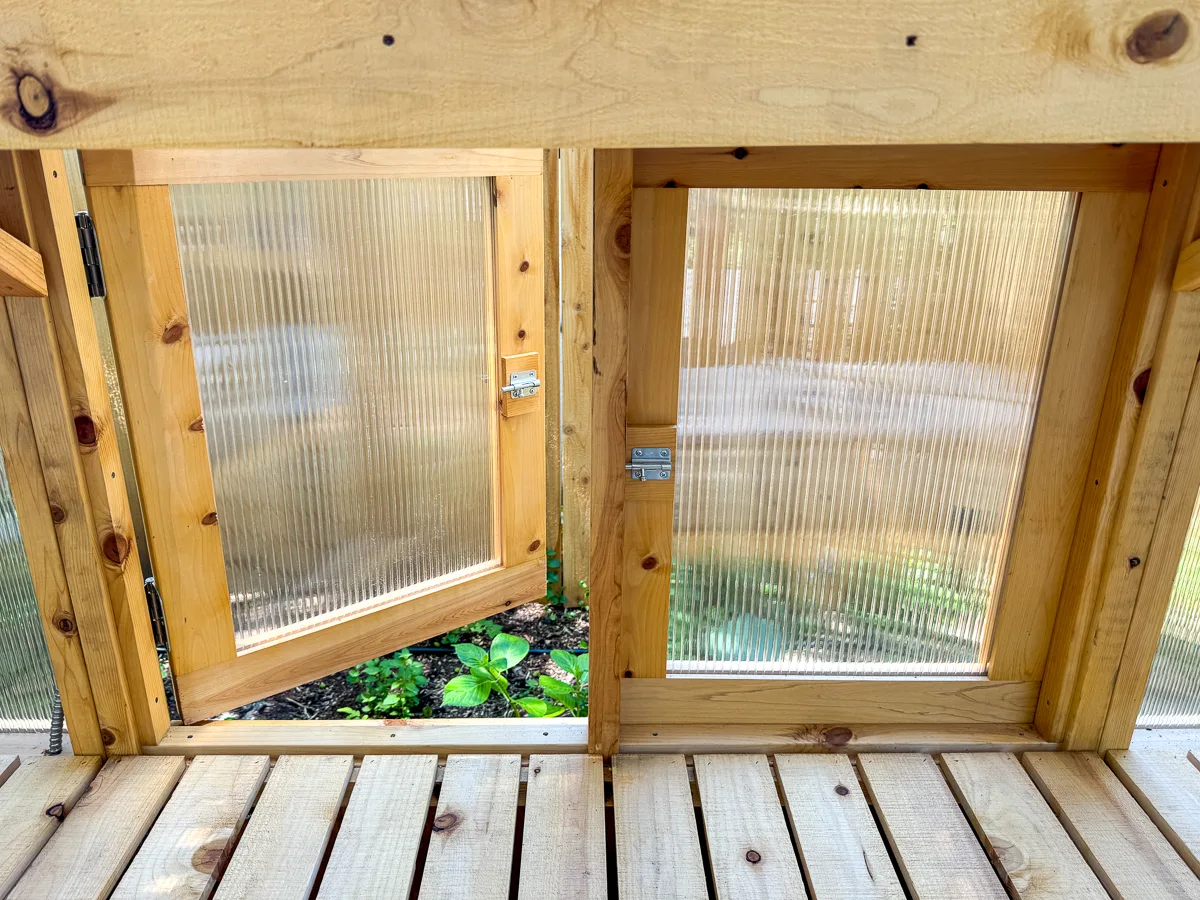
I debated making my own screens out of wood, like I did with my DIY screen door. But the space between the built-in shelf and the frame is only ½", and I was worried about the stability of using such a thin material.
Then I found these DIY window screen kits, which comes with frame pieces that are the perfect thickness to fit in that gap! The instructions weren't exactly helpful, so I decided to put together a quick tutorial so you can see how I made them.
This post contains affiliate links for your convenience. Purchases made through these links may earn me a small commission at no additional cost to you. Please visit my disclosures page for more information.
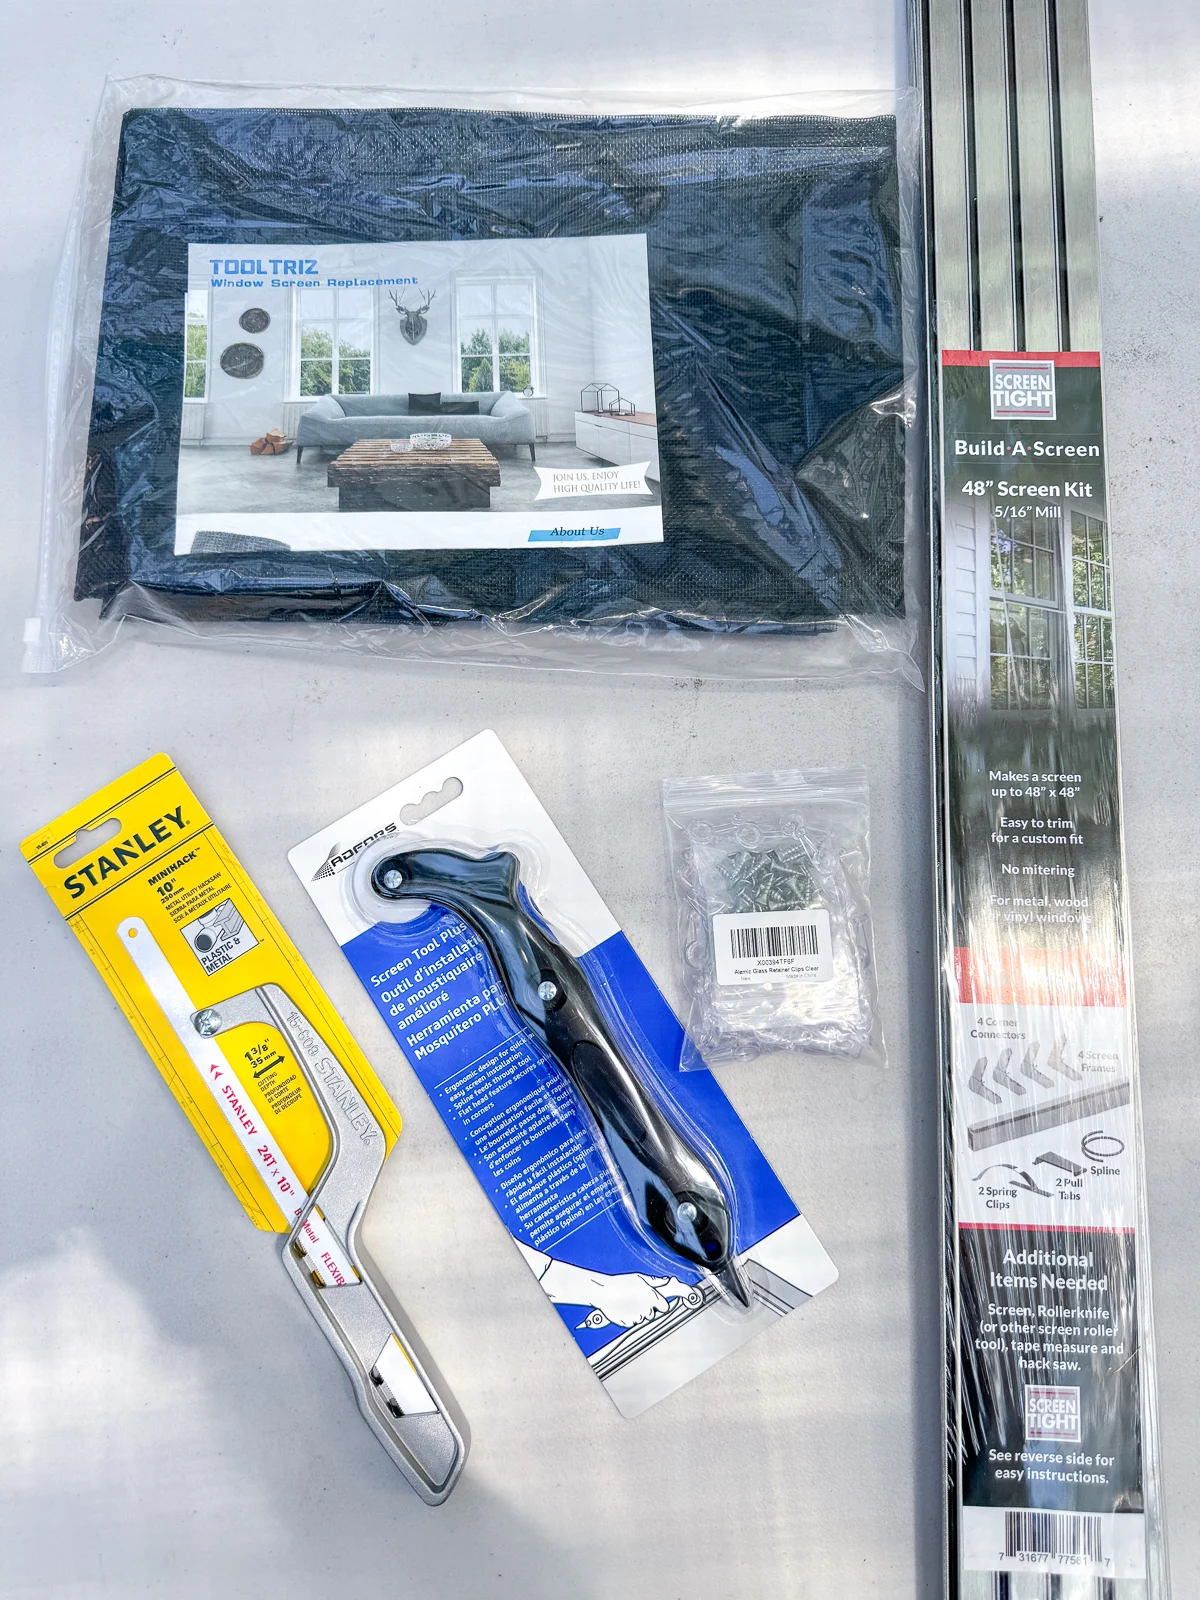
Materials Needed
- Window screen kit
- Window screen mesh
- Spline roller tool
- Hacksaw with metal blade
- Utility knife
- Tape measure

How to Make a Window Screen
Take measurements
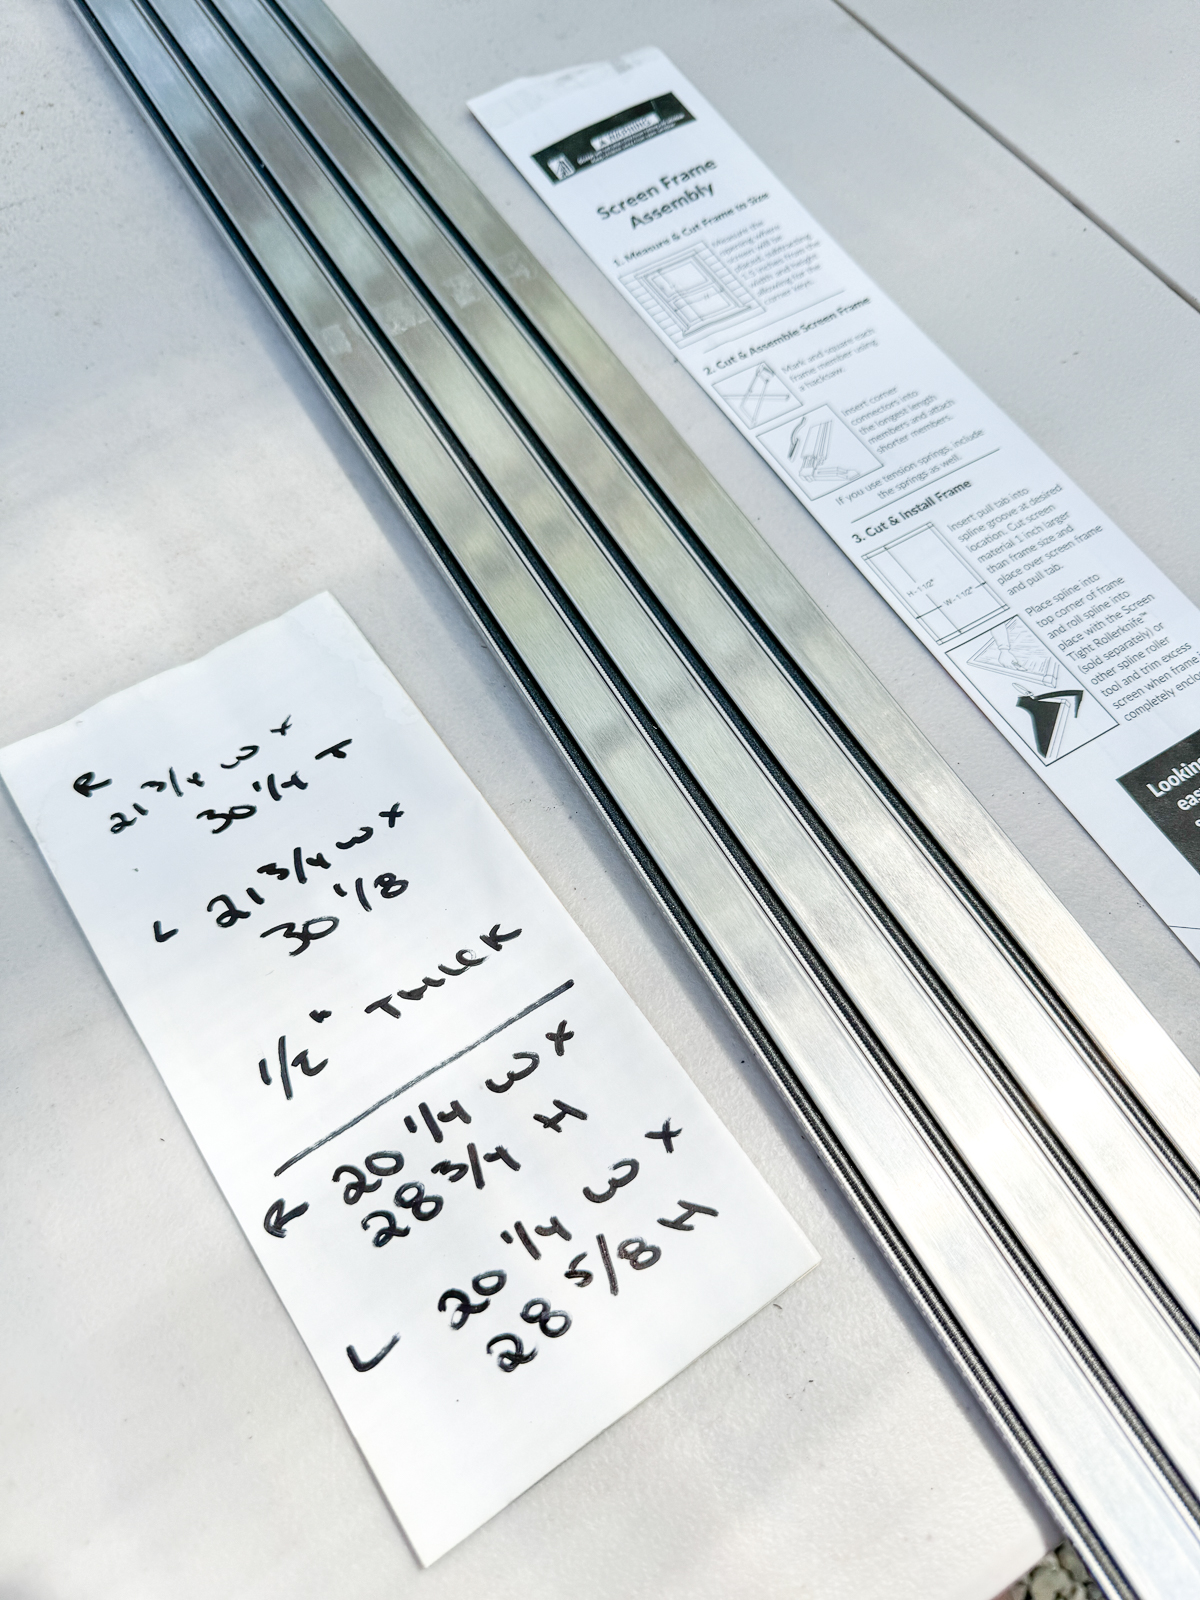
It's really important to get accurate measurements so your window screen fits perfectly. Measure across the width at the top, middle and bottom of the opening, as well as vertically in the middle, left and right. Use the smallest measurements.
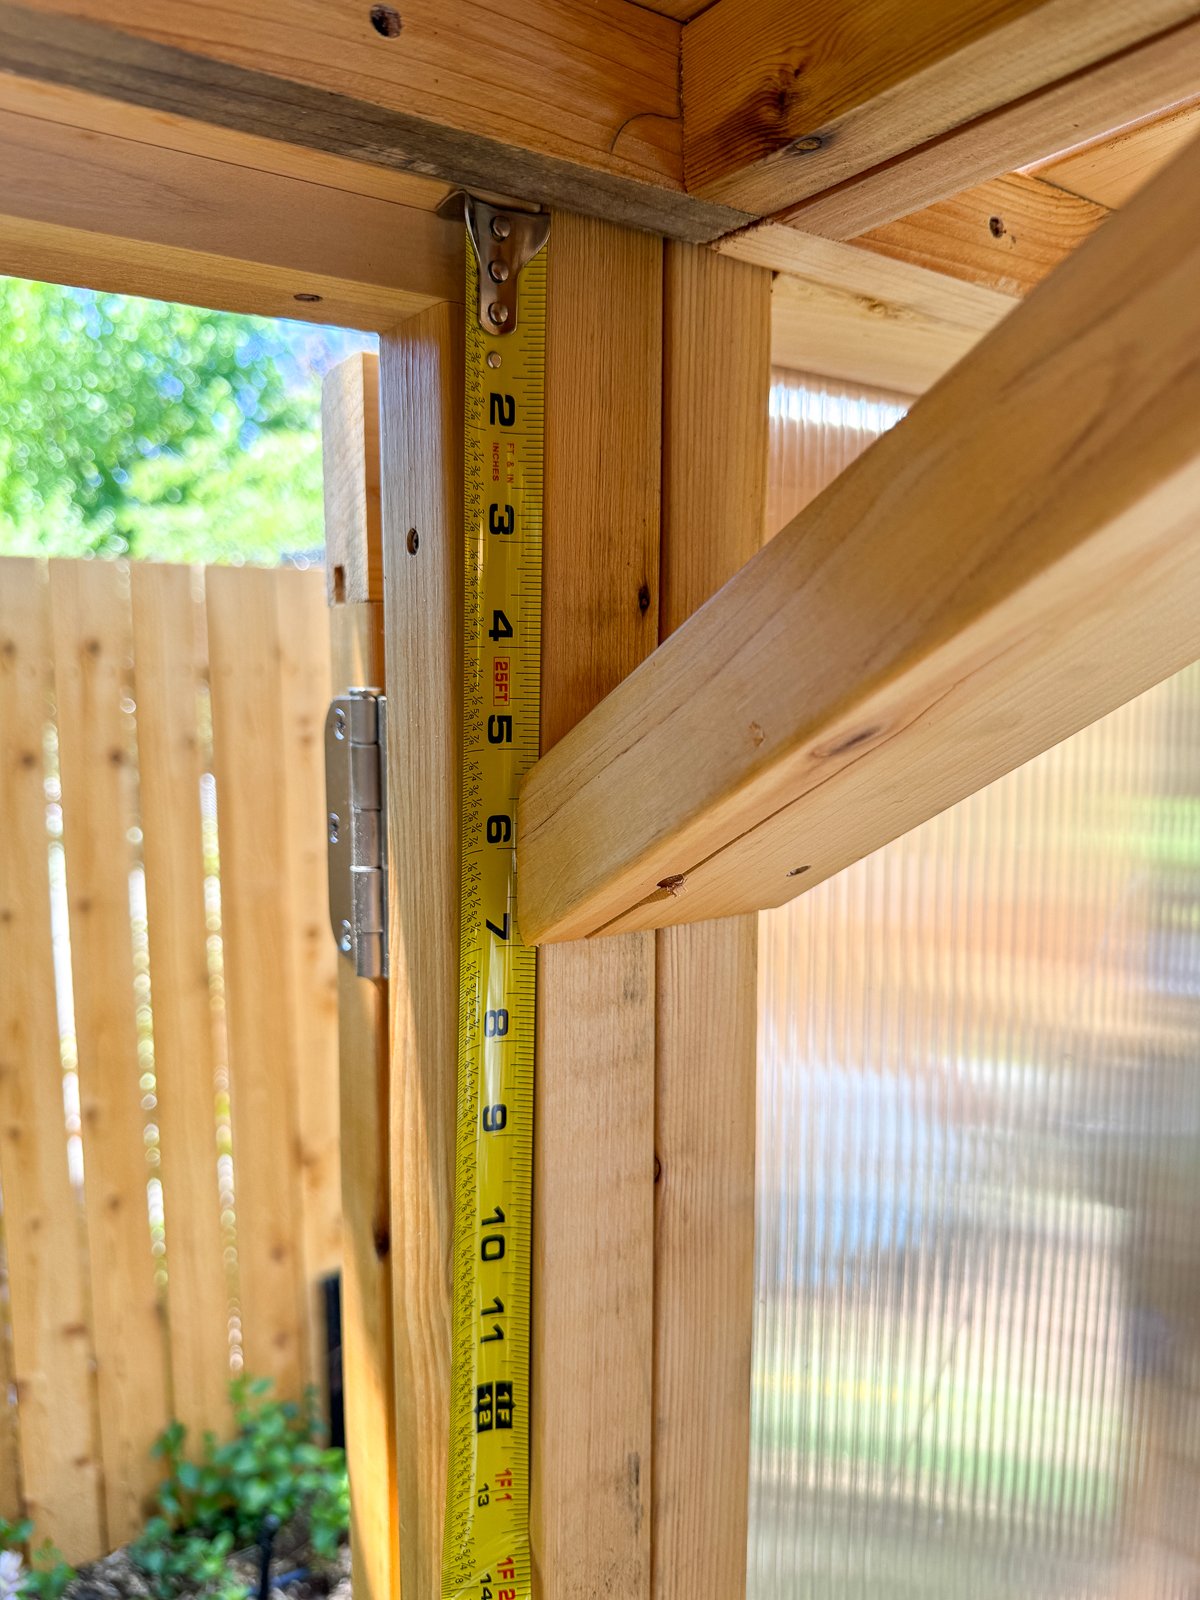
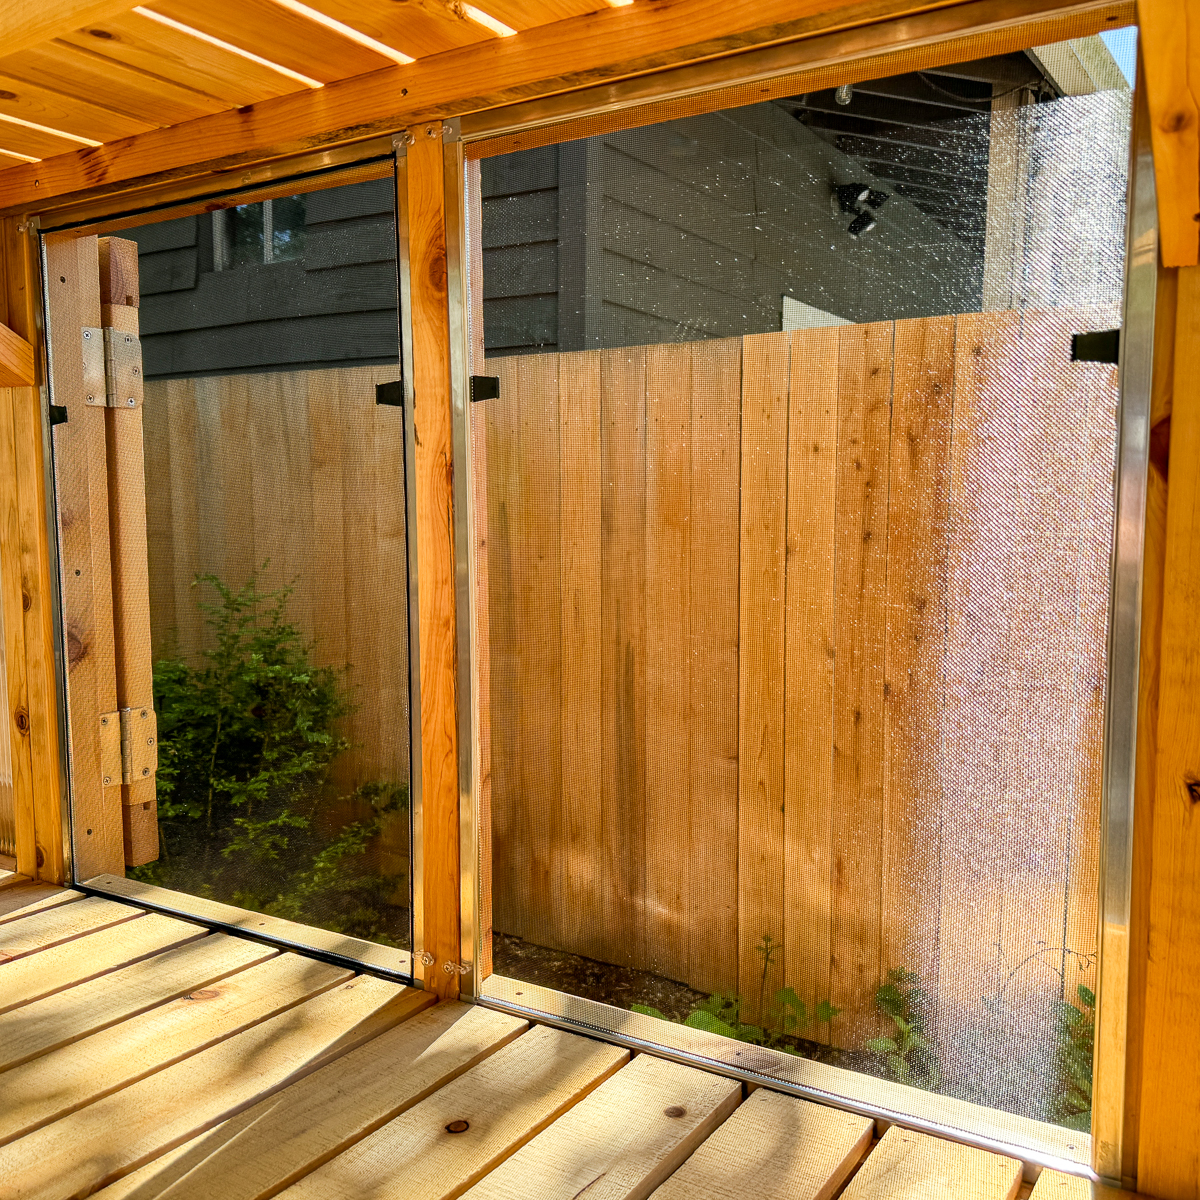
In my case, I had to take into account these diagonal supports on both sides that hold the upper shelves of the greenhouse. They stick out into the screen area slightly, so I made the frame a little smaller so it could get past the support without bending it.

The screen kit instructions state to subtract 1 ½" from both the height and the width to account for the corner brackets. The two windows weren't quite the same size, so I jotted down the dimensions for each one with clear labels so I didn't get mixed up!
Cut the frame pieces
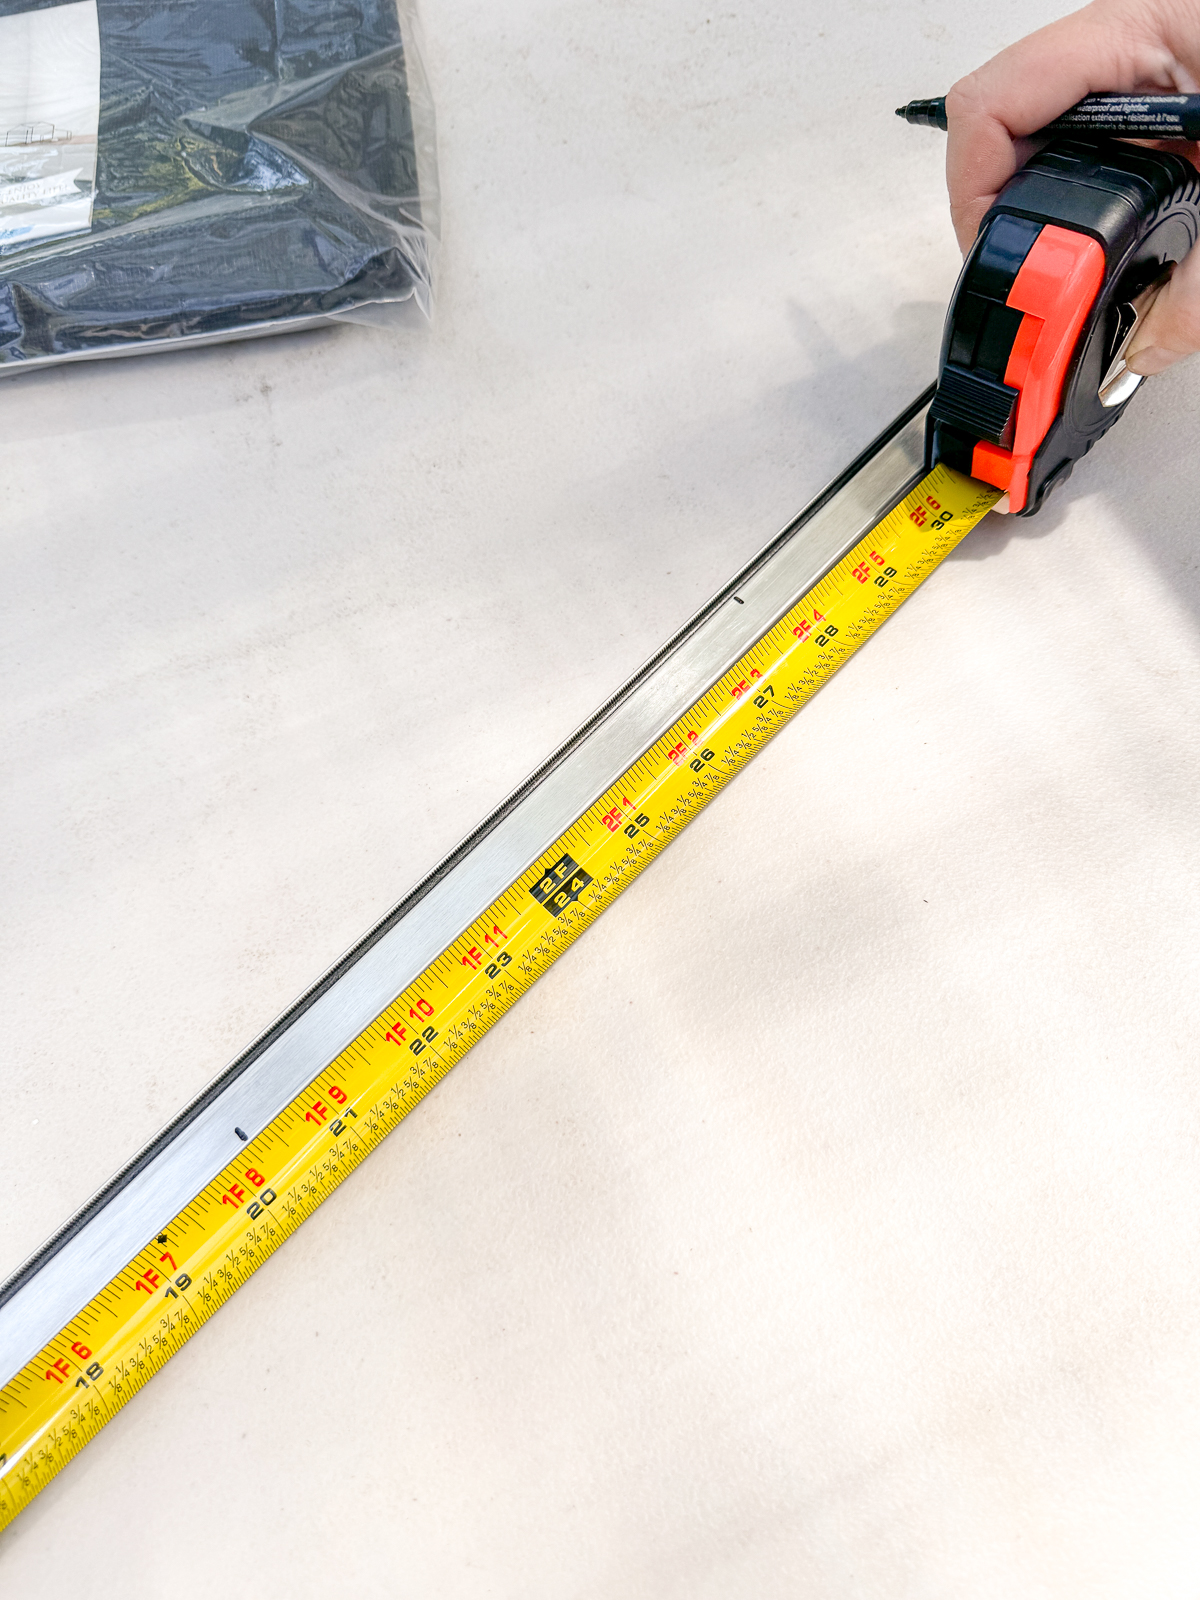
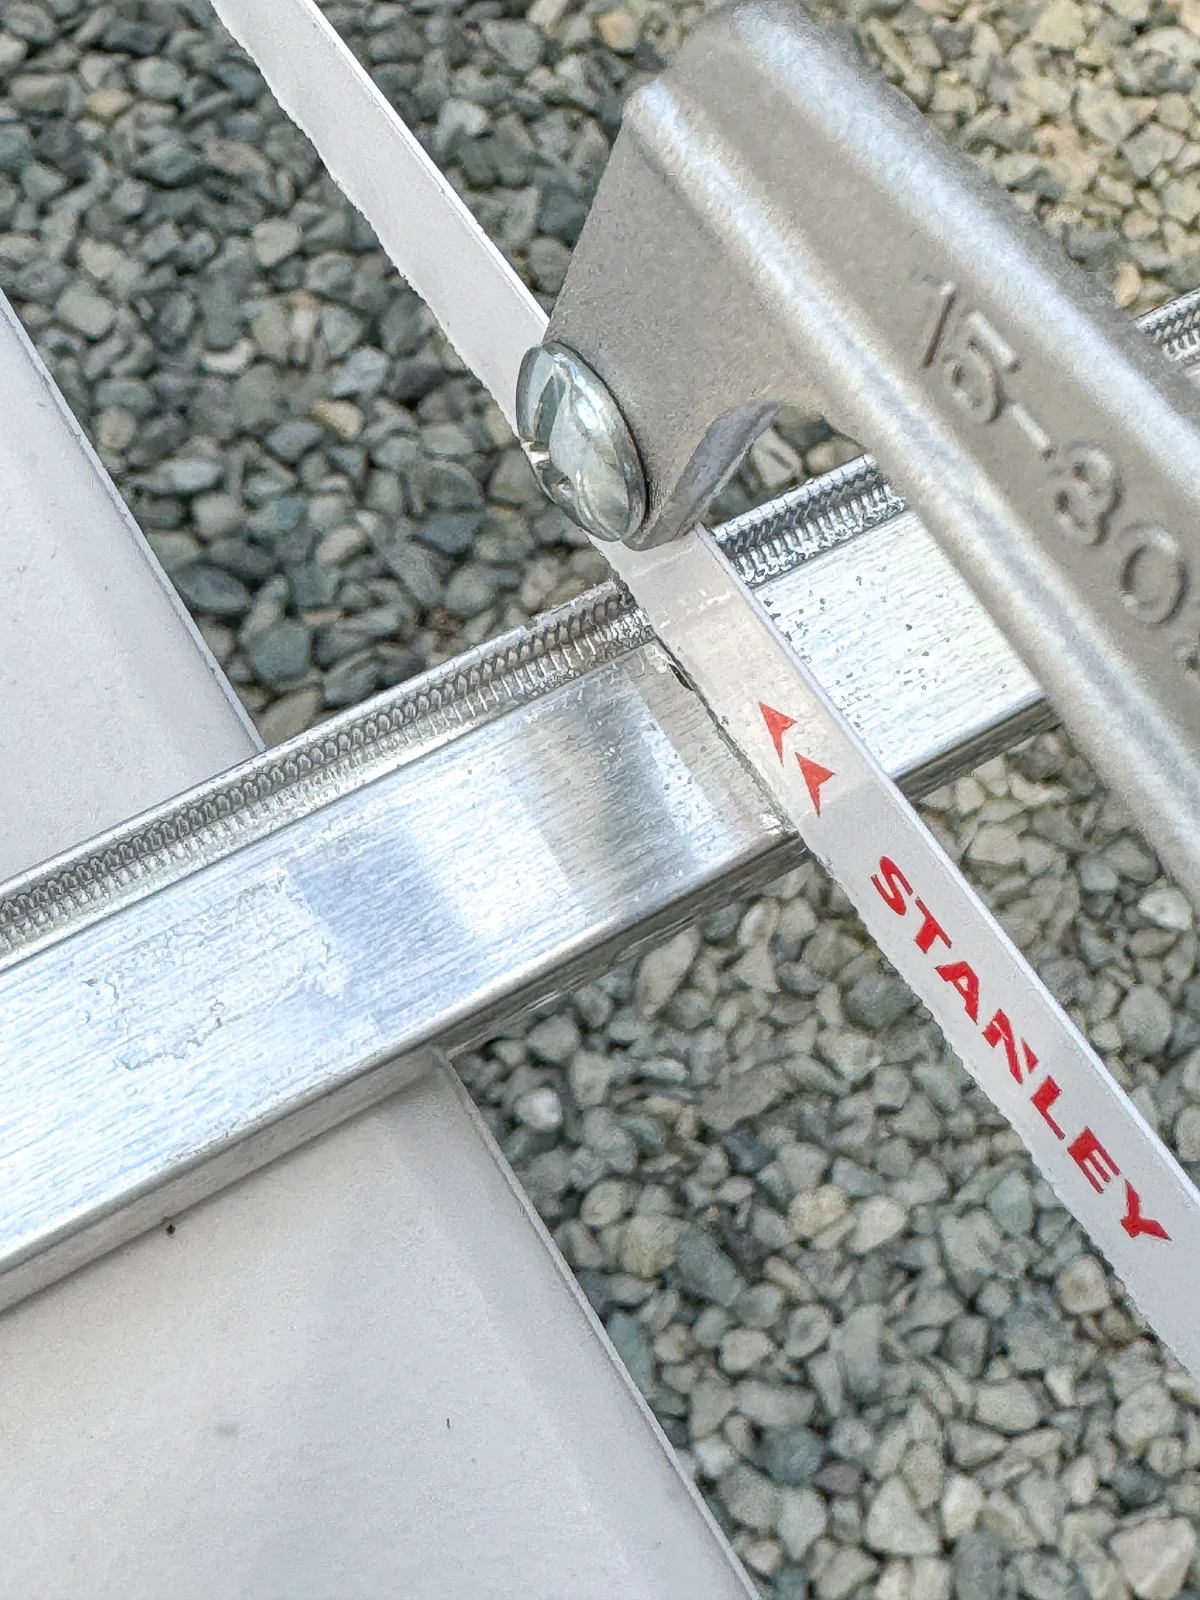
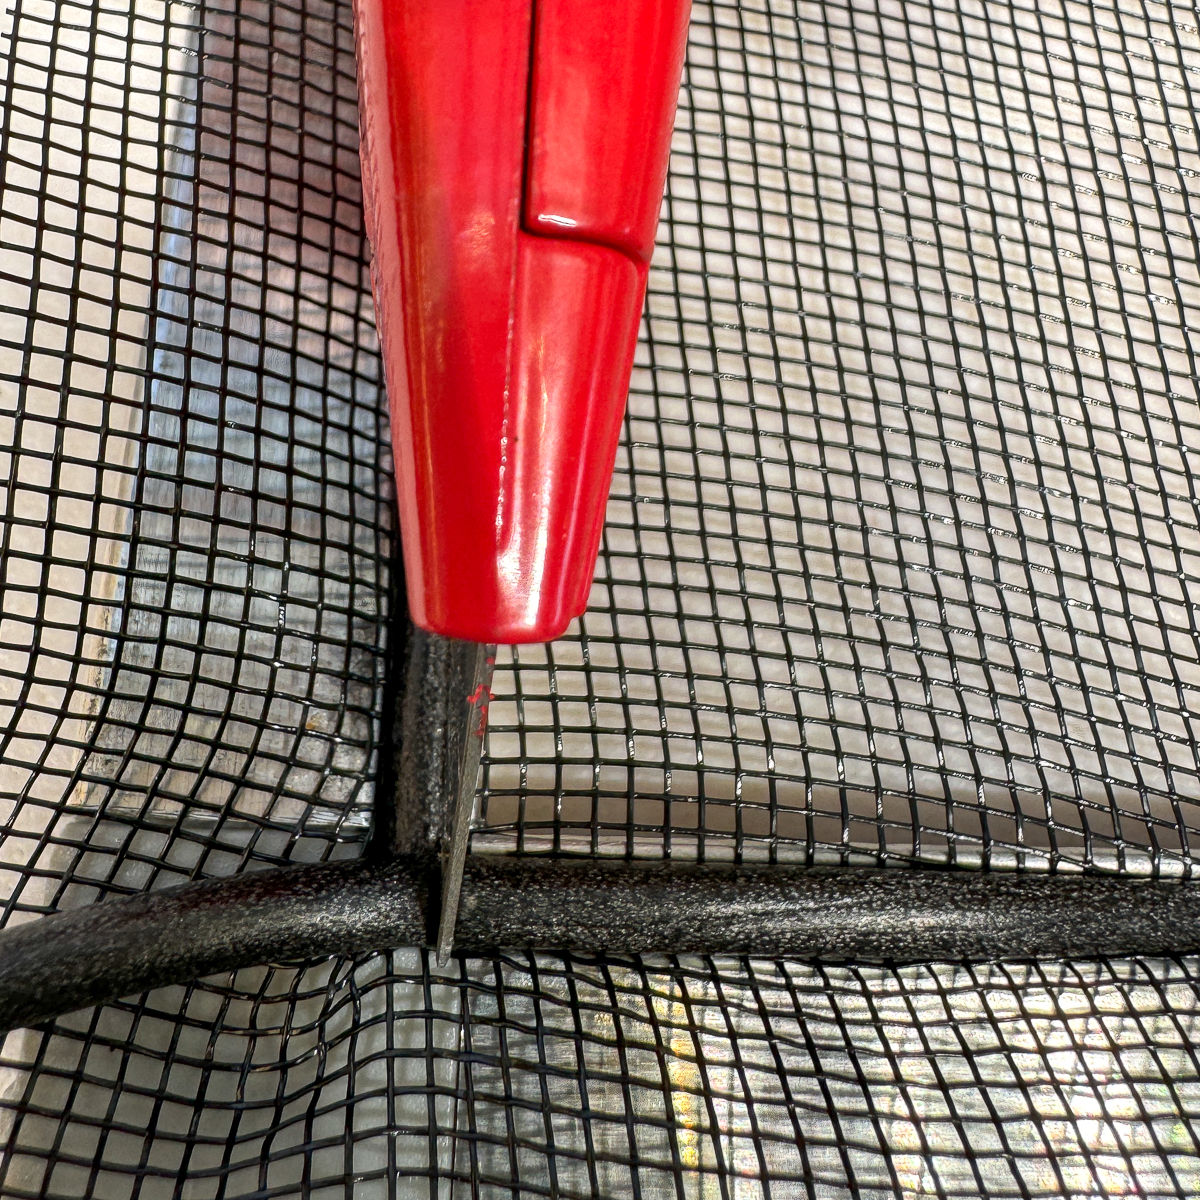
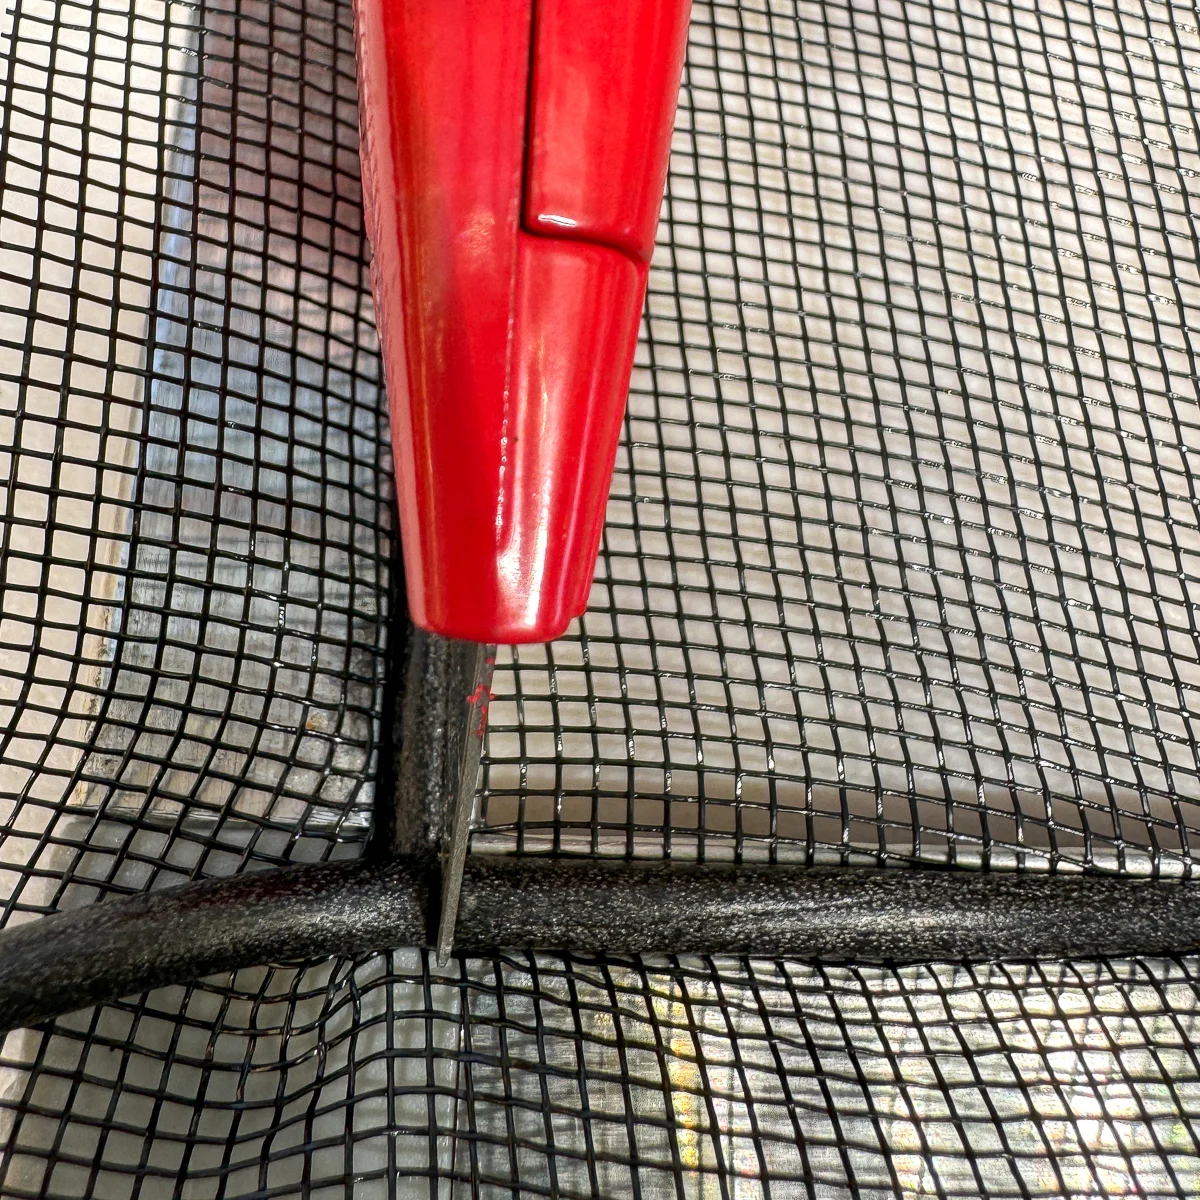
Measure and mark the frame pieces according to your measurements. I was able to get both of the width pieces out of one length, so I could save the other in case I messed up. I measured from each end so I didn't have to account for the saw kerf.

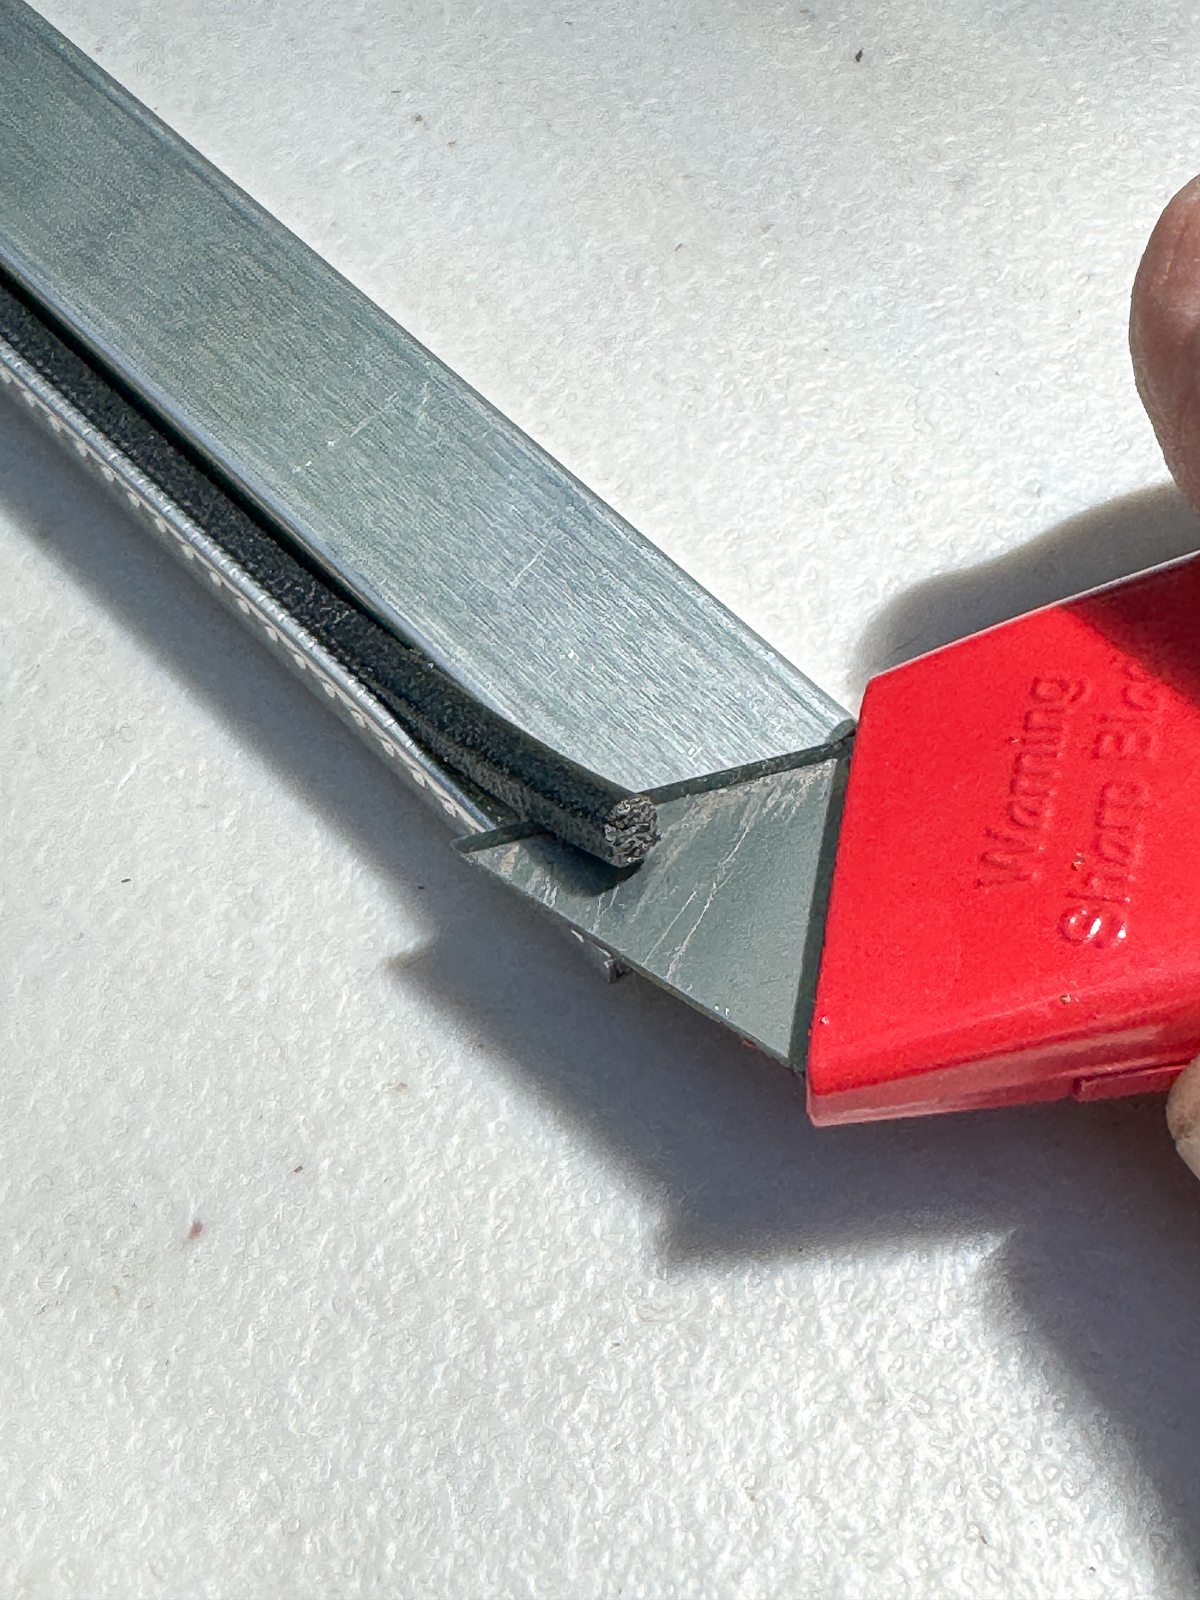
The rubber spline in this kit is already in the groove, but you need to remove it before cutting the pieces. I just used the tip of a utility knife to pry out the end, then pulled the rest out.

The window screen frame is made from lightweight aluminum, which can be easily cut by hand with a hacksaw with a metal blade. You can use a miter box to ensure you get a straight cut, but I had no problem cutting it freehand.

If you have a lot of windows to screen, I recommend using a miter saw instead. You can cut aluminum with a standard blade, although you may want to wear gloves to protect your hands from shrapnel. Set up a stop block to make repetitive cuts of the same length a breeze!

Assemble the frame
The corner connectors make assembling the window screen frame super easy! Just slide one onto the end of each of the long pieces, then connect them with the shorter ones.
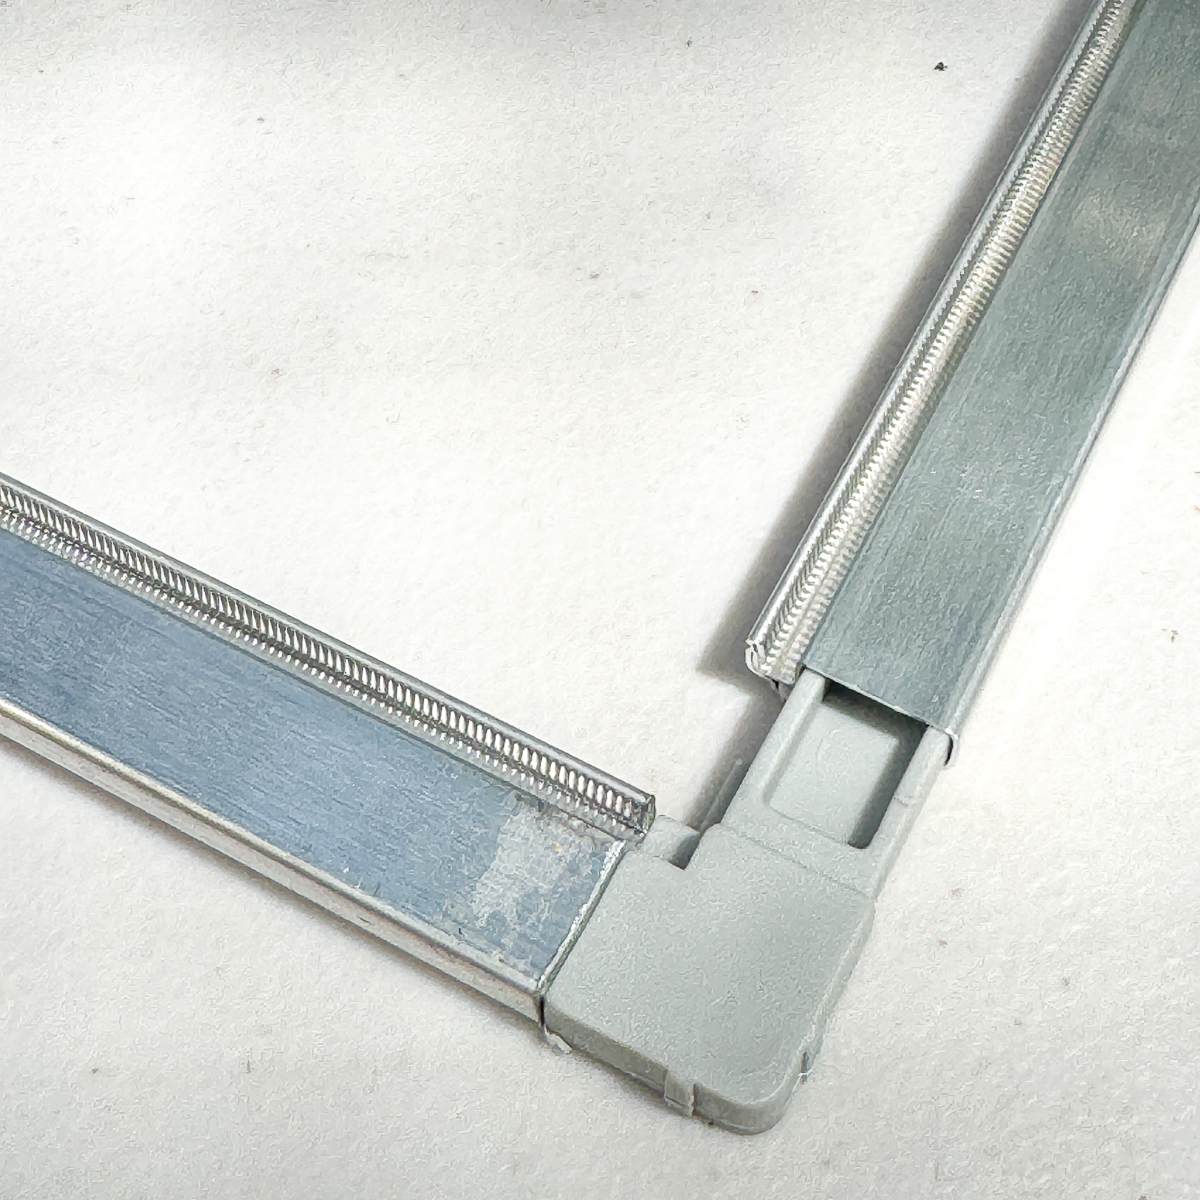
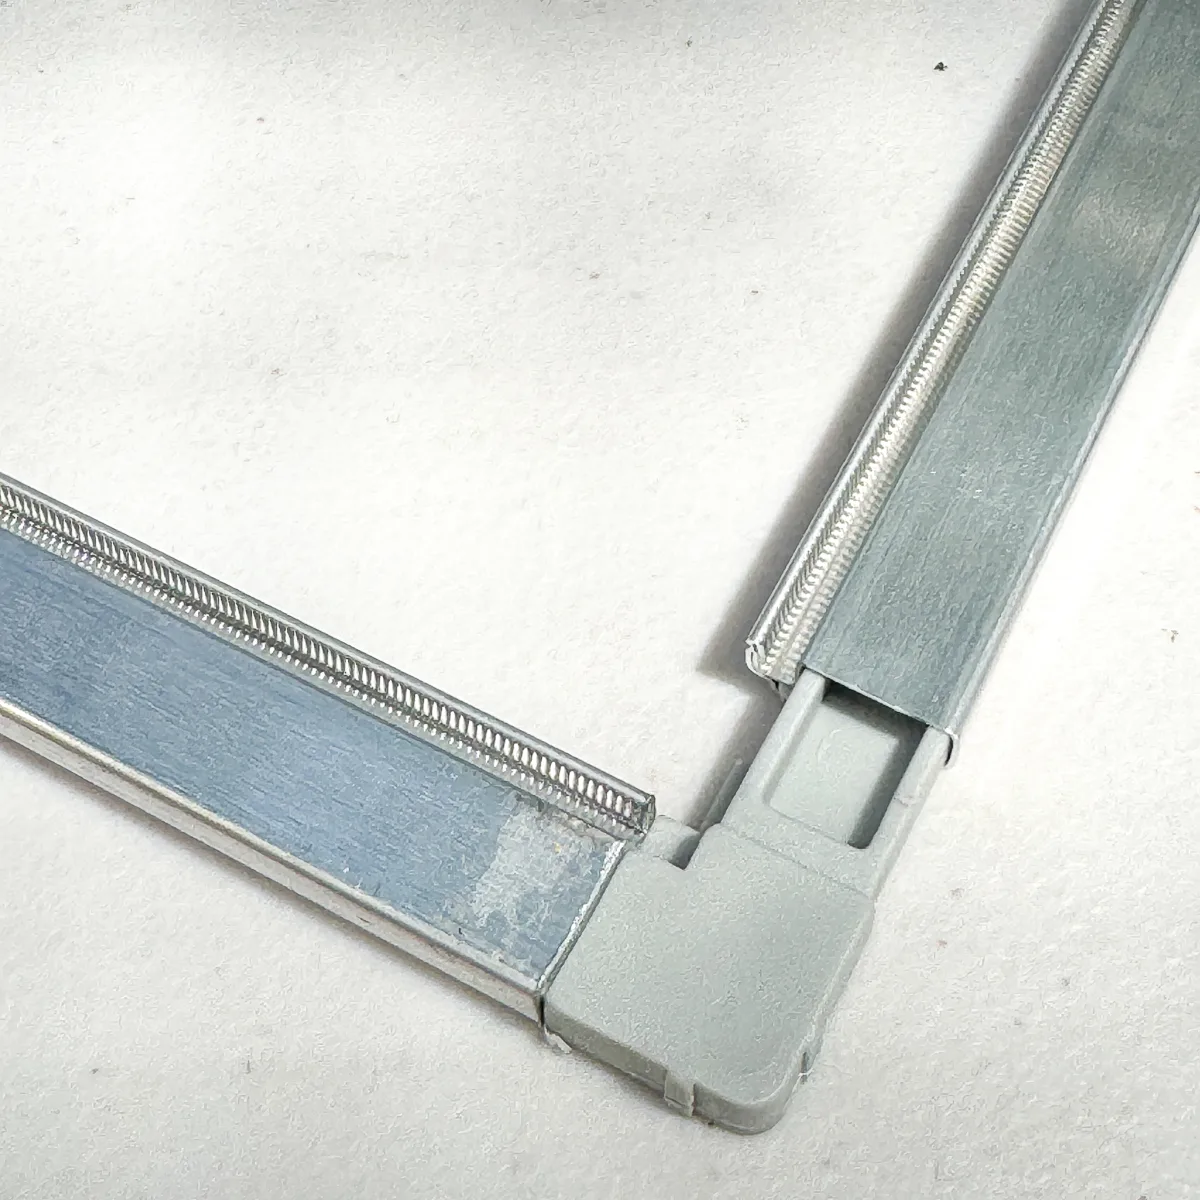
If your window requires tension springs, you'll need to add them before you snap everything together. They just slide into the end on the outside edge.
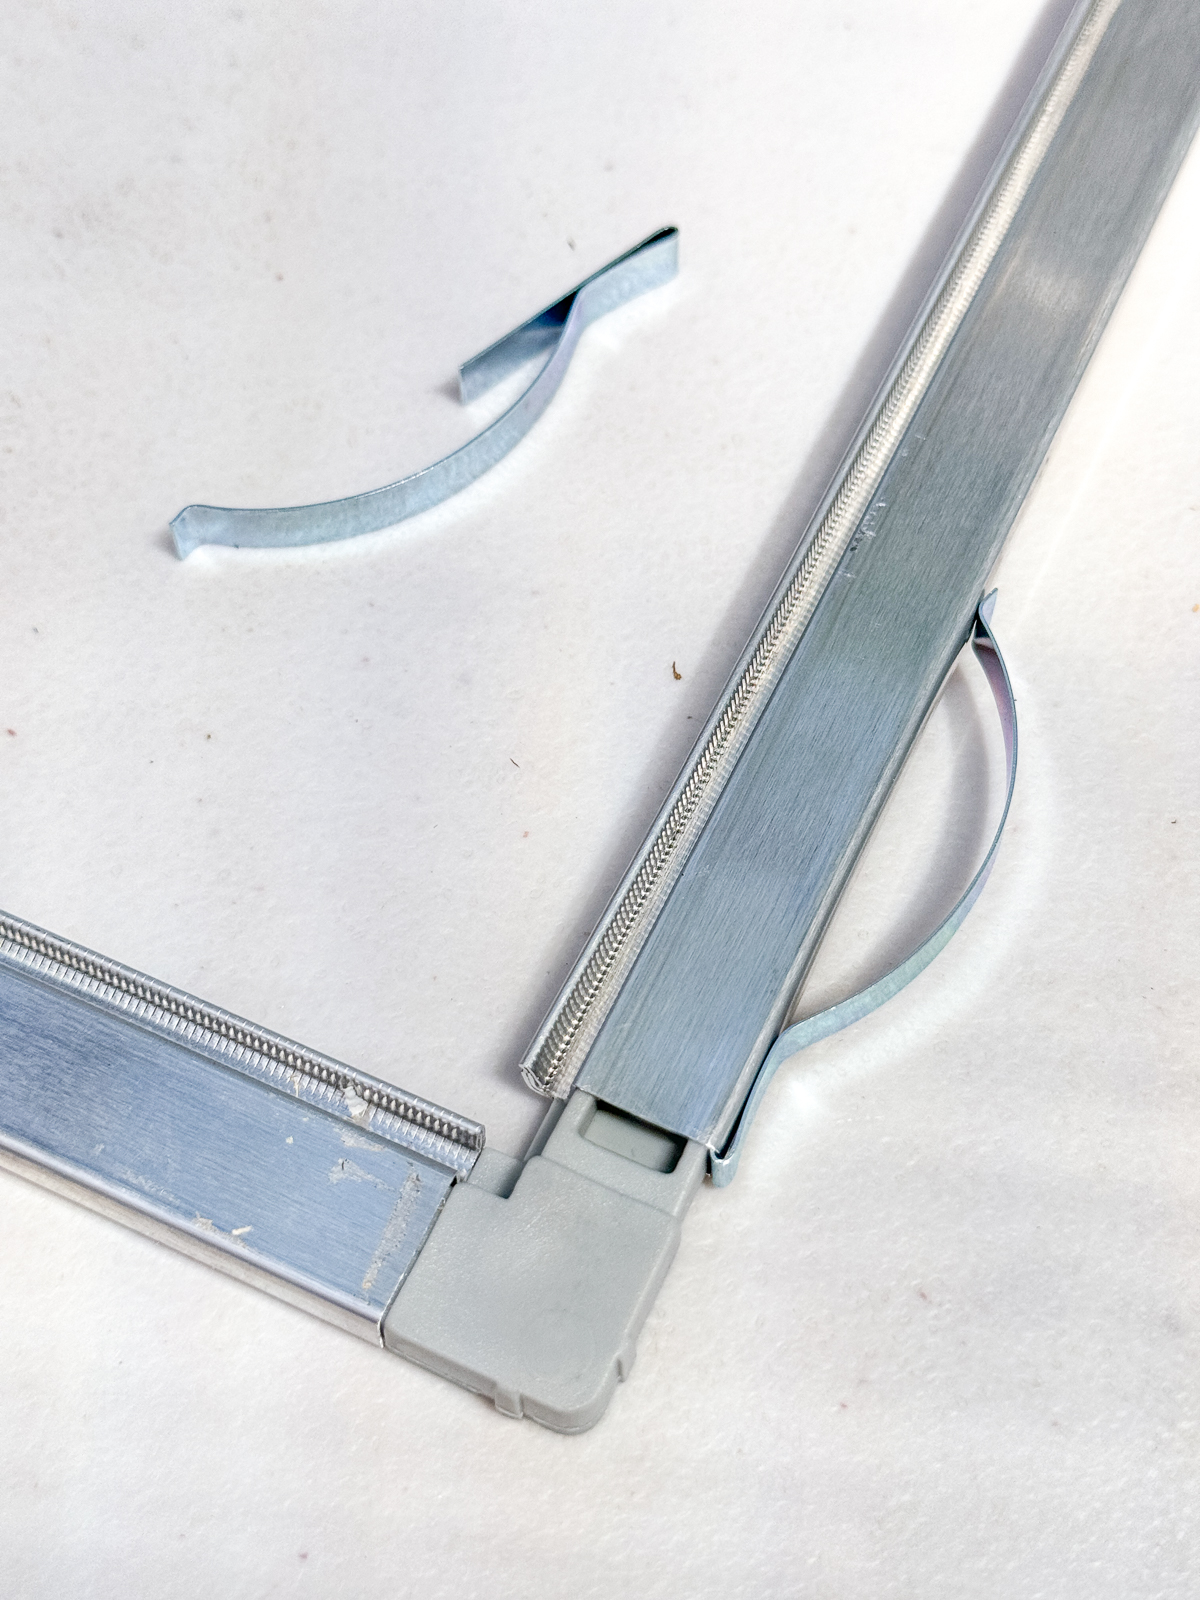
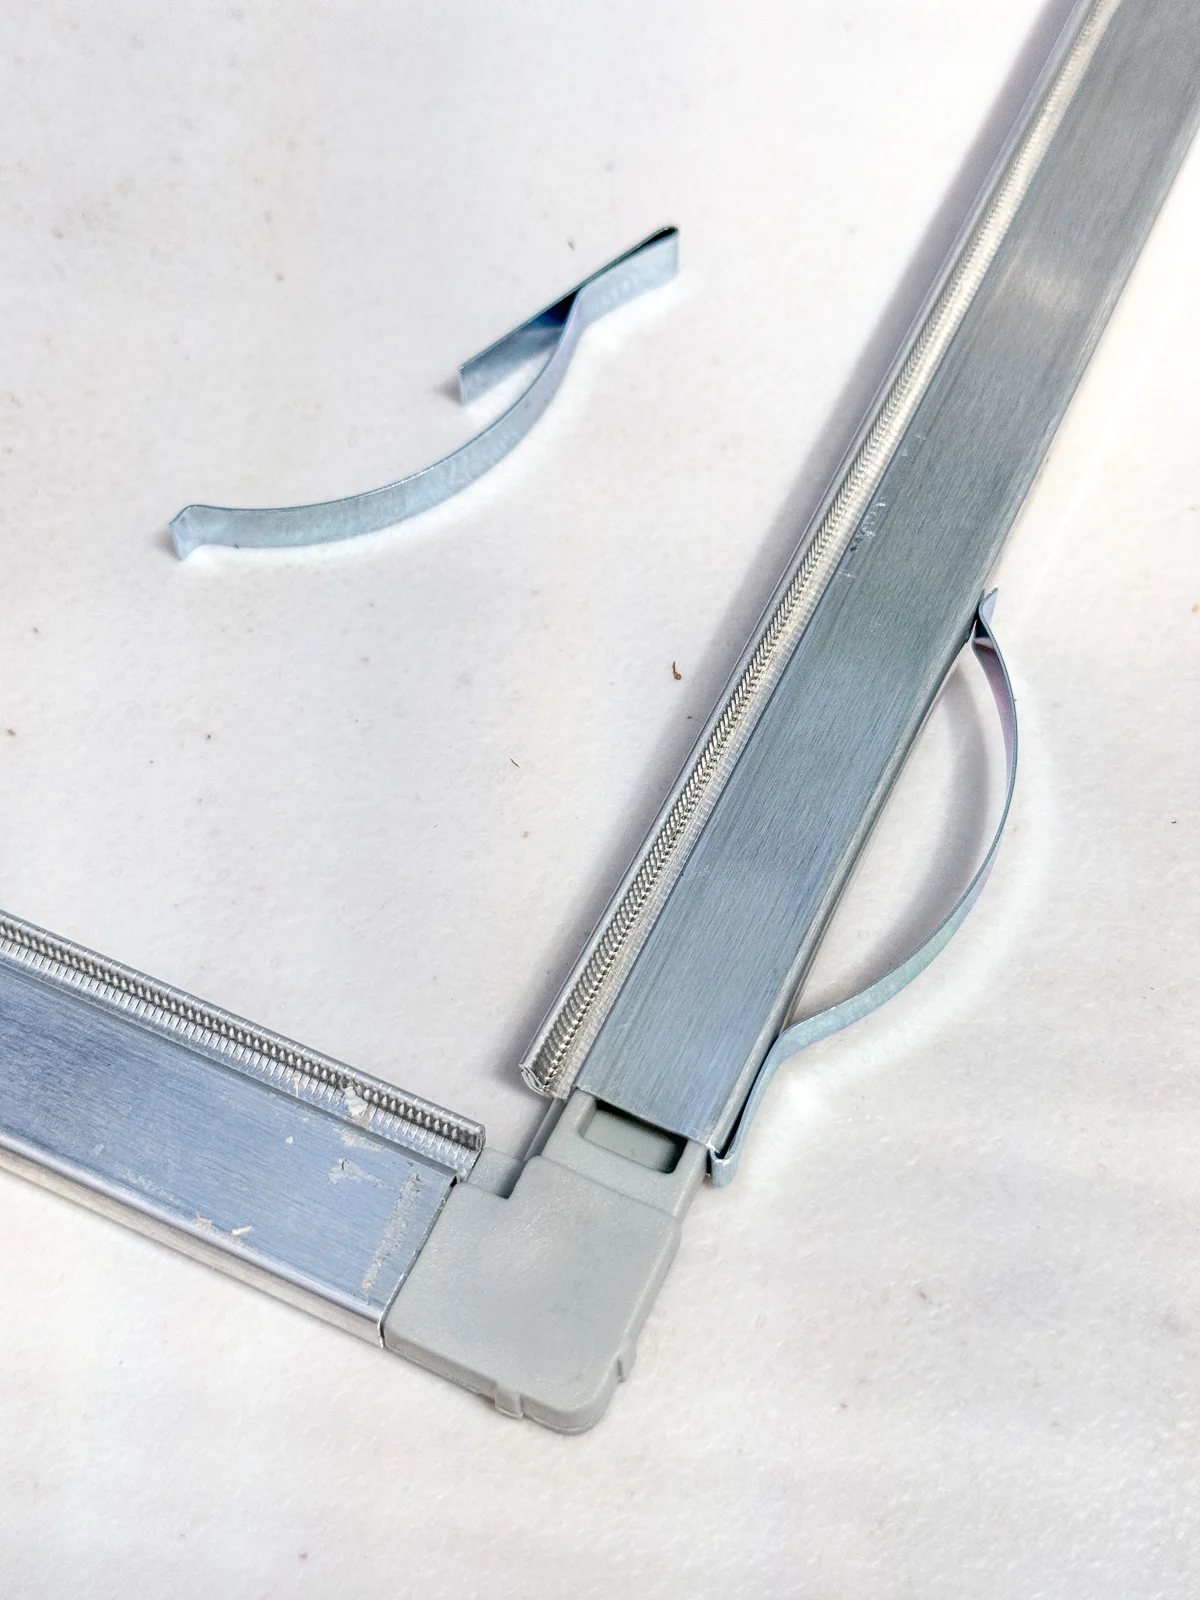
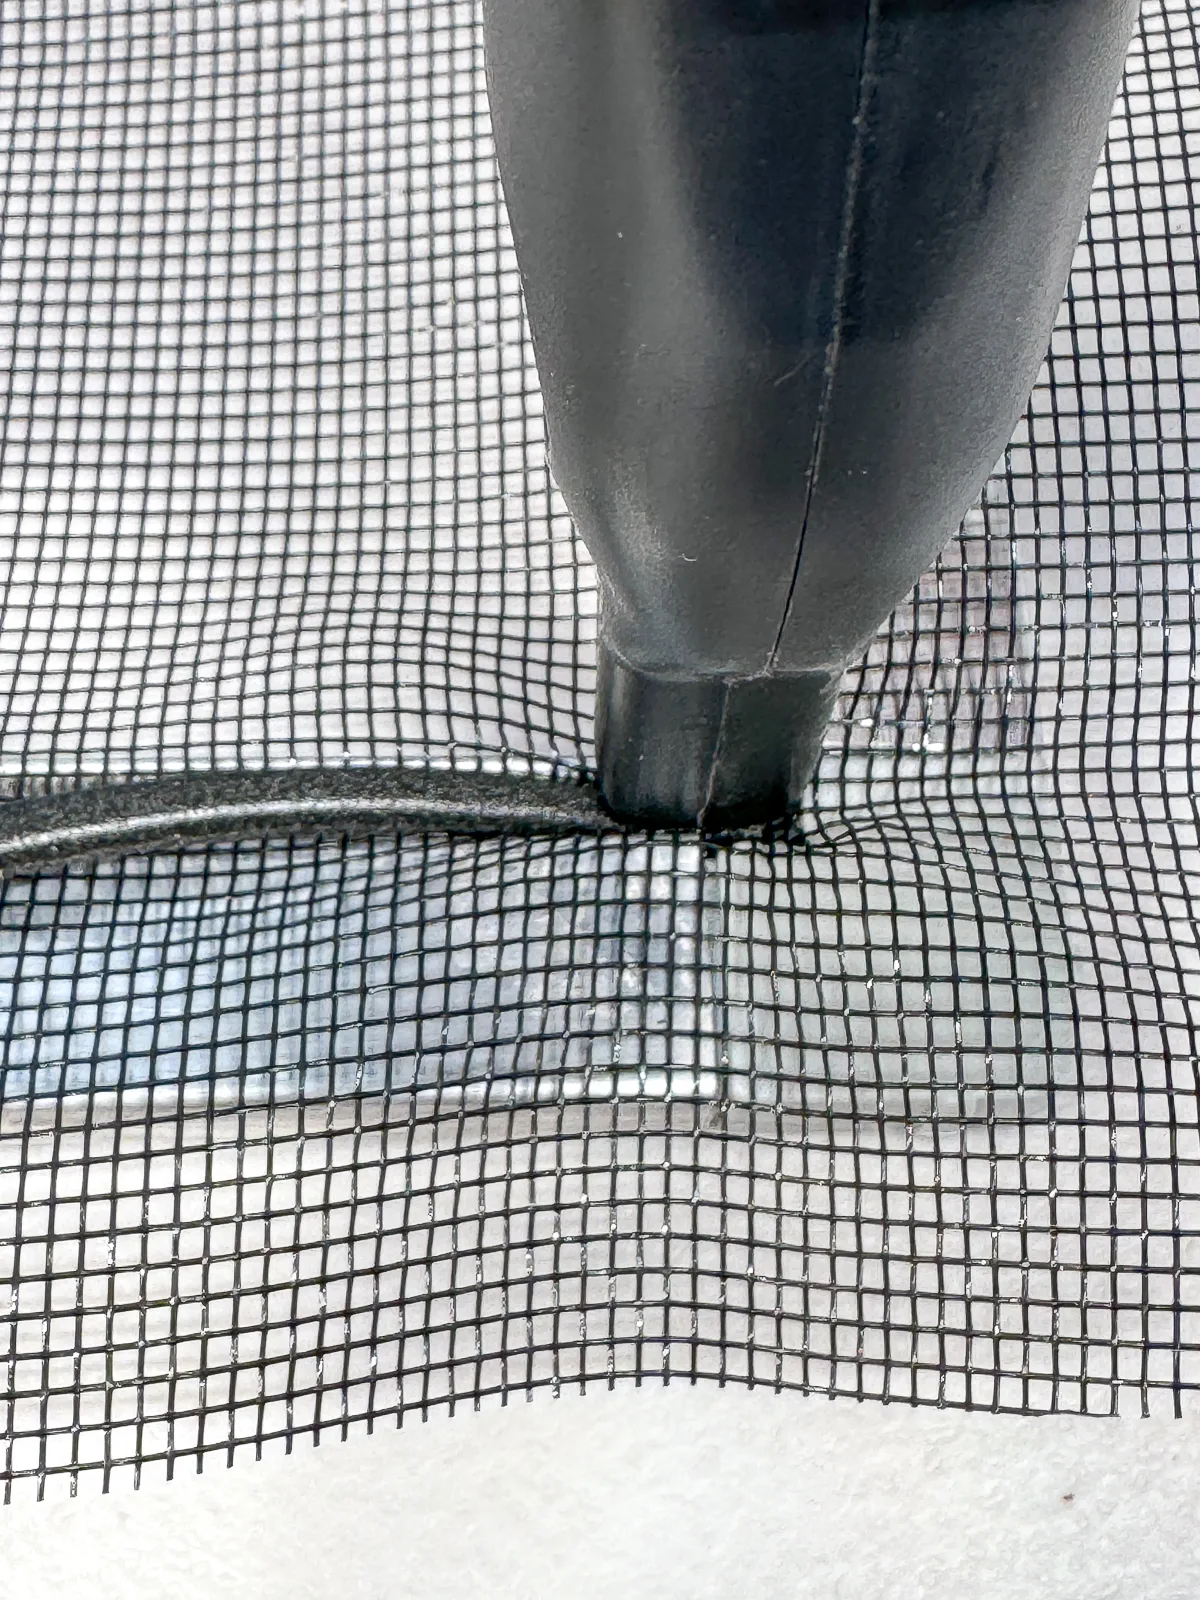
The kit also comes with these pull tabs, so you can get the screen out easily. I'll be taking these screens in and out on a regular basis in order to lock the window, so I added one on each side about 8 inches from the top to avoid the diagonal shelf supports.

Cut and install the mesh screen
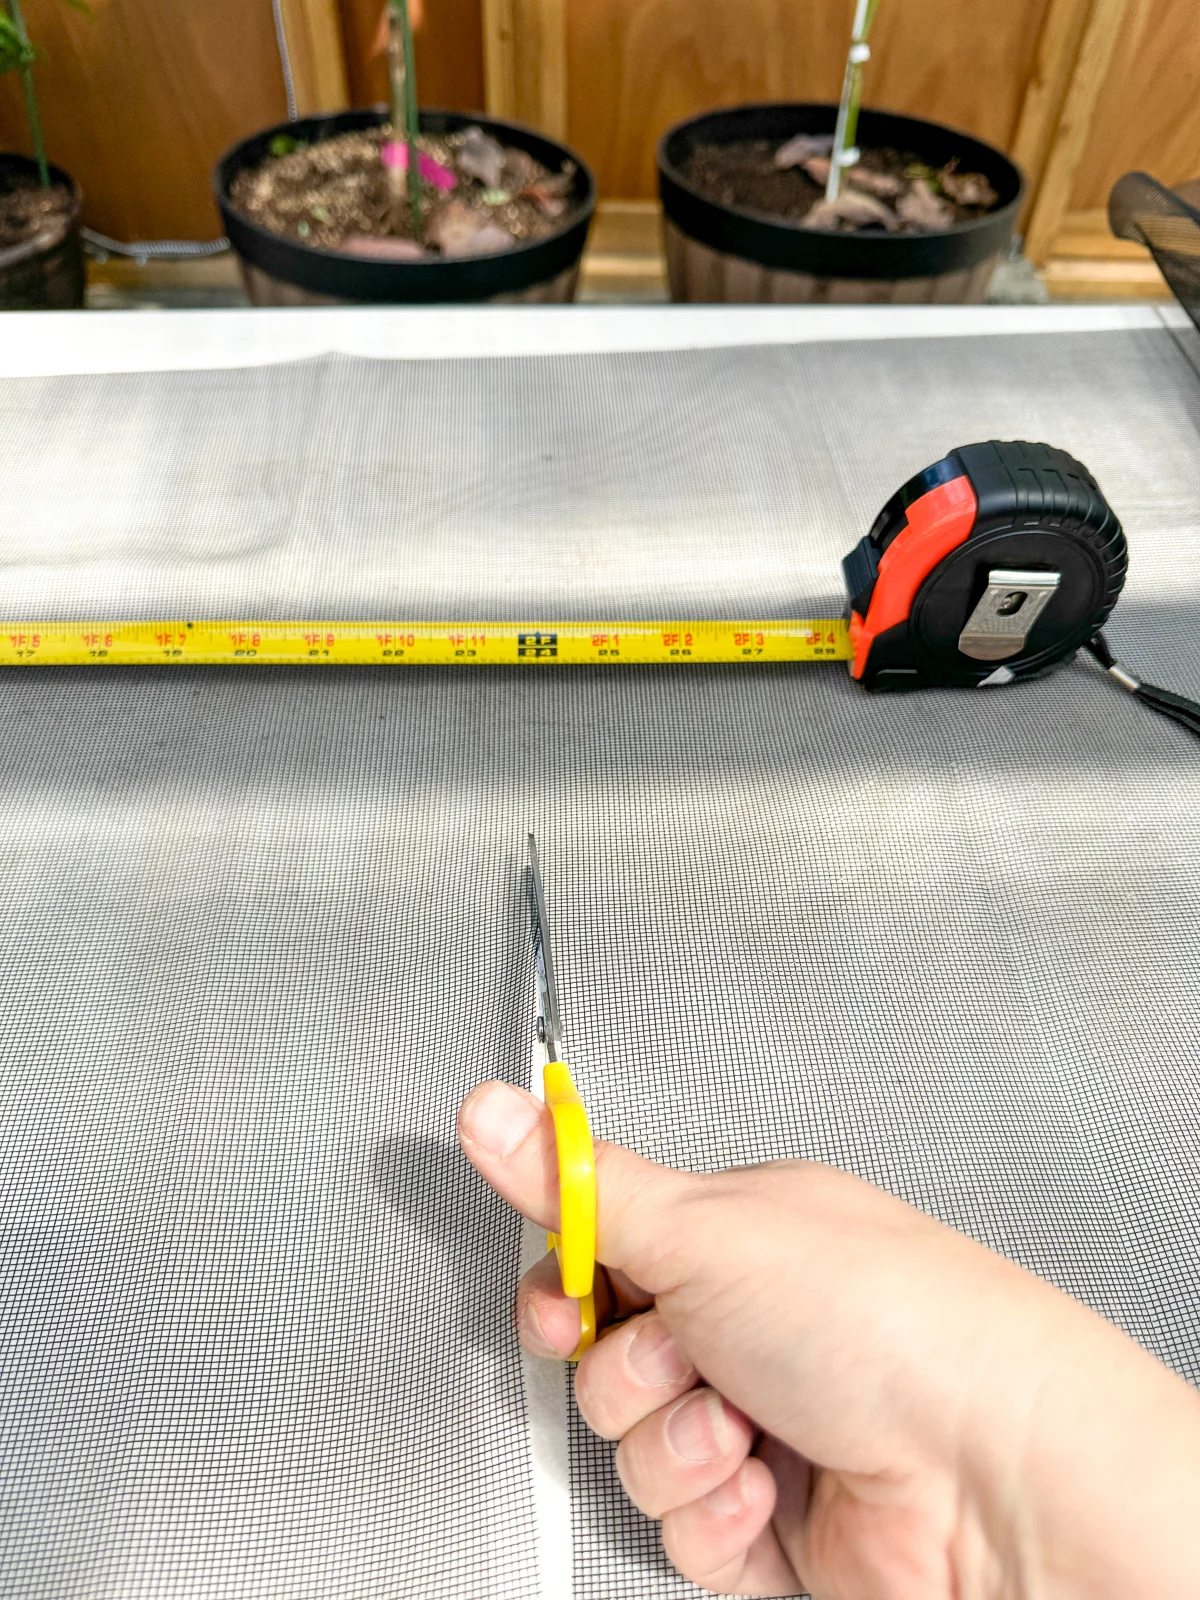
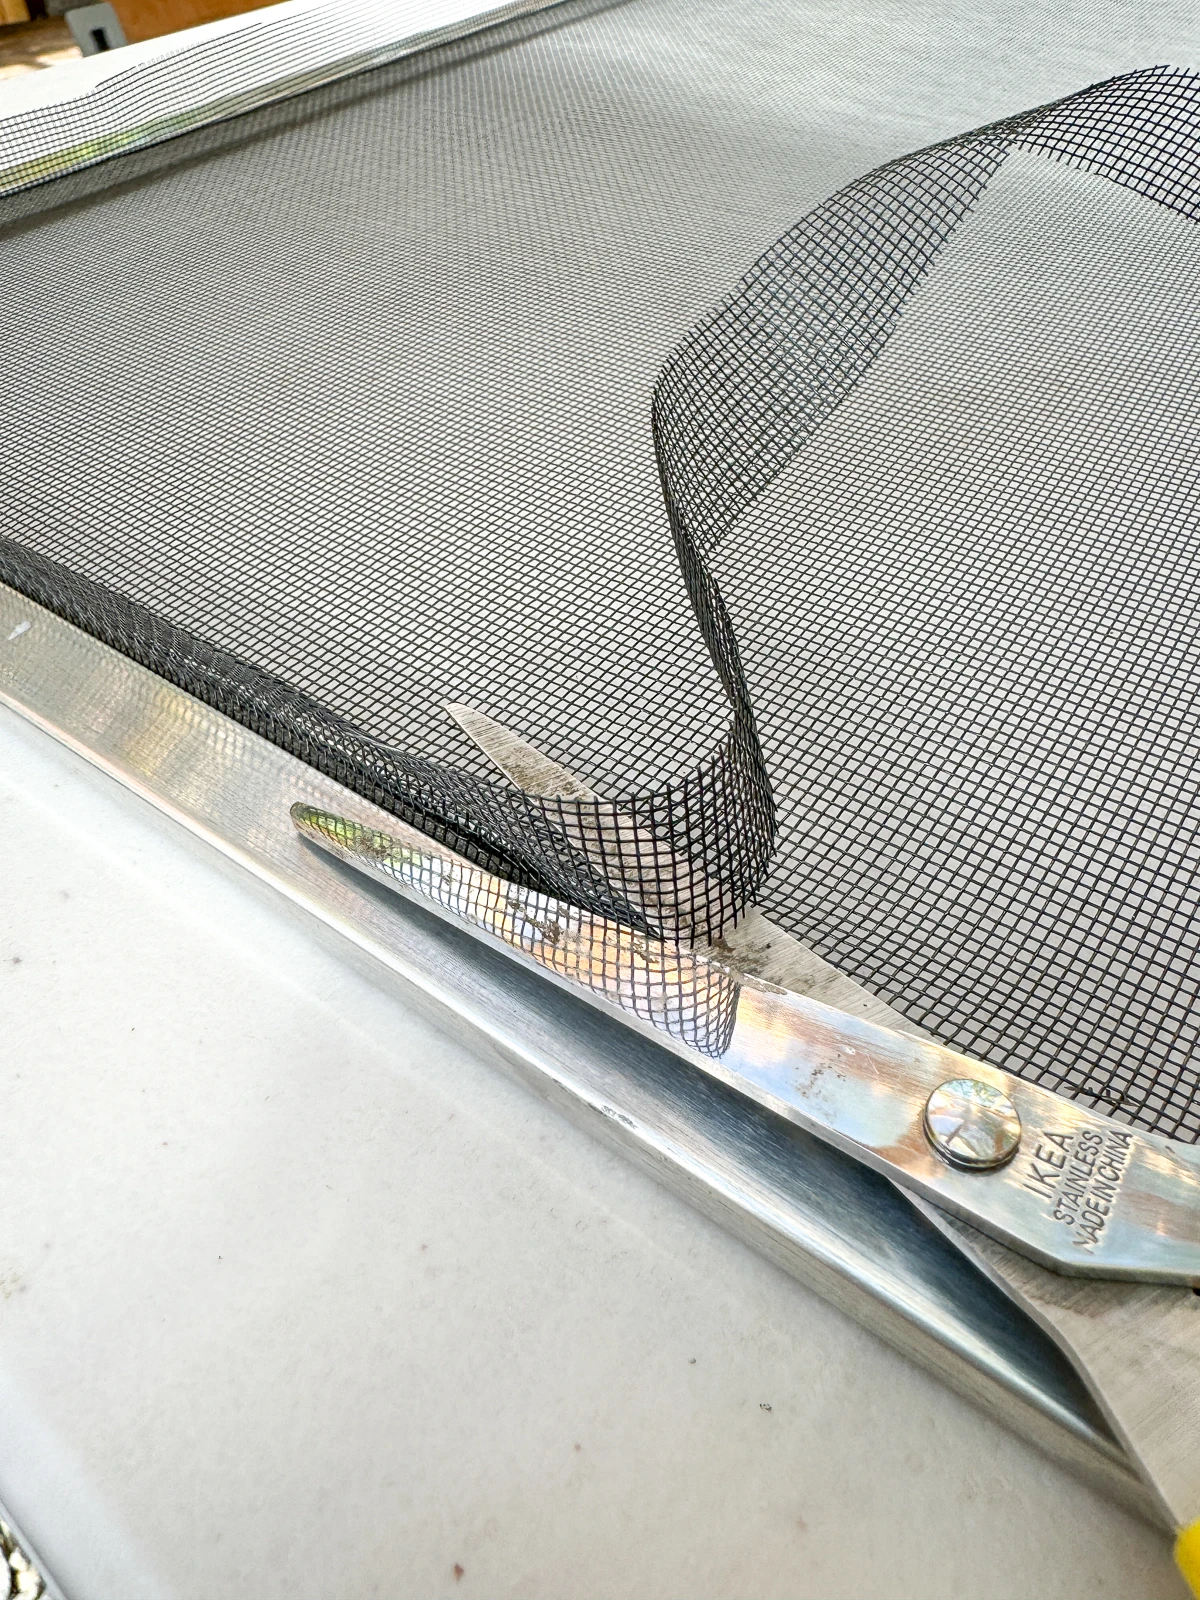
The kit doesn't come with the mesh screen, but it's pretty cheap and easy to find. Cut it so that there's at least an inch of overhang around all four sides of the frame.

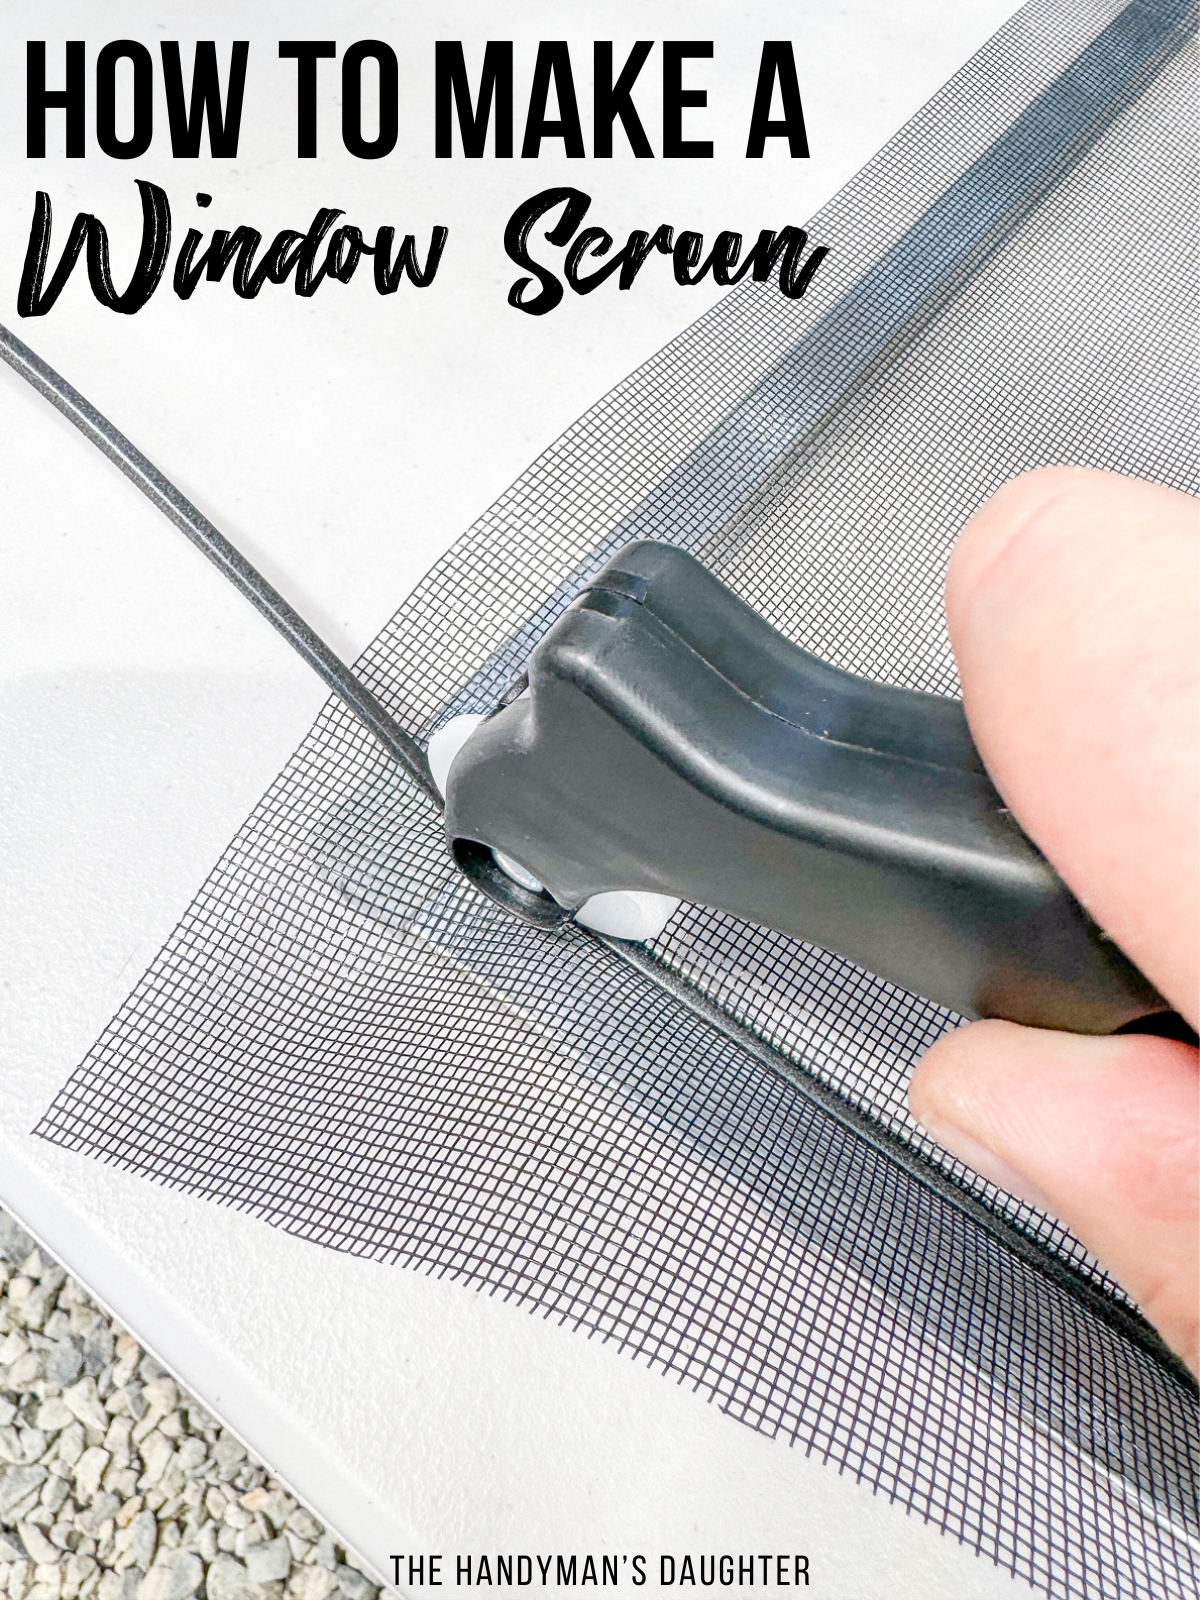
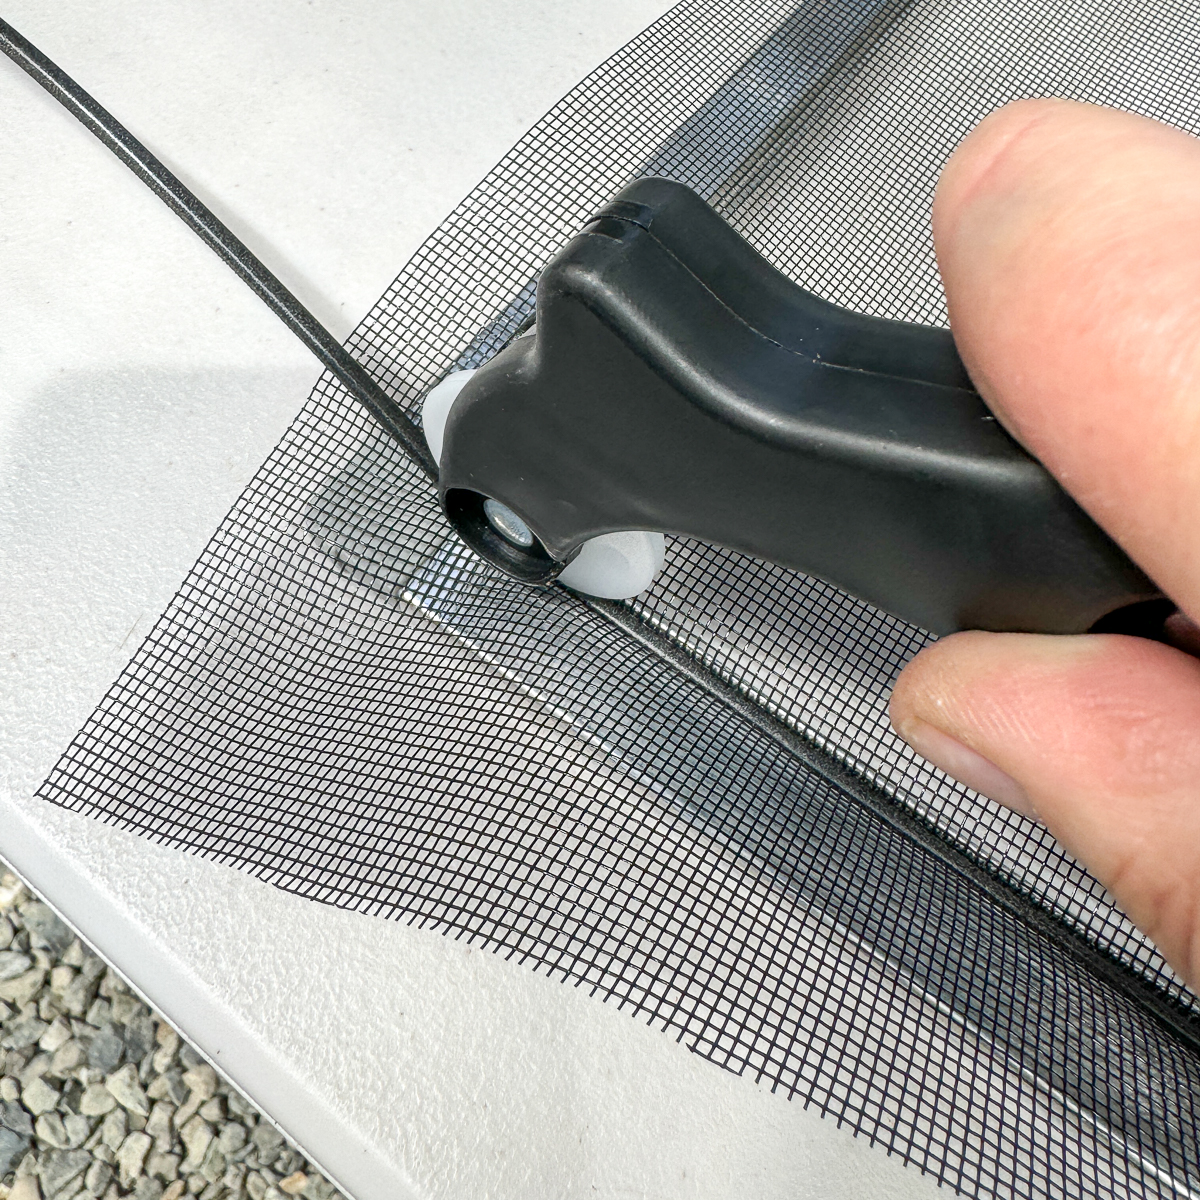
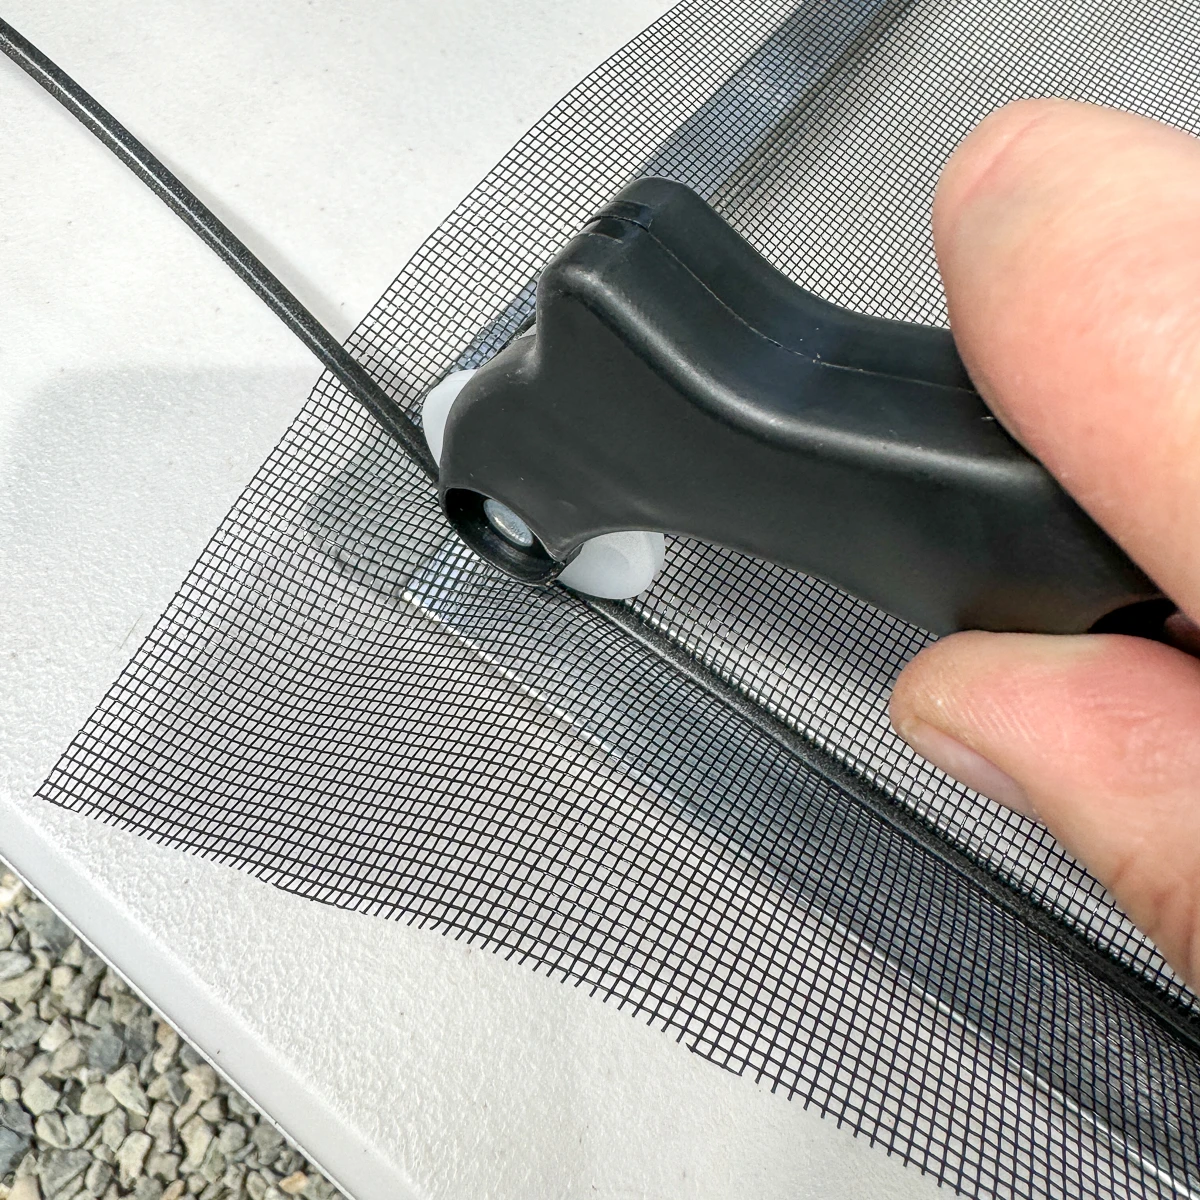
Place the mesh over the frame with the grooves facing up. Then use the pointy end of the spline roller tool to press the end of the rubber spline into the corner.

Once it's firmly seated in the groove, use the wheel to press the rest of the spline into place.
I used the pointy end again to press the spline into the groove next to the pull tabs. I installed the first ones on the wrong side, but it's not a huge deal. They should be on the inside of the mesh, not on the same side as the spline.

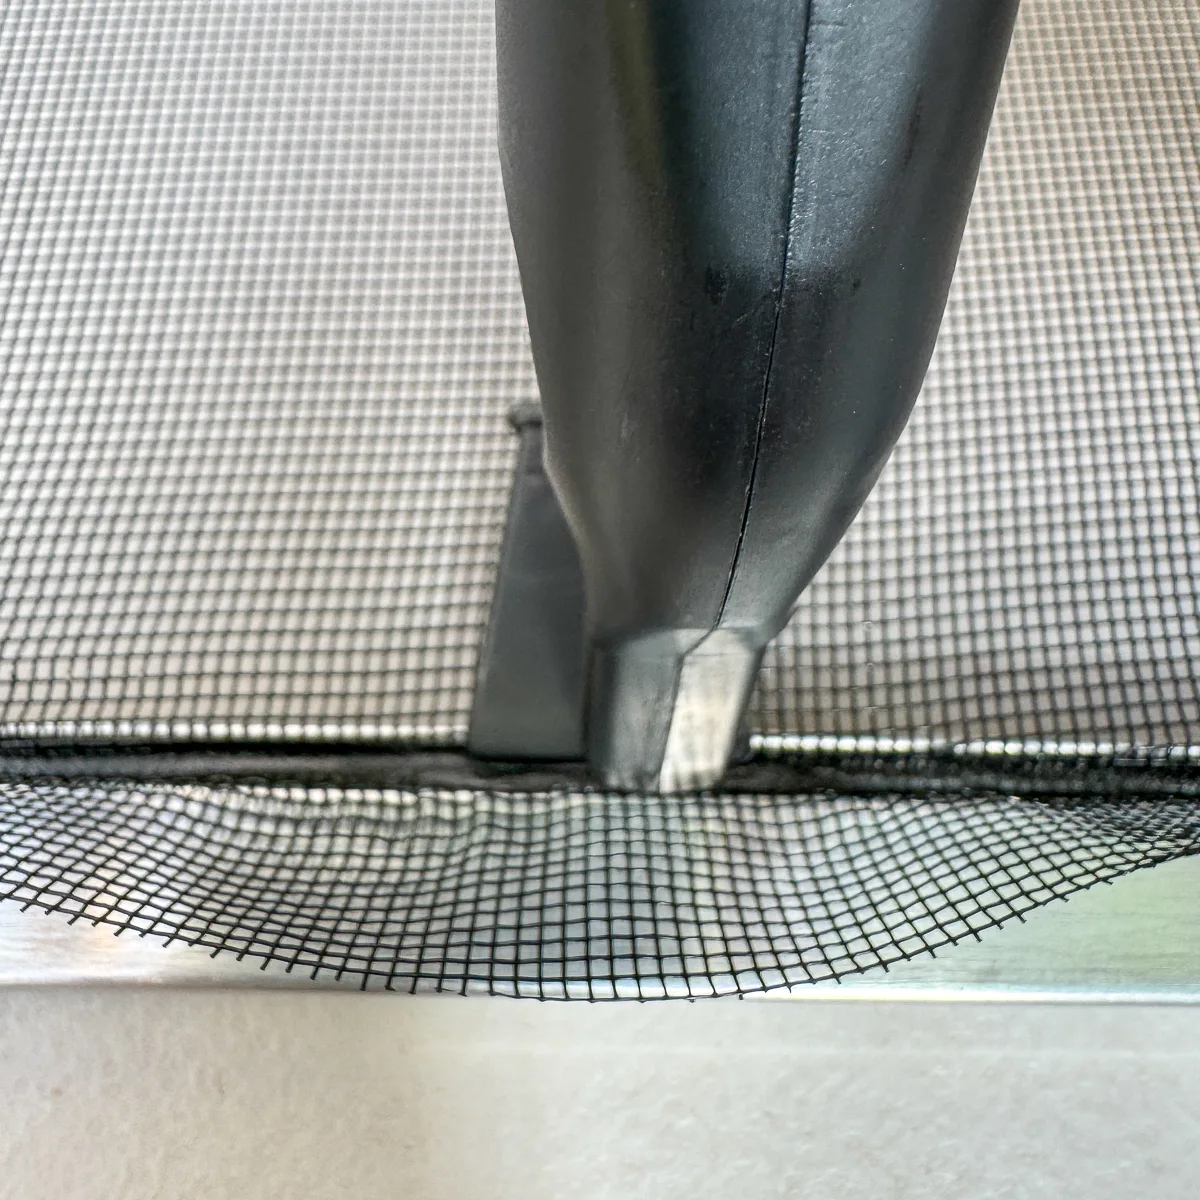
When you get to the end of the frame, use a utility knife to press on the top of the rubber spline to mark it first. Then you can pull it out to cut it without accidentally cutting through the screen.
Once the first side is installed, flip the screen around and put in the spline on the opposing side next. Pull the screen taut, but don't pull so tight that it will cause the frame to warp. The spline will tighten up the mesh as it goes into the groove.
Once all four sides are secured, trim off the excess with scissors.

Install the screen in the window
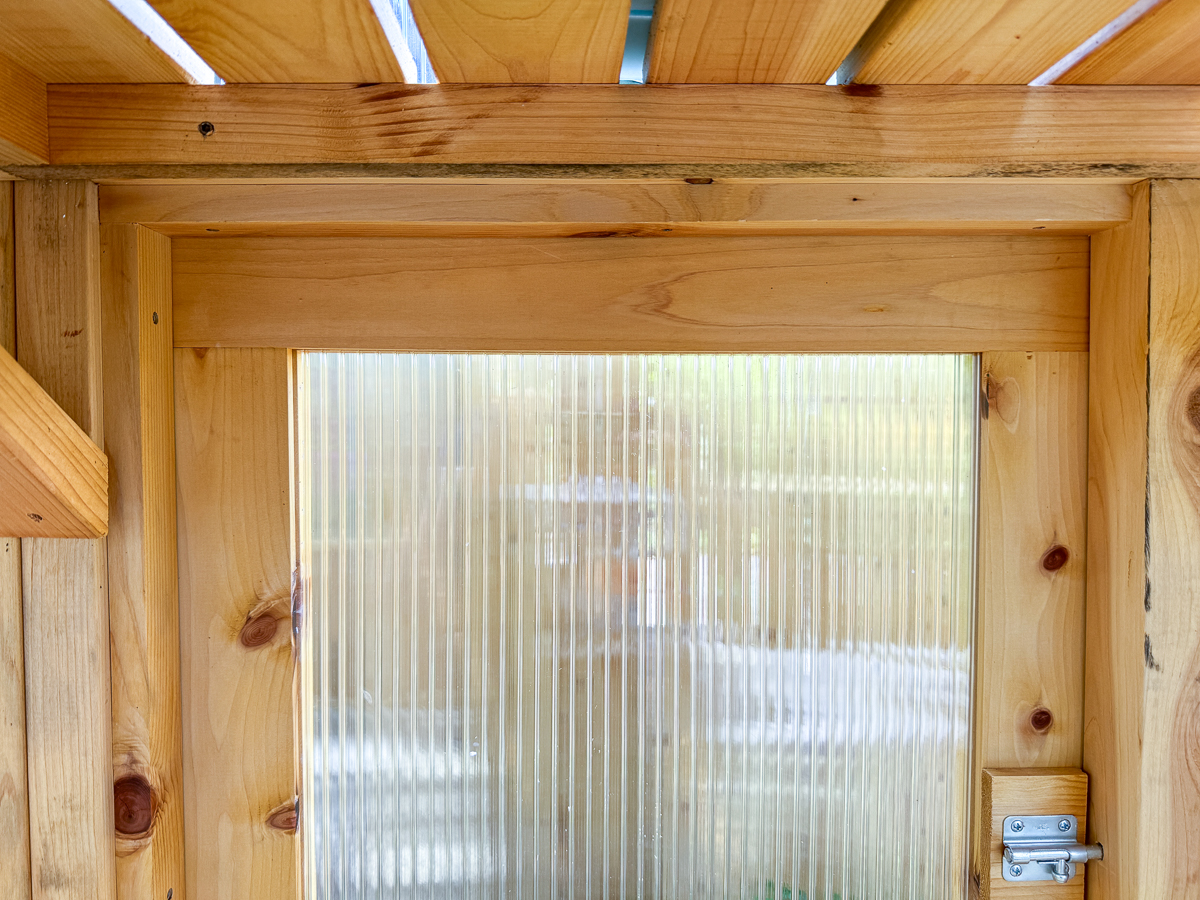
If you have a regular window, you should be able to just click the screen into the groove around the inside of the frame. My window didn't have anything to hold the screen in place, so I installed these retainer clips at the corners.

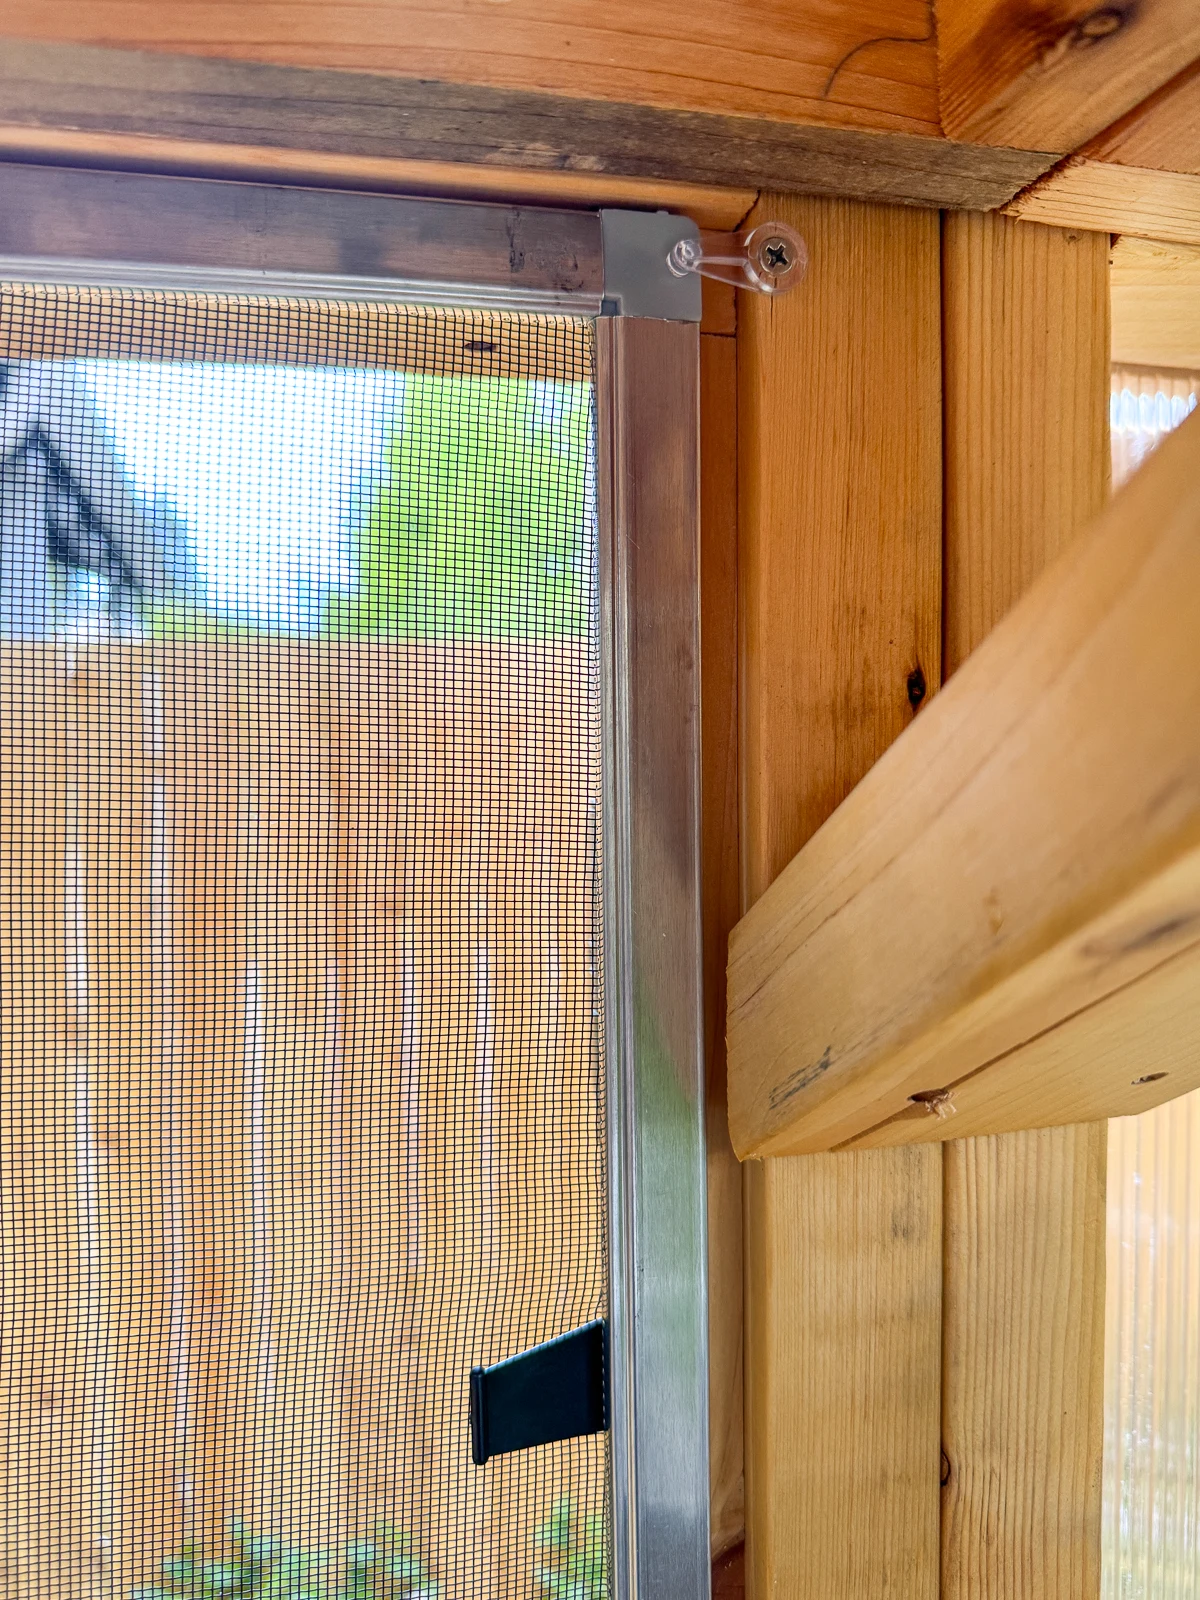
The bottom of the screen fits perfectly in the gap and is held in place by the built-in shelf. When I need to remove the screen, I just swivel the clips to the side and pull it up and out.
Now I can leave the windows open all day without worrying about bugs and critters destroying all my tender plants!

Check out these other home improvement projects!