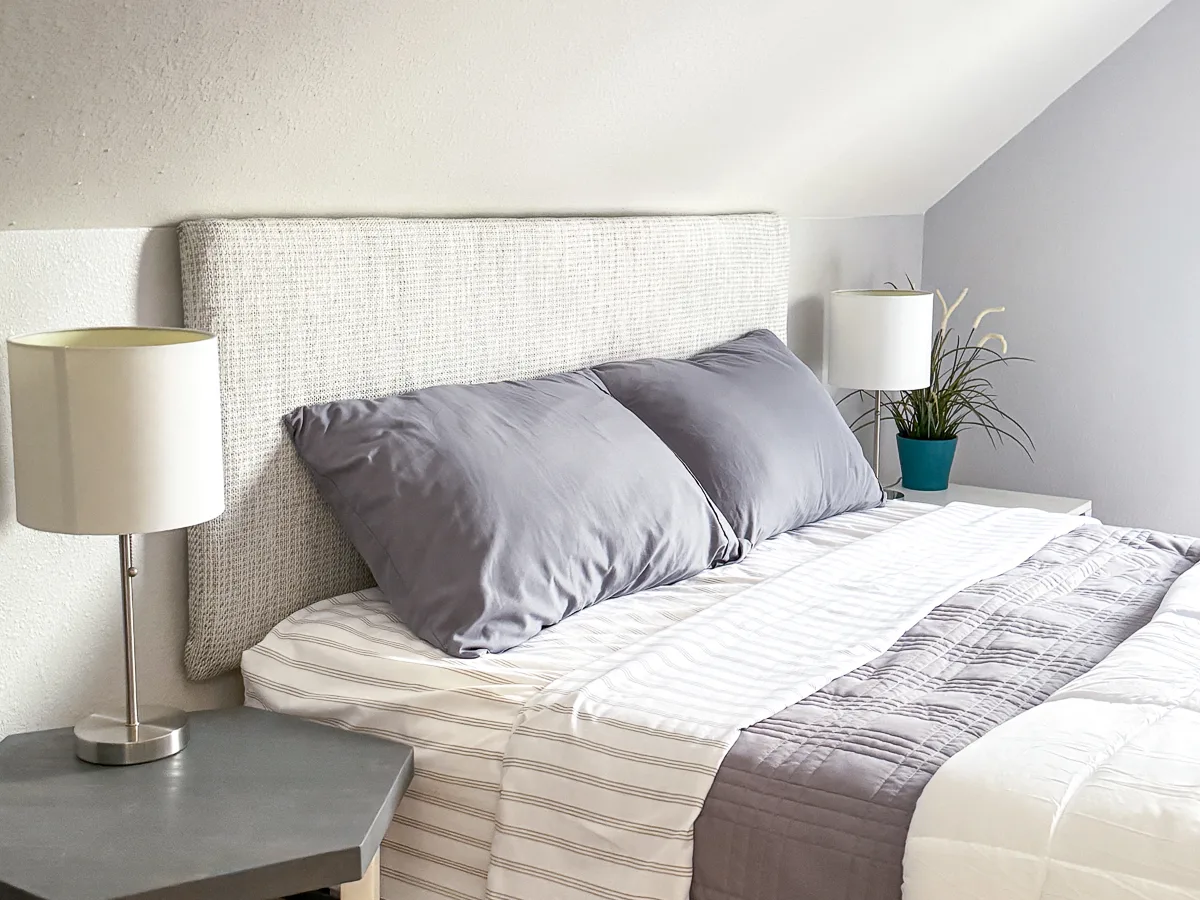
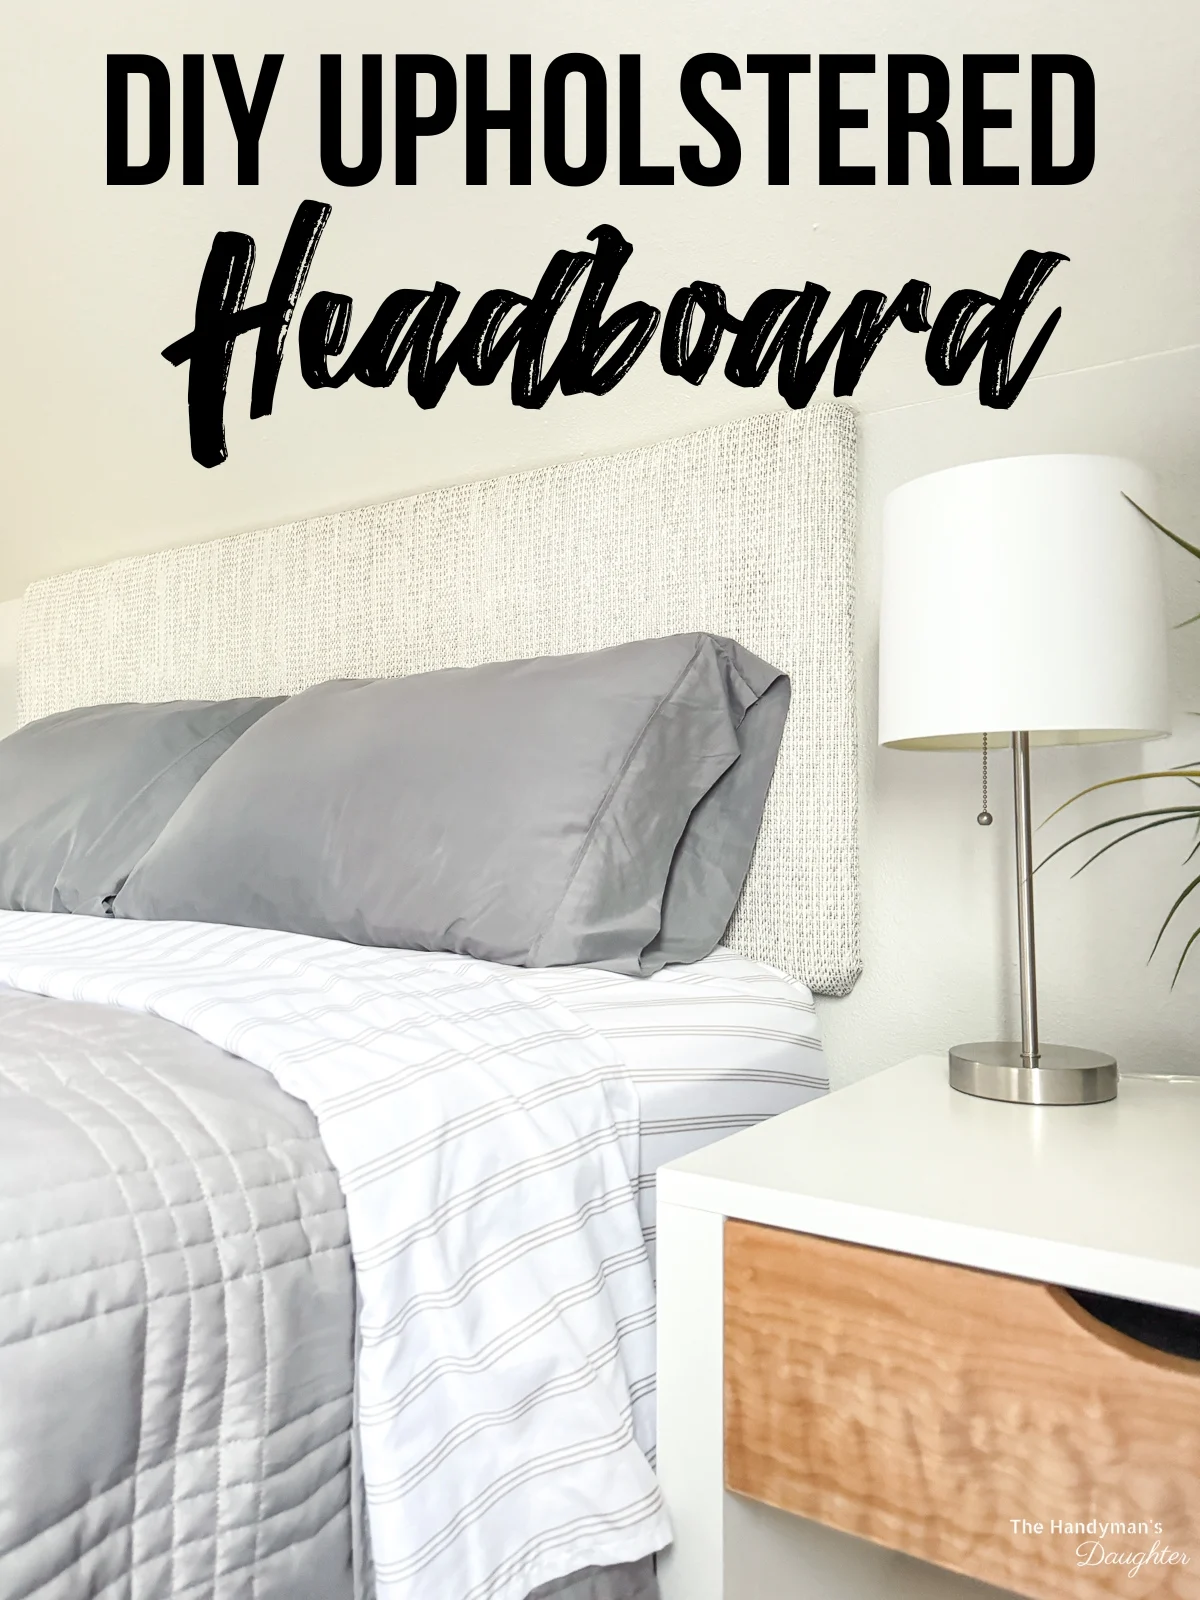
Make your bed soft and cozy with this DIY padded headboard! I'll show you how to make an upholstered panel headboard for under $50 in an afternoon!
Our guest room has been neglected since the day we moved in. It's turned into a dumping ground for old furniture pieces that don't have a home anywhere else, like this hexagon side table.
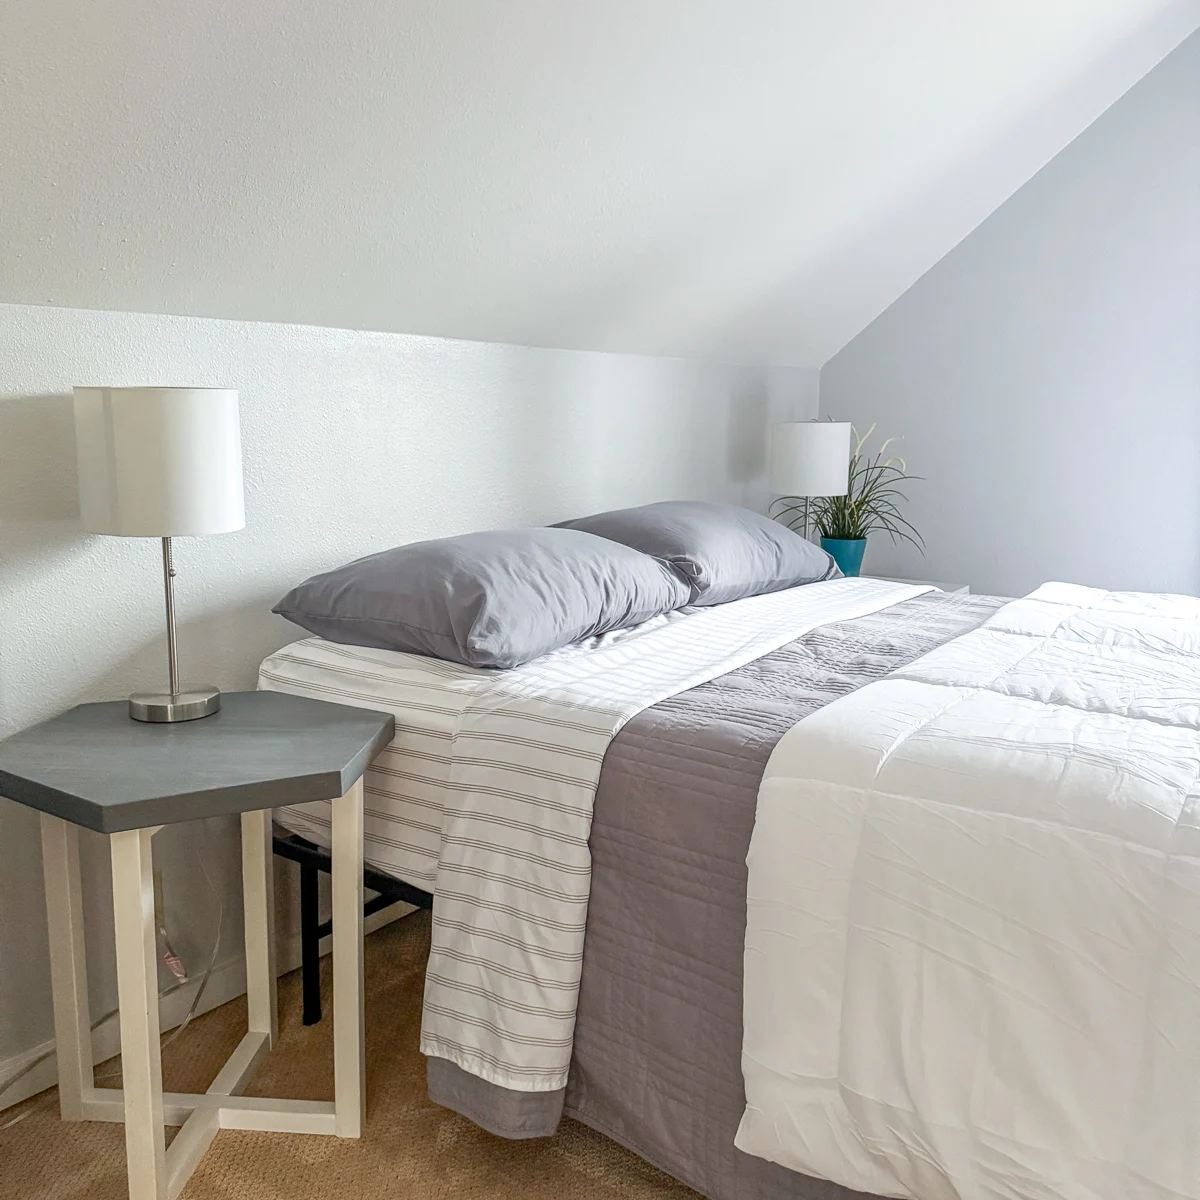
We recently upgraded our bed to a king size, and the old headboard didn't fit anymore. I decided to take apart the frame and reuse the plywood backing to create a new padded headboard for the guest room.
I'm using the same process as this upholstered bench cushion, just bigger! All you need for tools is a heavy duty stapler and scissors!
This post contains affiliate links for your convenience. Purchases made through these links may earn me a small commission at no additional cost to you. Please visit my disclosures page for more information.
Materials Needed
- ½" or ¾" plywood cut to 60-62" wide and 26-40" tall
- 1" thick upholstery foam
- Twin size quilt batting
- Medium-heavyweight fabric wide enough to cover the entire headboard
- Heavy duty stapler
- ⅜" staples
- Fabric scissors
- French cleat for hanging the headboard on the wall
Cut the plywood to the desired size
Queen size beds are 60" wide, so your headboard should be at least that width. You can make the height whatever you like, even all the way to the floor! Just remember the width of your fabric when deciding on the size.
You can have plywood cut to size for you at the home improvement store. Any ½" or ¾" plywood will do, so don't bother getting the expensive stuff! You'll just be covering it up anyway.
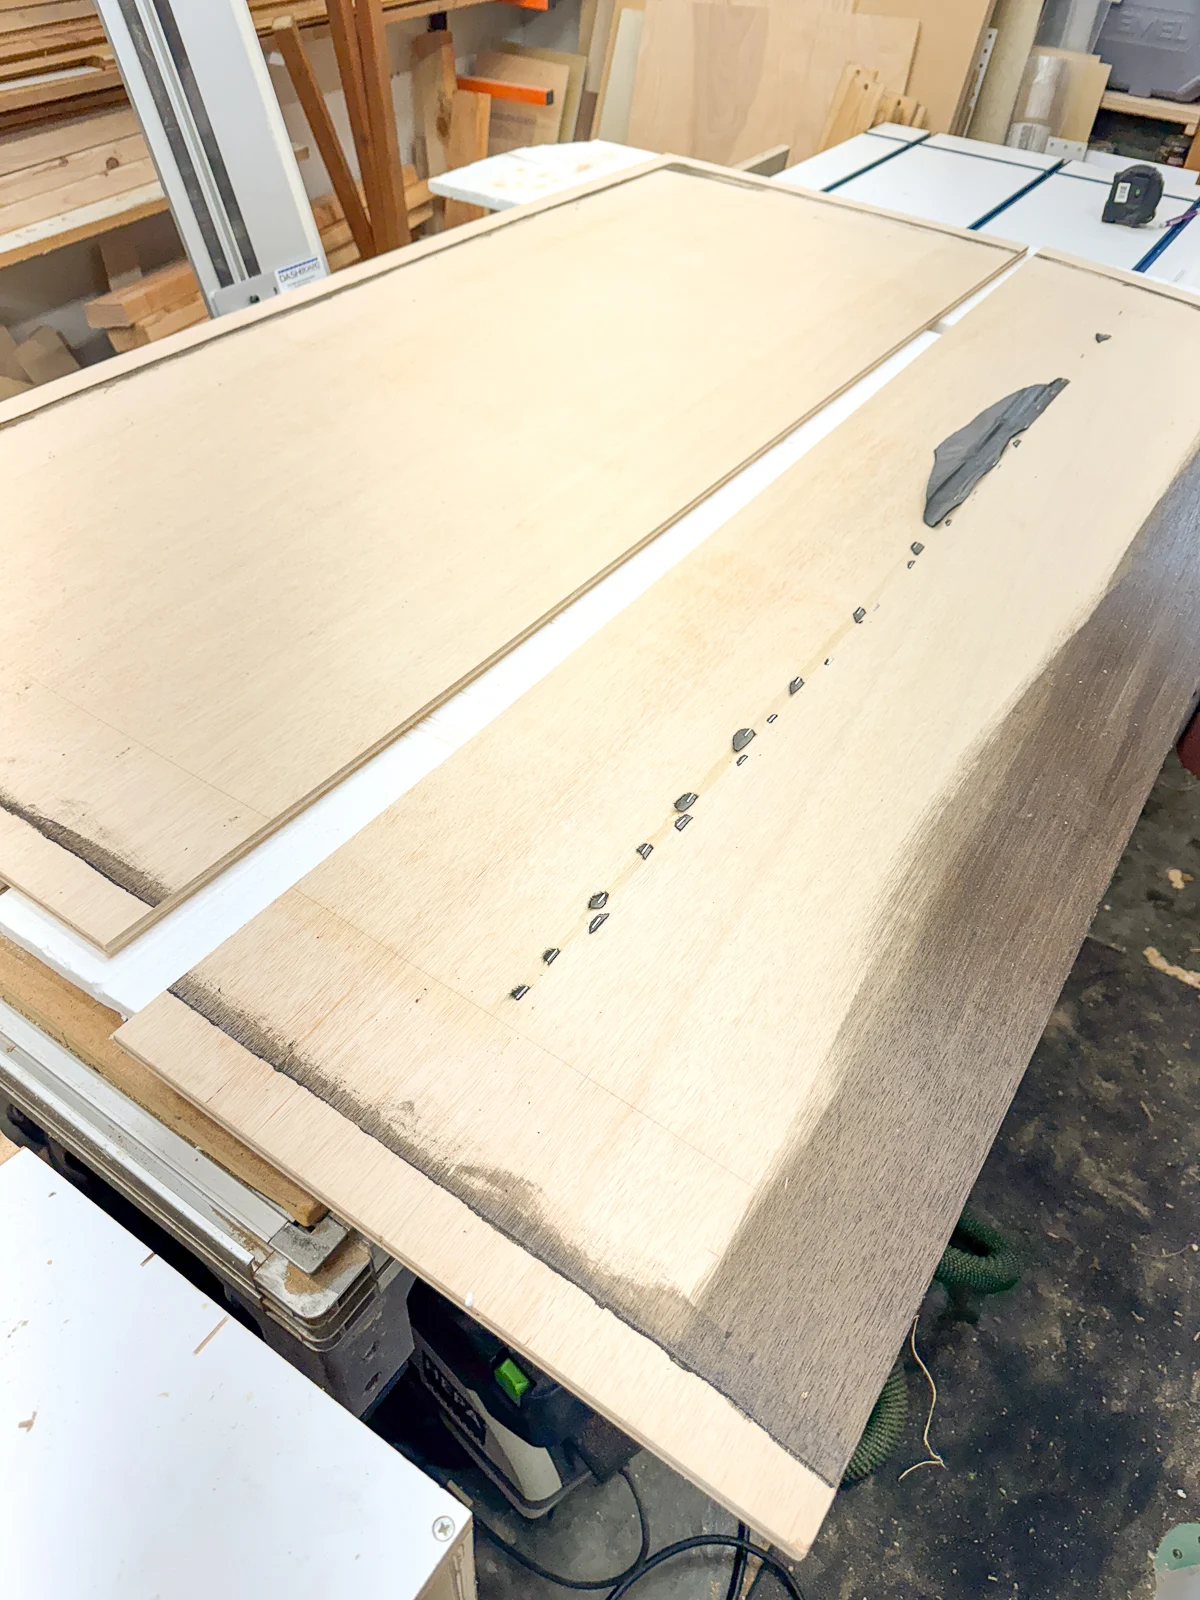
I cut the plywood from the old headboard down to the new headboard dimensions with the table saw, but you could also use a track saw or circular saw. All that wood stain around the edge will be hidden behind the padding, so I just left it as is.
Cover the plywood with foam and batting
There are so many different upholstery foam options at the craft store, and it can get overwhelming (and expensive!) Unlike a bench seat or chair cushion, a headboard won't be compressed under weight constantly, so you can choose a thinner, cheaper option like this one.
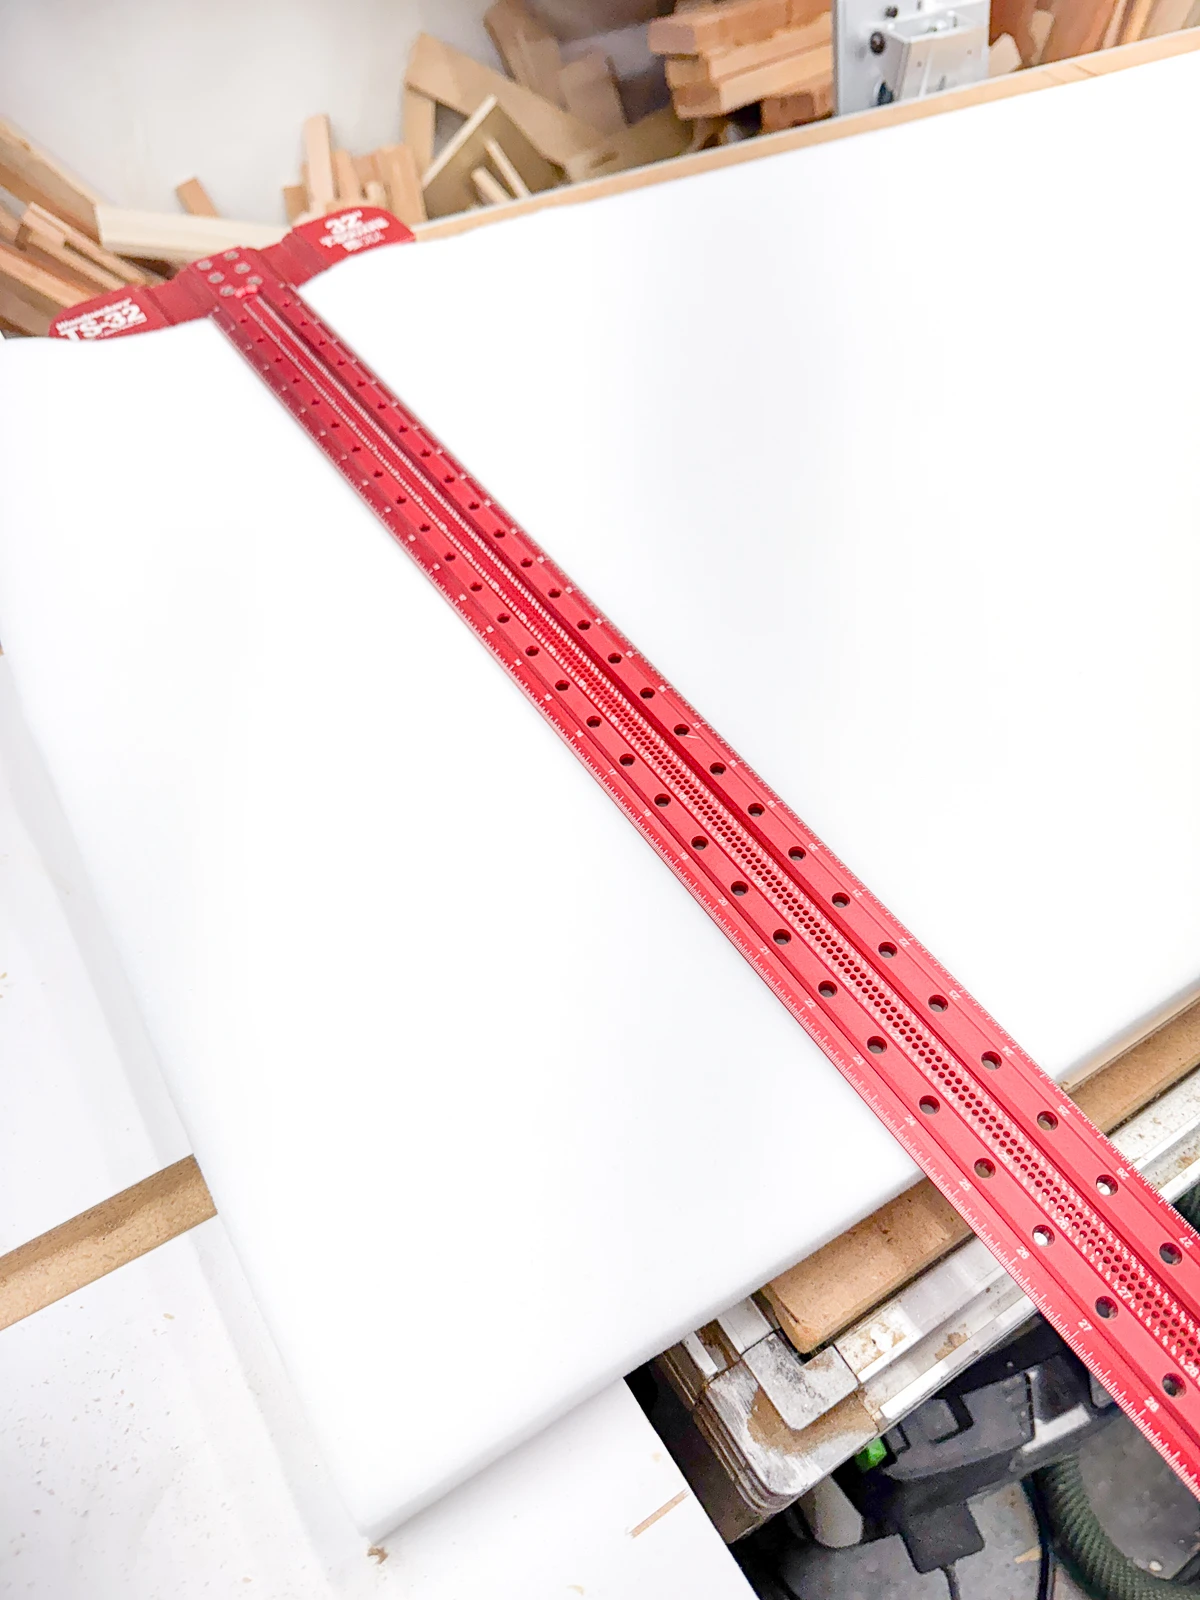
Cut the foam slightly larger than your plywood backing. The extra padding will soften the hard corners when the fabric is wrapped around the edges. I used a long square to mark a straight line that I could follow with scissors.
Lay the foam on top of the plywood, and smooth out the batting on top. The batting will help smooth out the transition from foam to plywood, and make the headboard a little softer. I'm using my living room floor as a workbench so I don't get sawdust and splinters from the workshop in the fabric.
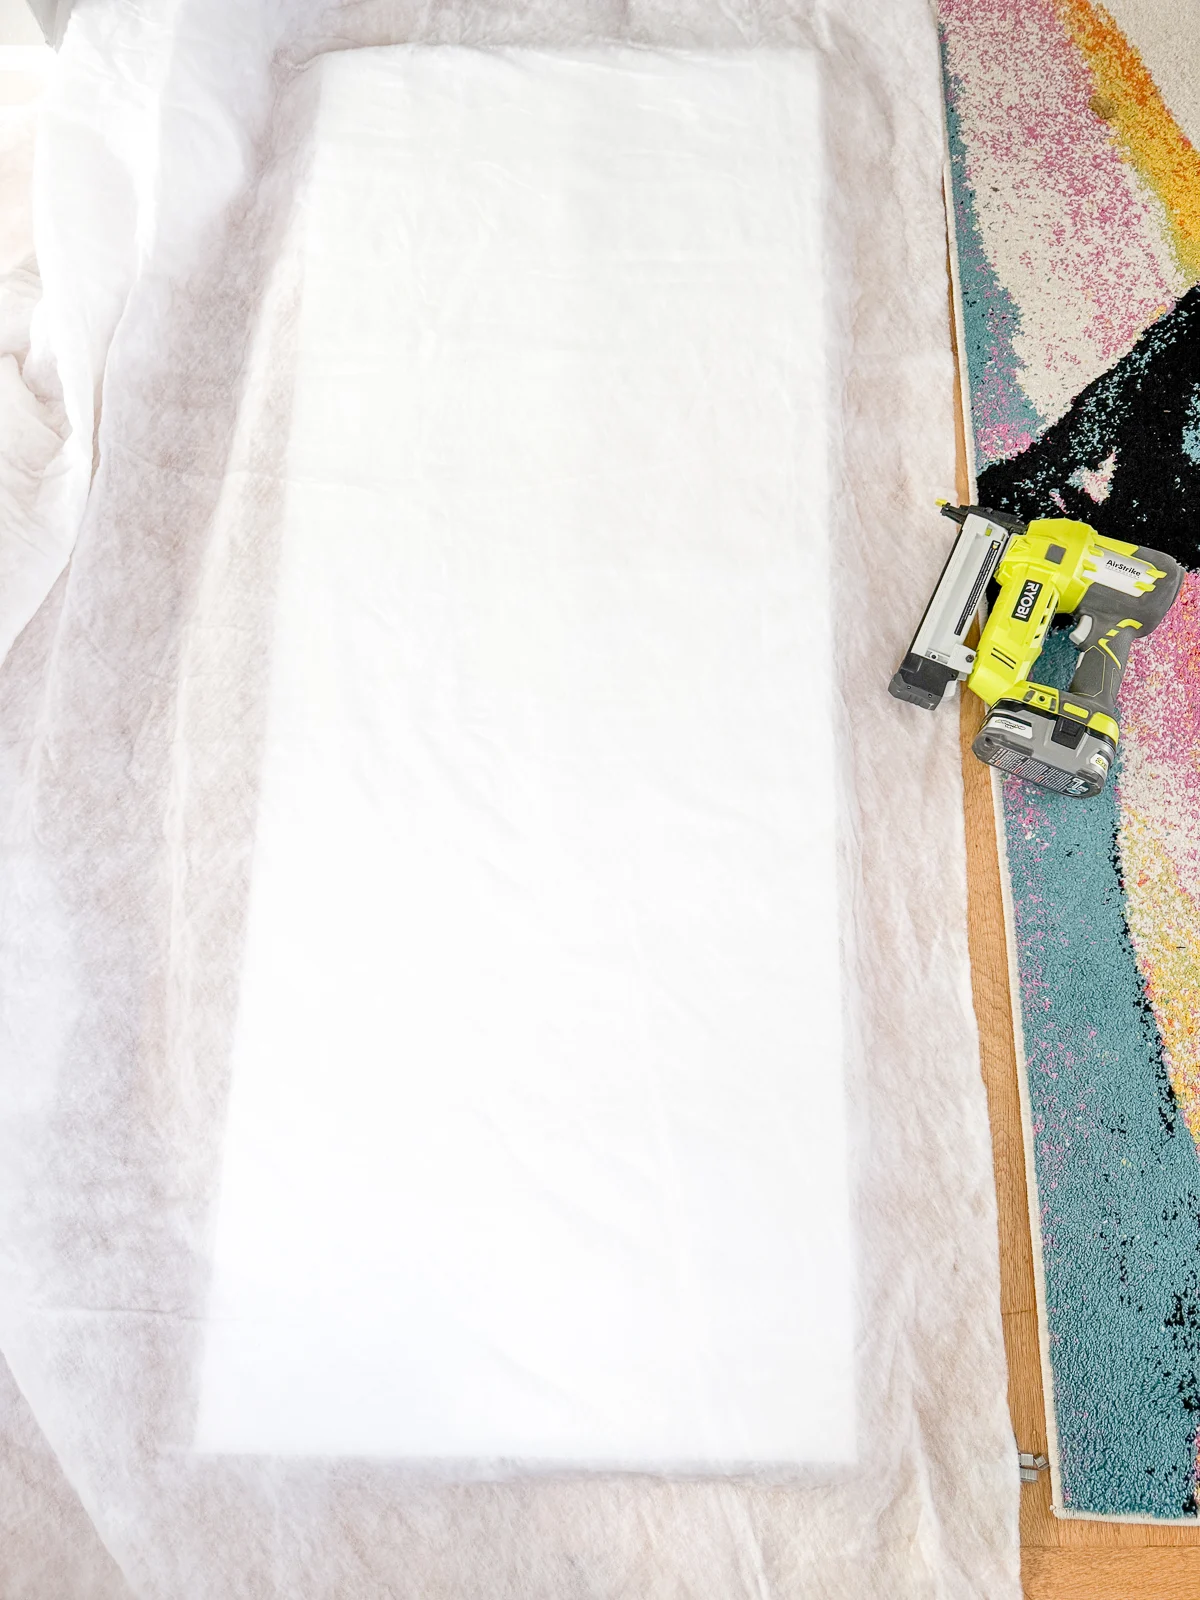
Start by pulling the batting straight and taut in the middle of each side and stapling the center to the back of the plywood.
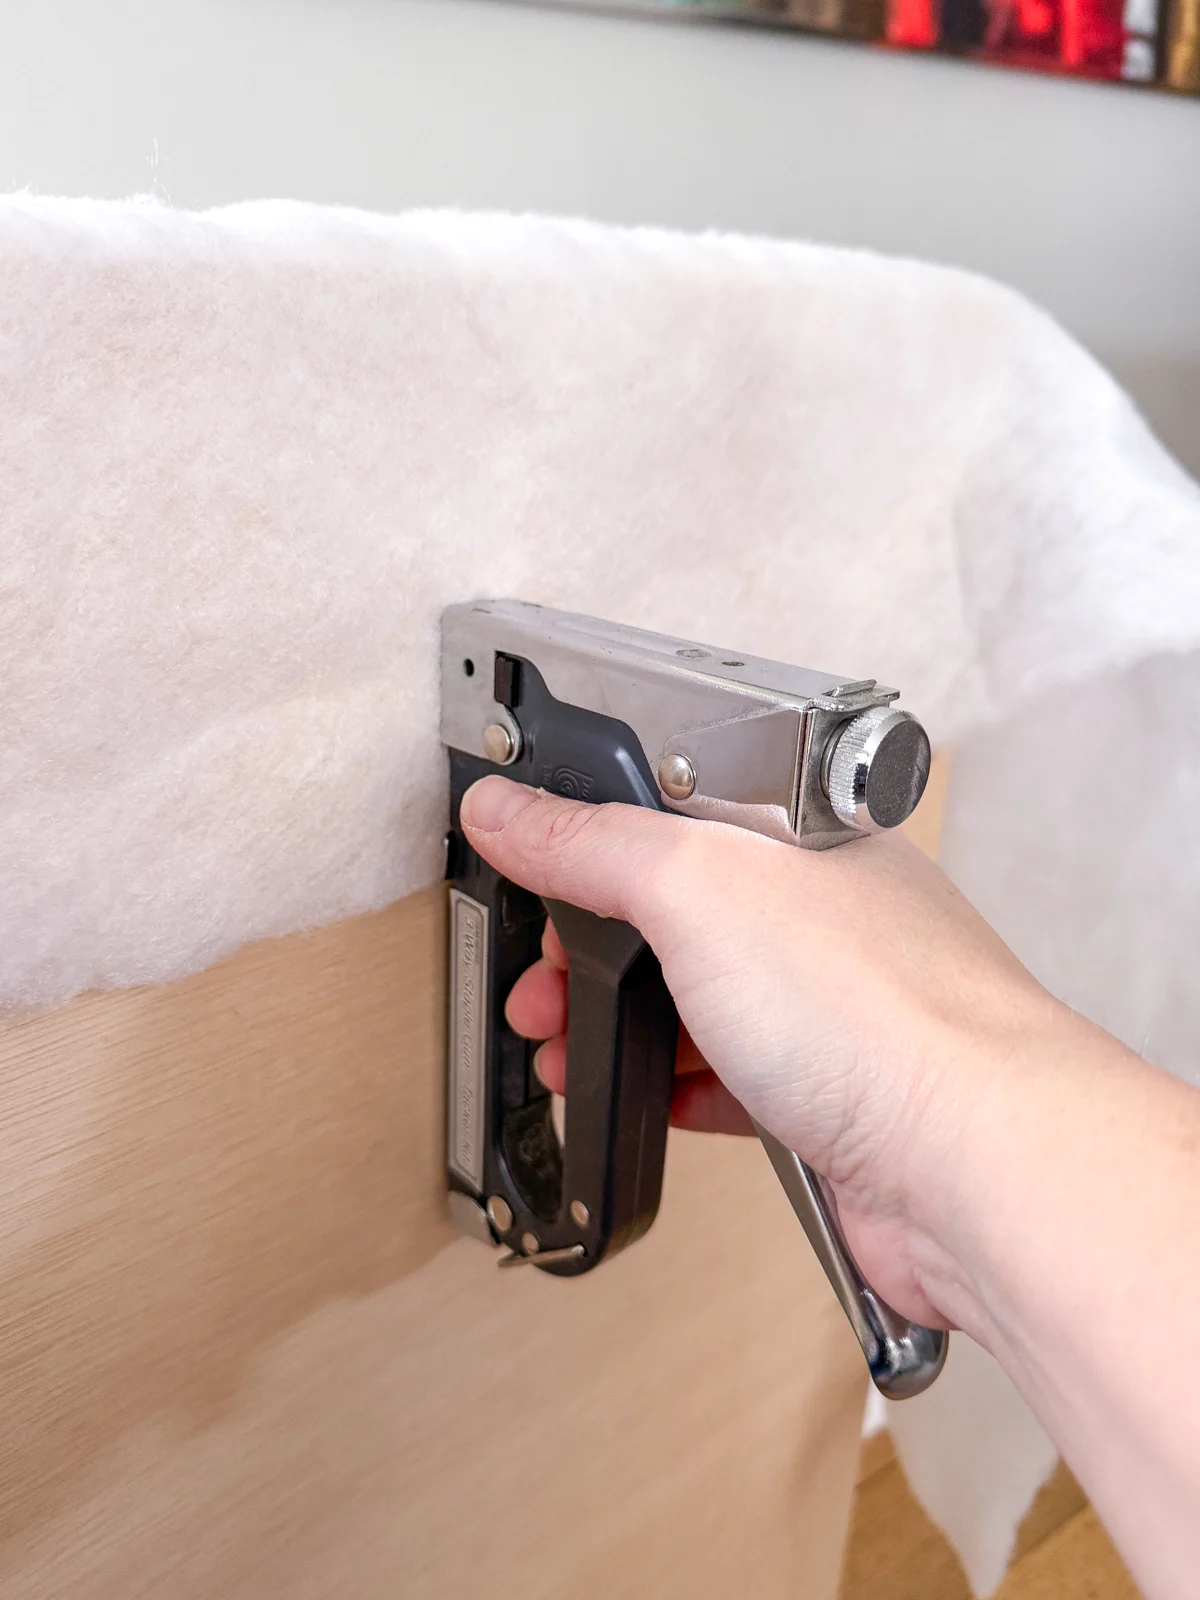
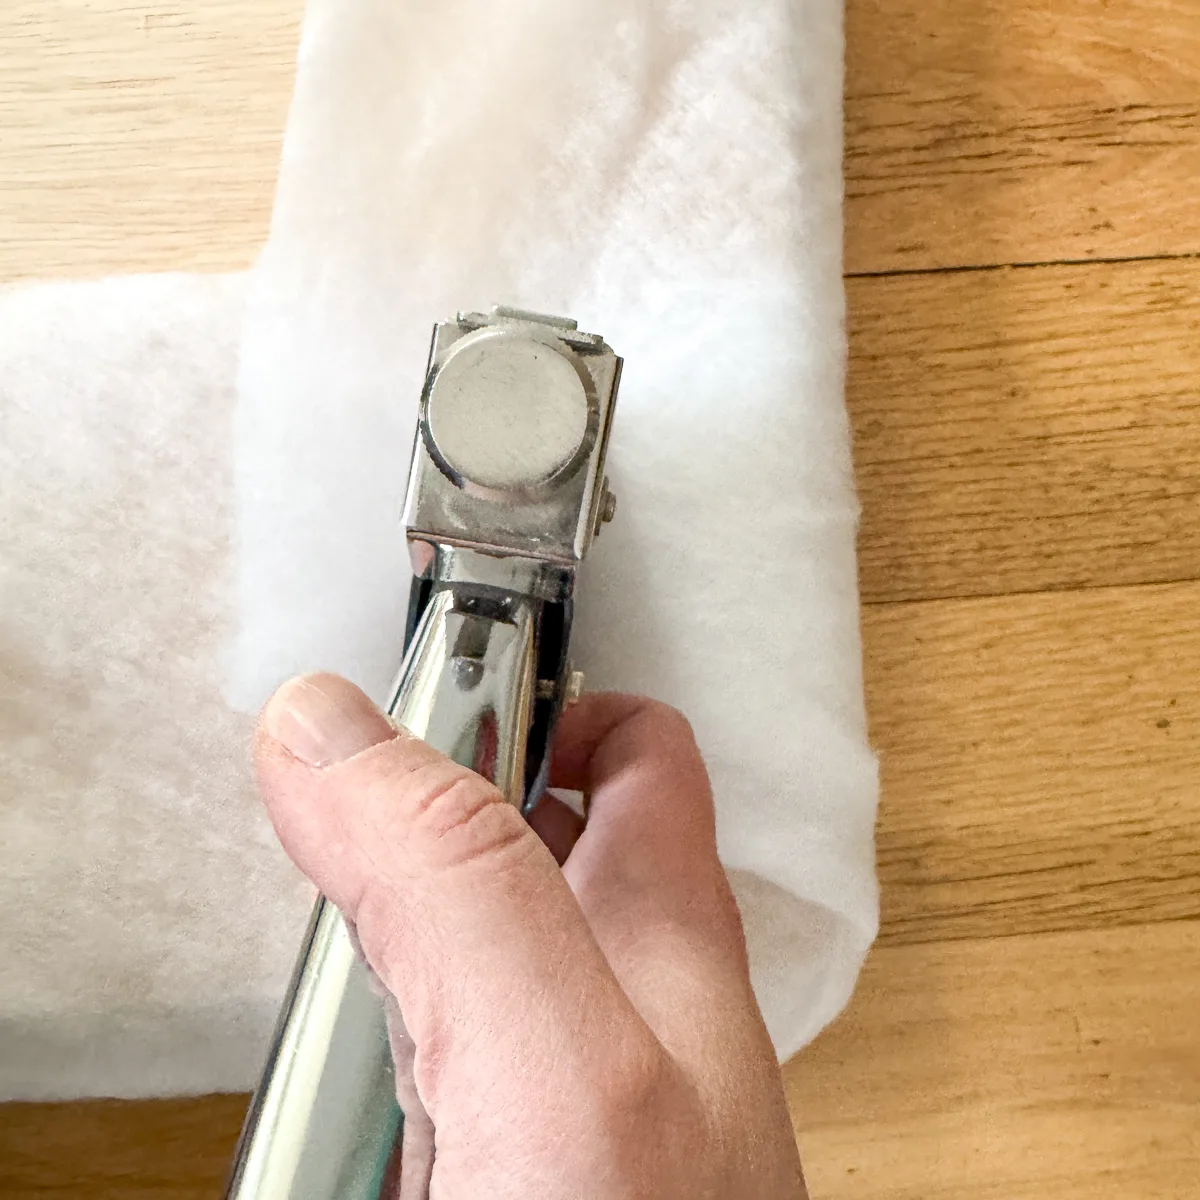
Once the four sides are secured, you can work your way around the perimeter and staple the rest of the batting in place. Carefully wrap the corners to avoid adding bulk.
Staple the fabric to the plywood
I bought this fabric ages ago, and it was pretty creased from being folded for so long. I gave it a quick ironing on a low temperature setting to smooth out any wrinkles, being careful not to press the weave out of shape.
With a fabric with stripes or patterns like this, it's important to keep it straight. I measured the overlap along the top, adjusting as necessary and checking on the front that I was following a single stripe all the way across.
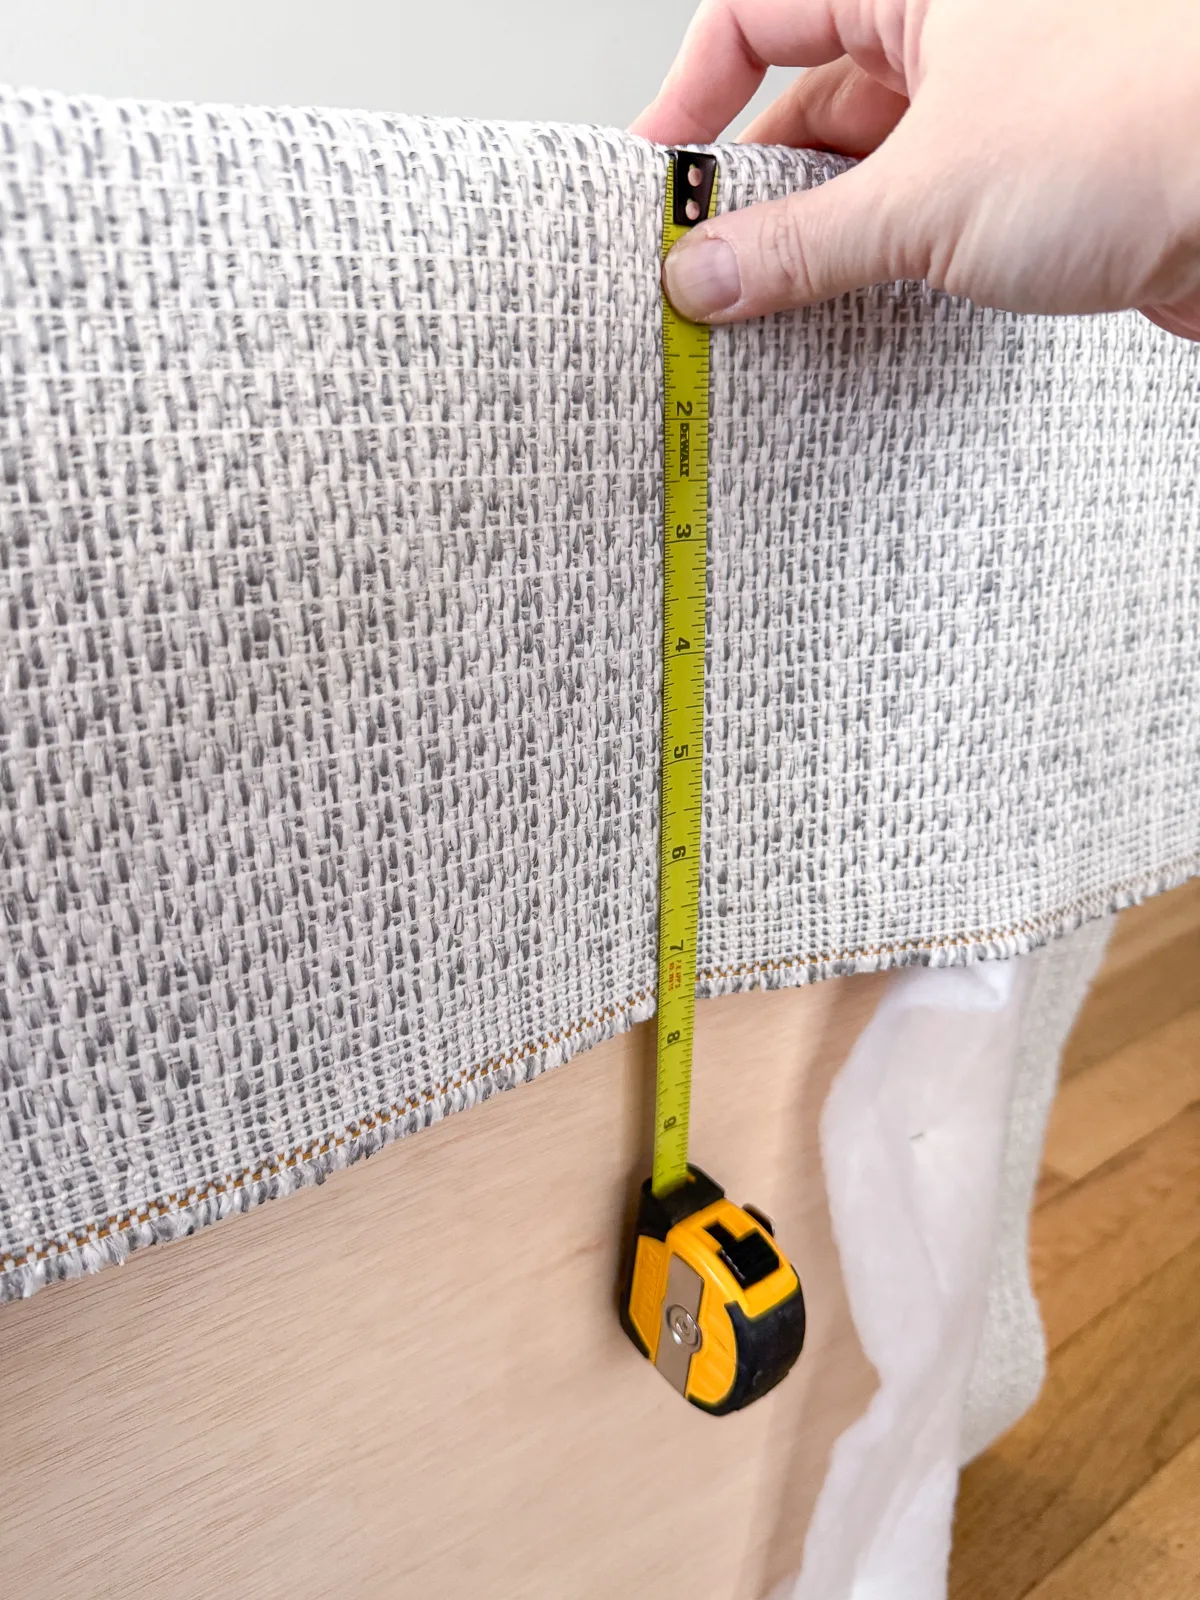
Once it's even, staple along the top edge, working from the middle out. Be careful not to stretch the fabric on this edge so the line stays straight.
Now flip the headboard over, pull the fabric straight across to the other long edge and staple it in place. You want the fabric taut enough so it doesn't sag over time, but not so tight that it creates puckers along the edges.
When you get to the corners, neatly fold the fabric and staple across the fold. Try not to get it too bunched up, or the headboard won't sit flat against the wall. Lumps along the edges can be tucked in and stapled later.
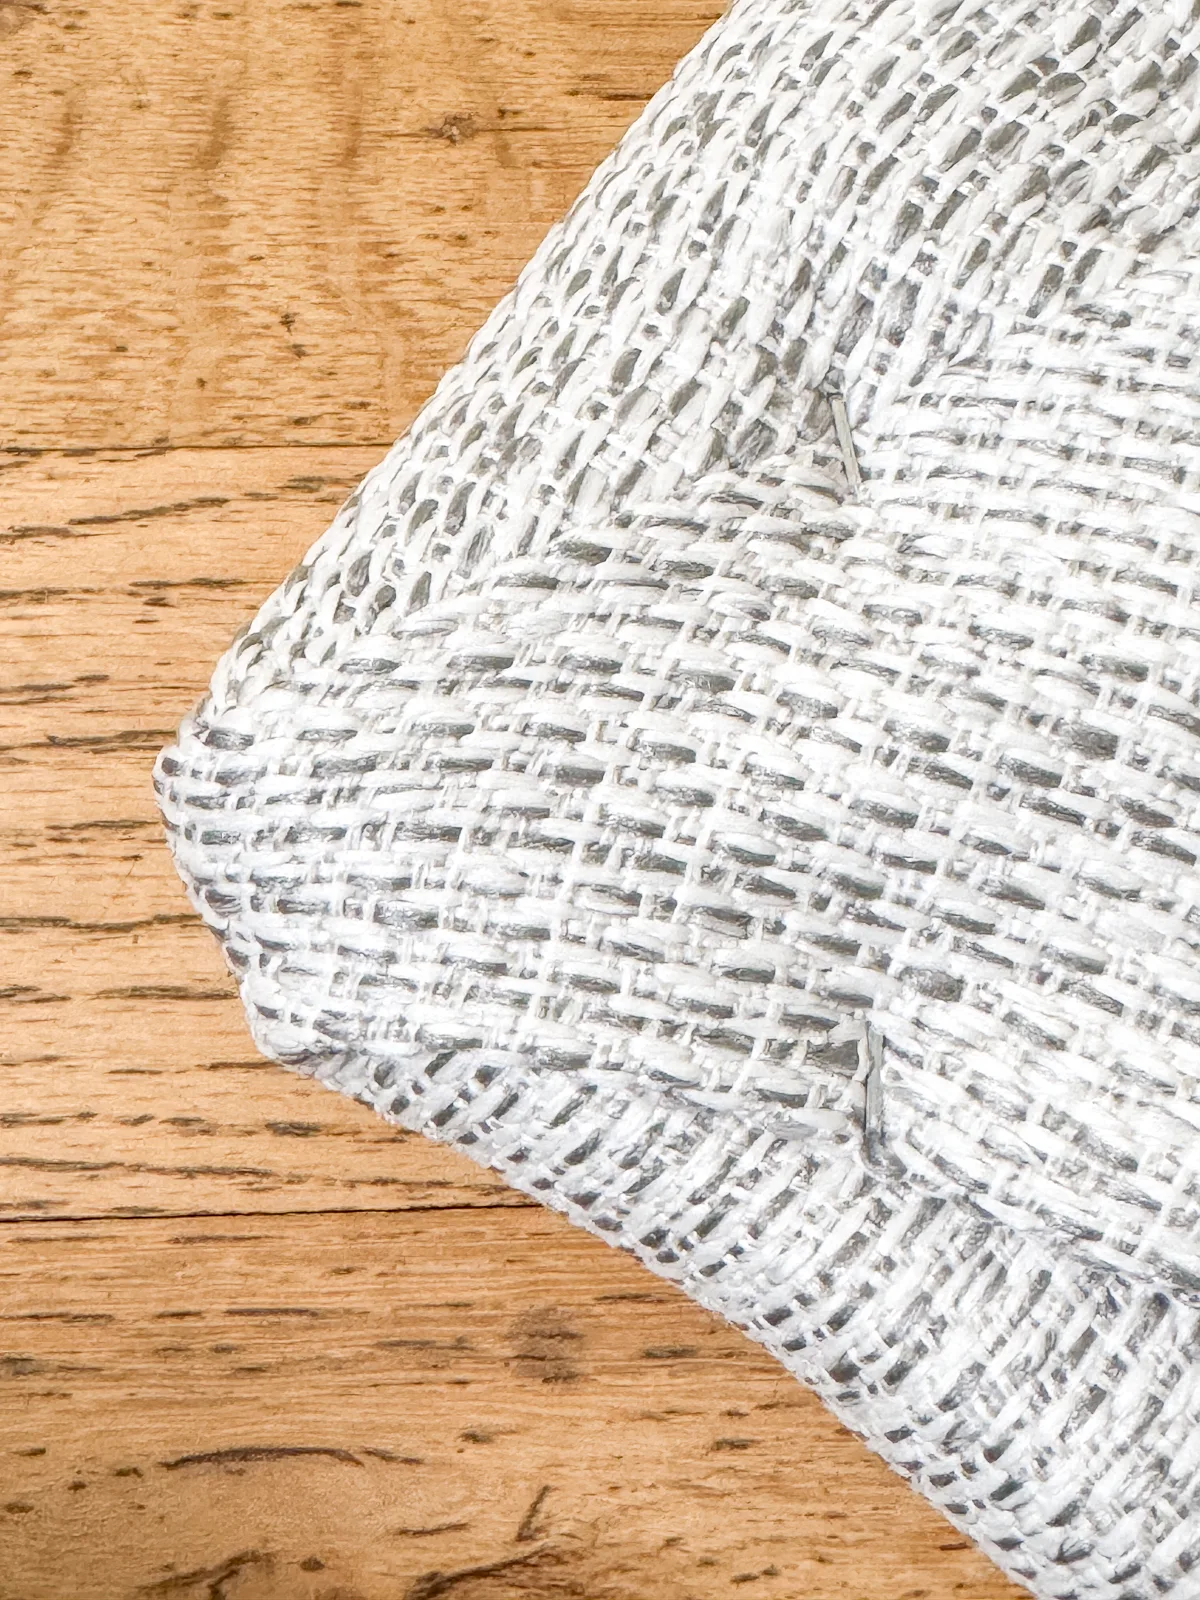
When you're happy with how it looks from the front, you can trim off the excess fabric on the back.
Mount the headboard on the wall
Some bed frames have mounting holes so you can attach a headboard. I prefer to hang mine directly on the wall, so it doesn't make any noise. The easiest way to do that is with a French cleat.
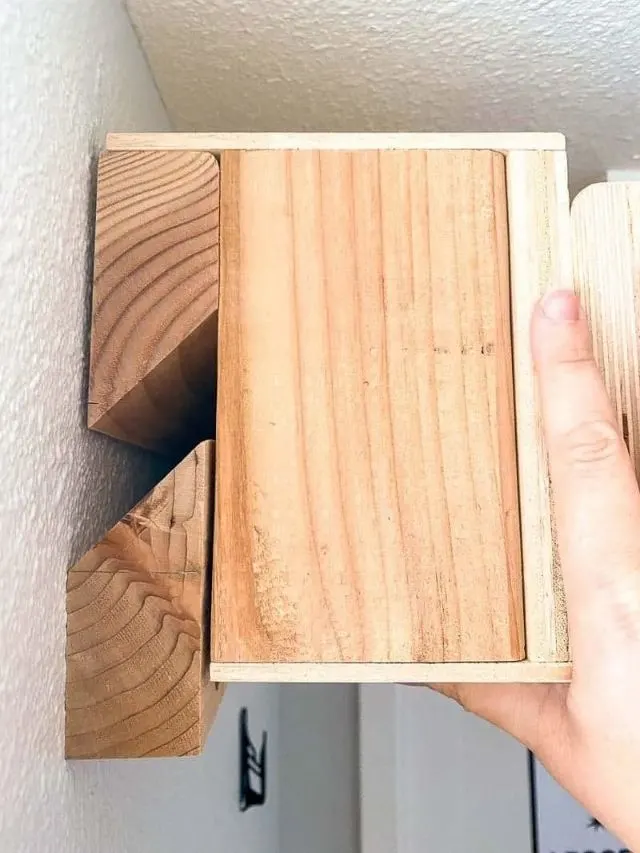
You can make your own French cleat out of wood. But for a headboard, I prefer the metal version because it sits closer to the wall. Both pieces are angled in opposite directions, so they hook together and hold in place securely.
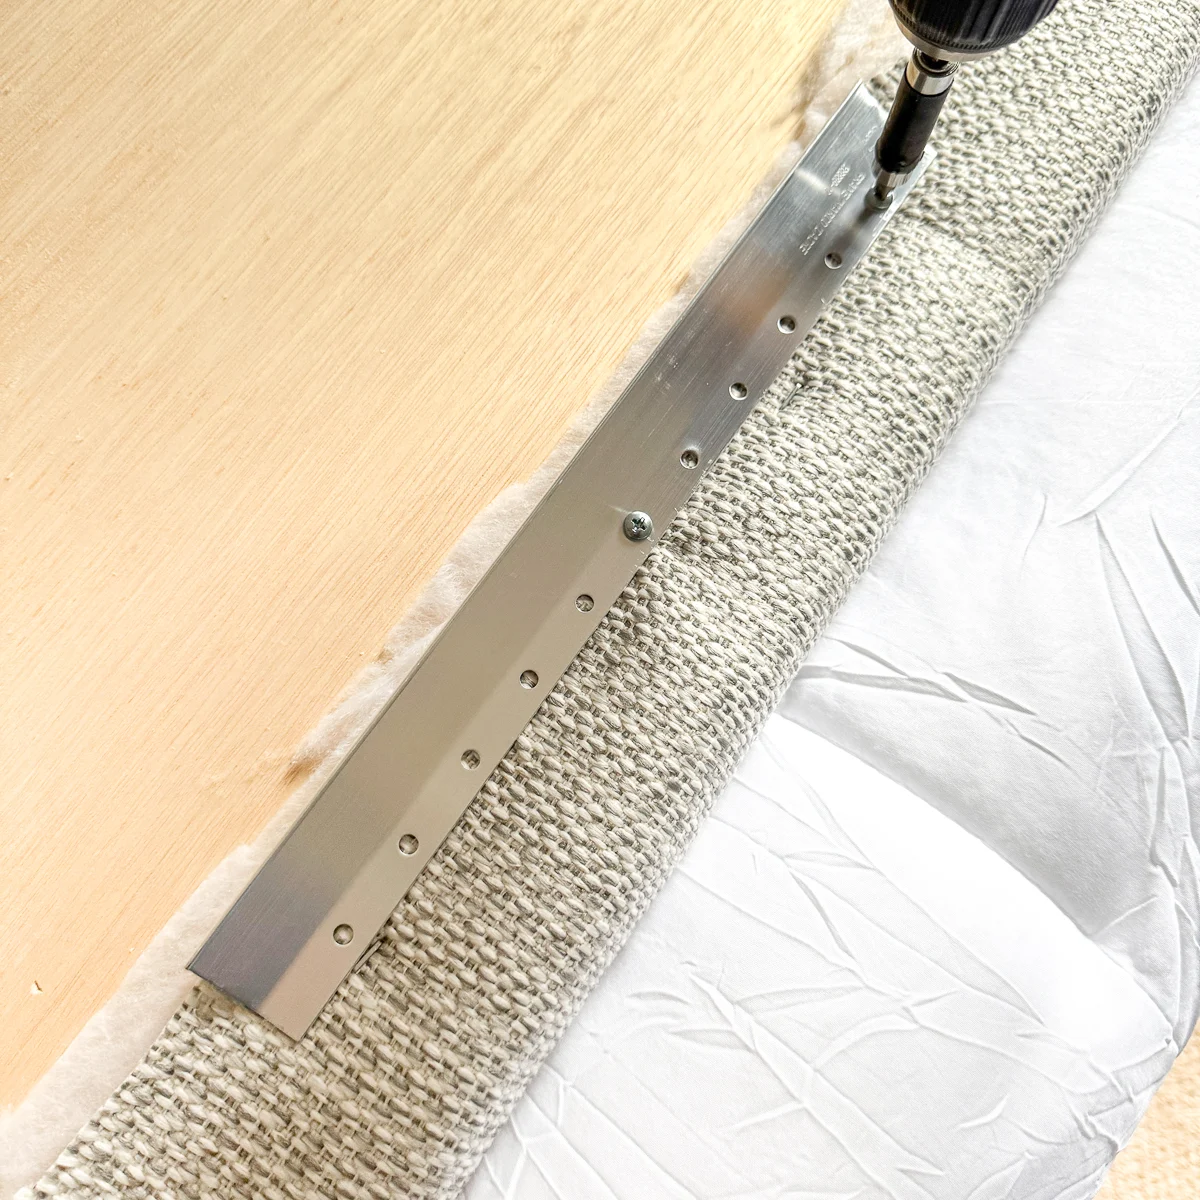
First, I attached the side of the cleat with the hook facing down on the back of the headboard. It's a few inches down from the top to avoid the staples along the edge.
I wanted the top of the headboard to line up with the bottom of the angled ceiling in the guest room. So I measured the distance from the top of the headboard to the cleat, and marked the same on the wall.
Use a stud finder to locate the studs in the wall (or use one of these tricks if you don't have one). Of course, the middle of the bed just happened to be right in between the studs, so I used hollow wall anchors to keep it in place securely.
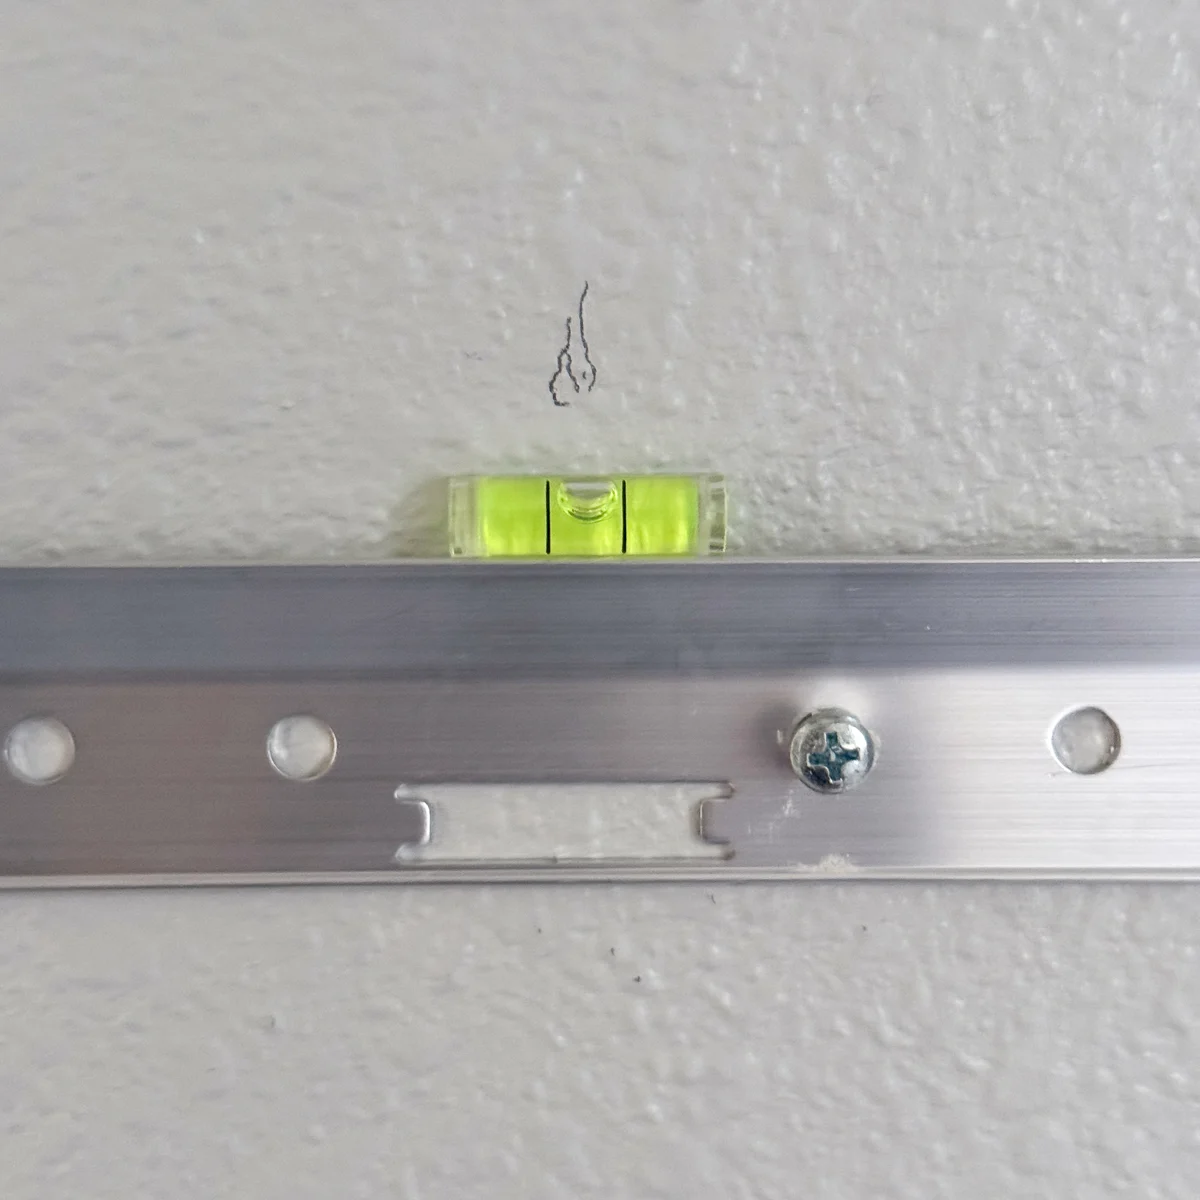
This brand of French cleat comes with a little bubble level to help you mount it straight on the wall. I screwed one of the screws into the anchor, then adjusted the bracket and marked the rest of the holes.
Once both sides of the French cleat are mounted, you just hook them together! It took a few tries to get it on there because of the angled ceiling, but it lined up perfectly!
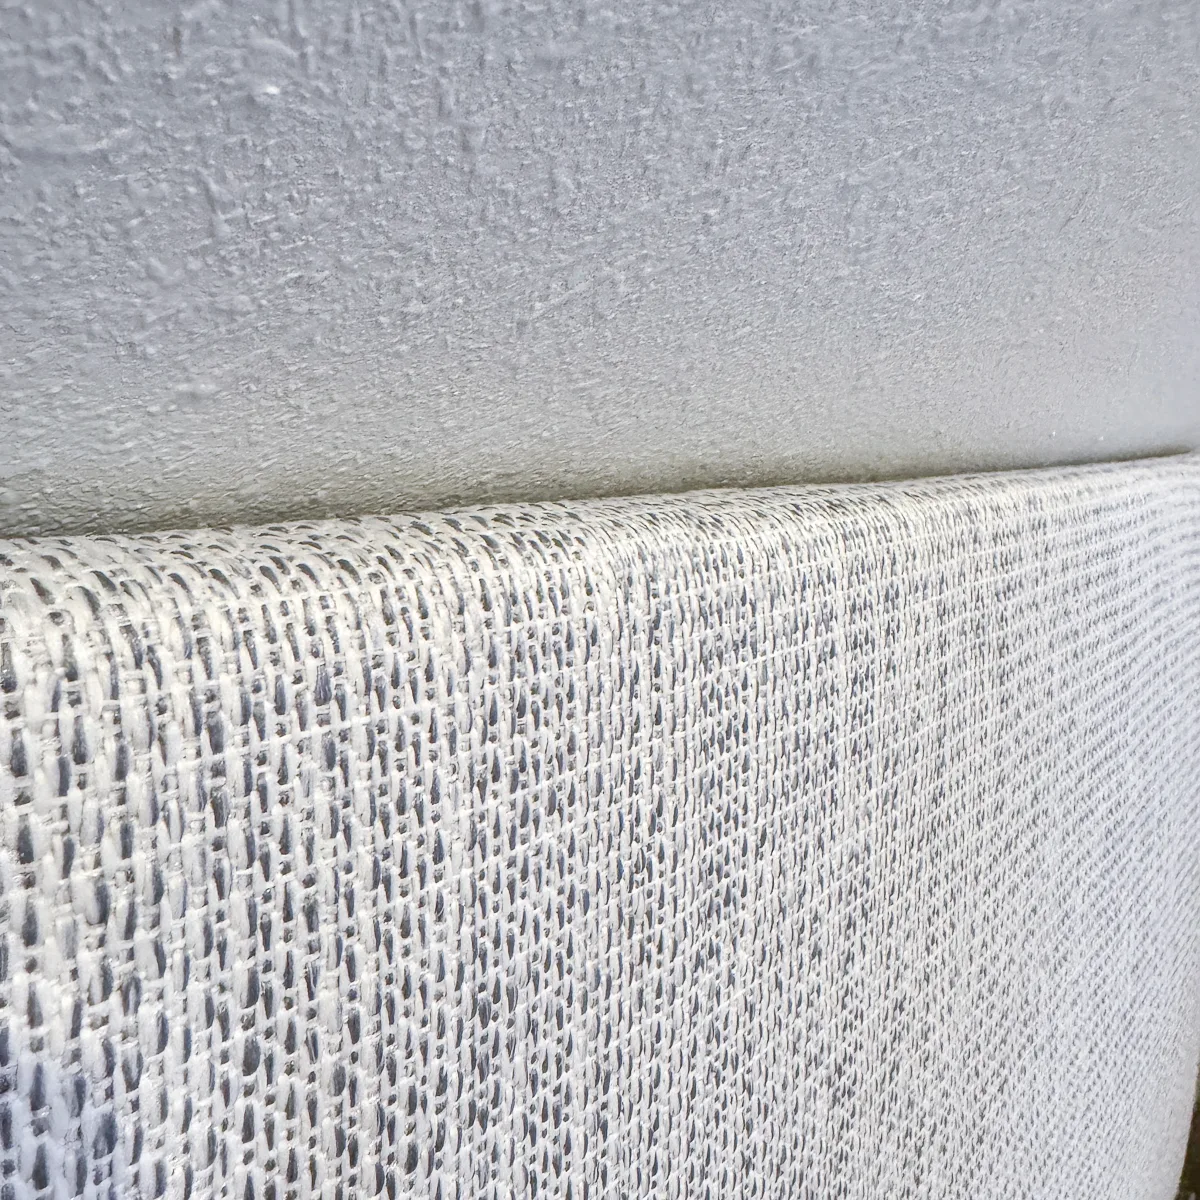
The fabric headboard really pulled the room together and makes it feel cozy!
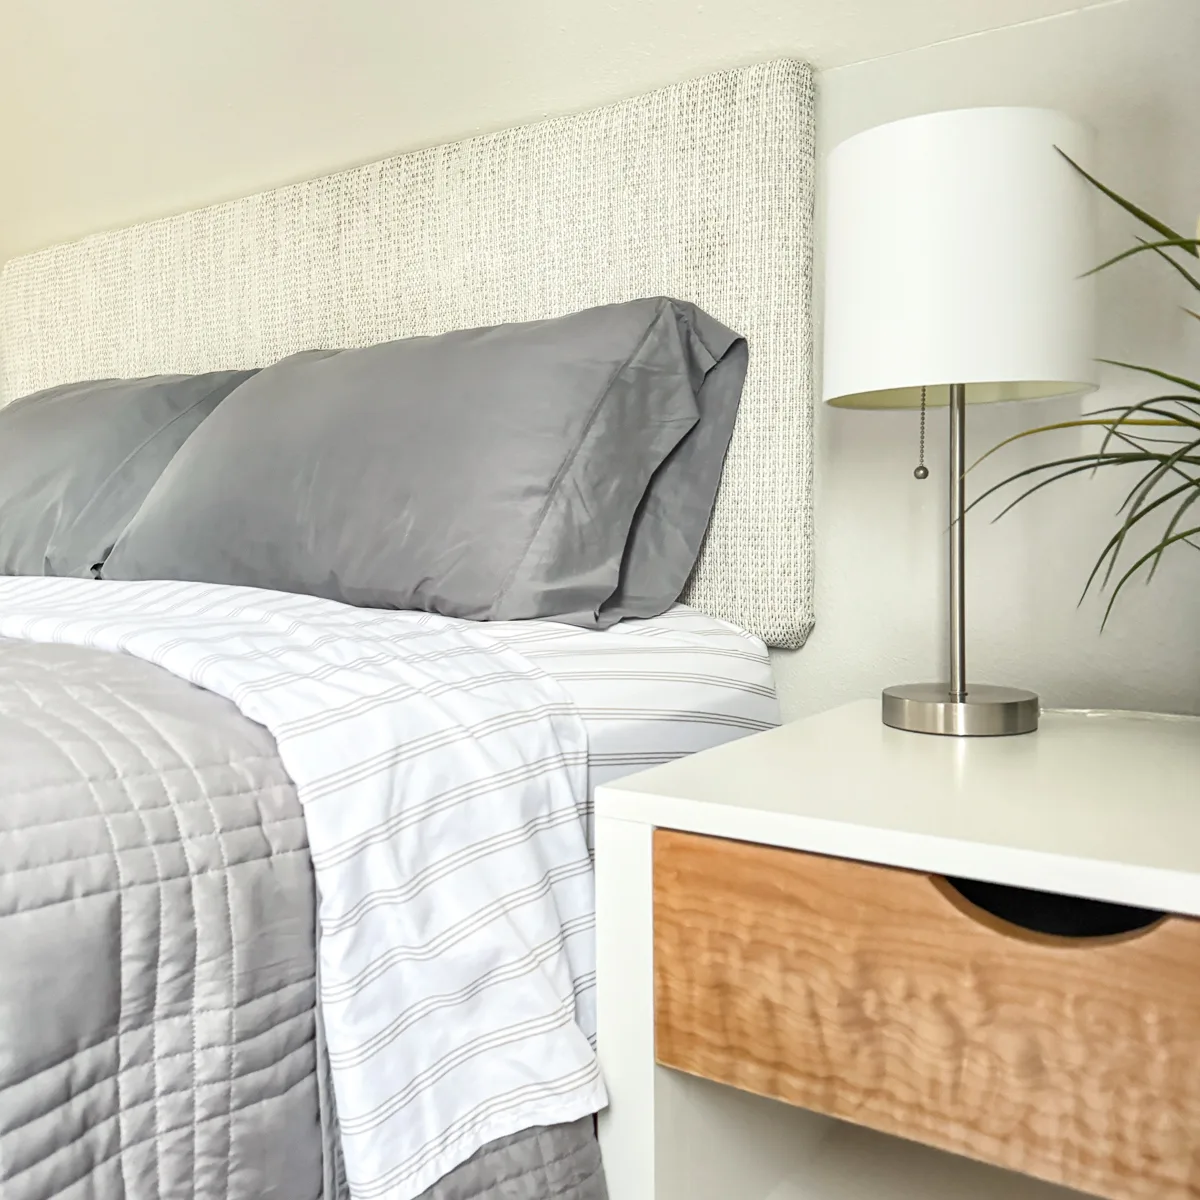
In retrospect, I should have made it a little taller so it extended below the level of the nightstands to hide the corners. But it still looks a million times better than before!
