Support your tomato plants in the ground or in a pot with a DIY tomato cage! This wooden tomato cage is easy to build with basic tools.
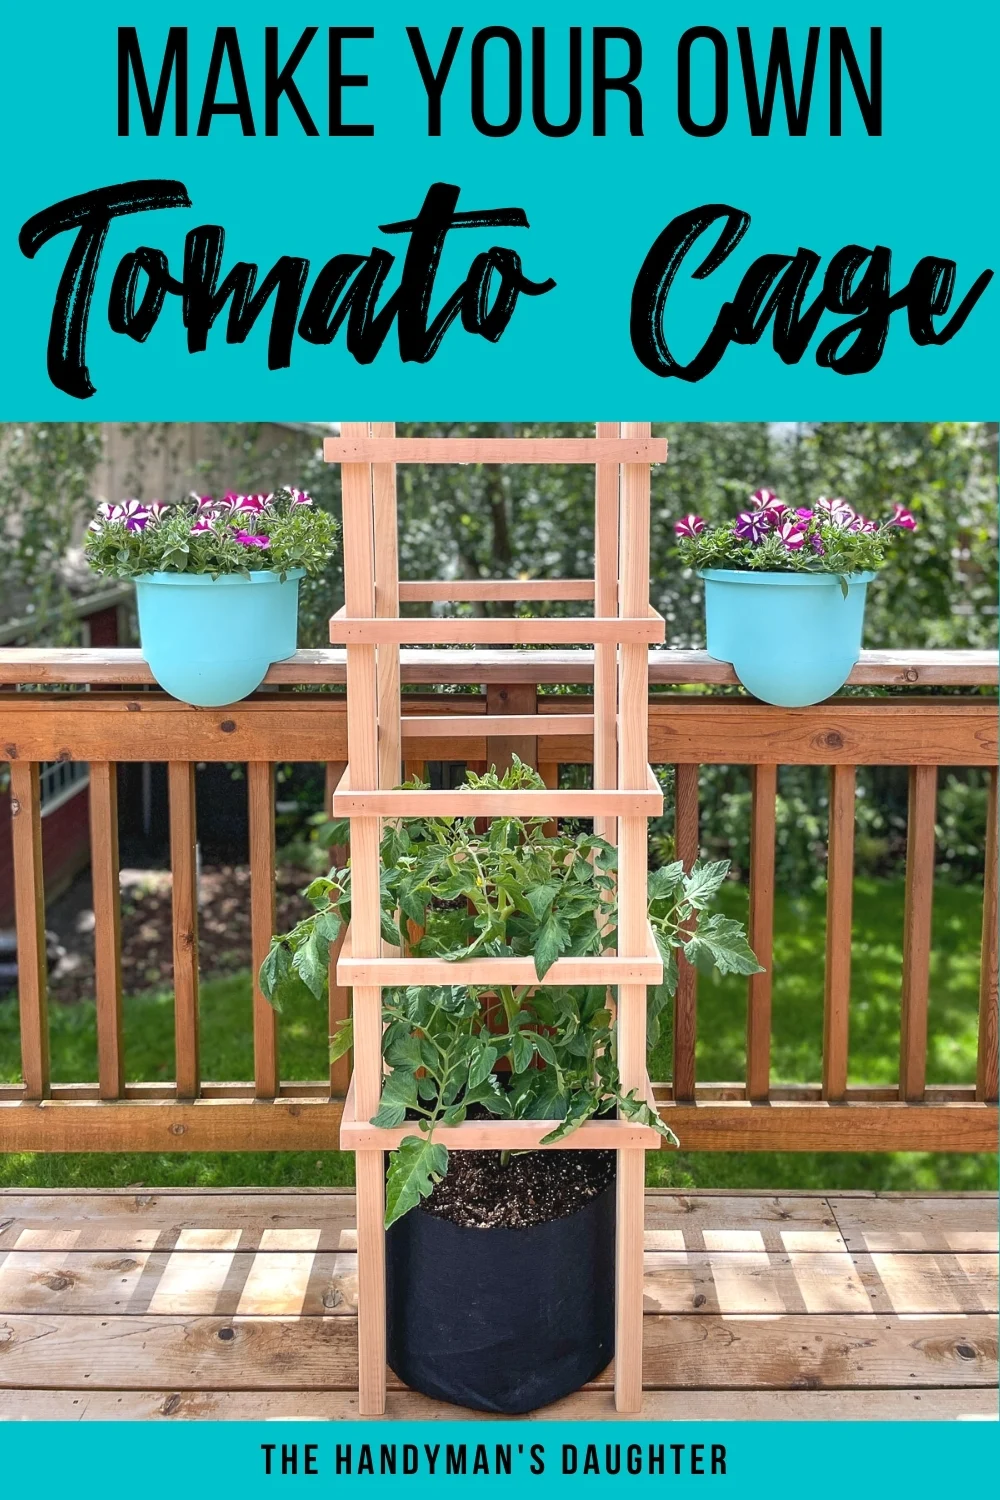
There's nothing better than a ripe tomato fresh off the vine. But all that effort is wasted if your tomato plants flop over and the fruit rots on the ground!
Those flimsy metal tomato cages you find at the hardware store are no match for healthy indeterminate tomatoes. That tiny seedling can turn into a six to eight foot tall monster in a matter of months, with heavy branches full of ripening fruit.
I made the mistake of putting two Early Girl tomato starts in the same grow bag when I built my outdoor plant stand. They looked so small when they started out, but within a month they had grown into a dense canopy of leaves!
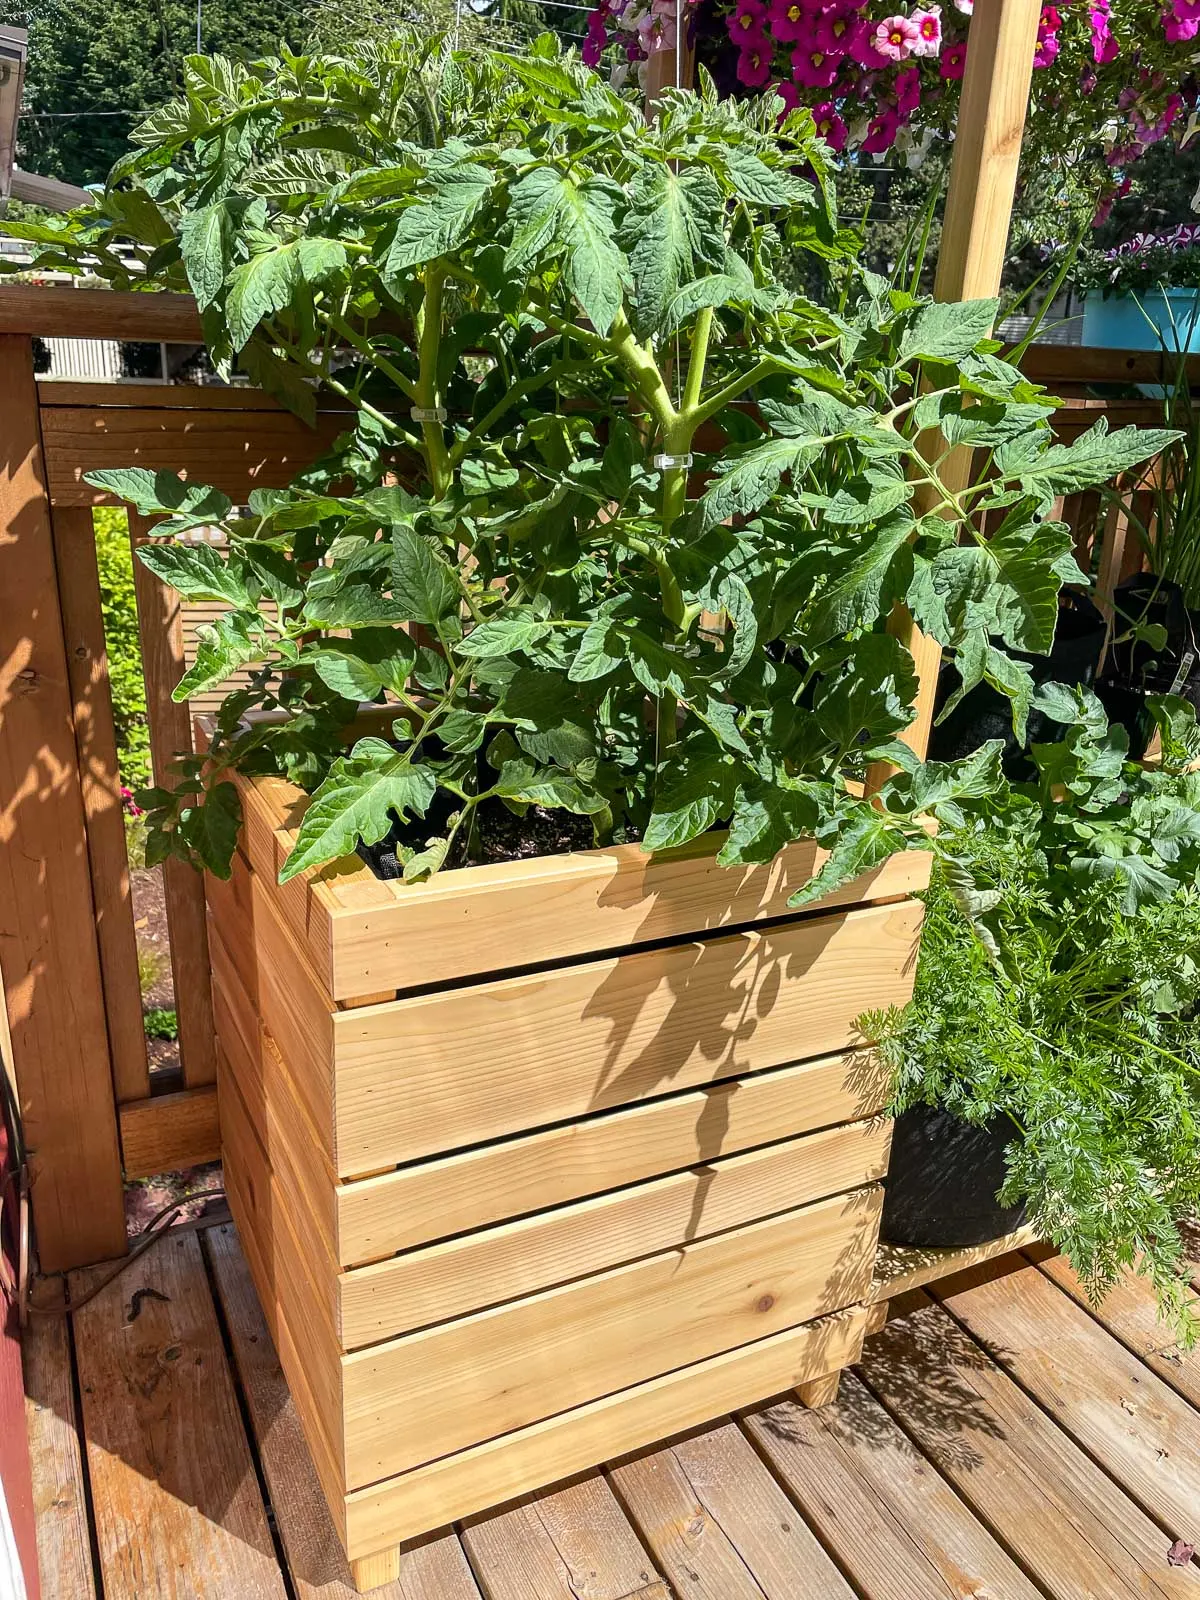
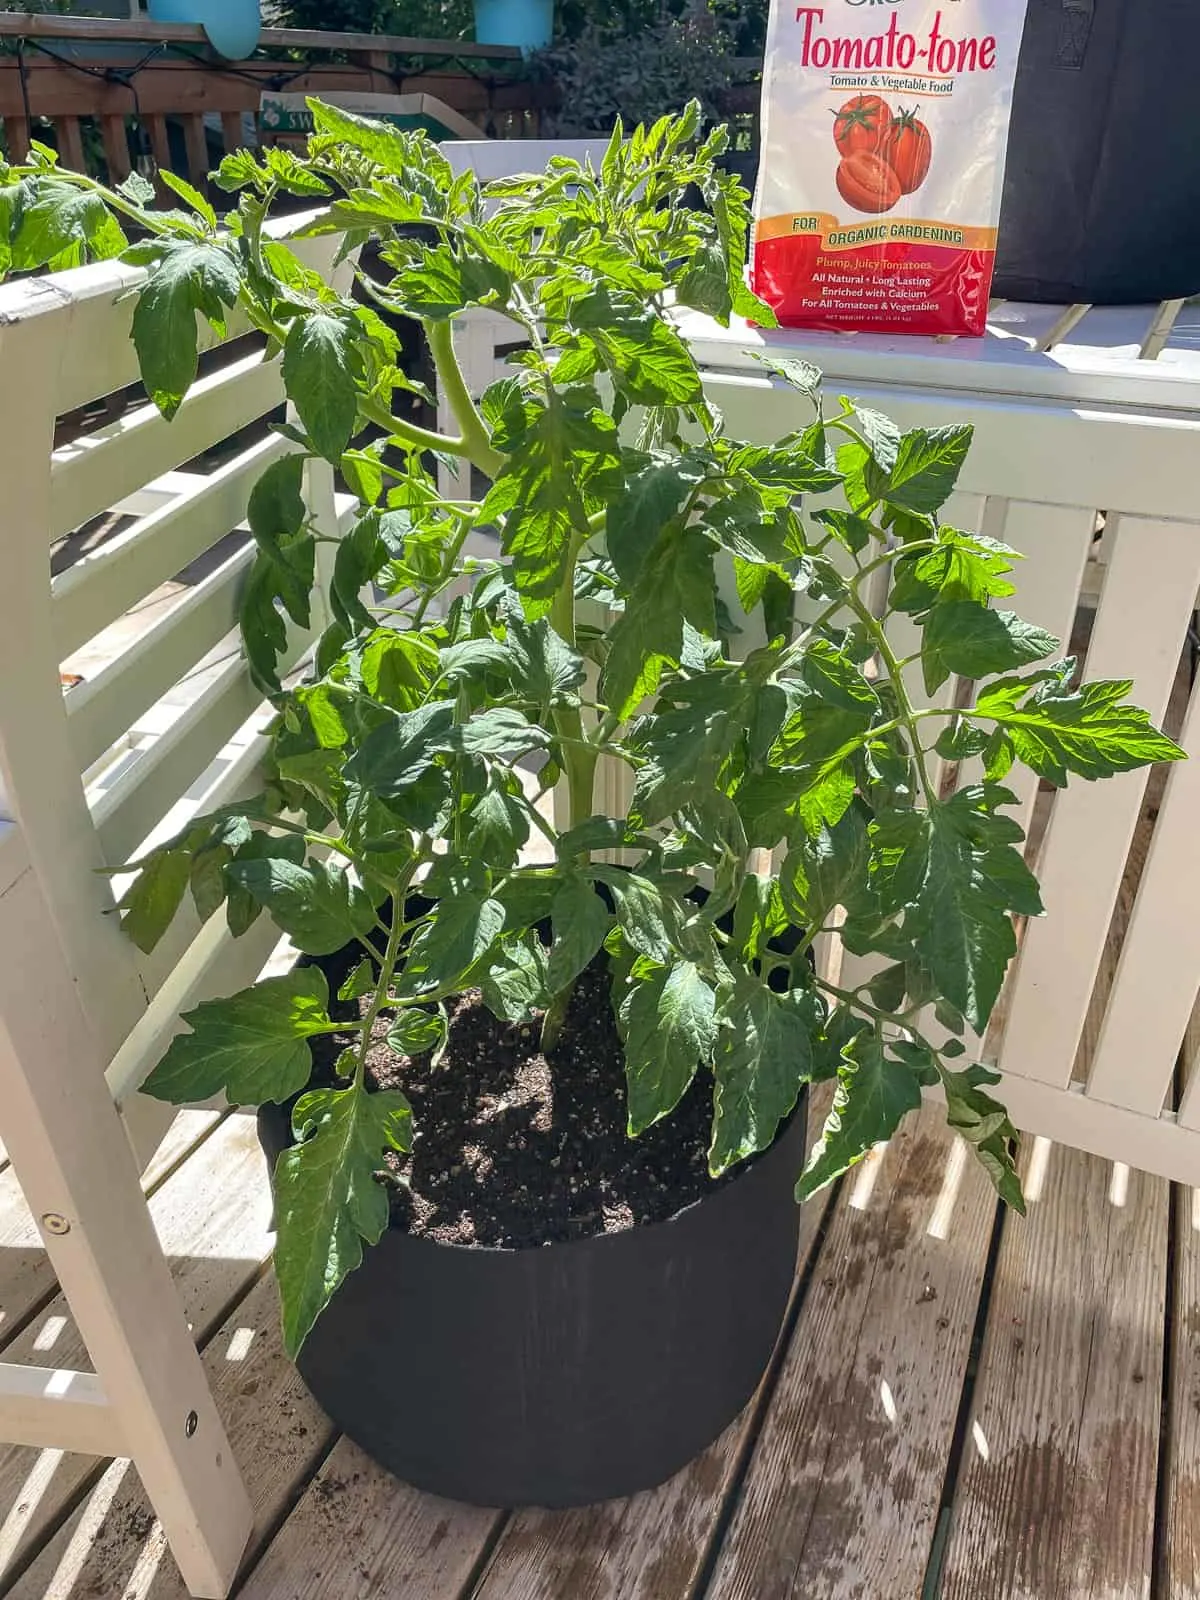
Tomato plants need good air circulation, and there just wasn't enough room for both to grow to their full potential. I decided to transplant one into its own grow bag, but it desperately needed some support! It couldn't stand up on its own without the help of a patio chair.
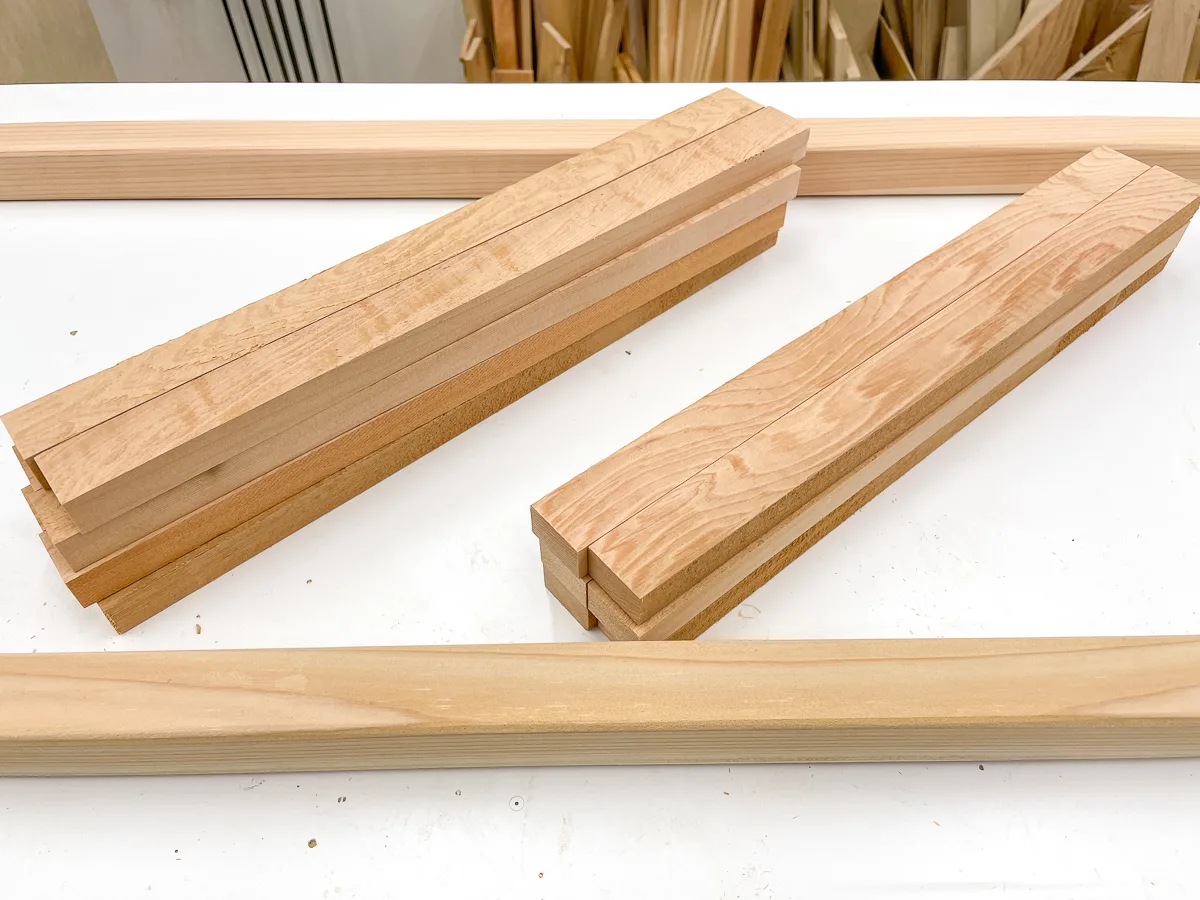
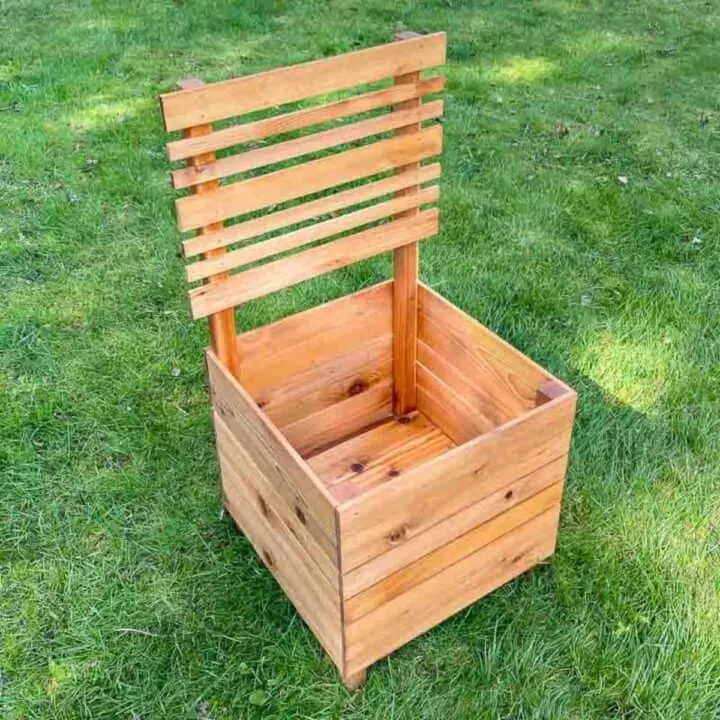
After rummaging through my lumber rack and scrap wood pile, I unearthed enough cedar pieces to make a sturdy tomato trellis that will stand up to even the biggest tomato plant for years to come!
Cedar won't rot, and won't potentially leach chemicals into the plant like pressure treated lumber, so it's recommended for vegetable gardens.
Indeterminate tomatoes will continue to grow until the first frost, so they can get 6-8 feet tall easily! This homemade tomato cage is six feet tall, but you could go up to eight feet just by leaving the 2x2 boards uncut and adding a few more rungs.
This tomato trellis idea is really easy to make in less than an hour! You can sink the legs into the soil of a garden bed or just pop it over a pot for an instant garden on your deck or patio!
Looking for something a little different? Check out these other DIY tomato cage ideas!
This post contains affiliate links for your convenience. Purchases made through these links may earn me a small commission at no additional cost to you. Please visit my disclosures page for more information.
Supplies Needed for DIY Tomato Cage
- Four 2x2 boards
- Cedar is best, but any wood will do.
- Six 1x2 boards
- I cut three 1x4 cedar boards in half down the middle at the table saw, since that's what I had on hand. You could even use cedar fence pickets and cut them into thin strips to save money!
- Miter saw or circular saw
- You could also cut these by hand with a miter box!
- Exterior wood glue
- Brad nailer and 1 ¼" brad nails
- You could also use a finish nailer, but it might crack the thin cedar slats. Learn the difference between a brad nailer vs finish nailer here.
- You could also use 1 ¼" exterior wood screws, although assembly will take a little longer.
- Speed square
- Clamps
- Exterior paint or stain (optional)
How to Make a Wooden Tomato Cage
Download the Free Woodworking Plans
Before you start, download the woodworking plans for this homemade tomato cage by clicking the box below. These printable plans include a cut list, 3D models of each step, and detailed instructions in a checklist format so you can keep track of your progress!
Cut the Boards to Size
I chose to make my tomato cage 16" square and six feet high, so it fits around the 10 gallon grow bag and doesn't topple over in the wind. You can go wider or taller if you want, especially if you'll be burying the first foot of the legs into the soil or growing a number of indeterminate tomato varieties.
First, cut all the 2x2 boards to the desired height. Then cut the 1x2 slats that will connect the legs.
Assemble the Legs
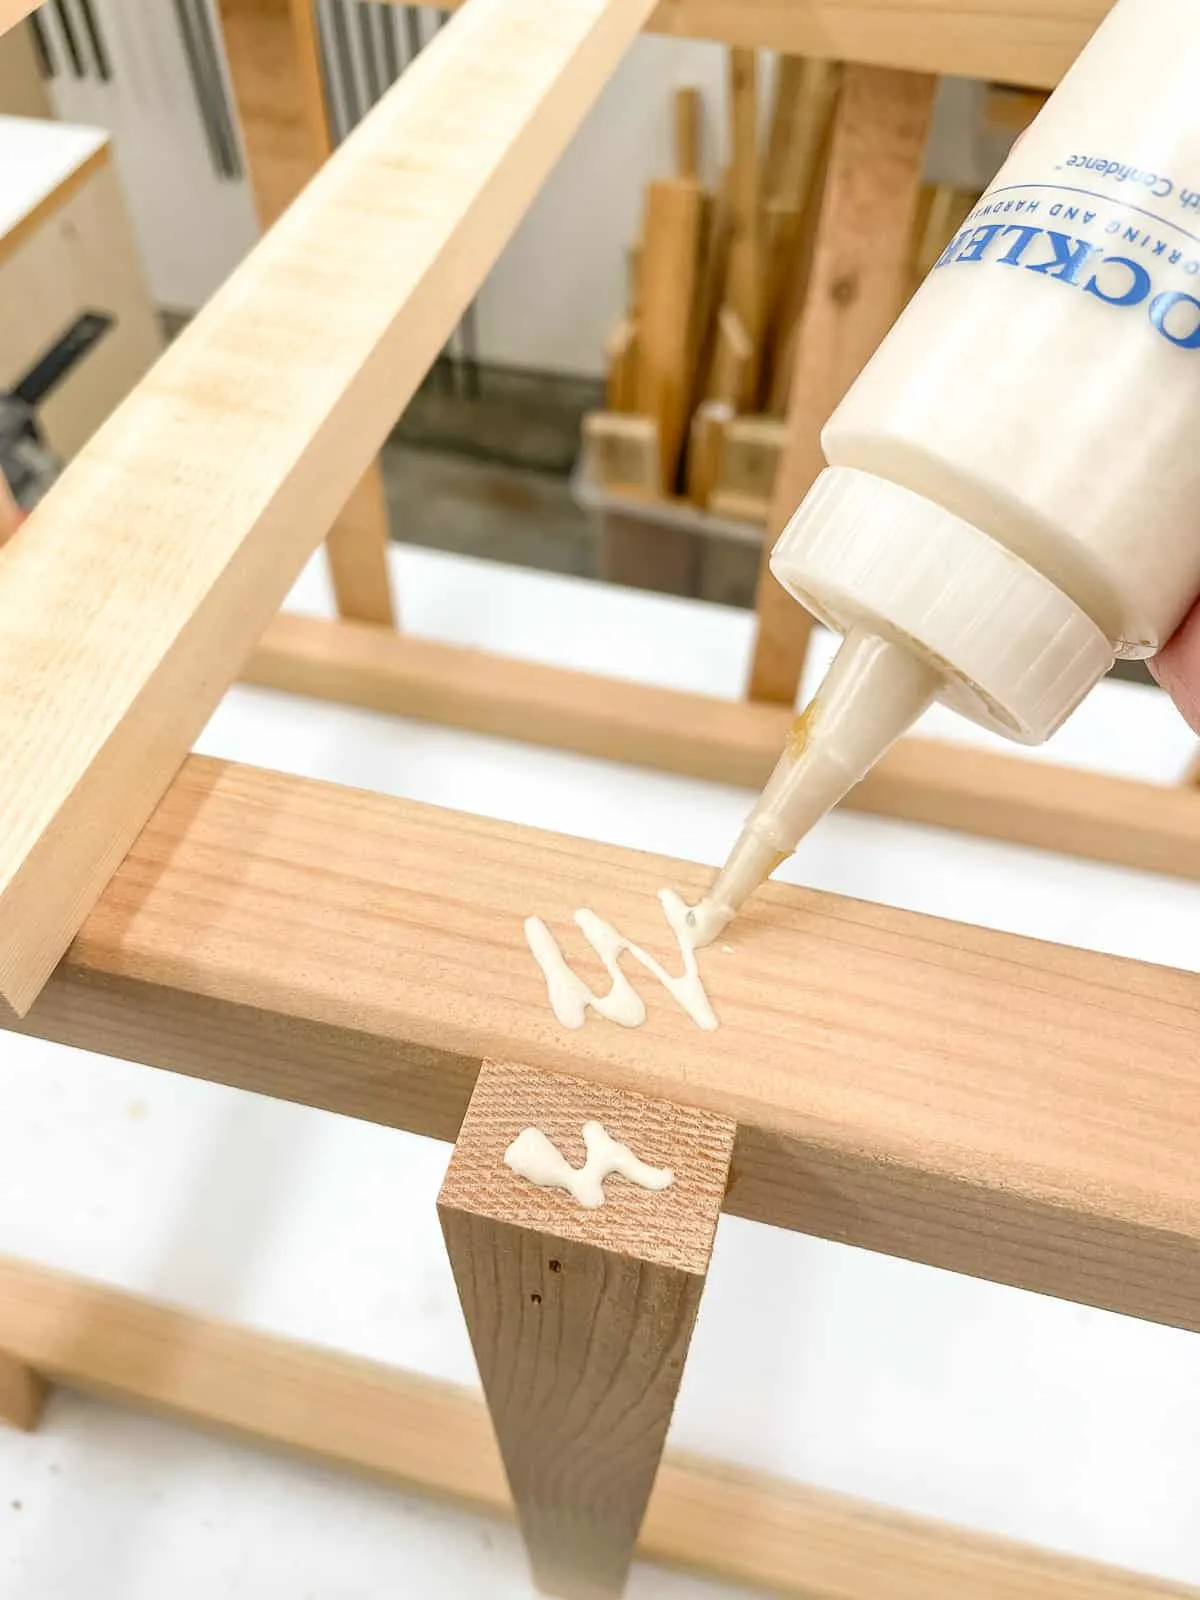
It's important to get the top slats square, so the entire tomato cage isn't crooked and wonky! Apply a bit of exterior wood glue to the top of the legs where they'll intersect with the first slat. Line up the edge of the slat with the top of the legs, and use a speed square to make sure it's straight.
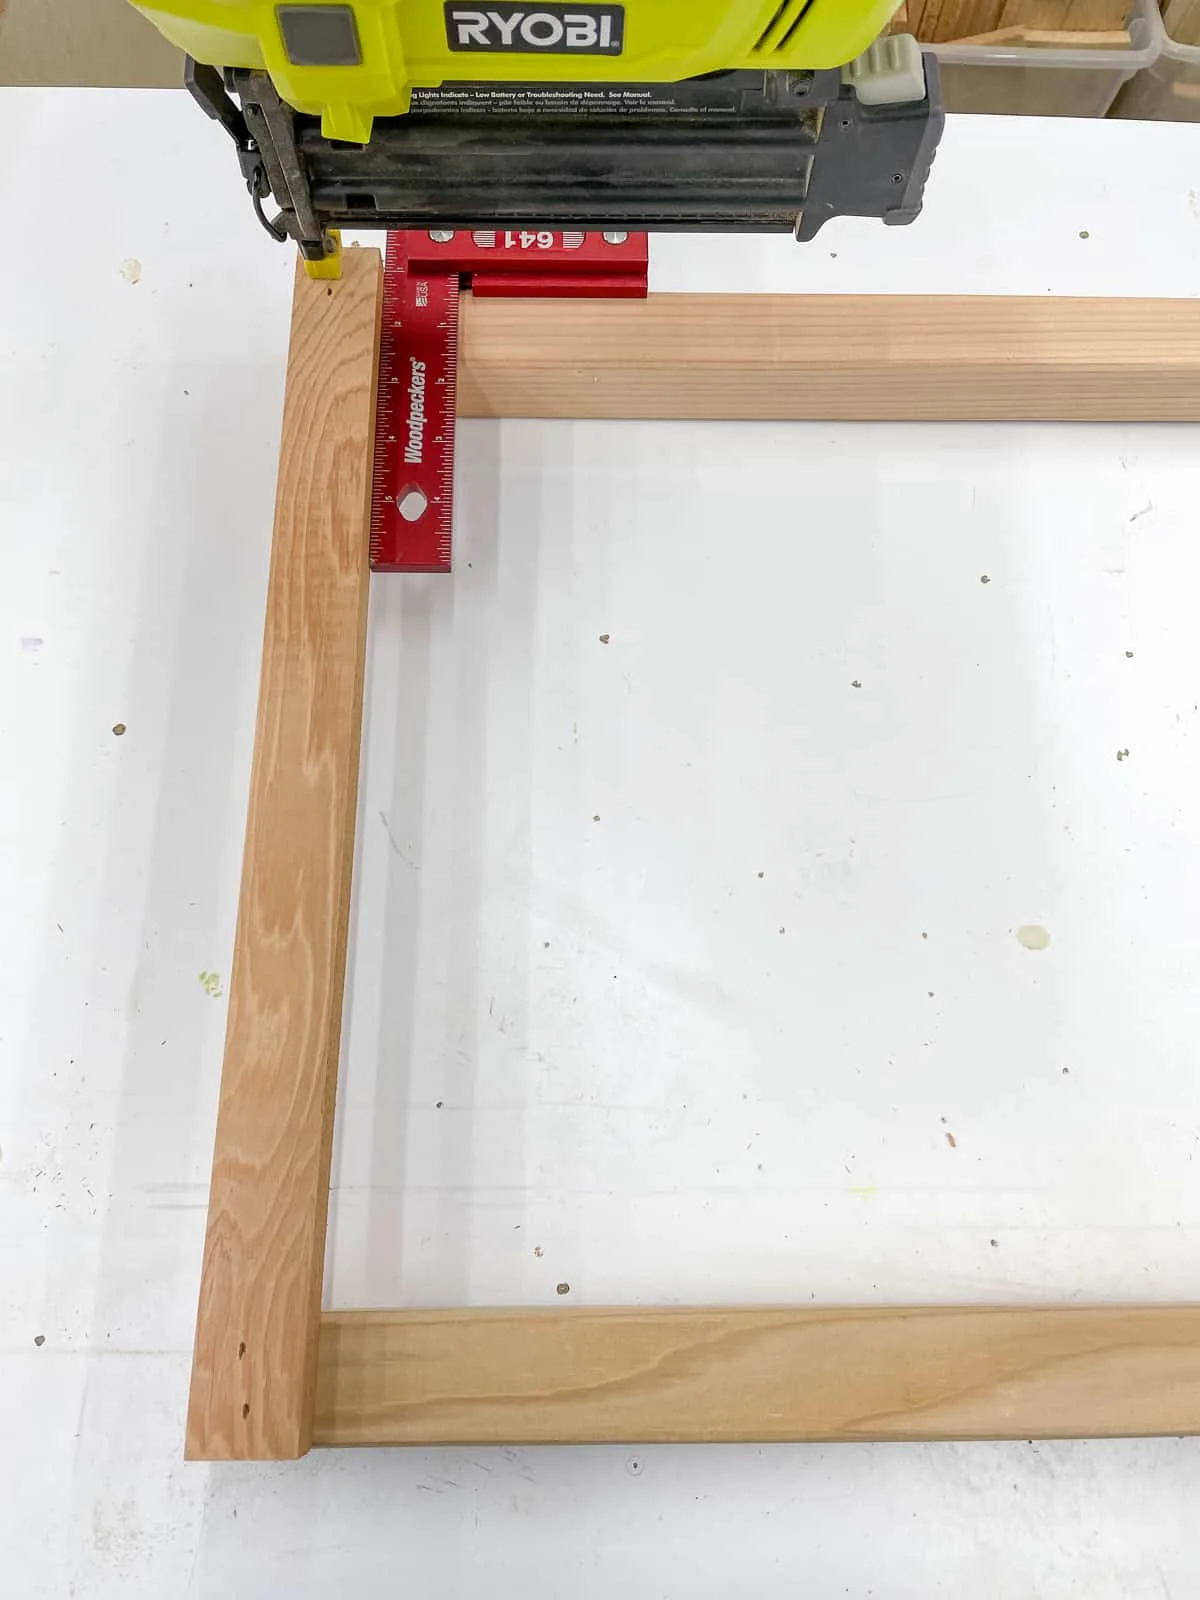
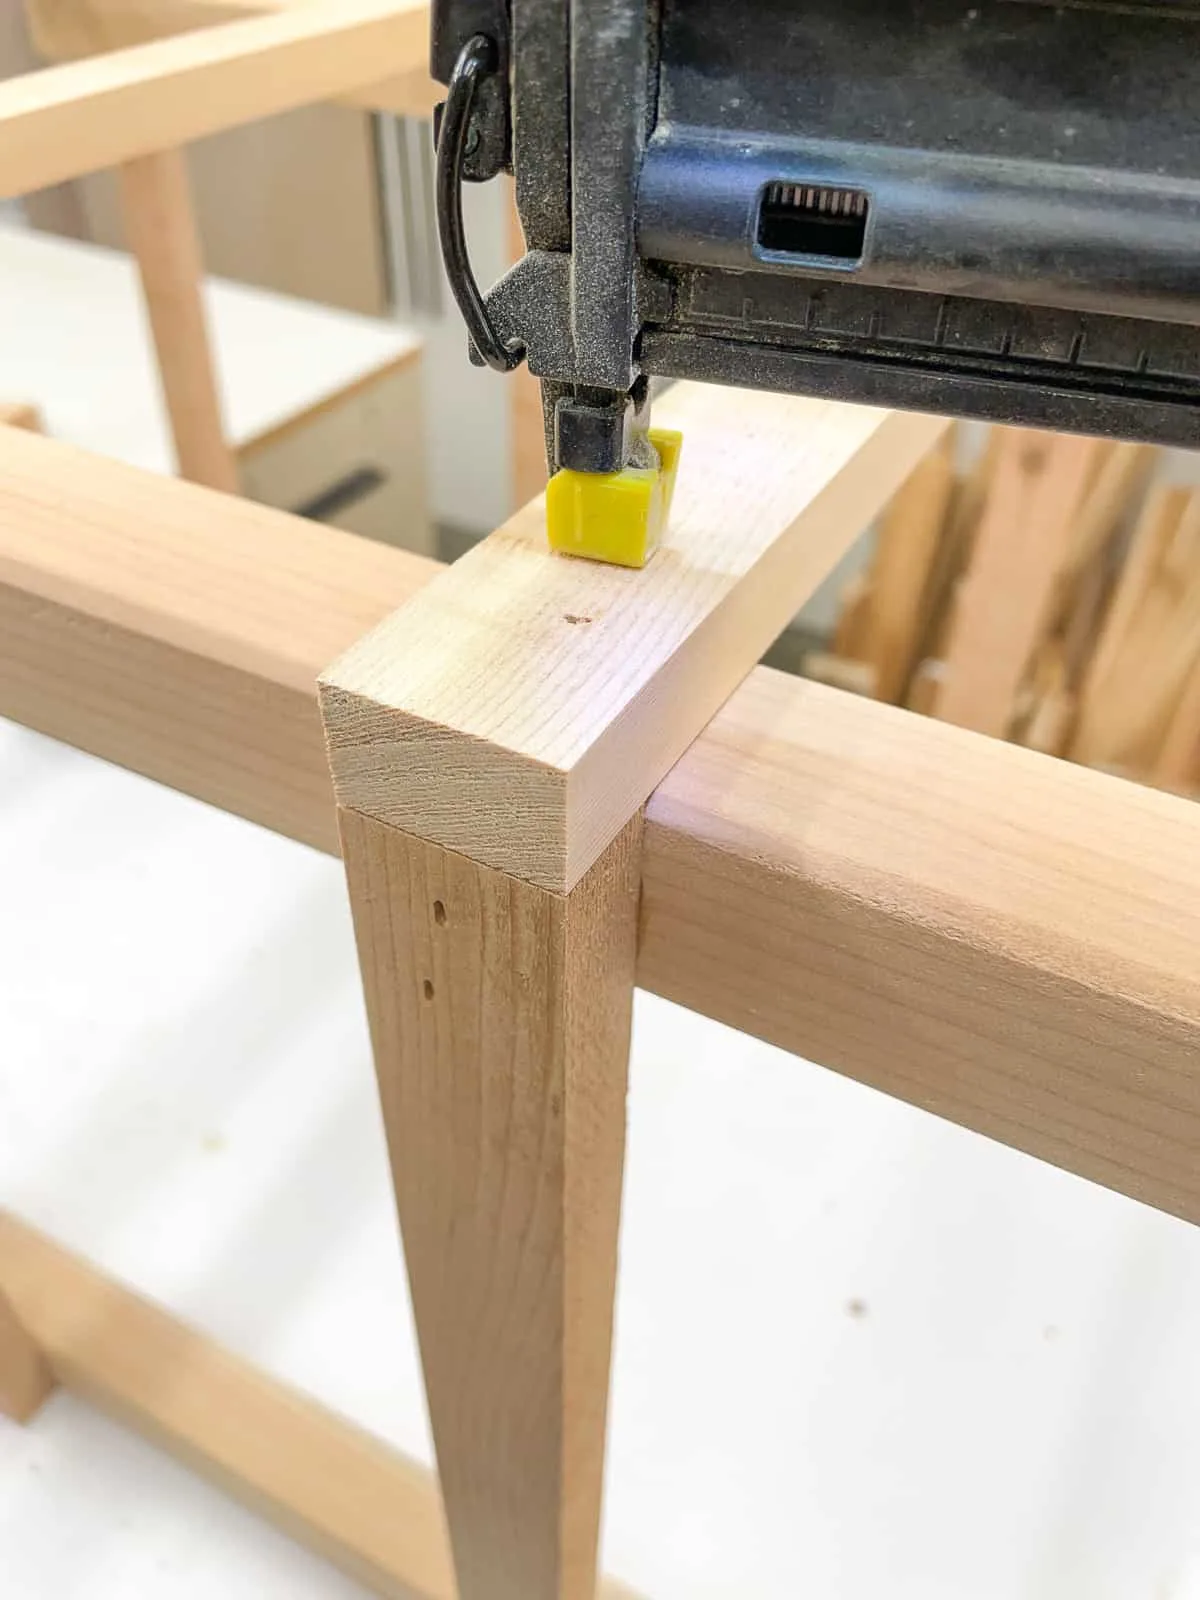
Once everything is straight and square, nail or screw the first slat into place. I'm using 1 ¼" brad nails in my Ryobi Airstrike brad nailer, but you could also use 1 ¼" exterior wood screws.
Cut a couple of pieces of scrap wood to the same spacing as the slats. These spacers make assembly soooo quick and easy! Just place the spacer between the slats as you attach them for perfect alignment without measuring!
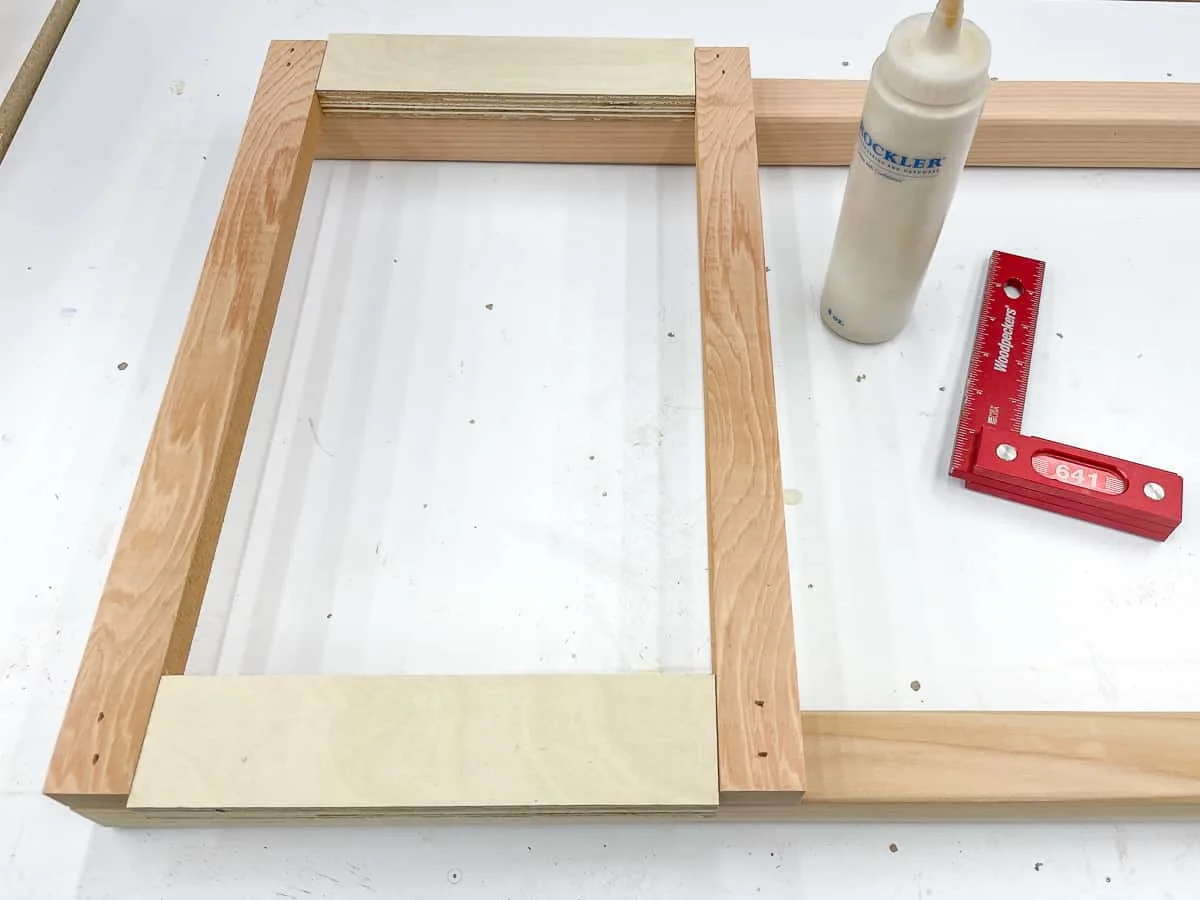
Continue attaching the slats all the way down the legs, then repeat for the other two legs. It only took a few minutes to assemble both sets!
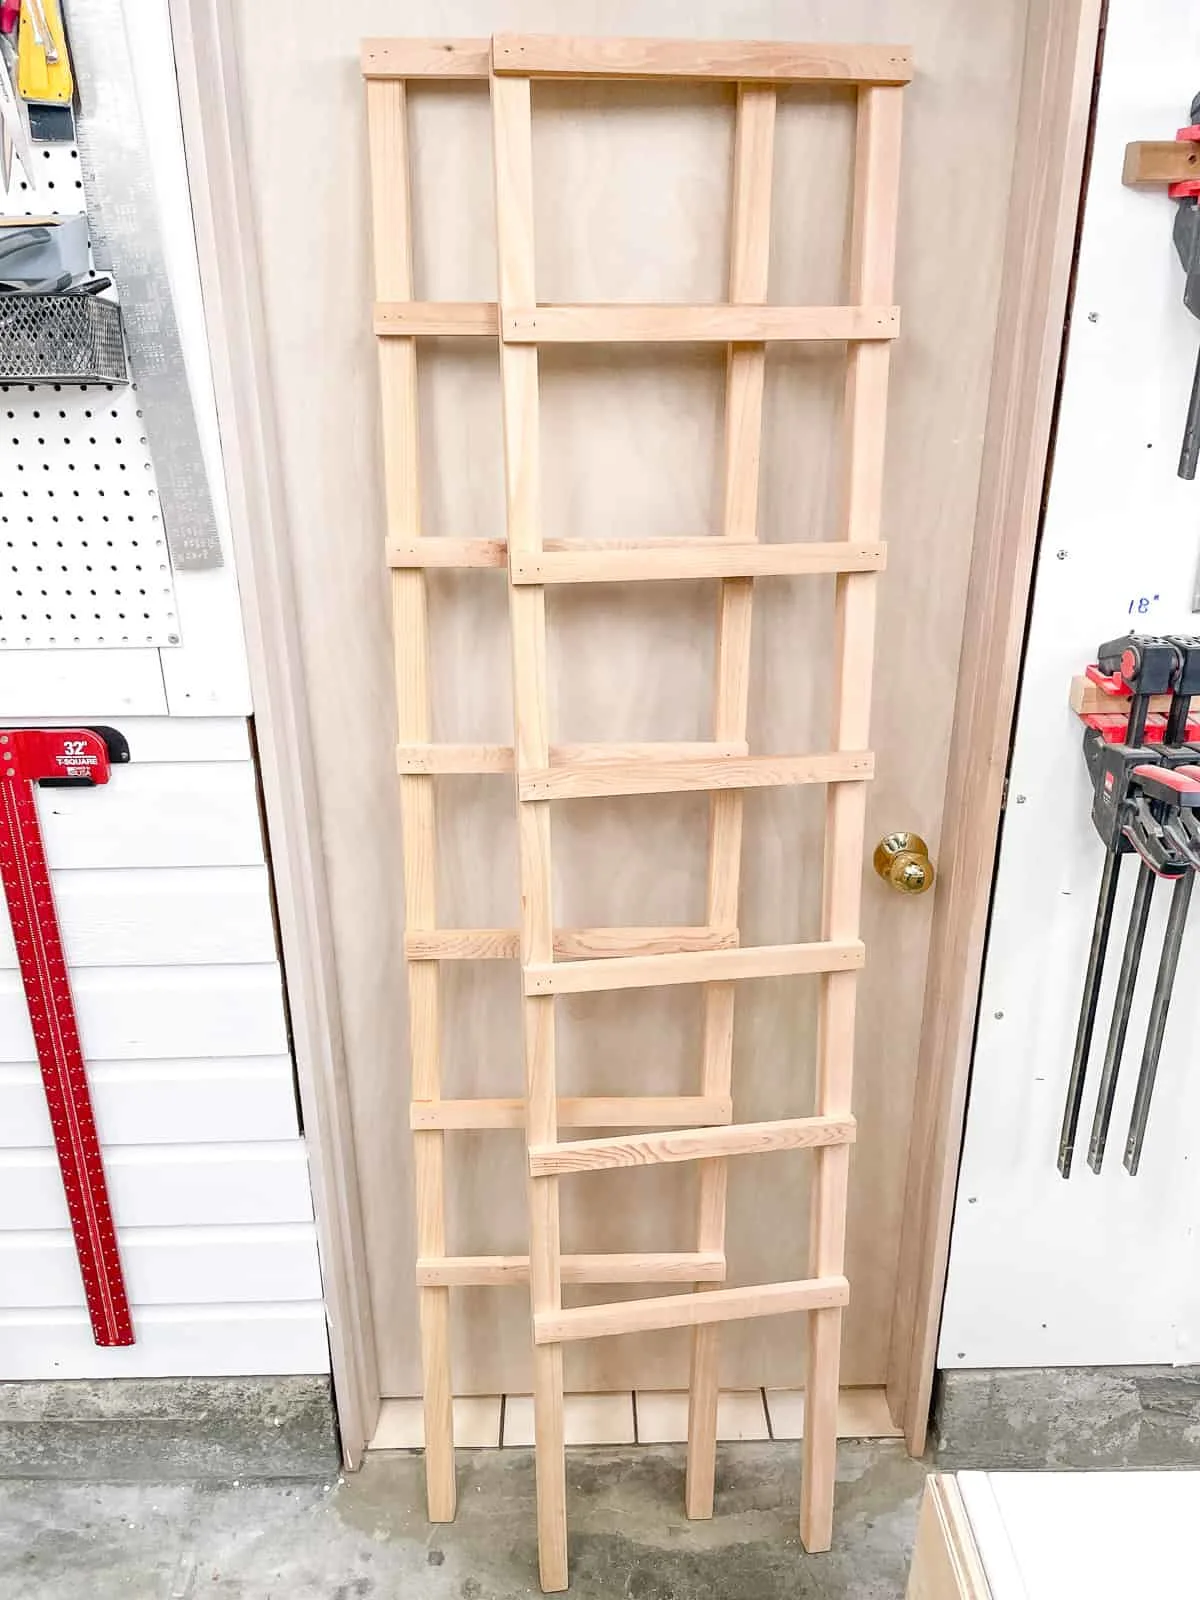
Connect the Legs
Cut the 1x2 slats that connect the two sets of legs together. They should be the same length as the previous slats, PLUS the thickness of two slats (should be 1 ½" if you used 1x2 boards).
Stand the two leg assemblies up on their sides. I like to use these Bessey quick clamps at the bottom to hold them upright while I work. Glue and nail the first slat in place, making sure the ends are flush with the side slats.
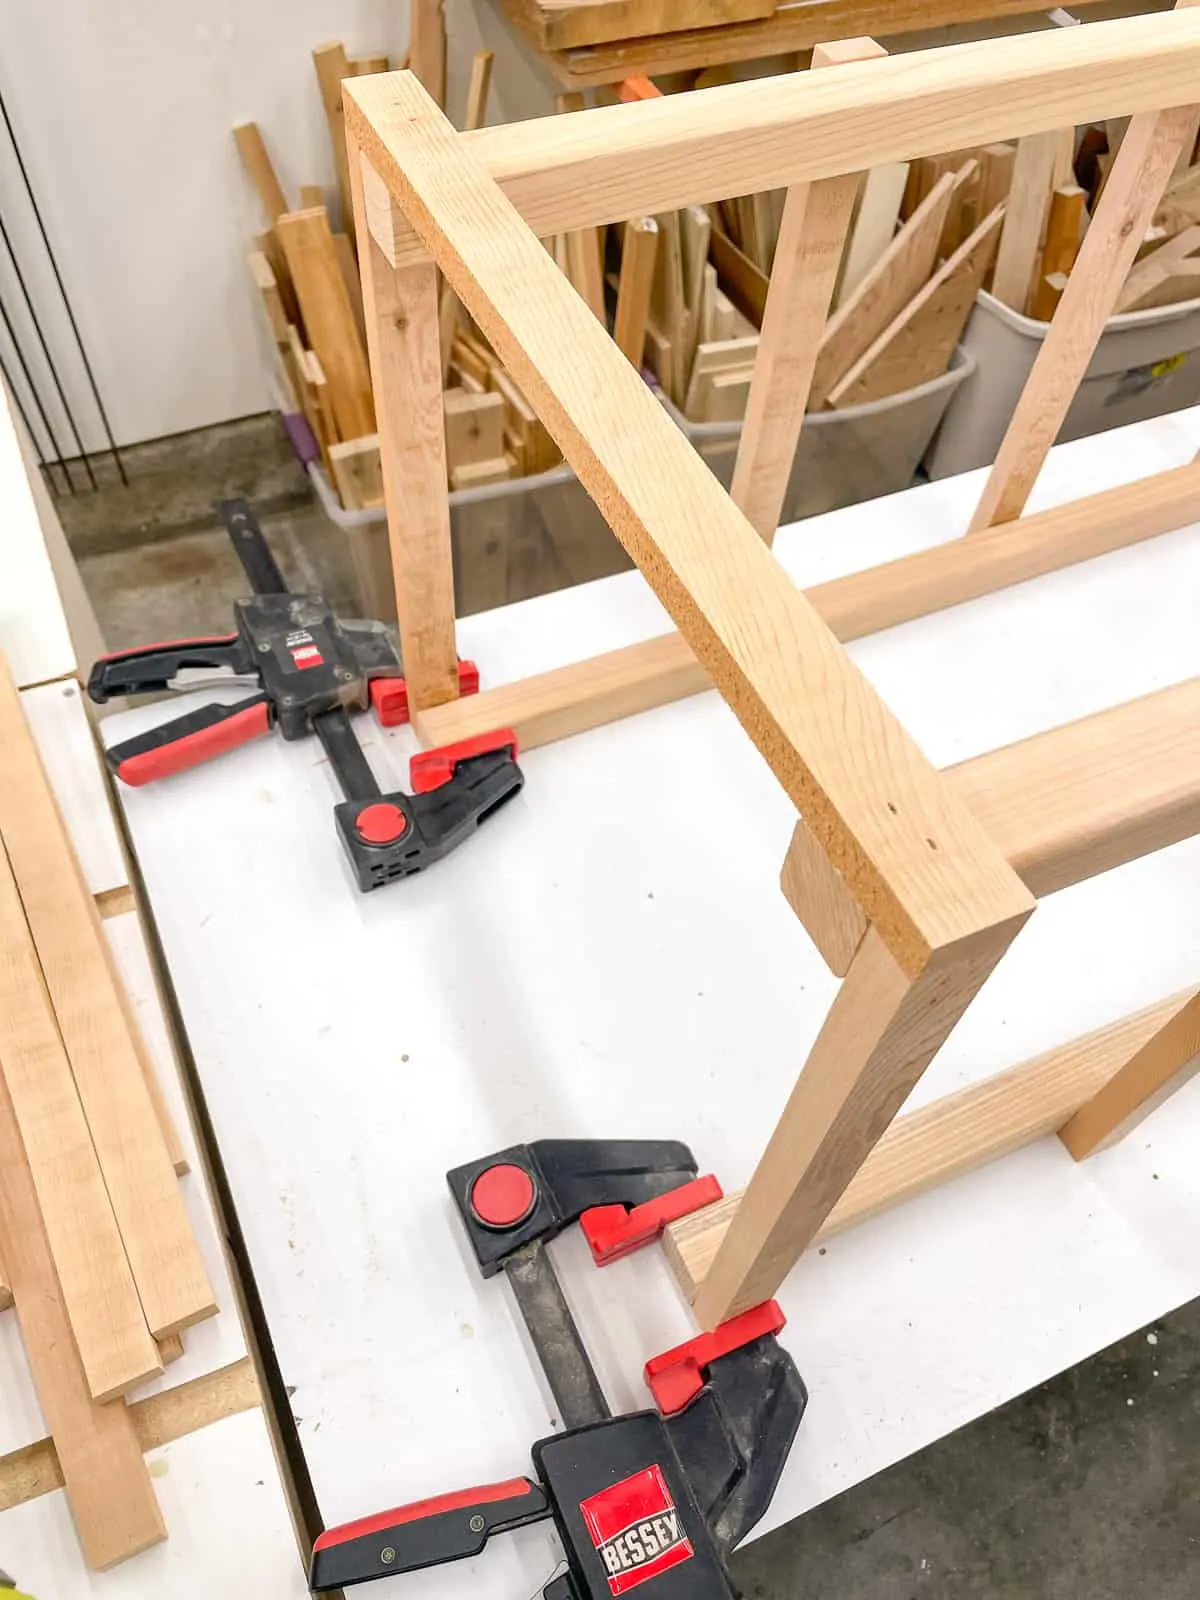
Make sure you apply wood glue to both the ends of the slats and the legs. Brad nails aren't very strong on their own, but they act as clamps to hold the pieces together while the glue dries.
You don't need a spacer for the rest of the slats, because they should line up perfectly with the previously assembled ones. Only nail or screw into the leg to prevent splitting the end grain of the wood!
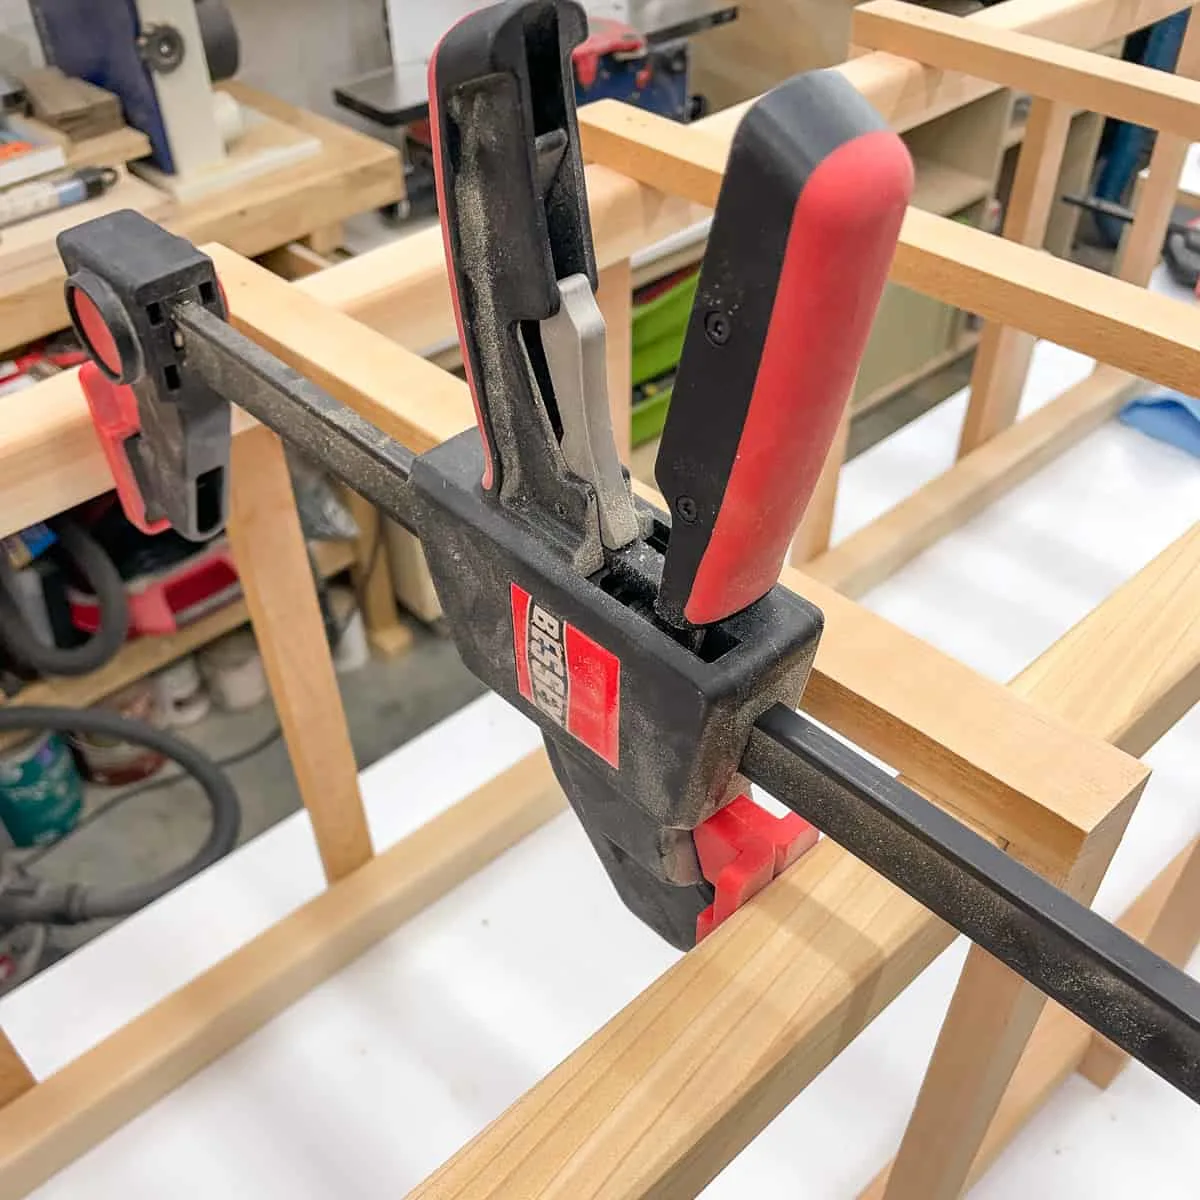
Some of the slat ends didn't line up quite right, because the 2x2 legs were a little bowed. These Bessey quick clamps easily convert to a spreader to force them into submission!
Work your way down the length of the tomato cage, then flip it over and do the same thing on the other side.
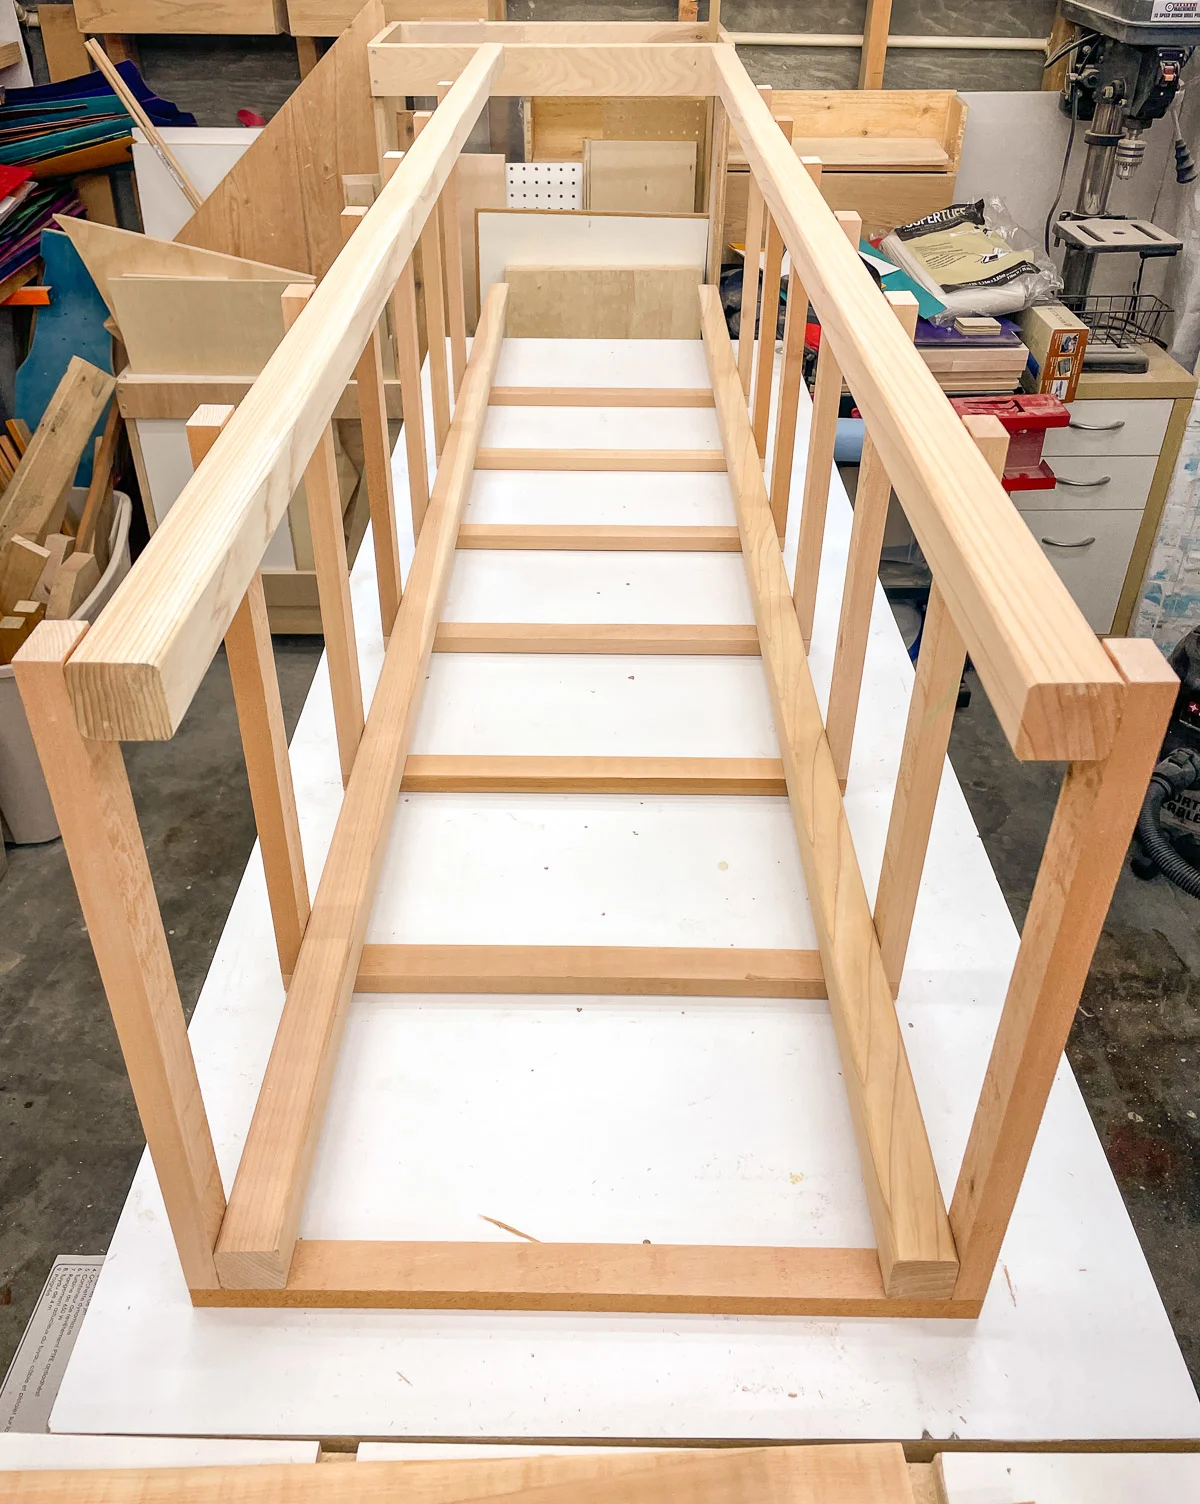
At this point, you can apply paint or stain the wood. Cedar doesn't rot and holds up well without finish, so I decided to leave mine natural.
Place the Tomato Cage over the Plant
Ideally, you'd put the cage over the tomato plants while they're still small. I had to weave the legs through the leaves to get it in place, but I managed to do it without breaking any of the fragile stems!
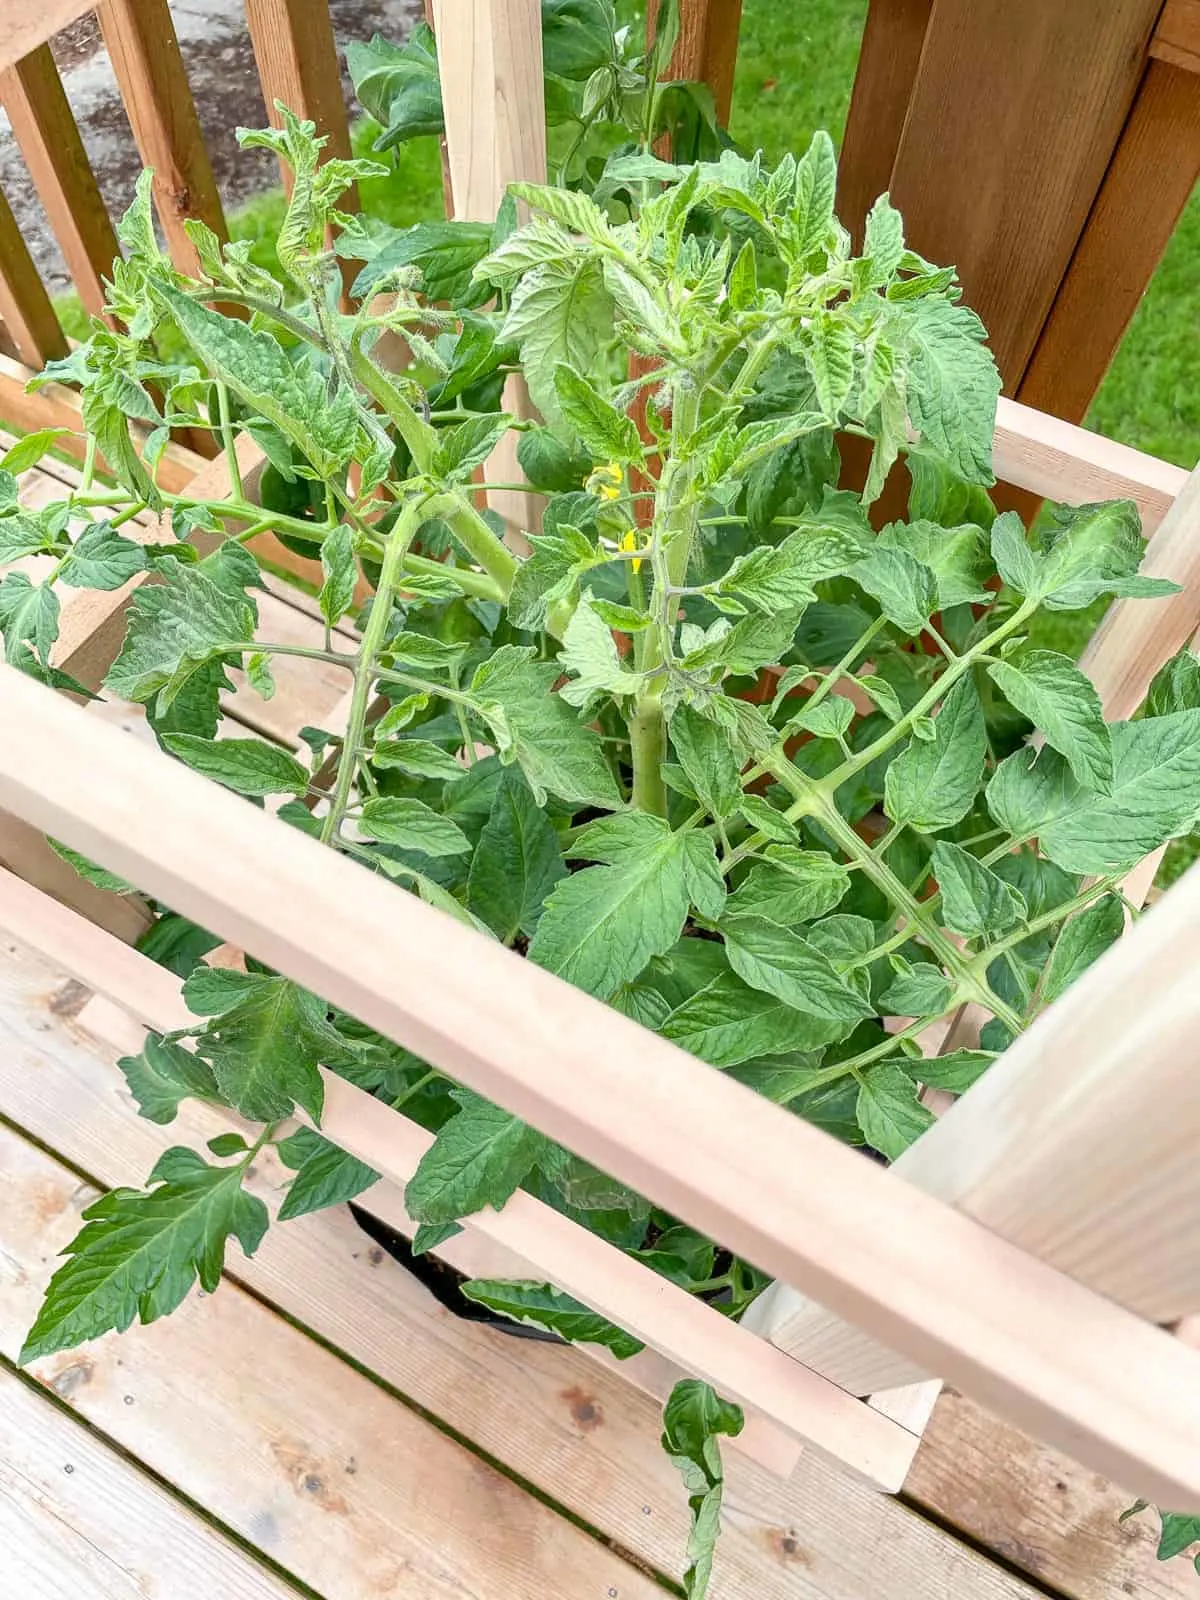
This is a great tomato cage for a pot because the weight at the bottom holds the frame in place and prevents it from tipping over. It'll also be kept up against the house, where it will be protected from wind gusts.
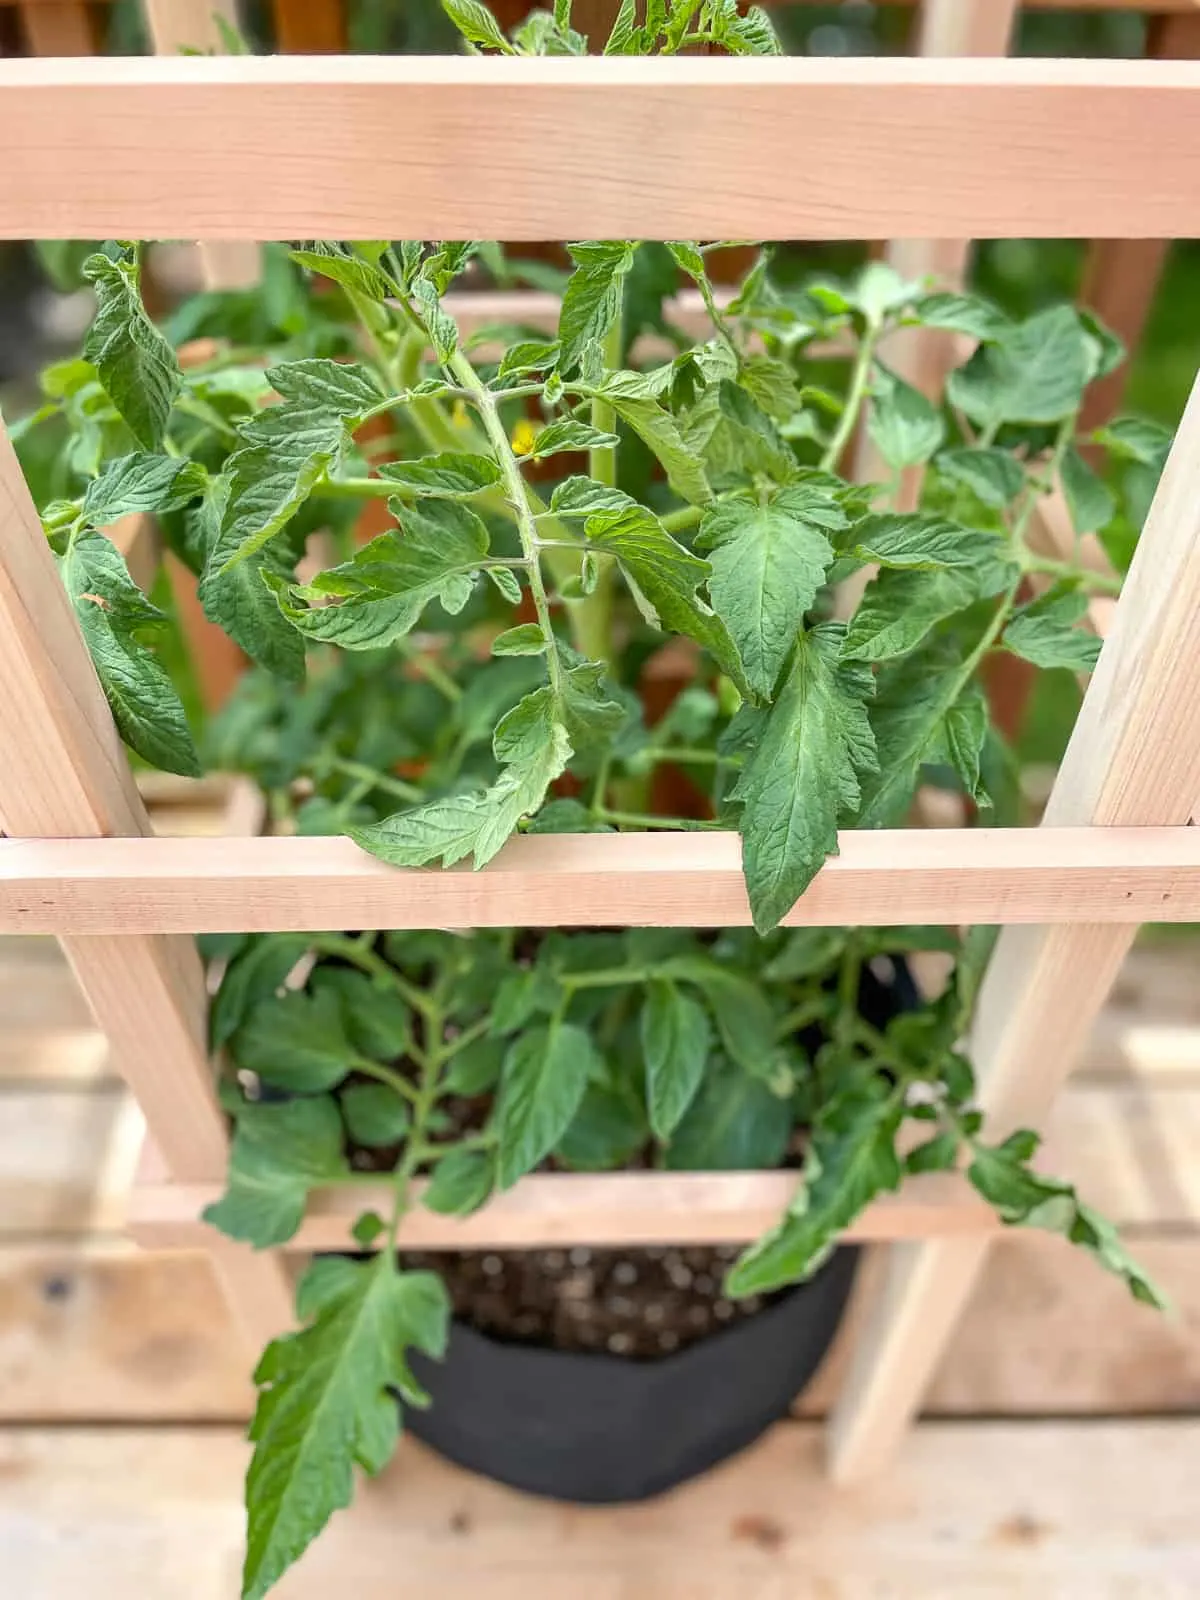
My tomato plant looks much happier now that it's in its own pot! It had a bit of transplant stress for the first couple of days (you can still see a few curled leaves), but I added Tomato-Tone to the potting soil and it bounced back bigger than ever!
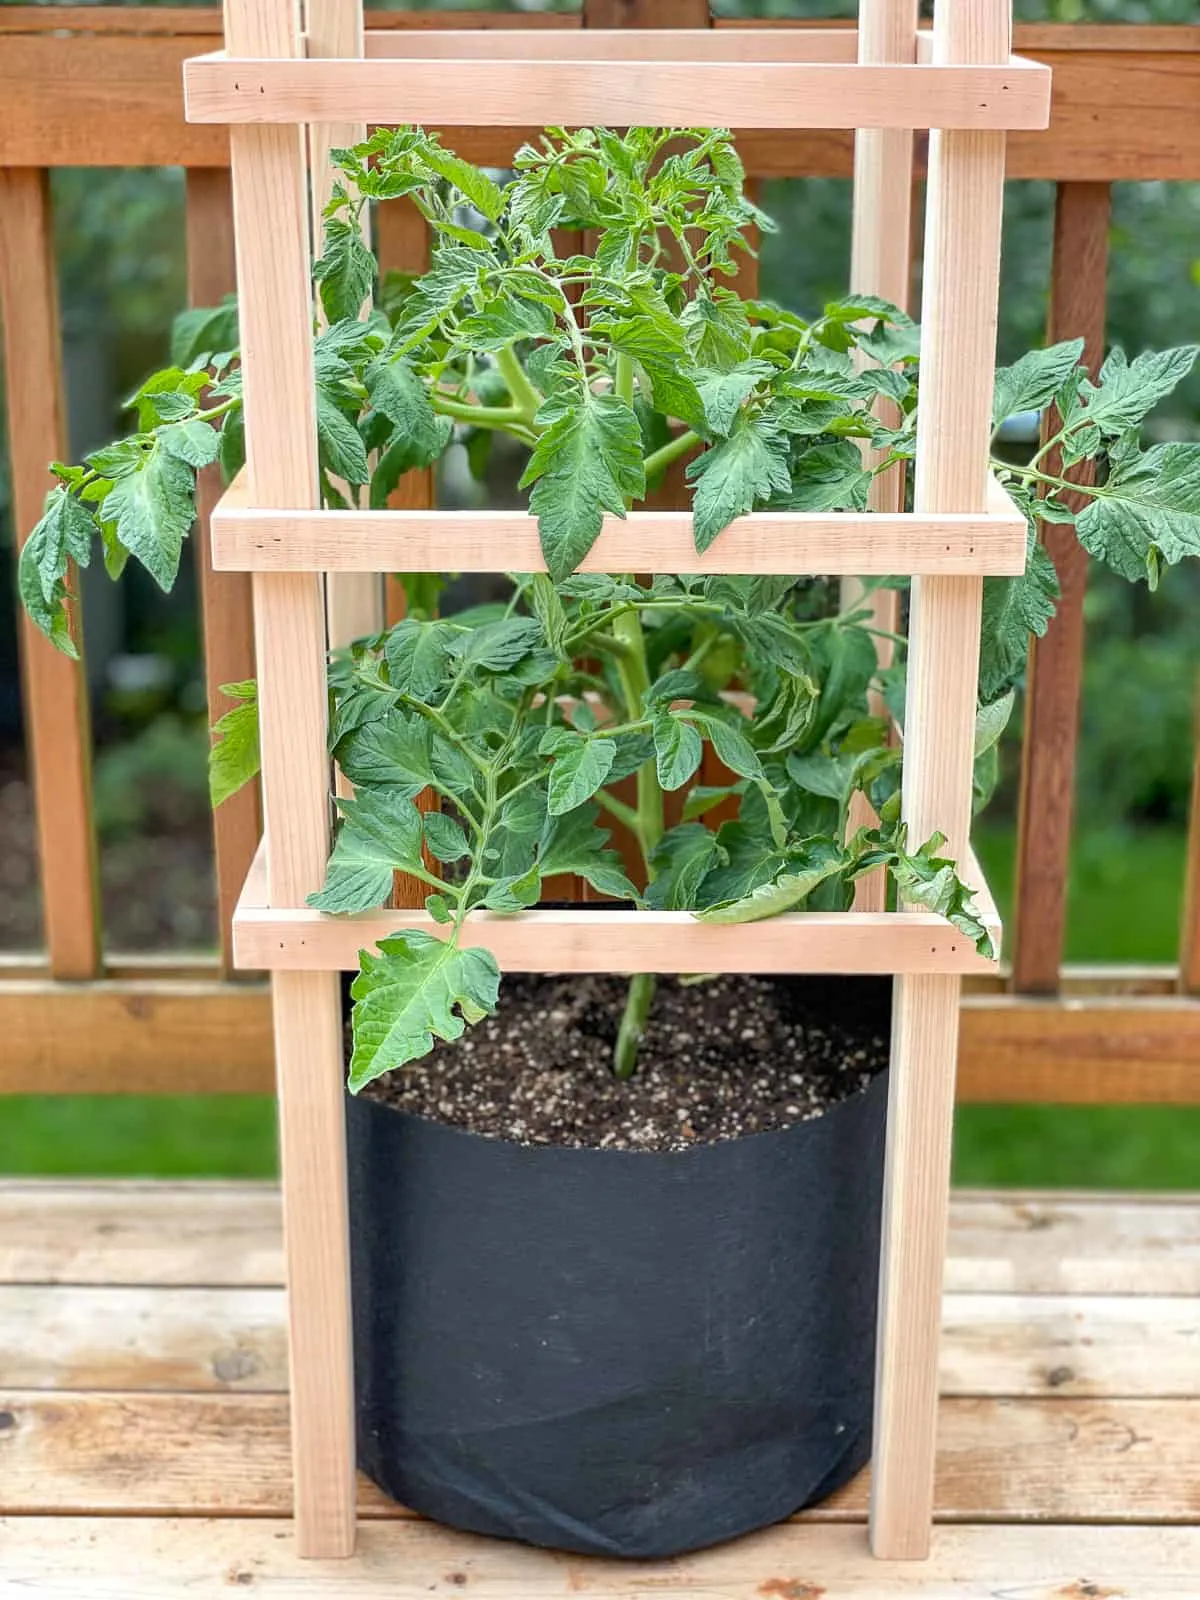
You could easily double or triple the width of the slats to create a series of sturdy tomato cages for multiple plants! Make sure to check the tag to see how wide your plant grows when full size. You'll want to build it a few inches smaller in each direction, so the branches can rest on top of the slats and support the main stem.
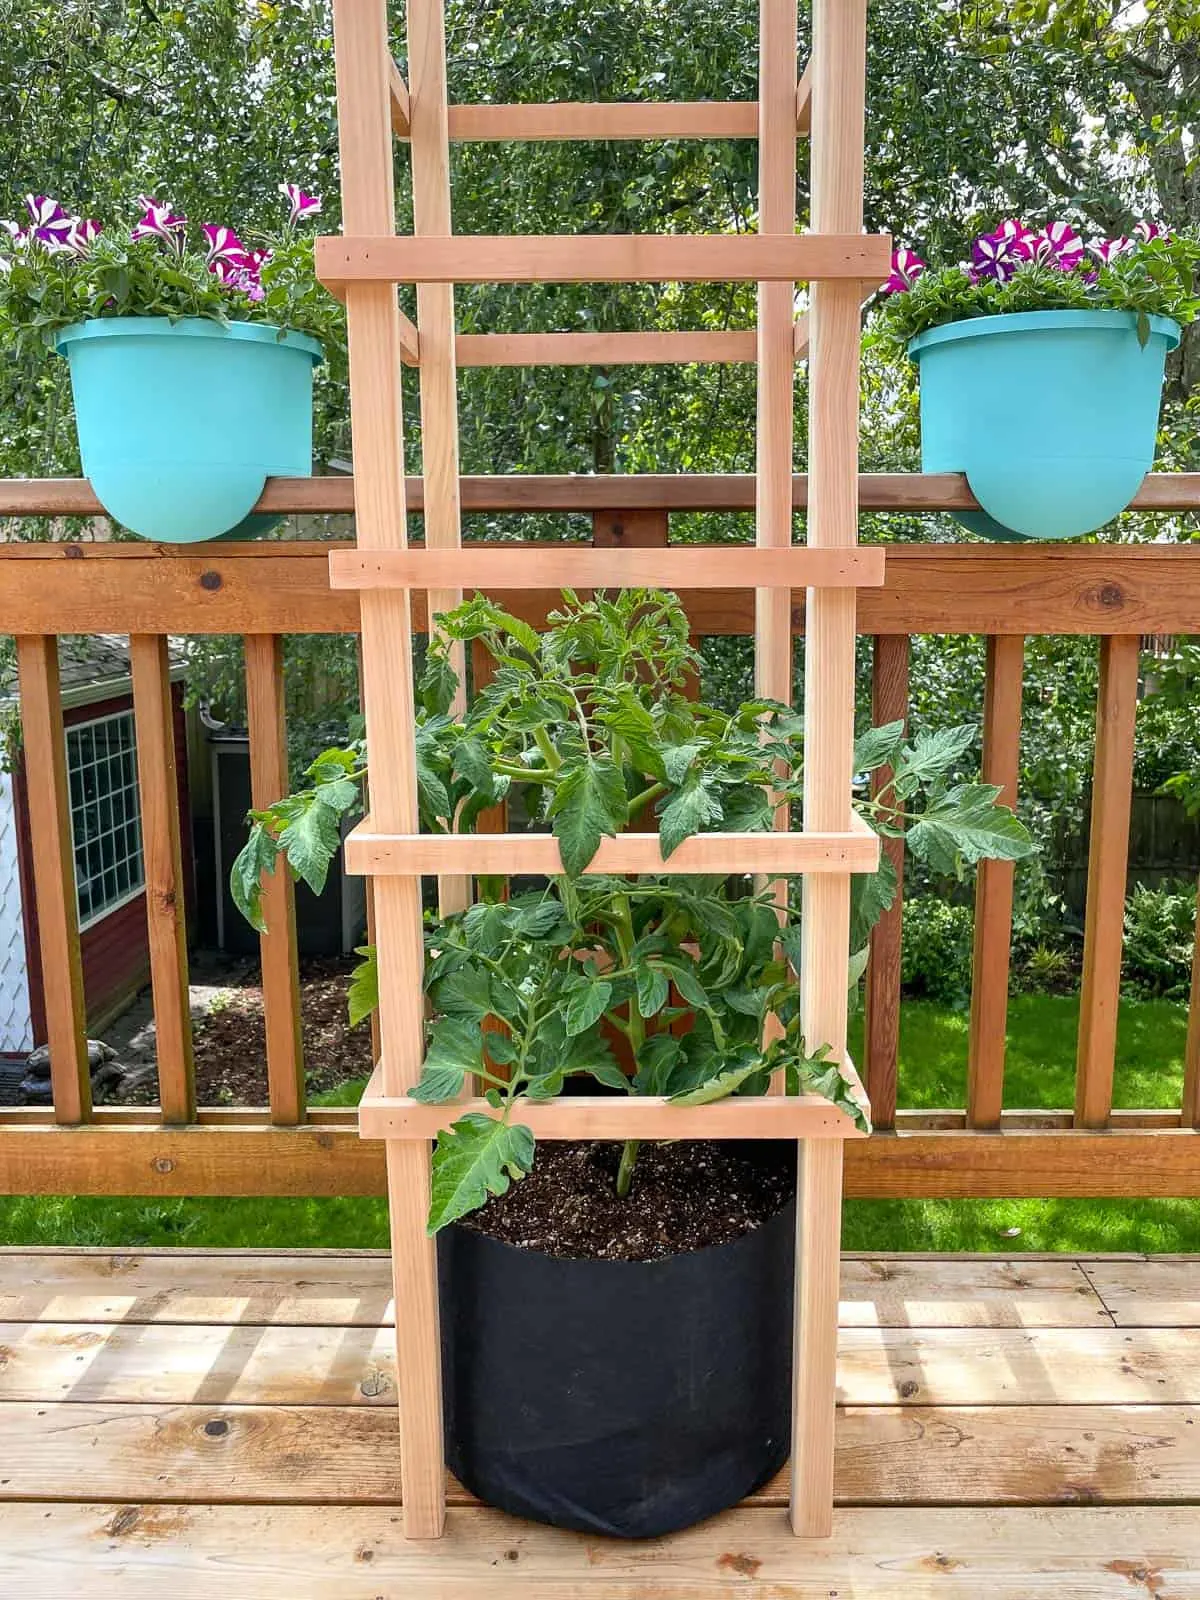
I can't wait to harvest tomatoes in our little vegetable garden! Don't forget to download the free woodworking plans to make your own DIY tomato cage! Happy growing!

Farida
Saturday 31st of July 2021
Excellent cage, I will definitely try it next year.
Jayne
Monday 21st of June 2021
What a great project! I love that it looks great and is sustainable too. It looks much prettier than the plastic equivalent!