I'll show you how to build a barn door with just a sheet of plywood and a few trim boards! Add decorative details or leave it simple!
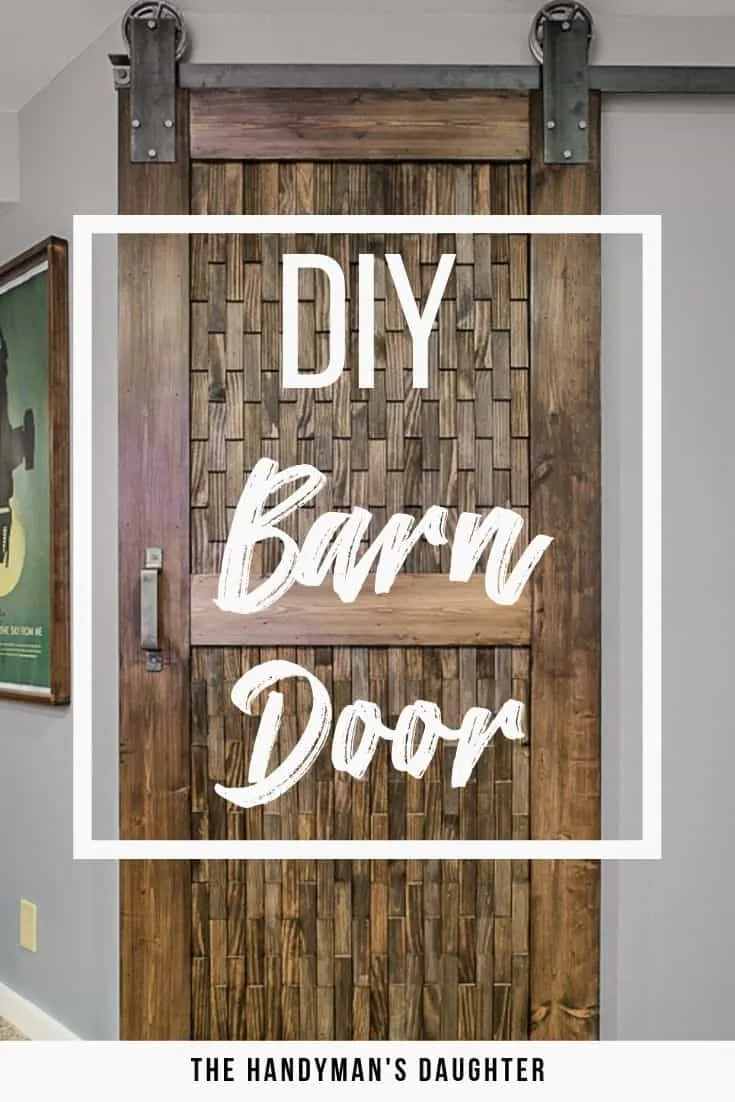
DIY barn door projects are springing up everywhere nowadays! I wanted to jump on the bandwagon without looking like there's, well, a wagon behind the door.
I'll show you how to build a barn door with simple features that can go modern, rustic or totally unique! All you need are a few basic materials and tools!
This post contains affiliate links for your convenience. Purchases made through these links may earn me a small commission at no additional cost to you. Please visit my disclosures page for more information.
First, a bit of backstory . . . Ever since we installed carpet over the tile in our basement, the pocket door to the bathroom has been difficult to close. It really requires a good yank to overcome the friction underneath.
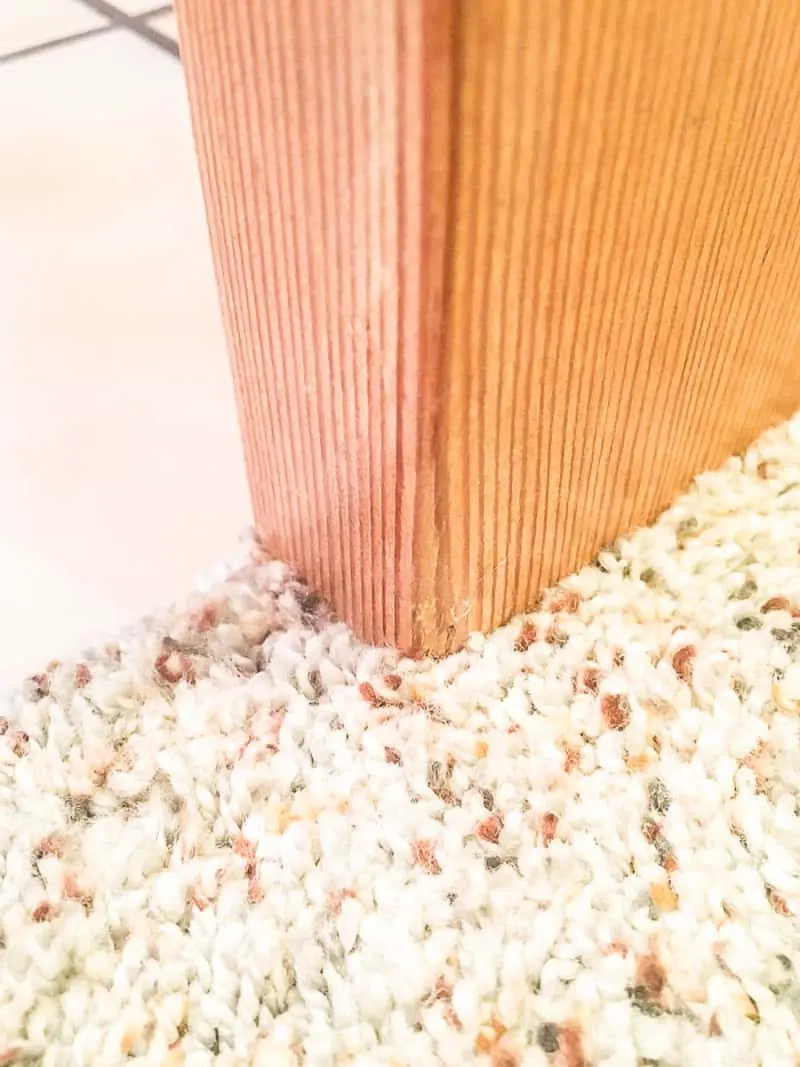
The door was an orangey-oak color, and didn't really match anything in my newly remodeled bathroom. Instead of fixing it, I started thinking about building a barn door over the opening instead.
Our style is more modern/industrial than rustic, so I wanted something that would fit our existing decor yet feel totally unique. One day, I stumbled upon this amazing headboard by my friend Sheri at Hazel & Gold Designs, and knew the wood shim texture was exactly what I was looking for!
This post will show you how to build a barn door with plywood and 1x6 boards. You can find all the details on how to install barn door hardware here. Click on the video below to get a quick overview of the building process.
Materials Needed for DIY Barn Door
- ¾" plywood cut to the dimensions of your door opening plus trim around the edge.
- 3 - 1 x 6 boards
- Wood glue
- 1 ¼" brad nails
- Brad nailer
- Combination square
- Wood veneer banding (optional)
- Wood stain
- I used Varathane's Stain + Poly in Kona to save myself the step of applying polyurethane to all those shims!
Optional materials for wood shim texture:
Don't forget your safety gear when woodworking! Here are my recommendations for safety glasses and ear protection.
How to Make a Barn Door
Cut the Plywood to the Size of the Door Frame
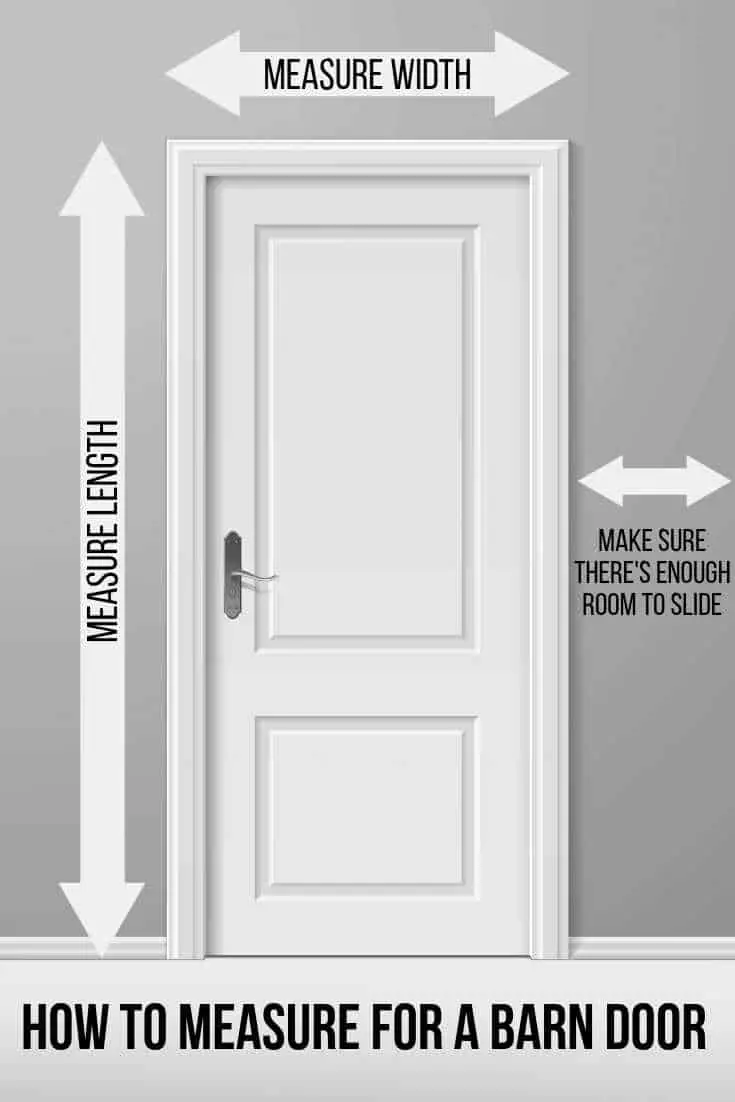
Cut a sheet of ¾" plywood to the size of your door opening plus the trim. You want to cover the trim entirely when the barn door is closed. This both looks better and provides more of a sound barrier between rooms.
You can use a table saw, track saw or circular saw to cut the plywood to size. Check out my tutorial for how to make a circular saw jig to cut straight lines every time!
However, I can't wrangle a full size sheet of plywood in my small workshop, so I prefer to have it cut for me at the store! If you're concerned about getting the dimensions just right, ask for it to be cut slightly oversized, then trim it down at home for the perfect fit.
Choose Which Side Will Be the Front
If your plywood has one side that looks nicer than the other, choose which side you want to be on the front. More expensive grades of plywood will be clear on both sides, so you don't have to choose!
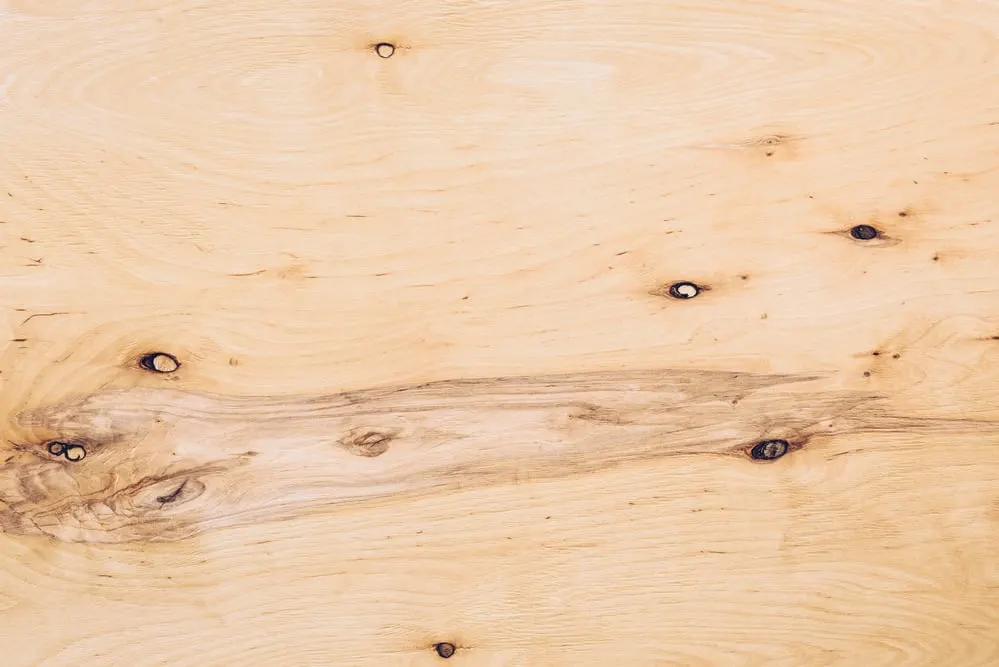
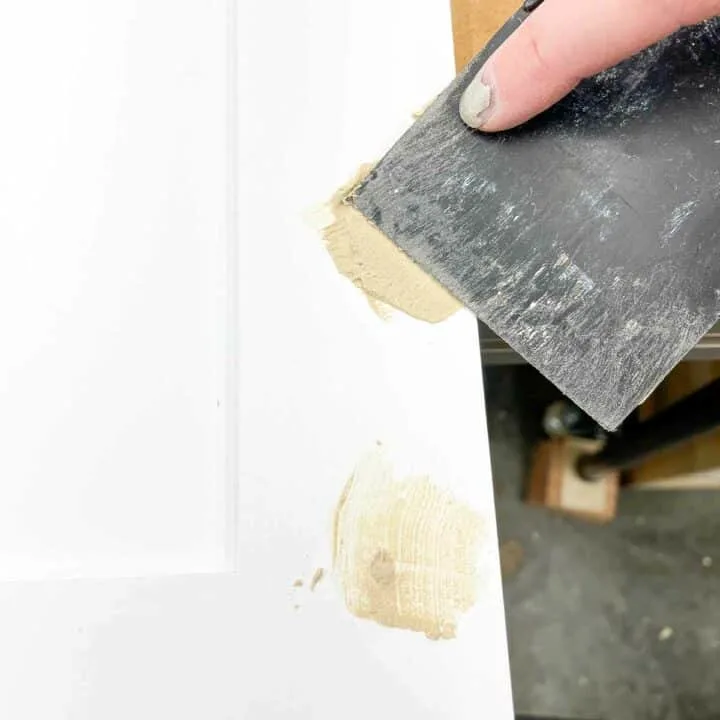
Since I was covering up the entire front with wood shims, I used the nicer side on the back. If you plan to paint your door, you can use wood filler to hide any imperfections.
Cut the Trim Pieces
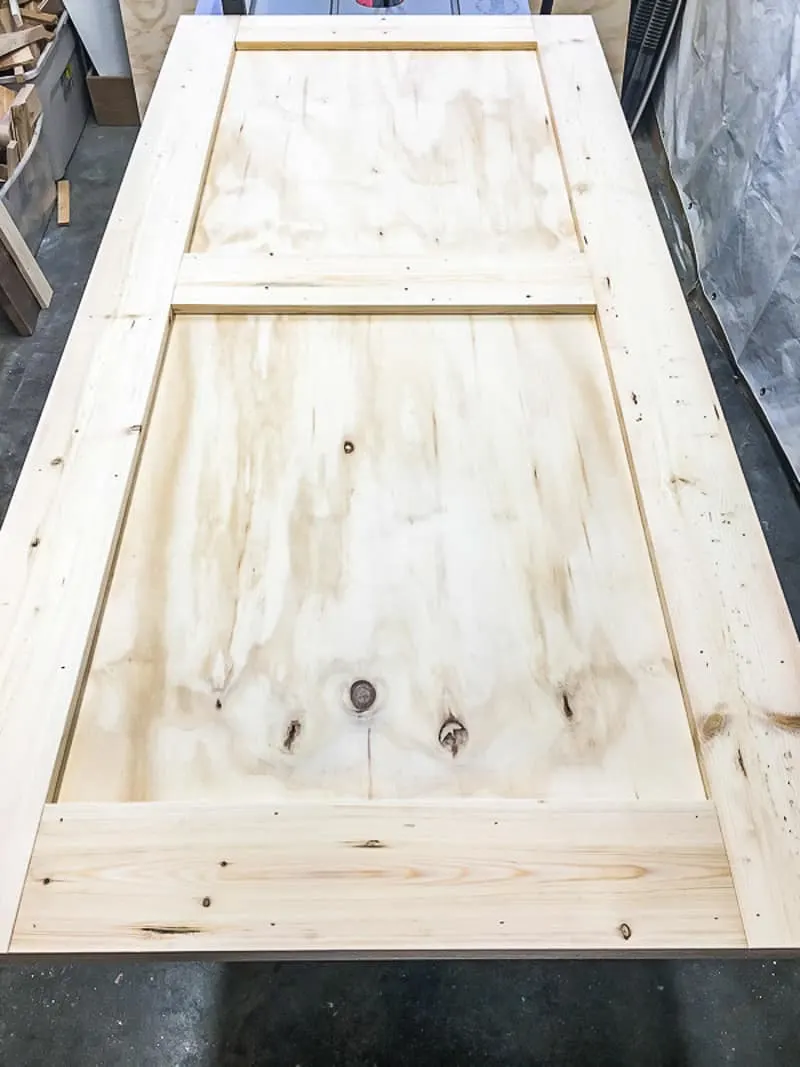
First, cut 1x6 pieces to fit along the long vertical sides of the plywood board. Then measure the width between these two boards, and cut three 1x6 pieces to fit.
Attach them to the top, bottom and center of the door with wood glue and brad nails to create the frame.
Apply Edge Banding (optional)
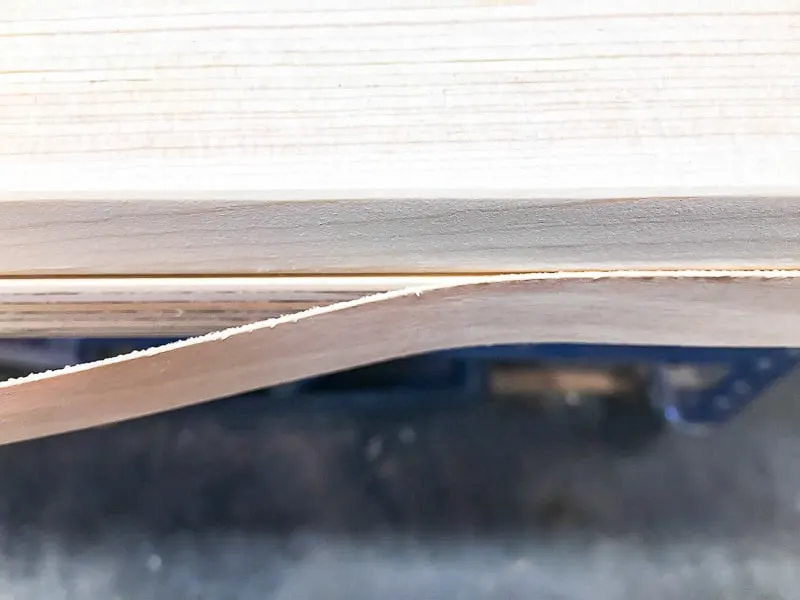
I'm not a huge fan of raw plywood edges, so I used wood veneer banding to cover up the exposed plywood edge on the sides of the door. Check out my tutorial on how to apply edge banding for all my tips!
Paint or Stain the Barn Door
Paint or stain the entire barn door. If you're adding the wood shim texture, this will prevent the plywood color from showing through the gaps. I used Varathane's Kona Stain + Poly, to match the floating shelves I built on the opposite side of the room.
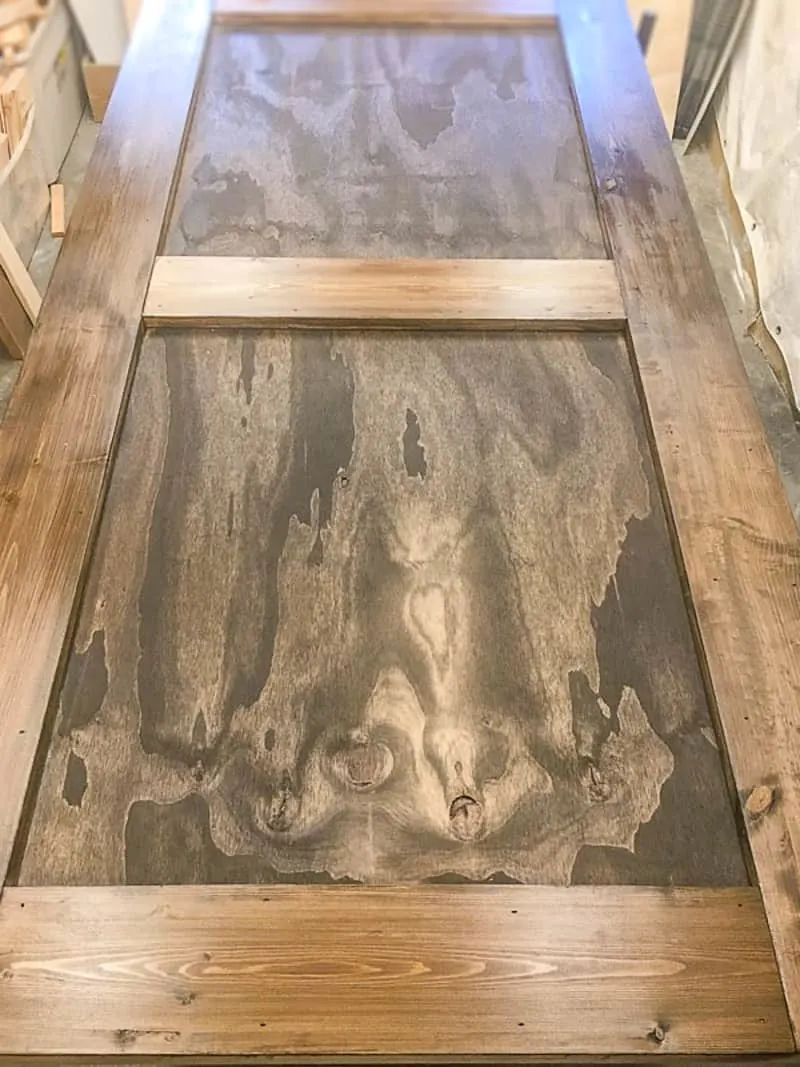
If you just want to keep this simple frame style, you're done! Allow the stain and topcoat to dry, then follow my instructions for how to install barn door hardware next!
How to Create the Wood Shim Texture
This part is for the crazy people like me that want a unique look that takes hours and hours to make! But it looks amazing and I get complements on it all.the.time. Almost as many complements as my TARDIS door! 😉
Prepare the Wood Shims
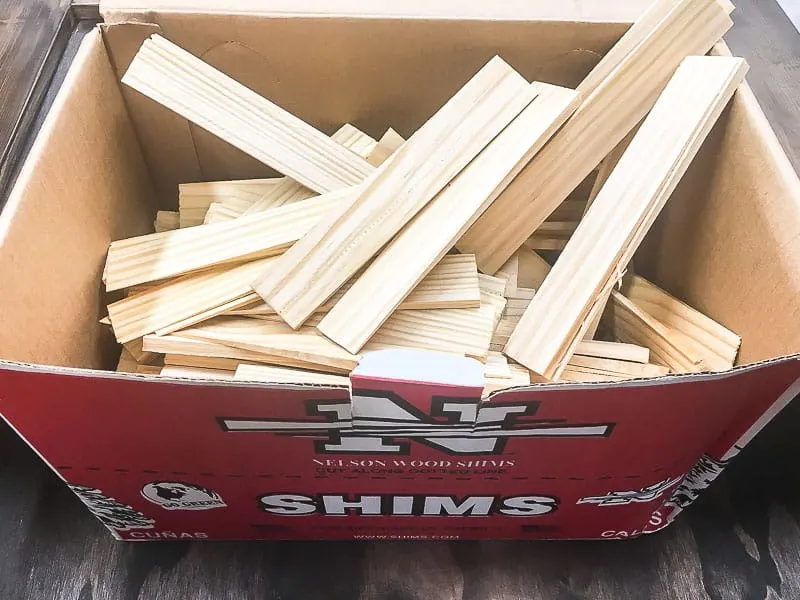
Check out each pack of wood shims before you put them in your shopping cart. I found a HUGE difference in quality between packs and between stores carrying the same brand! Search for ones that have a nice grain and sharp corners like the one on the left.
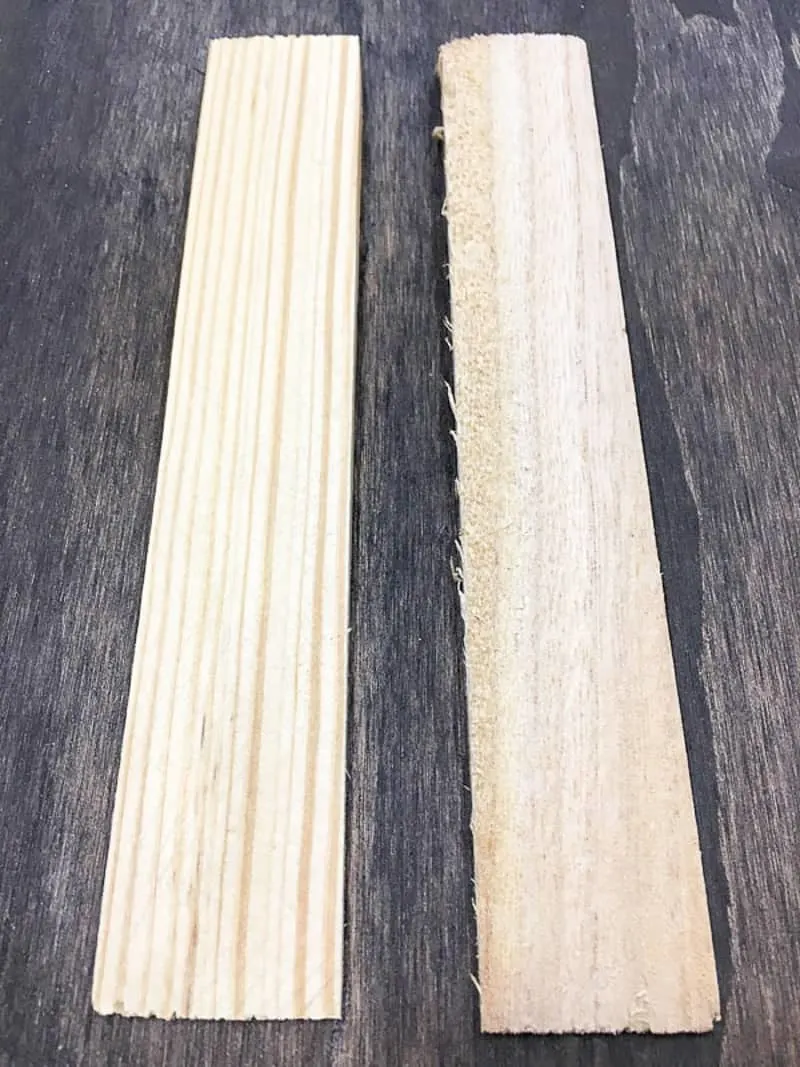
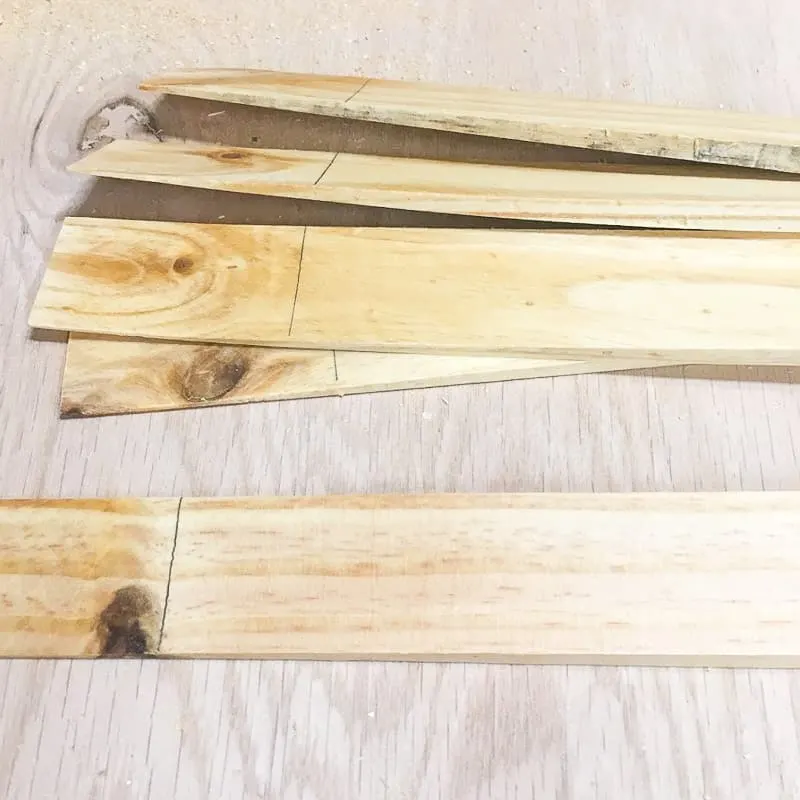
Knock off any splinters from the edges and give each shim a quick once-over with a sanding sponge. You want the shims as uniform as possible, so set aside any with knots or weird grain markings.
Decide on a Pattern
Lay out a row of wood shims along the width of the door to see how many will fit. I had about ¼" of space left, which gave me a little wiggle room when placing the shims. There are 19 in a row.
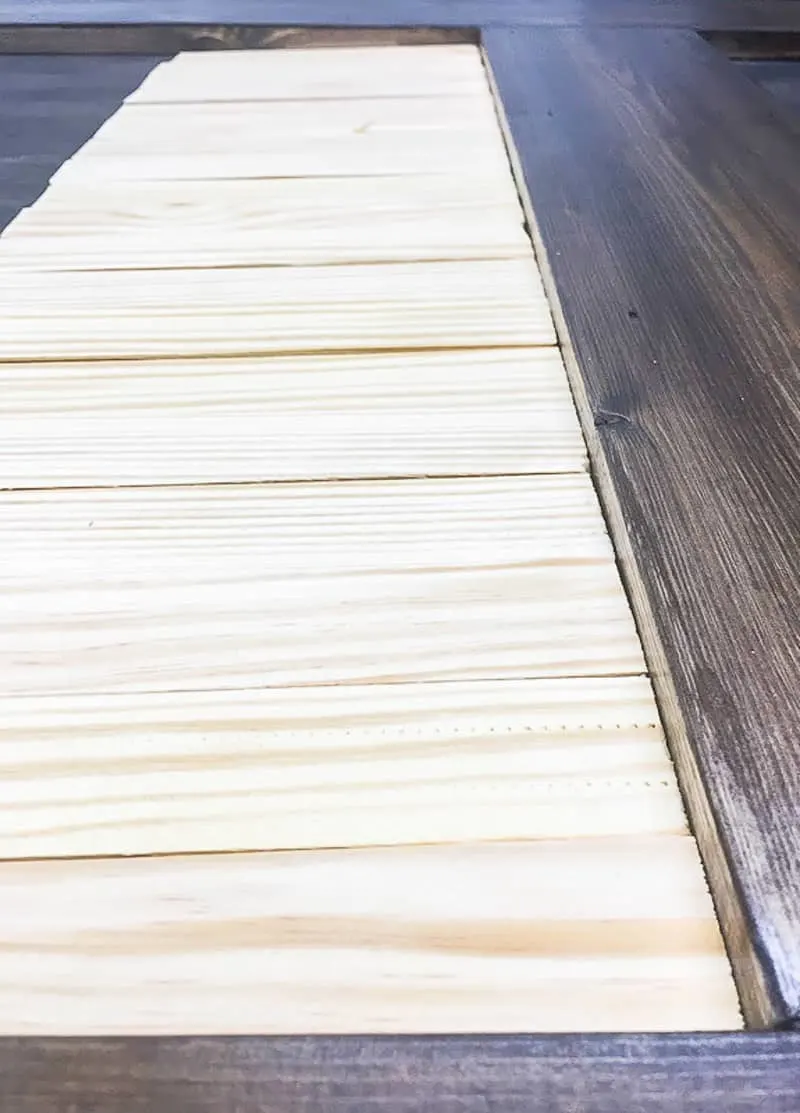
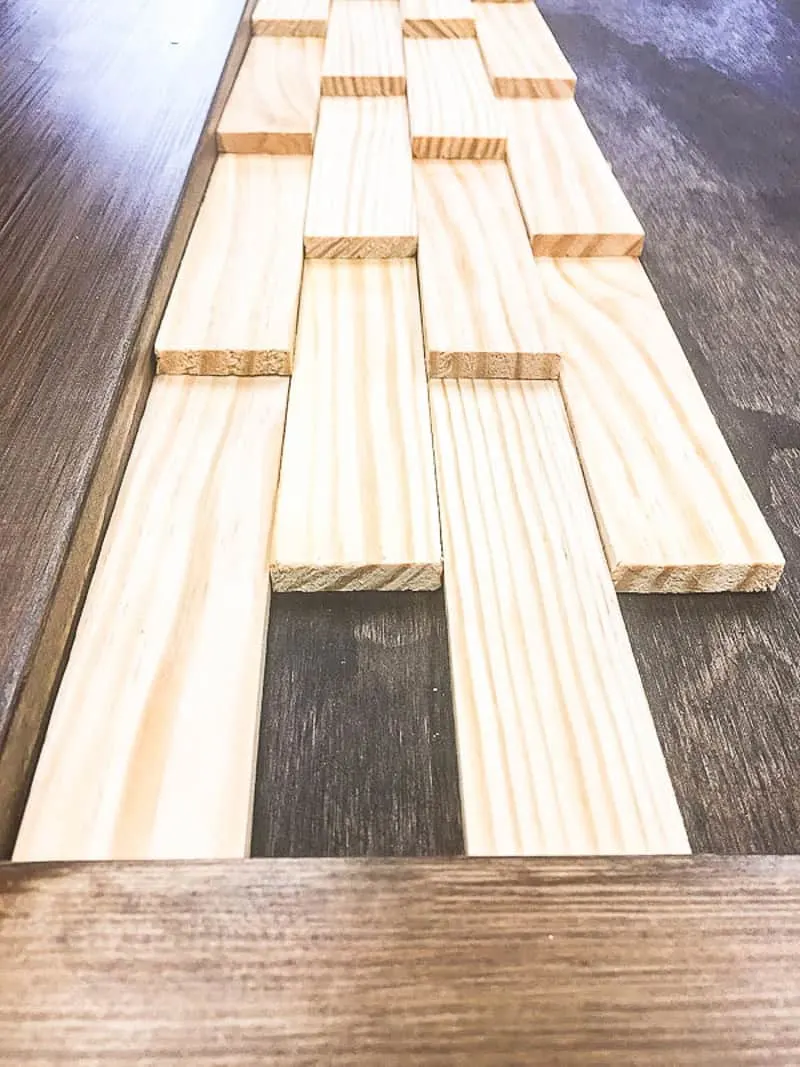
Decide on the pattern you want to create. I did two alternating rows, with the top panel shims pointing up and the bottom ones pointing down. Each shim overlaps with the one under it by 2 ½". But this creates a gap at the bottom or top of each row where a full shim won't fit.
Use those irregular shims you weeded out earlier if you can salvage the top or bottom half. Cut twenty shims 5 ½" from the wide end and twenty shims 5" from the narrow end. These pieces will keep the angle of the shims consistent at the beginning and end of each row.
Attach the Wood Shims to the Barn Door Panels
Getting the first few rows of shims down correctly makes the rest of the installation much smoother. It's a lot easier to see it than explain it, so watch the video to get an idea of the process. For more details, keep reading!
Run a line of wood glue down the length of the panel. Place one 5" cut shim with the wider end against the middle 1x6, and nail into place with a ⅝" brad nail.
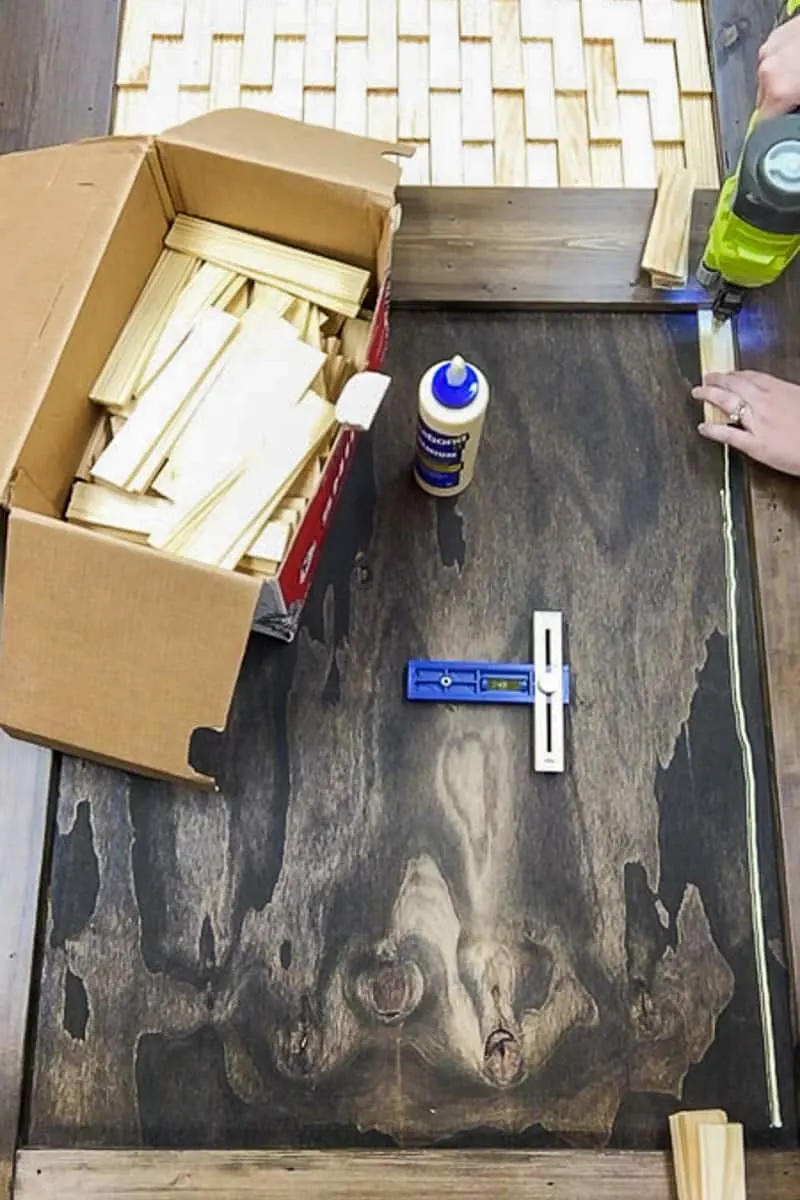
The second shim overlaps the first by 2 ½". I used my Kreg Multi-Mark to quickly measure the placement. Nail through both shims.
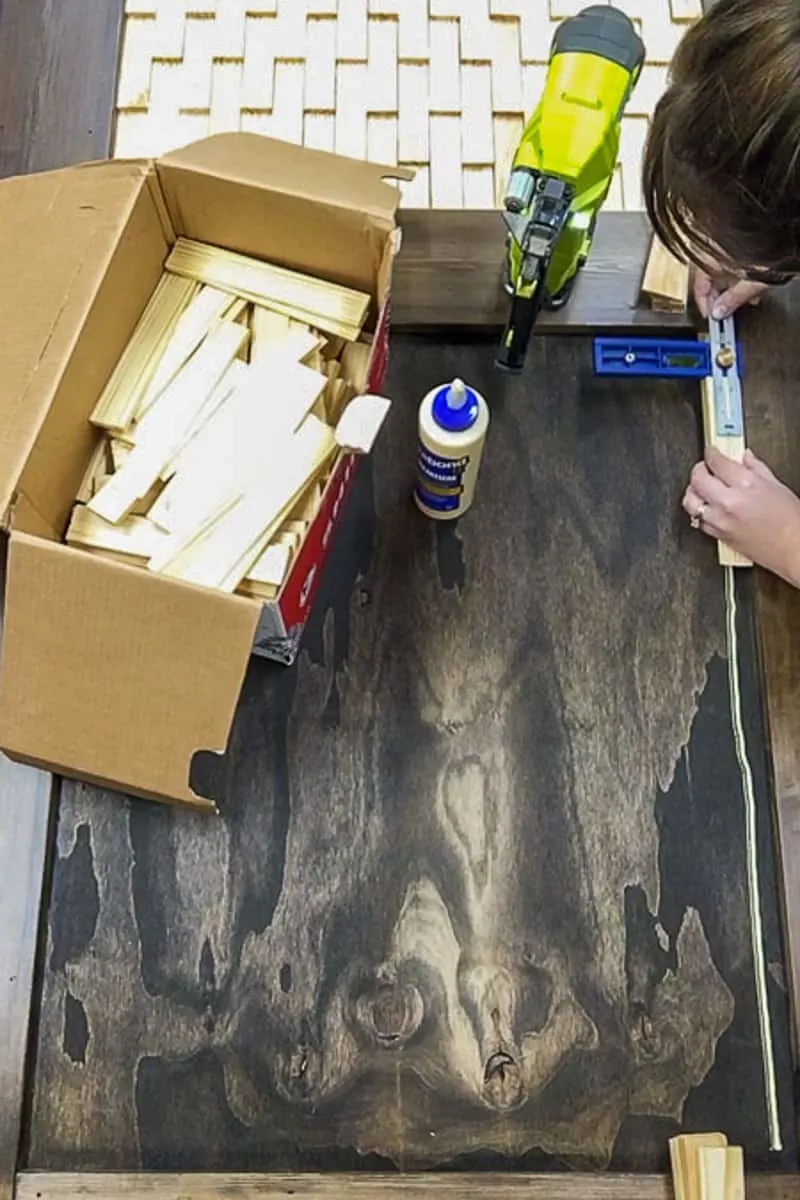
Continue adding shims. The final piece should fit perfectly at the bottom of the row.
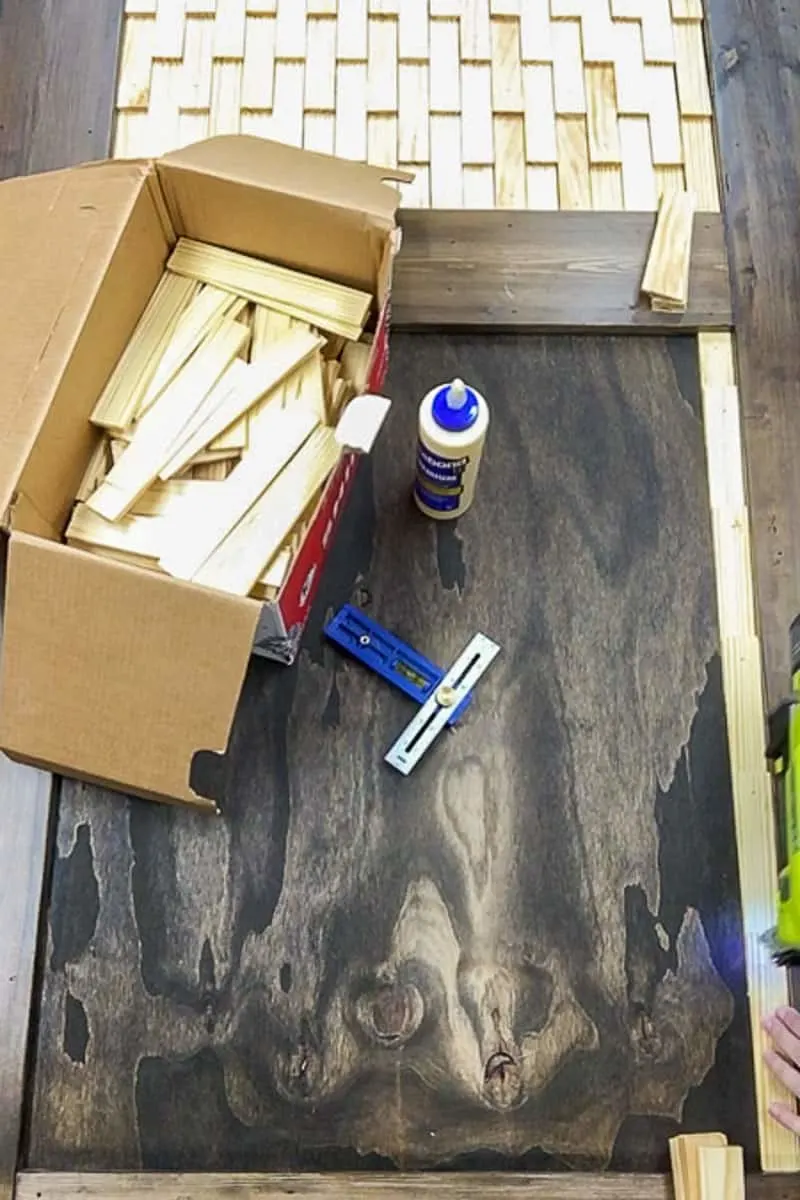
Apply another line of wood glue. Place a full size shim next to the first row, but not quite touching. Nail in place on the wide end.
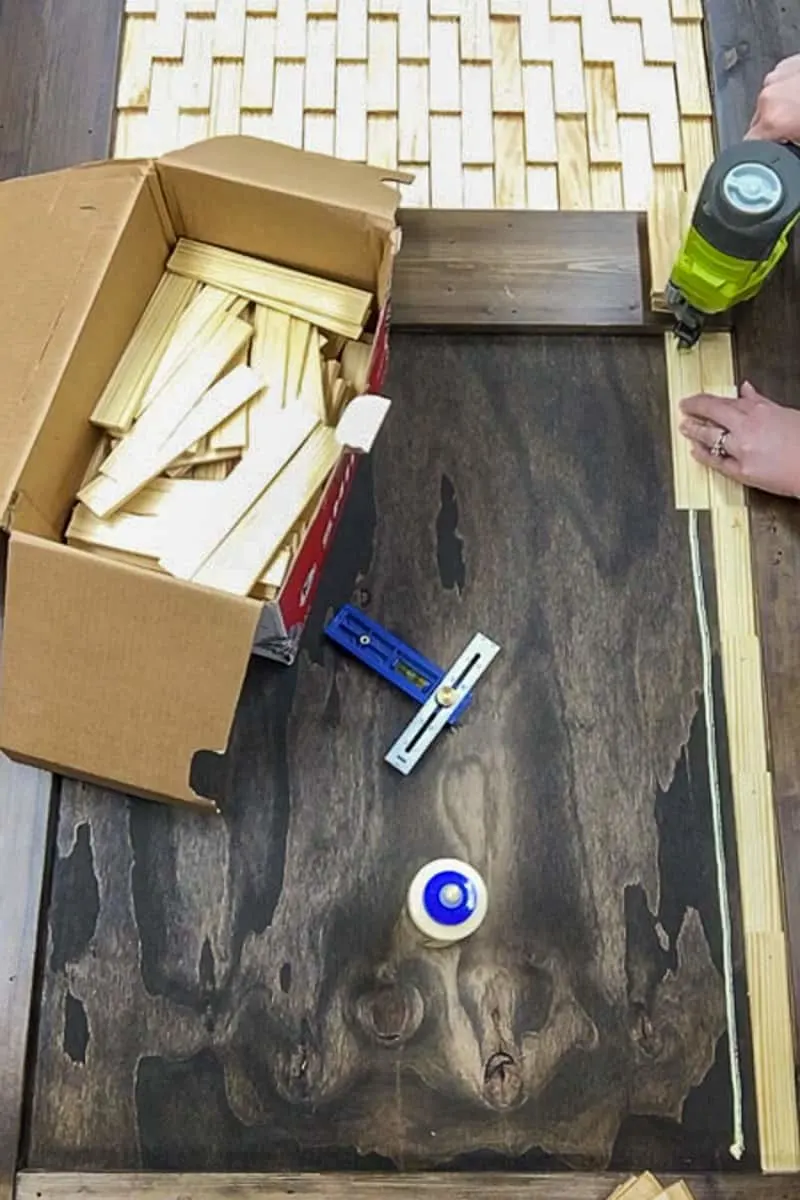
Keep the same 2 ½" overlap as before. The wide ends of this row should be halfway between the wide ends of the first row. If you use the square, the end of the ruler should line up roughly with the end of the shim in the first row.
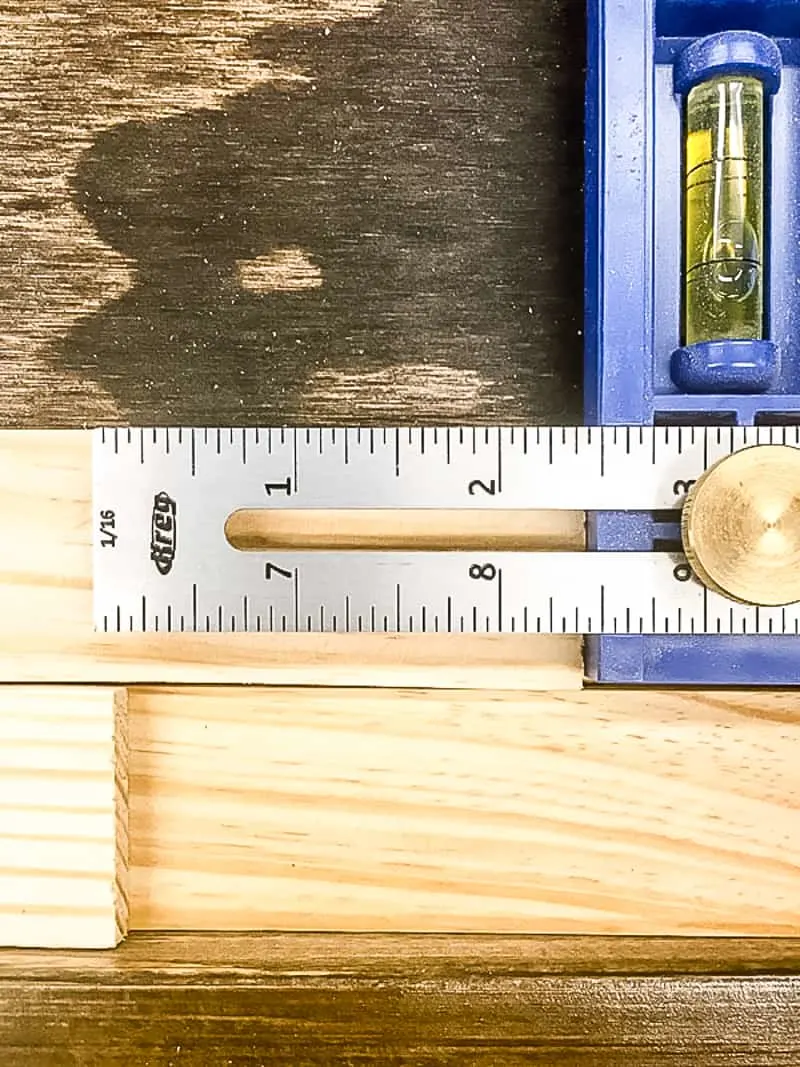
At the end of this row, there's not enough room for a full shim. Use the 5 ½" cut shims to continue the pattern and fill the space.
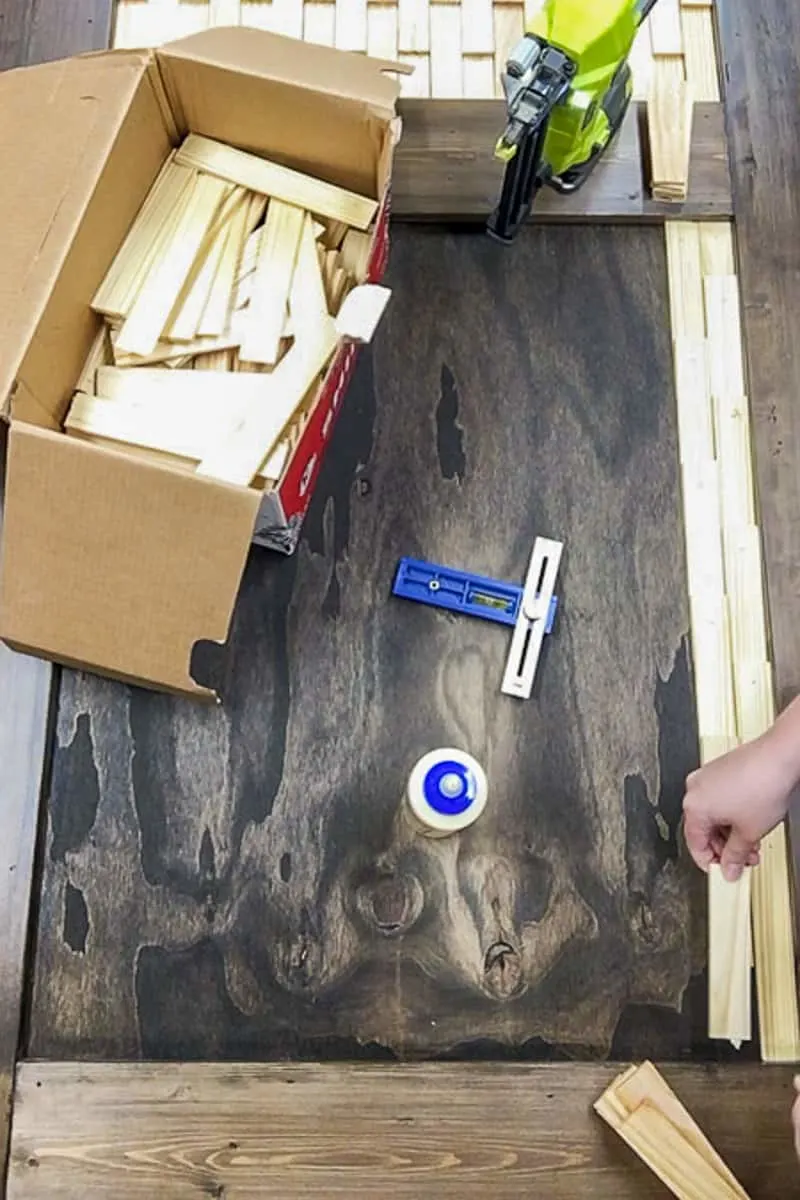
From here, it goes much faster! Use the combination square to line up the ends with the matching row.
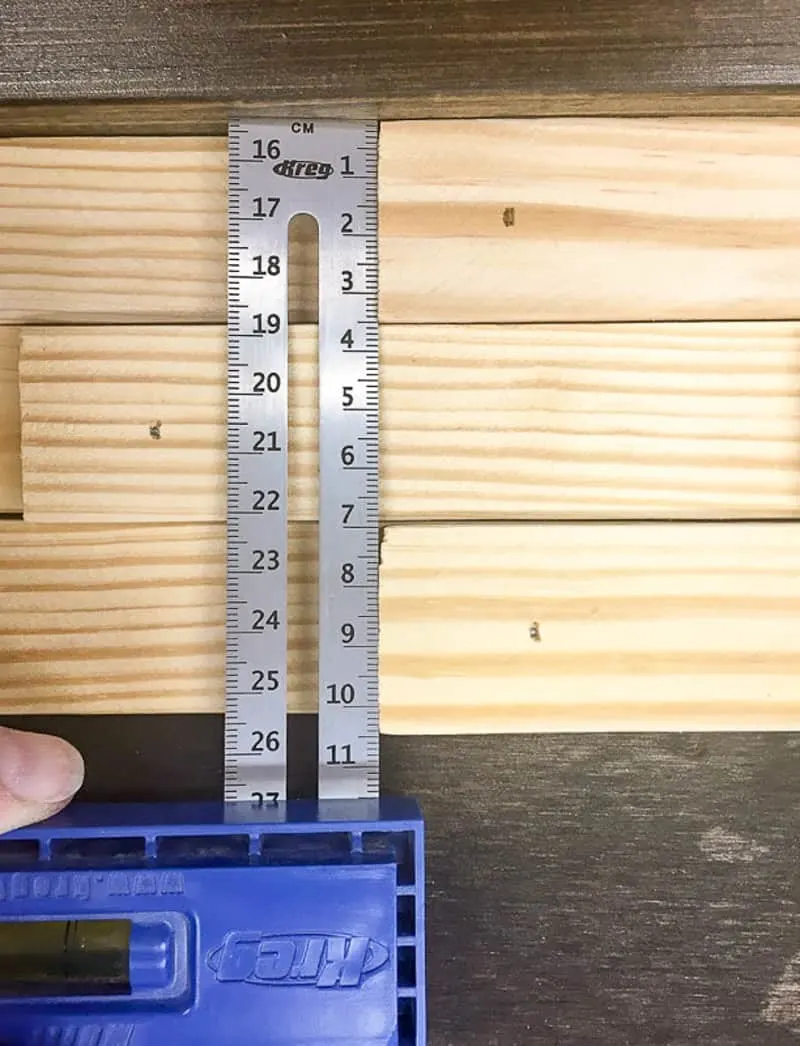
The finished effect is so cool! It almost looks like dragon scales!
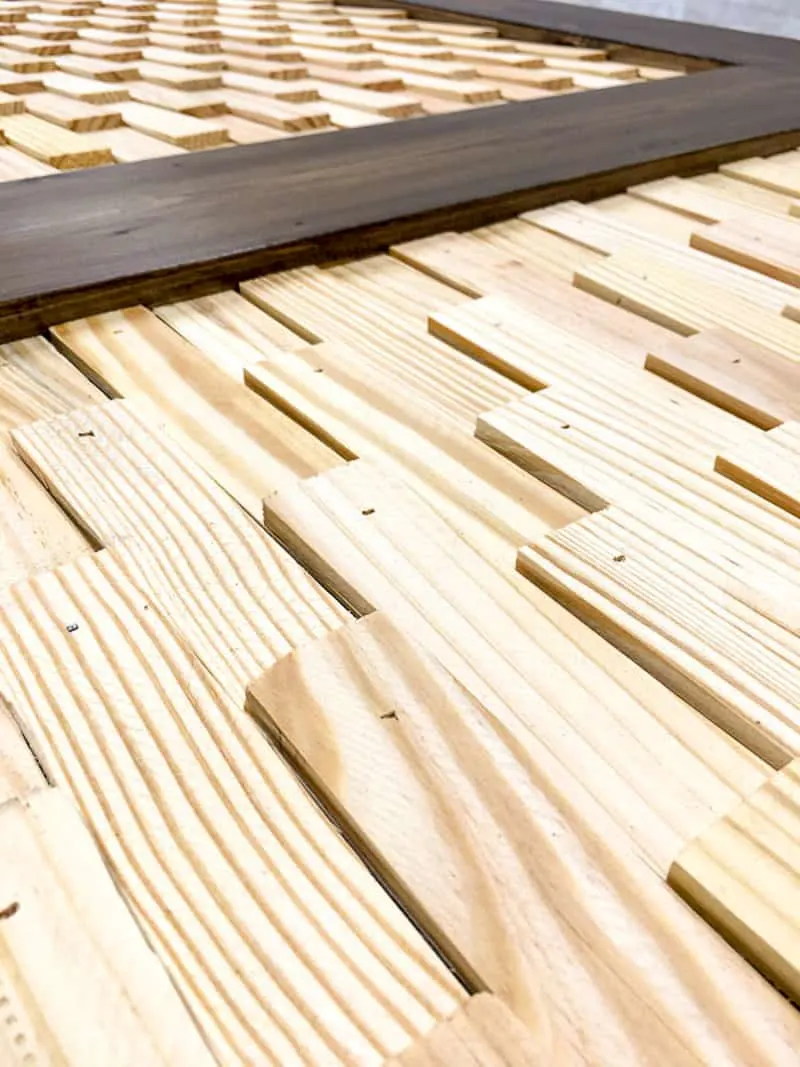
This is one project where you really want to invest in a nail gun like the Ryobi Airstrike. I can't imagine doing this with a hammer and nails! It looks like a lot of work, but I finished attaching all the wood shims in a little over an hour.
Paint or Stain the Wood Shims
With all the wood shims attached, paint or stain them (or leave them natural for a two toned effect!) Use a brush to really get into all those cracks and gaps.
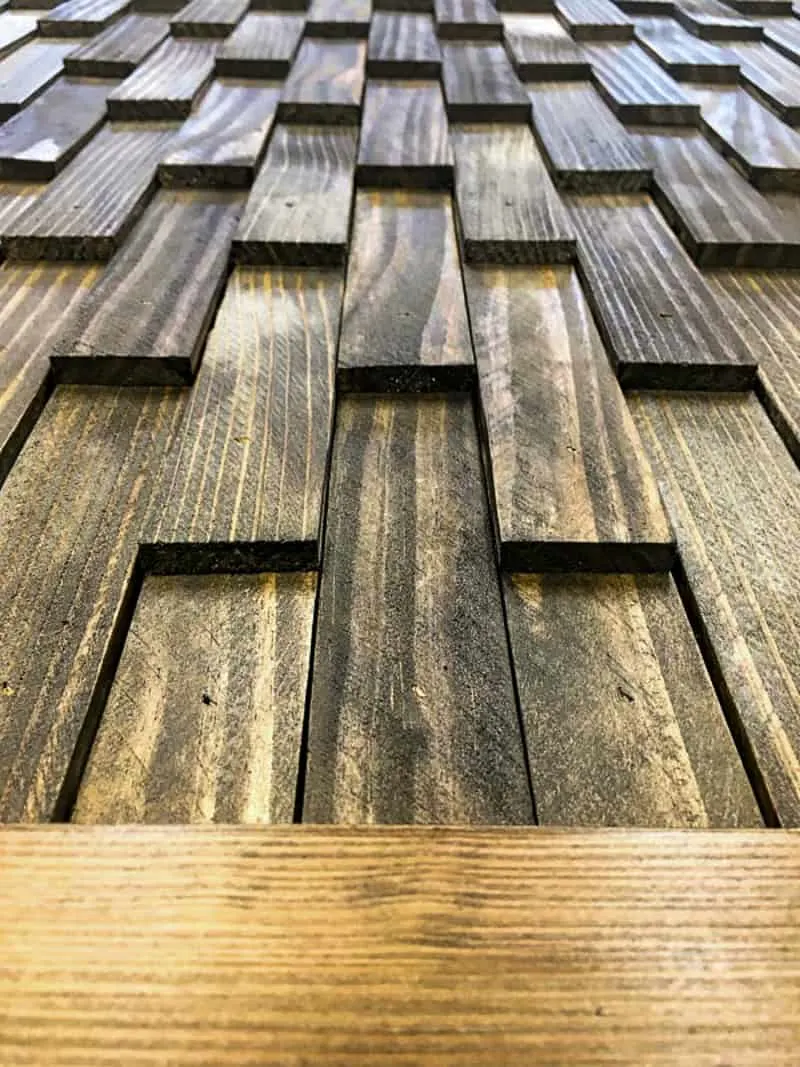
Once the front is dry, stand the door up on end and stain the back the same color.
Attach the Barn Door Hardware and Hang
Ready to see it? The final look is so cool!
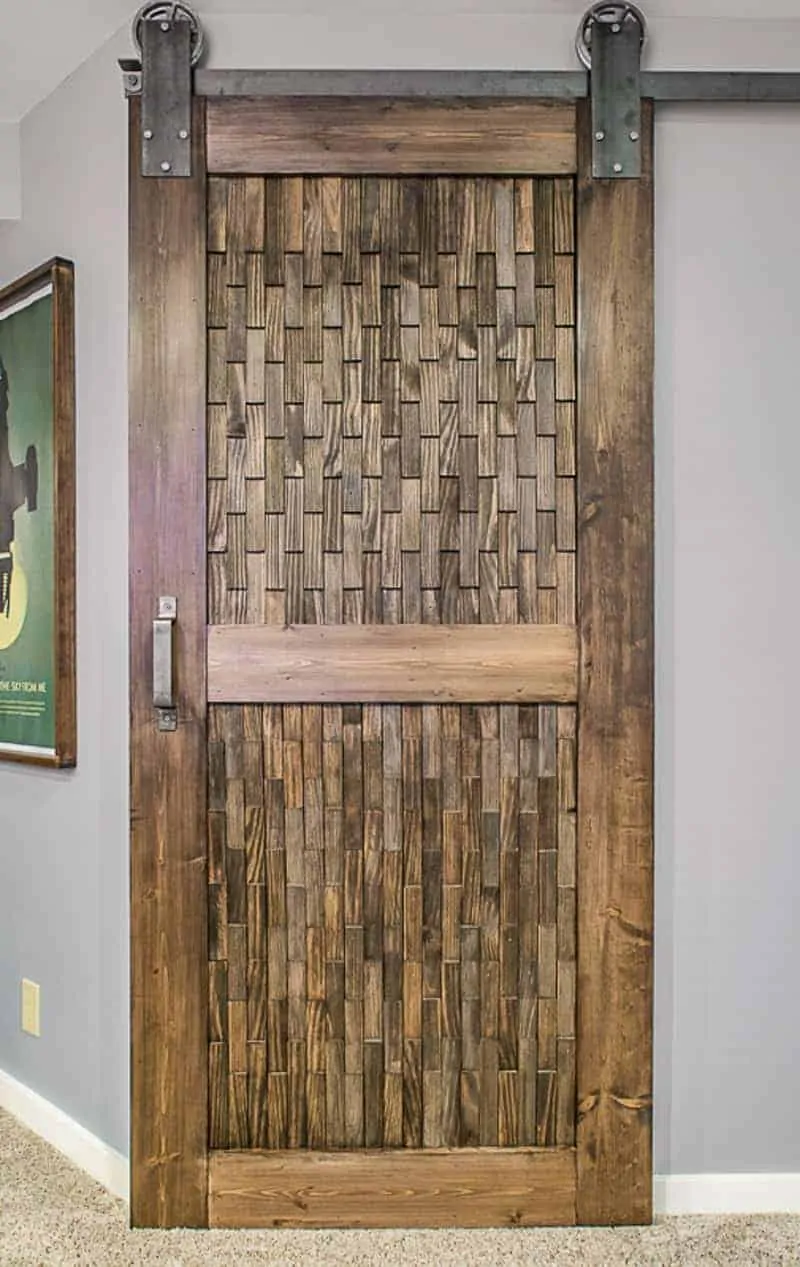
Notice how the door completely covers the existing trim around the opening. This closes up those gaps between the DIY sliding barn door and the wall, so there's no peeking into an occupied bathroom!
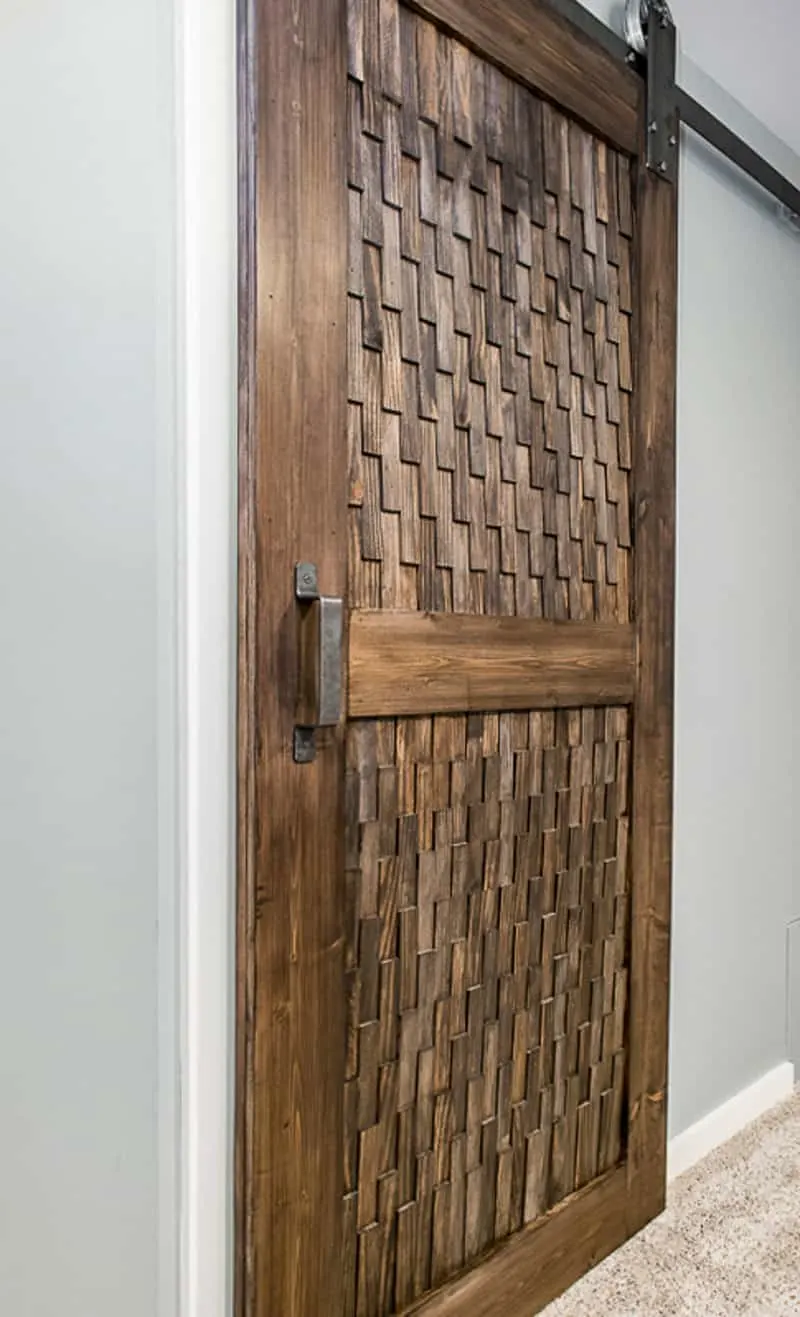
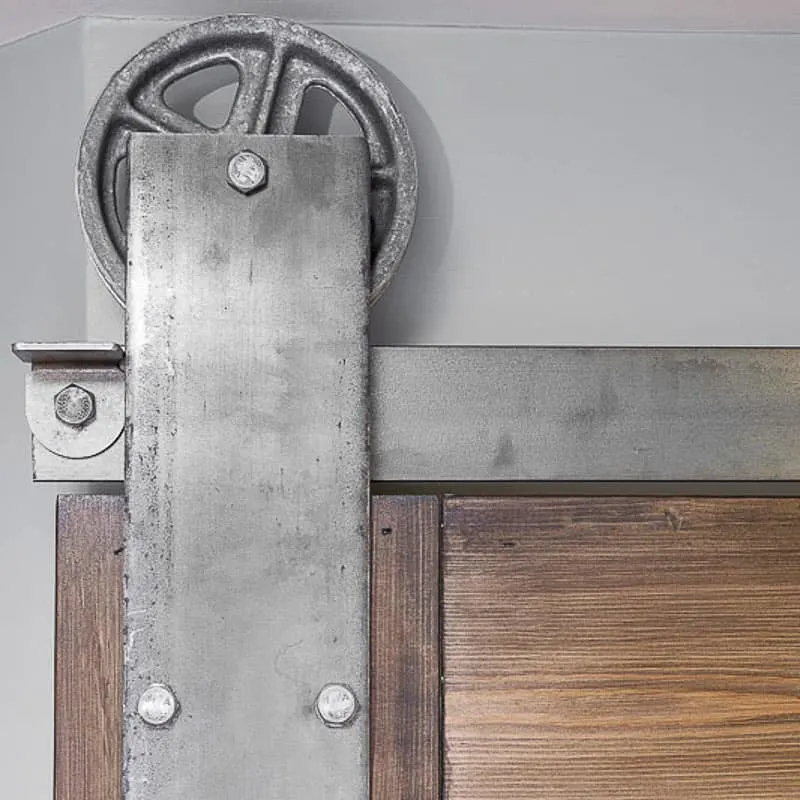
I love the combination of rustic texture in both the door and the metal pull.
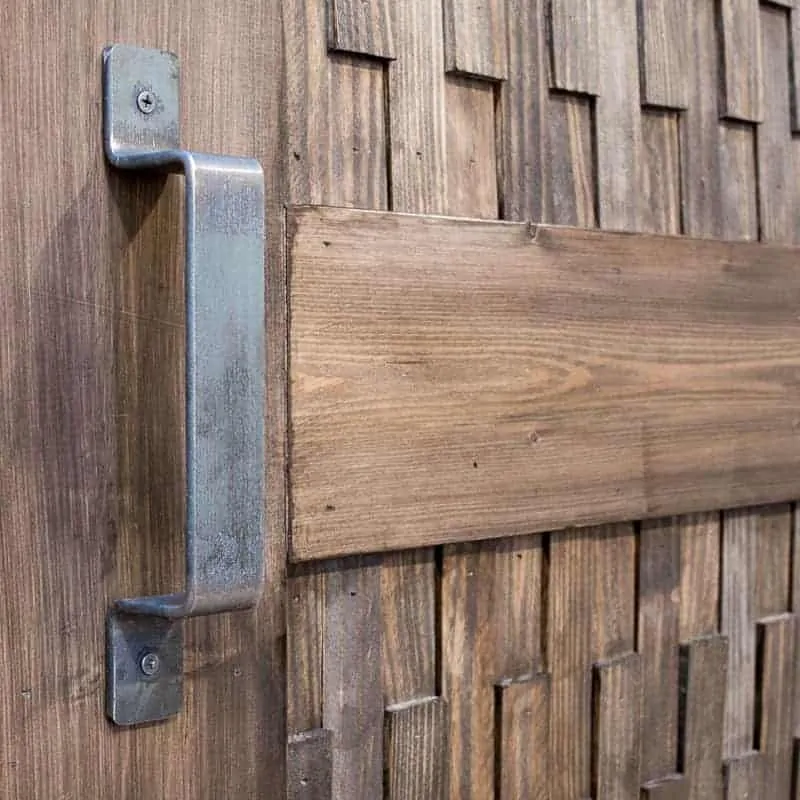
Don't forget to check out all the details on how to install the sliding barn door hardware too!


Amy Dreskin
Tuesday 11th of June 2019
Way to rep for the ladies who can wield a screwdriver( or an impact driver>>>AWESOME JOB > USING RESOURCEFULNESS TO CREATE A UNIQUE TEXTURE TO HILIGHT THE STELLAR CONSTRUCTION. YOU ROCK! >AMY DREEKIN, 33 CALI
Audrey
Thursday 6th of June 2019
Love this barn door. You are such a creative genius!
Darlene
Saturday 29th of December 2018
Thank you for sharing your creative work. After three years of not making dust in the basement, you've inspired me to make it back in the shop.
Vineta
Sunday 30th of December 2018
I'm so glad I inspired you to get back in the shop!
Audra @ Renewed Projects
Thursday 3rd of May 2018
Wow! So beautiful! The shims create such a great visual texture. Great tutorial, too!
Ryan
Friday 2nd of March 2018
Any chance I can see a picture of the other side of the door? I'm actually building door loosely based off of this.
Vineta
Friday 2nd of March 2018
The other side of the door is just plain plywood stained to match the rest of the door. I need to chisel out a spot for the door pull eventually. We don't use that bathroom much, so I keep forgetting!