Elevate your rain barrels to get the proper water flow to your garden! Build this DIY rain barrel stand with just two 4x4 boards!

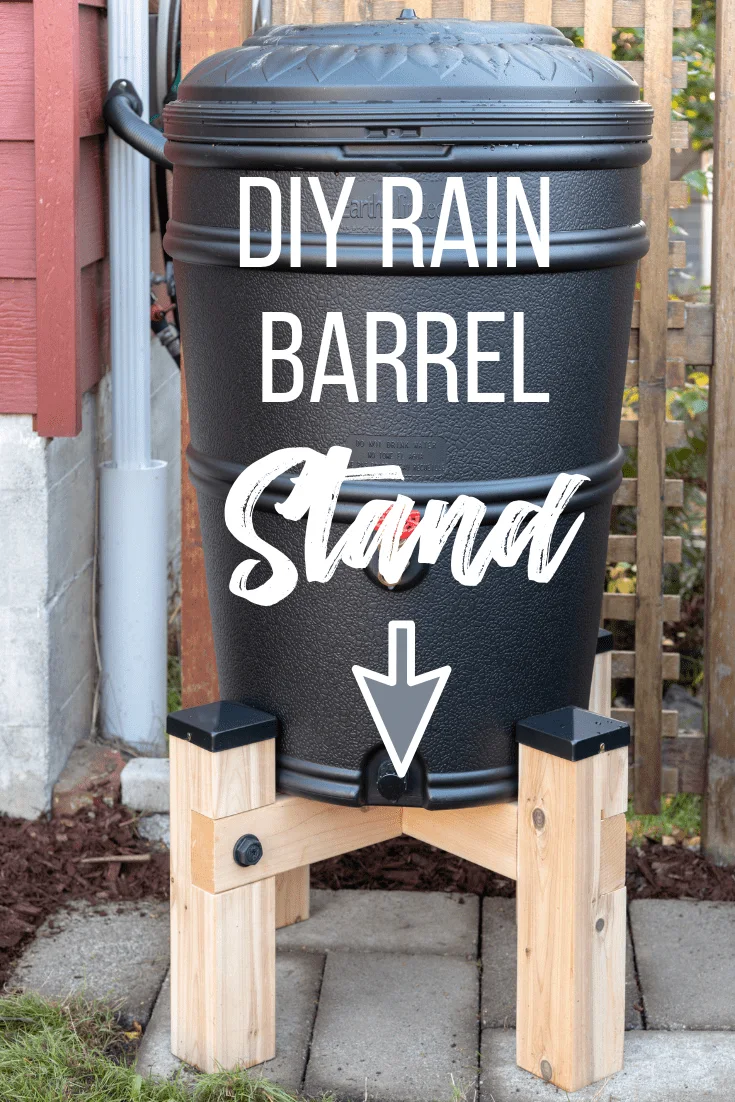
Rain barrels are a great way to save water for your garden, but it can be difficult to get the water pressure you need. This DIY rain barrel stand elevates your supply to allow gravity to help keep the water flowing!
This post was sponsored by The Home Depot and contains affiliate links for your convenience. Purchases made through these links may earn me a small commission at no additional cost to you.
We live in Seattle, where we're famous for our endless rain. But we actually have a drought every summer! I wanted to capture some of that water and save it for the dry months to keep my garden happy.
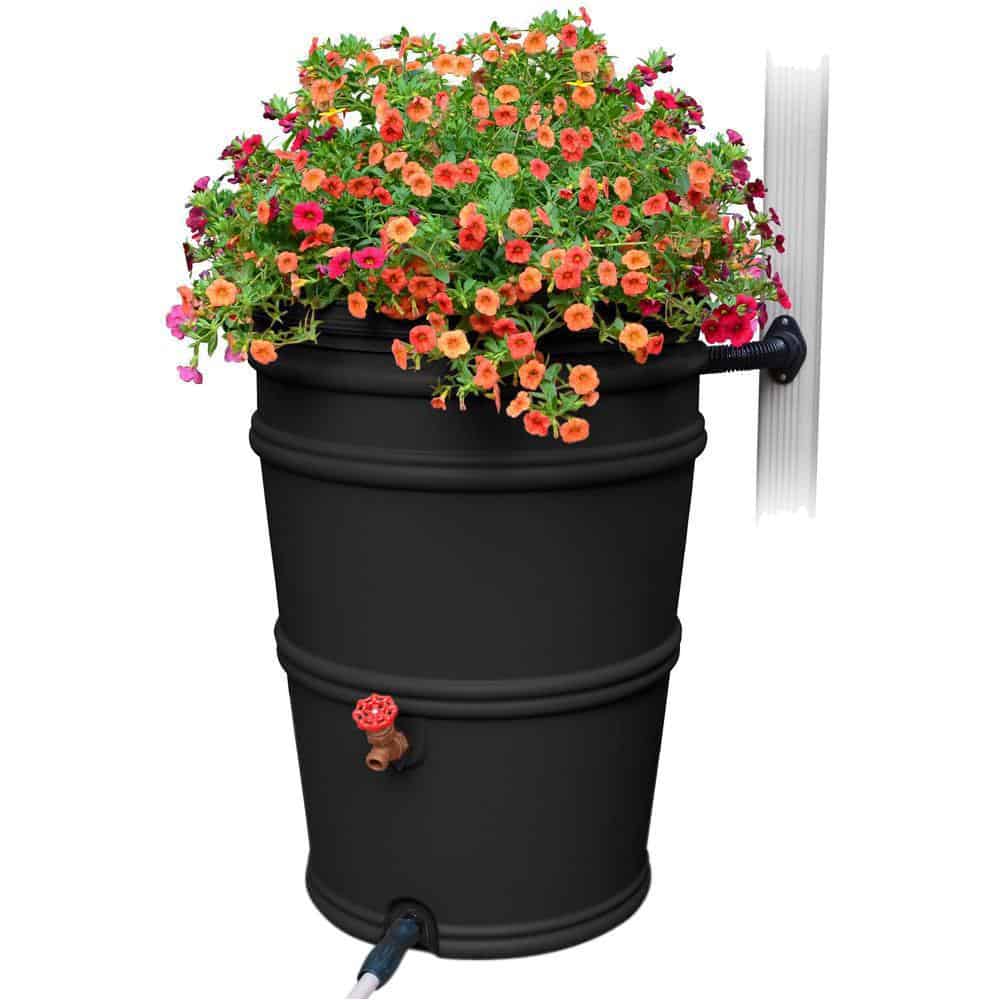
Rain barrels have come a long way from the ugly drums that eco-conscious gardeners once used. Now you can find stylish options that won't look out of place in your garden! Home Depot carries lots of different rain barrels to fit your outdoor decor, from rustic barrels to sleek urns.
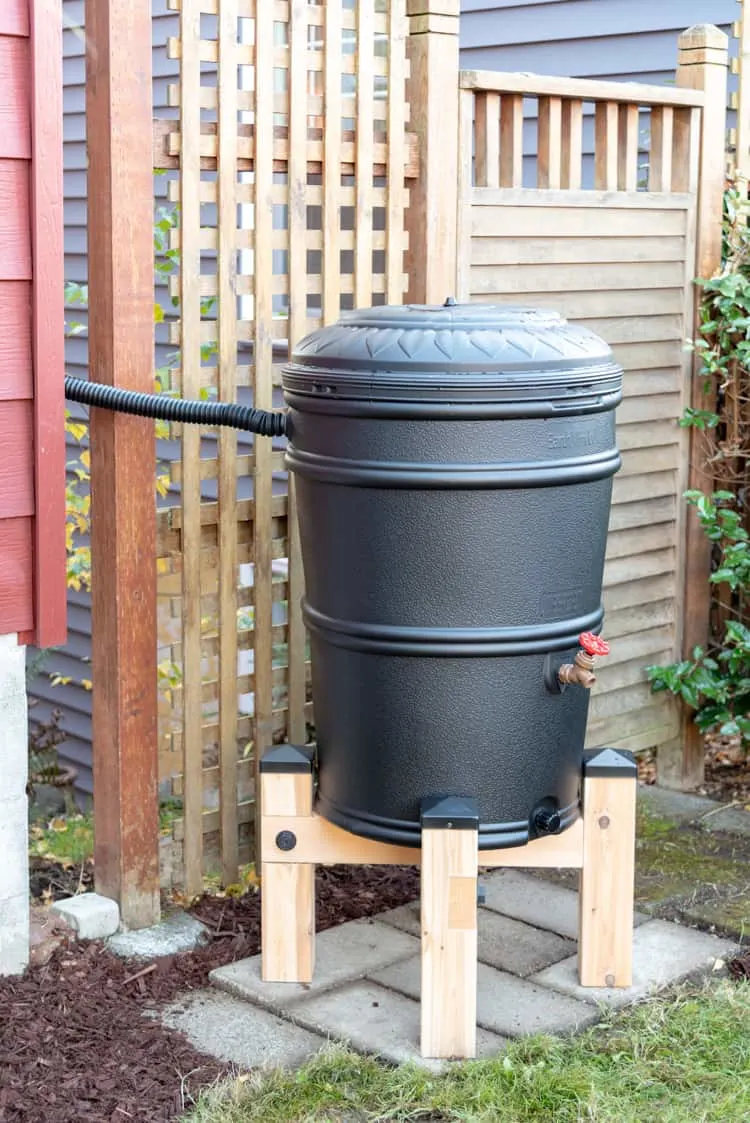
I chose these simple black rain barrels from The Home Depot for my project. The top can be used as a planter for added curb appeal!

Head on over to The Home Depot website to see how I installed this rain barrel to our existing downspouts. Then come back to learn how to make your own rain barrel stand to go with it!
Materials Needed for DIY Rain Barrel Stand
- Two 4x4 cedar boards
- You could also use less expensive pressure treated 4x4s instead.
- 3" deck screws
- I used these decorative wood screws in combination with these hex-head washers to give it a more industrial look.
- 4x4 post caps (optional)
- I used these black ones.
- You'll also need 1" galvanized nails to hold them in place.
- Titebond III wood glue
- Wood chisel
- Hammer
- Clamps
- Concrete pavers
- Level
- Table saw or circular saw
- Drill
- ⅜" drill bit
- Outdoor wood stain (optional)
How to Make a Rain Barrel Stand
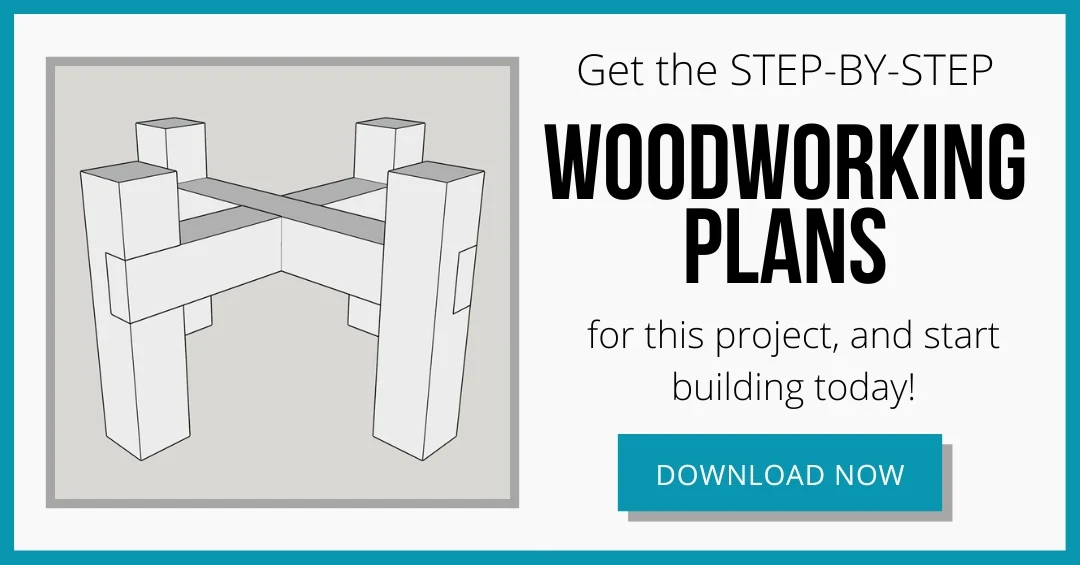
Download the woodworking plans
It can be a little tricky to get all the notches cut in the right place, so I created these woodworking plans to help you out!

Measure and Cut Pieces
Start by measuring the bottom of your rain barrel. You'll want it to fit snugly in the stand so it doesn't tip over easily. Take that measurement and add the width of the legs. Then cut two 4x4 pieces to that length.


Next, decide how tall you want your rain barrel to be. I decided to elevate mine about a foot off the ground to make it easier to access the spigot, plus four inches at the top to hold the barrel in place.
Cut notches for half lap joints in legs
I'm using half lap joints that I cut on the table saw to connect the pieces together. These joints allow the weight of the water to rest on solid wood, instead of relying on screws for support.
You can do this with a circular saw as well. Here's a great video to show you how!
Measure the width of the board, then mark the halfway point. Set your table saw to that depth.
Cut a line 4" down from the top of each of the rain barrel stand legs. Then mark the width of the crossing board (usually 3 ½", but it can vary slightly).

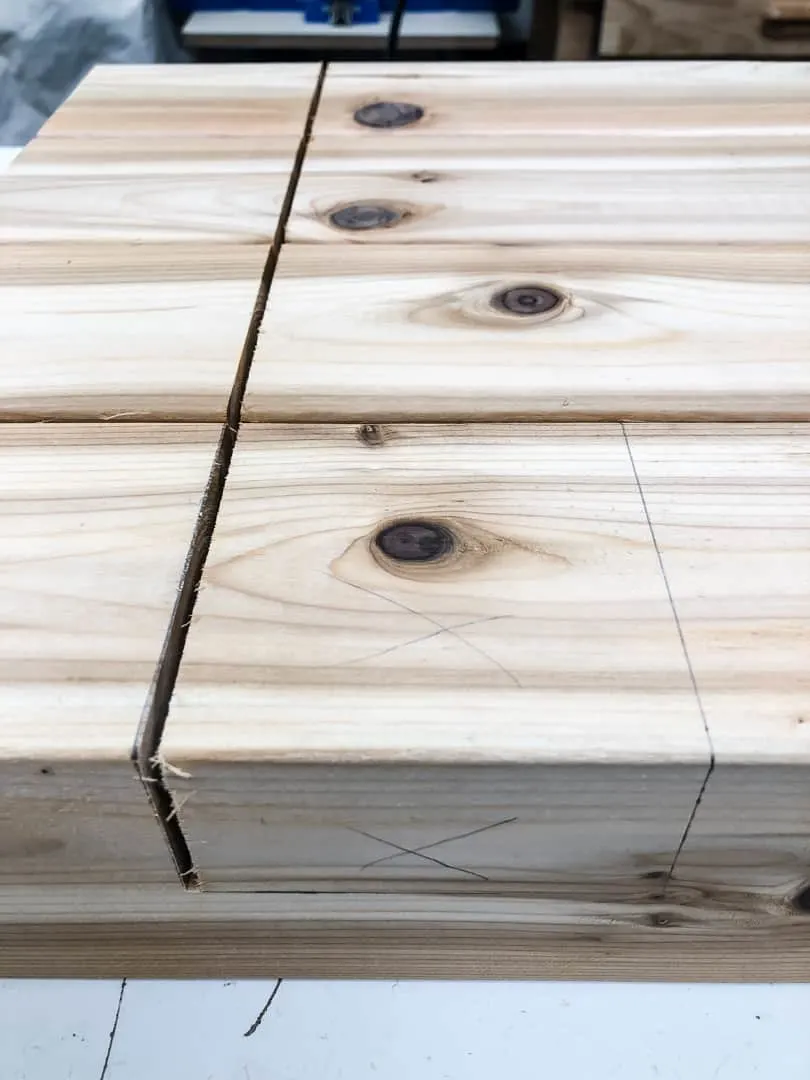
Then cut a line for the bottom edge of the notch.
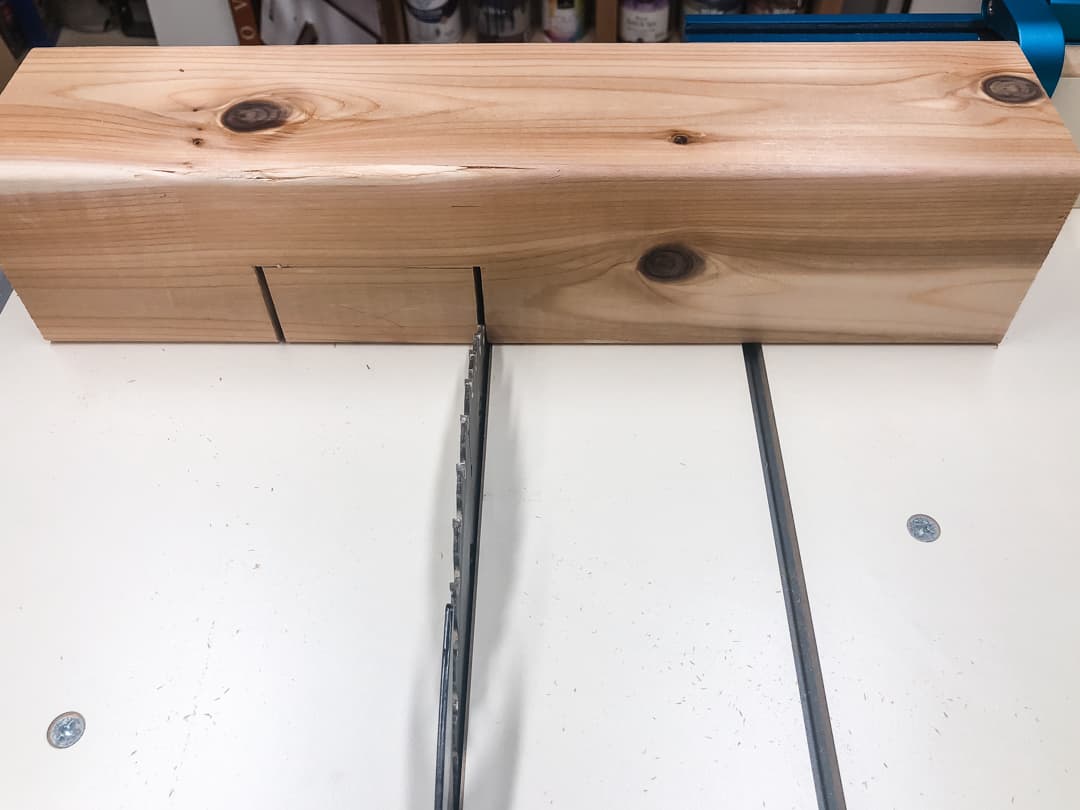

Then gradually cut away at the wood between the two edges with the saw blade. This process creates a TON of sawdust, but the cut cedar smells amazing!

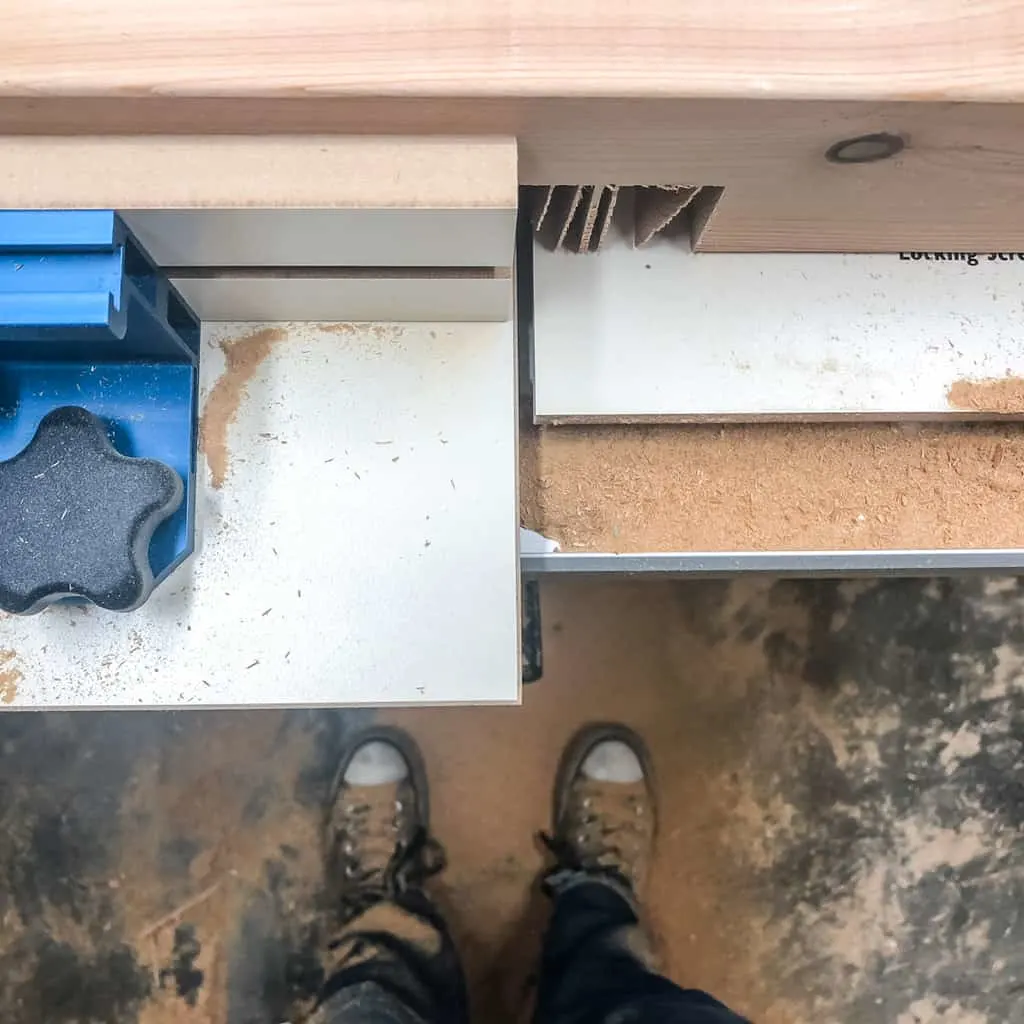
It's ok if you're left with small slivers of wood between each cut.
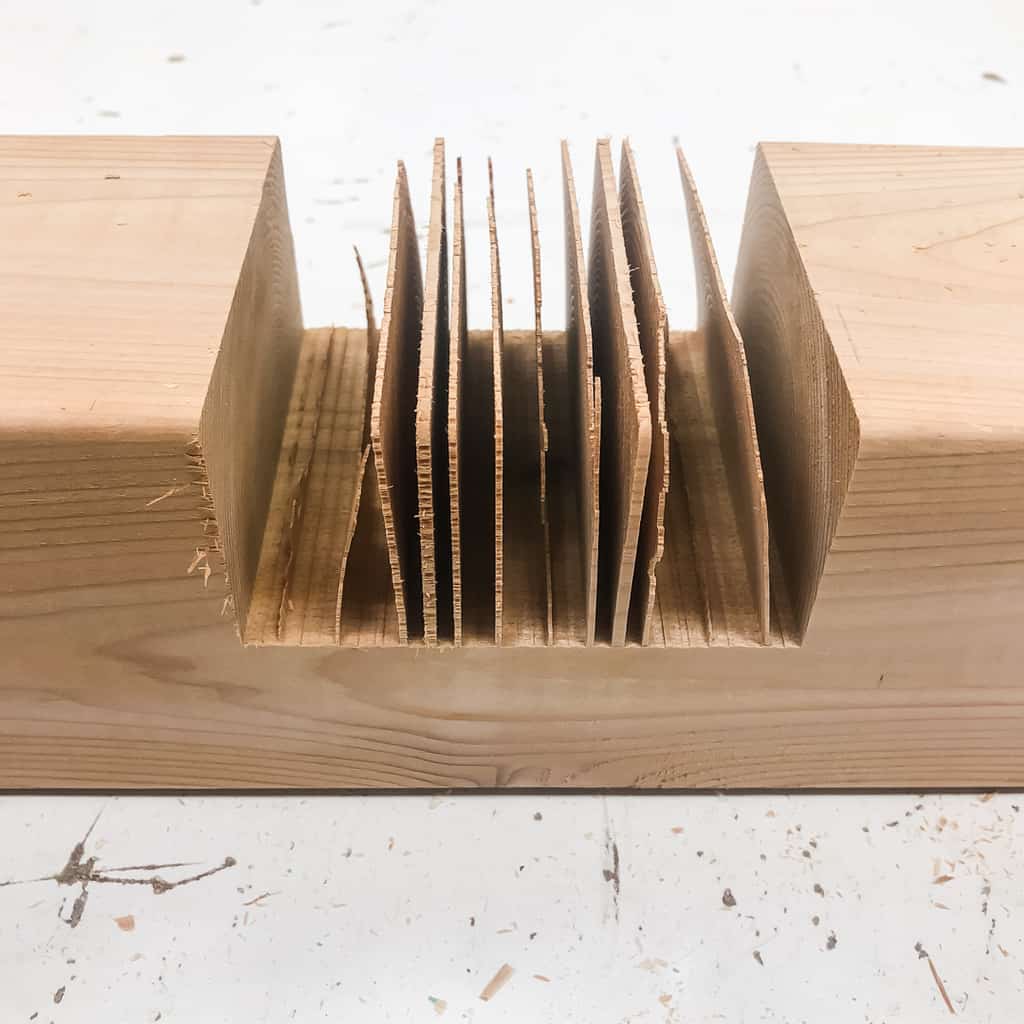
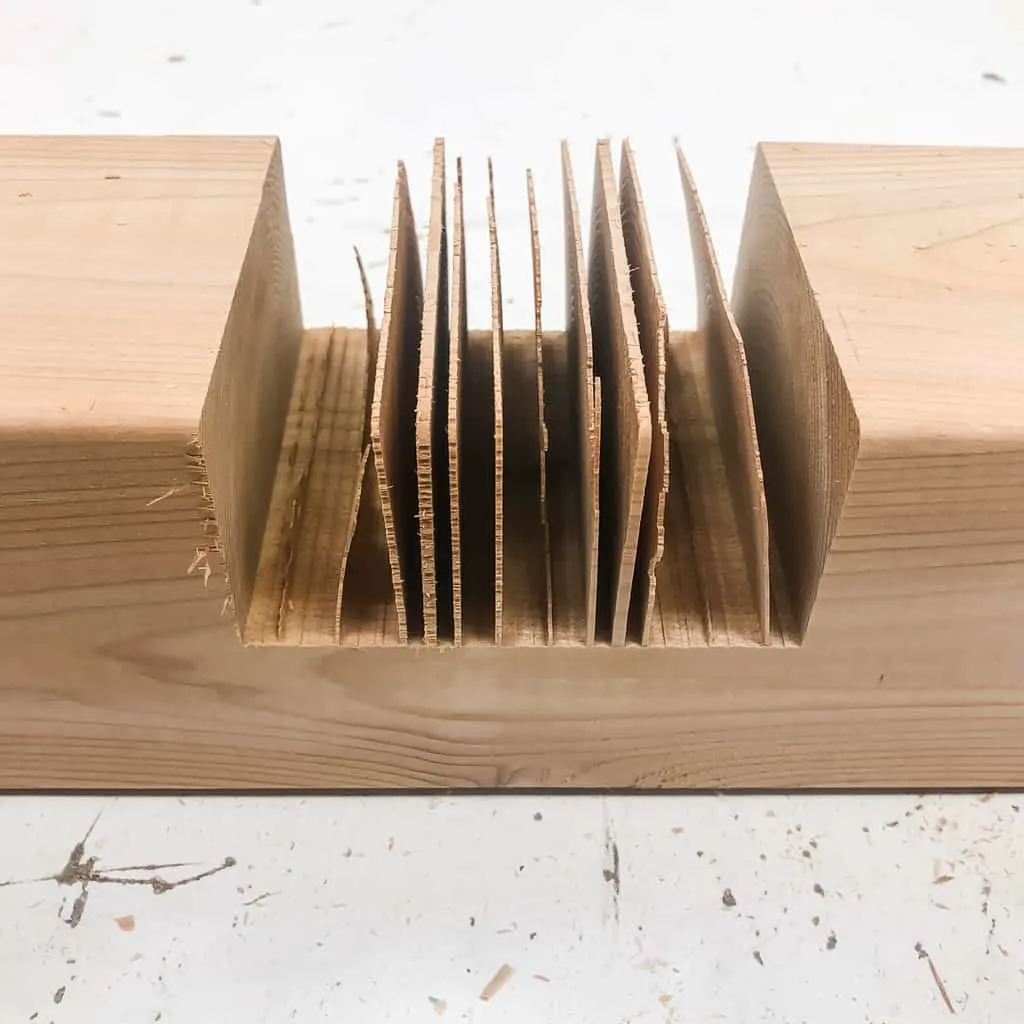
Use a chisel to clean up the joint. It should be pretty easy to break off the slivers. Then run the chisel over the surface at a diagonal to flatten it as much as possible.
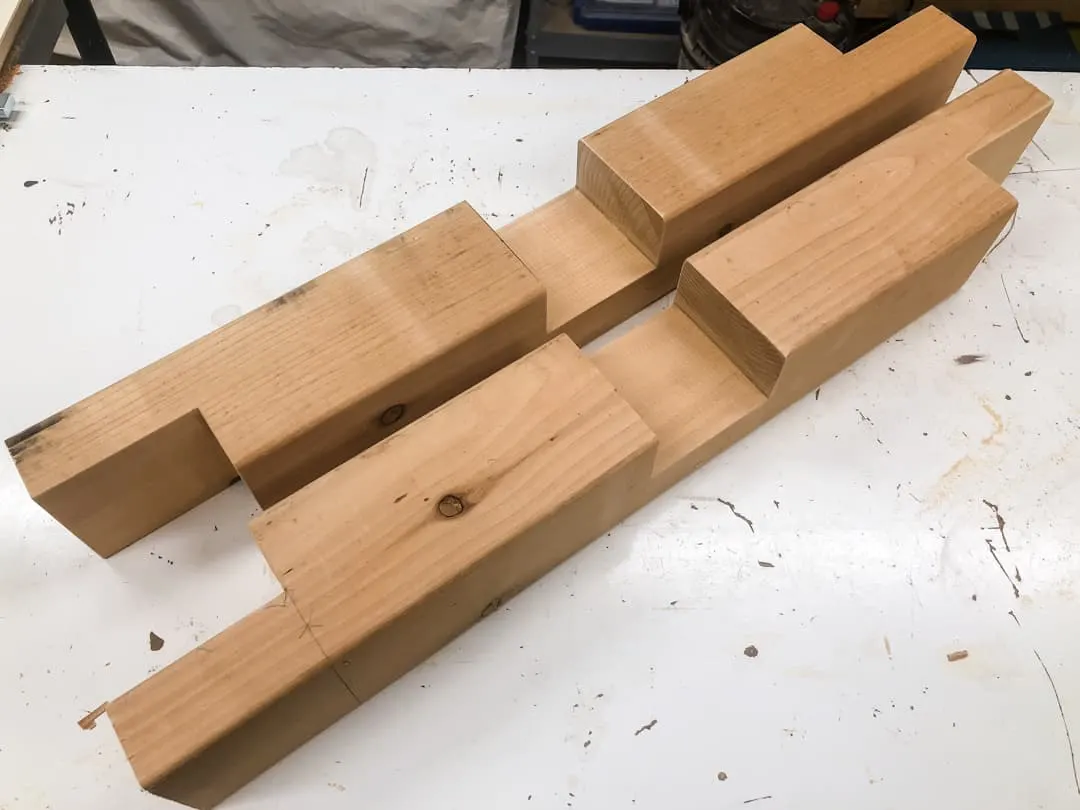
Cut notches for the crossed center pieces
Use the same process to cut half lap joints in the center of each of the longer pieces. They should fit together snugly, although the rounded corners make it difficult to get a seamless joint.
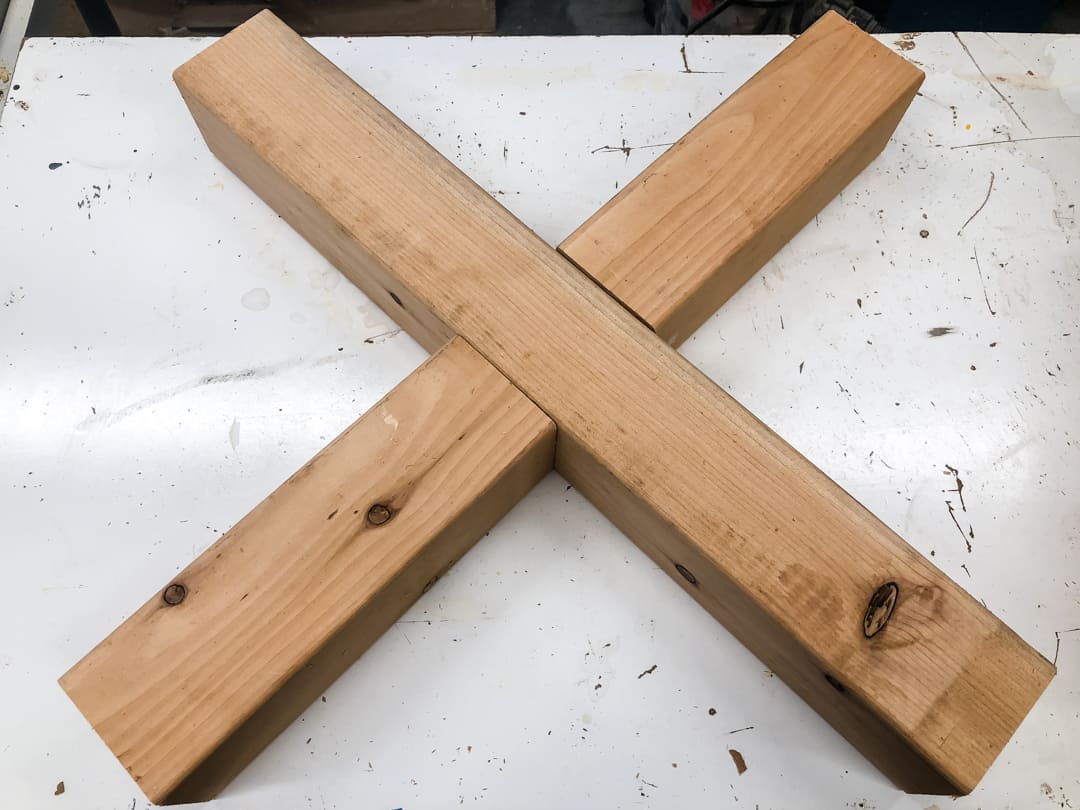
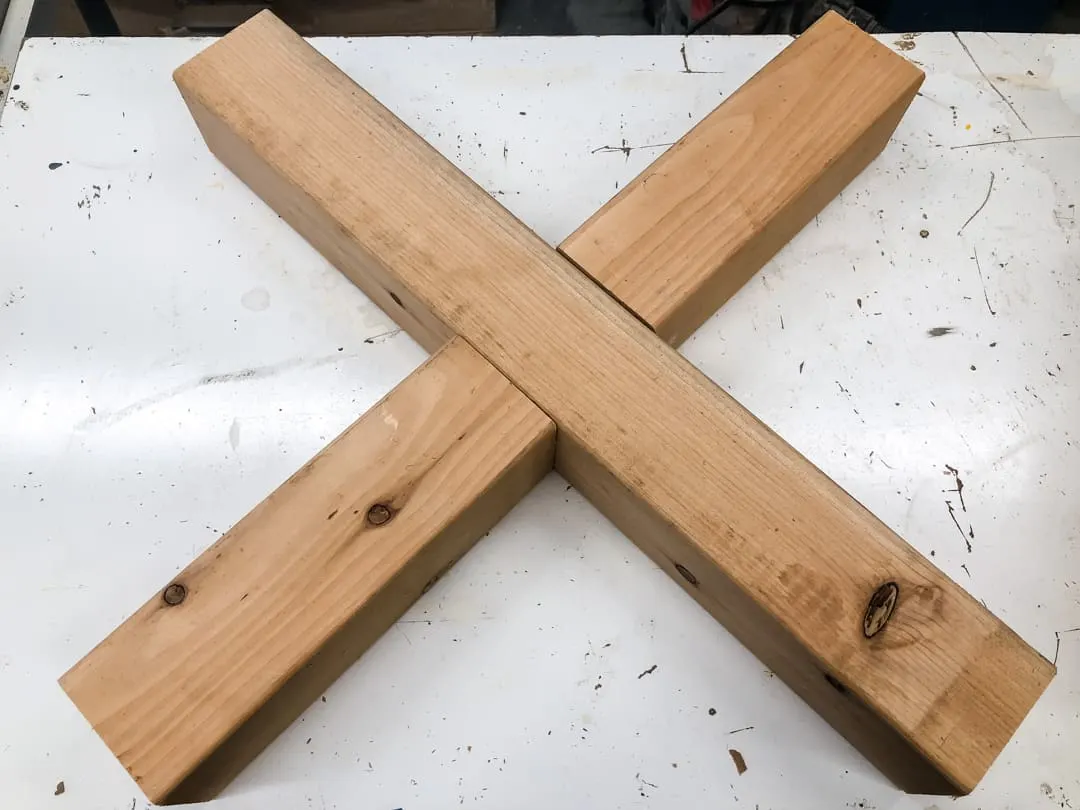
With the center boards crossed, hang a leg off the ends to accurately mark the sides for the half lap.


Then cut away that portion on the table saw with the same method as above. This is what the center pieces should look like once all the half lap joints have been cut.

Assemble all the pieces together to check the fit.

Sand and Glue Up Joints
Sand down the inside of the half lap joints with a sanding block.


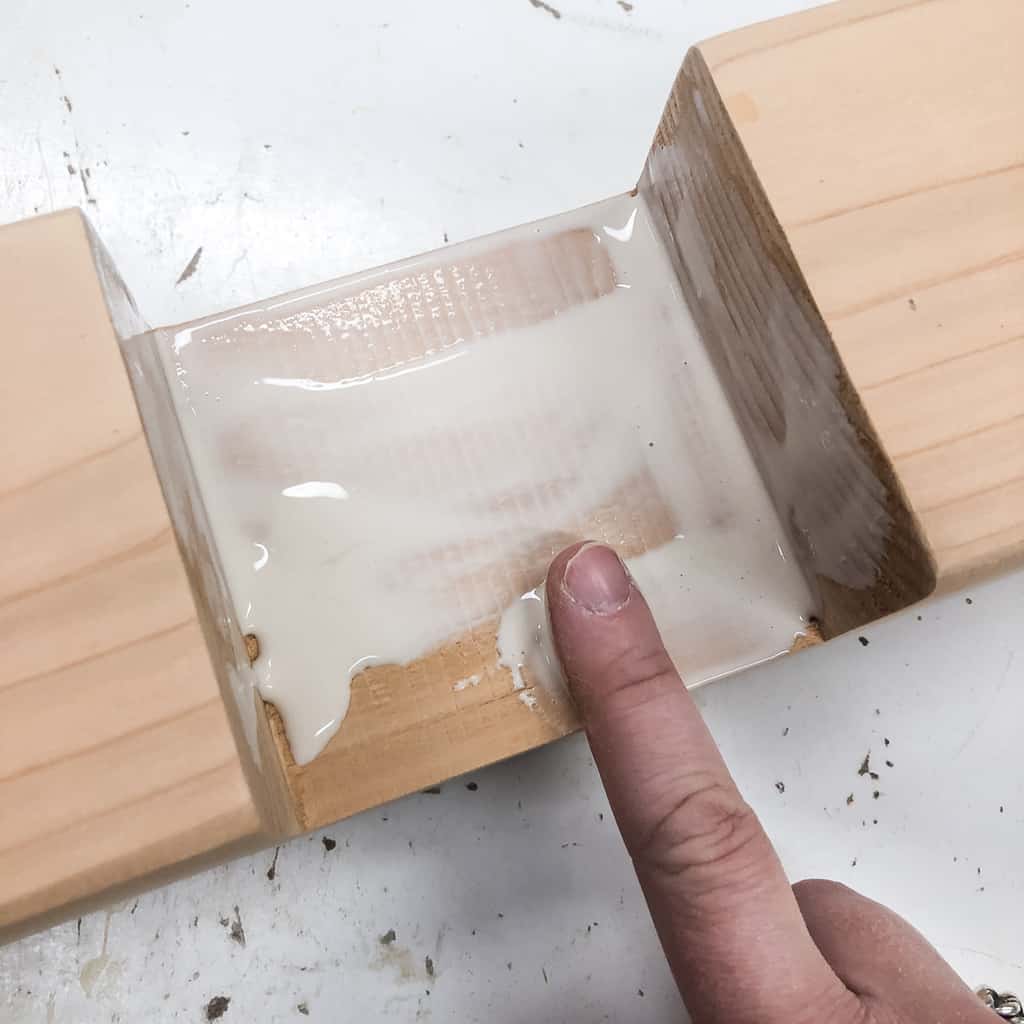
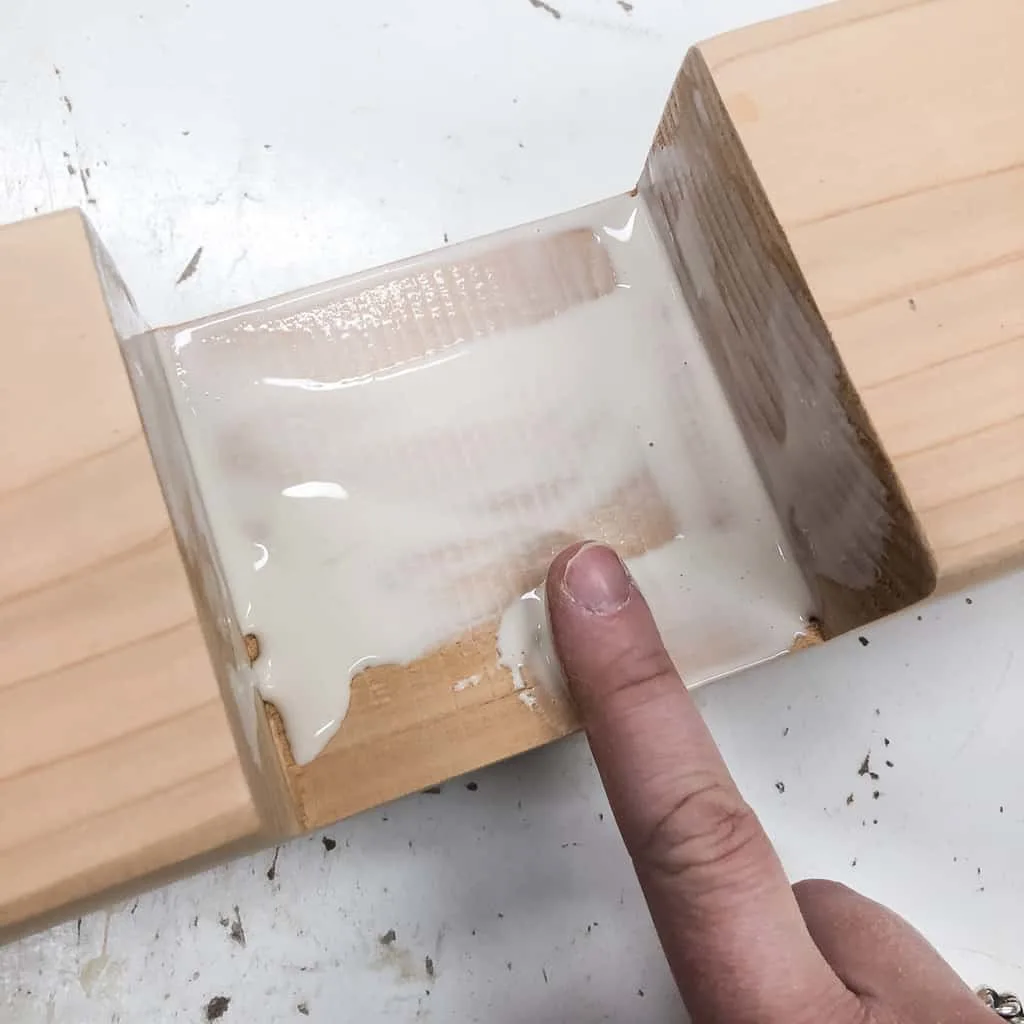
Apply wood glue that is suitable for outdoor use (I like Titebond III for this) to the inside of the center notches. Make sure to get all the surfaces for proper adhesion.
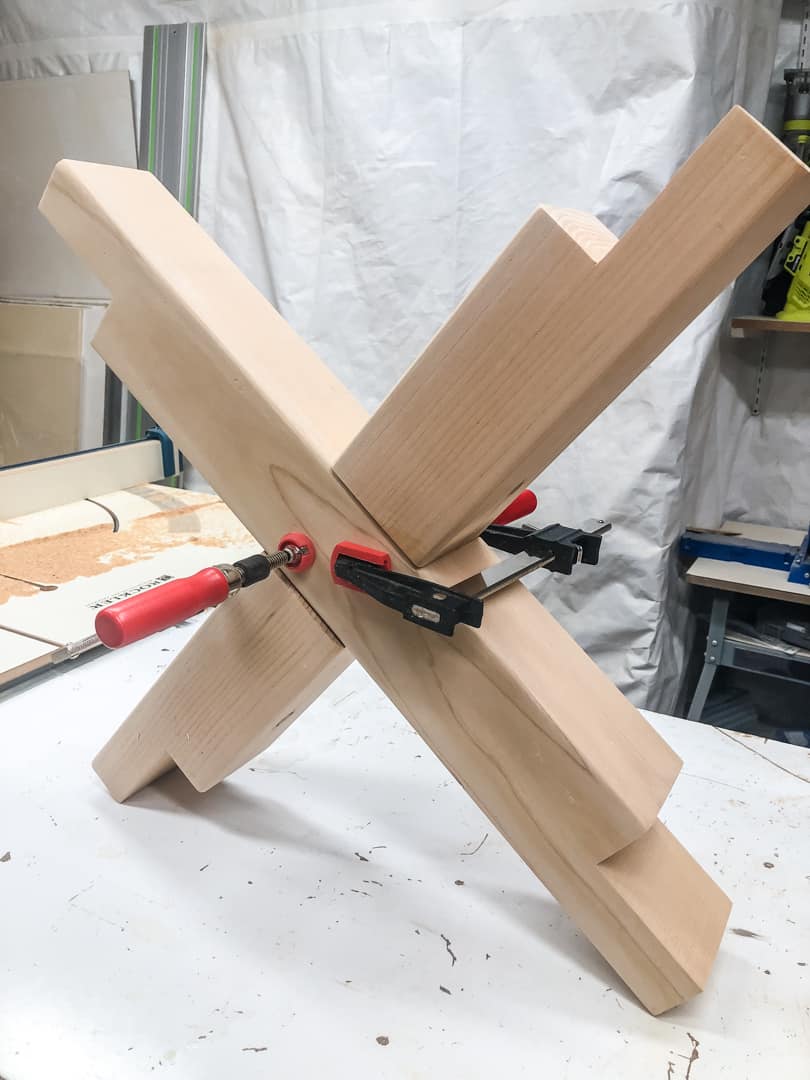
Join the two cross pieces together, and clamp them into place. Allow the glue to dry.

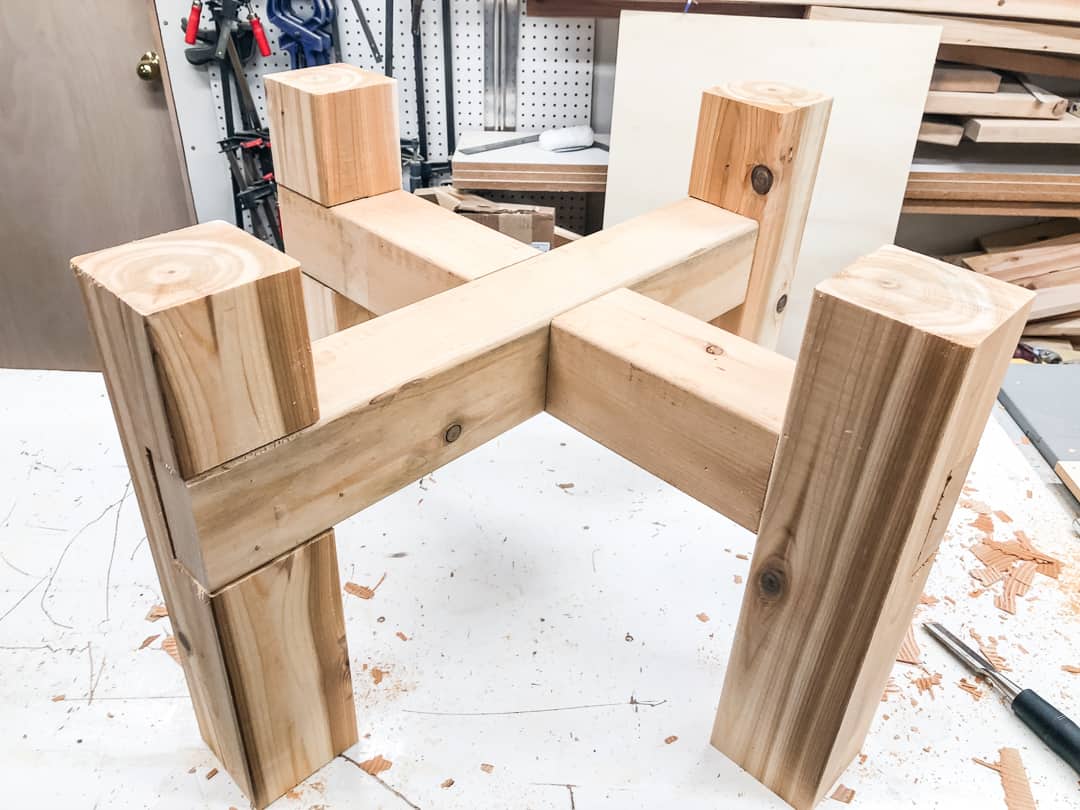
Attach Legs to Cross Piece
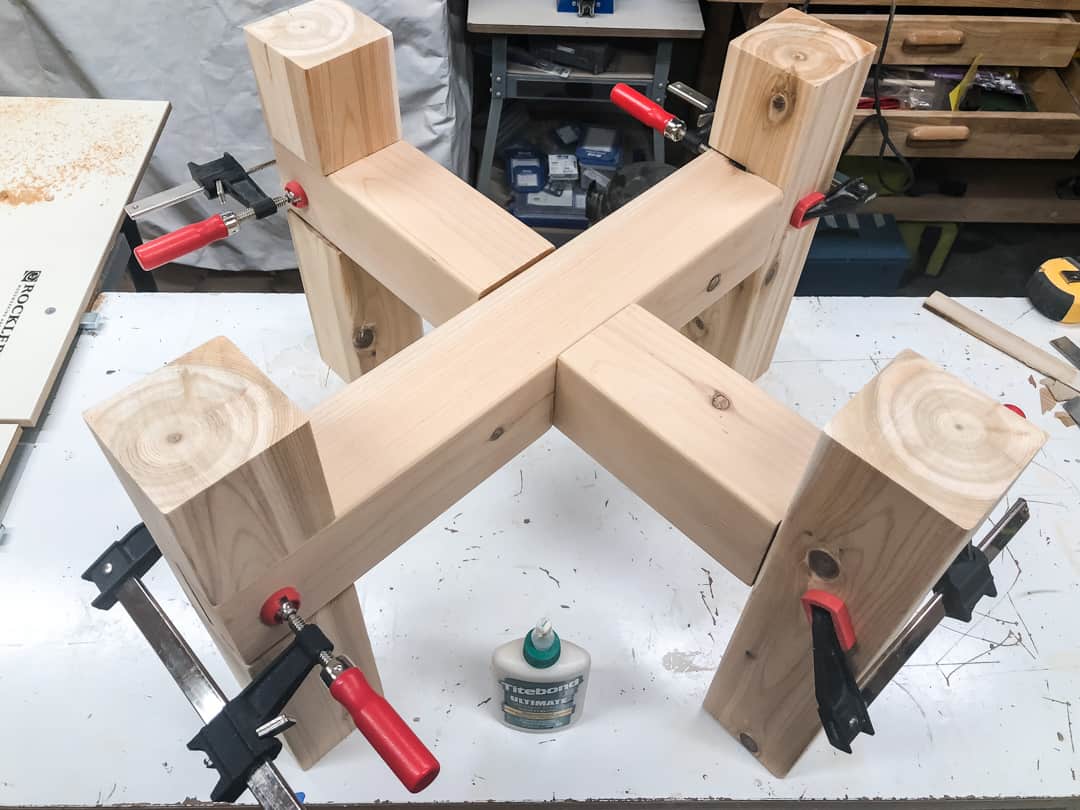
Apply wood glue to each end of the cross pieces, and fit them into the notches of the legs. Clamp them into place.

The rain barrel stand can be finished at this point. Cedar can be left outdoors untreated, so I left the color natural. But you can stain or paint it any color you want!
Add Decorative Hex Nuts and Screws (Optional)
The rain barrel stand was looking a little plain, so I decided to give it an industrial look with black metal accents that would coordinate with the black rain barrel.
Measure the center of the joint on each legs. Then drill ⅜" pilot holes into the face of the cross piece on each leg.

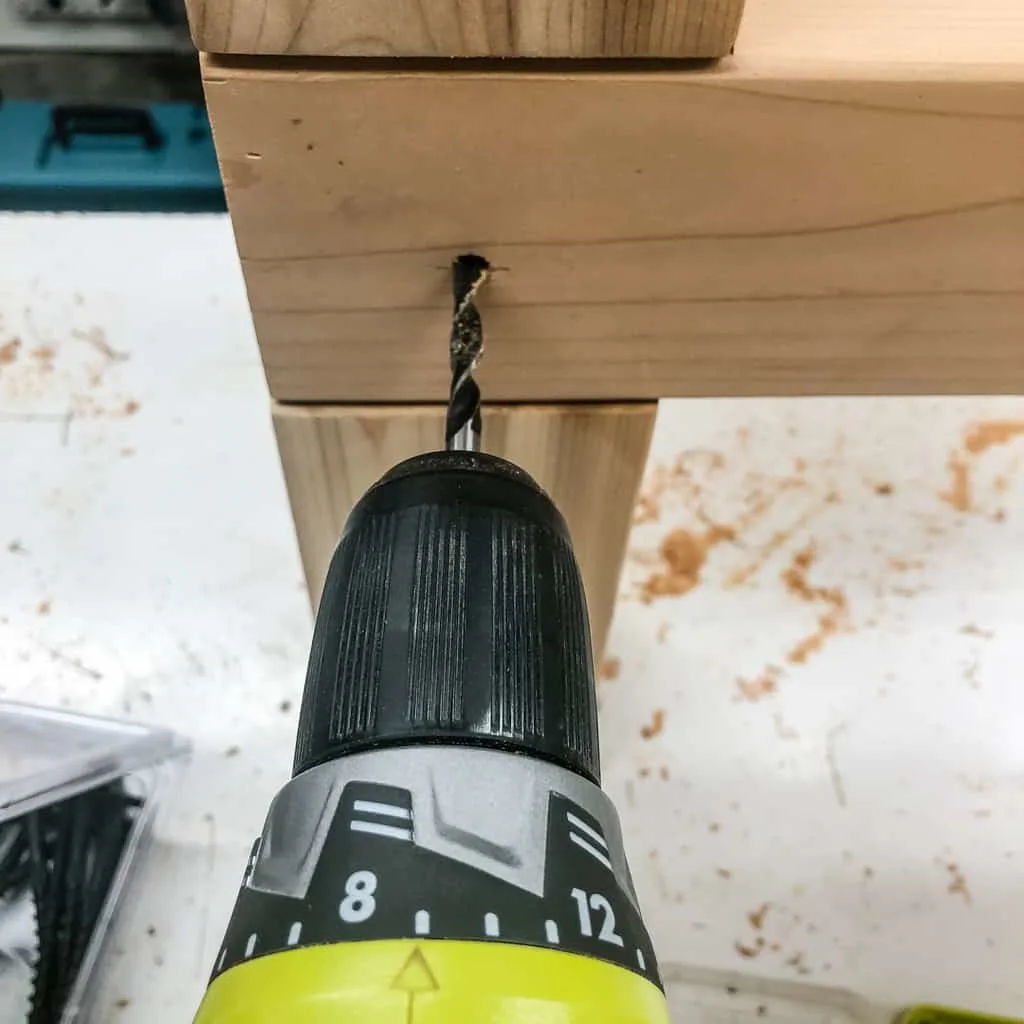
The decorative hex nut washers had a little lip on the back, so I widened the hole at the surface with a spade bit so they would sit flush against the wood.
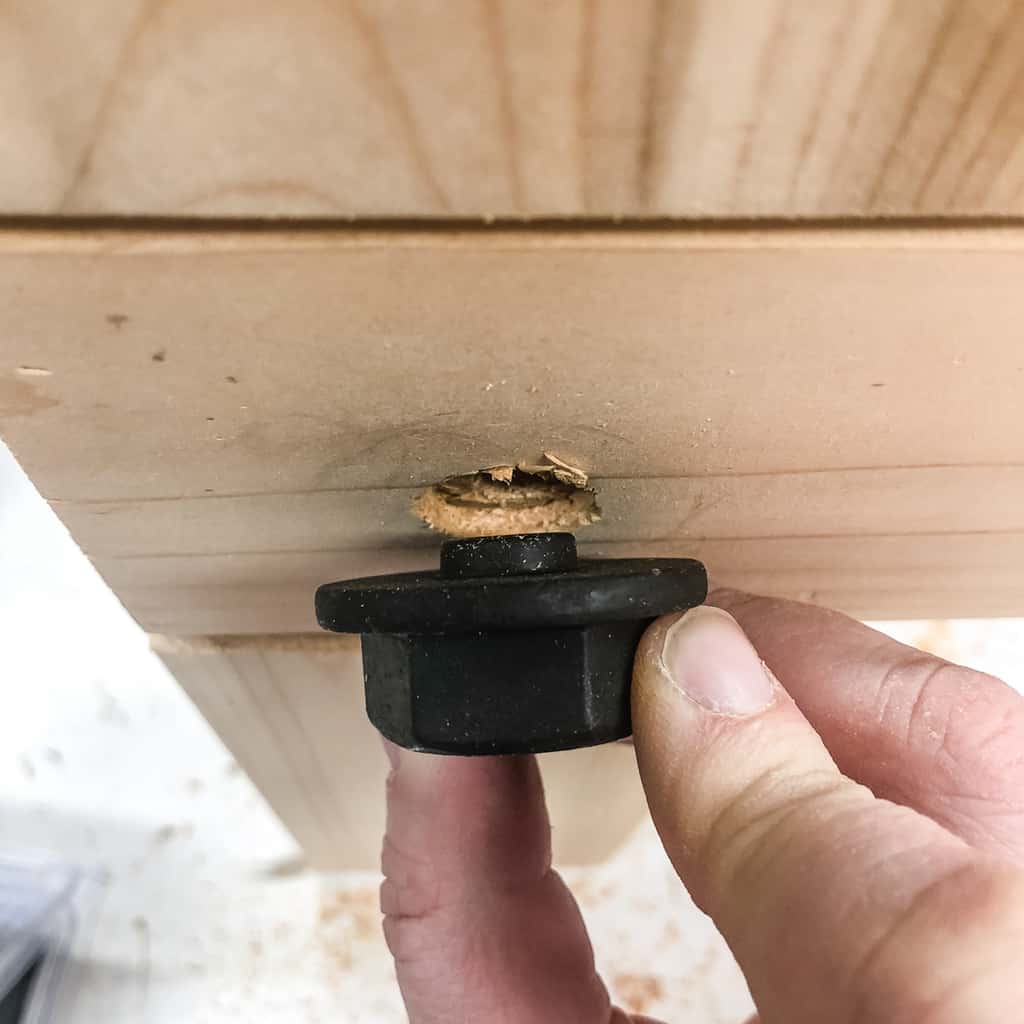

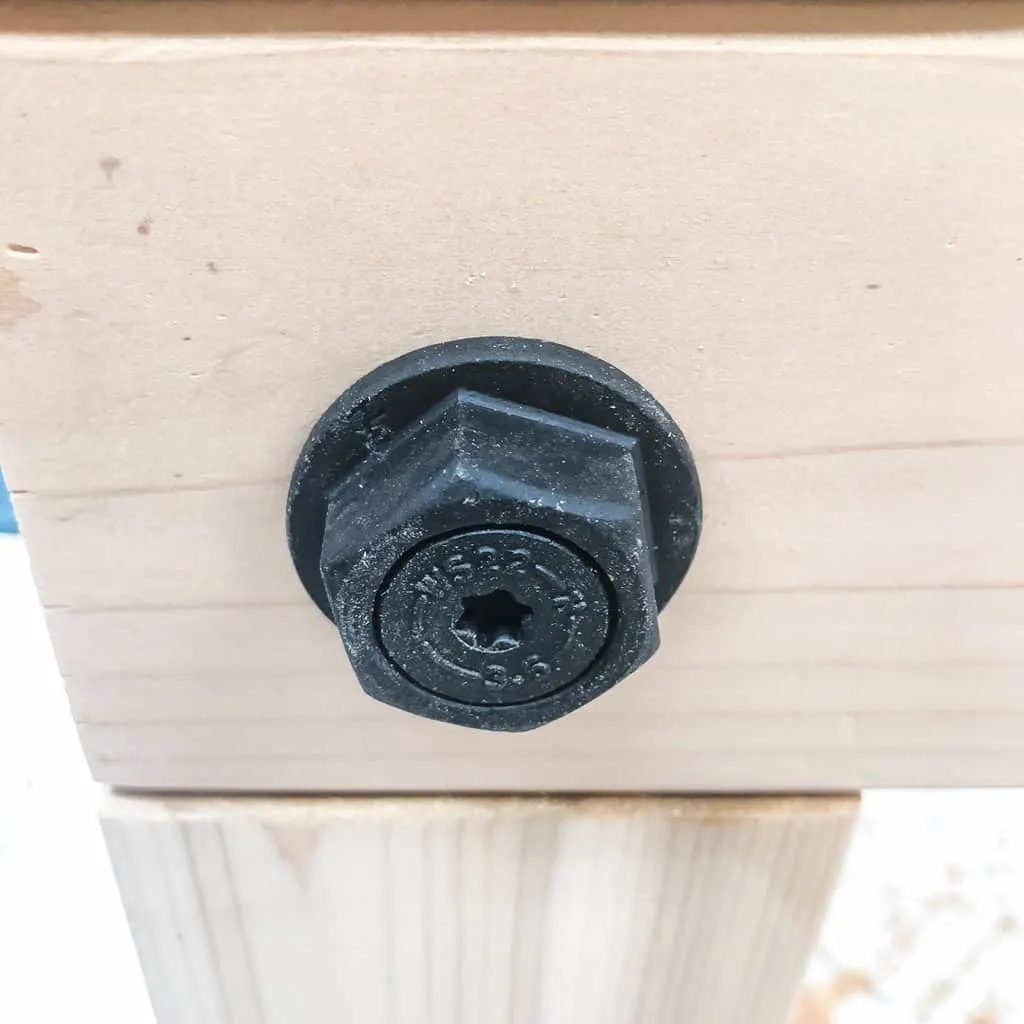
Then screw the 3 ½" outdoor wood screws through the holes to securely join the pieces together. I love the chunky industrial hex nut against the natural color of the cedar!

Add Post Caps (Optional)
To protect the end grain of the wood from the rain, I added these decorative metal end caps to the tops of the legs.
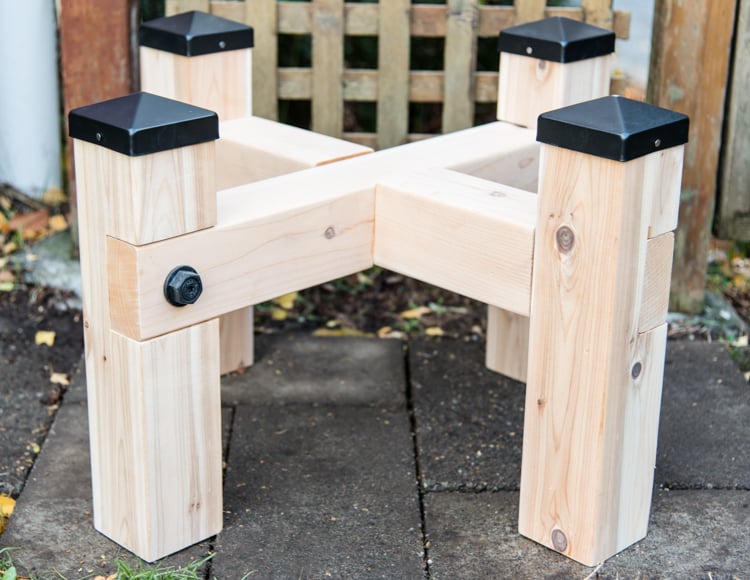

Just slip them on top, then nail them into place with 1" galvanized nails.
Place Rain Barrel on Stand and Install to Downspout
You can read more about how to install a rain barrel in my post over on The Home Depot website! You can also learn how to install drip irrigation from your rain barrel or your outdoor faucet here.

Want to make your own rain barrel stand? Download the woodworking plans and get building!