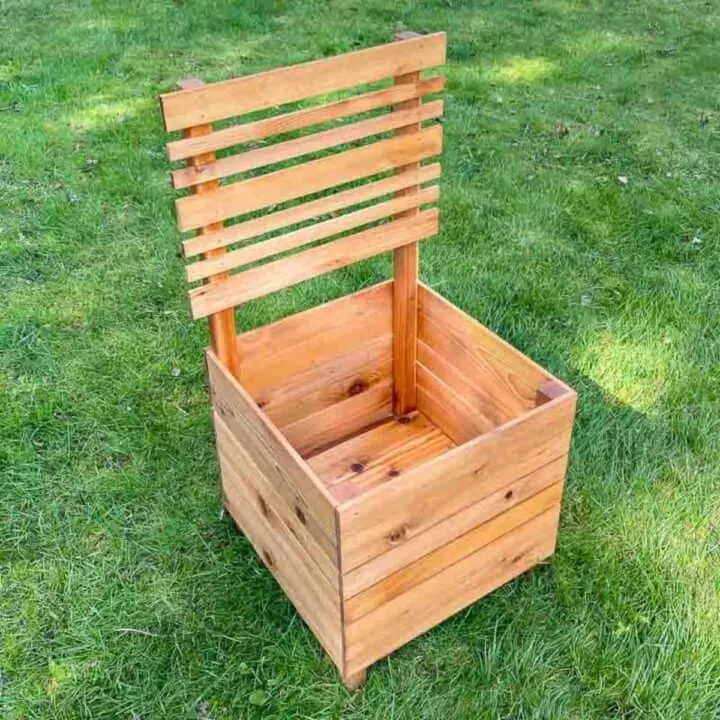
These DIY railing planters are so easy to make, and don't need any special hardware! Add these deck rail planter boxes to your wooden balcony or deck rail for an instant garden anywhere!
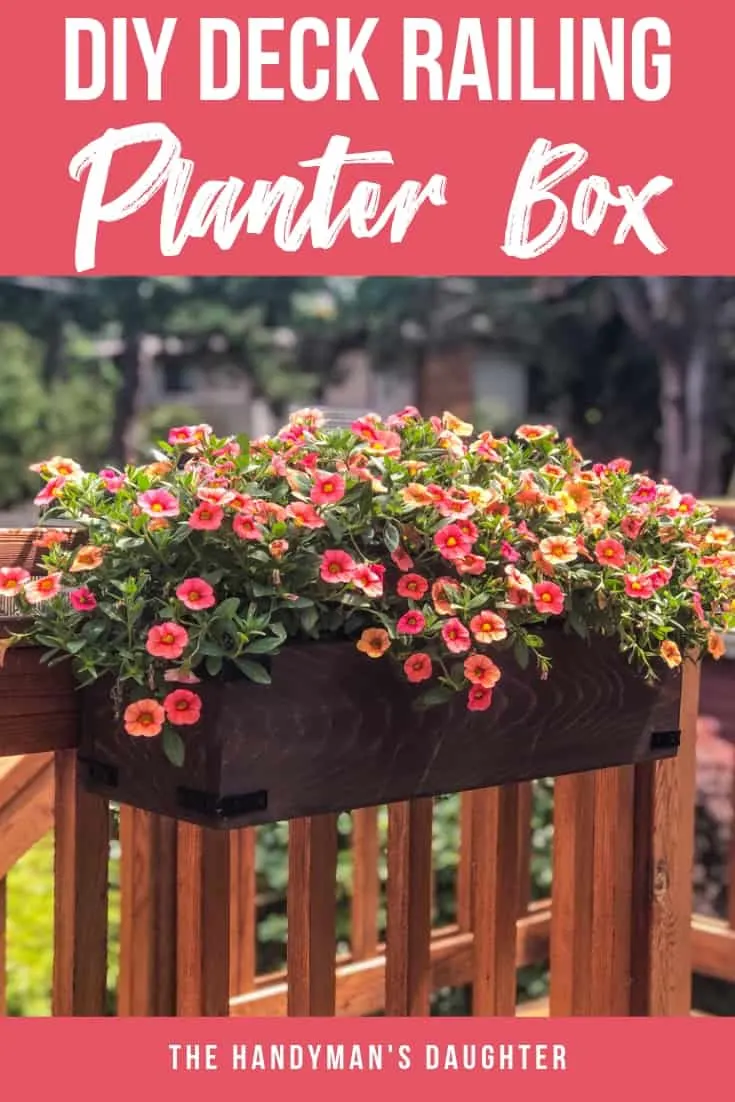
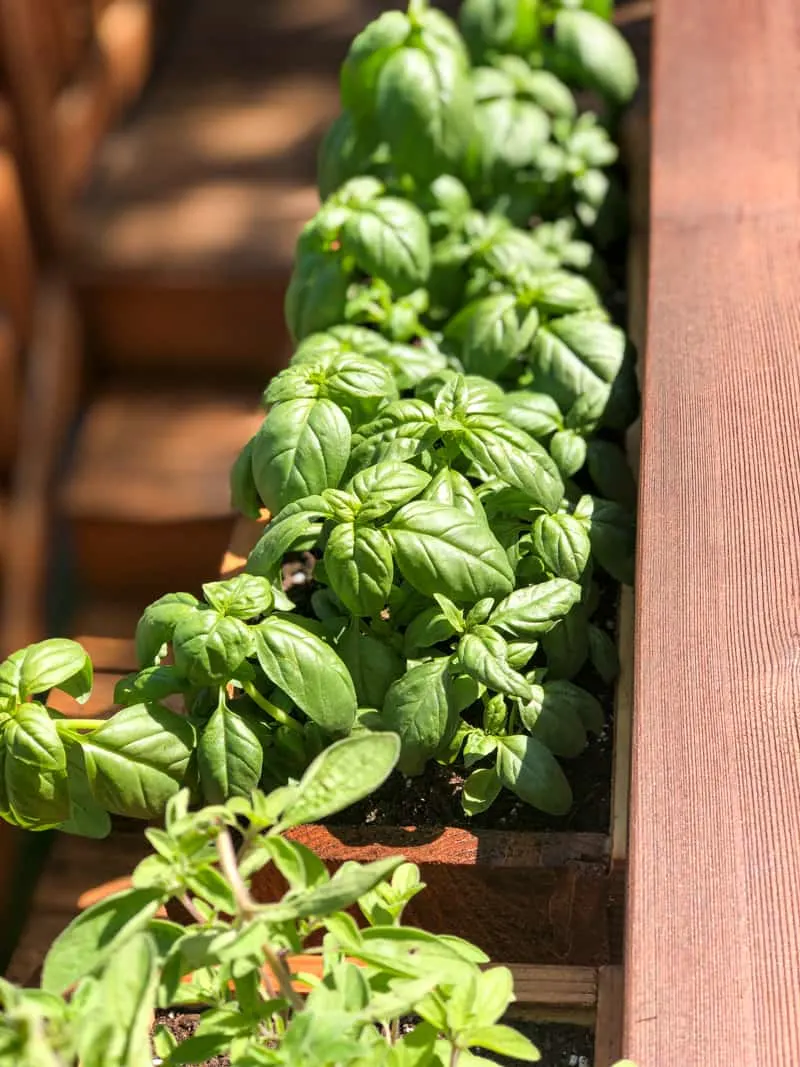
Our deck outside the kitchen is the perfect place to grow herbs for cooking. But with the outdoor loveseat and sofa, grill and dining set taking up all the room, there's not a whole lot of space left for a garden! These deck rail planters take advantage of the outside edge of your deck or balcony railing, without those ugly metal brackets.
This post contains affiliate links for your convenience. Purchases made through these links may earn me a small commission at no additional cost to you. Please visit my disclosures page for more information.
Rebuilding our deck was the first project we completed when we moved into this house, and I've put a LOT of work into it over the years. I've cleaned it, stained it, and built an end table and seating for it. Now it's the perfect place to hang out on a warm summer day!
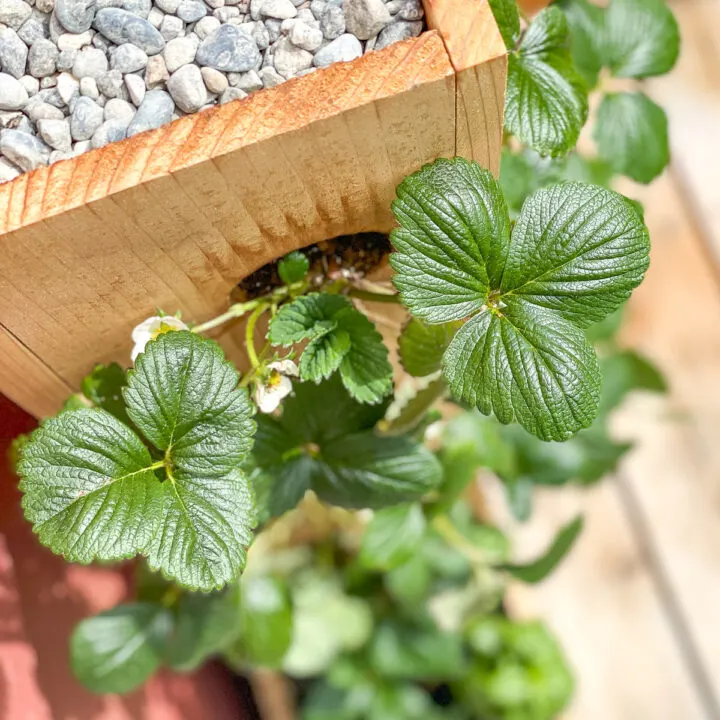
When I built the vertical garden wall planter for my backyard makeover, I made a few extra planter boxes in different sizes. My original plan was to switch out the boxes as the plants grew, but I didn't want the empty ones cluttering up the backyard.
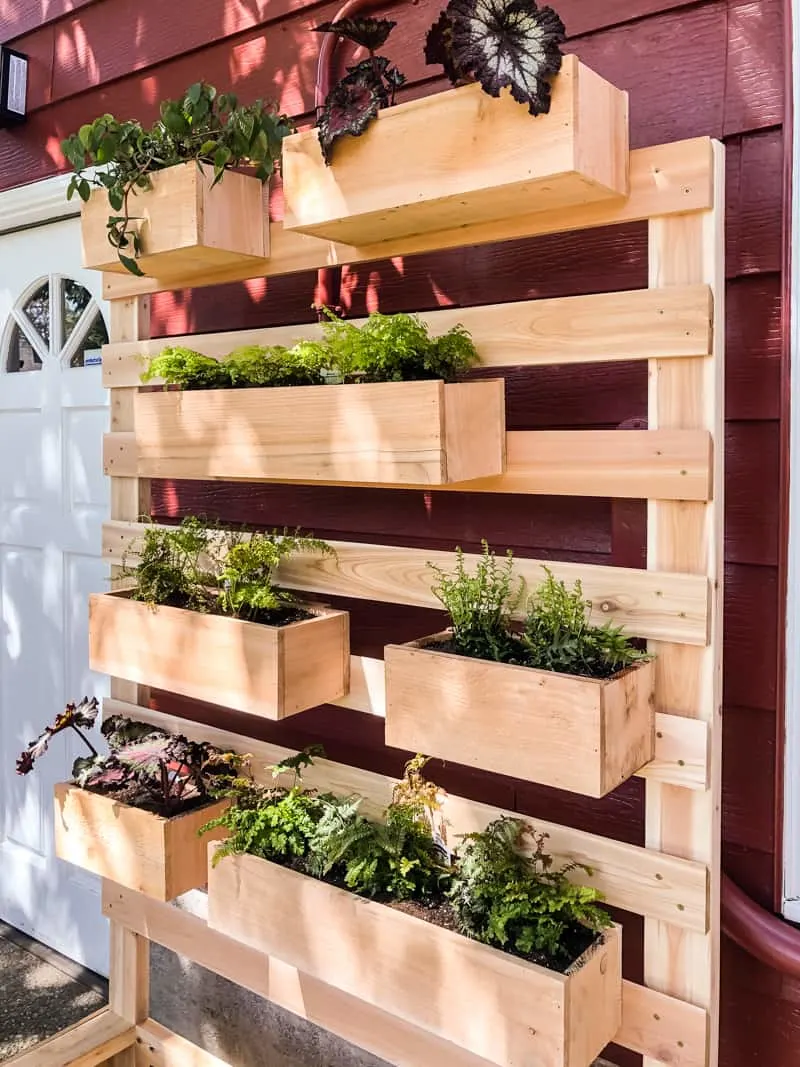
The french cleat system I used on the back of the planter boxes makes it easy to hang them pretty much anywhere. That gave me an idea! I could turn them into railing planters on the outside of the deck!
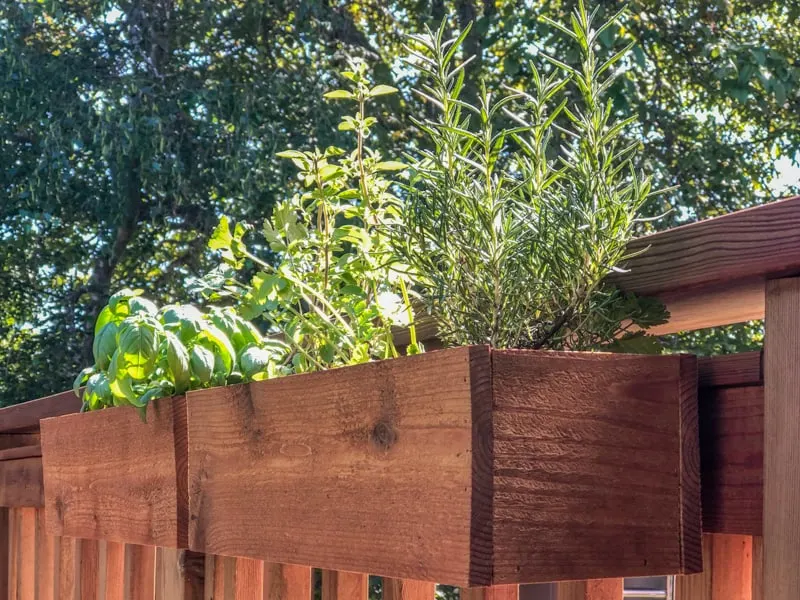
You could also use these planters as beautiful DIY window boxes! Just attach one side of the French cleat to the window trim and hook the other side in place.
Here's what you'll need...
Materials Needed for DIY Railing Planters
- Cedar fence pickets
- 1x4 cedar board
- 1 ¼" brad nails
- 1 ¼" exterior screws
- 80 and 150 grit sandpaper
- Wood glue
- Exterior stain or paint
Tools Needed
If you don't have a table saw, you can buy metal french cleats that function the same way as my wooden ones! I recommend these ones, which won't rust and are available in a variety of sizes.
How to Make Railing Planters
Watch the video below for a quick overview of the process, then continue reading for more details!
Prepare the Cedar Fence Pickets
I love using cedar fence pickets for outdoor projects! I've made everything from garden trellises to a potting bench with them (oh, and an actual fence too!) They're cheap, they're rot-resistant and they smell amazing!
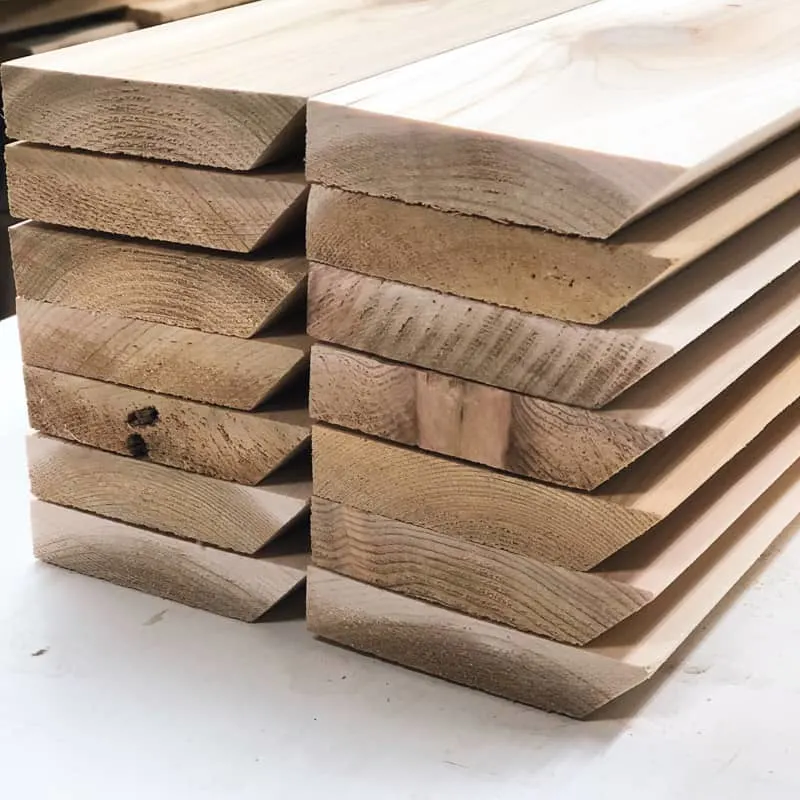
But they take a little effort to get them looking their best. The edges are ragged and the surface is rough. But all it takes is a quick trim and sanding to make them shine!
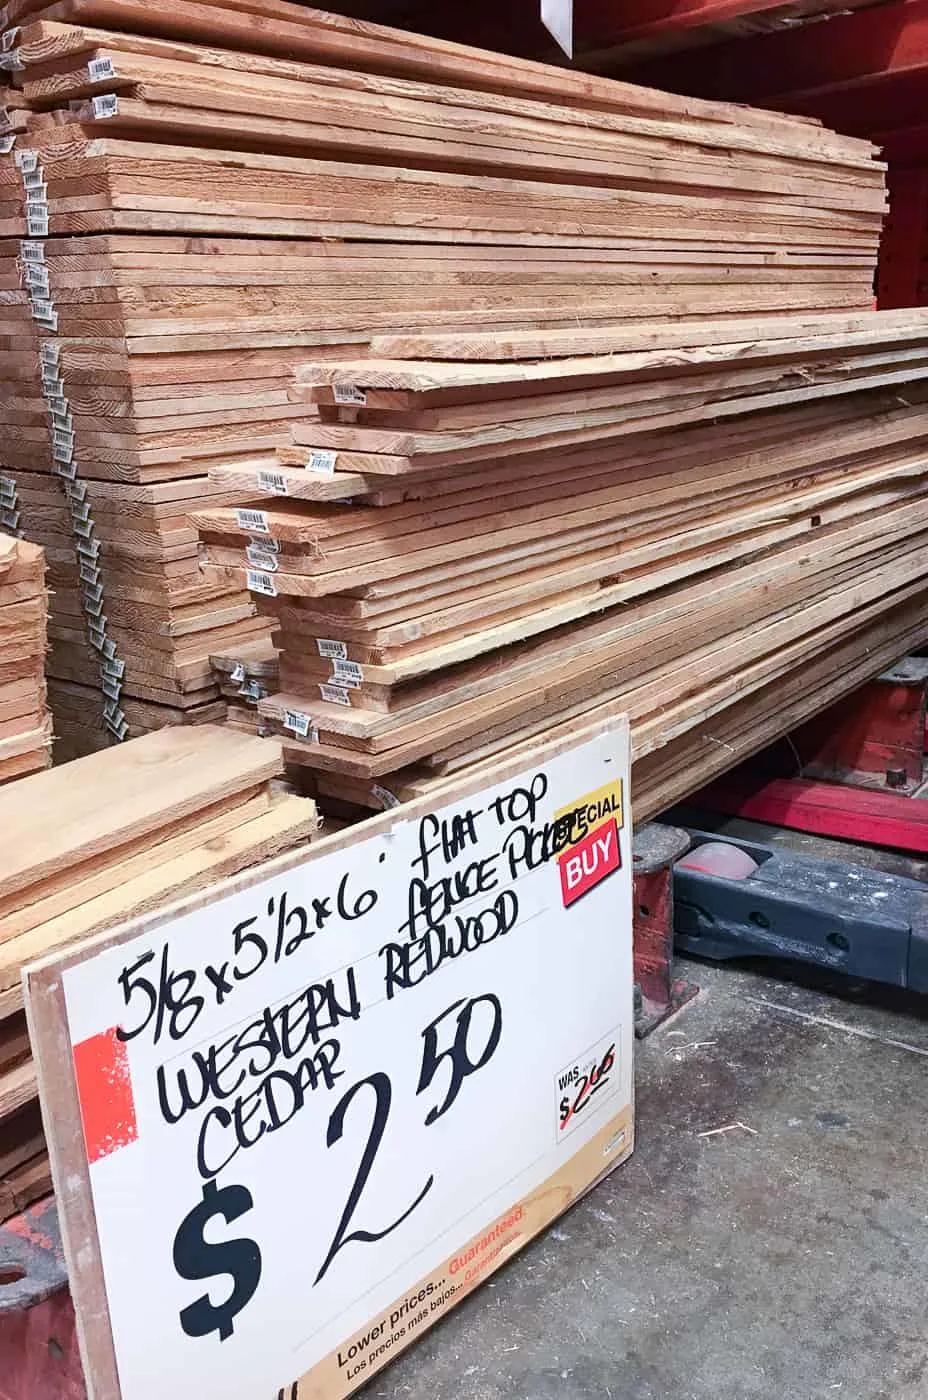
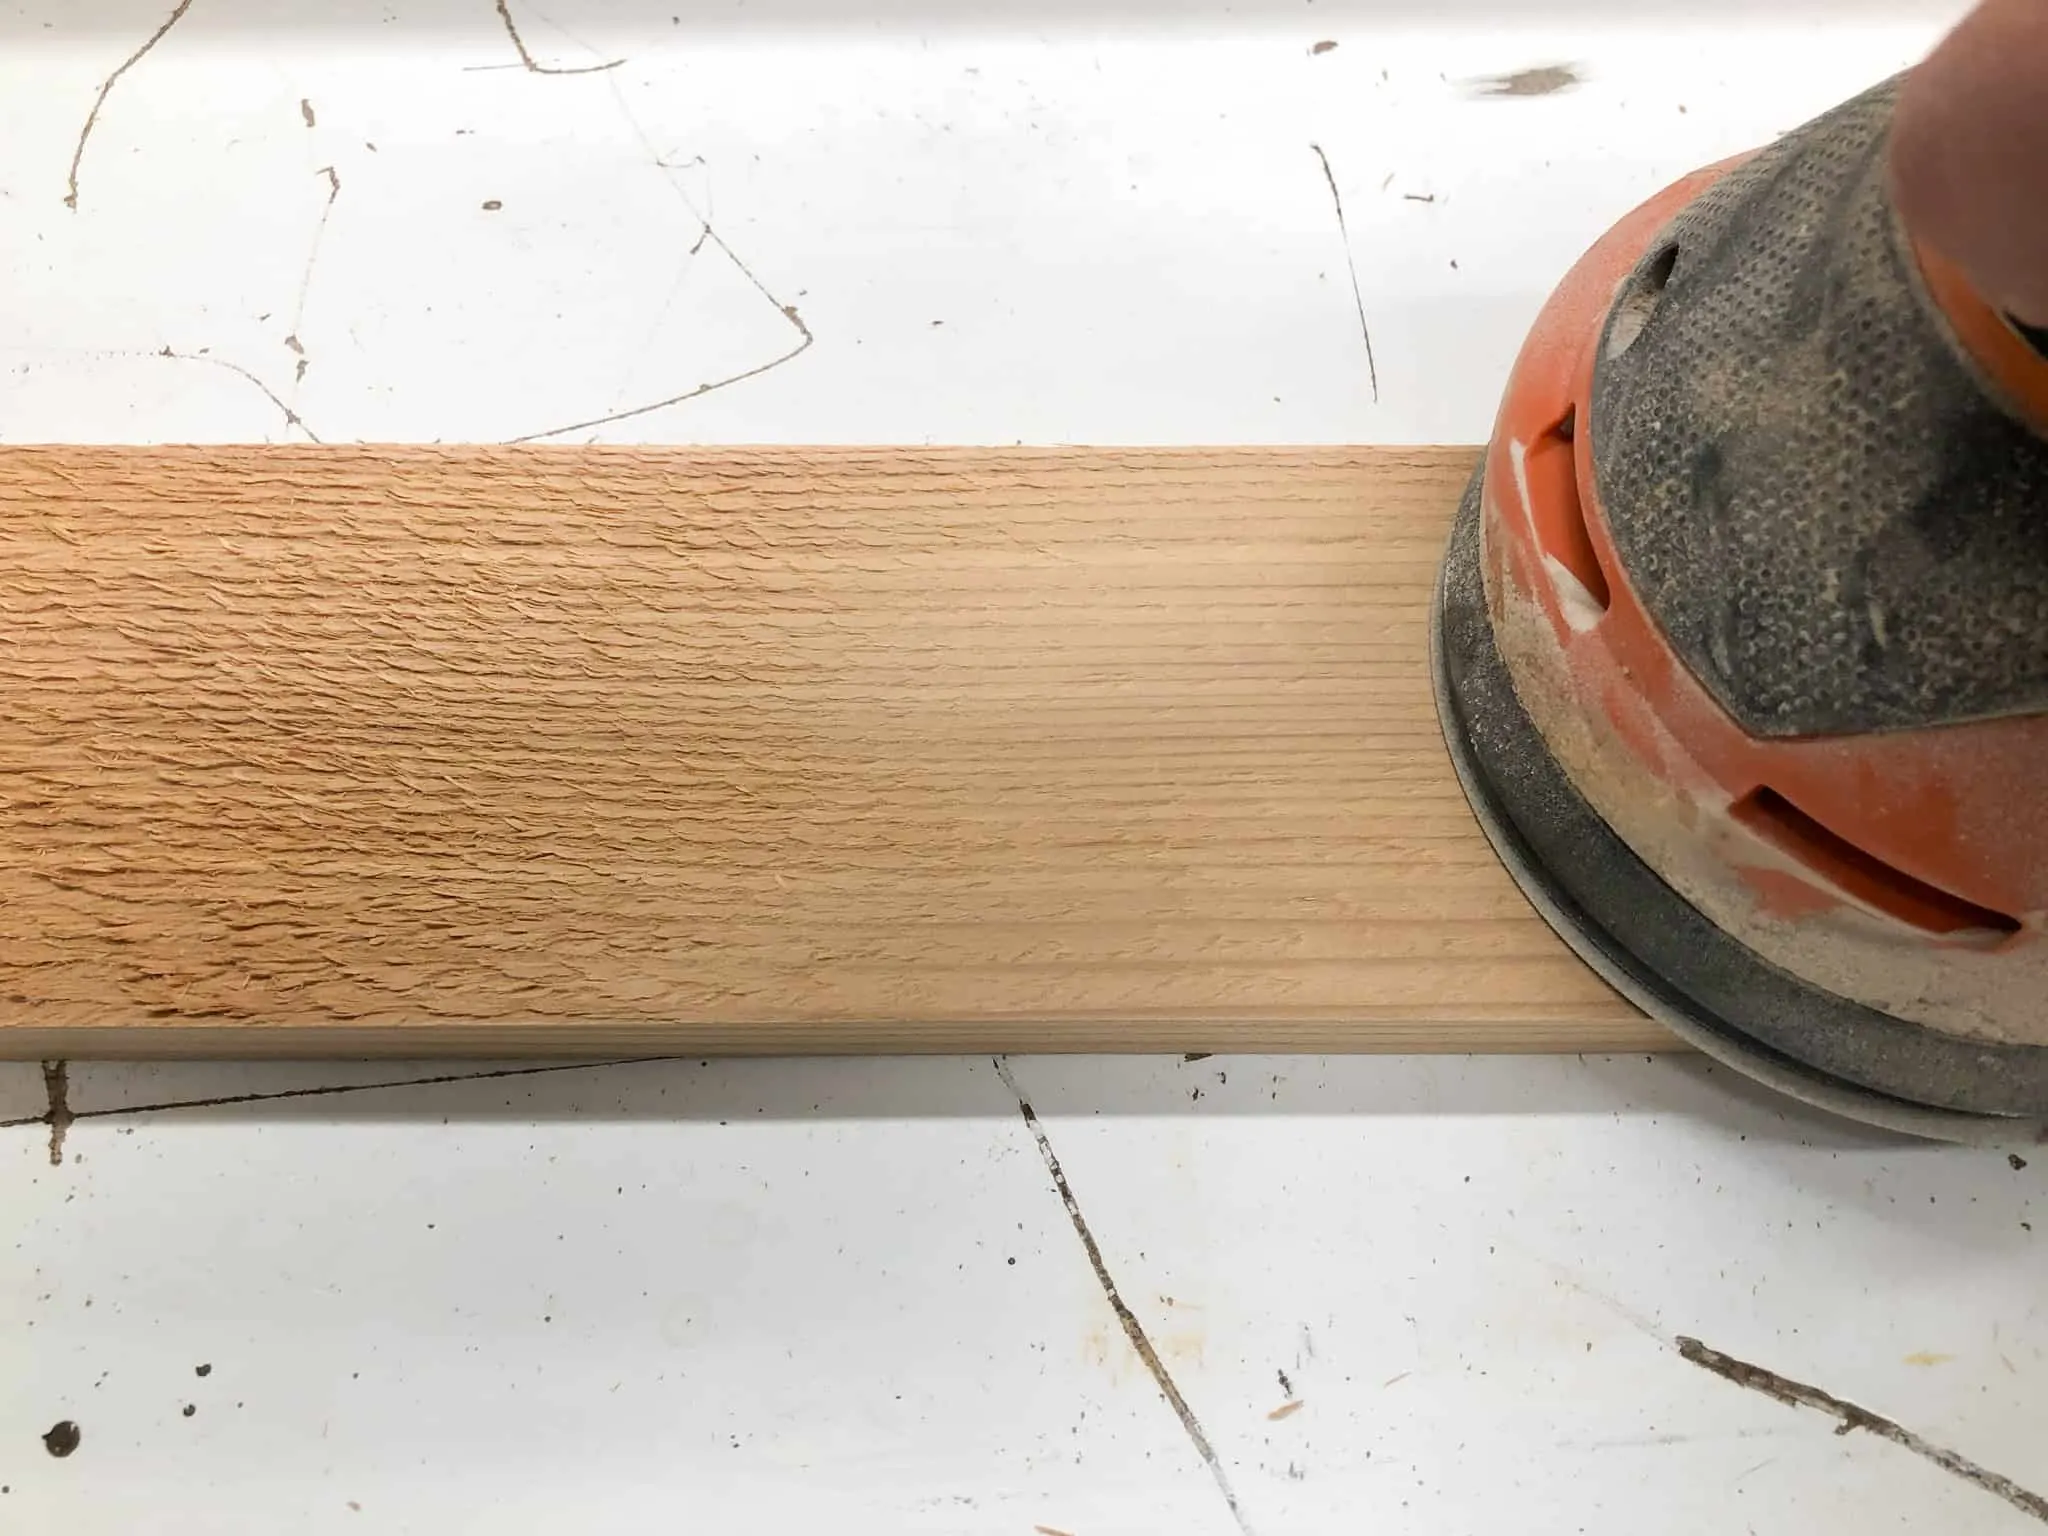
First, I always trim ¼" off each side of the boards with the table saw, making them 5" wide. Then, I sand them with 80 grit, then 150 grit sandpaper.
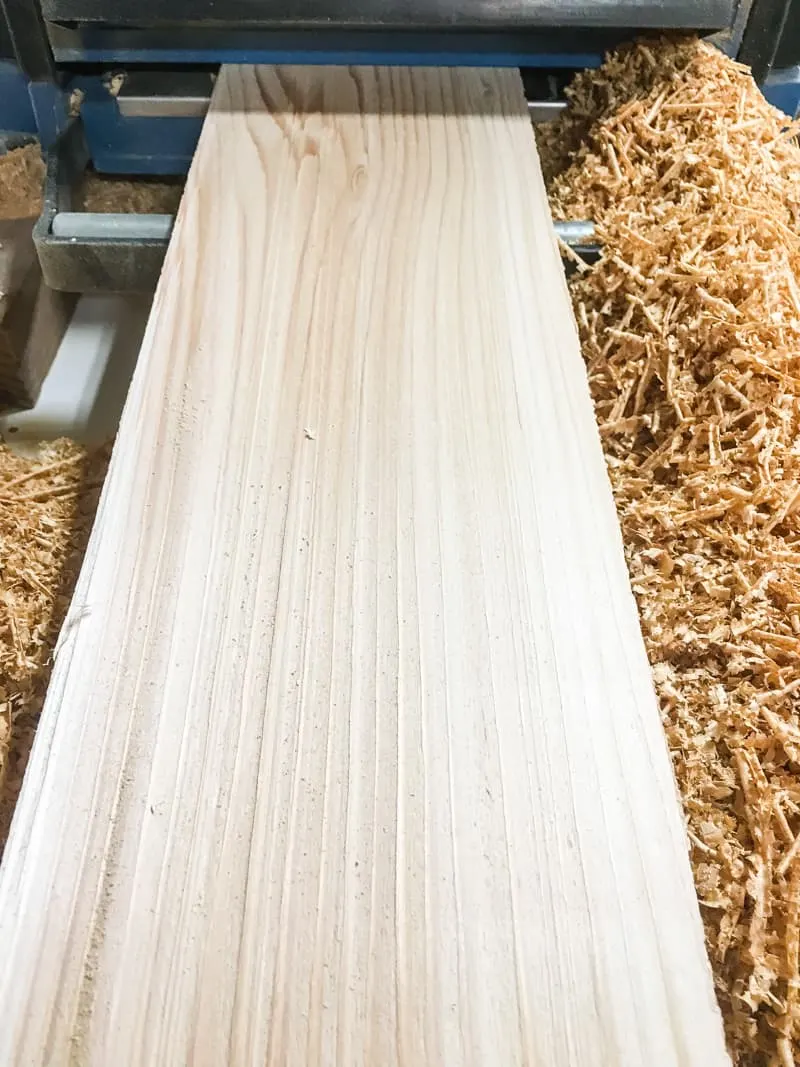
Sometimes, when I have a lot of pickets to clean up, I'll run them through the planer instead. This has the added benefit of making them all the same thickness as well.
Once you have them looking decent, it's time to turn them into balcony railing planters!
Cut Pieces for Planter Boxes
You can make these deck railing planter boxes any size you want! Just cut two to the desired length, one 1 ¼ shorter than that, and two 5" squares for the ends.
I was able to knock out a bunch of pieces at a time with the help of the stop track on my miter saw stand. Be sure to check out my guide on how to use a miter saw if you're not familiar with this tool.
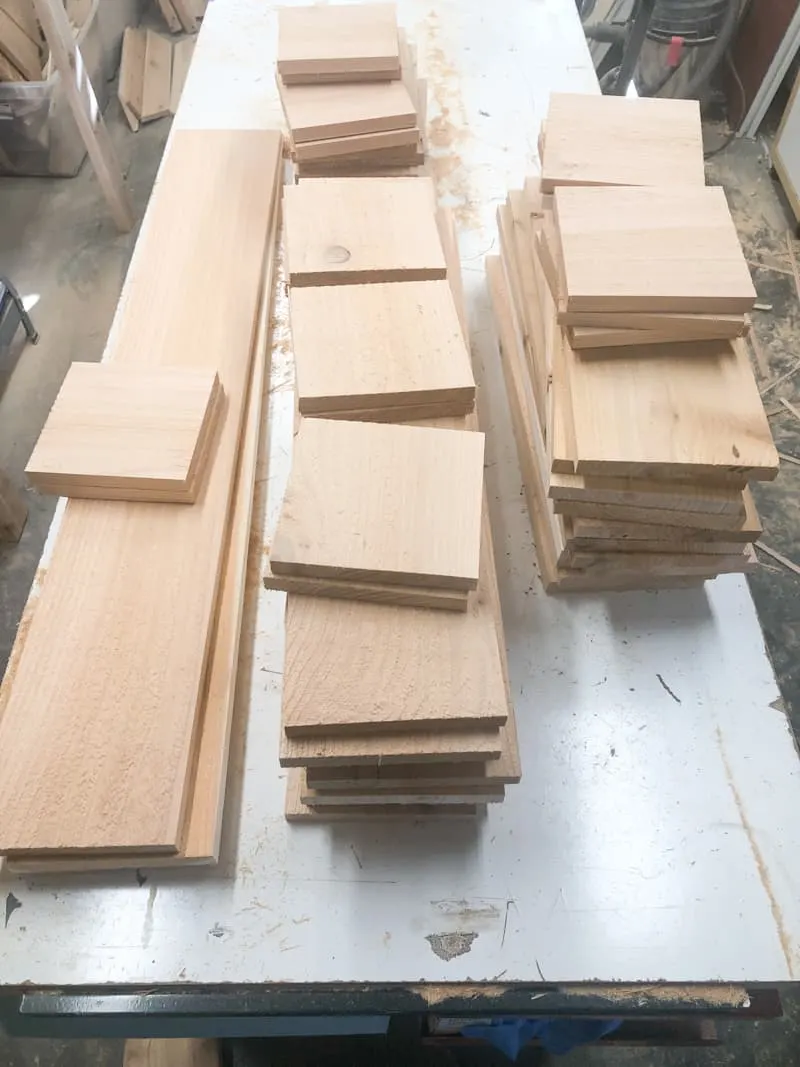
My planter boxes are 18" long, so I cut two 18" pieces, one 16 ¾" piece and two 5" pieces for each one.
Assemble Boxes
Run a line of wood glue along each side where two pieces meet.
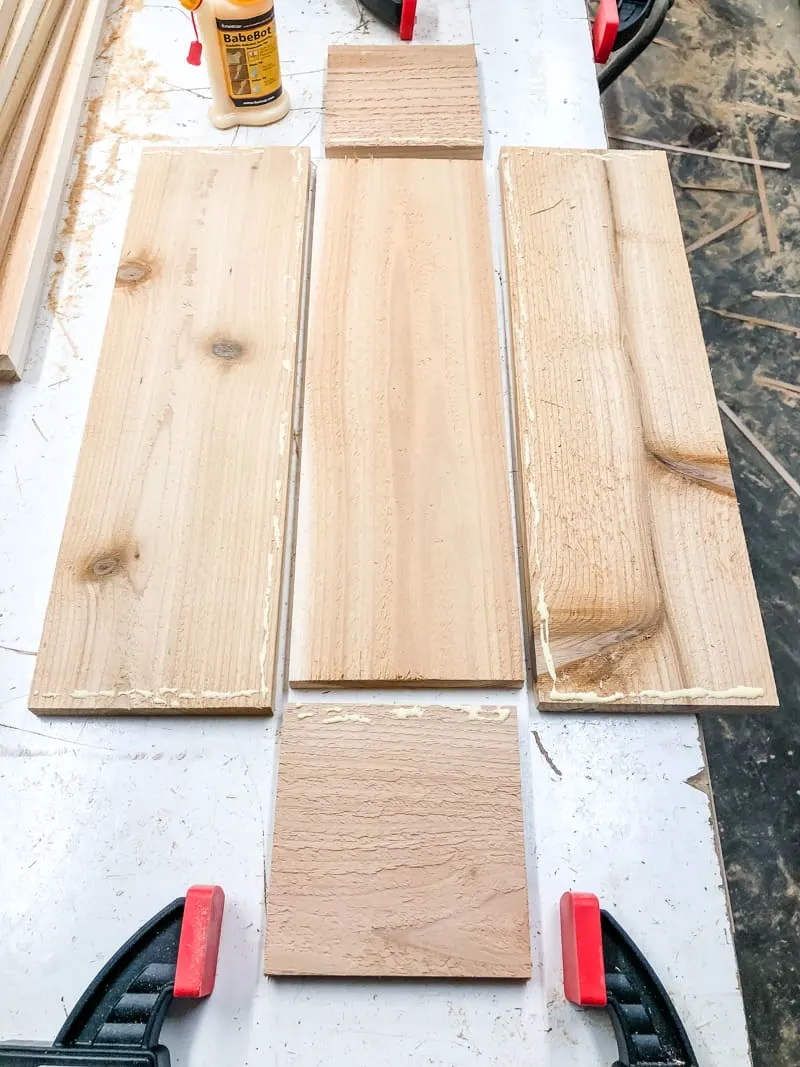
Put them all together to form a box, and use a clamp like these Bessey one-handed clamps to keep them in place.
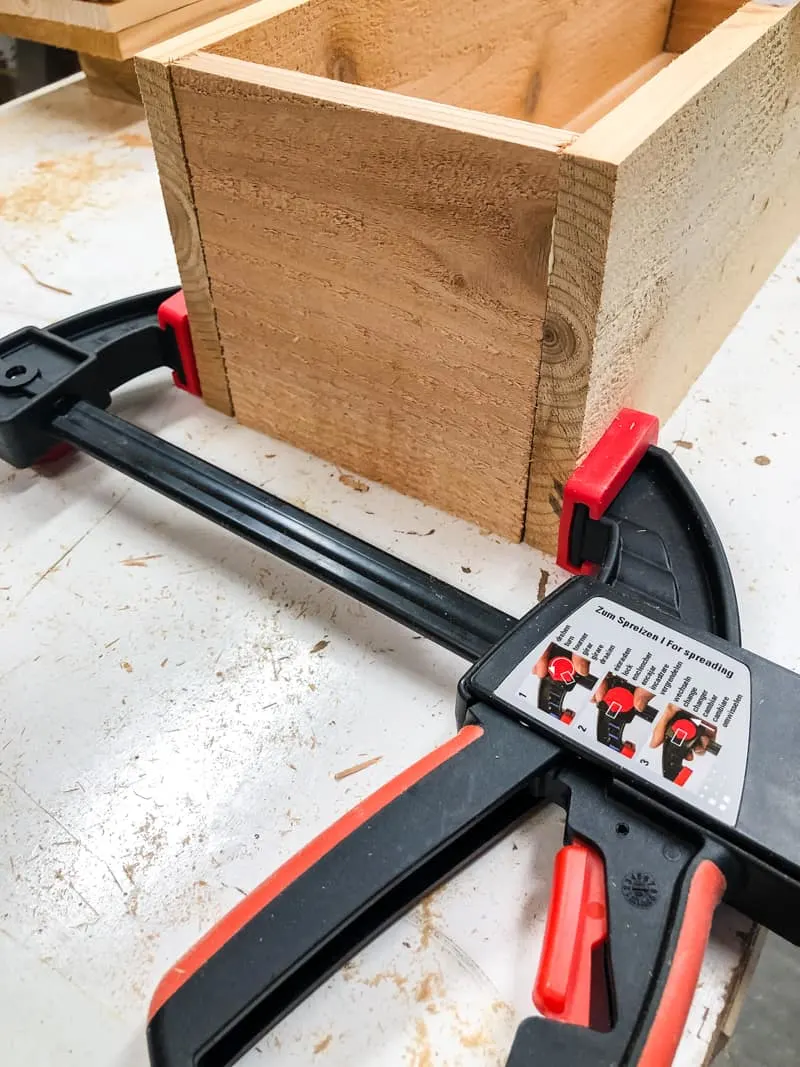
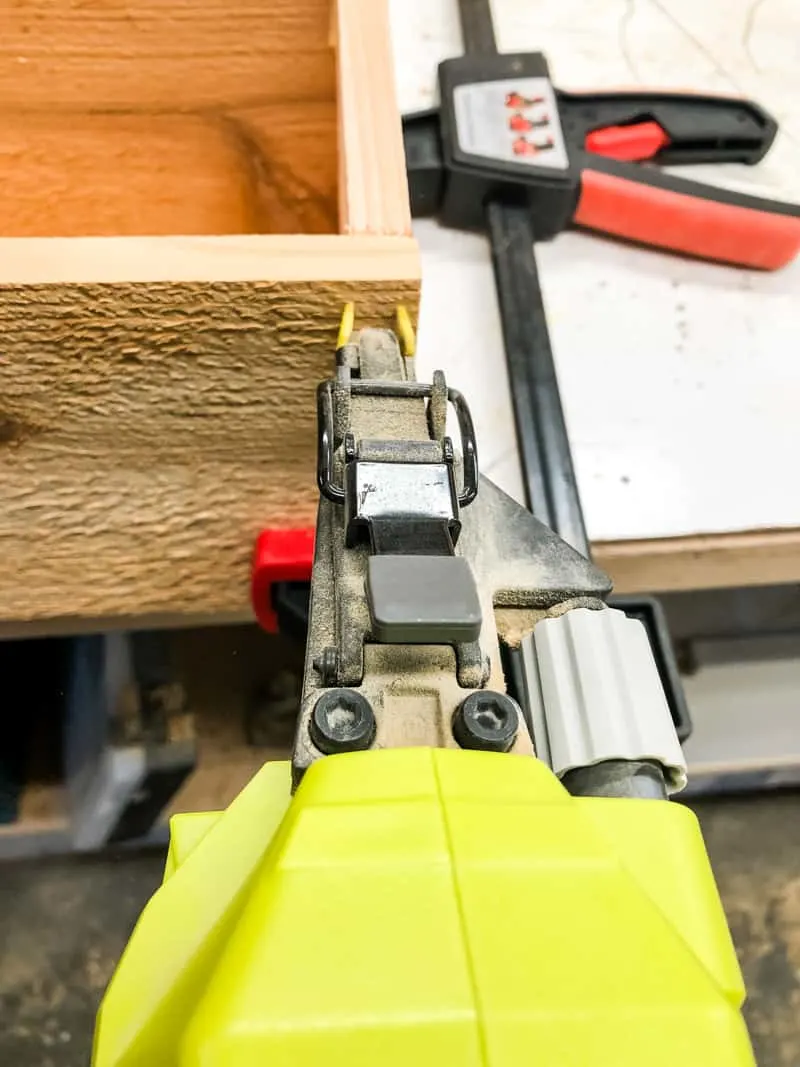
Then nail the pieces together on all sides with the brad nailer and 1 ¼" nails. You could also use screws, but keep in mind that these boards are thinner than usual and can split easily! Predrill your holes and use smaller screws if you go this route.
Cut and Attach the French Cleat
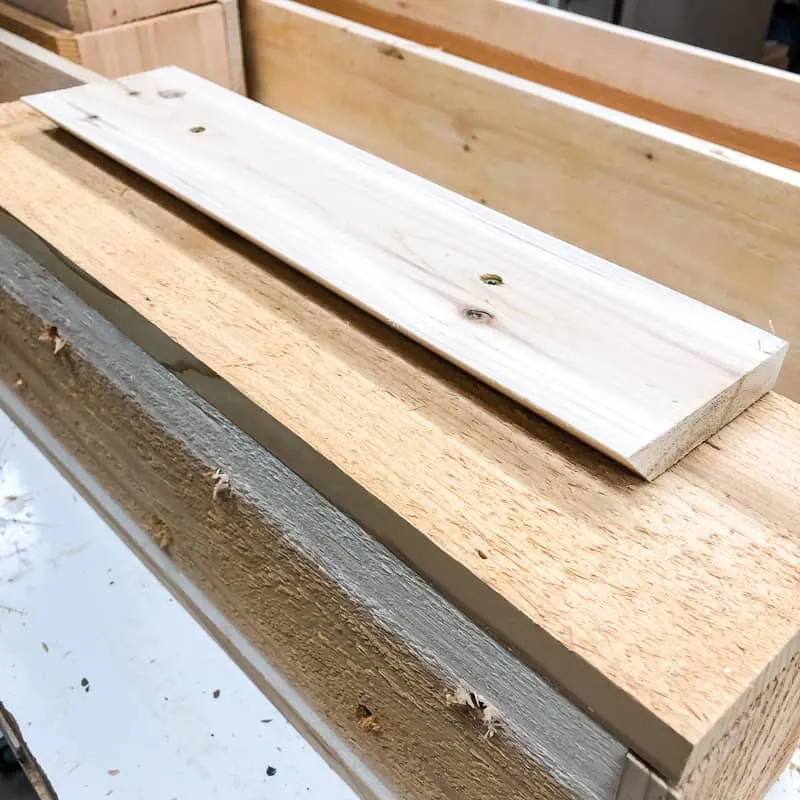
Cut the 1x4 cedar board into pieces that are a few inches smaller than your planter boxes. You'll need two for each box. Then adjust your table saw angle to 45 degrees, and cut the edge off both pieces.
Attach one piece to the back of the planter box with the point facing down and away using 1 ¼" exterior screws.
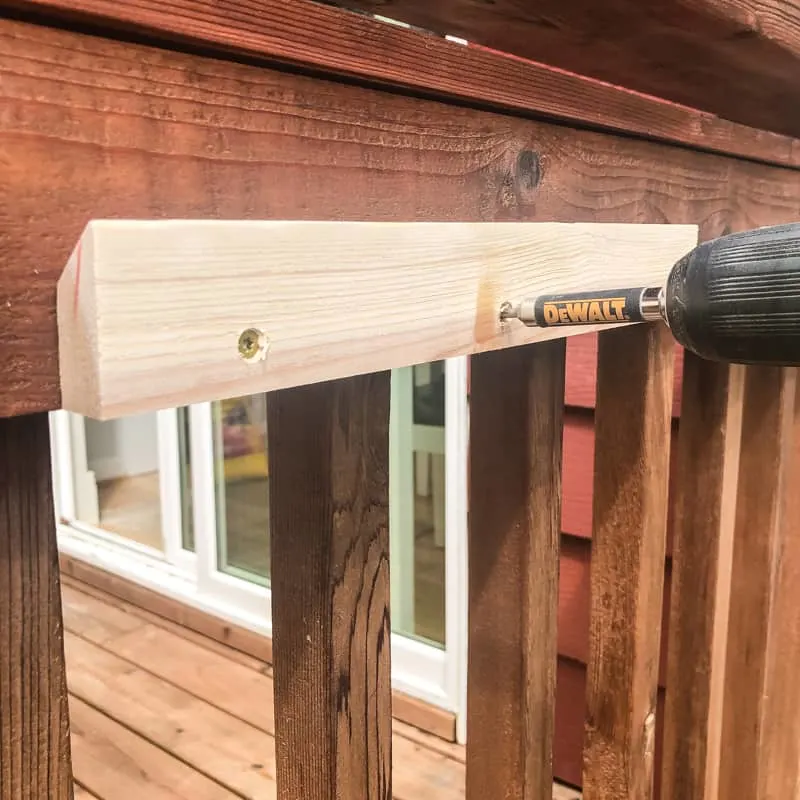
The other half of the french cleat will screw into the outside of your deck railing. This can be attached to the rail itself, or anywhere on the slats. The point should be facing up and away. I cut mine in half lengthwise so both halves would fit on this slat of the railing.
Stain or Paint the Planter Box
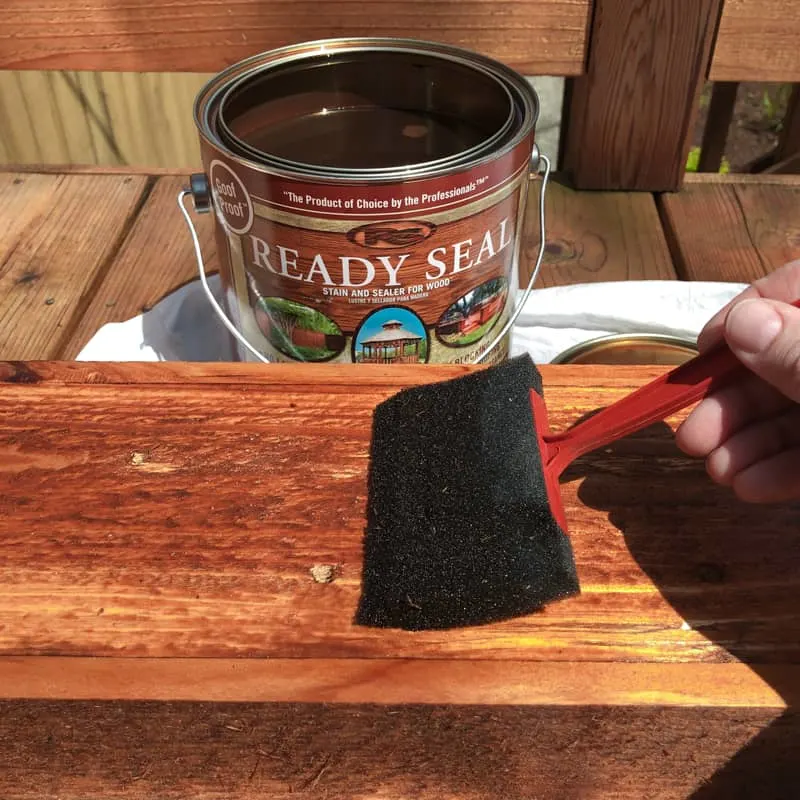
I chose to stain these railing planters the same color as the rest of the deck so they blend in. I applied Ready Seal in Natural Cedar with a foam brush, being careful not to get any on the inside of the box. You don't want the chemicals from the stain in the potting soil!
Add Corner Brackets (Optional)
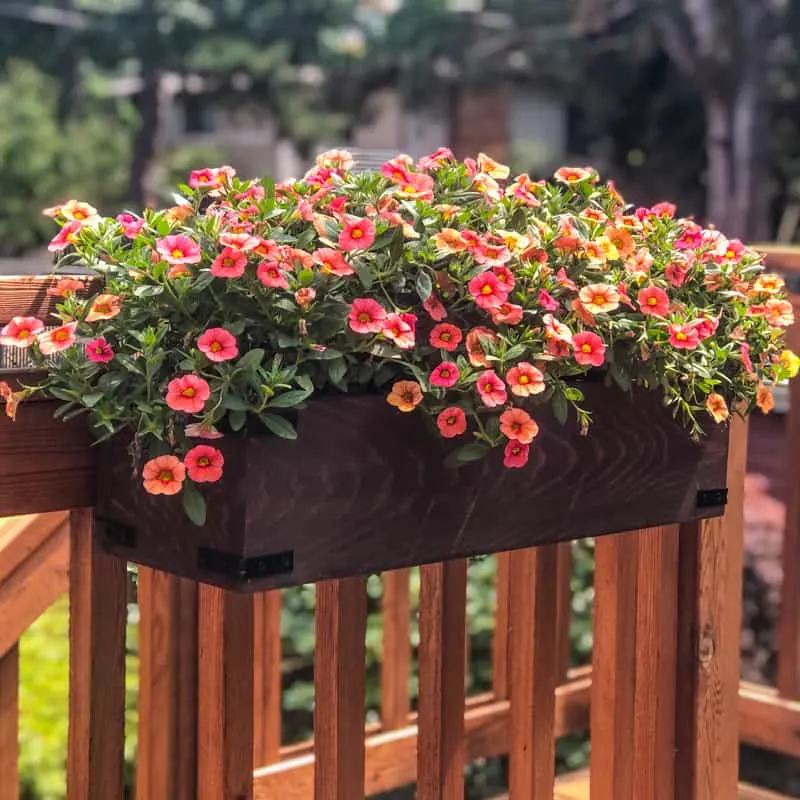
I kept the herb planters fairly plain, but I wanted something fancier for the flower boxes. Black corner brackets add a nice decorative detail, and have the added benefit of keeping the box held together tightly.
Fill your Planter Box with Herbs or Flowers
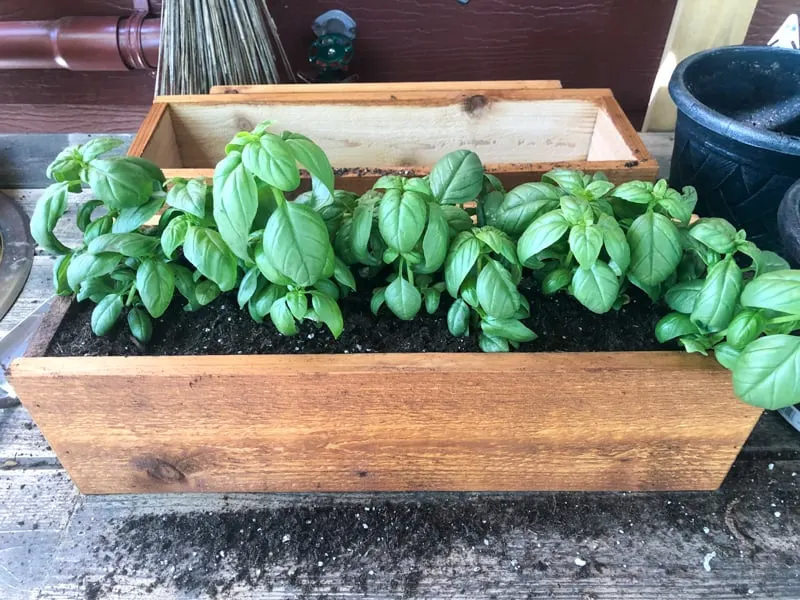
This section of railing gets the most sun and won't be in the way, so I filled it with both the herb and the flower boxes. I'd love to surround the entire deck with them and have flowers spilling out everywhere! 🙂
My potting bench has gotten a lot of use this spring! It's the perfect spot for filling up these hanging rail planters without having to worry about the mess.
Hook the Railing Planters into the Cleat
Once the planters are ready, all you have to do is hook them onto the cleat!
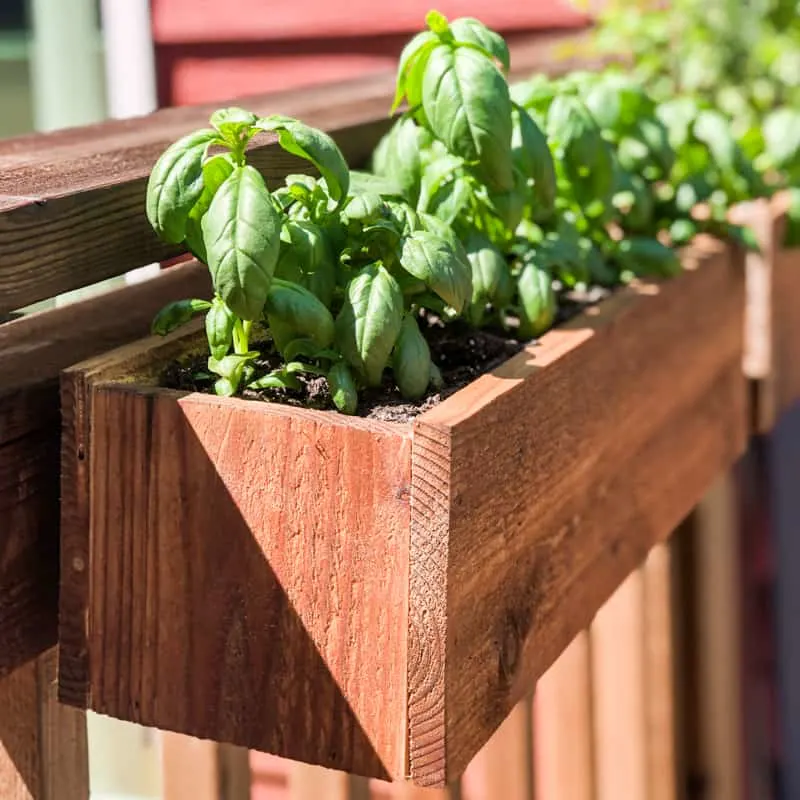
The french cleat system makes it super easy to switch out plants as the seasons change. Just lift it off and take it to a table to repot, instead of gardening over the edge of the deck or balcony and spilling soil on unsuspecting neighbors underneath!
I'm sensing a lot of caprese salads and rosemary chicken in our future, now that we have fresh herbs growing just a few steps from our kitchen door.
