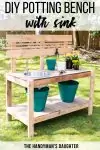
Make gardening easier with this DIY potting bench! You can even add a sink to make washing your hands and your harvest a breeze!
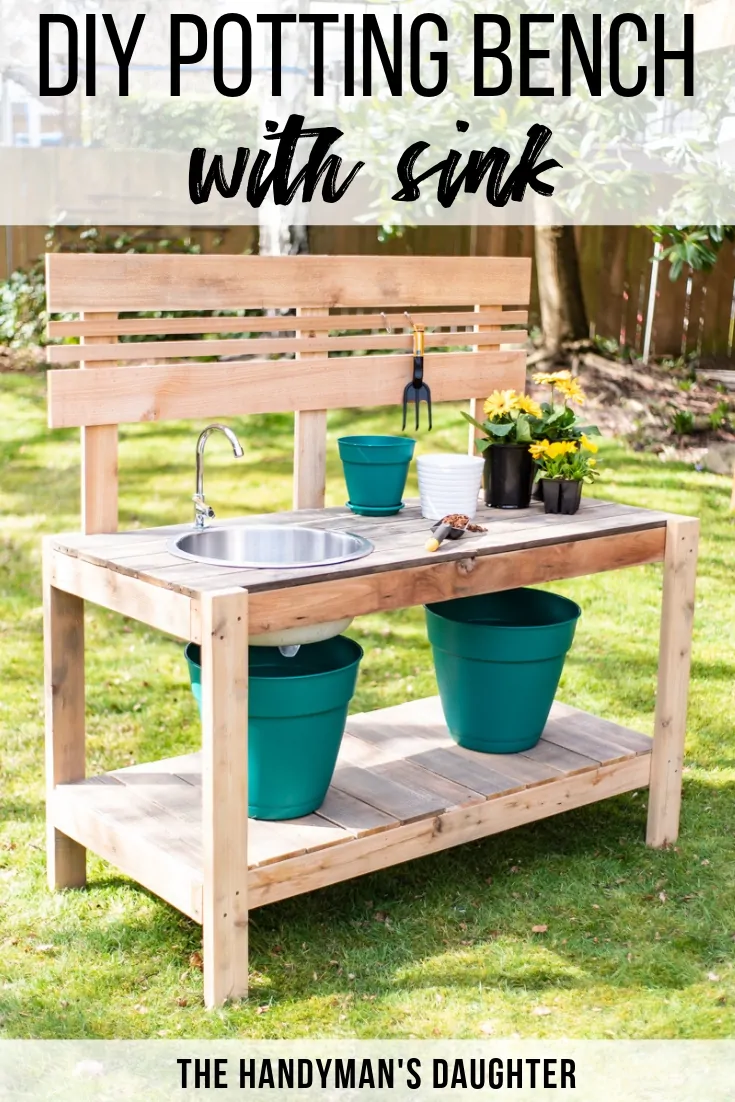
Spring is almost here, and I can't wait to get out into the garden!
This DIY potting bench has been on my to-do list for years, and now I can finally save myself from the aches and pains of repotting and prepping plants on the ground.
As an added bonus, the built-in sink and faucet means I can clean up without drenching myself with a hose or running back into the house!
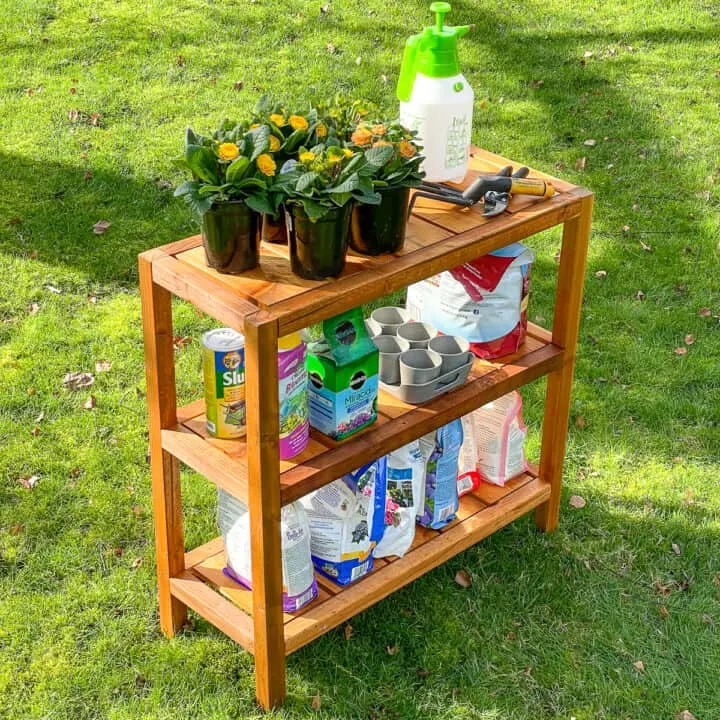
If this project isn't quite what you were looking for, check out these other DIY potting bench ideas!
This post contains affiliate links for your convenience. Purchases made through these links may earn me a small commission at no additional cost to you. Please visit my disclosures page for more information.
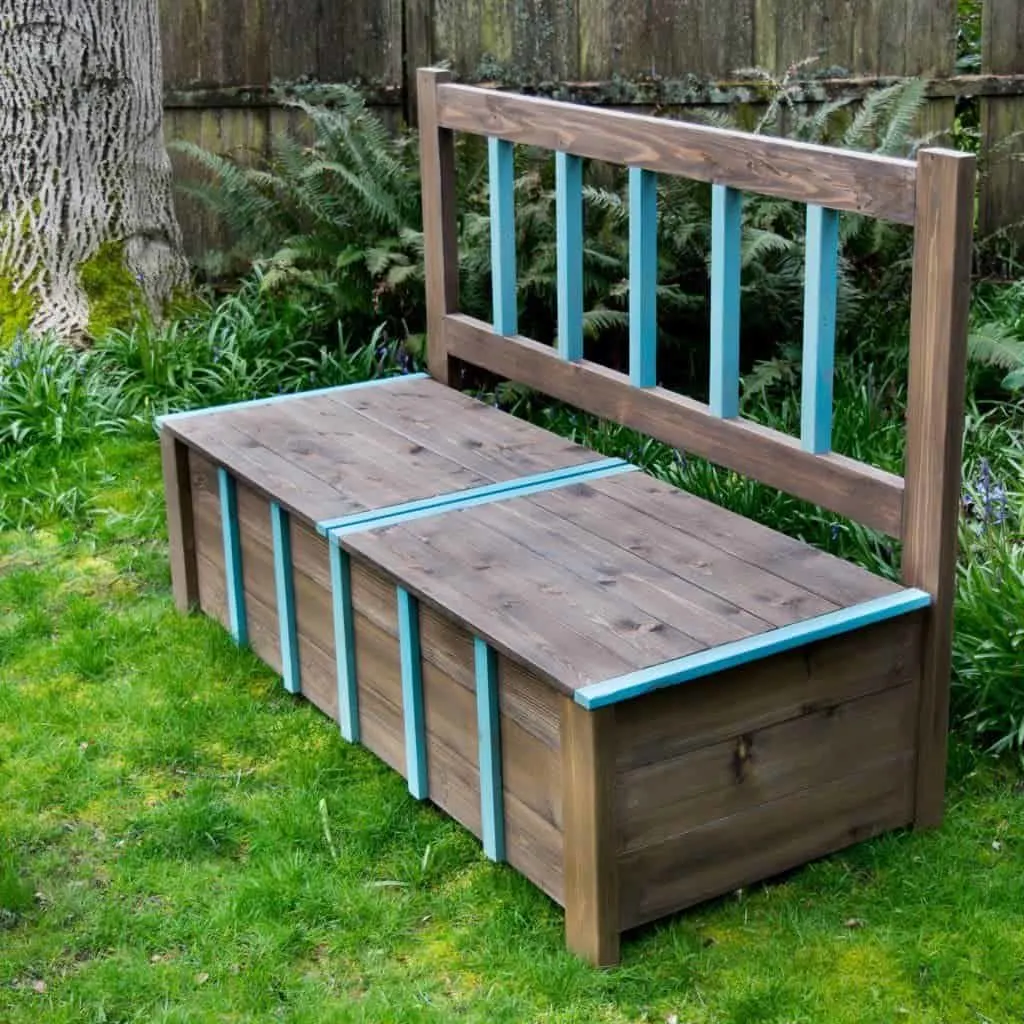
First, let me tell you a little story about how this potting bench came to be. A few years ago, I built this outdoor storage bench for my son's backyard toys. It was great for holding all his soccer balls, foam swords and Nerf blasters in one spot.
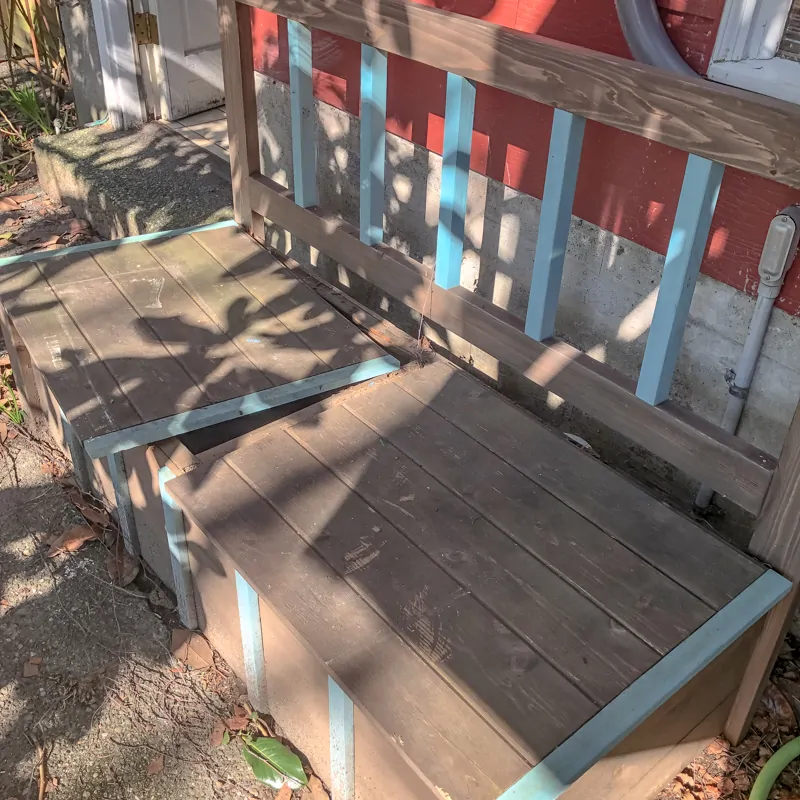
Unfortunately, it endured a lot of abuse between kids and rain, and I wasn't thrilled with the blue accents anyway (what was I thinking?!?) It was moved from the yard to the side of the house, where it sat in this sad, broken state.
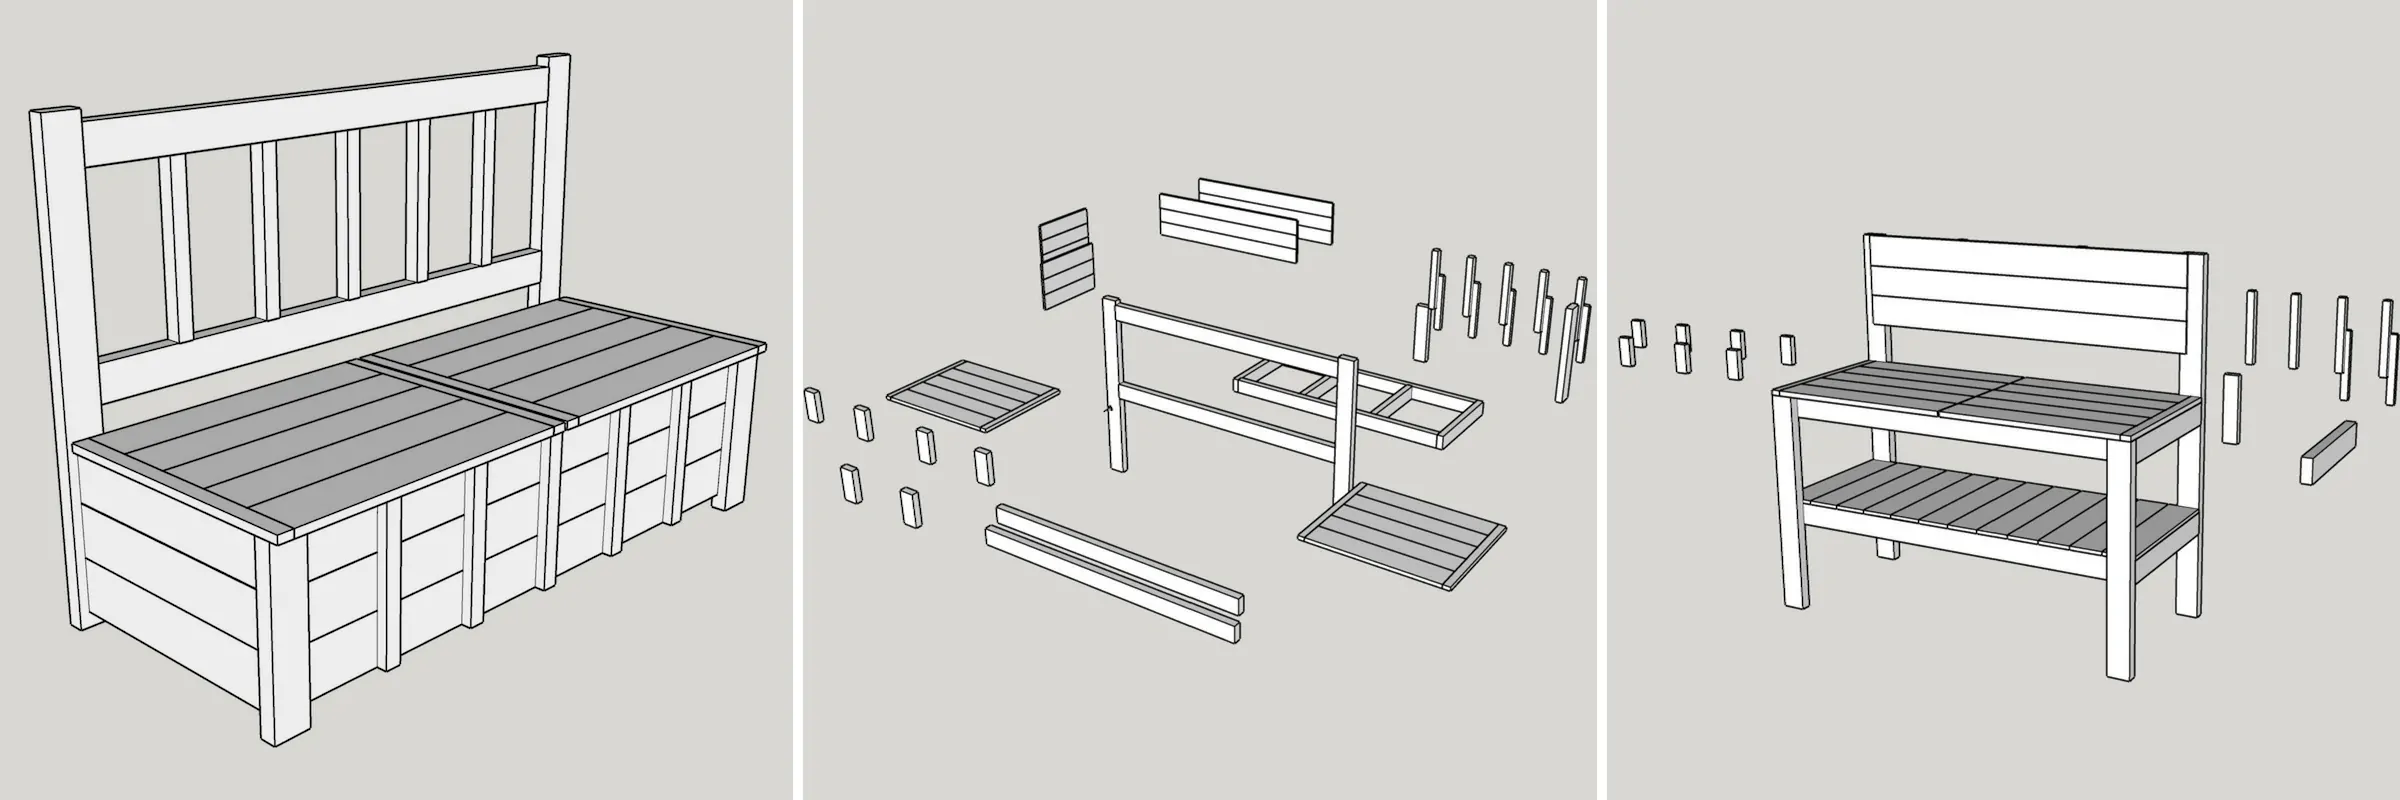
I had drawn up the 3D model for the bench in SketchUp, so I started playing around with the parts to see if I could turn it into a potting bench instead. It's like virtual Lego building! 🙂 Cedar boards are expensive, and I was thrilled to discover that with a little creative reconfiguring, I wouldn't have to buy any lumber!
To top it all off, I scored the perfect circular stainless steel sink at the architectural salvage yard. Now my basic plan has turned into the ultimate potting bench with a built-in sink!
Materials Needed for DIY Potting Bench
- 2x4 cedar or pressure treated boards
- 1x6 cedar tongue and groove or flat boards
- 1x6 cedar fence pickets
- Pocket hole jig
- If you don't have one, check out my post comparing the Kreg Jig K5 and R3 to see which is right for you!
- 2 ½" outdoor pocket hole screws
- Brad nailer and 1 ¼" brad nails
- Titebond III wood glue
- Round stainless steel sink
- Cold water faucet
- Paddle bit slightly larger than your faucet pipe
- Garden hose to faucet adapter
- Silicone adhesive
- Bucket or large pot to catch drain water and excess soil
How to Make a Potting Bench
Before you start, don't forget to download the potting bench plans! This printable PDF includes the full cut list, 3D illustrations of each step, and detailed instructions to guide you through the build process.

After carefully taking apart the old storage bench, I was left with a pile of dirty, wet lumber. I gave each piece a quick sanding, then brought them all inside to dry for a few days before starting assembly.
Make the Countertop
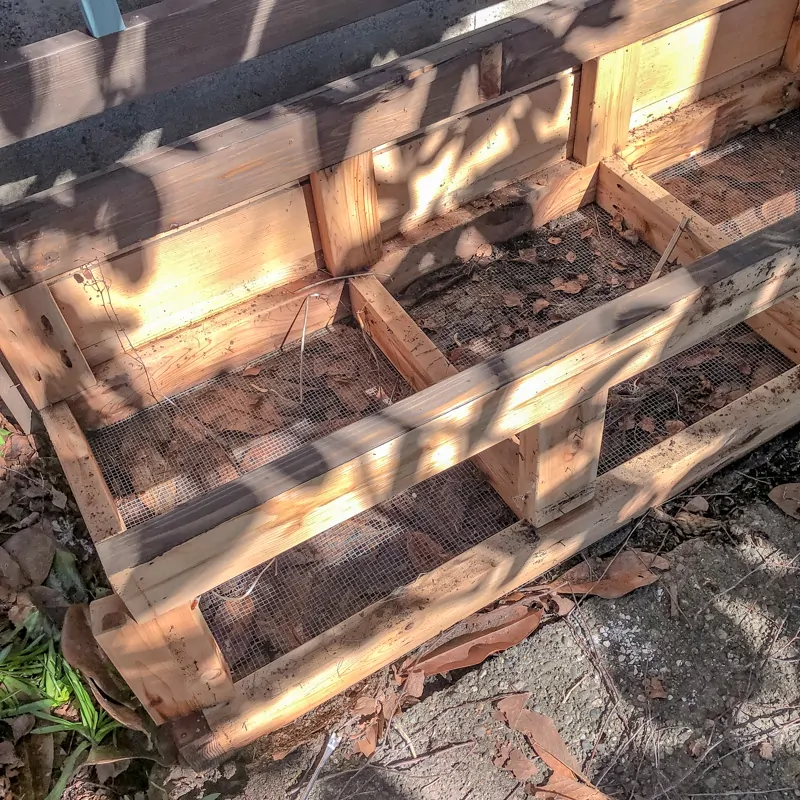
The seats of the bench were the perfect size for the countertop. They were made with five 1 x 6 tongue and groove cedar boards joined together, with each seat measuring 29" wide once the blue parts were removed.
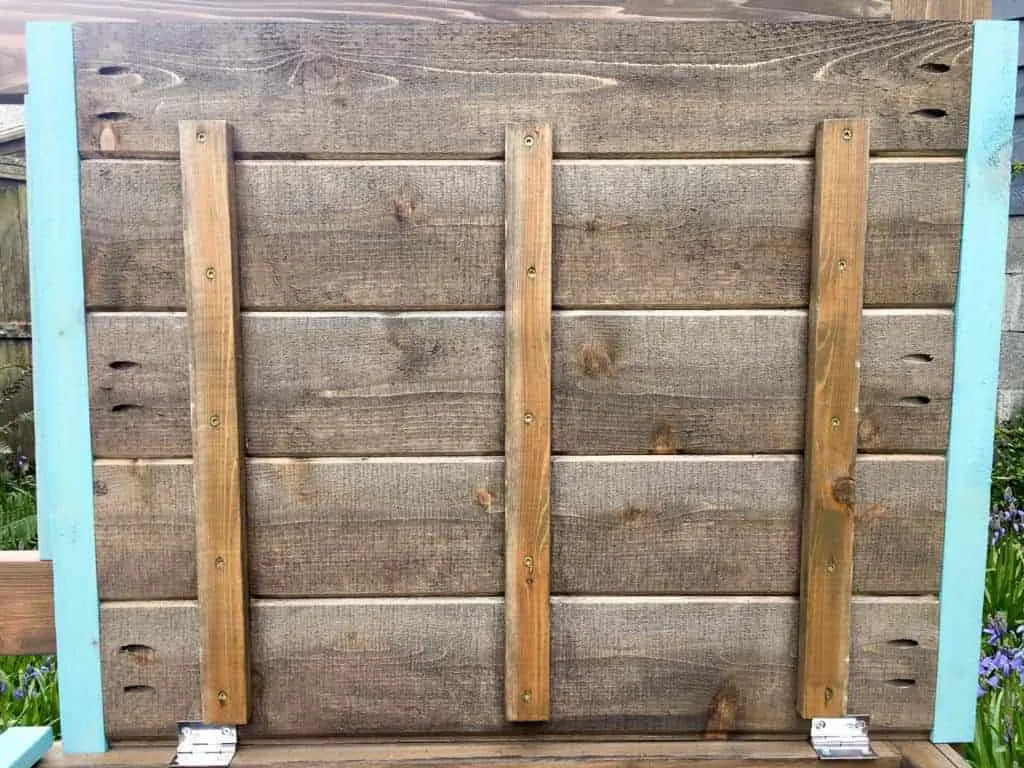
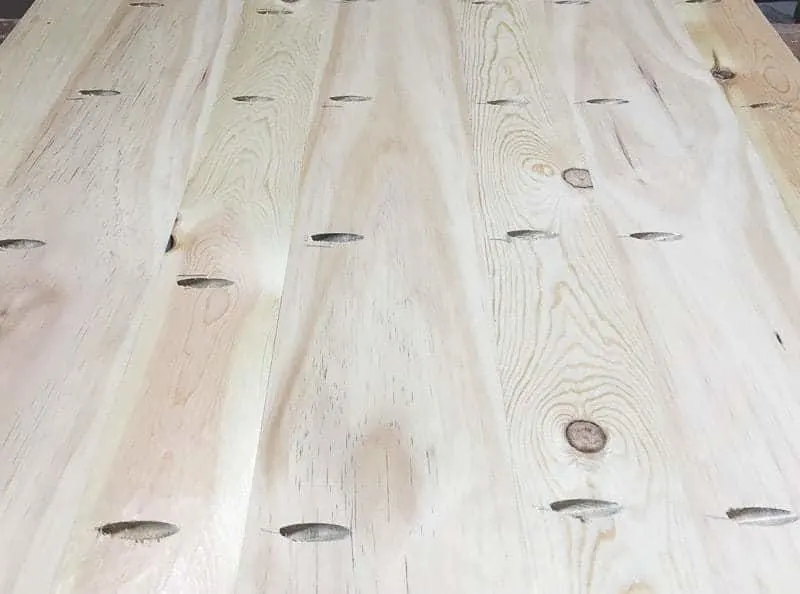
You can make the same countertop with regular cedar 1 x 6 boards cut to 58" long instead. Plank them together with pocket holes and 1 ¼" pocket hole screws.
Cut a Hole for the Sink (optional)
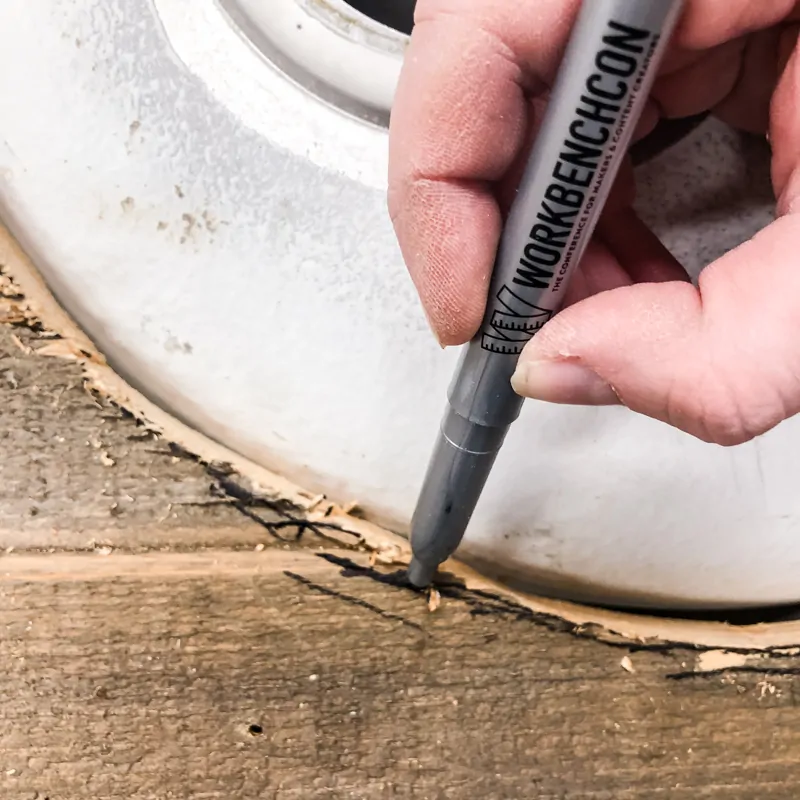
I was relieved to find that the sink I picked up at the salvage yard fit perfectly on one bench seat! Mark the outside edge of the bottom of the sink on the countertop.
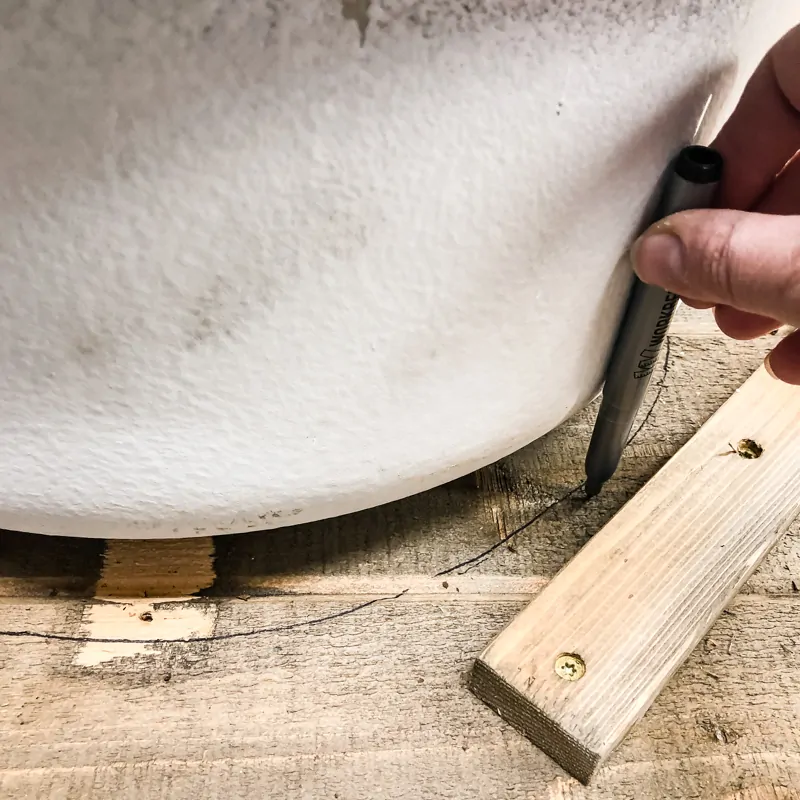
Start a hole with a large drill bit near the line, then cut out the circle with a jigsaw. Test the fit to see if the sink can drop through the hole.
It took me a few tries to get the right fit by marking the tight spots and trimming them back with the jigsaw.
Attach Supports for Underside of Sink
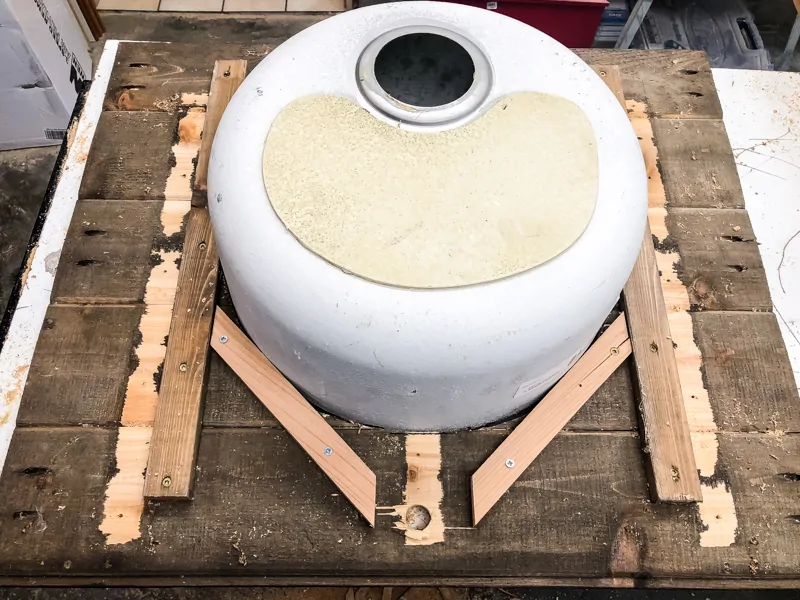
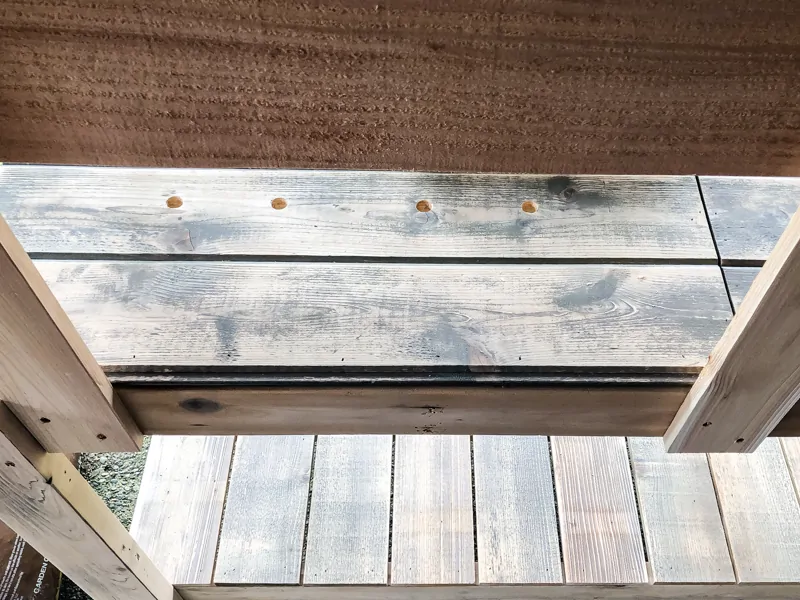
Sinks need support all the way around, but this can be a little tricky with a circle sink. I attached scraps of cedar 1x2's cut at a diagonal to fit under the sink edge, plus two longer pieces that help keep the 1x6 boards flat and together.
Drill holes for faucet
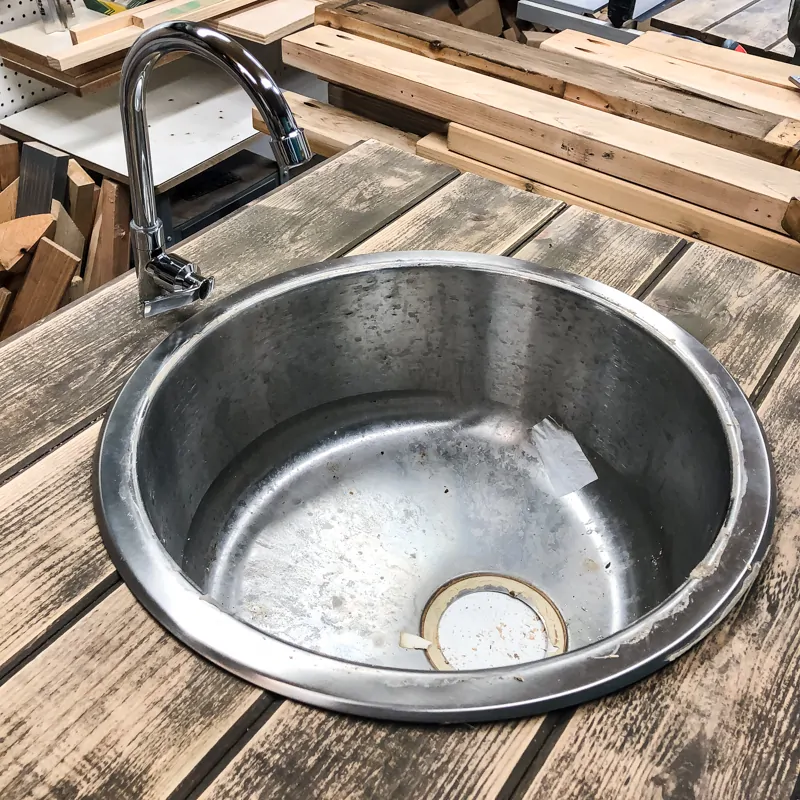
I was kicking myself for not saving our old faucet when I changed it out for a new one just a couple weeks ago! Luckily, this cheap cold water faucet is probably better for a potting bench anyway.
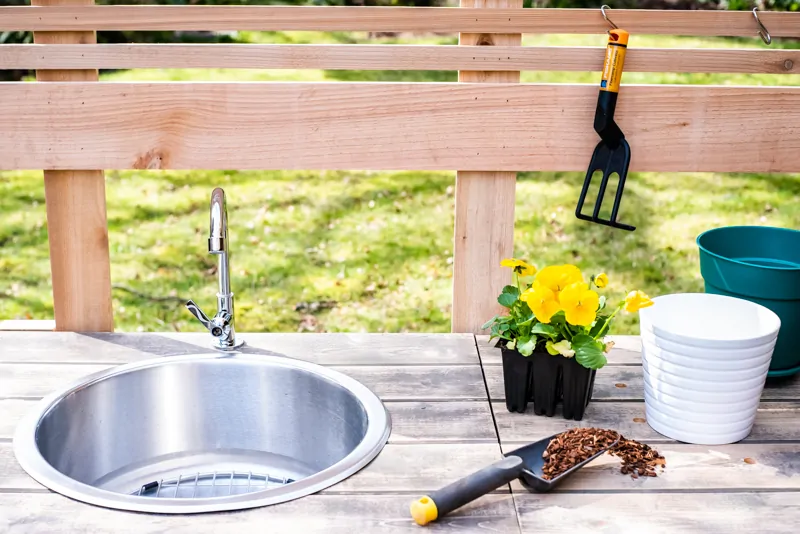
It'll be attached to the garden hose, so there's no need for a hot water line! All I needed to do is drill a hole with a spade bit slightly larger than the faucet pipe and drop it in.
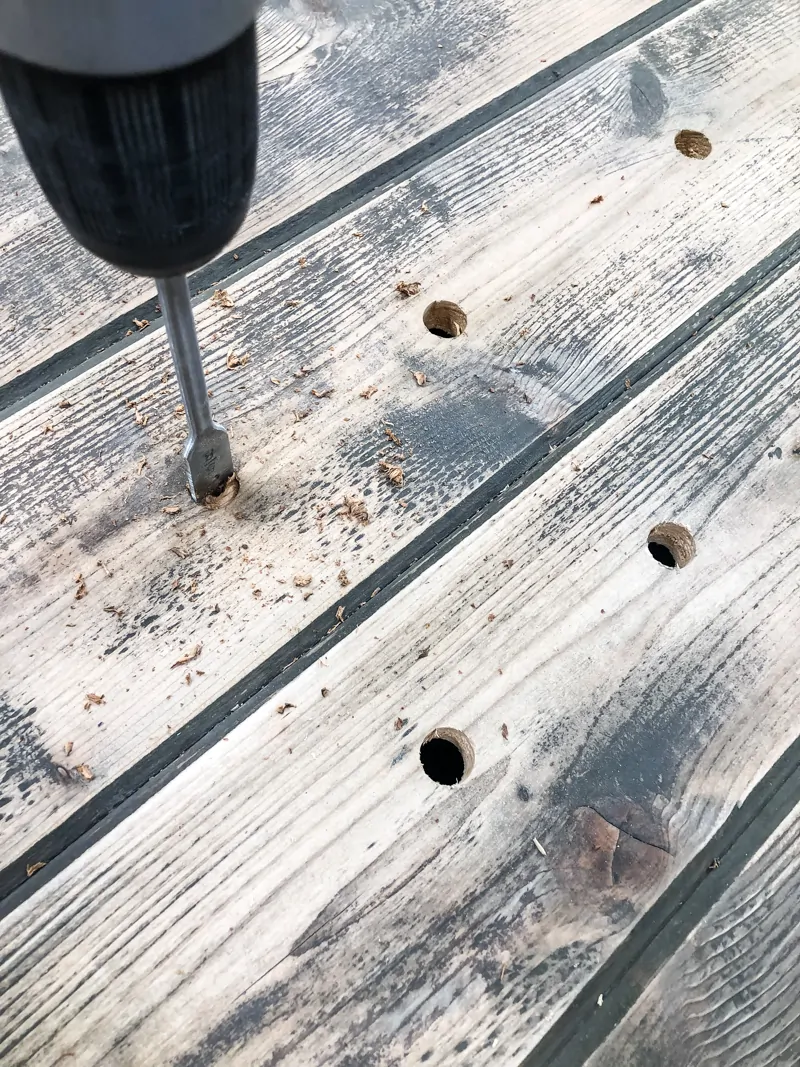
On the other side of the potting bench, I drilled ⅝" holes through the top for potting soil to drop through. The shelf below will hold a plastic pot for catching the excess, with a lid to keep the soil dry.
Assemble the Countertop Frame
Both the countertop and shelf frames will be the same, so you can save some time by cutting all the frame pieces at the same time at the miter saw with a stop block. Drill pocket holes in both ends of all the end pieces.

Assemble the frame with 2 ½" outdoor pocket hole screws. It should match up with the outside edge of the countertop.
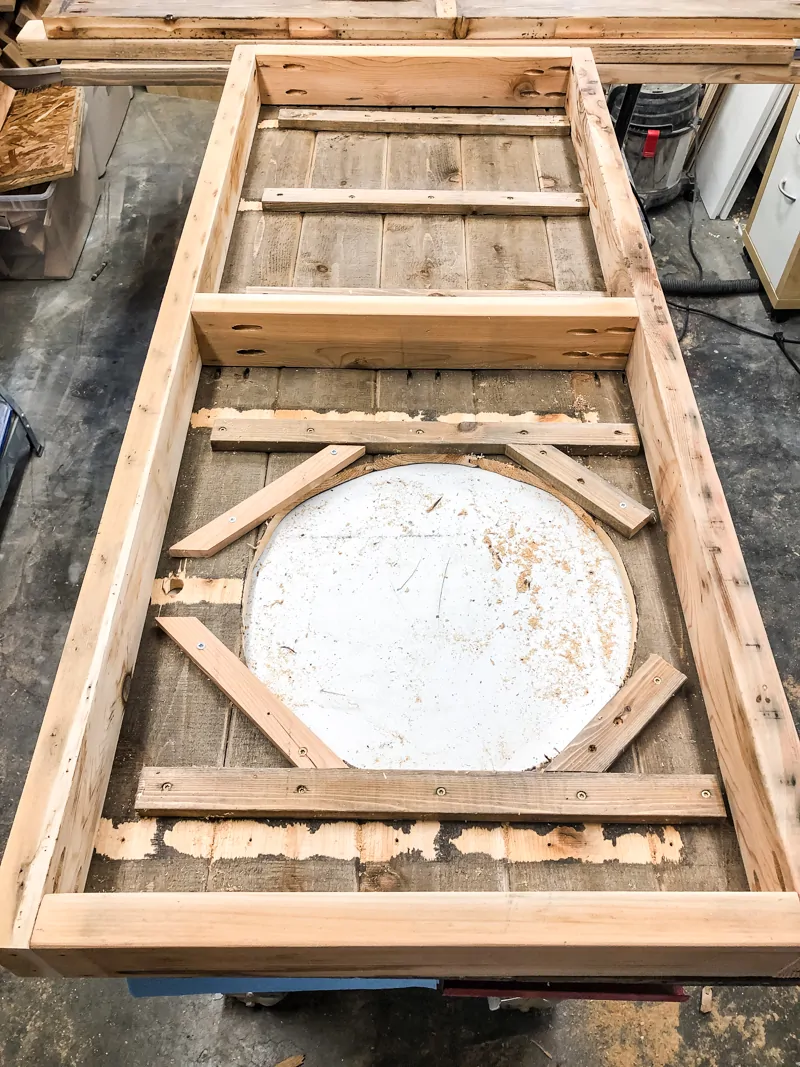
Flip everything over and attach the countertop to the frame with screws or brad nails.
Assemble the Potting Bench Shelf
Build the shelf frame the same way as the countertop frame, with the same dimensions. To give the slats extra support, I added a scrap piece of cedar 1x4 down the middle of the frame.
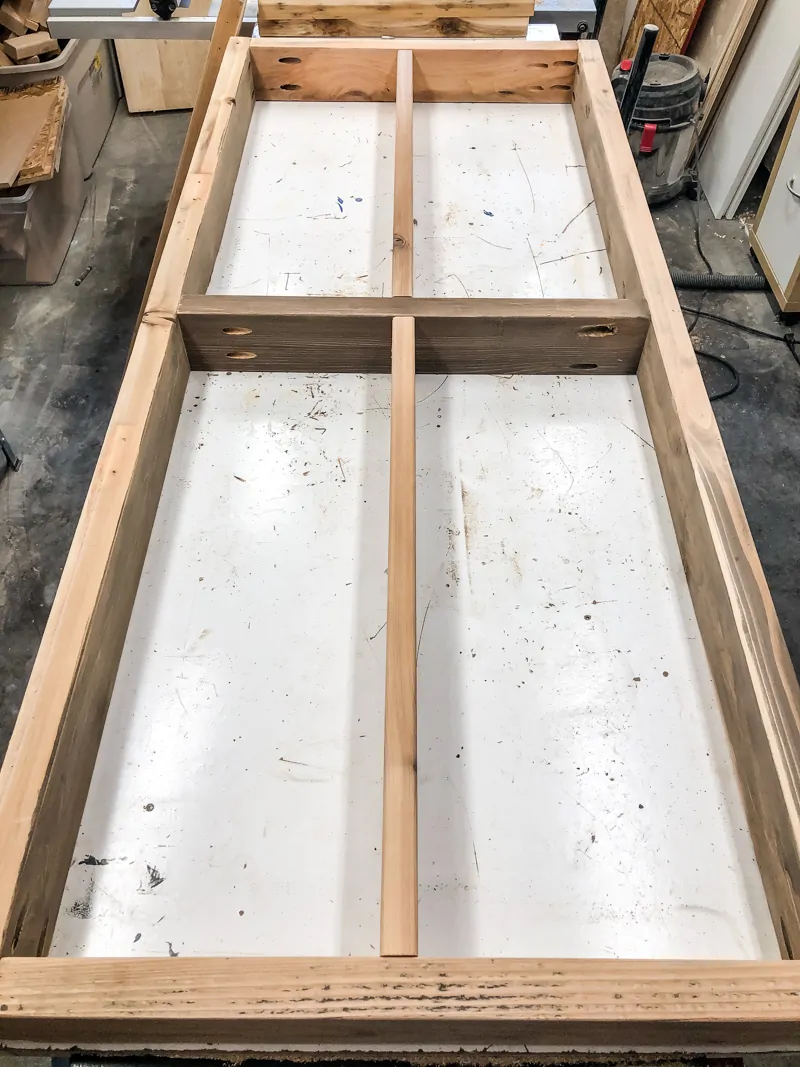
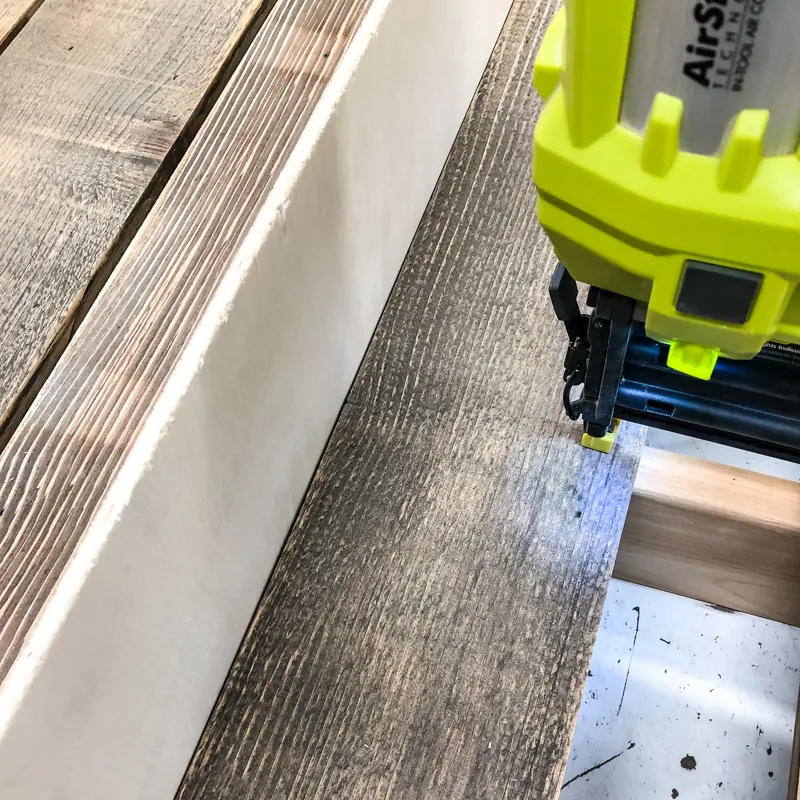
Cut the cedar fence pickets to length, and space them out about ¼" apart along the shelf top. I used a scrap of ¼" plywood to use as a spacer to make this much easier. Nail them in place with brad nails.
Attach the Countertop and Shelf to Legs
Cut four cedar 2x4s for the potting bench legs. Flip the countertop upside down and place a leg at each corner. Attach them to the countertop frame with 2 ½" outdoor wood screws.

The height of your shelf depends on the depth of your sink and the size of the bucket you plan to use to catch water from the drain. Mine is 19" lower than the bottom of the countertop frame. Attach the shelf to the legs the same way as the countertop.
Add the Back Slats
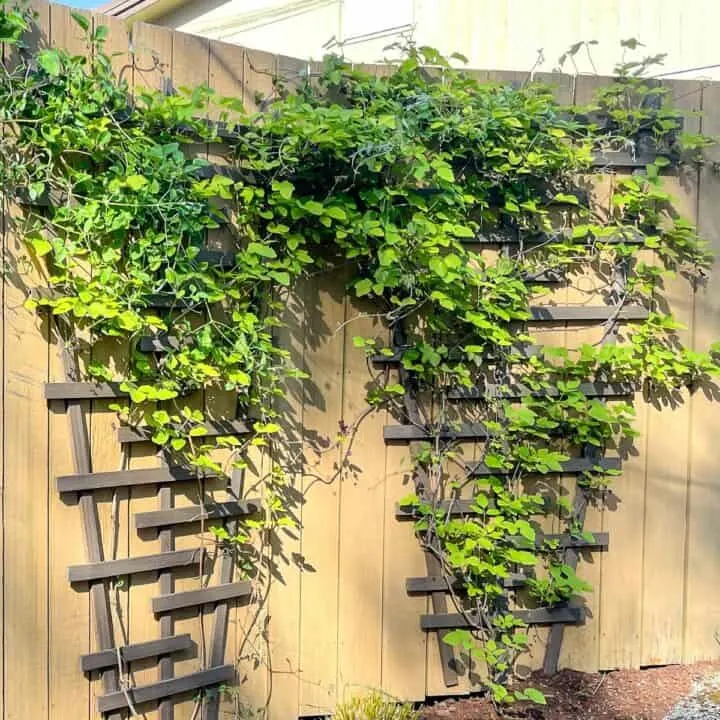
I had used up all the reclaimed wood from the bench, but I had a few fence pickets left over from the clematis trellis I made last year.
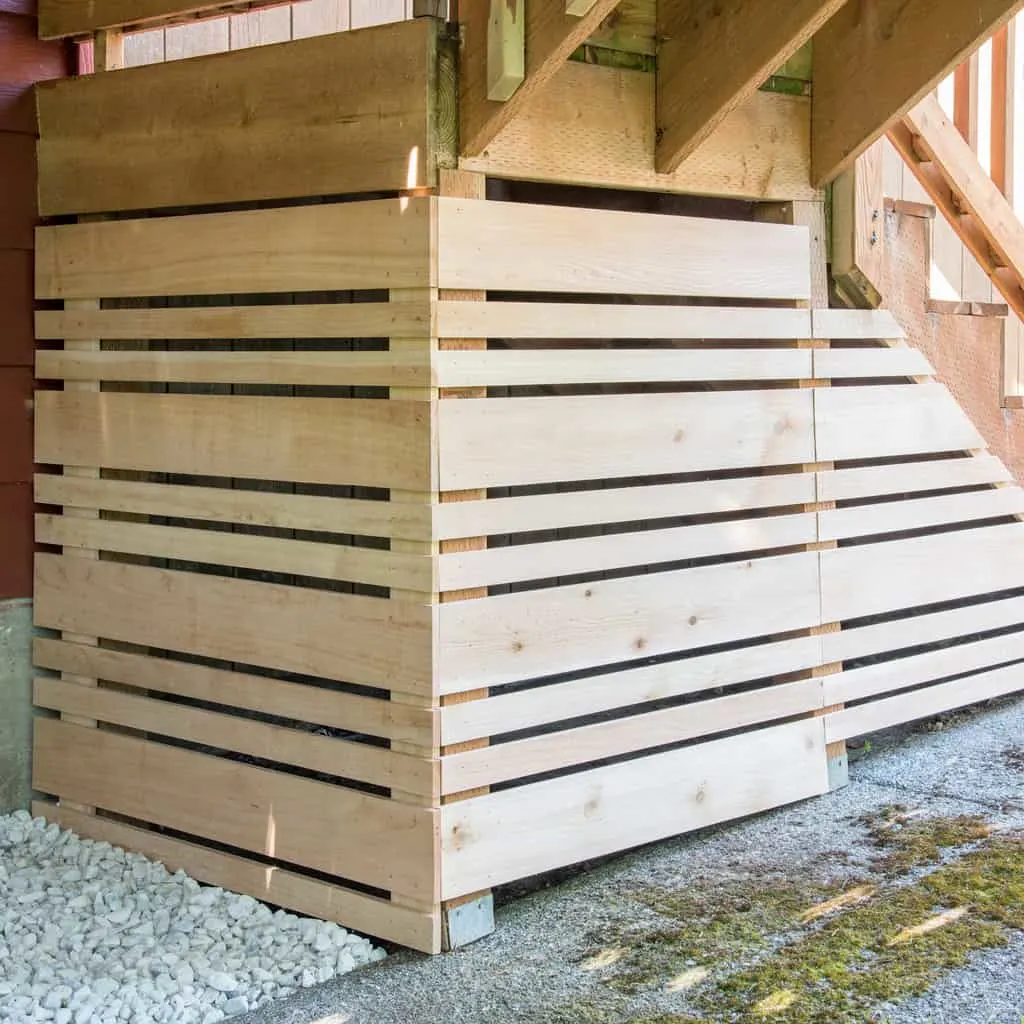
Since this potting bench will live next to the storage area under the deck stairs, I decided to use the same pattern as the fence for the back slats.
I trimmed the edges off two fence pickets for the wider slats, and cut a third one into smaller widths for the middle ones. These are attached to three 1x4 pieces with ¾" spacing in between.
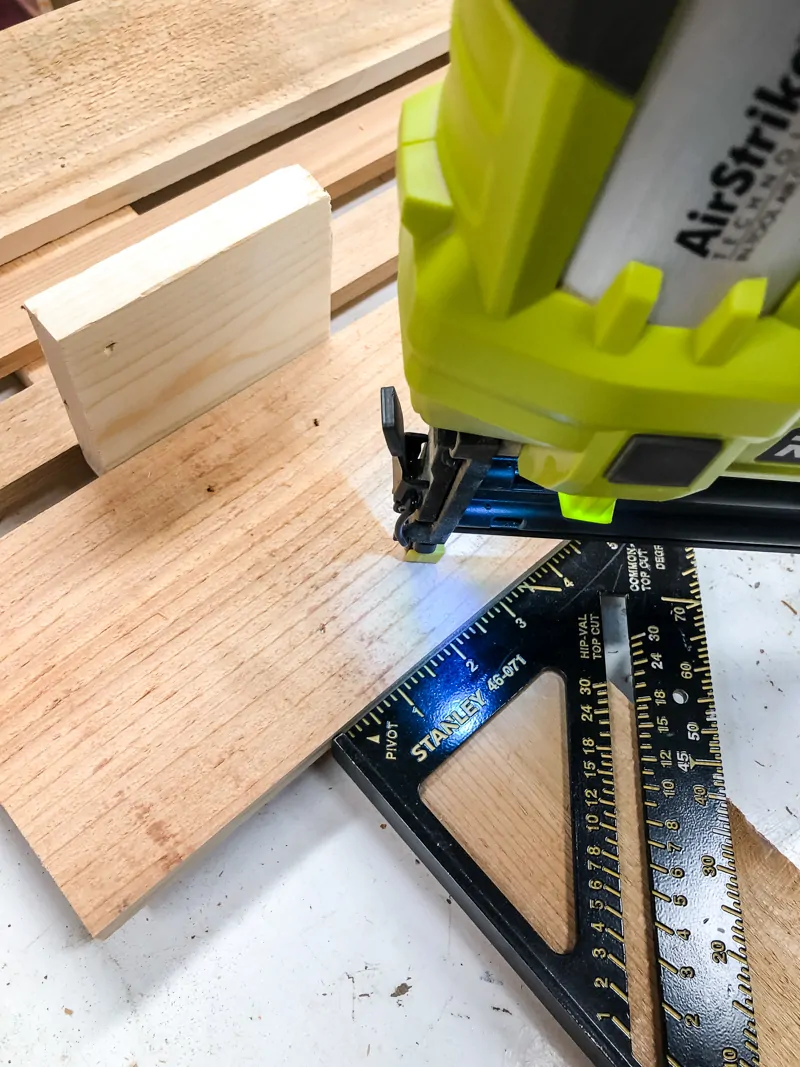
Then the entire back piece is screwed to the countertop frame with 2 ½" screws.
Install sink and faucet and connect to garden hose
The circular sink dropped into place easily and is sealed with silicone around the edge. The faucet installed just as easily! Just tighten the nut underneath until it's snug against the countertop. This adapter screws onto the faucet pipe and connects to the garden hose!
Enjoy Your New Potting Bench!
I still can't believe I was able to make this potting bench entirely out of reclaimed wood! All I had to buy was the sink (which was used) and the faucet (which was really cheap!) Everything else was either salvaged from the storage bench or came from the scrap wood pile.
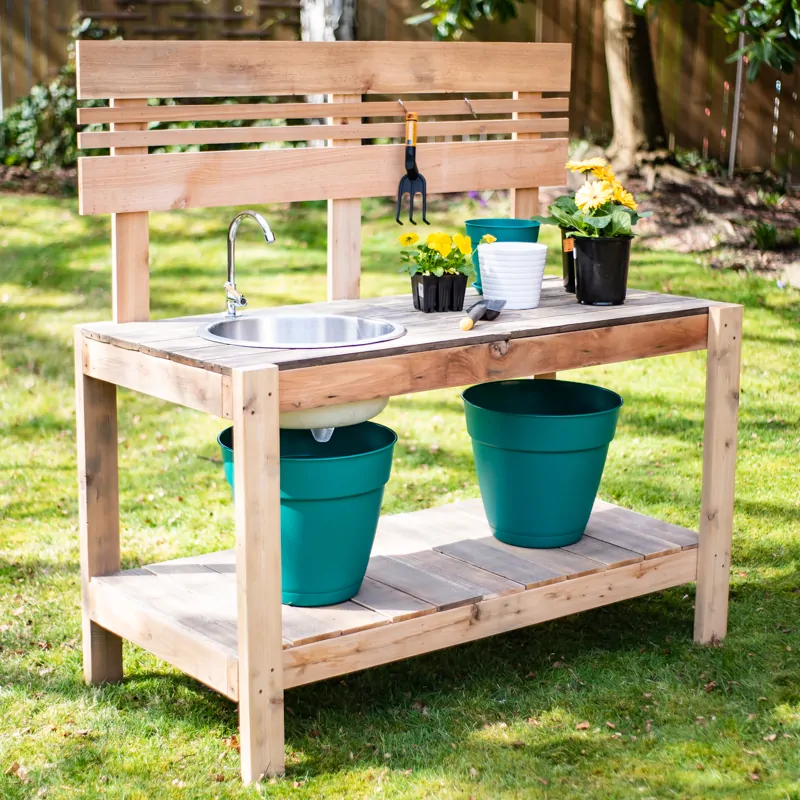
I'm really looking forward to spring now, so I can put it to good use!
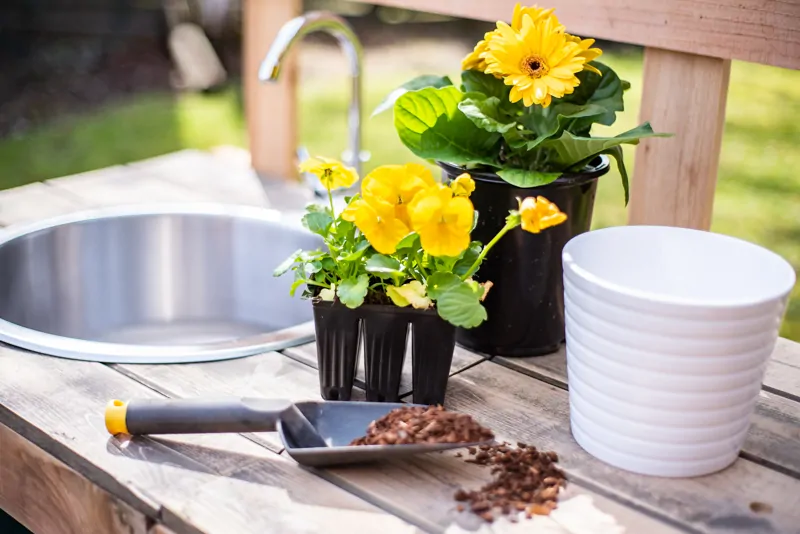
You can download the potting bench plans by clicking the image below!


Carmen
Tuesday 26th of March 2019
I love this so much. I pinned it for later for SURE!
Kenya Rae
Friday 22nd of March 2019
This makes me want to get a green thumb!! Any idea where I would find one of those?? lol Nice work!
Emily
Friday 22nd of March 2019
I've been searching for an old cast iron sink to make something like this for my own garden! I just might use your plans to build it once I find one!!
Eileen
Wednesday 20th of March 2019
Wow, Vineta! This is AMAZING! I love how you reconfigured one of your old DIYs! You're so talented! And, I definitely need one of these now :)
Cindy
Wednesday 20th of March 2019
I am super impressed, this turned out so great!