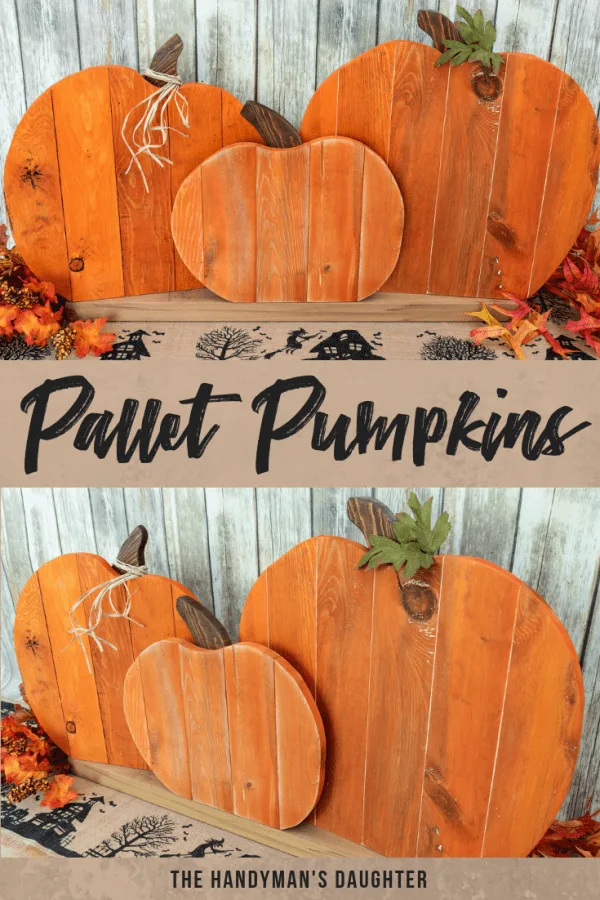
Decorate your home for fall with this DIY pallet pumpkin trio! Use different finishes to give each wooden pumpkin a unique look. Makes a cute patio display!
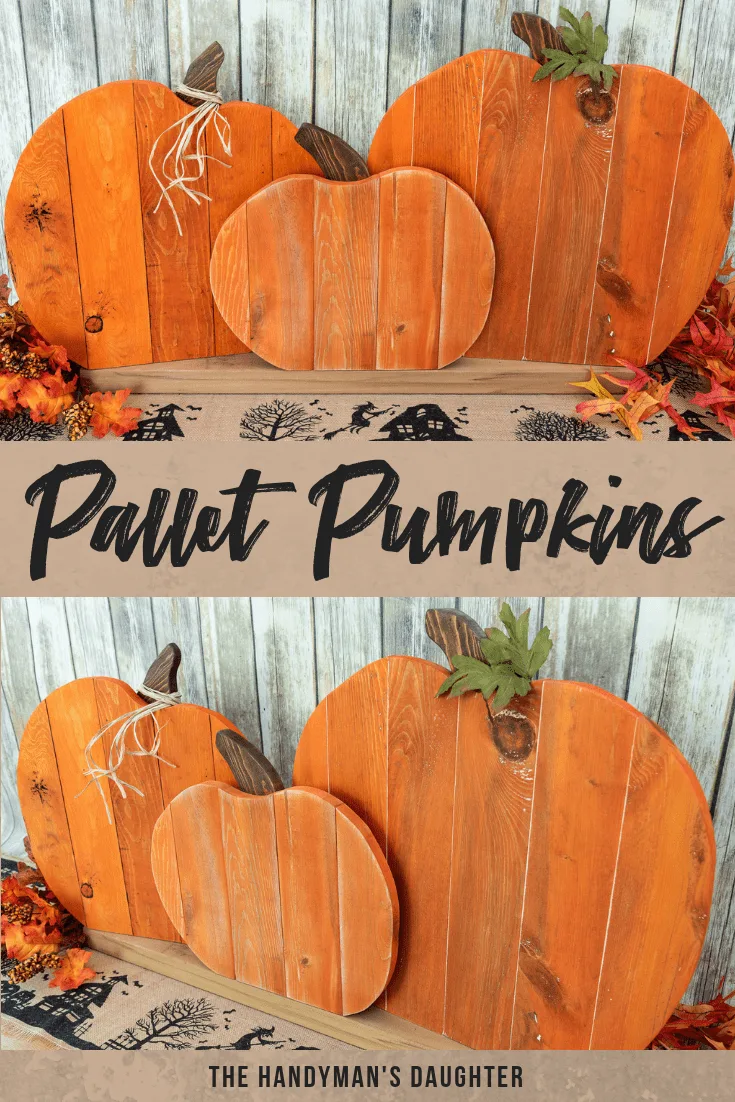
Tired of spending big bucks on real pumpkins every year, just to have them rot on your front step? This adorable pallet pumpkin trio is perfect for decorating your porch this fall, and will last for years! It's also narrow enough to fit on your fireplace mantel.
I'll show you how to make your own out of a couple of pallets or new wood. You can also try one of these other wooden pumpkin ideas as well!
Want something a little spookier? Check out this Halloween spider sign or these DIY Halloween tombstones! I also have huge lists of DIY outdoor Halloween decoration ideas and DIY spider decorations to inspire you!

This post contains affiliate links for your convenience. Purchases made through these links may earn me a small commission at no additional cost to you. I was given samples of the Varathane Wood Grain Enhancer to try out, but all opinions are my own.
I love creating holiday decorations out of wood. It's way cheaper and more durable than store bought, and each piece brings a smile to my face when I take it out of storage. I've made a wooden Christmas tree yard decoration and a Let it Snow sign for our mantle, but haven't made any fall decor yet.
When I saw a pair of pallets sitting on the side of the road with a "FREE" sign on them, I just couldn't pass them by. They were heat treated and in decent condition, which is hard to find!
Then they sat in the workshop for months...
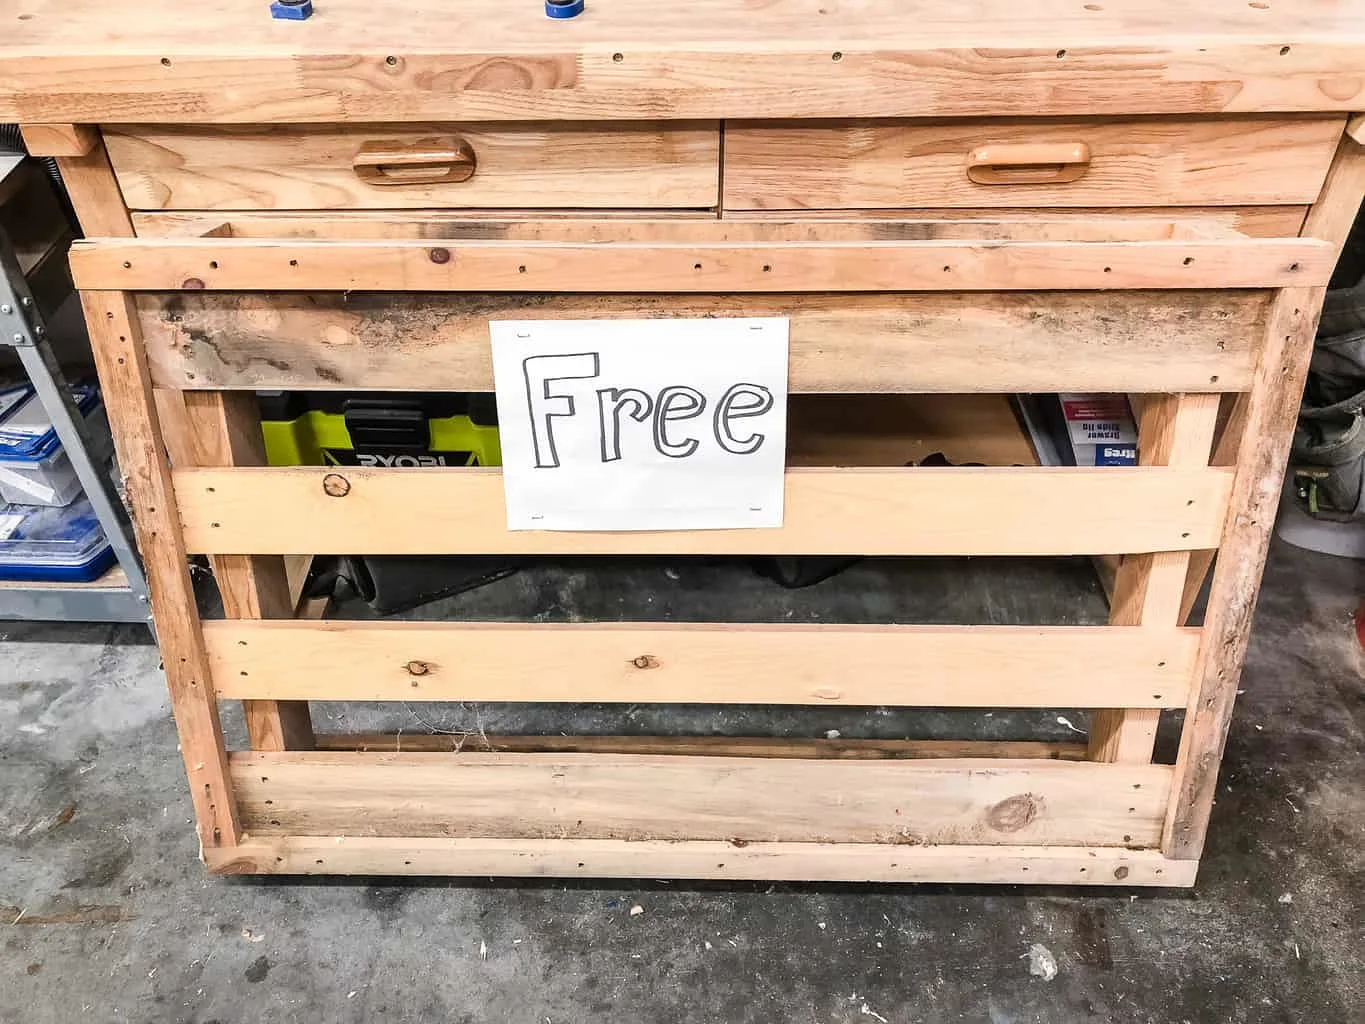
It was time to either use them, or put them back on the curb. This pallet pumpkin trio was the perfect solution! It used up all the wood, and gave me the rustic look I was going for.
Materials Needed for Pallet Pumpkin Trio
- 1-2 pallets, depending on how carefully you take them apart.
- Or you could save yourself the hassle and buy reclaimed wood boards or 1 x 4's.
- Scrap piece of 2 x 4 that will fit all three pumpkins with some overlap (mine is about 32" long)
- Jigsaw
- Brad nailer and 1 ¼" brad nails
- You could also use 1 ¼" screws.
- Sander and sandpaper
- Dust mask (you don't want to be breathing in the dust from those dirty pallets!)
- Orange wood dye
- Dark brown wood stain for the stem (optional)
- Varathane Wood Grain Enhancer in white and black (optional)
- Small angle brackets
- ¾" screws
- Raffia (optional)
Don't forget your safety gear when woodworking! Here are my recommendations for safety glasses and ear protection. No excuses!
How to Make Pallet Pumpkins
Take Apart the Pallets and Sand
This step is easier said than done! After battling with one of these pallets for a good half hour or so, I wasn't making much progress. All I had were a few bent nails and a cracked board!
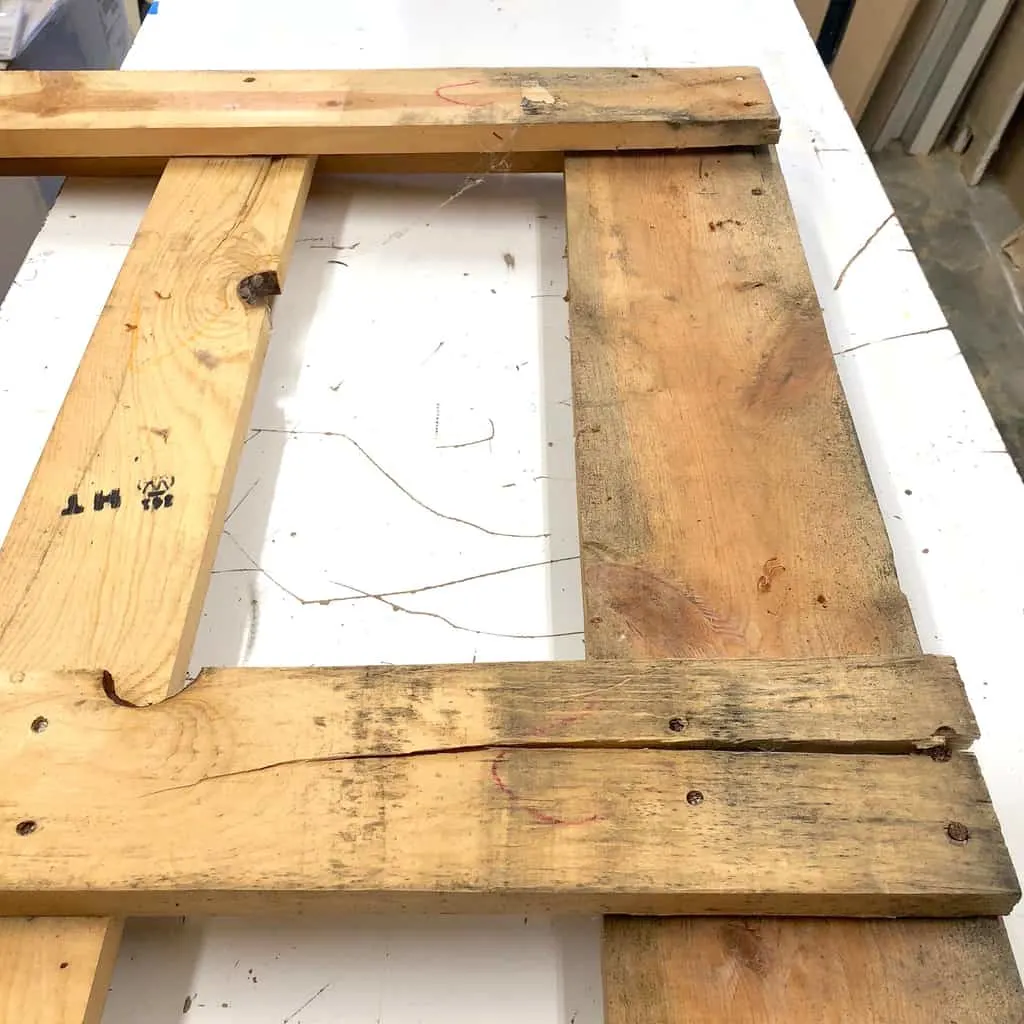
So instead, I took a jigsaw to it and had those slats out in no time! Luckily, I only needed short pieces for this project.
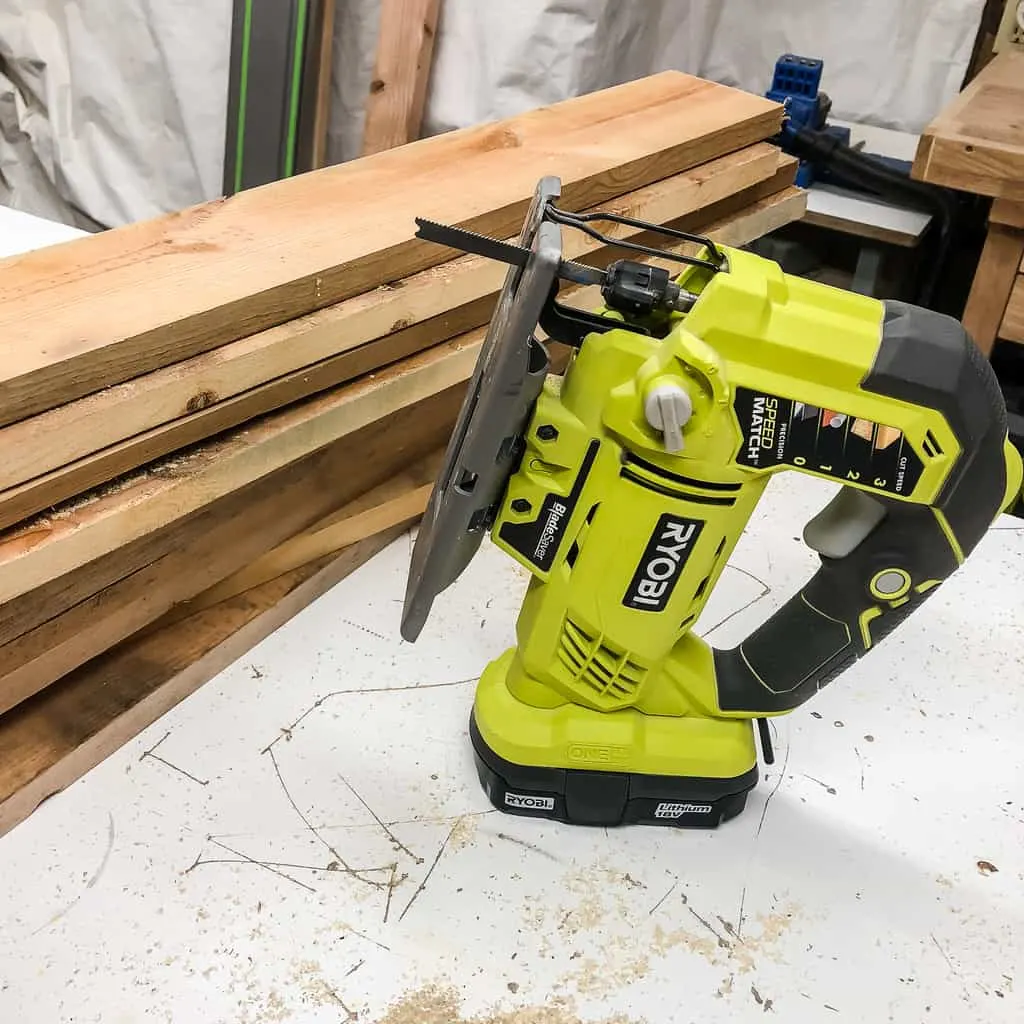
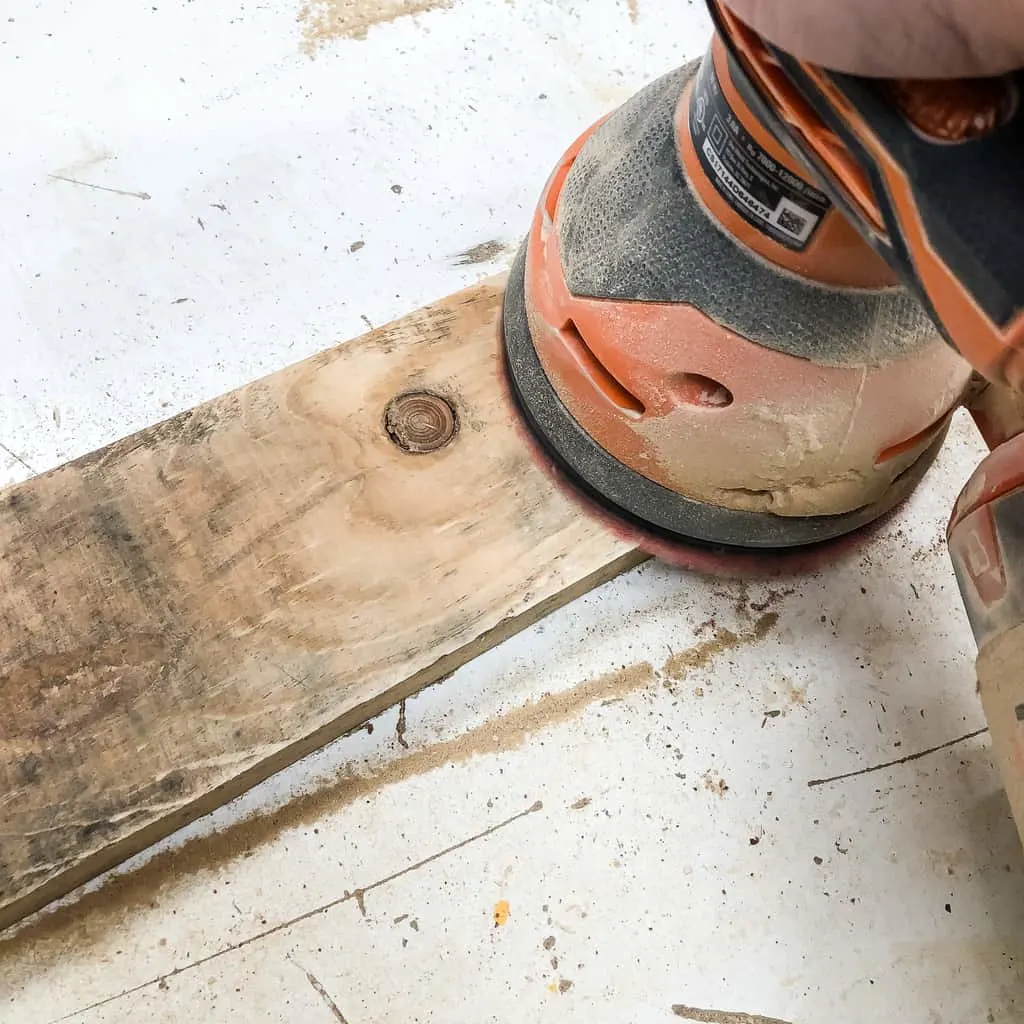
Pallets are notoriously dirty. Strap on a dust mask before you start sanding so you don't inhale any nasty stuff!
Sketch Pumpkin Shapes on Pallets and Cut Out
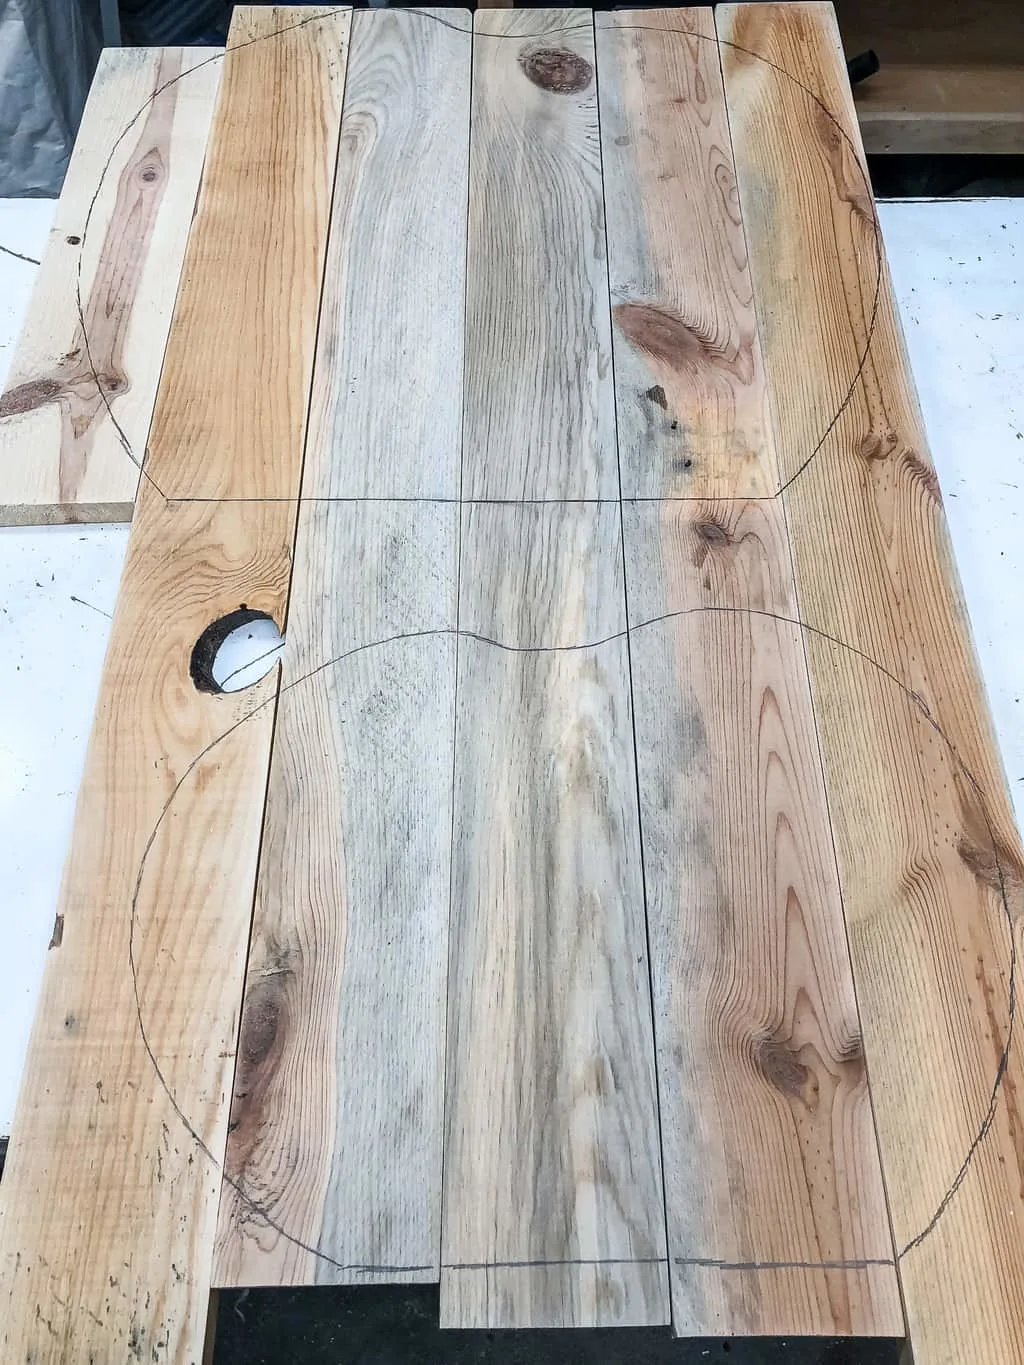
Line up your sanded pallet pieces flat on the workbench. Then sketch out the basic shape of a pumpkin in three different sizes. Make sure the pumpkin bottoms are straight and flat!
I'm no artist, but the pumpkin shape is pretty easy to draw. I managed to get the two bigger ones out of these pallet pieces, and cobbled together a smaller one with the leftovers.
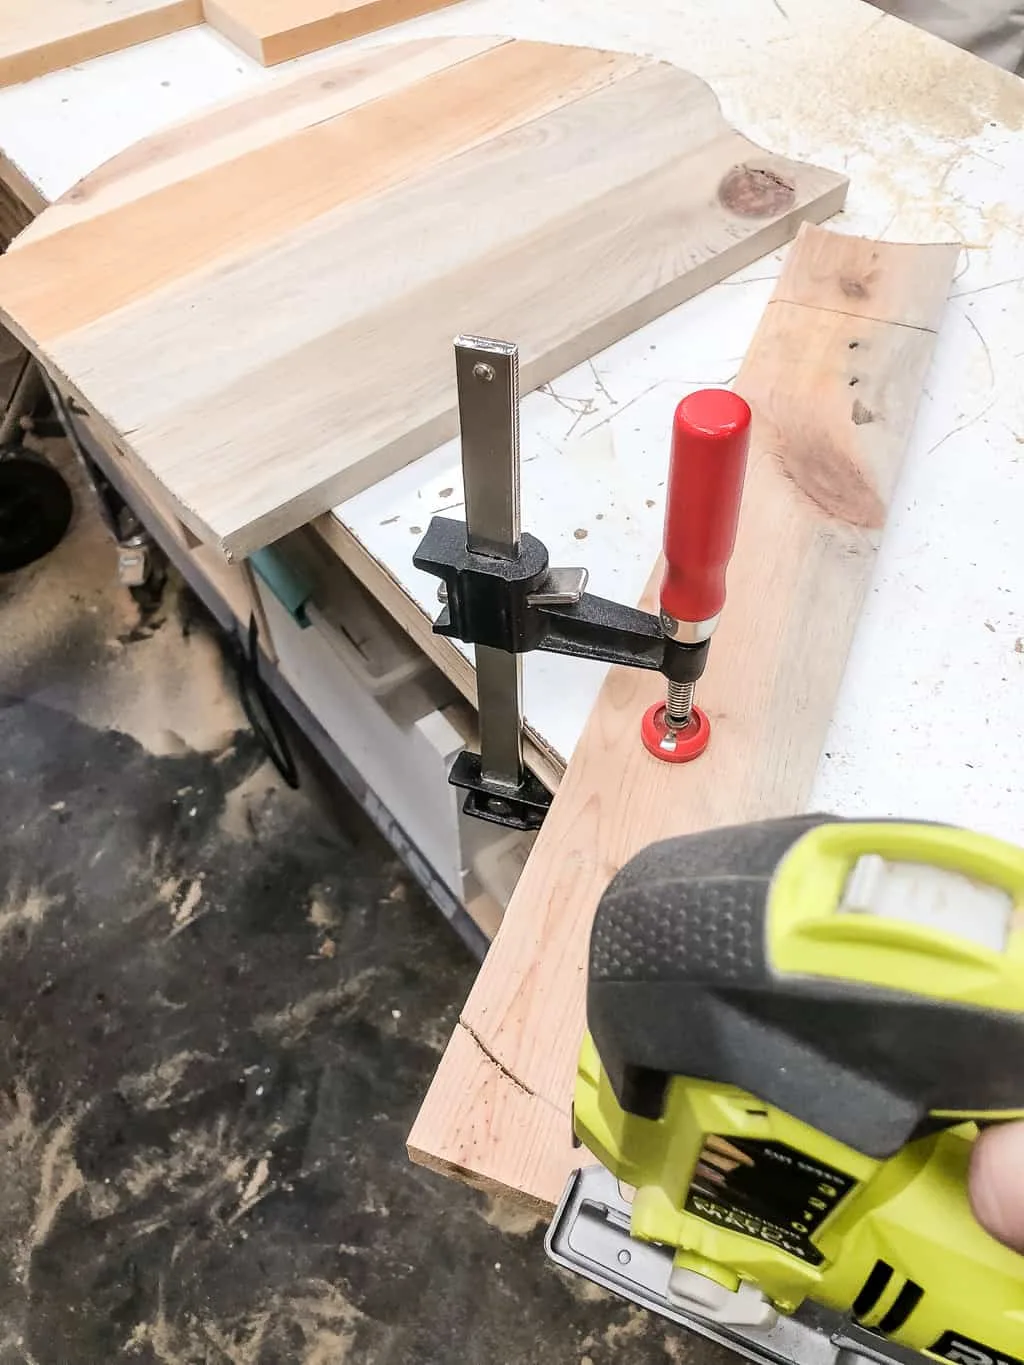
Once you're happy with your shapes, cut out each piece with the jigsaw. It helps to clamp one end to the workbench so it doesn't move around while you're cutting.
As you cut each slat, assemble the pieces back into their pumpkin shapes. Unless you like doing puzzles! 🙂
Assemble the Pallet Pumpkins
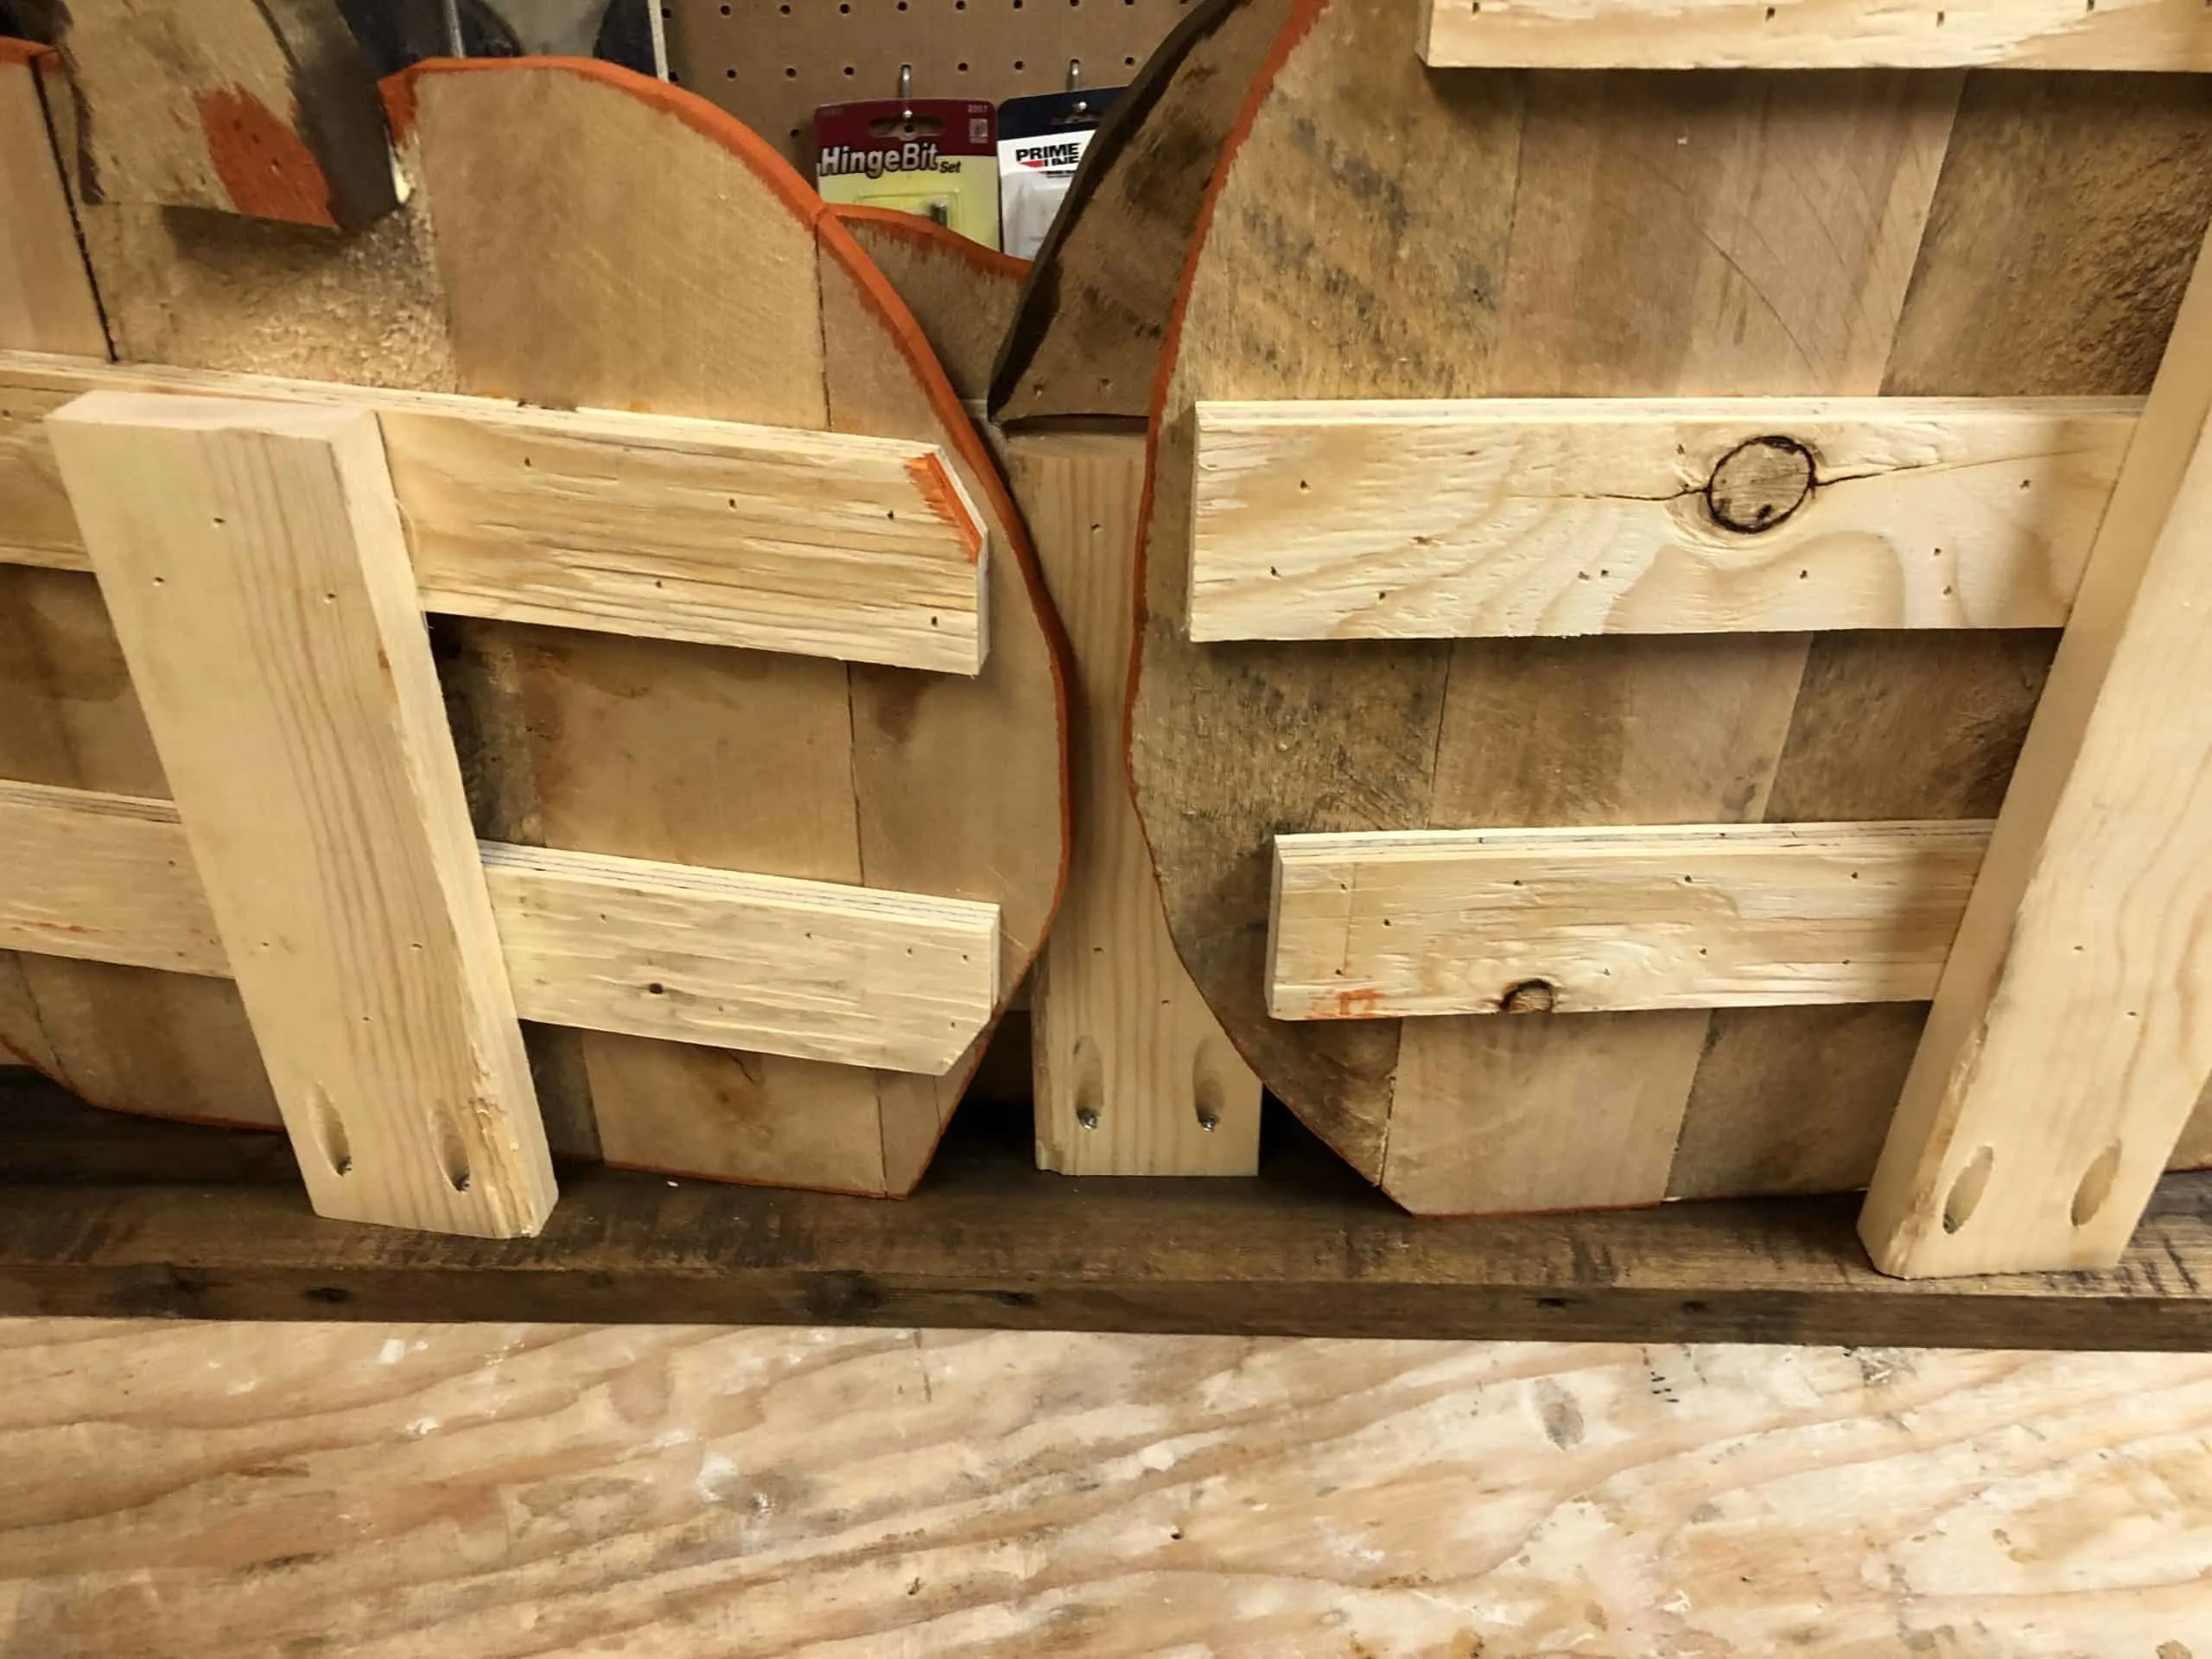
Use any leftover pallet wood to create braces across the back of the pumpkins. These span the entire width of the pumpkin and hold all the slats together.
Cut each brace to fit the back, keeping the ends about an inch from the edge of the pumpkin. I used leftover cedar slats from my removable fence panel for this, since I hacked up the pallets pretty badly!
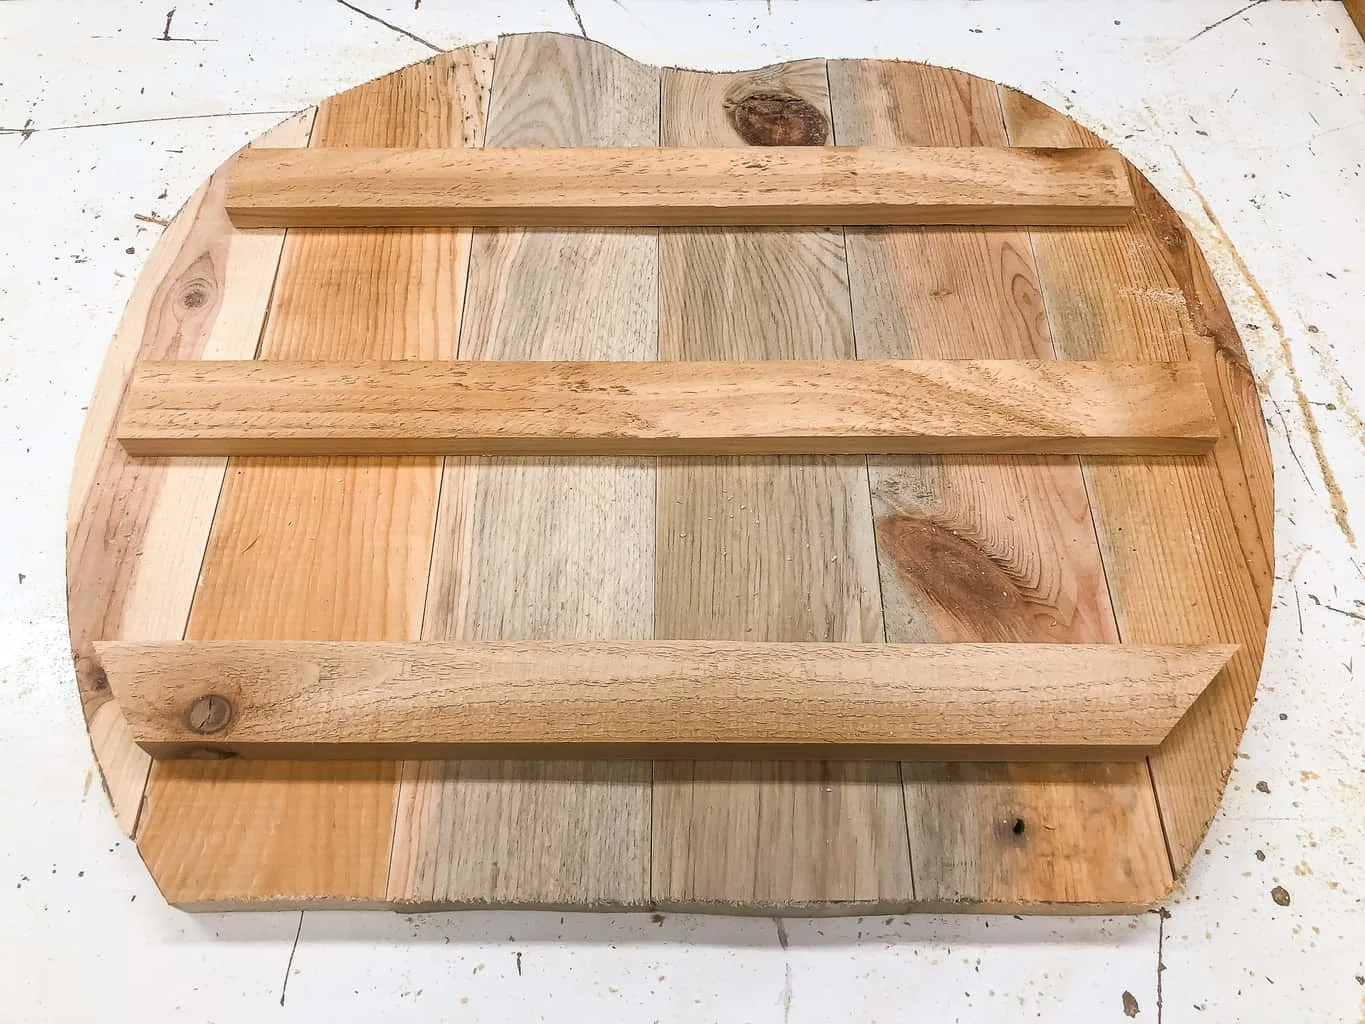
Nail them into place with a brad nailer and 1 ¼" brad nails, making sure to tack each board a few times. You could also use screws for this step.
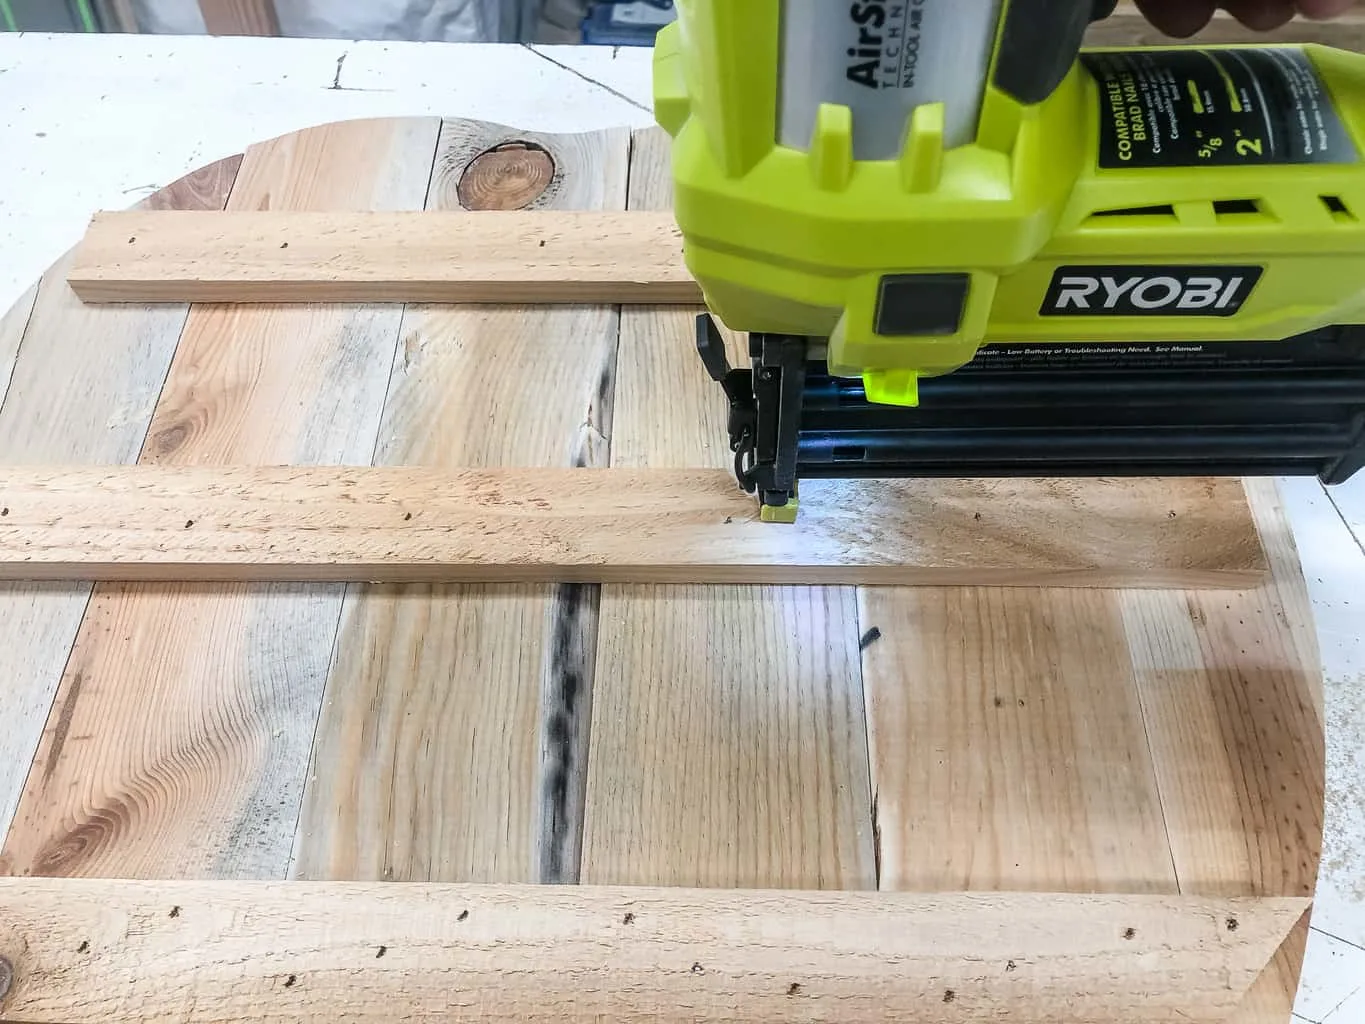
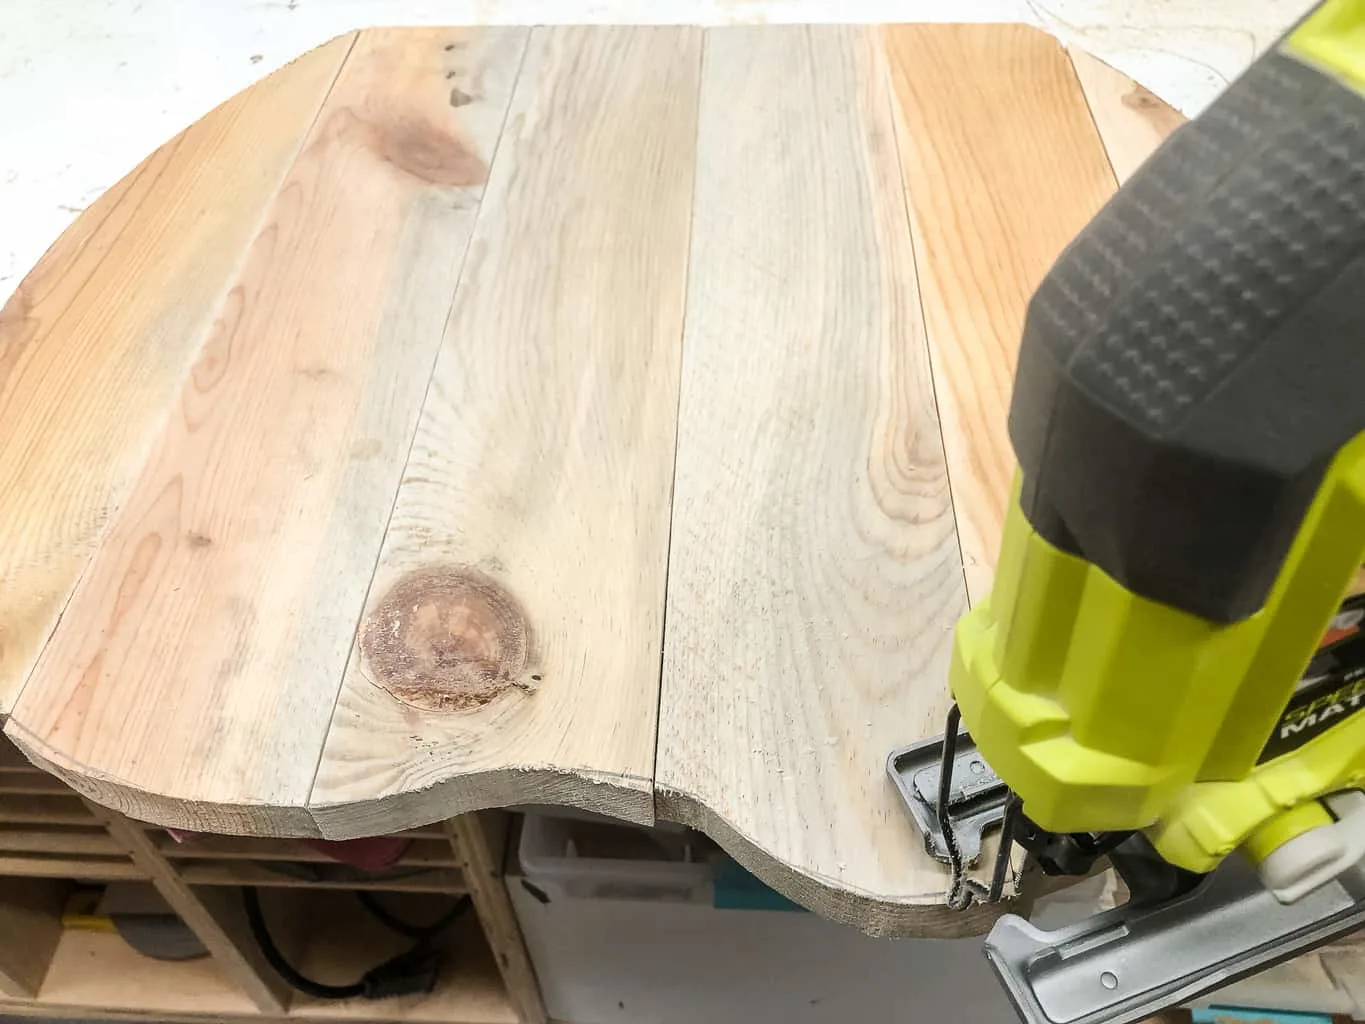
Once they're all held together with the braces, you can trim any uneven edges or adjust the shape with the jigsaw.
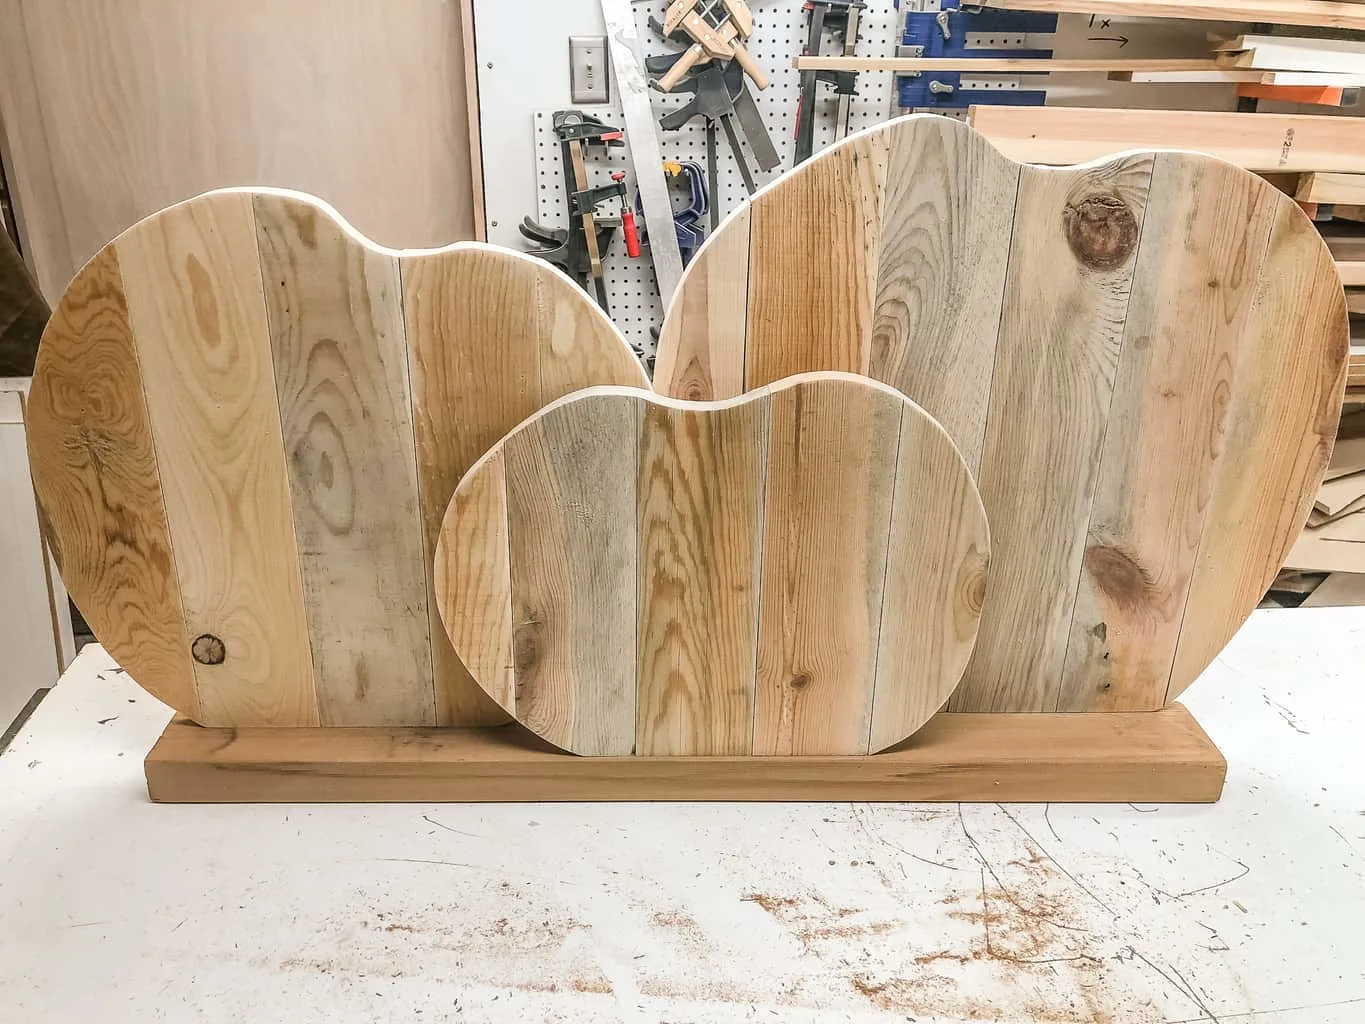
I hunted through my scrap pile and found this piece of cedar 2 x 4 that worked out perfectly for the base. I did a quick test fit to see how it would look.
Cut Out and Attach Stems
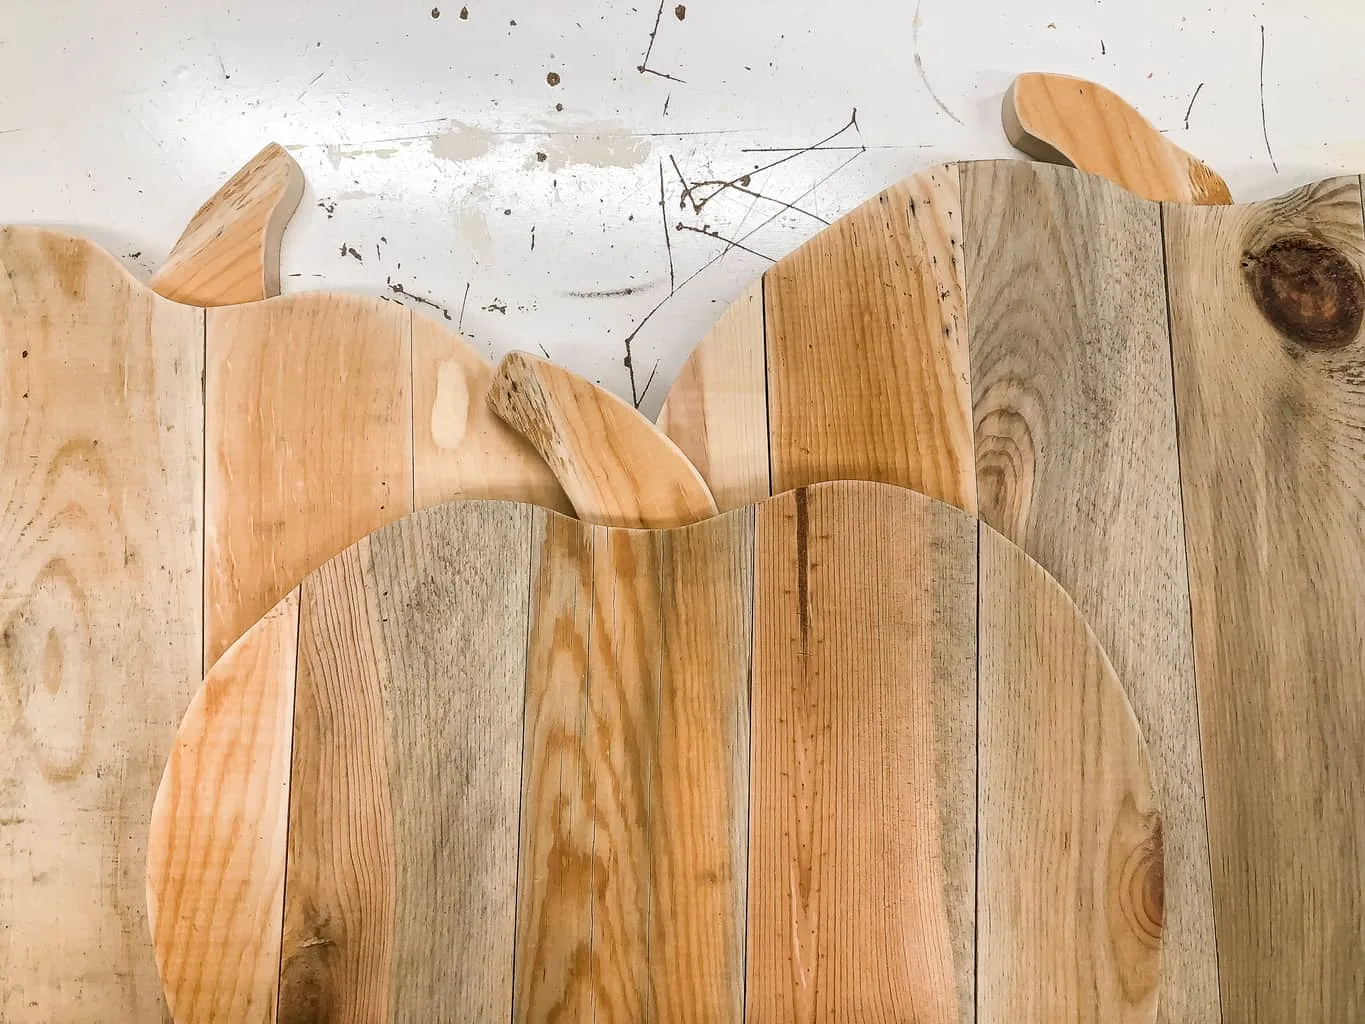
My pallet pumpkins looked more like jelly beans without their stems! I pulled one of the more damaged wood pieces out of the discard pile and used those irregular edges to cut some gnarled stems.
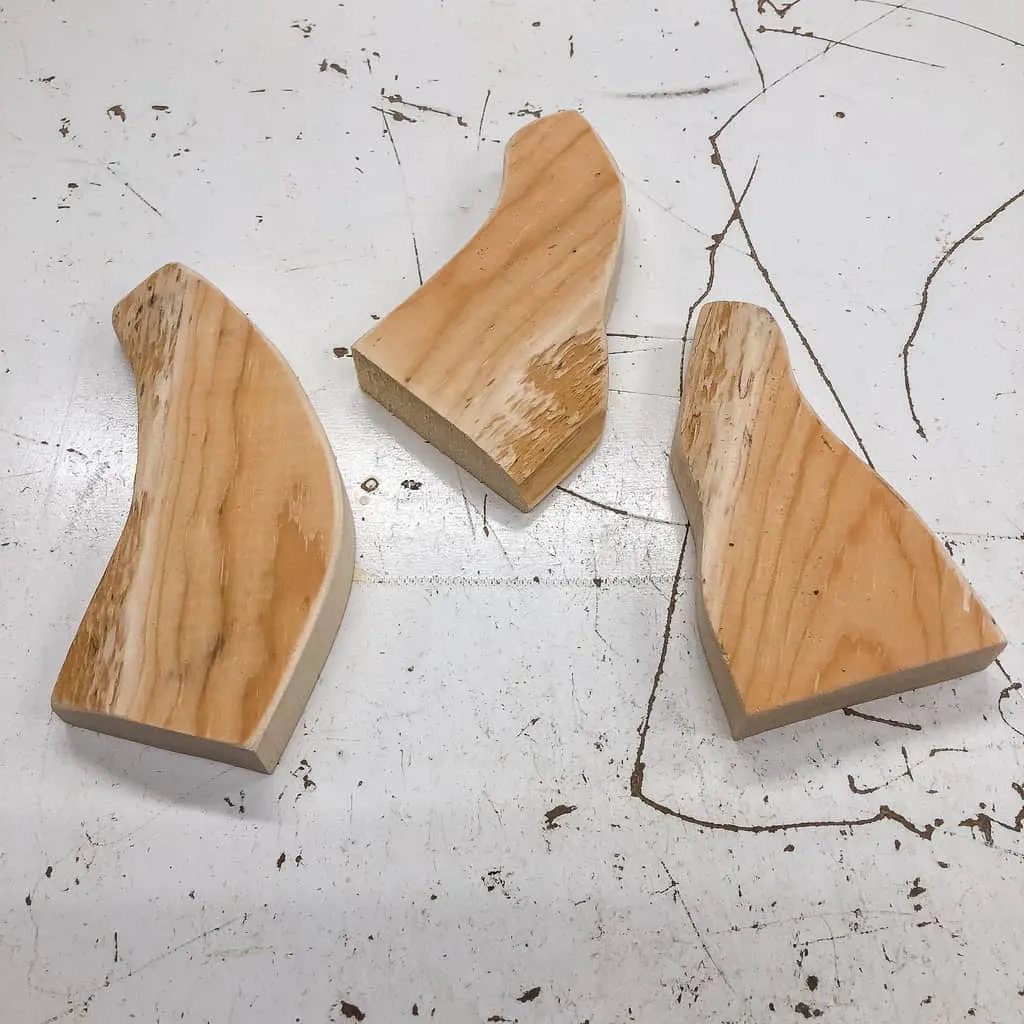
Attach the stems to the back of the pumpkins with brad nails or screws.
Stain and Distress
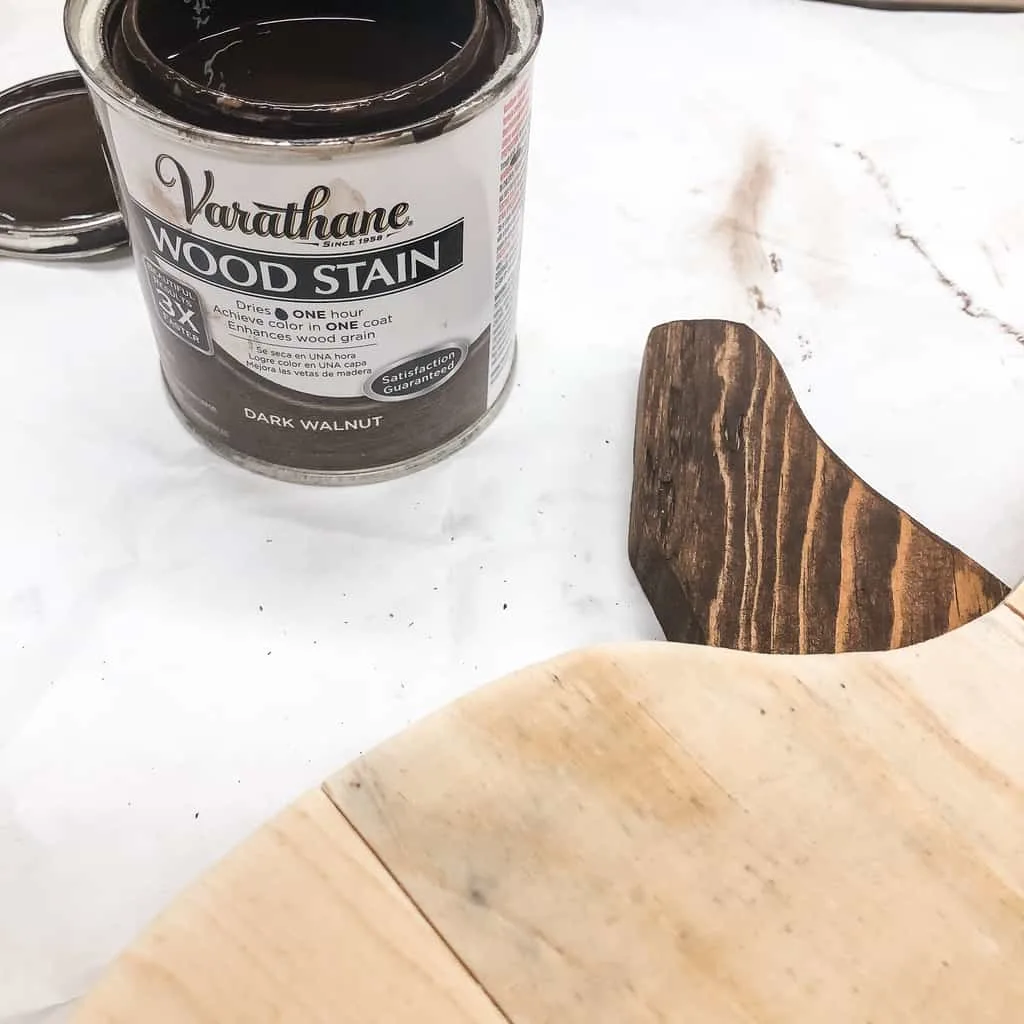
There was a pint of Varathane Dark Walnut stain left on one of my between-the-studs shelves from who-knows-what project that worked out great for the stems.
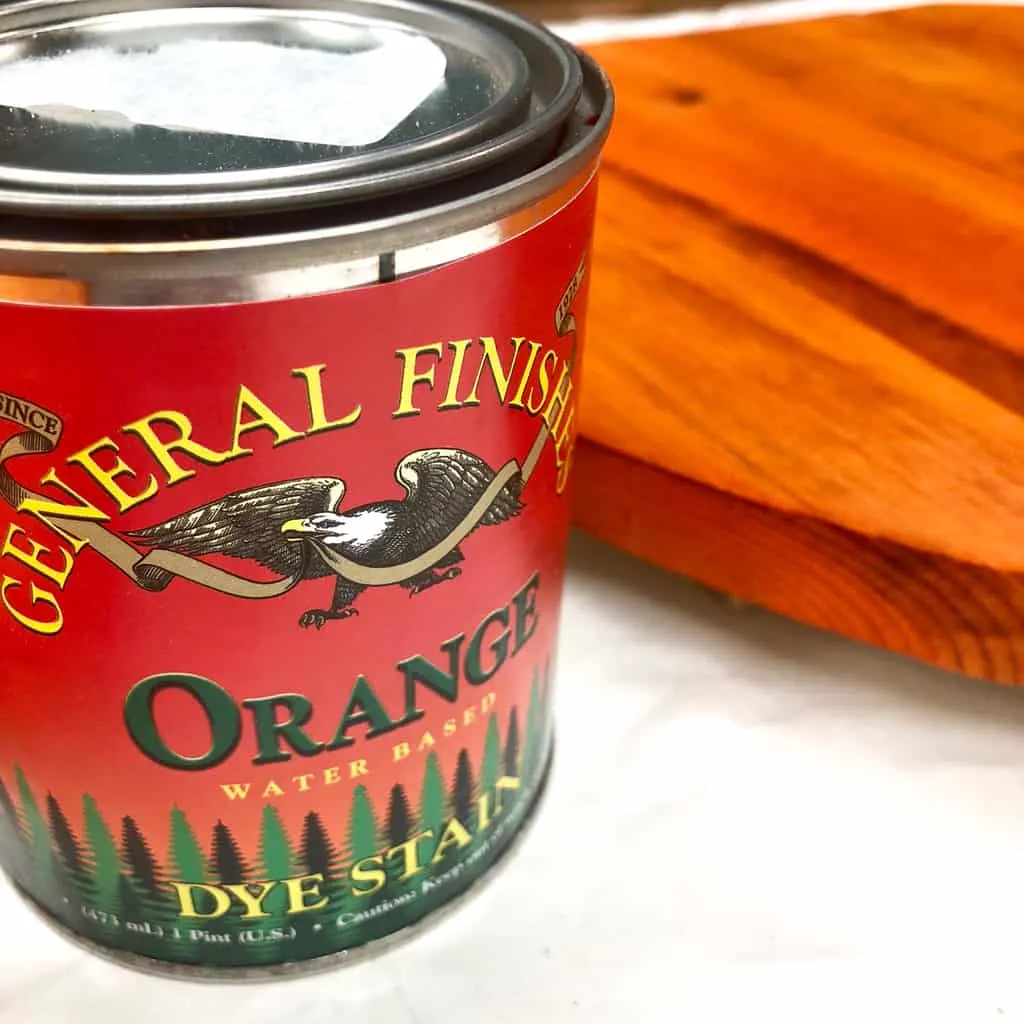
I didn't want to paint the pallet pumpkins, which would hide away the rustic details behind a layer of latex. Luckily, I found this orange wood dye that gave me the vibrant color I was looking for, while retaining all the grain and knots.
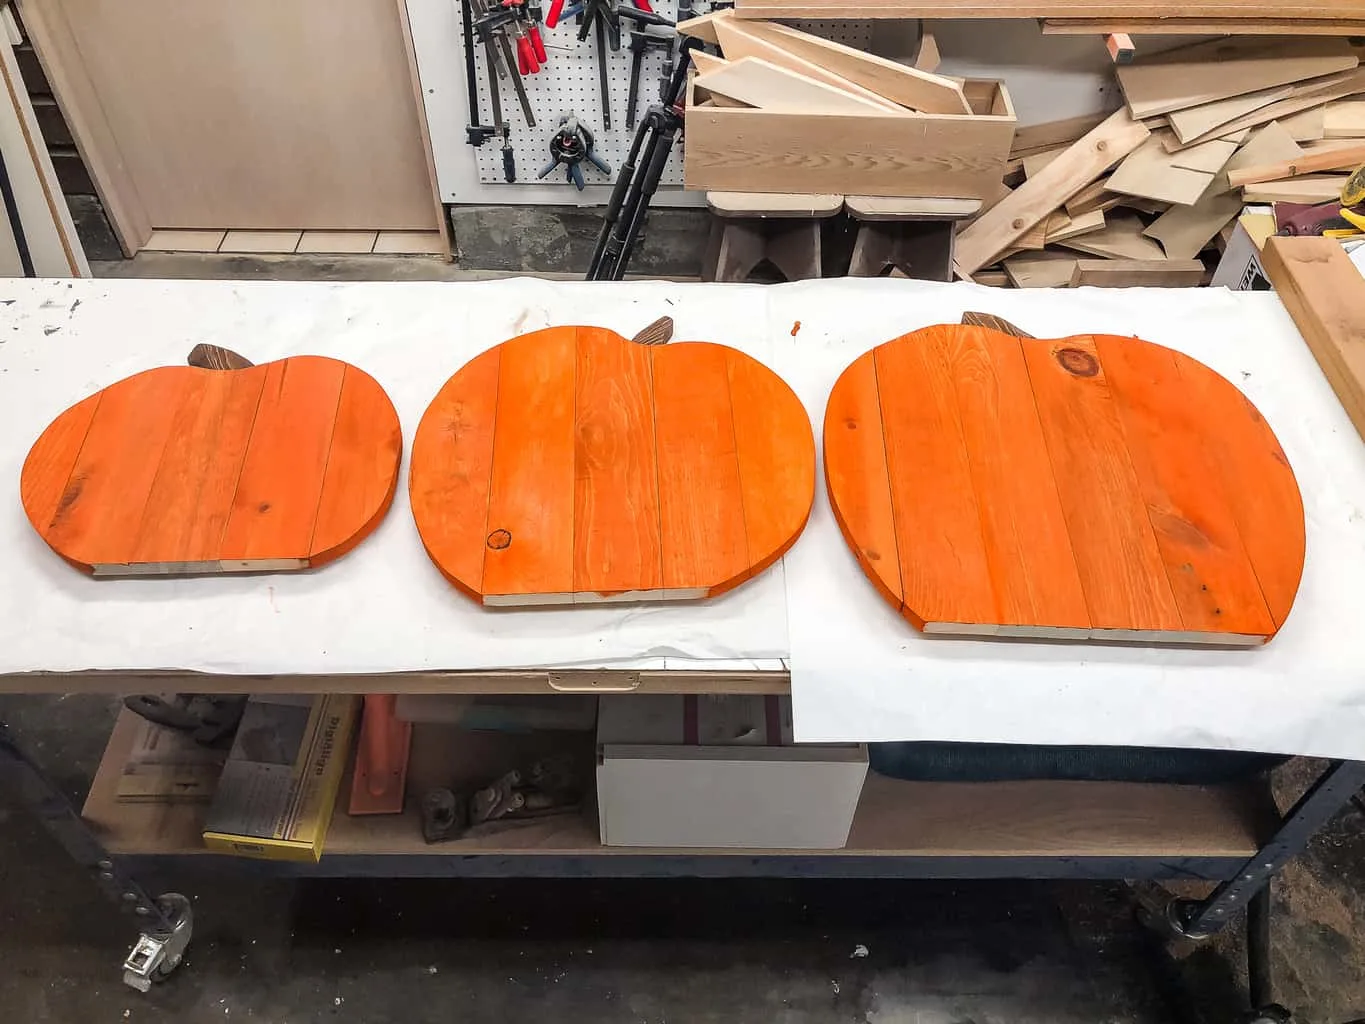
They were looking pretty cute lined up on my workbench to dry!
But they were all the same, and I wanted to give each one their own personality (just like our own little family of three!) Then I remembered the grain enhancer Rustoleum had sent me a while ago to try out.
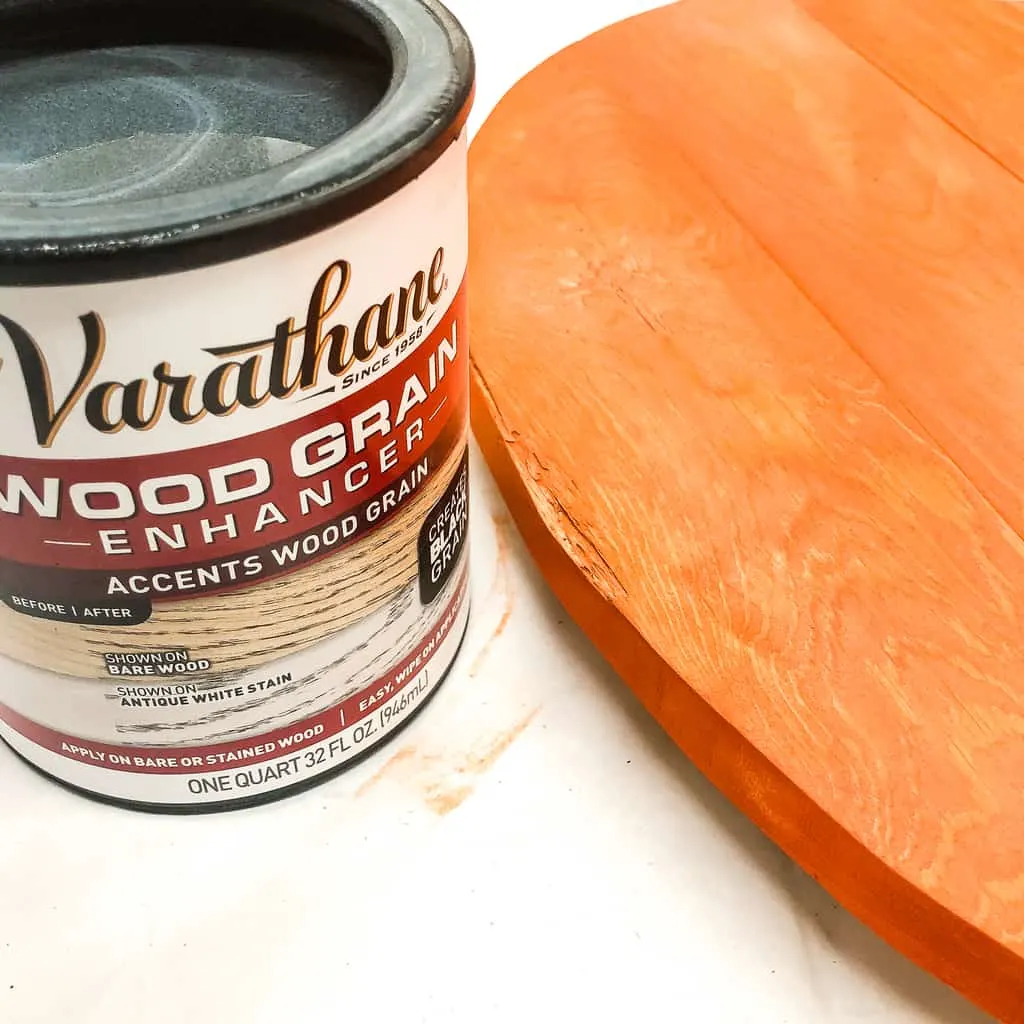
I used the white version on one pumpkin, and the black one on another. The grain enhancer fills in all the deep grain lines and knots, as well as the gaps between the boards. It's a subtle change, but now they each have their own look!
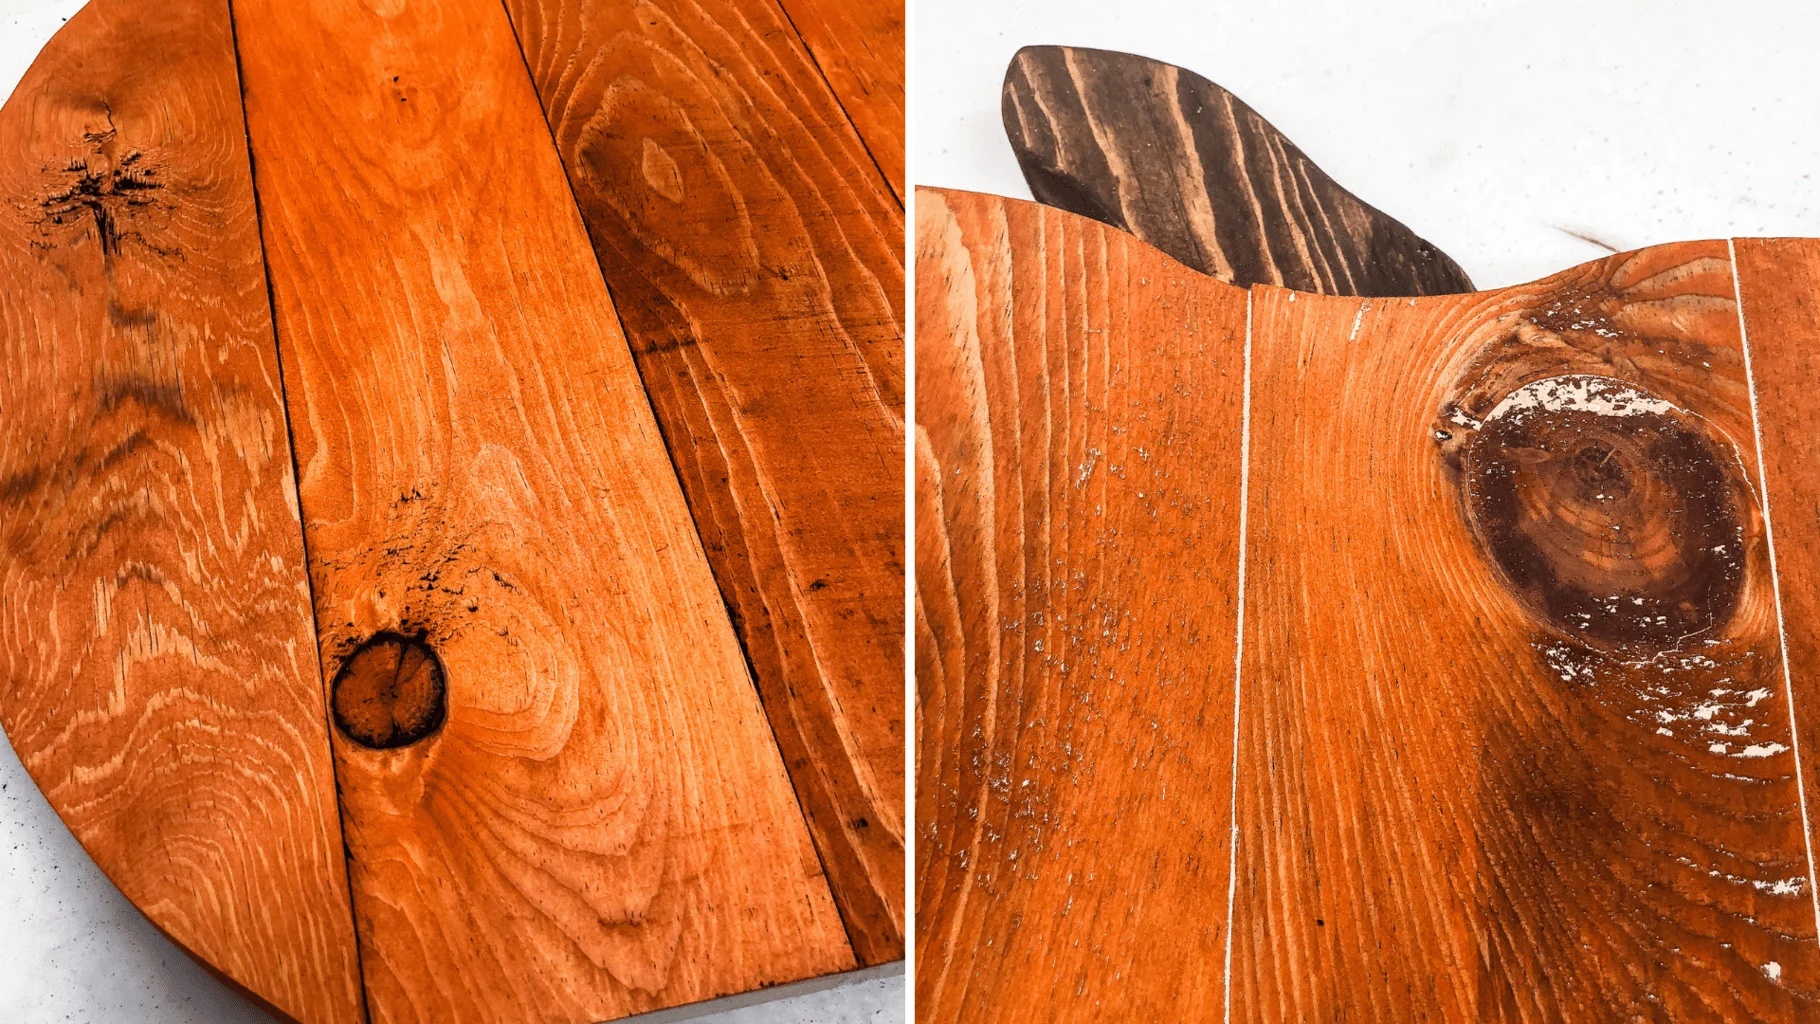
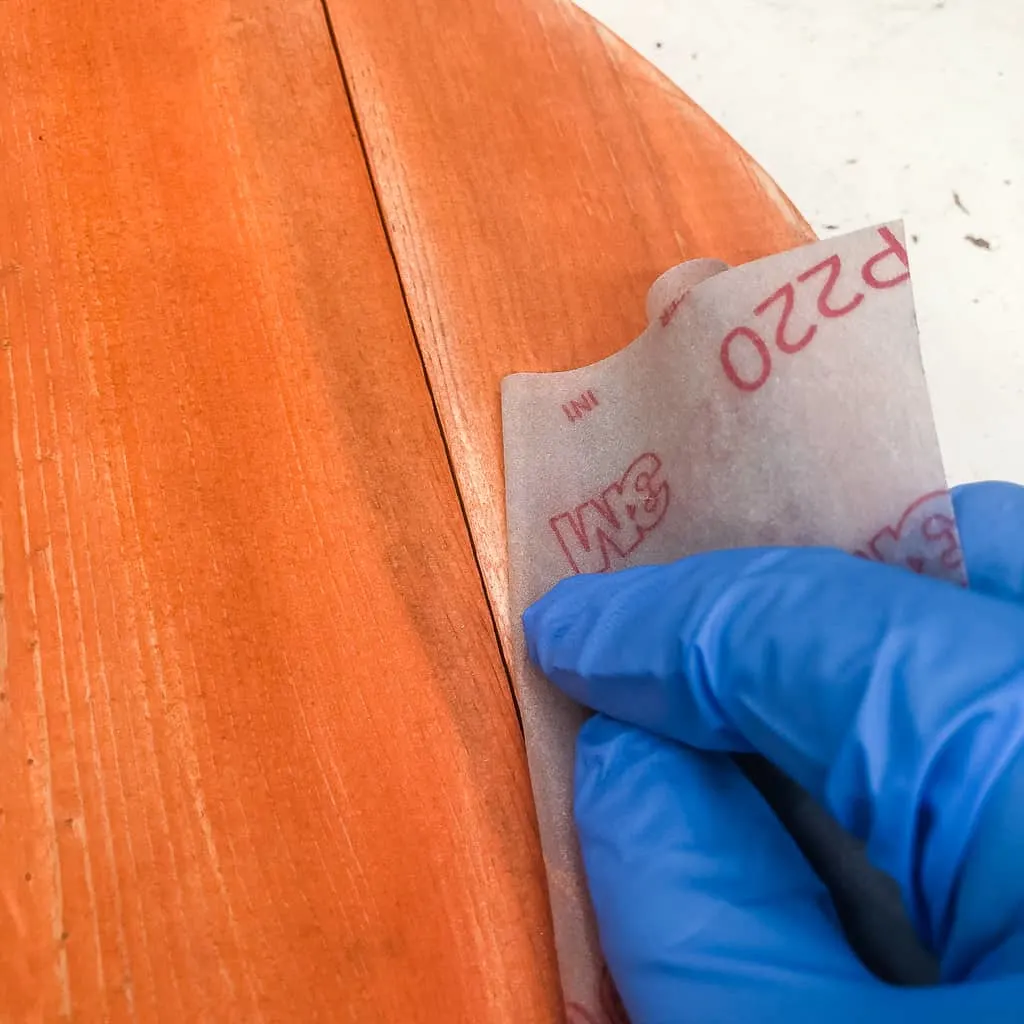
The smallest pumpkin was sanded down a bit for a distressed finish.
Attach Pallet Pumpkins to Base
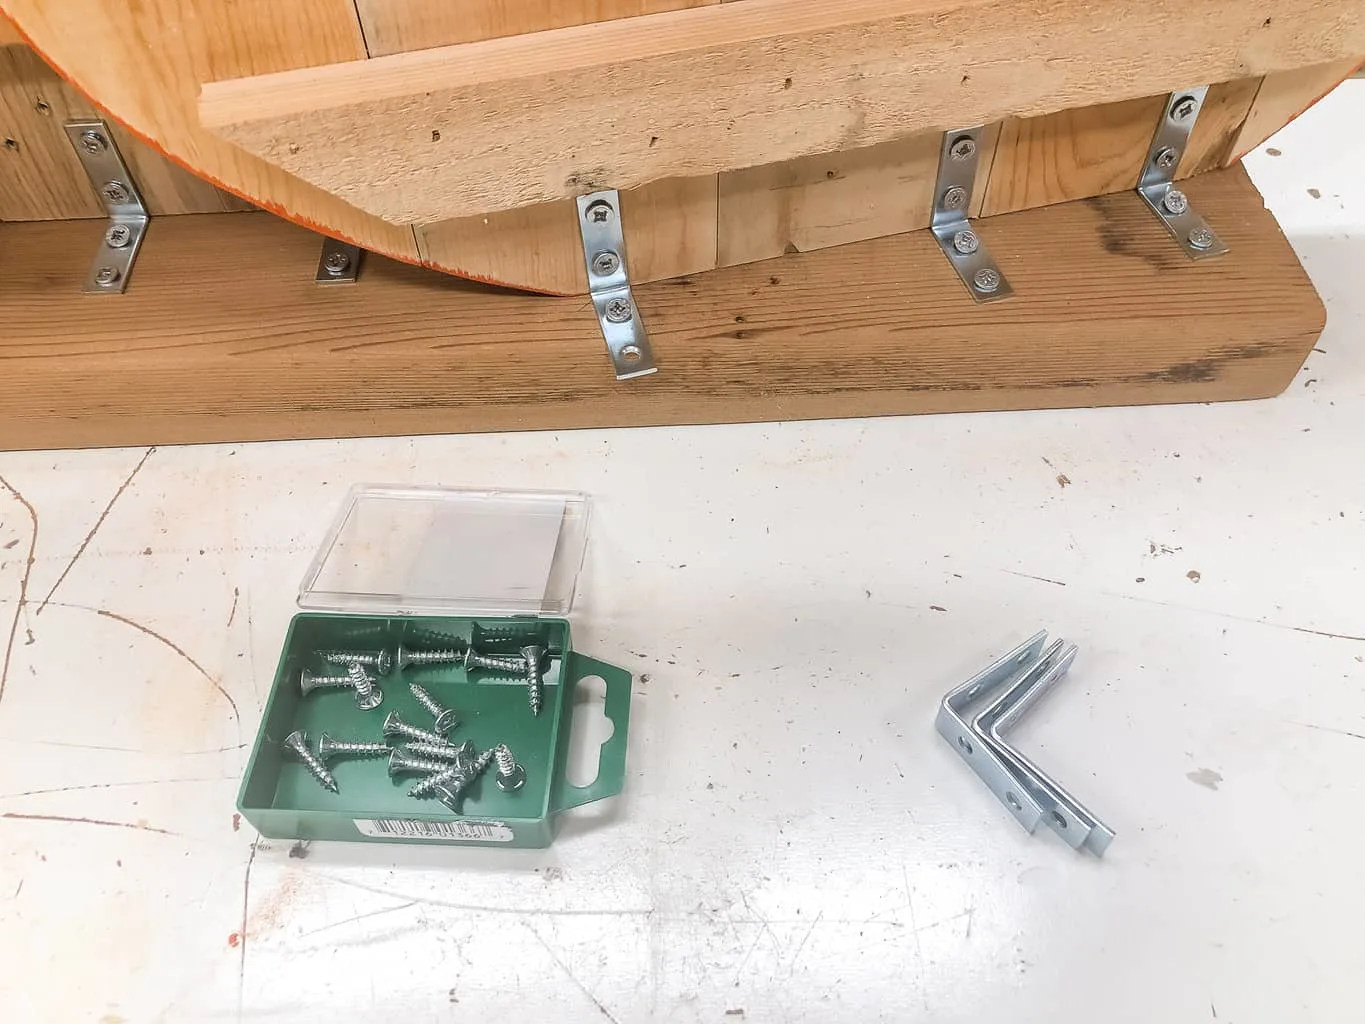
We're almost done! Attach three small angle brackets to the bottom of each pallet pumpkin with ¾" screws, then stand them up on the base.
The smaller one is lined up with the front edge. The two larger pumpkins are positioned at a slight angle so the brackets can be screwed into the base. One of the holes is off the edge, but it's still pretty sturdy. You can use a 2 x 6 for the base instead if it bugs you.
A reader suggested using pocket hole screws to attach the pumpkins to the base, and sent me a photo of his version. Genius! Why didn't I think of that!
Add Details and Display
Doesn't this pumpkin pallet trio look adorable? Just perfect for a fall display!
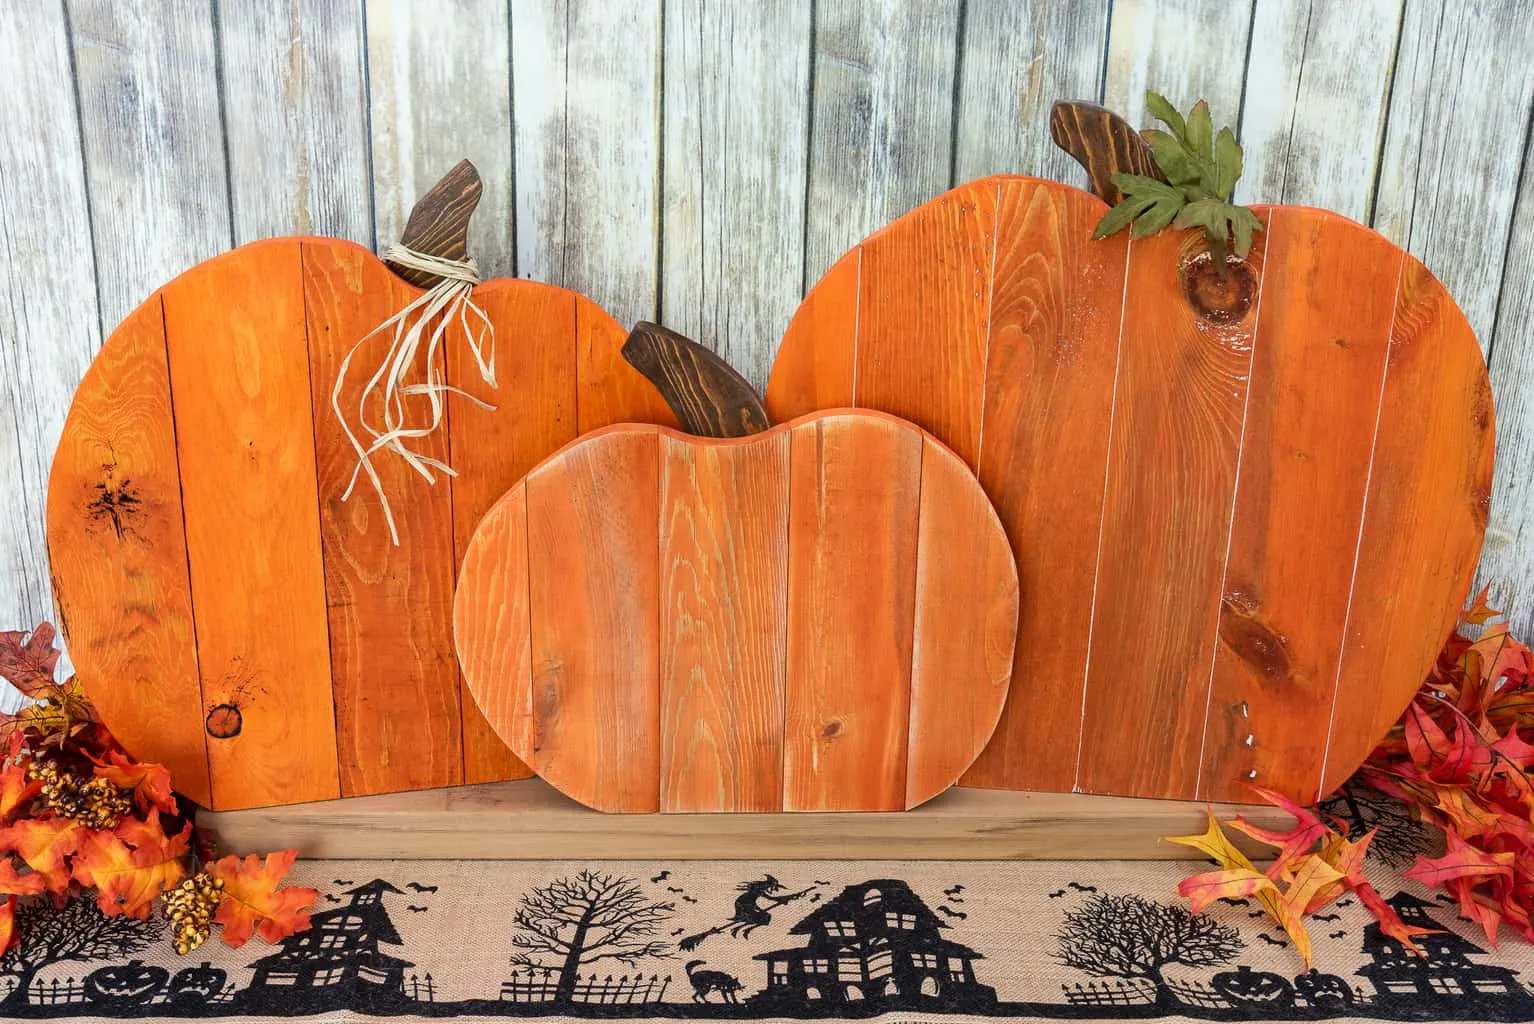
I tied some raffia around one of the stems and added a faux leaf to another to give them a bit more dimension. The narrow size makes it the perfect decoration for your mantel!
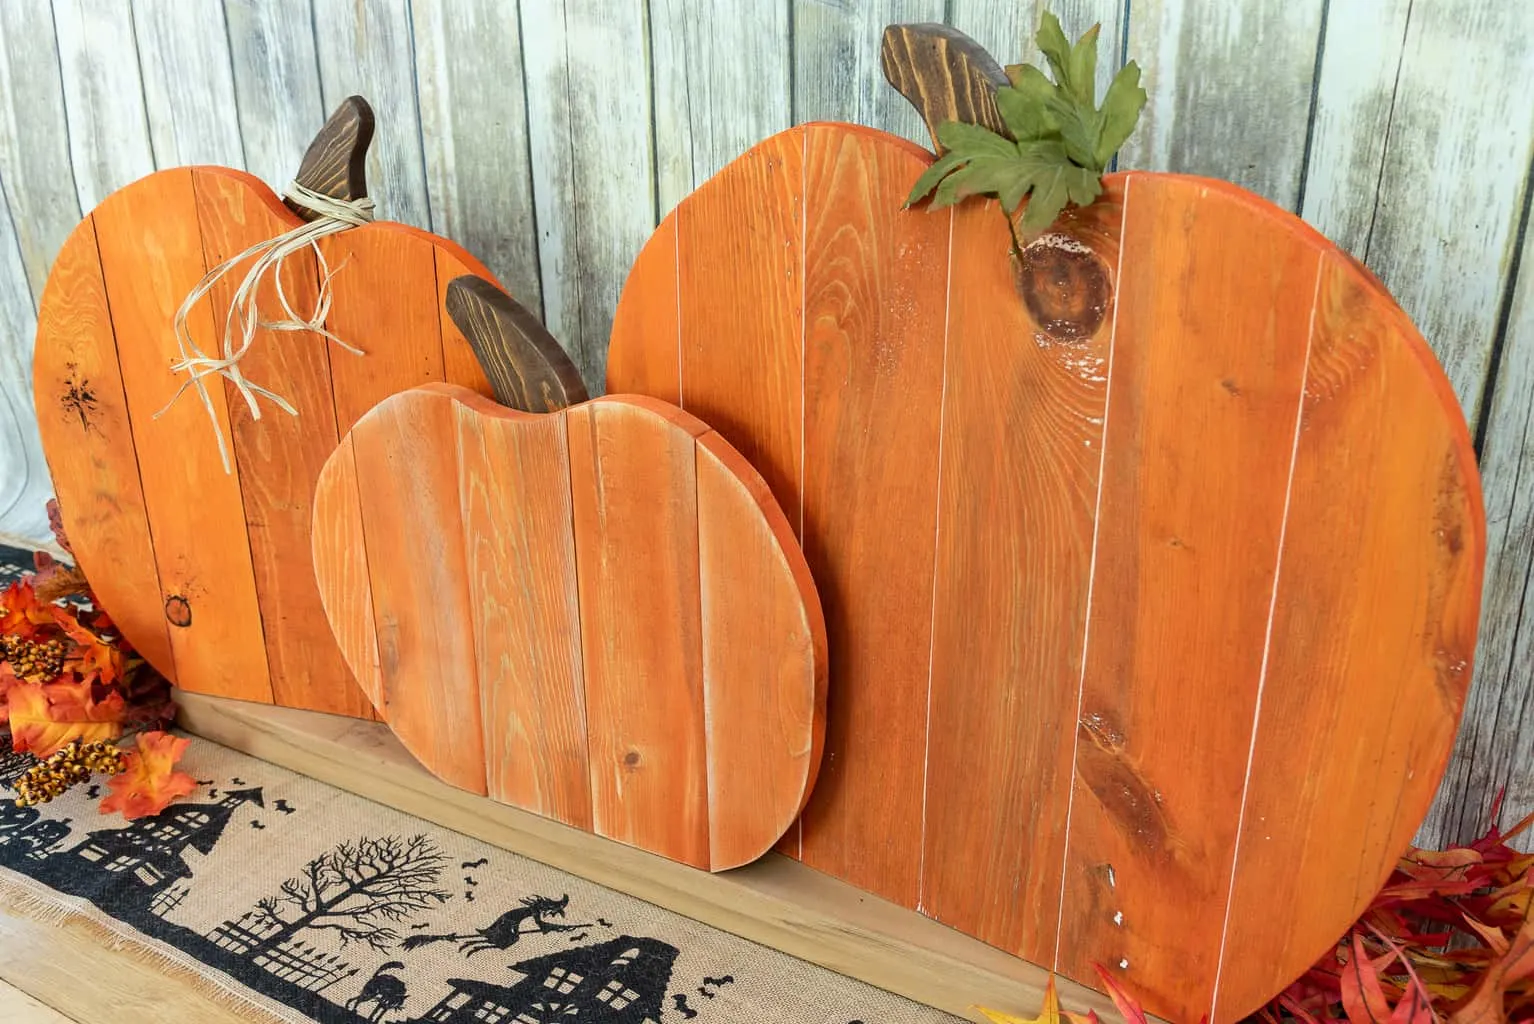
Faux fall leaves and a Halloween themed table runner complete the look.
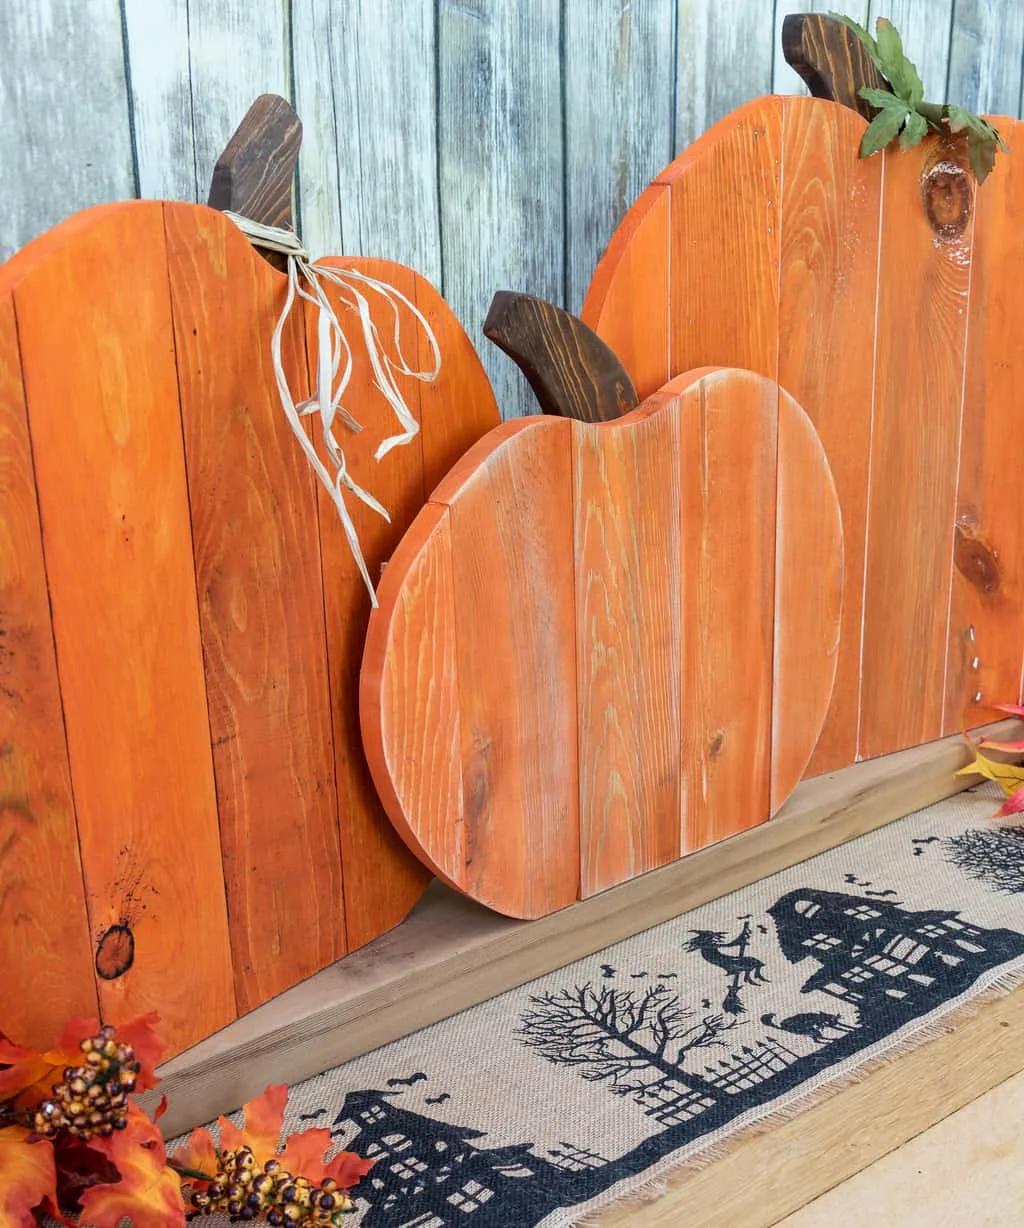
These pumpkin decorations can stay on display all the way through Thanksgiving, just by changing up a few details! Yay for lazy holiday decorating! 😉
If you would like to keep up to date with my latest posts about DIY projects, woodworking and more, you can follow me on Facebook, Pinterest, or Instagram. You can also sign up for my email list below and get the latest post delivered to your inbox, plus exclusive access to my woodworking plans library!
[convertkit form=5093150]


Shannon Williams
Tuesday 2nd of October 2018
I love this! They are really cute! Thanks for the tutorial!
Jen @ The Frozen Mind
Monday 1st of October 2018
These are really cute. Any even though there are a lot of steps none of it seems hard. I scheduled in Tailwind. #OurMiniLinkyParty
Jann Olson
Saturday 29th of September 2018
There are so many fun things that you can do with pallets. Love your pumpkins!! Thanks for sharing with SYC. hugs, Jann
Theresa
Saturday 29th of September 2018
I love how your project turned out. You found a great pallet sometimes they are pretty worn when I see them. Thanks for sharing at the inspiration spotlight party @dearcreatives pinned and sharing. I have my fall craft projects up and can't wait to make a few more like yours. See you again soon.
Linda
Friday 28th of September 2018
Awesome pumpkins. You are so talented. I am happy to feature you this coming Sunday at Dishing It & Digging it. Happy weekend.