
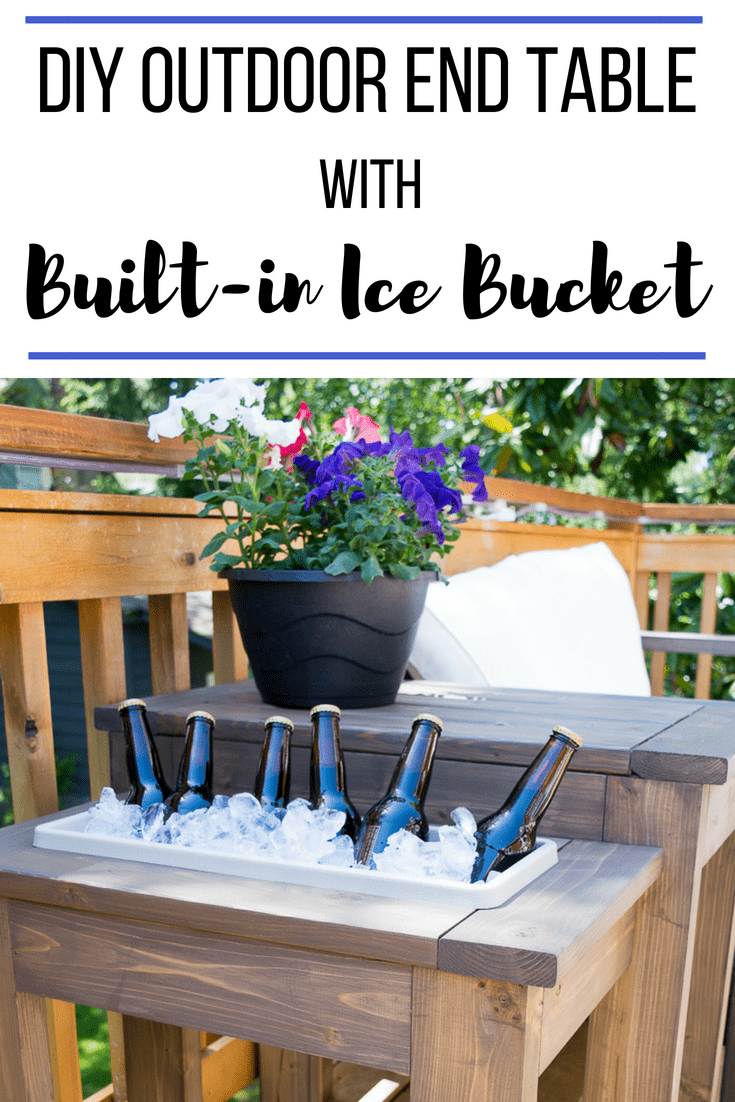
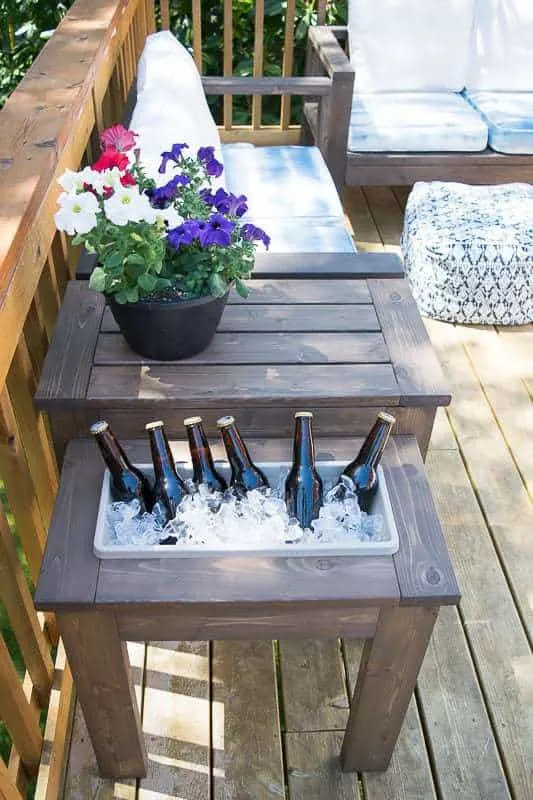
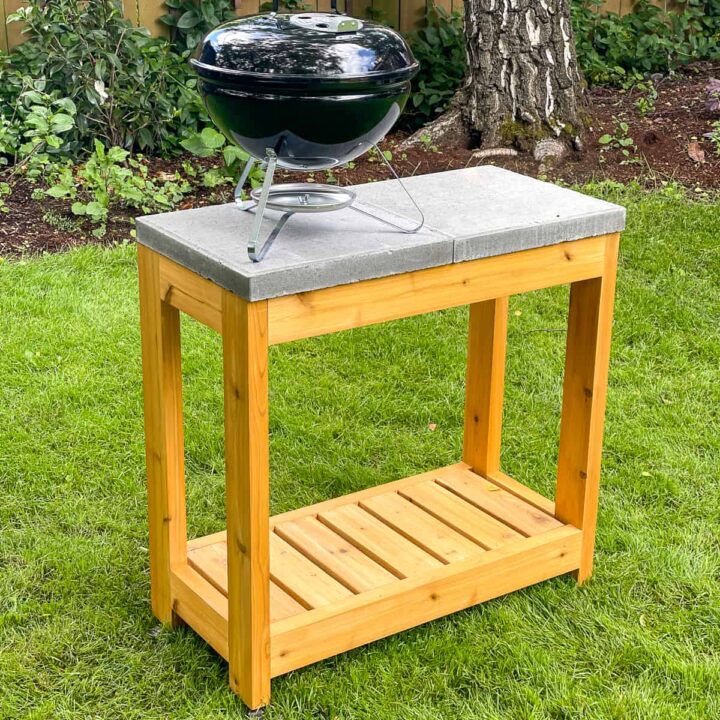
This DIY outdoor end table does double duty! Keep drinks cool with the built in ice bucket, or switch it to a planter box for flowers.

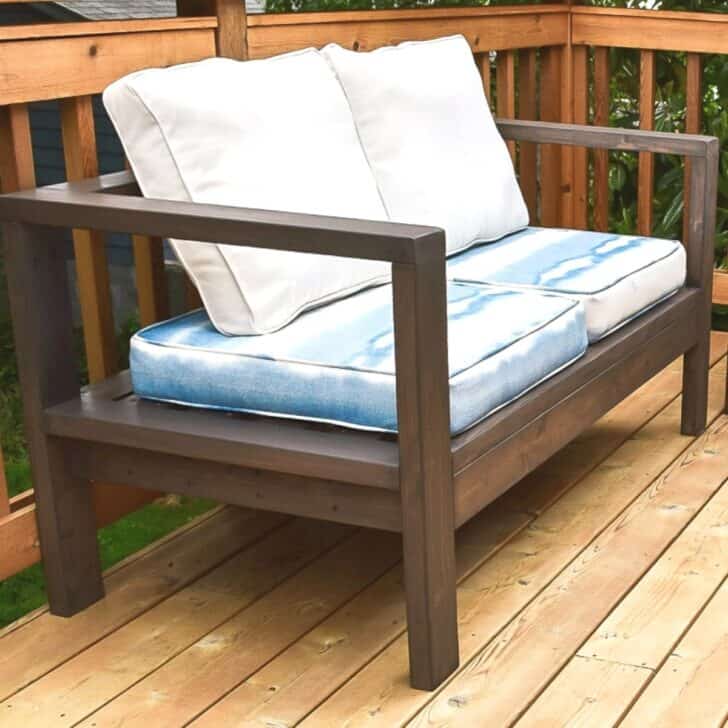
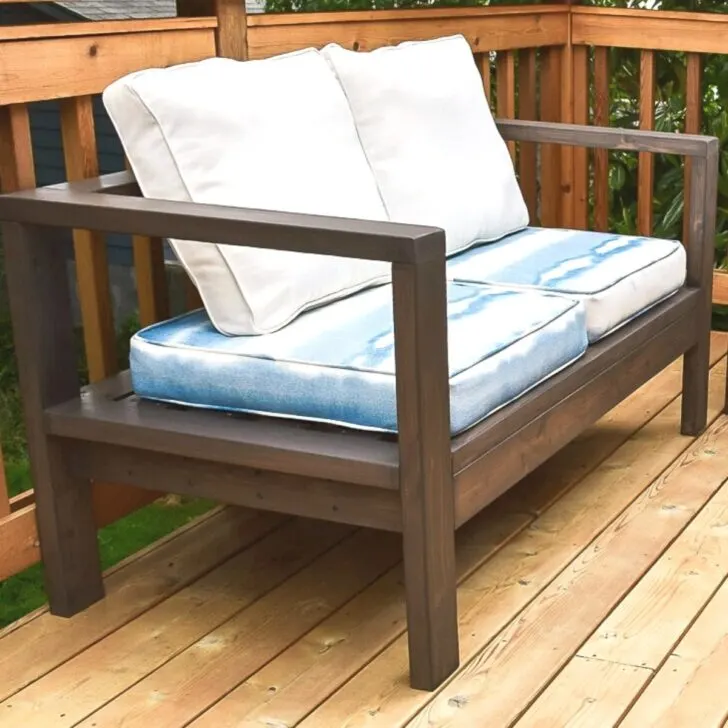
Our quest for the ultimate deck is slowly starting to come together! The outdoor sofa and loveseat set I built creates a cozy seating area in the corner, and outdoor rope lights around the perimeter give it just the right ambiance.
But what good is all that when there's nowhere to set your drink?!? This DIY outdoor end table provides the perfect solution to two problems in one compact space!
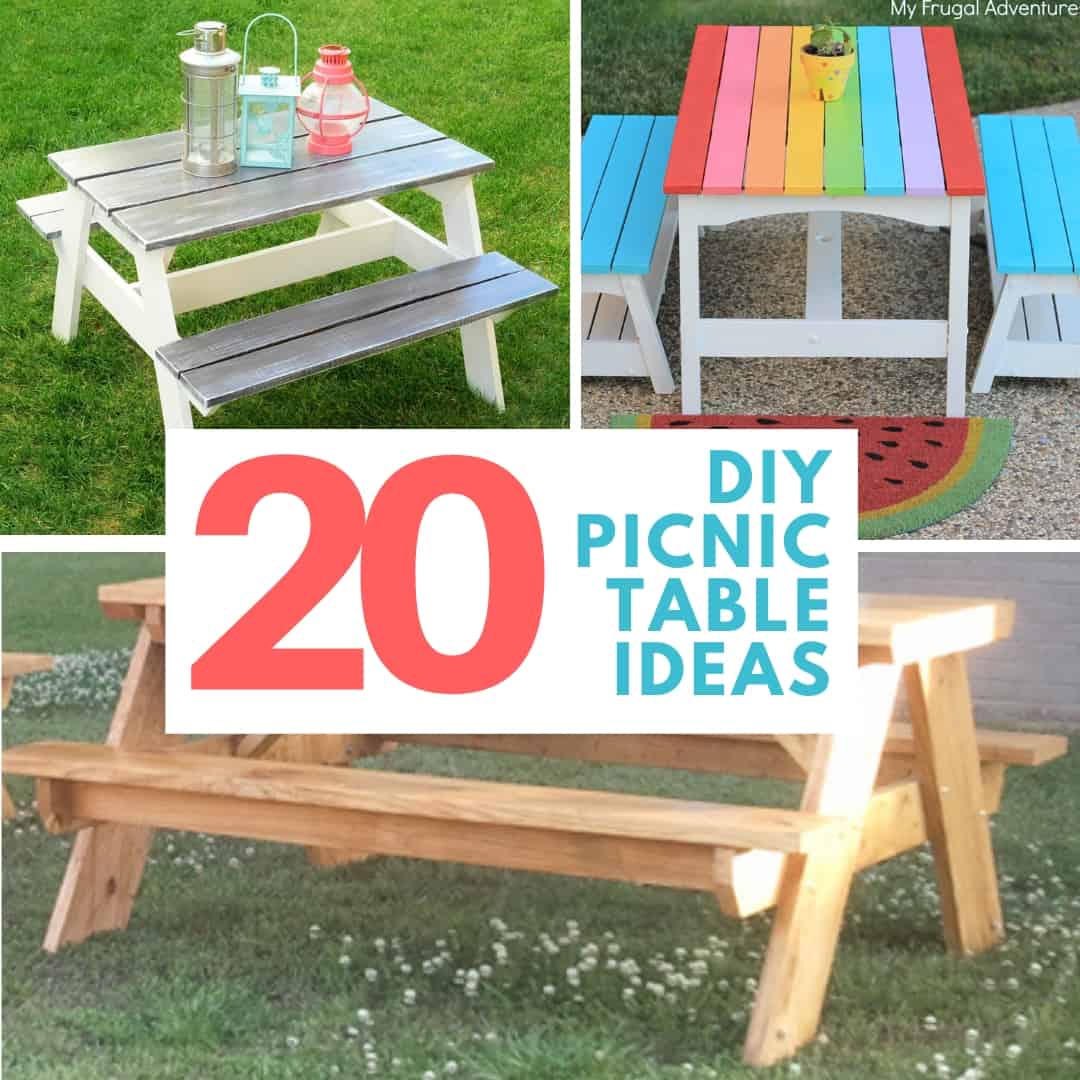
Looking for a different type of end table? Check out this list of 20 amazing DIY end table ideas and see what inspires you!
This post contains affiliate links for your convenience. Purchases made through these links may earn me a small commission at no additional cost to you. Please visit my disclosures page for more information.
Materials needed for DIY table cooler
- 2 - 1 x 4 cedar boards @ 8 feet
- 3 - 2 x 4 cedar boards @ 8 feet
- 2 ½” exterior pocket hole screws
- 1 ¼” pocket hole screws
- Kreg Jig
- Check out my post on how to use a Kreg Jig to help you decide which one is right for you.
- 3 - 1 ½” L angle brackets
- 18” long plastic planter box
- Buy two if you plan to switch out the flowers for an ice bucket occasionally!
- Exterior wood stain
- Drill
- Miter saw or circular saw
How to make an outdoor planter table
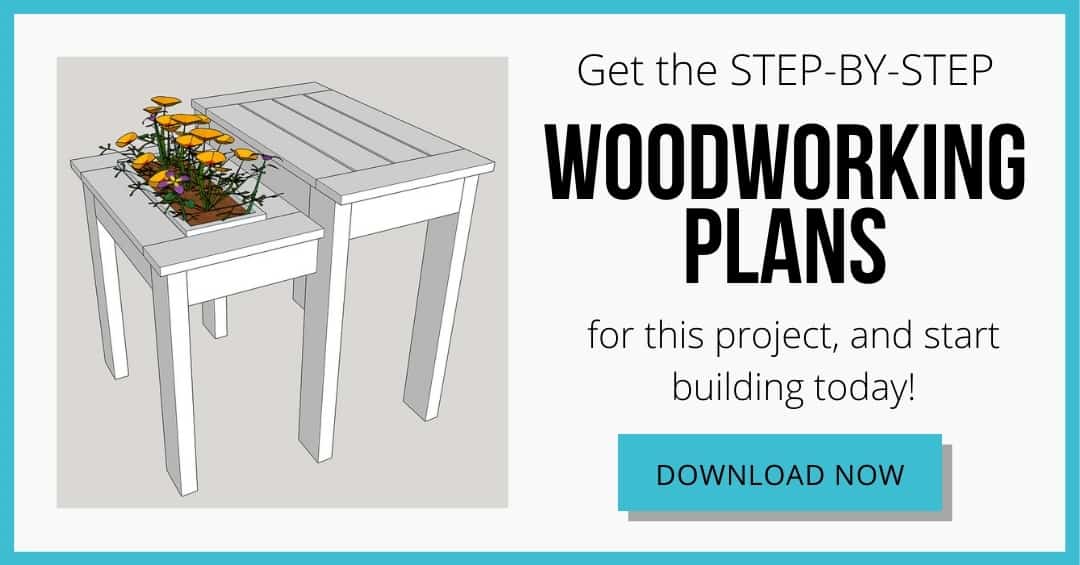
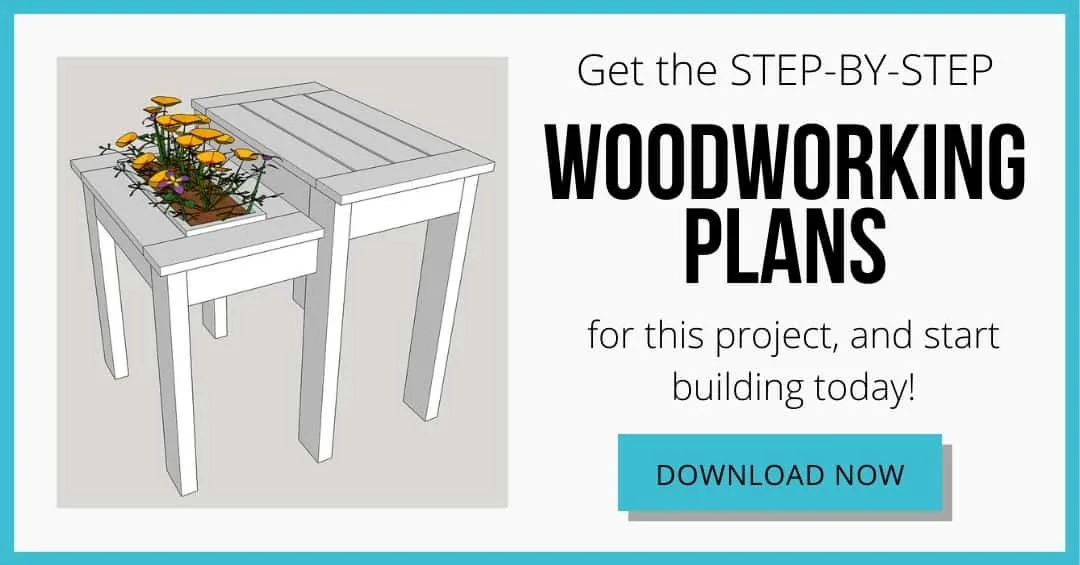
Download the woodworking plans
Before you begin, download the woodworking plans for this DIY outdoor end table by clicking the box below. The plans include a cut list with all the dimensions, 3D models of each step and the instructions in a checklist format so you can keep track of your progress as you build!
Assemble the legs
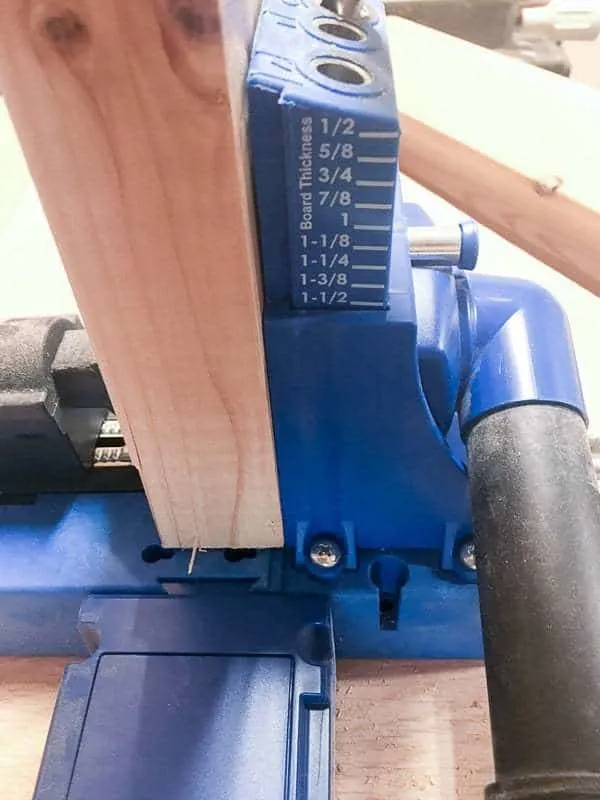
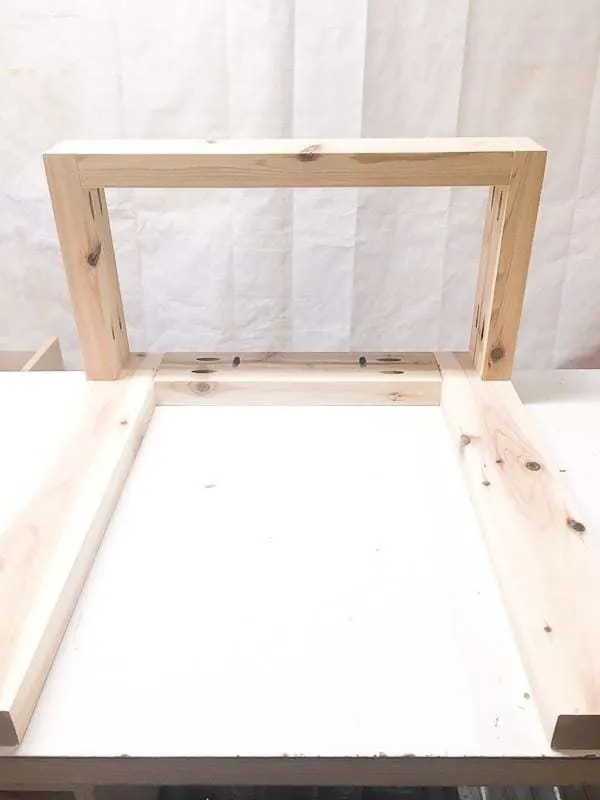
Drill pocket holes in both ends of top tier frame pieces at the 1 ½” board thickness setting.

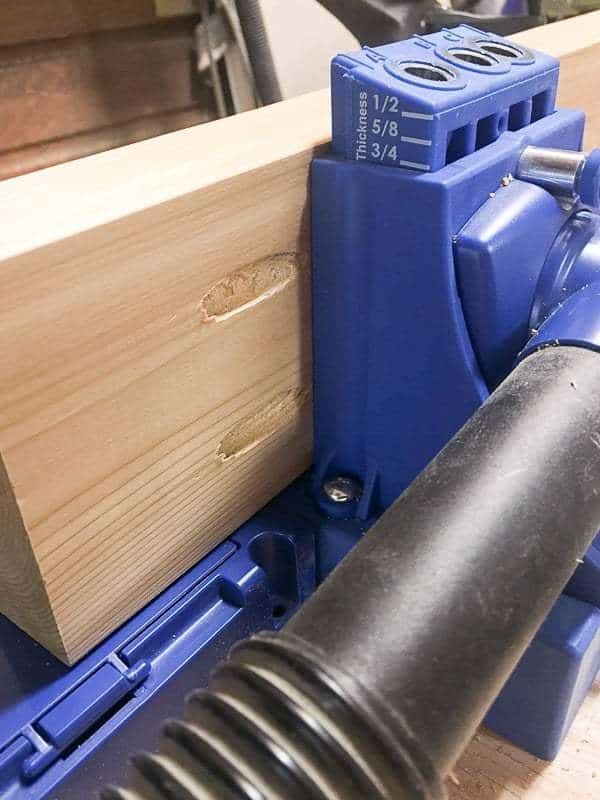
Then drill pocket holes along one length at the ¾” setting.

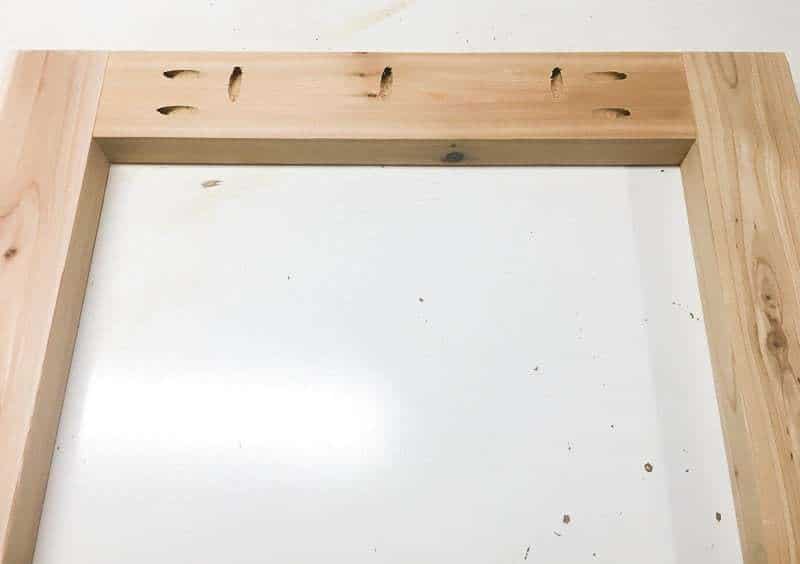
Attach these to the legs with 2 ½” pocket hole screws. The holes along the long edge should be facing up and will be used to attach the top later.

Repeat the process for drilling pocket holes for the bottom tier frame pieces. Attach them to the outside edge of the table legs with 2 ½” pocket hole screws.
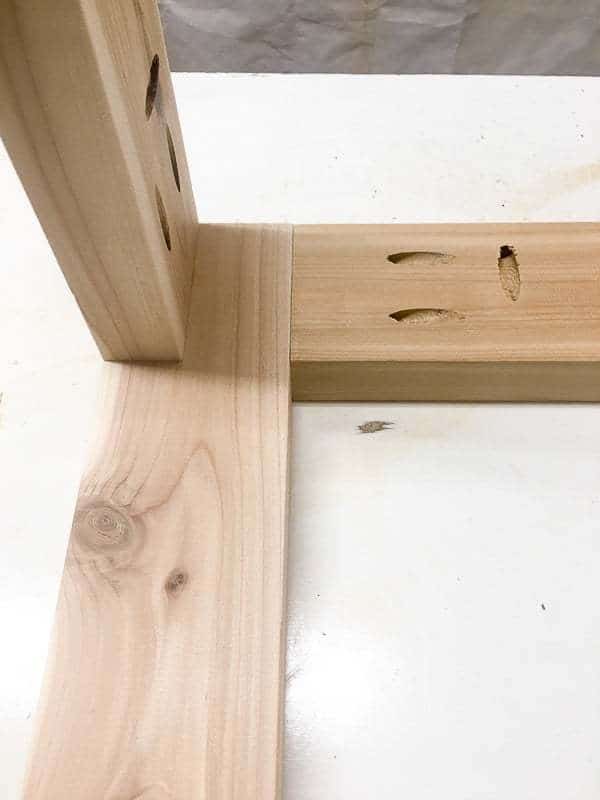

Attach the other set of legs. It may be a little tricky to fit your drill inside the frame to attach this piece. I used a right angle drill attachment to get into this tight spot.

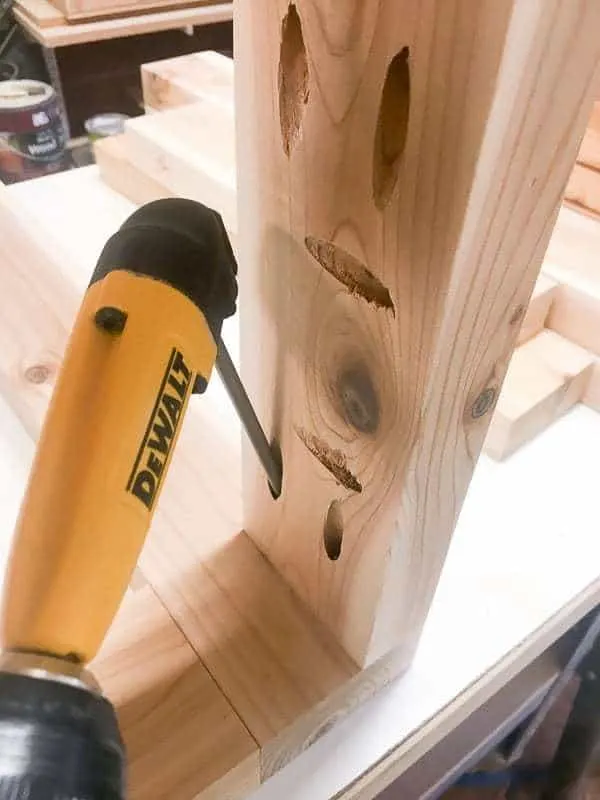
The planter side of the table only needs one pair of legs.

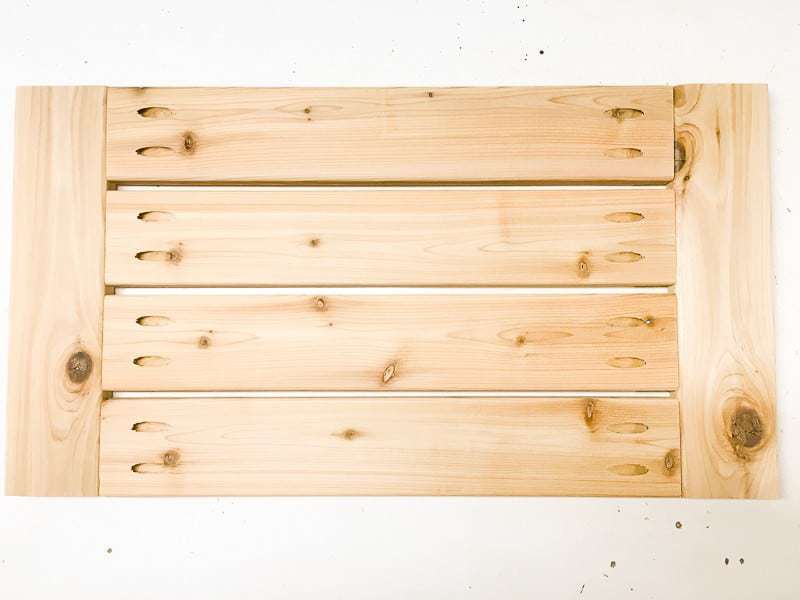
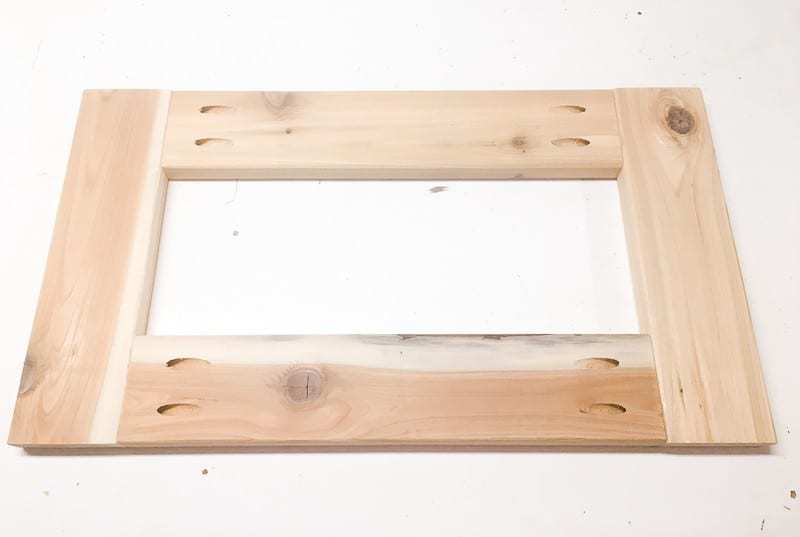
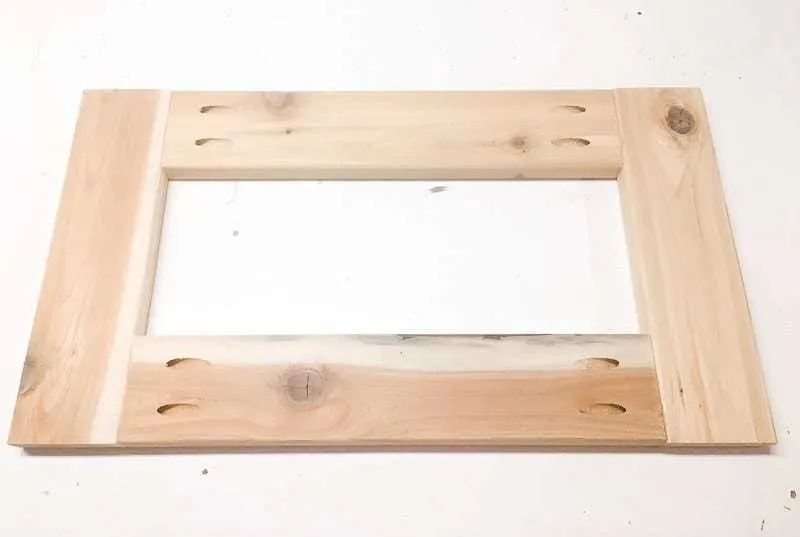
Assemble the table tops
The tops of the table are made out of 1 x 4's. Drill two pocket holes into both ends. Attach these to the side pieces with 1 ¼” pocket hole screws, leaving about ¼” between each slat.
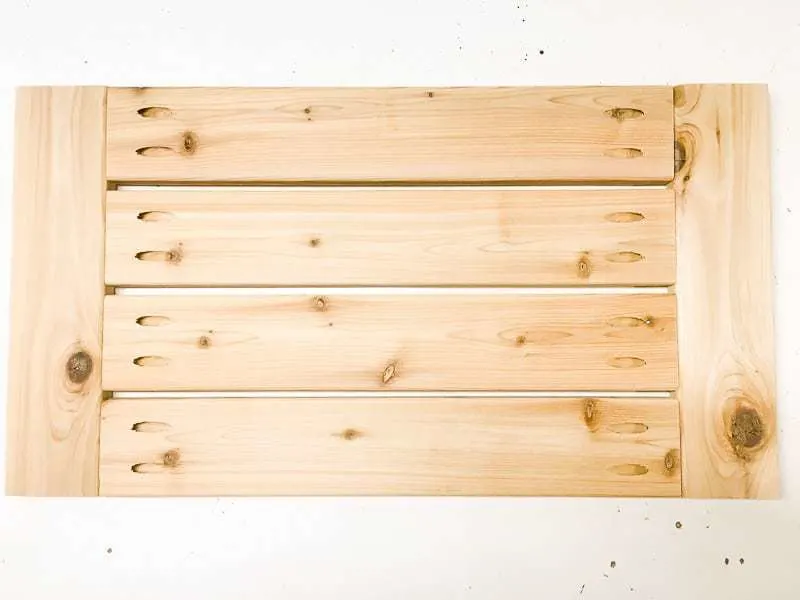
Assemble the planter side the same way, but leave a space in the middle that is big enough for the lip of your planter box to rest on top securely. This one was custom fit to this plan.
You'll want to buy two planter boxes if you want to switch out flowers for the ice bucket, unless you like dirt in your ice!
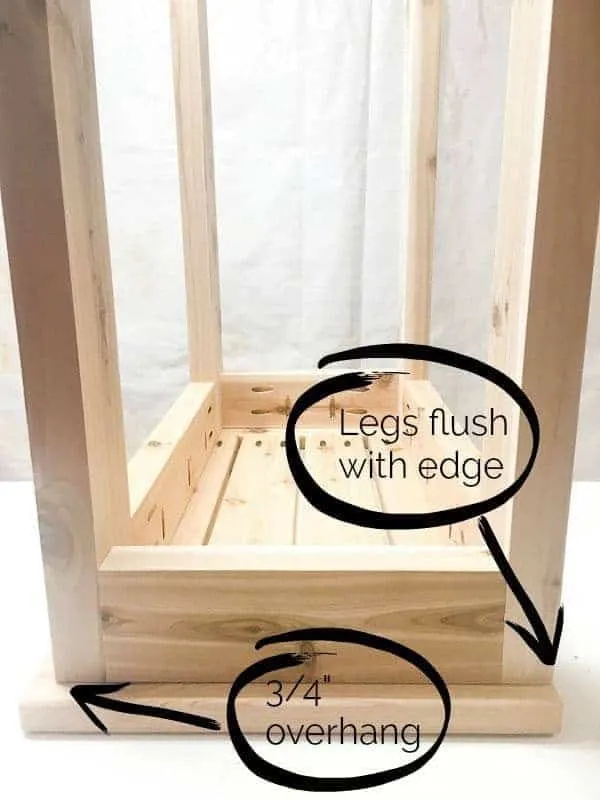
Attach the table tops to the legs
Attach the table tops to their matching frames with 1 ¼” pocket hole screws. One long edge should be flush with the legs, and the other sides should overhang by ¾”.

Now is a good time to paint or stain. I used the same exterior stain as the outdoor sofa and loveseat I built, so the entire set matches perfectly!
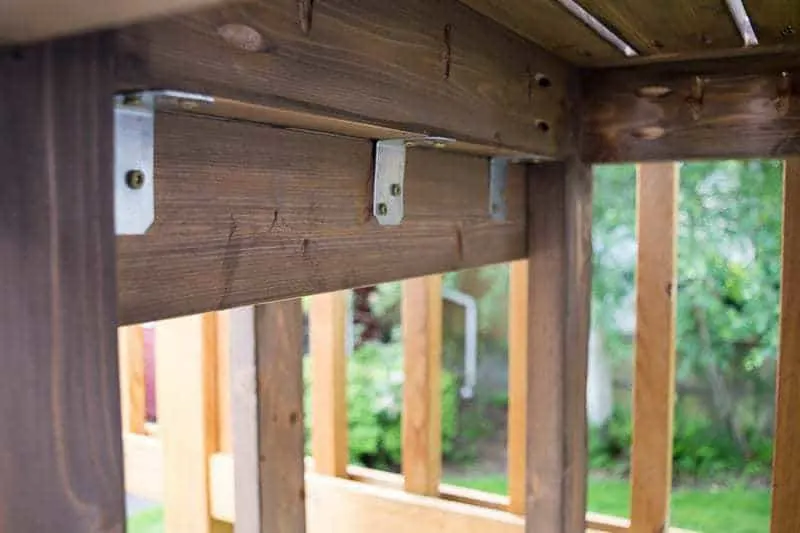
Attach the two sides together
Stand both halves next to each other on a flat surface with the flush sides together. Check that the planter side is level, then attach it to the upper table with 1 ½” L angle brackets.

Fill your planter box with flowers (or ice) and drop it in. The lip of the box should rest on the edges of the table top, and can easily be switched out.
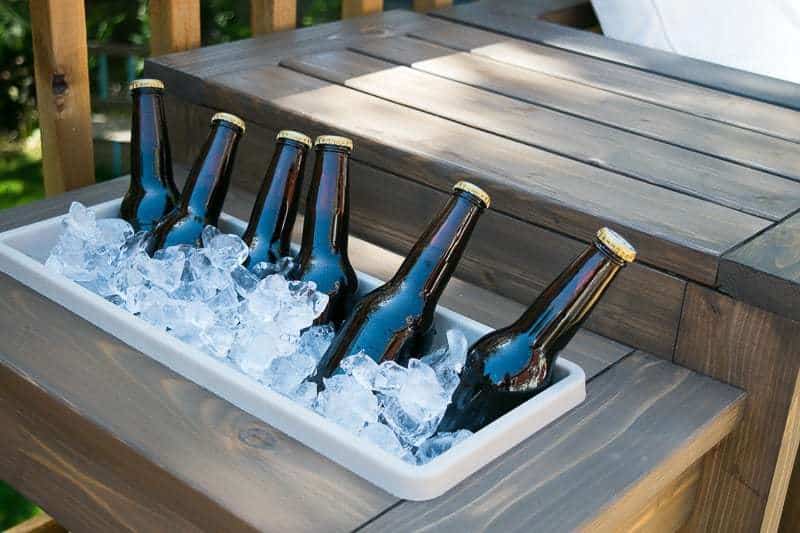

The planter box comfortably fits a six pack, so you always have your favorite beverage cold and close at hand.

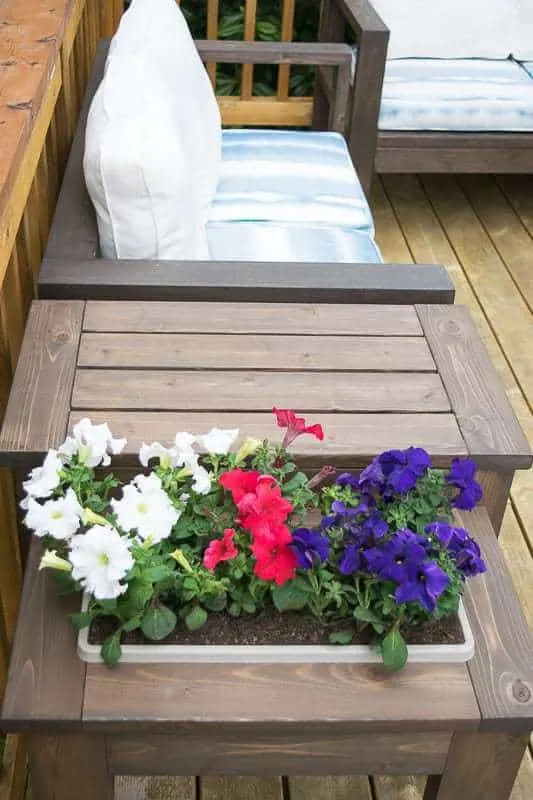
Or switch out the box for beautiful flowers to enjoy while relaxing on your deck or patio.


Christine
Friday 25th of May 2018
I love this! I like it as a planter too.
Emily
Thursday 24th of May 2018
I'd love a pair of these for our patio! So cool! Thanks for sharing at Merry Monday; I'll be featuring your DIY end table at our upcoming party. Hope you'll join us again next week!
Kerryanne
Wednesday 23rd of May 2018
What a fabulous summer project Vineta!! Thank you for sharing it at Create, Bake, Grow & Gather this week. I'm delighted to be featuring your end table with built-in ice bucket at tonight's party and pinning too!
Jann Olson
Sunday 20th of May 2018
This is really cute! Thanks for sharing with SYC. hugs Jann
Shirley
Sunday 20th of May 2018
You are well on your way to the ultimate deck for outdoor living. Love it! What a cozy setting you have created. A great place for morning coffee or evening entertaining. This is a Featured post at Merry Monday this week! Sharing! Can't wait to see what your next project is!