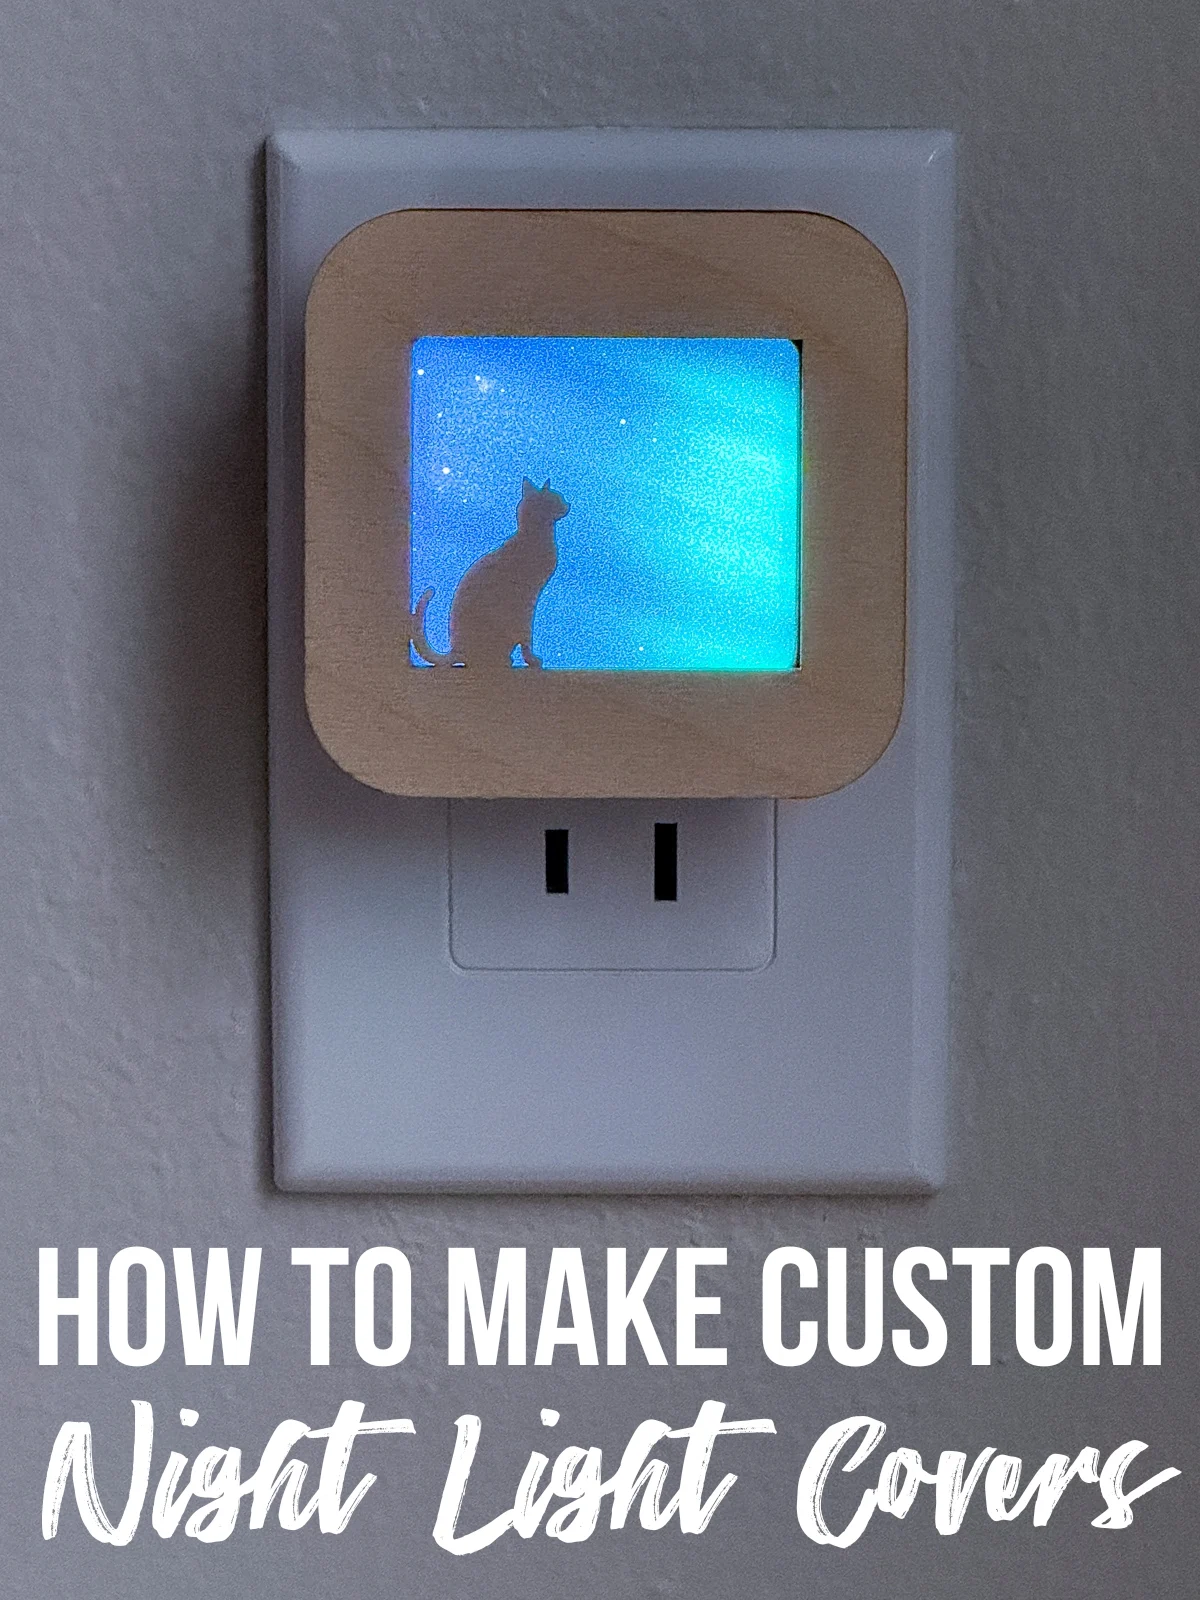
These fun, colorful DIY night light covers are easy to make with a diode or CO2 laser! Switch them out with the seasons or holidays, and make one to match your decor in every room!
This post contains affiliate links for your convenience. Purchases made through these links may earn me a small commission at no additional cost to you. Please visit my disclosures page for more information.
Transform ordinary LED night lights into personalized pieces of art with the magic of laser cutting! Each of these covers is like a little glowing window of color that you can switch out easily without damaging the light.
I designed these covers so they fit snugly around the light without interfering with the dusk-to-dawn sensor on the top. They only fit these nightlights, and probably won't work on other brands without significant alteration.
You can find the exact night light model that I used on Amazon here. There is also a 6-pack that is half the price per unit if you want to buy them in bulk. I recommend the daylight white (5000K) version, which will give you brighter colors and allow more light to show through.
Materials
- Night light cover SVG file from my Etsy shop
- ⅛" plywood, MDF or acrylic
- Acrylic may be thinner than ⅛", so you might need to add an extra spacer for it to fit properly.
- 0.01" transparent flex
- I get all my patterned flex material from Smokey Hill Designs, but you can also find it at other acrylic retailers such as CMB.
- Make sure to choose the 0.01 clear flex option with any of the transparent patterns. I recommend patterns that don't have a lot of black lines, such as the stained glass patterns, because they distract from the silhouette image.
- Yes, this is a diode-friendly material! I used the same flex material to make these acrylic bookmarks on my xTool M1 Ultra and it cut great using several passes.
- This LED night light
- CA glue
- Diode laser or CO2 laser
Setting up the file
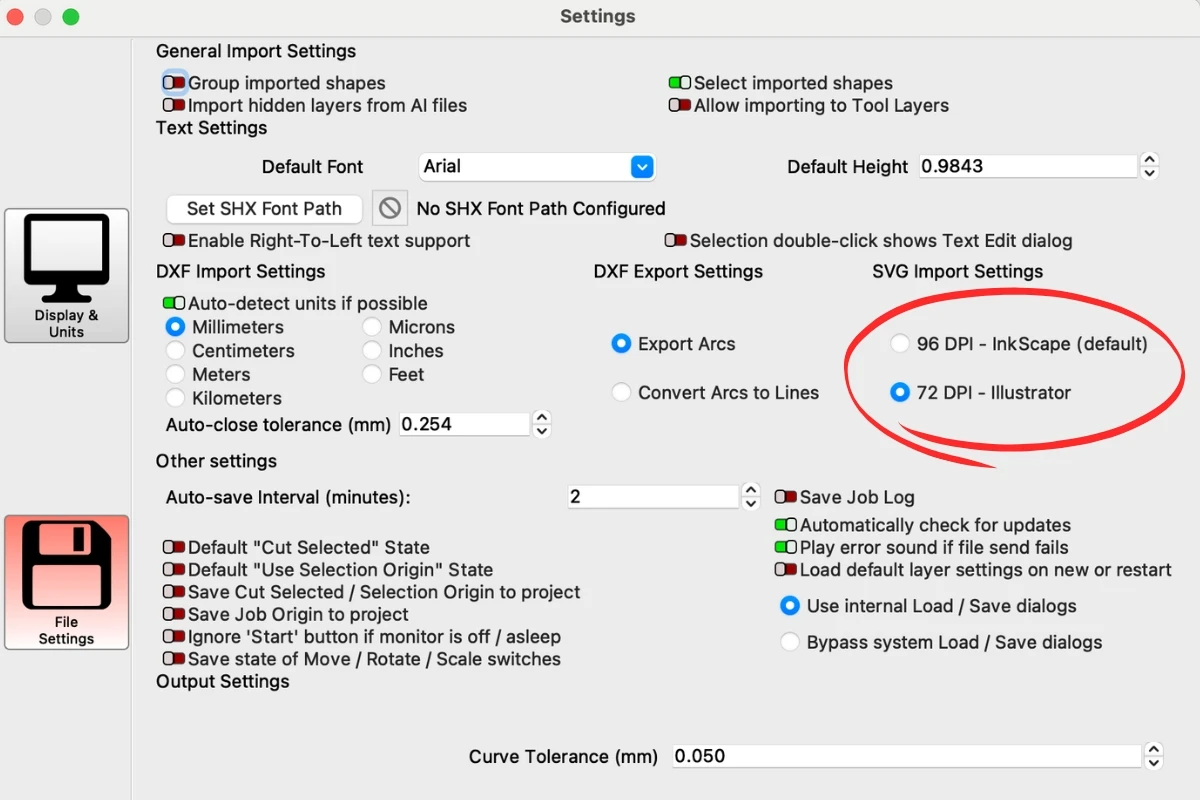
This file has been tested in xTool Creative Space, but should work in any laser software. If you use Lightburn, make sure that you have your import settings set for 72 DPI (Illustrator) so the sizing is correct.
After importing the SVG file into your laser software, I recommend placing the transparent flex piece on a separate canvas so you don't accidentally cut it out of solid wood. If you want to cut the back hook and spacers out of a cheaper material like MDF, move them to a separate canvas as well.
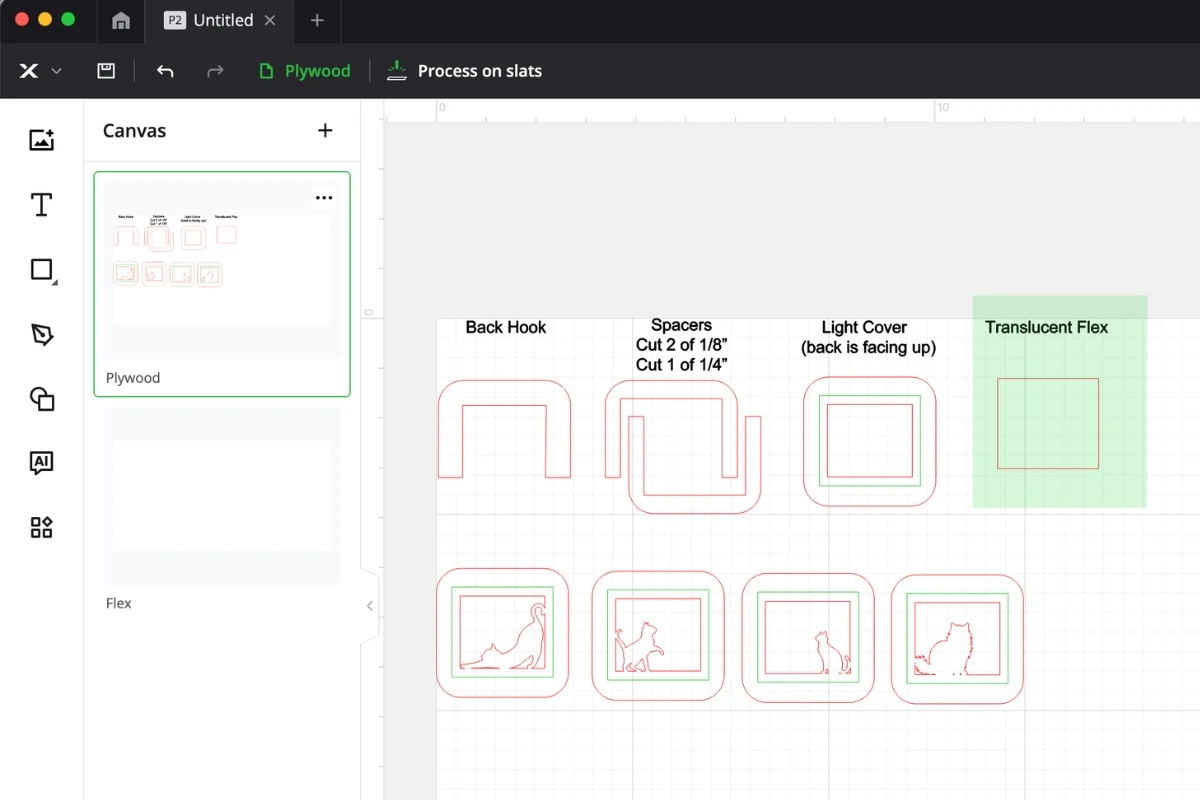
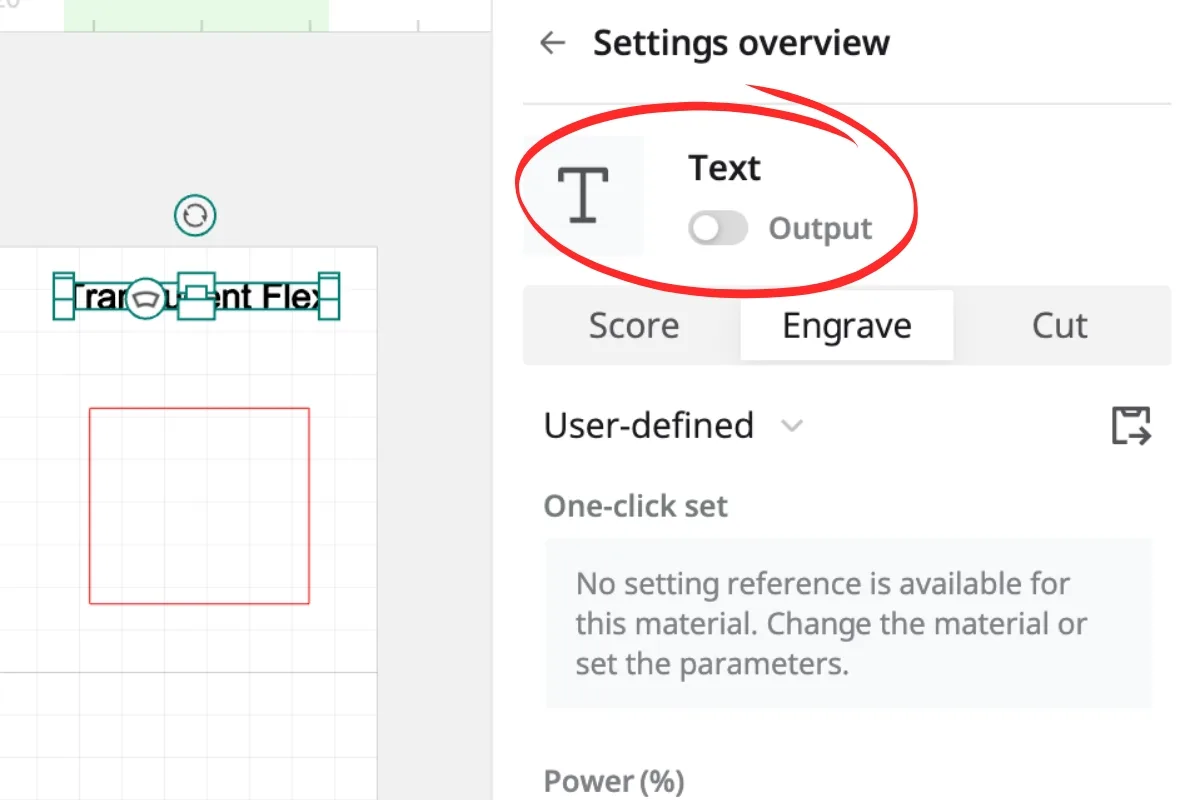
In all of my laser files, red is for cut, blue is for engrave, green is for score, and black is ignored. Start by selecting all the black text and turn off the output or set to ignore. This will keep the text visible for reference, but won't engrave it accidentally.
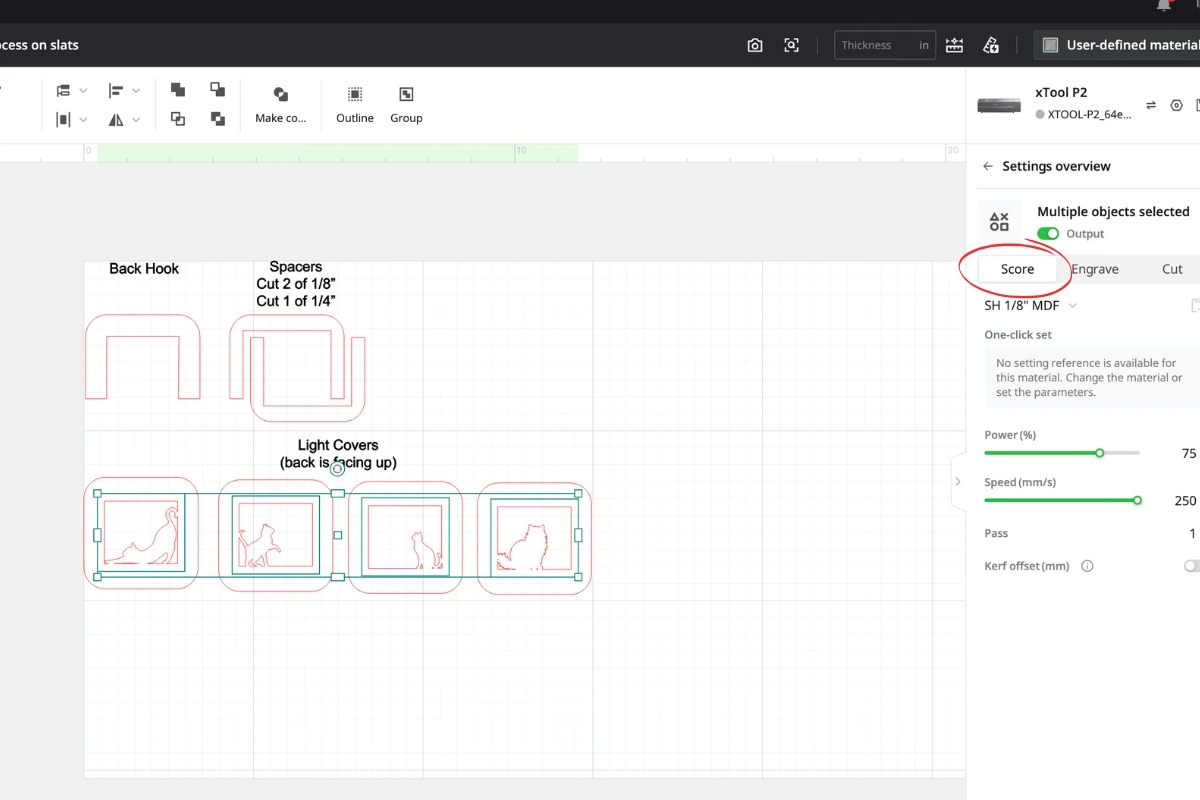
The green score line will help align the transparent flex piece correctly on the back. It doesn't need to be a dark line, so you don't need to set the speed and power very high for it to be visible.
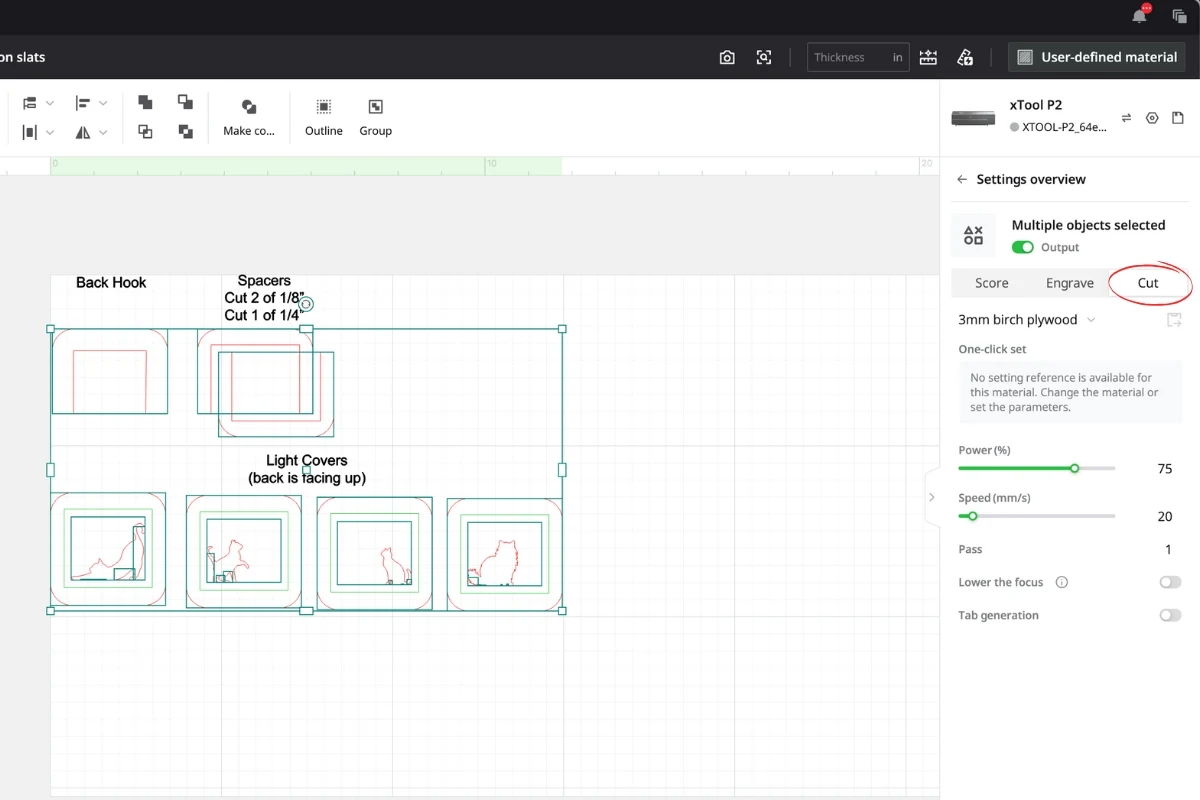
Finally, set all the red lines to cut. If you're using a material for the first time, I recommend running a test grid first so you can determine the best settings for your machine. Some of the decorative pieces are quite small and can burn up if the settings are too high!
You can rearrange the pieces to minimize the space between them. I love using the close up camera on the xTool P2 to fit these pieces as close as I can get on the material. I'm using flex with the pattern Northern Lights Blur for these cat night lights.
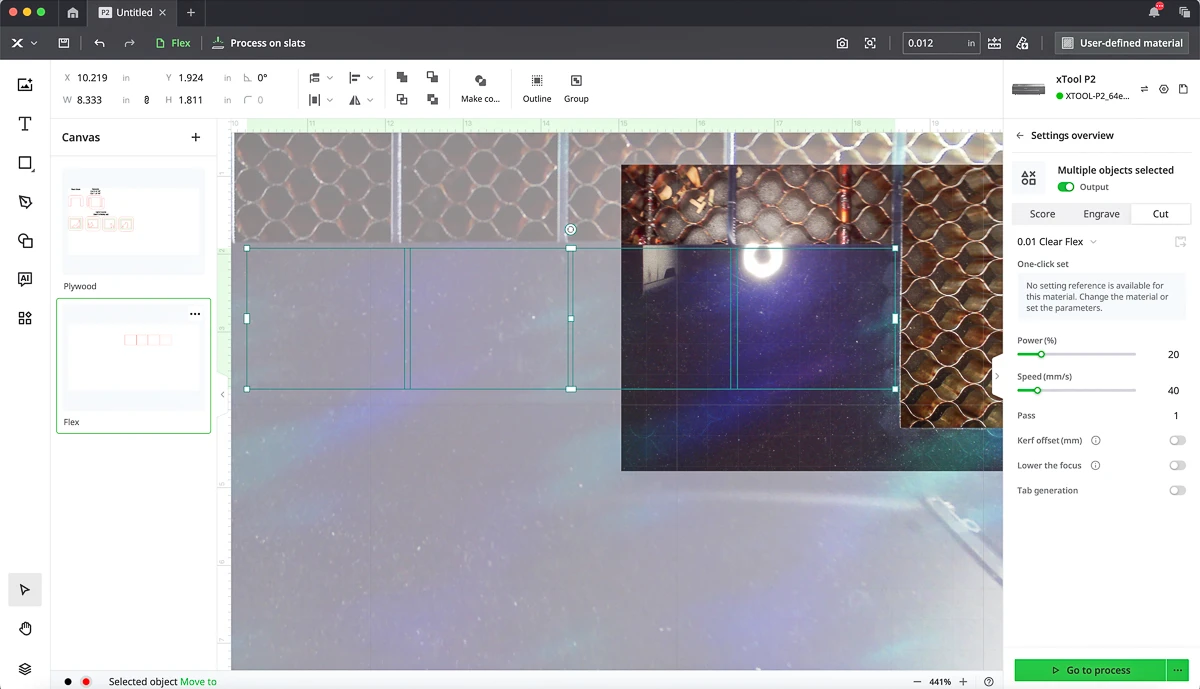
Remember that you'll need one back hook and two spacers for each night light cover made with ⅛" material. If you want to save yourself some gluing during assembly, you can cut a single spacer out of ¼" material instead.
You'll need to place your material face down in your laser, so you may want to mask the front to prevent flashback from the laser beam. The score line should be on the BACK of the material.
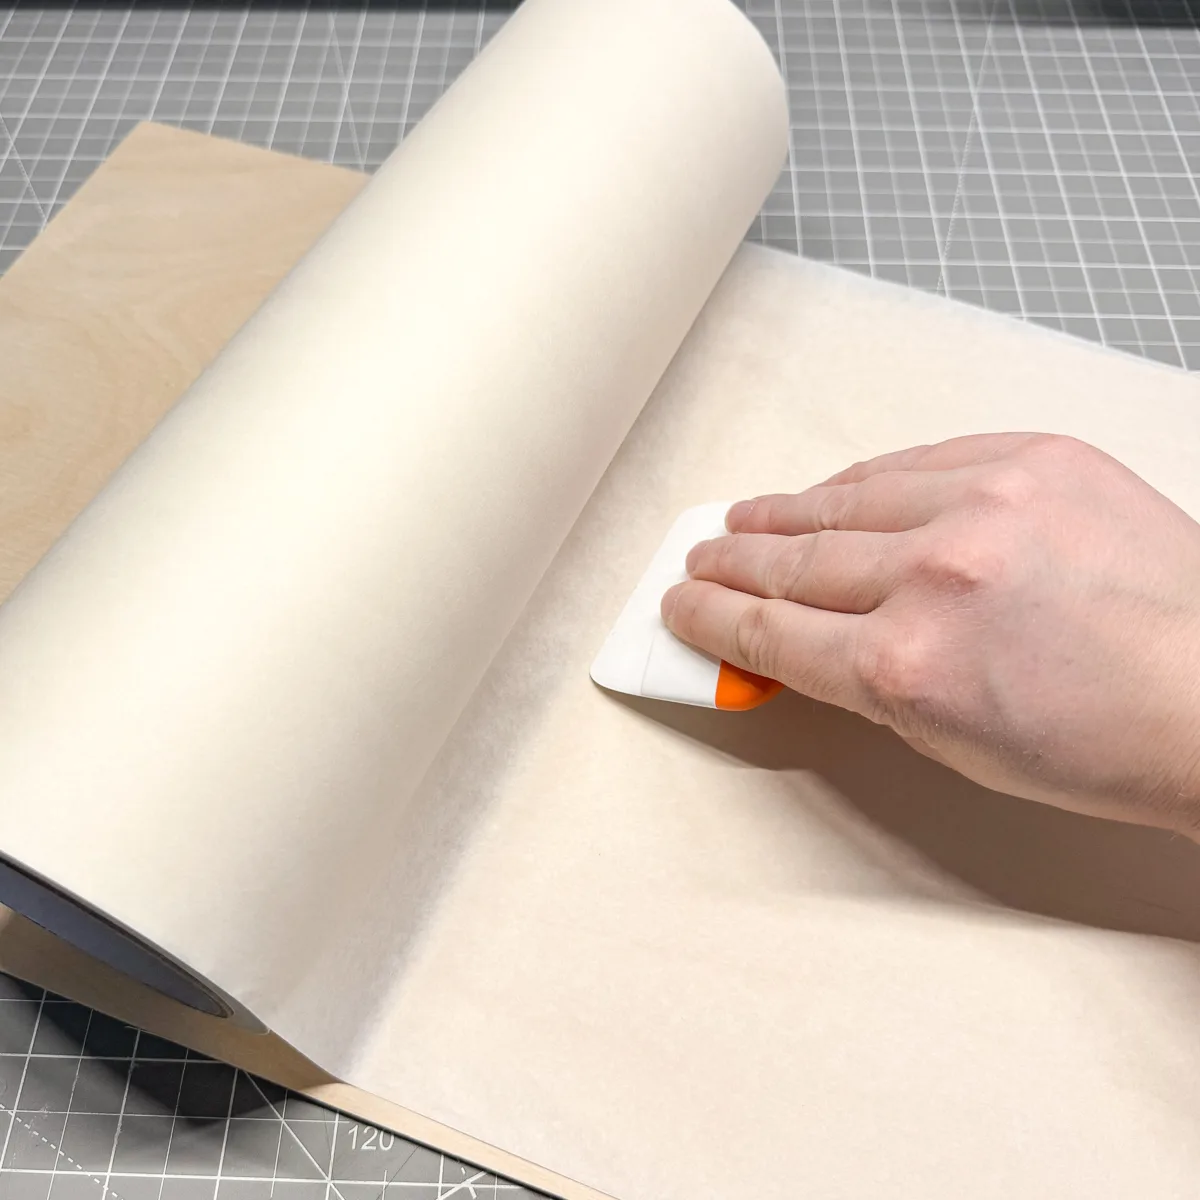
Now you're ready to cut!
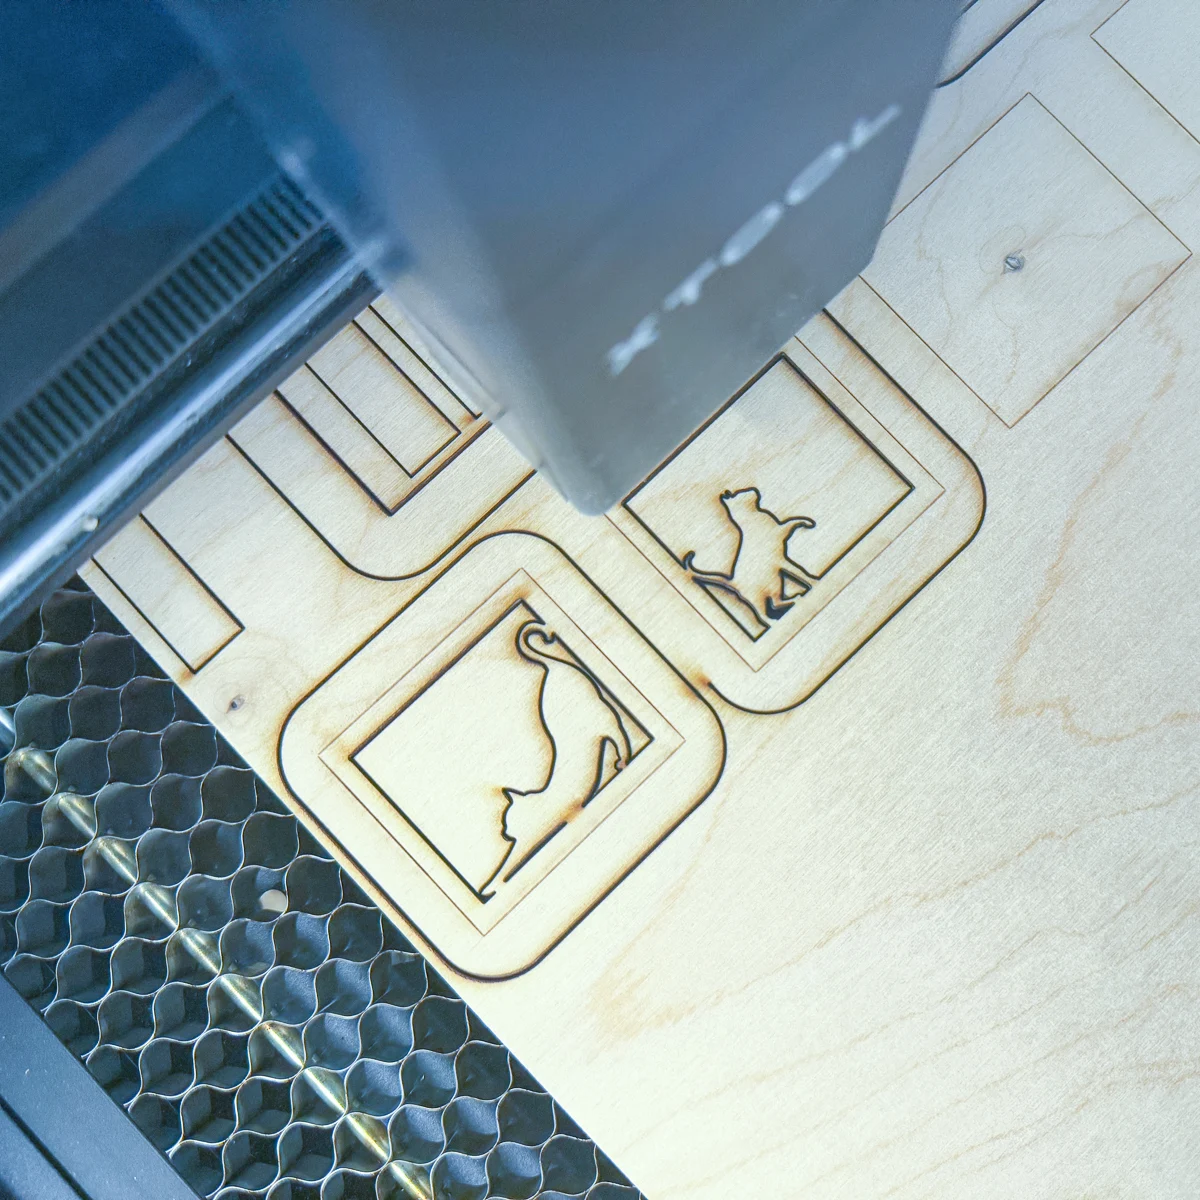
Assembly
These DIY night lights are really quick and easy to assemble. All you need is a few drops of CA glue per layer!
Start with the back hook piece and one of the spacers. Peel off the masking first. The clean side should face down on your work surface.
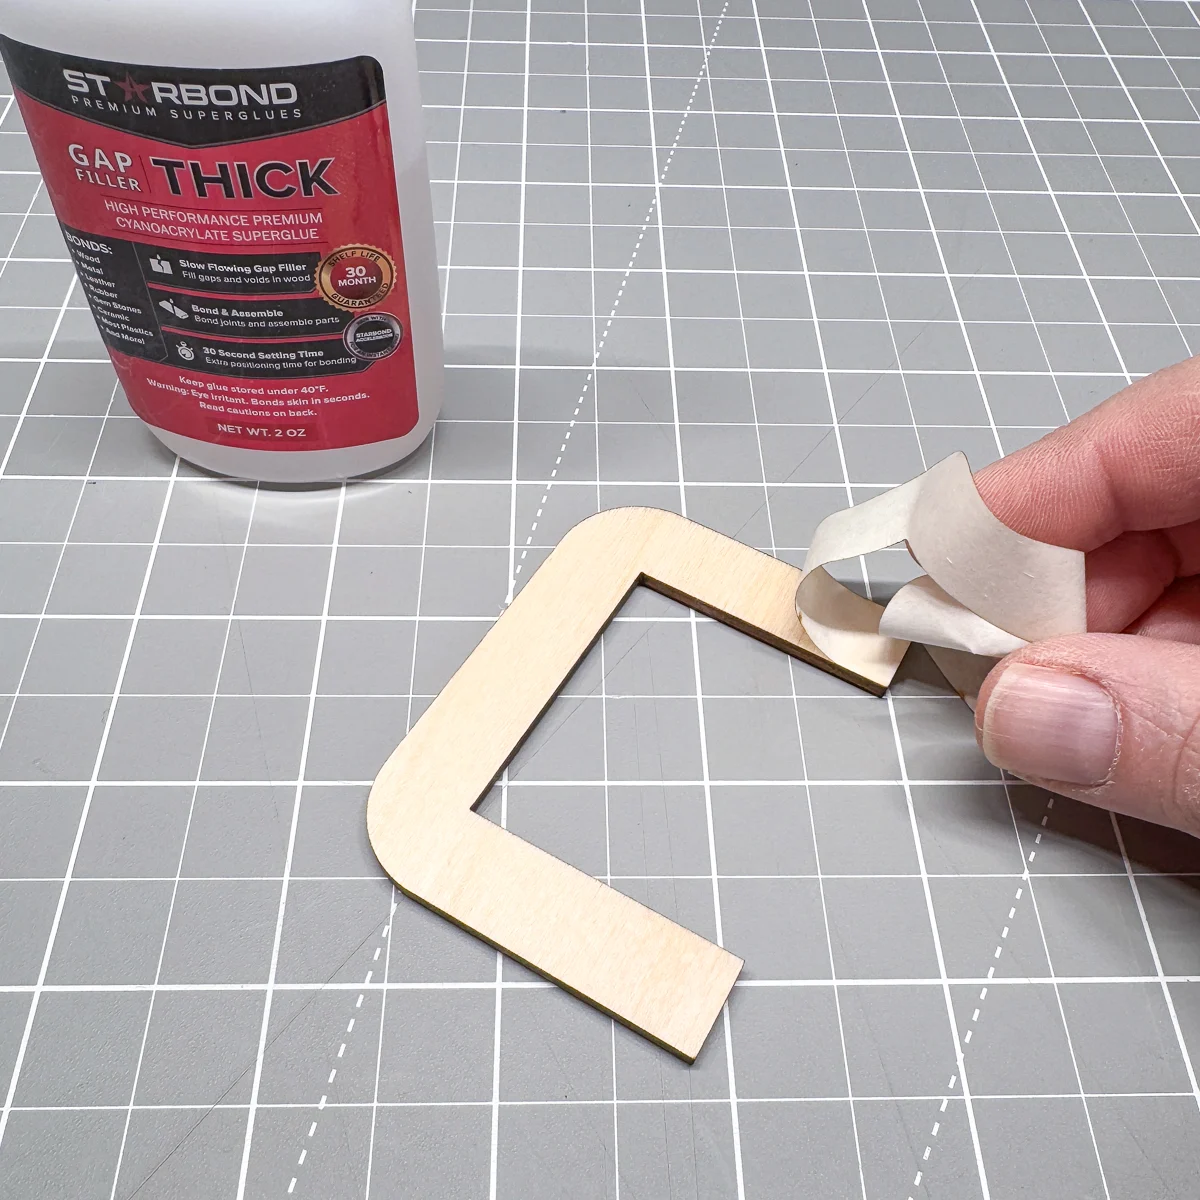
Add a few drops of glue along the clean side of the spacer, and place it on top of the back hook. The outside edges should all align.
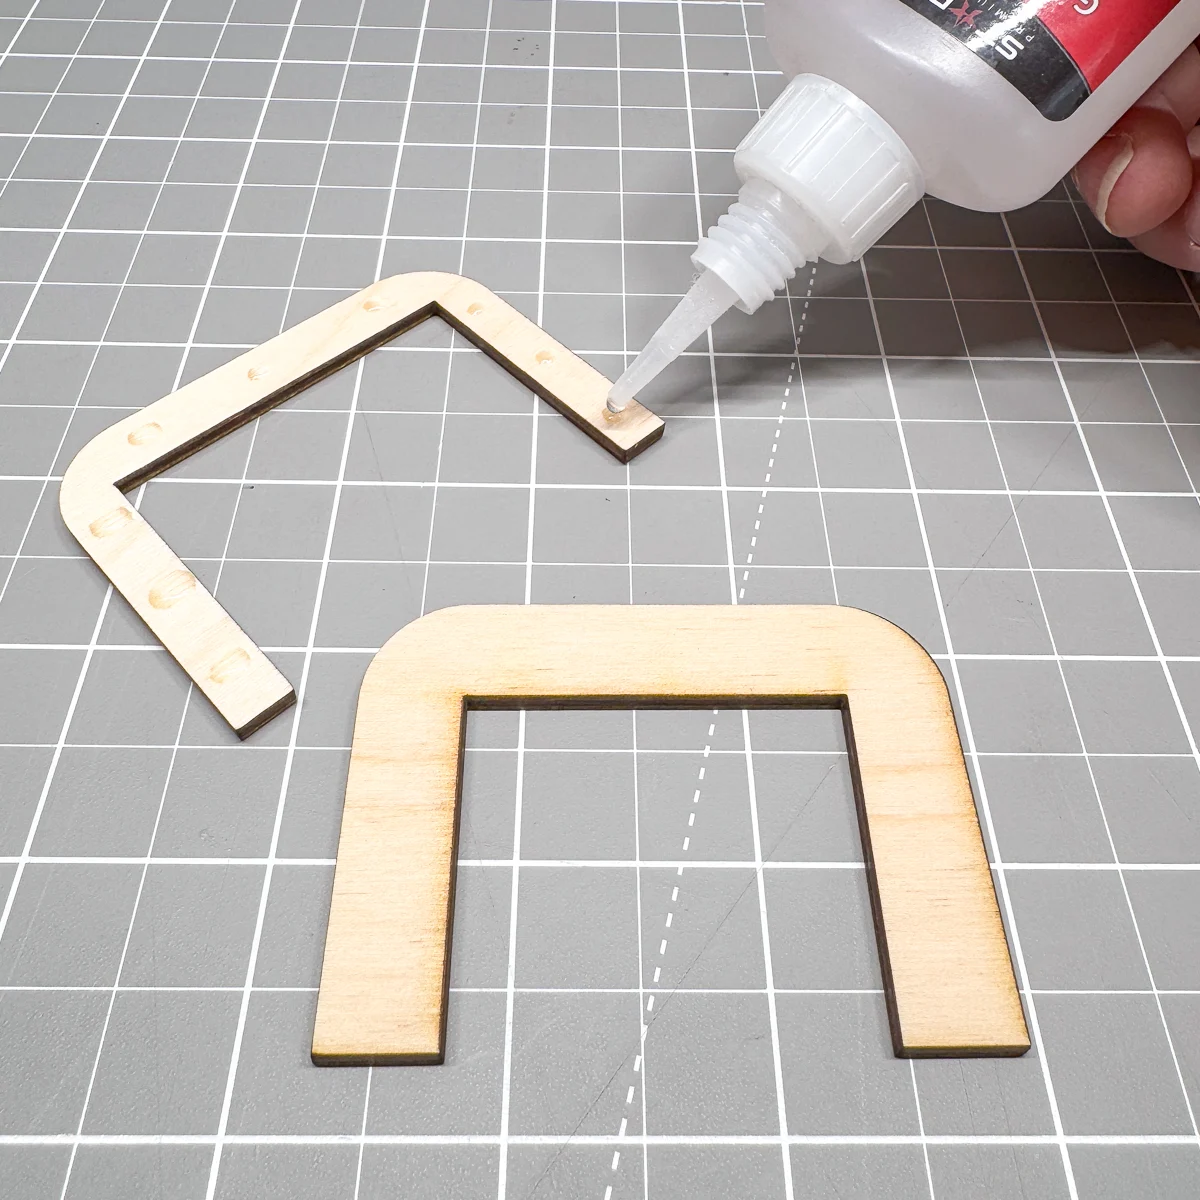
Clean up any glue squeeze out on the inside of the spacer quickly. Any blobs could interfere with how the cover slides on and off the light. I like to use eyeshadow applicators to wipe them up easily.
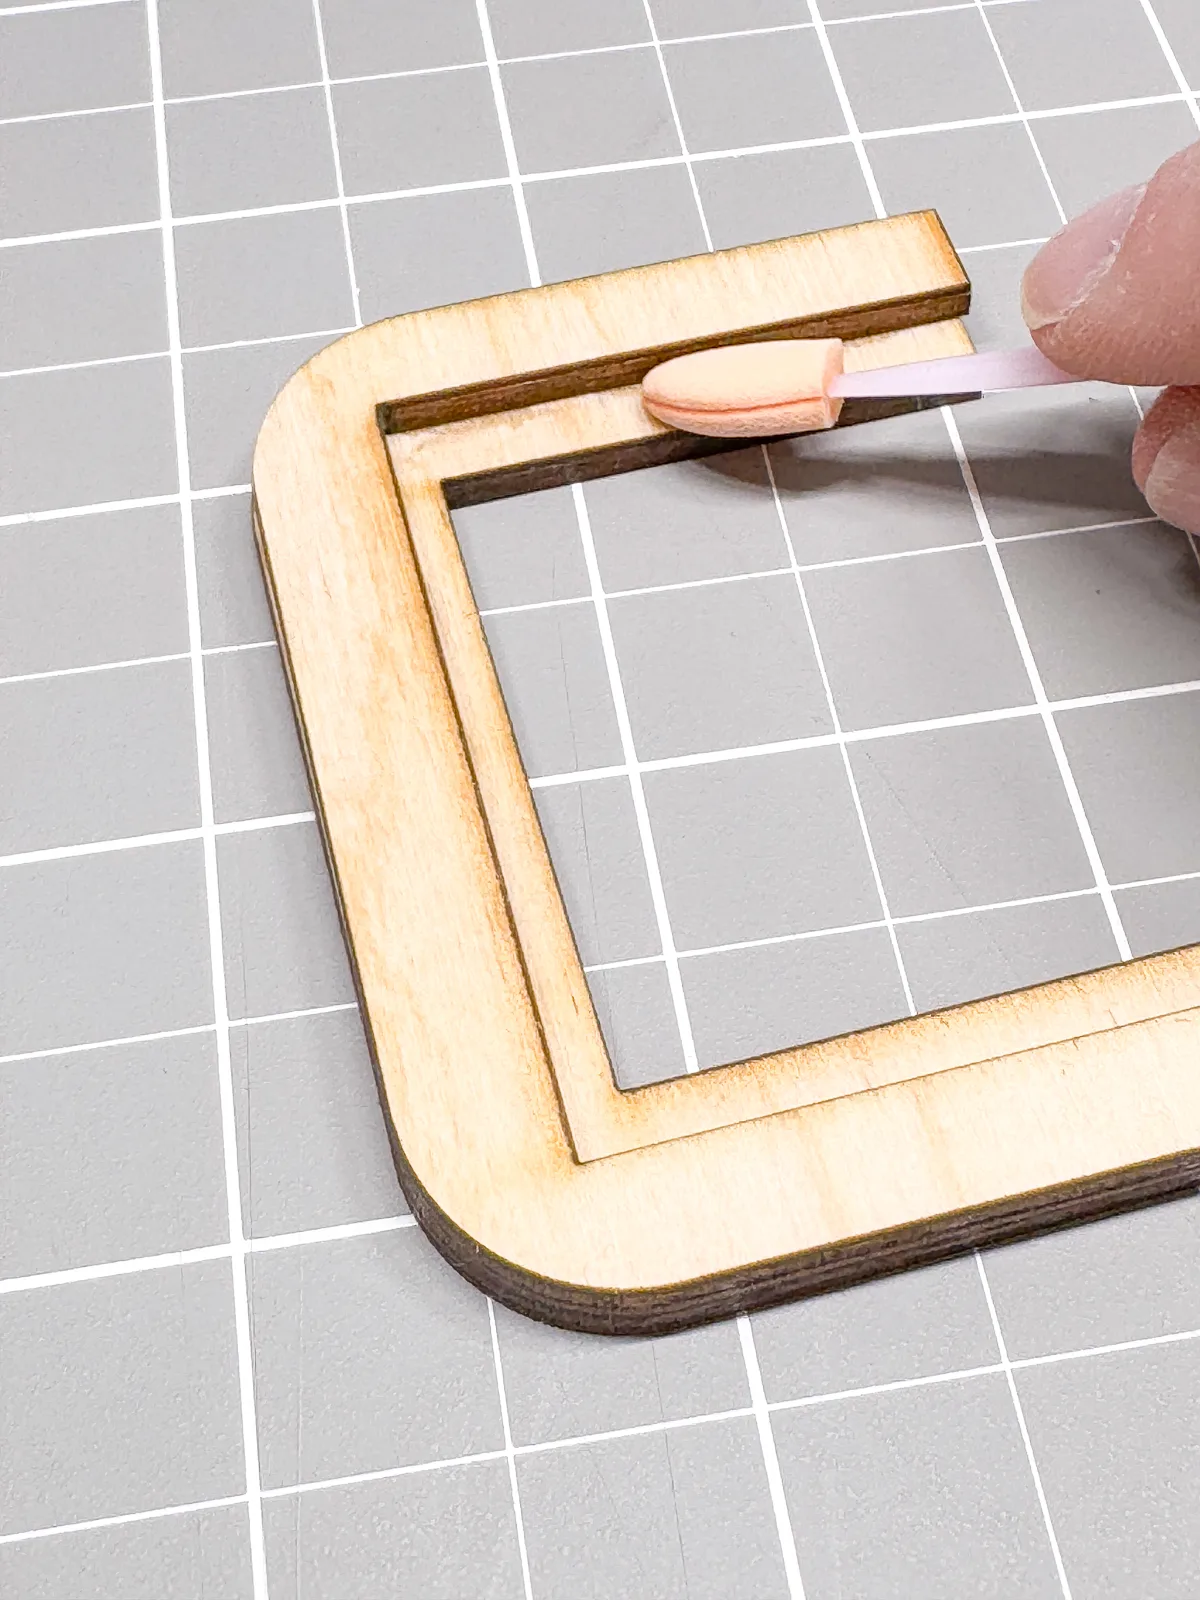
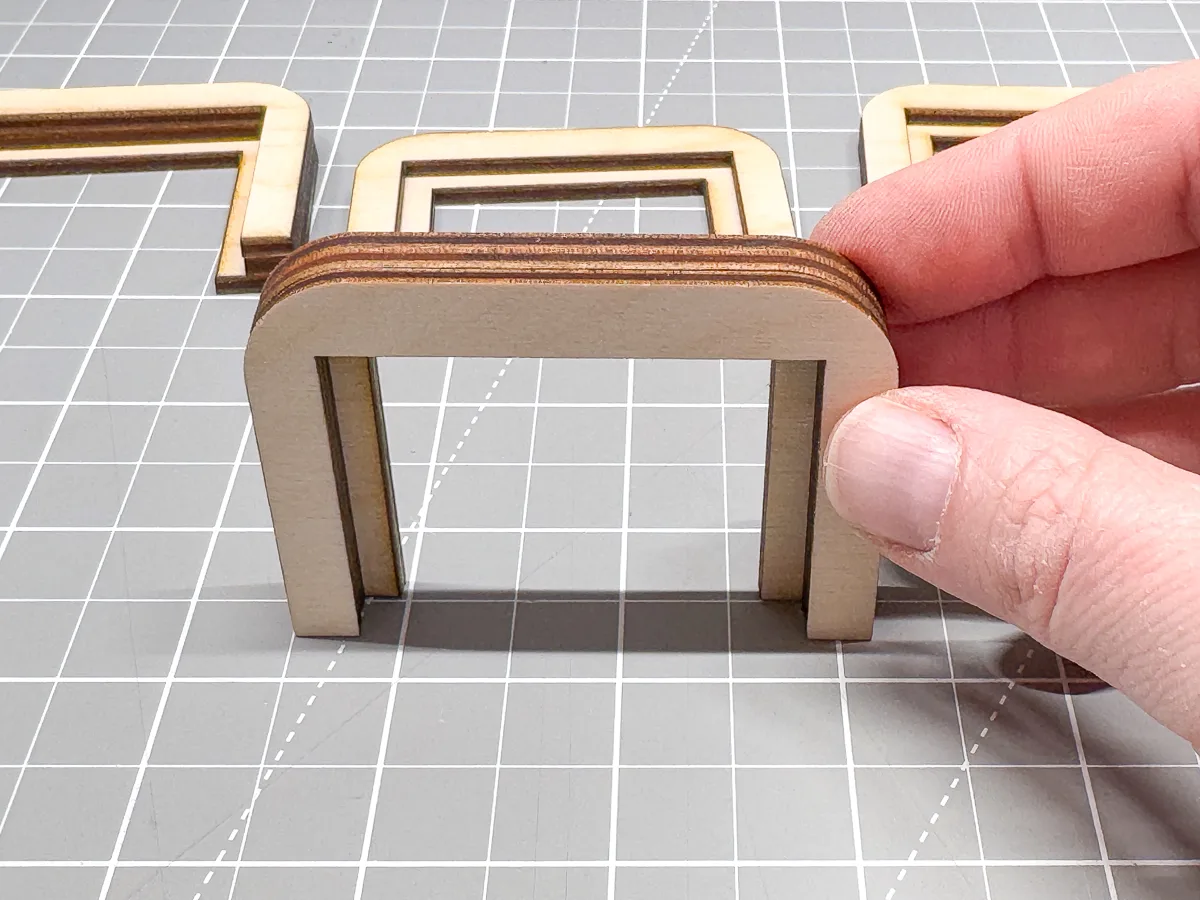
After the glue sets, add the second spacer on top of the first. This is how it should look when all three layers are put together.
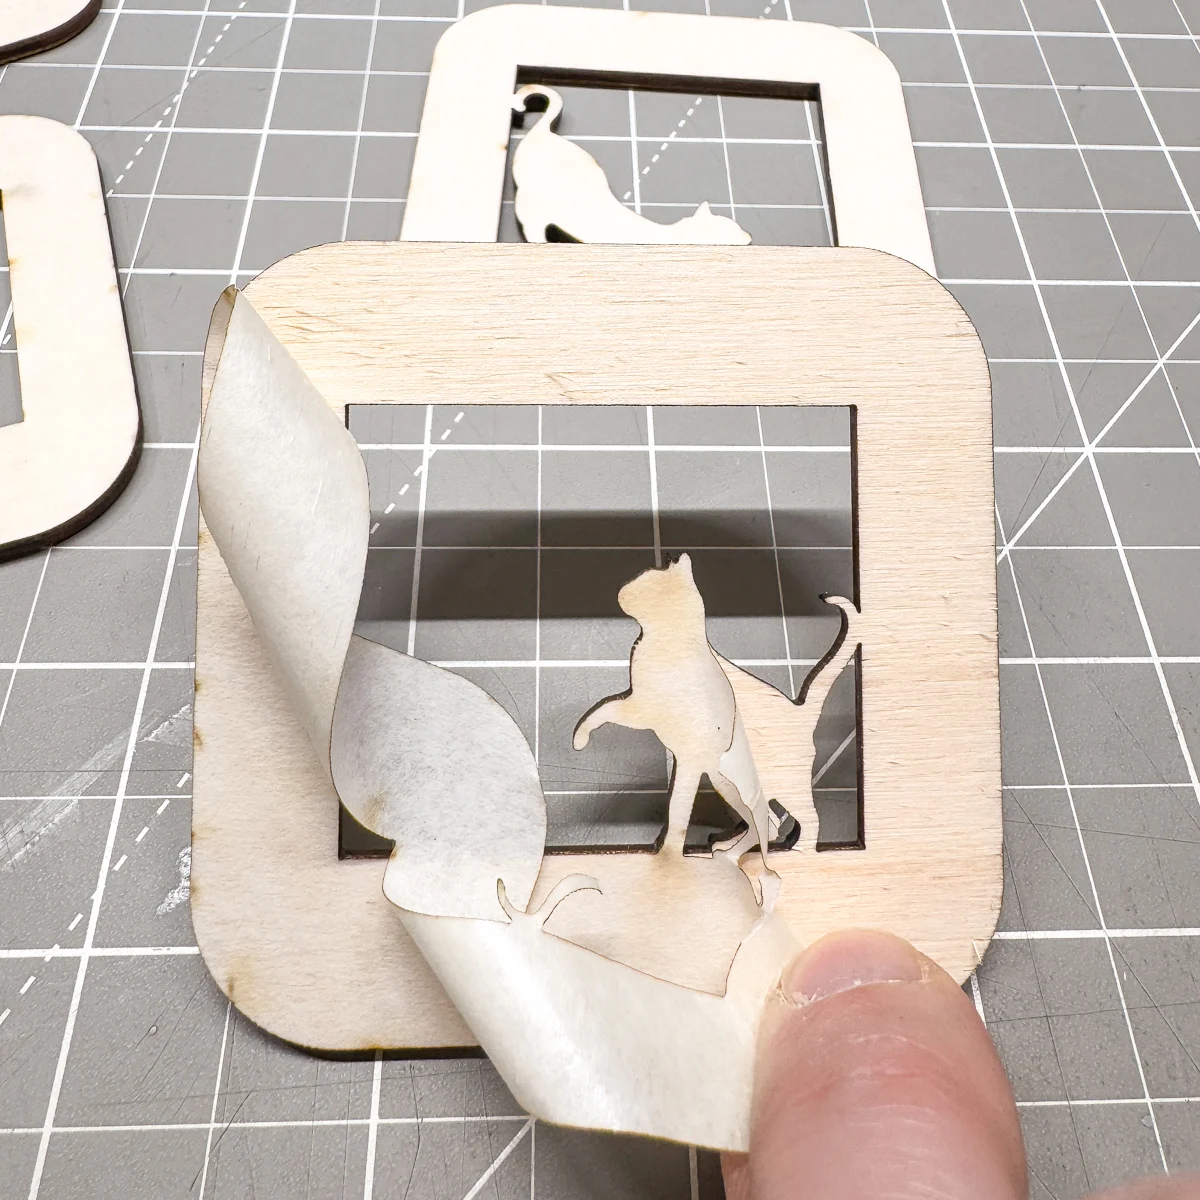
While that dries, peel the masking off the front of the decorative front cover. If you didn't mask it, carefully clean up any char with sandpaper. I just touched up the surface with a quick sanding to remove those loose splinters.
Apply a tiny bit of glue to the back inside the scored line and place the flex over it. Be careful not to move the flex around too much, or you'll smear the glue into the visible area. I just place it on top without pressing down and let the glue dry before handling it.
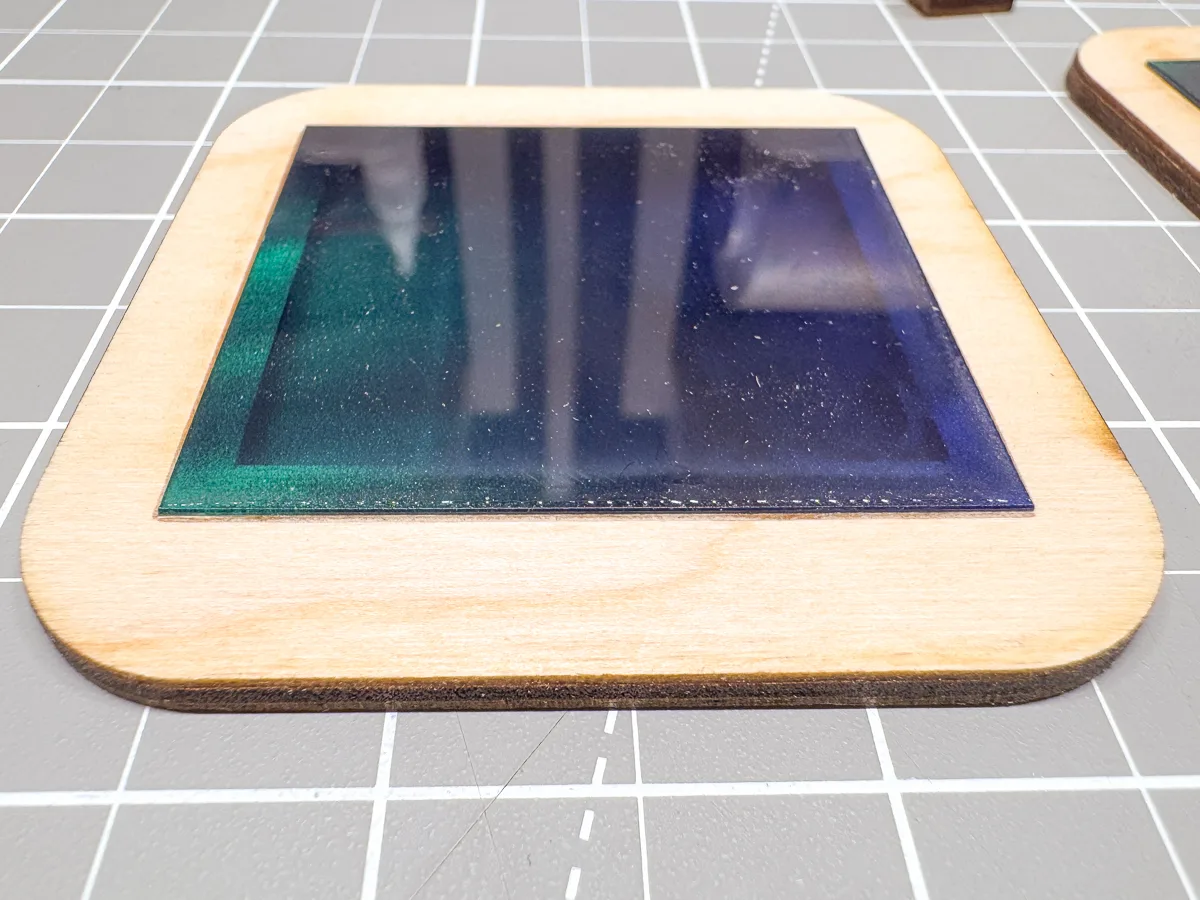
Finally, glue the front cover to the spacer. Make sure that the flex isn't stuck between these two layers or it could separate. You should feel it "click" into place when the flex is in the right spot. I like to use these Bessey mini clamps to hold the layers together while the glue dries.
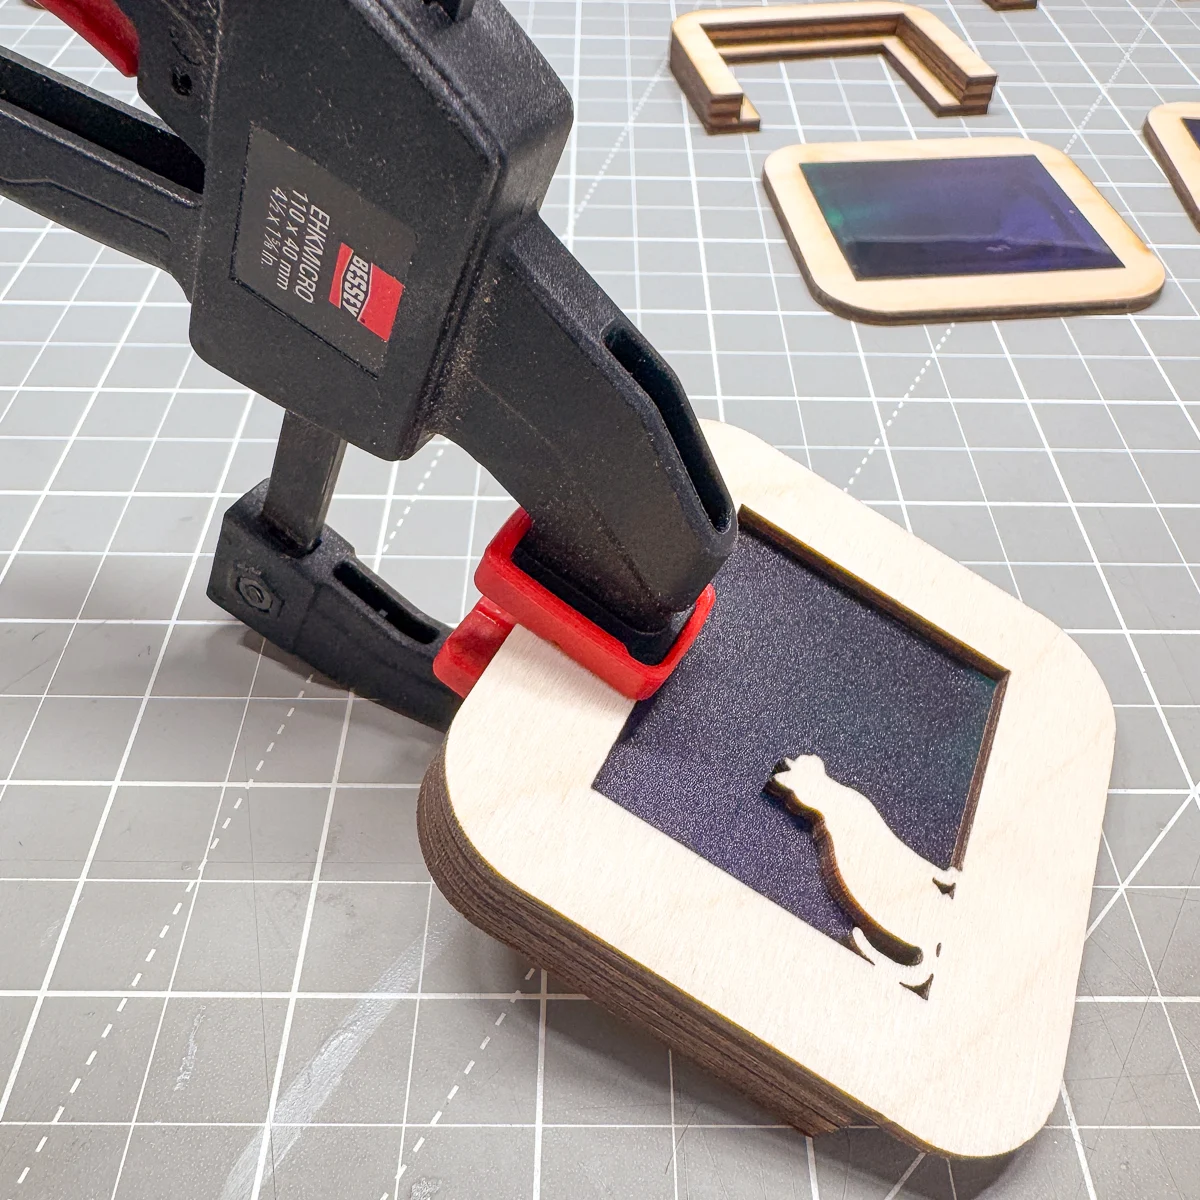
Give the glue a few minutes to fully cure before sliding the cover onto the night light. If it's a little tight, sand the inside edges of the spacer pieces until it moves smoothly.
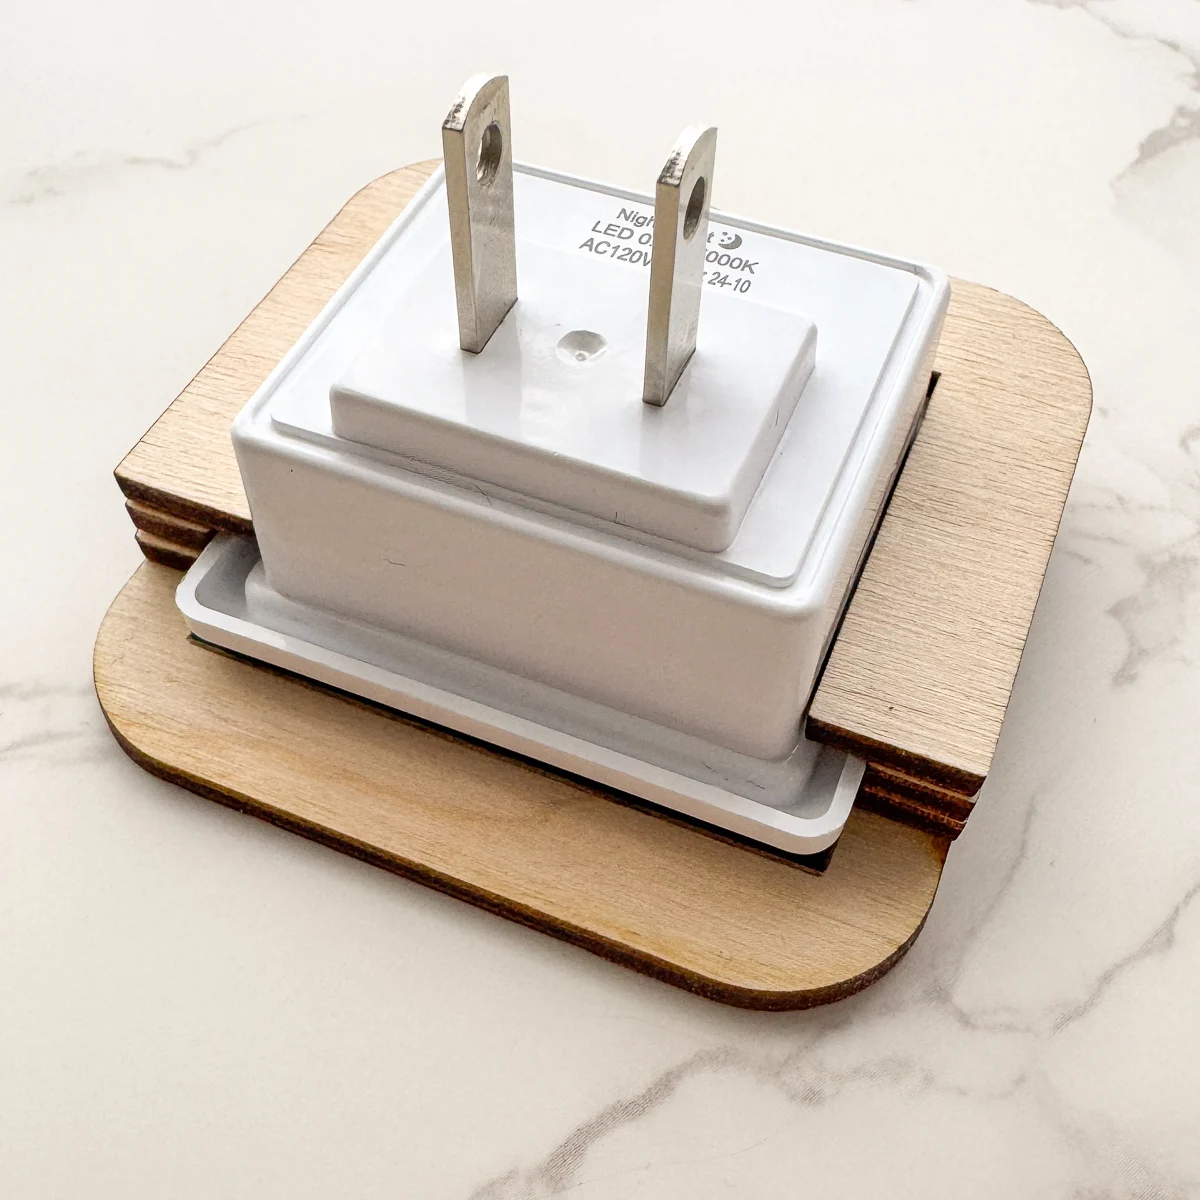
The back hook should sit between the sensor and the back of the light. The cover doesn't interfere with the light sensor at all!
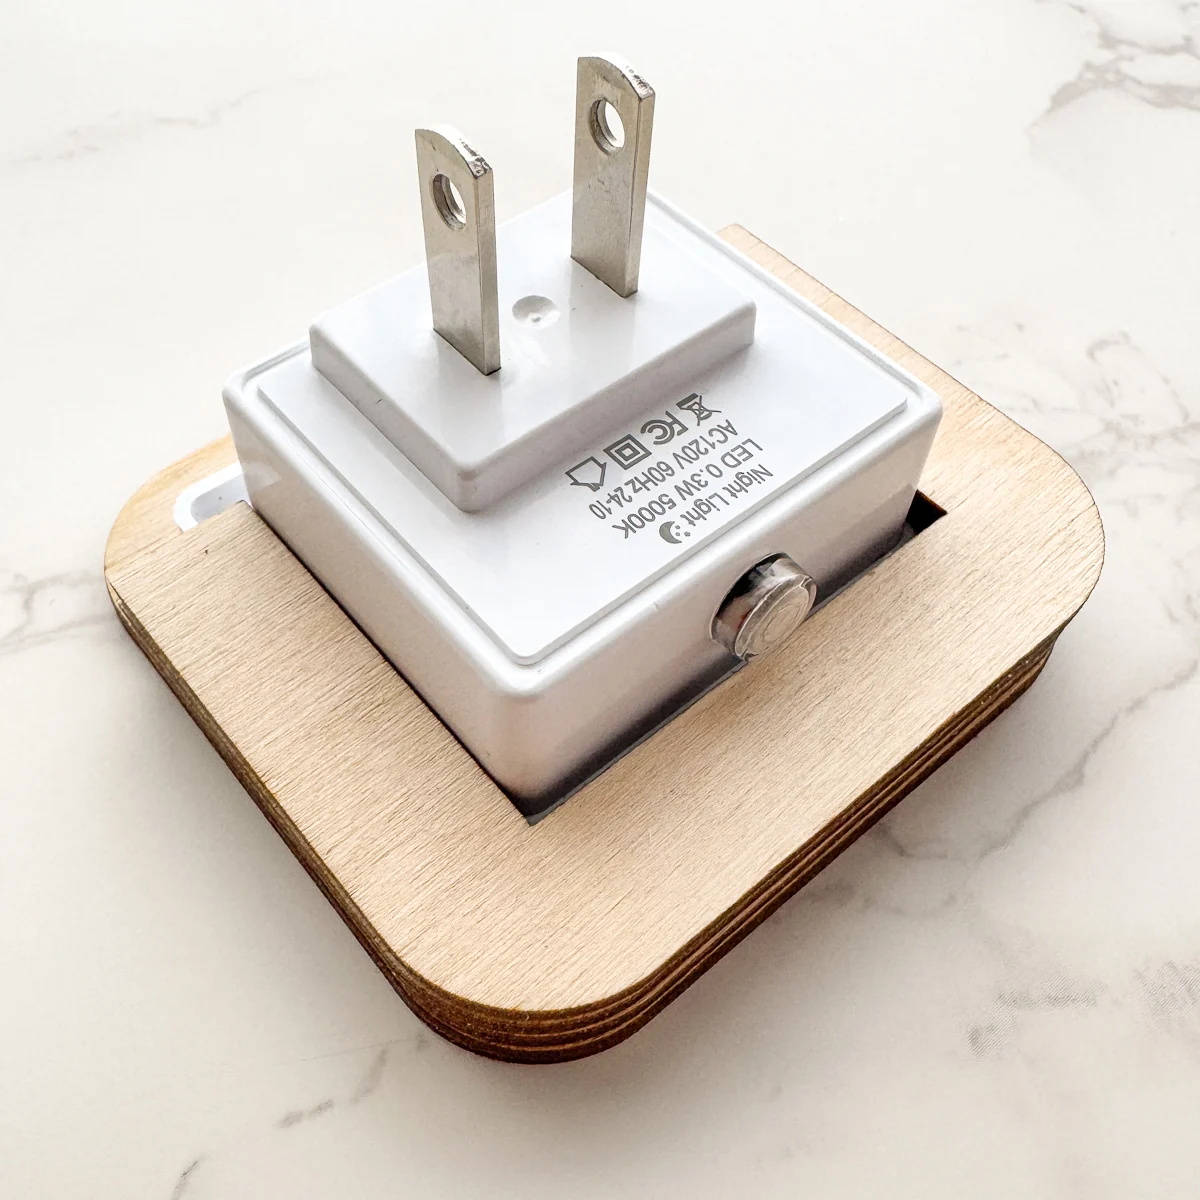
Now you can plug it in and watch it glow! This is an LED light, so there's no heat coming off the plug at all. I've left it plugged in with the cover on for several days and it still feels cool to the touch.
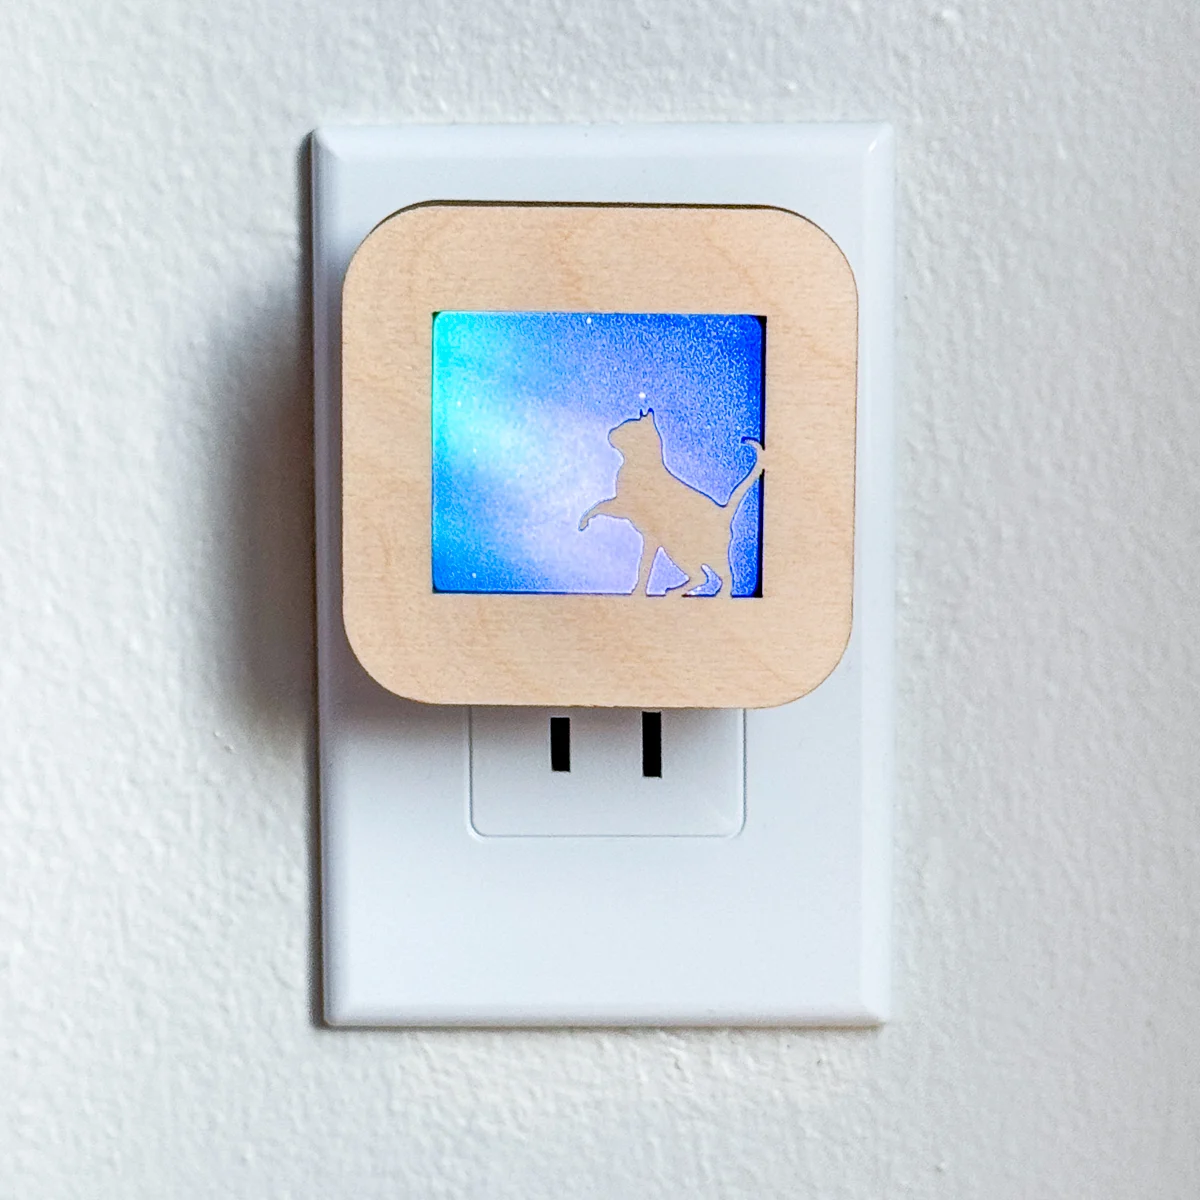
This nightlight is really bright on its own, so the cover takes it down a notch to make it easier on the eyes. As it gets darker, the colors of the acrylic really pop!
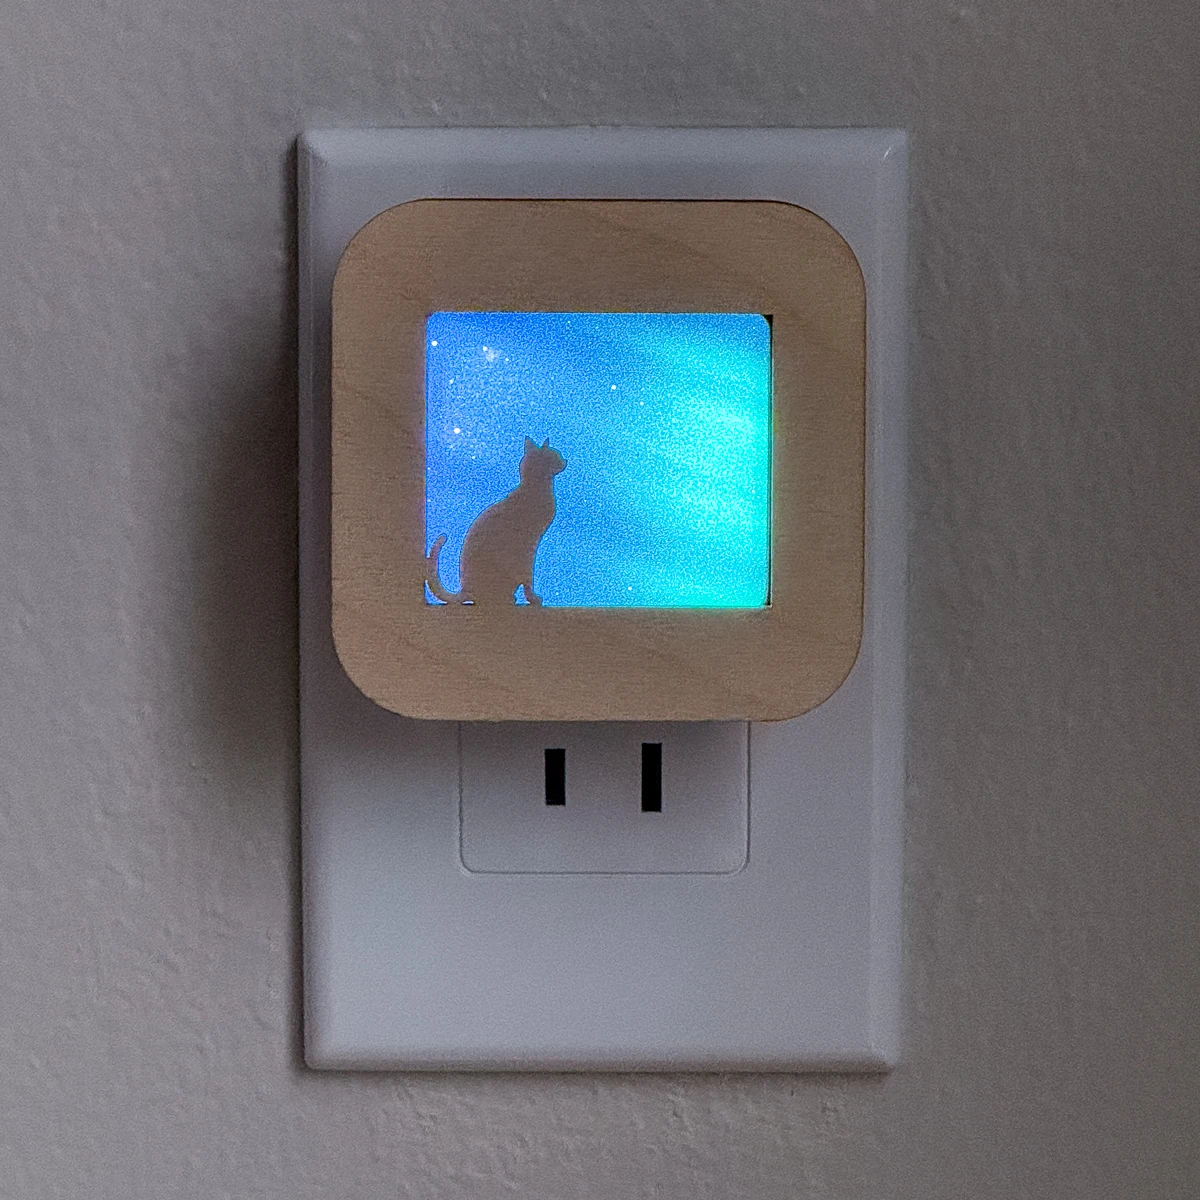
I release new collections weekly, so check back in my Etsy shop frequently to see what designs I think up next!

