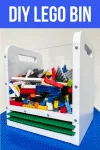
This DIY Lego bin features clear sides, handles and baseplate storage, so kids can build on the go! Take this Lego storage box to playdates or Grandma's!
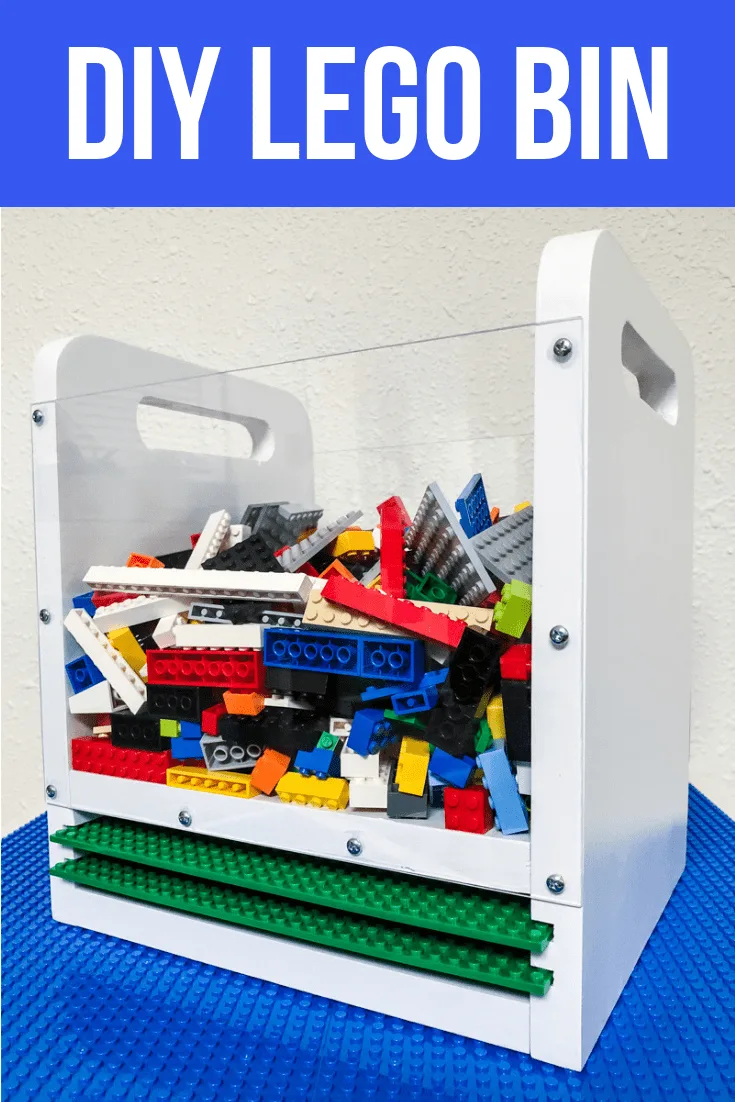
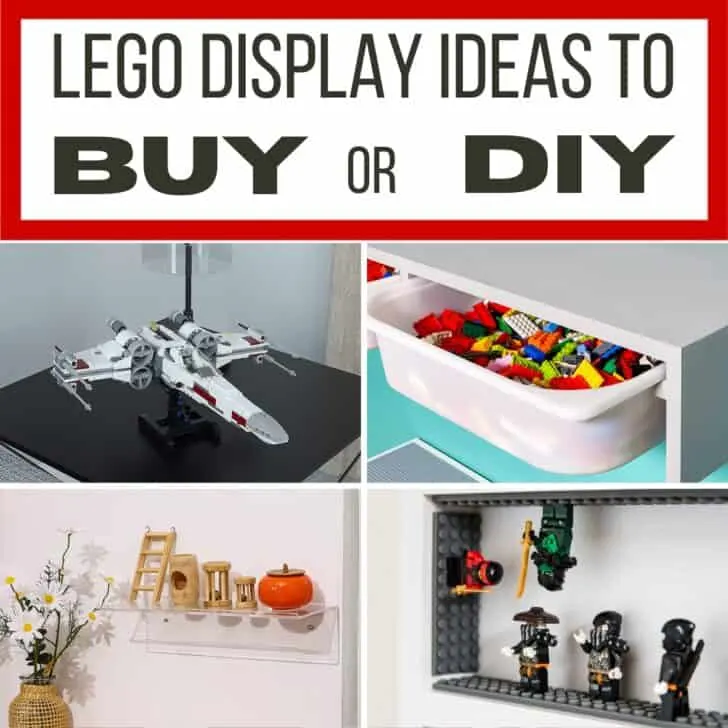
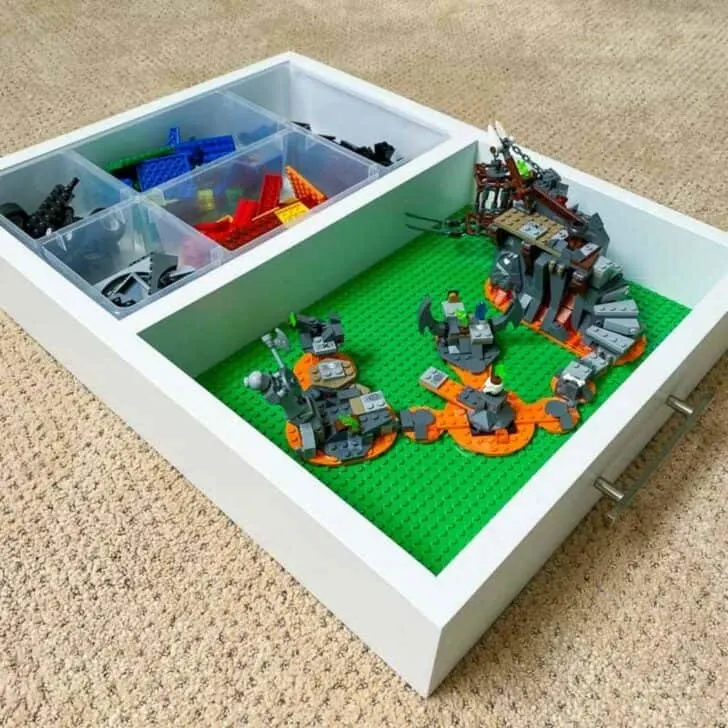
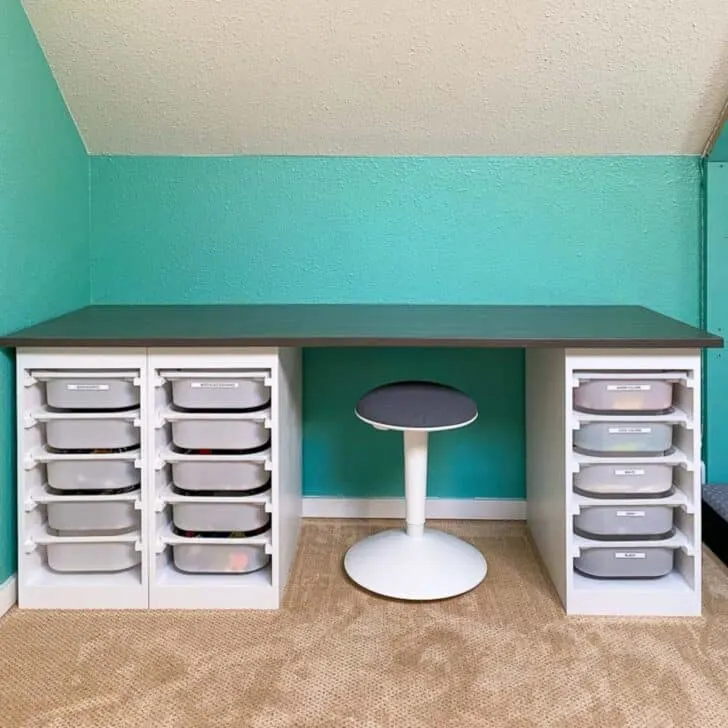
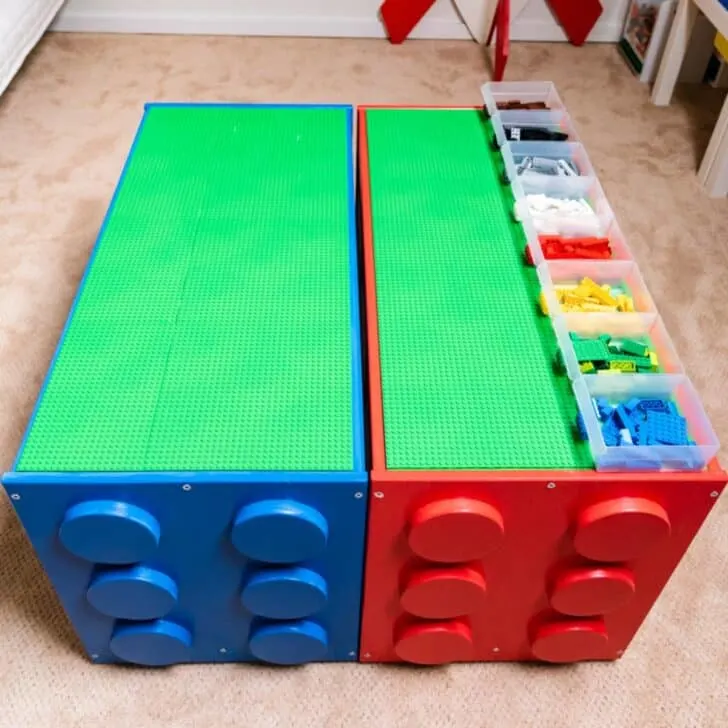
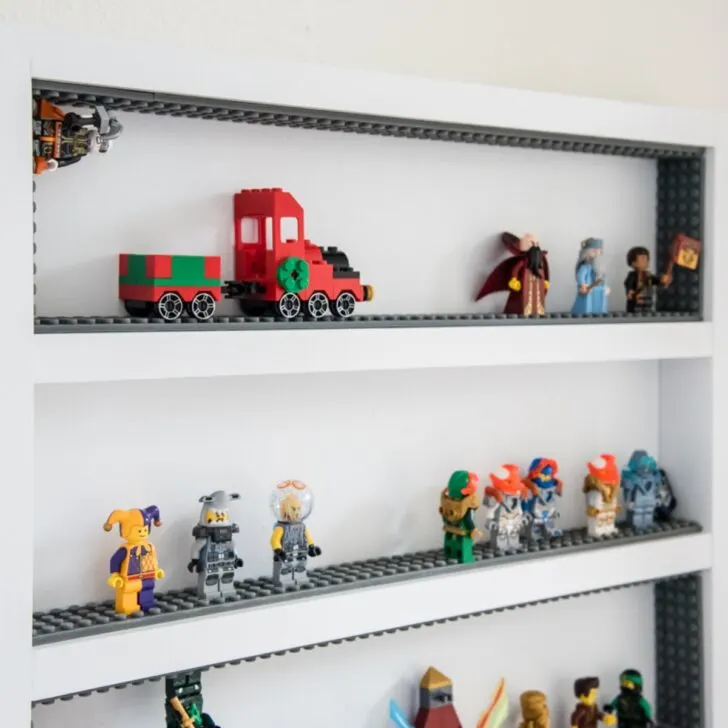
I'm always trying to think up new Lego storage ideas for my son's huge collection, like this Lego table or minifigure display. Now we have a solution for bringing building fun on the go with this DIY Lego bin! It features built-in baseplate storage, plus clear plexiglass sides so kids can see the piece they're looking for easily!
This post contains affiliate links for your convenience. Purchases made through these links may earn me a small commission at no additional cost to you. Please visit my disclosures page for more information.
I was inspired to make this Lego bin after watching my son work on a big Lego build in the playroom. Most of the loose pieces are dumped into huge bins, and the critical part always seems to be at the bottom! He would paw through the bin, trying to spot that elusive piece before it was covered up again.
Clear sides make this process so much easier! This particular Lego bin is portable, but I plan to make a larger one that will live in the middle of the playroom and serve as a dumping ground for all the loose Lego pieces.
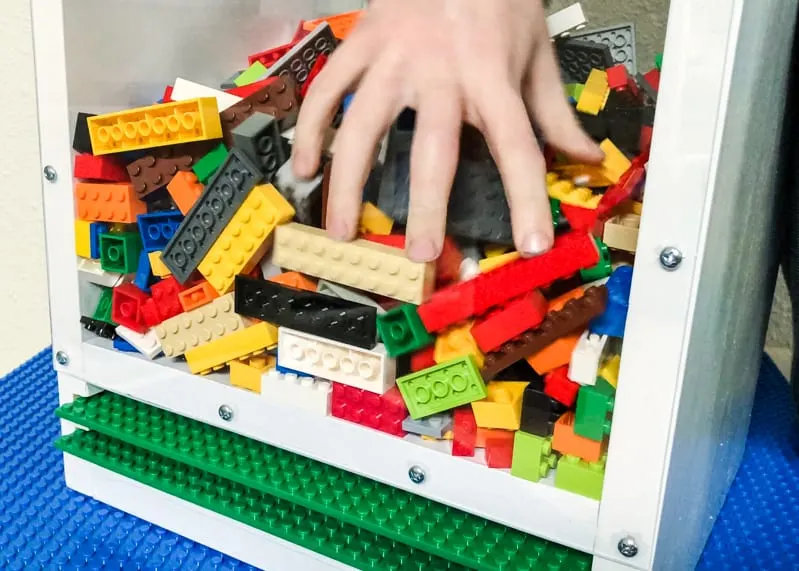
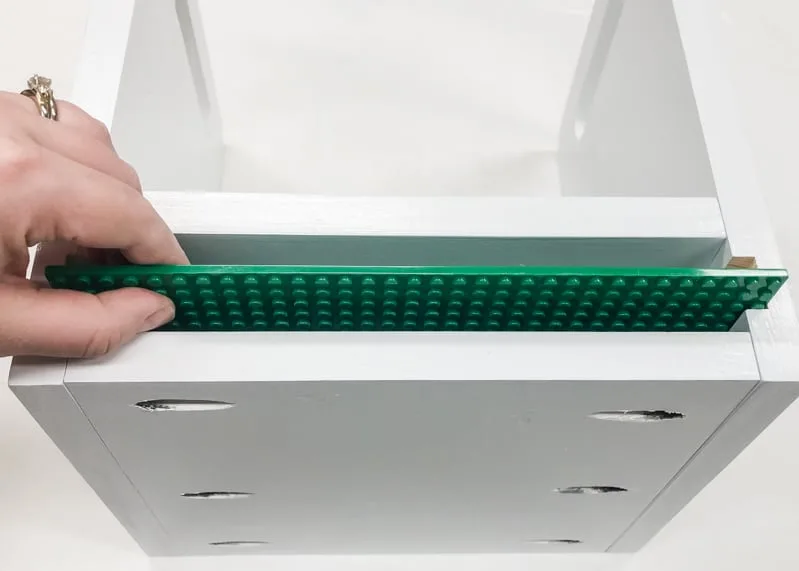
To make it easier to build on the go, I also added slots in the bottom for baseplate storage. I used the same method as the shelves for my sander and sandpaper storage, and the baseplates slide in and out easily!
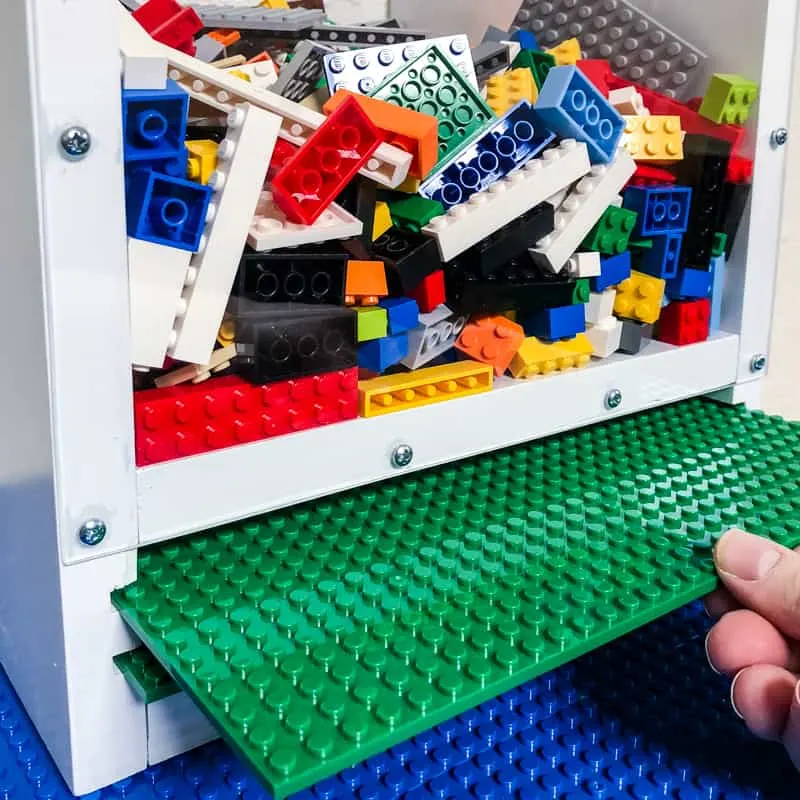
Want to make your own travel Lego bin? Let's get building!
Materials Needed for DIY Lego Bin
- One 6 foot 1 x 10 board
- One 12" x 24" sheet of Plexiglass
- Plexiglass scorer or Plexiglass jigsaw blade
- Plexiglass drill bits
- 10" x 10" Lego baseplates
- ½" sheet metal screws
- 1" spade bit
- Drill
- Jigsaw
- Table saw or circular saw
- Clamps
- Kreg Jig
- Don't have one? Here's my guide to figuring out which Kreg Jig is right for you.
- 1 ¼" pocket hole screws
- Wood glue
- Sander and sandpaper
- Paint or wood stain
Don't forget your safety gear when woodworking! Here are my recommendations for safety glasses and ear protection. No excuses!
How to Make a Travel Lego Bin
Check out the video below for an overview of the build process!
Cut and Mark Pieces
Cut two 12" pieces and two 9 ½" pieces from the 1 x 10 board. Clamp the 12" sides to the 9 ½" shelves, with the top shelf 2 ⅜" from the bottom.
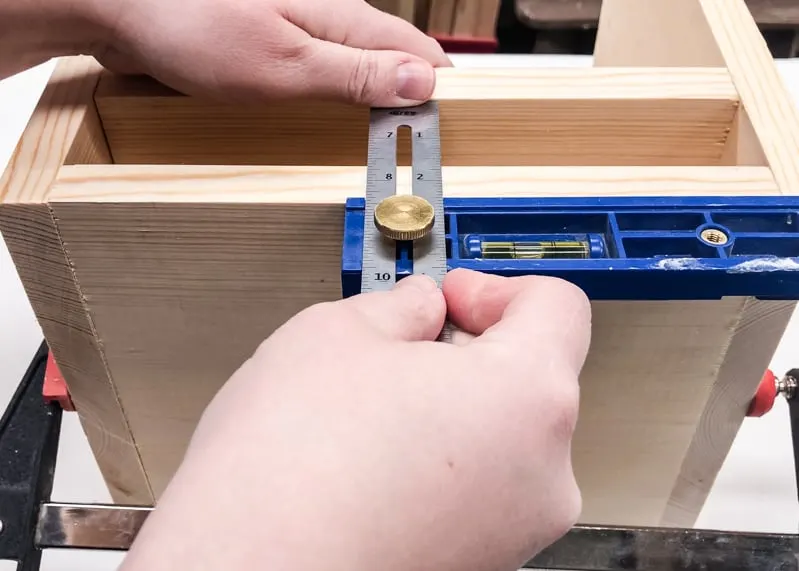
Using the Lego baseplates as a guide, mark the position of the slots between the two shelves.
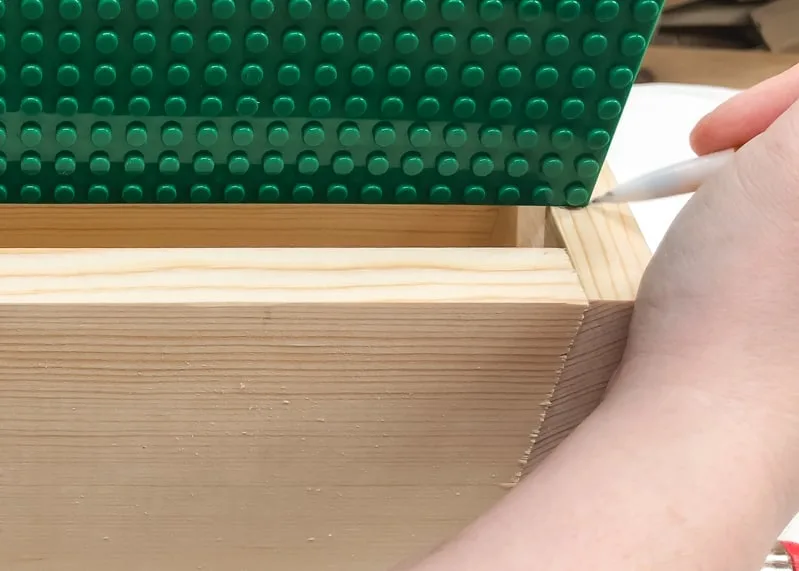
Cut Grooves for Baseplates
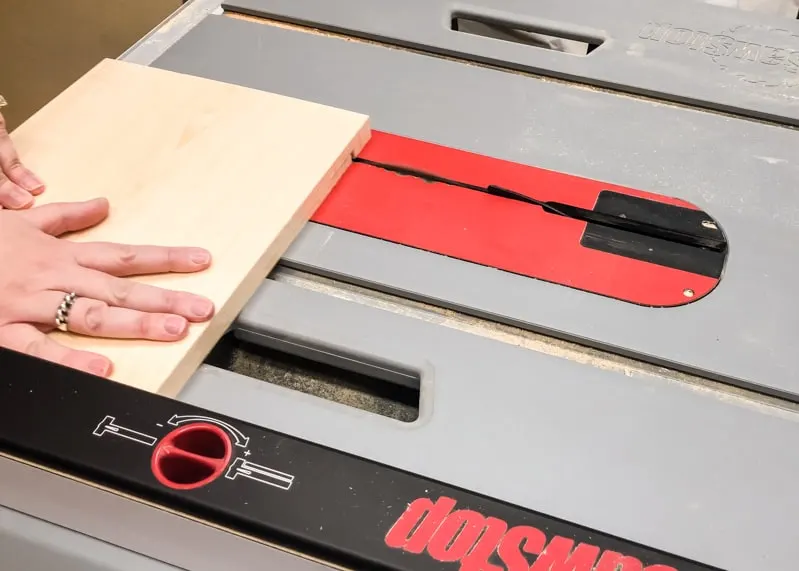
Set the depth of the table saw blade to match the markings. Then make two passes with the blade for each groove.
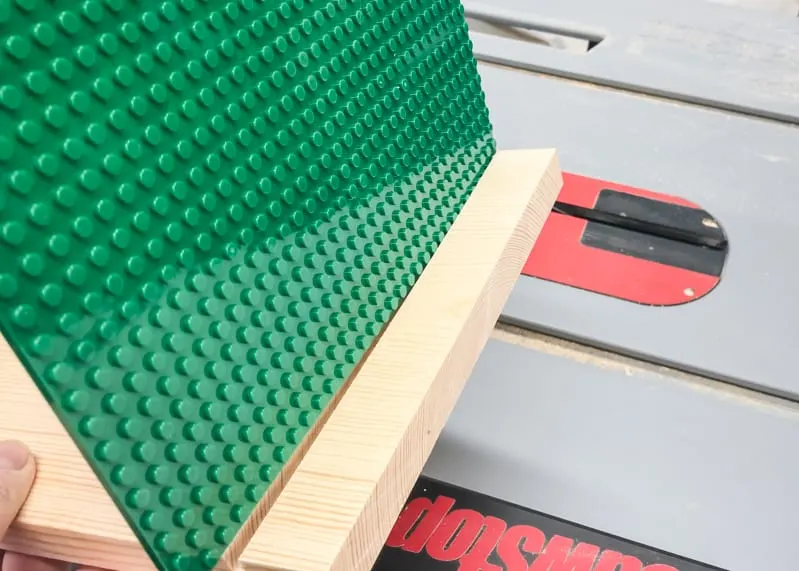
Double check to make sure that the baseplate can move back and forth smoothly in the groove while still holding it in place.
Round Over Top Corners
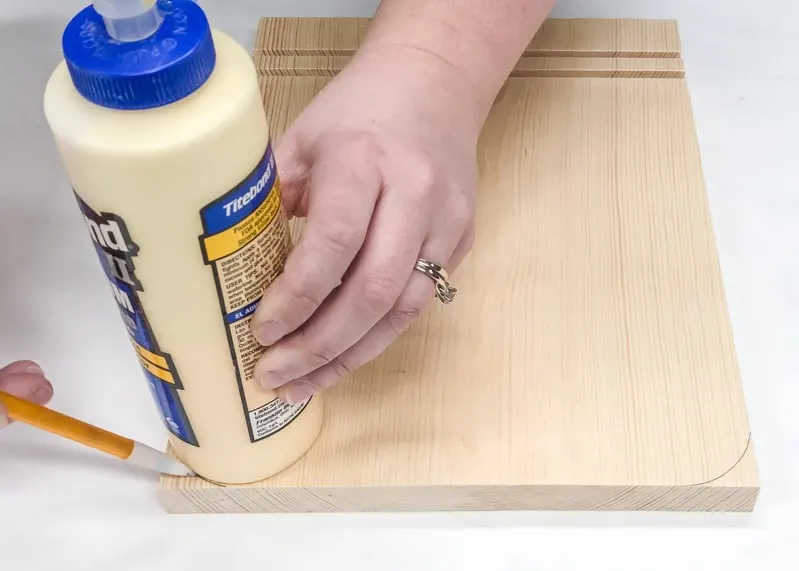
The handles make this Lego bin easy for even little hands to carry! I used the wood glue bottle I had on hand to mark the rounded corners.
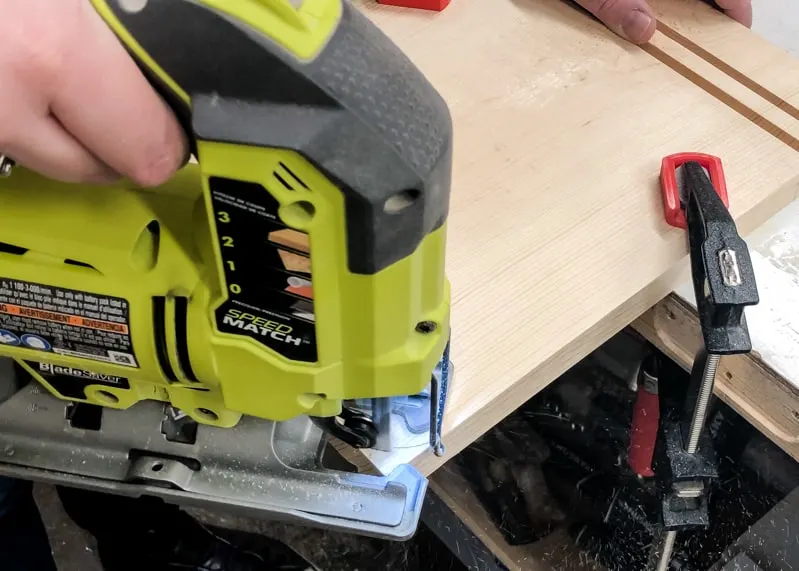
Cut off the corners with a jigsaw.
Cut out Handles
Mark the center of the sides, 1 ½" down from the top edge. Then mark 2" to each side of the center point.
Insert a 1" spade bit into your drill and place the point on one of the marked points. Drill through the wood until the point makes a hole on the other side, but not all the way through!
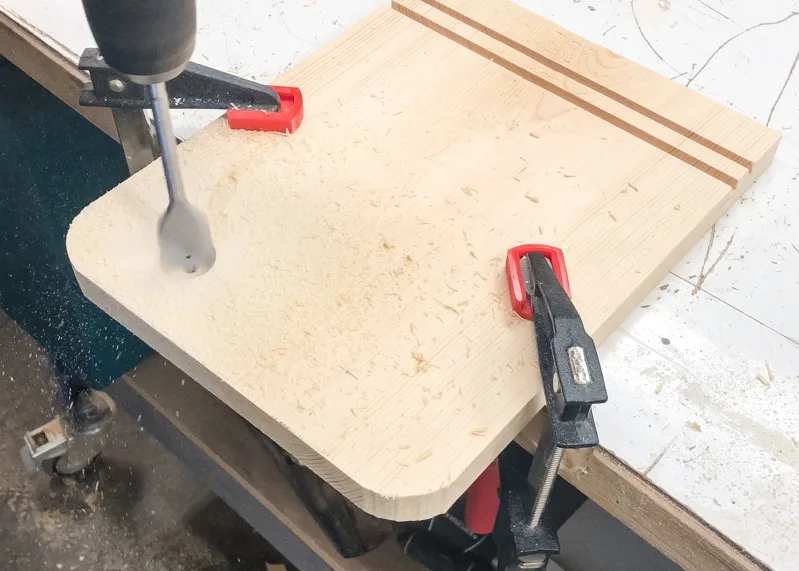
Repeat for the other marked point, then flip the board over. Stick the point into the hole and finish drilling. This method prevents tear out and makes a cleaner hole.
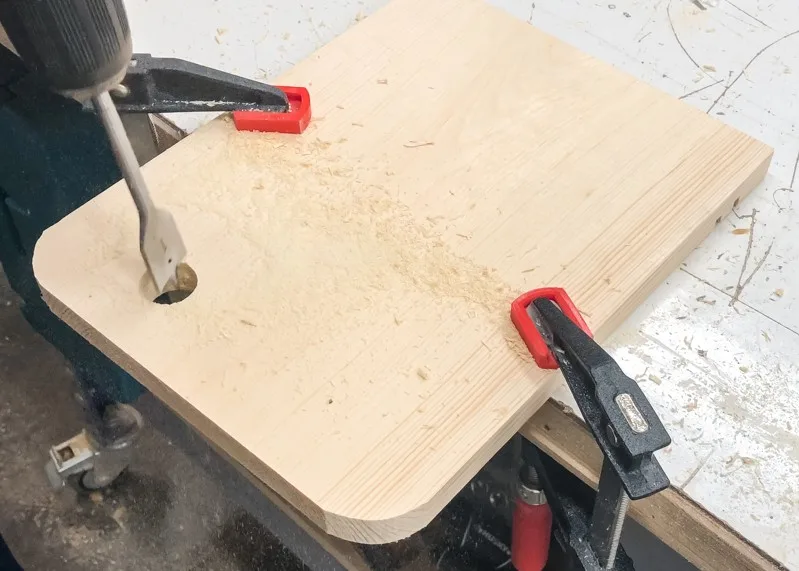
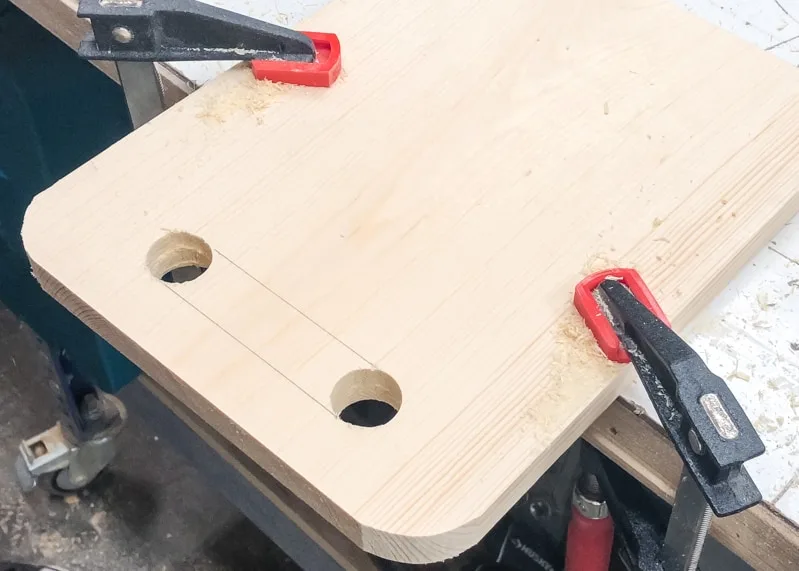
Now draw a line across the top and bottom of the holes, then cut out the handle with the jigsaw.
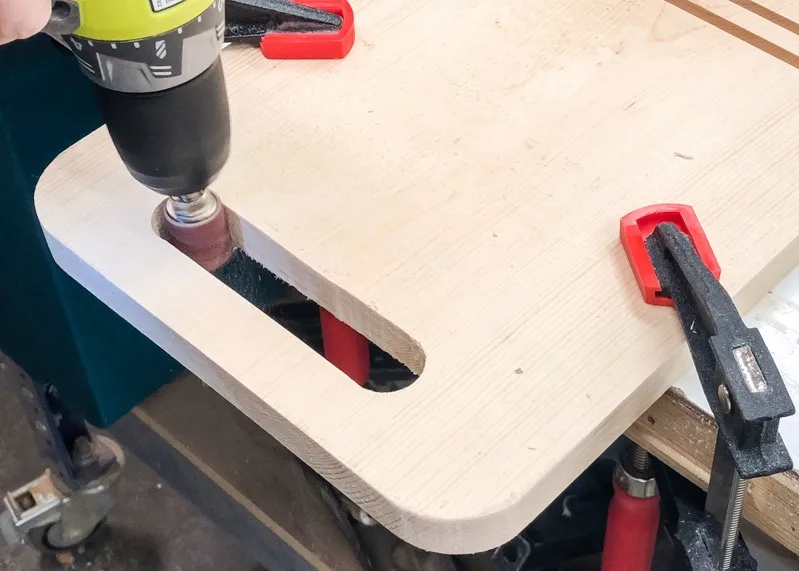
I used a drum sander attachment for my drill to sand the inside of the handle.
Drill Pocket Holes in Shelves
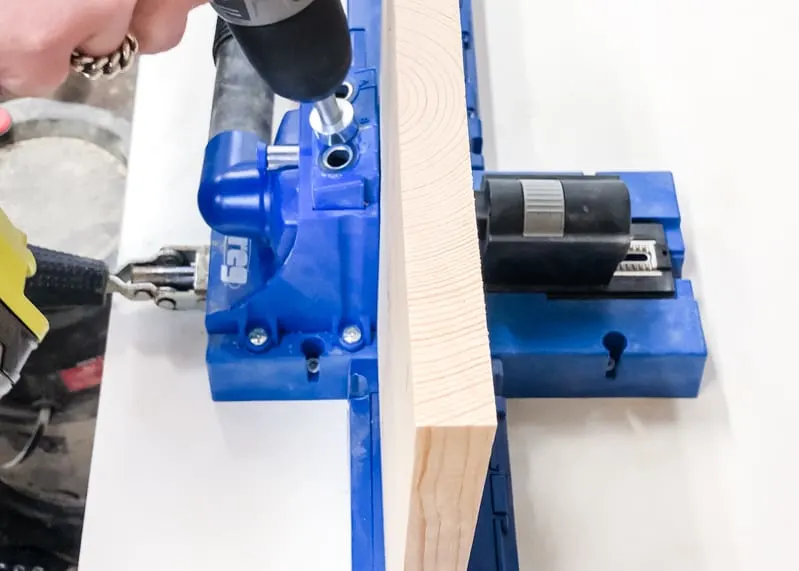
Adjust your Kreg Jig to the ¾" board thickness setting. Drill three pocket holes in the 9 ¼" sides of the two shelves.
Sand and Paint
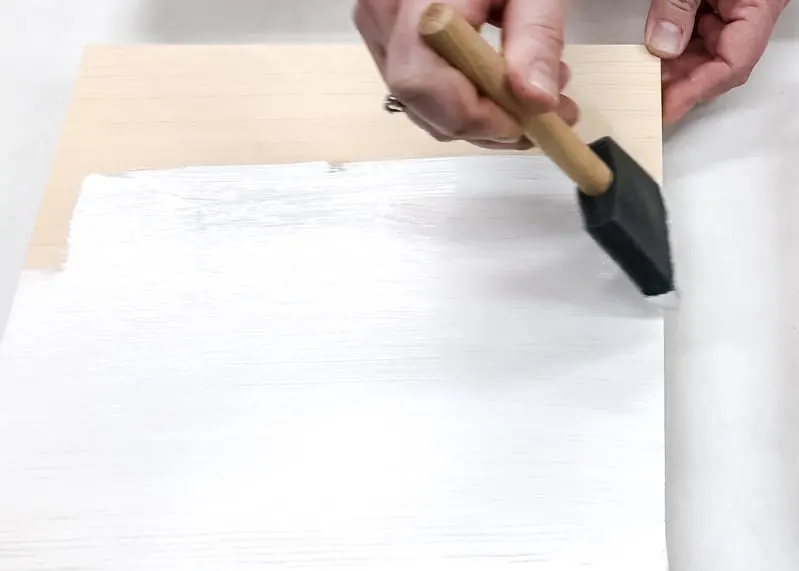
Fill any imperfections with wood filler, then give all the pieces a good sanding with 120 and 220 grit sandpaper. I suggest painting all the pieces before assembly. It will be difficult to paint between the two shelves once it's all put together, so save yourself the hassle and do it when all the pieces are flat on the workbench!
Assemble Lego Bin
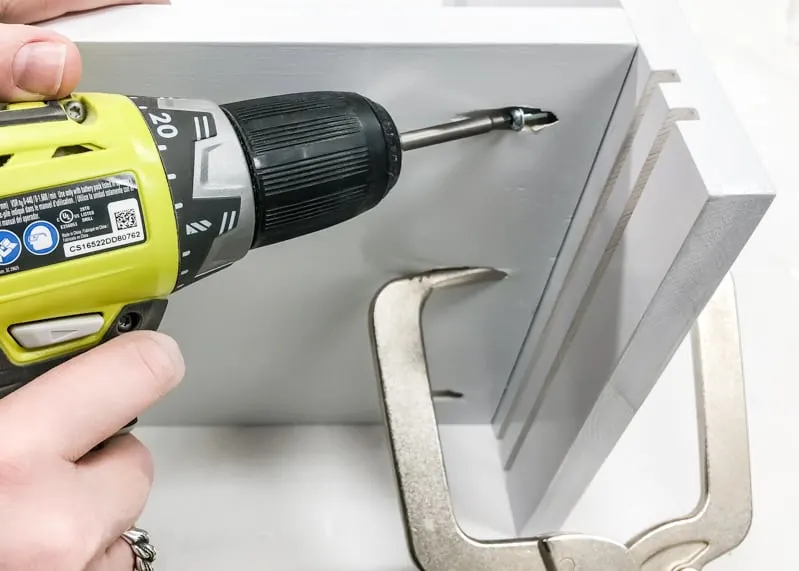
Position the bottom of the first shelf 2 ⅜" from the bottom, with the grooves facing inward. Attach the shelf to the sides with 1 ¼" pocket hole screws.
The second shelf should be flush with the bottom, with the pocket holes facing down.
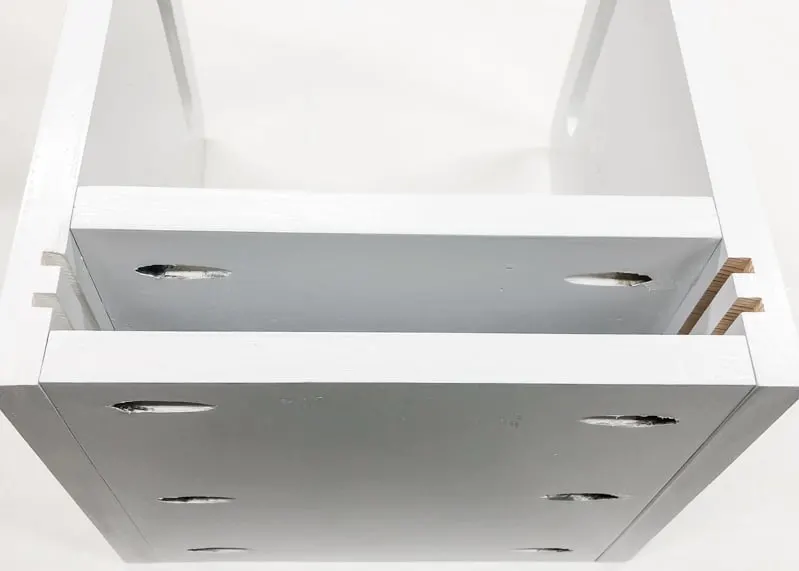
Test the fit of the Lego baseplates in the slots. They should move smoothly, but the baseplates should stay in place when the Lego bin is tipped sideways. Mine was a bit sticky after painting, so I took off a bit with the table saw and reassembled it.
Cut and Attach Plexiglass Sides
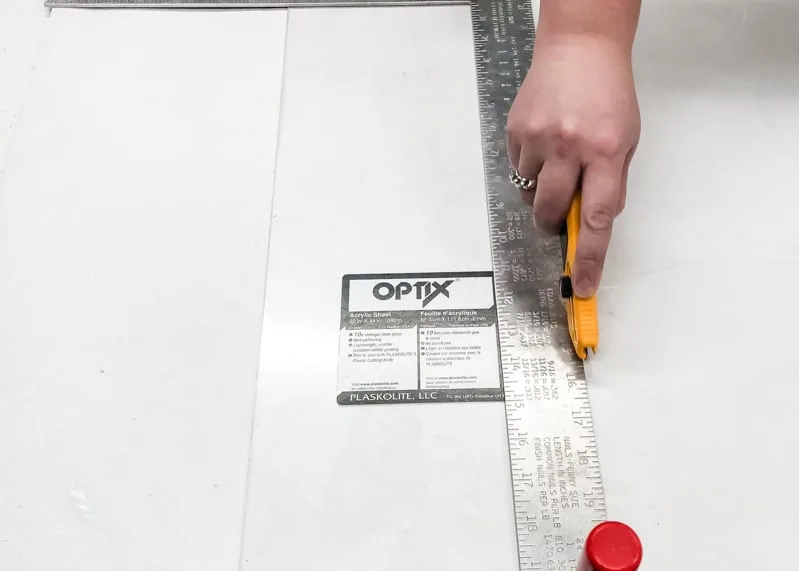
You can read about how to cut acrylic or Plexiglass here. I opted to cut these by hand with a Plexiglass knife and a straight edge.
Drill pilot holes around three sides with a Plexiglass drill bit. These holes should be the same diameter as the screw with the threads, so it passes through without cracking, although it can still happen if you're not careful!
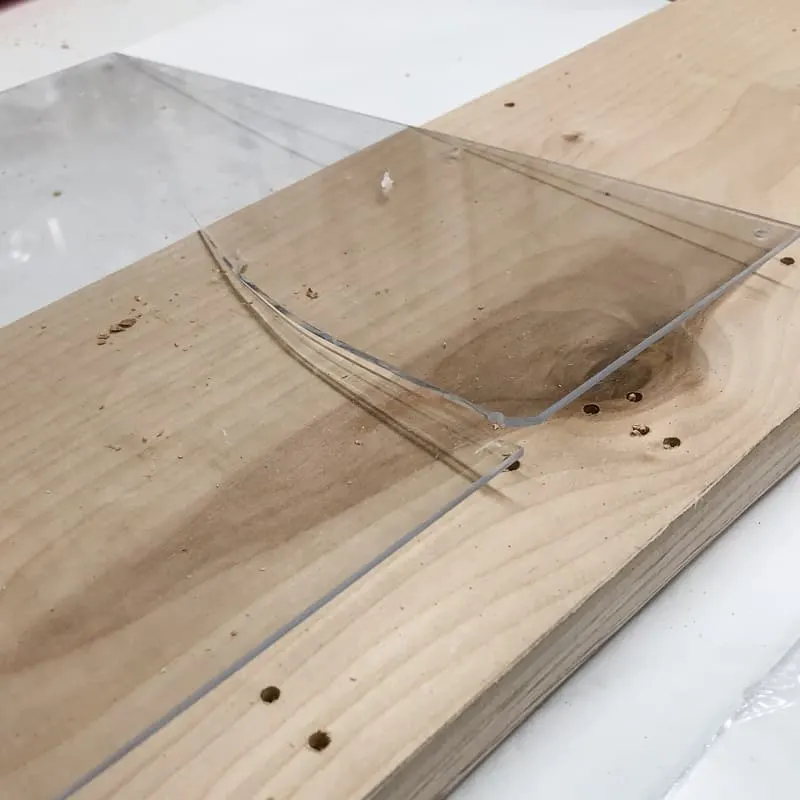
Sand the edges smooth, making sure there are no sharp edges. Then screw the Plexiglass to both sides of the Lego bin with ½" sheet metal screws. Be careful not to overtighten the screws and crack the Plexiglass!
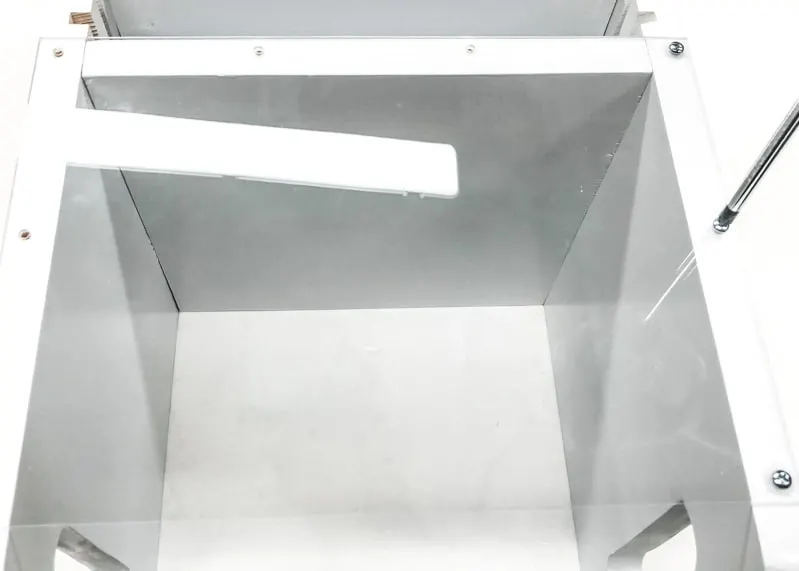
Fill up the Lego Bin!
My son has a ridiculous amount of Lego pieces, but surprisingly few of the standard brick size. I filled the Lego bin with all the loose ones I could find, and there's still plenty of room for more!
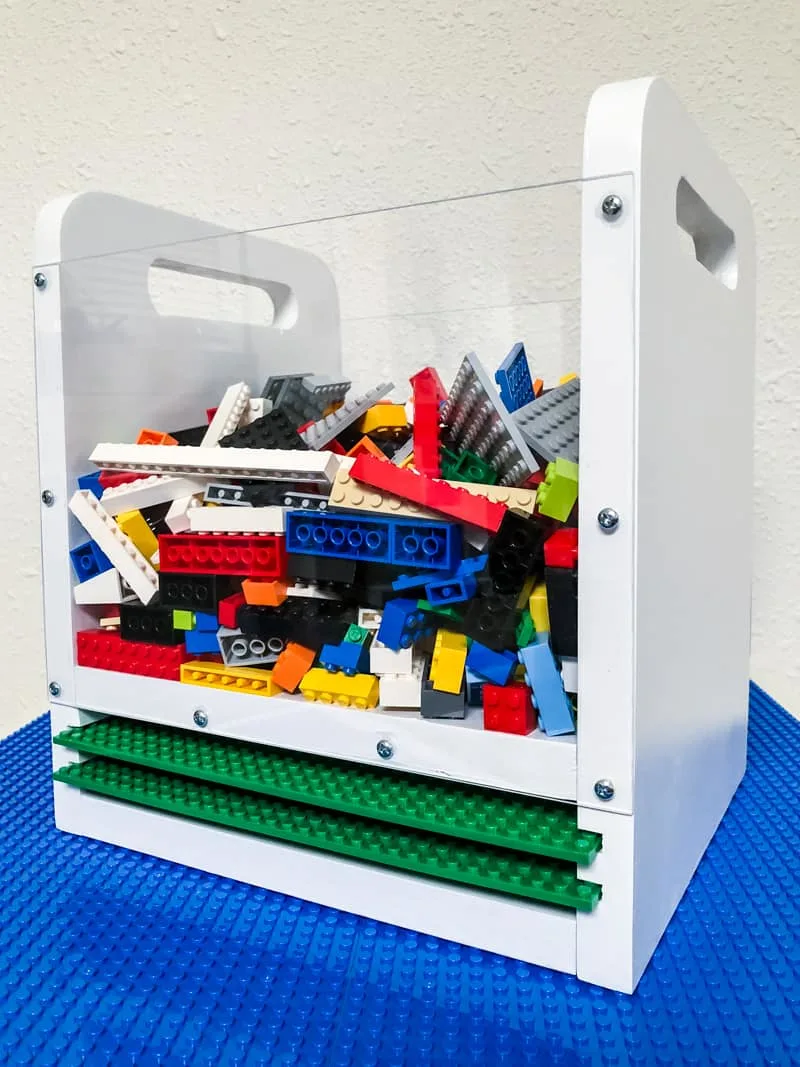
The baseplates fit snugly in their slots for transport, but slide out easily when it's time to play!

The Plexiglass sides make it so much easier to find that elusive piece at the bottom!

And the handles make it easy for little hands to carry from room to room. Pair it with this DIY Lego table with storage bin for the ultimate building area!
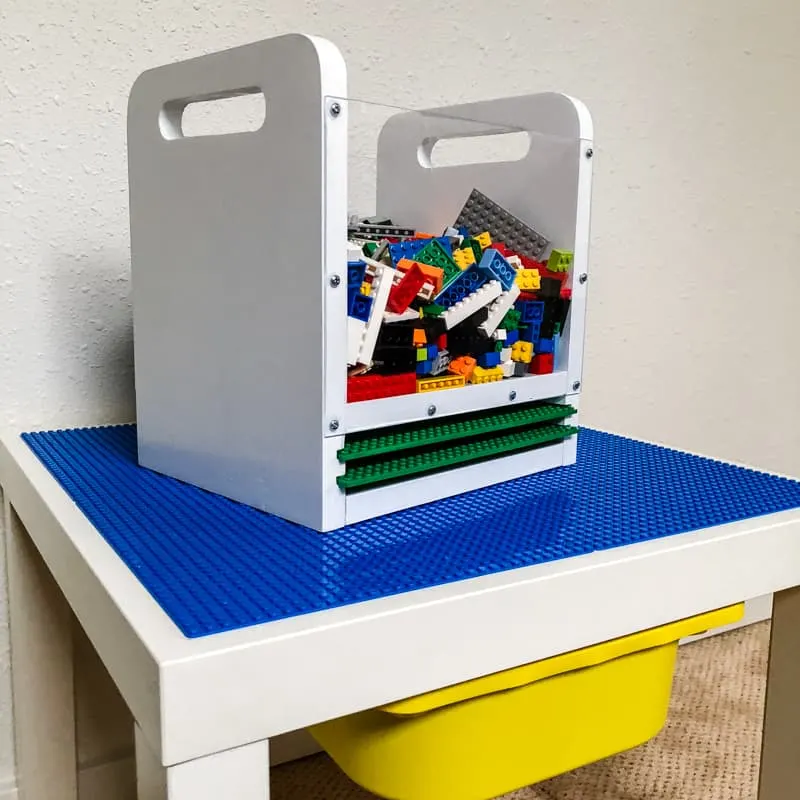
Don't forget to download the free woodworking plans to make your own!


