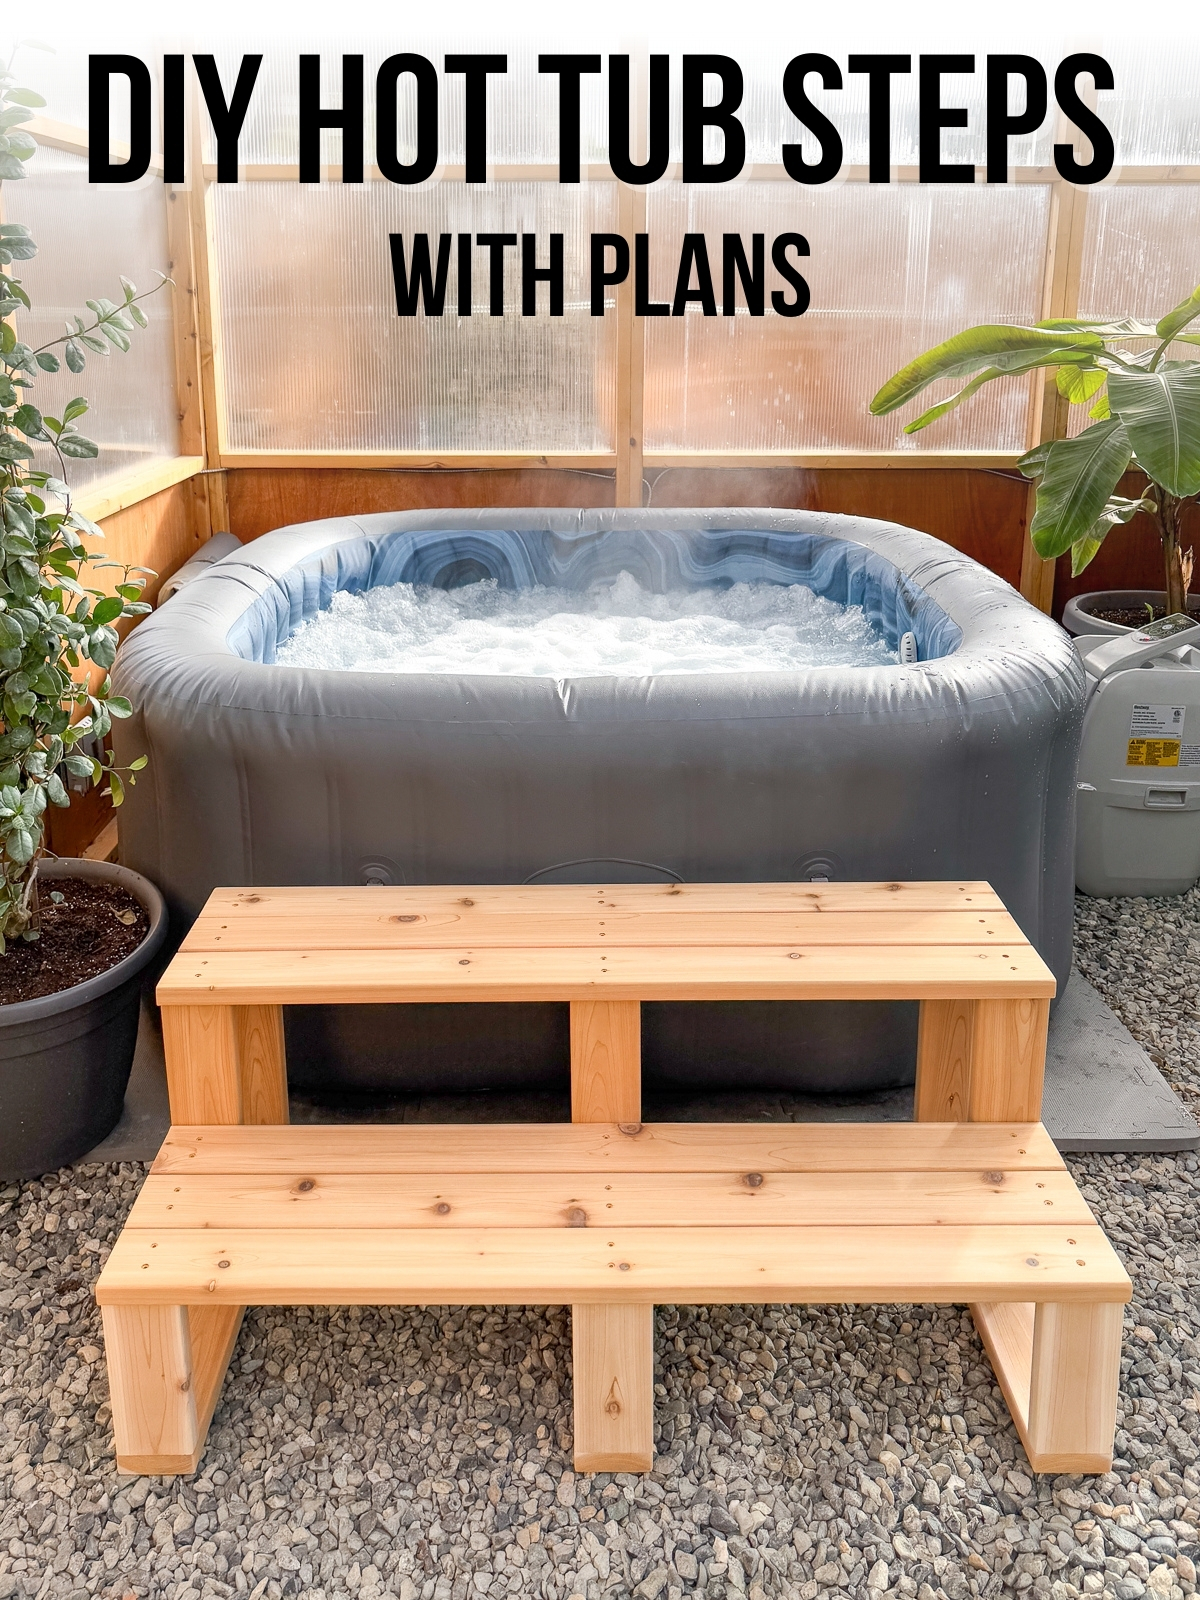
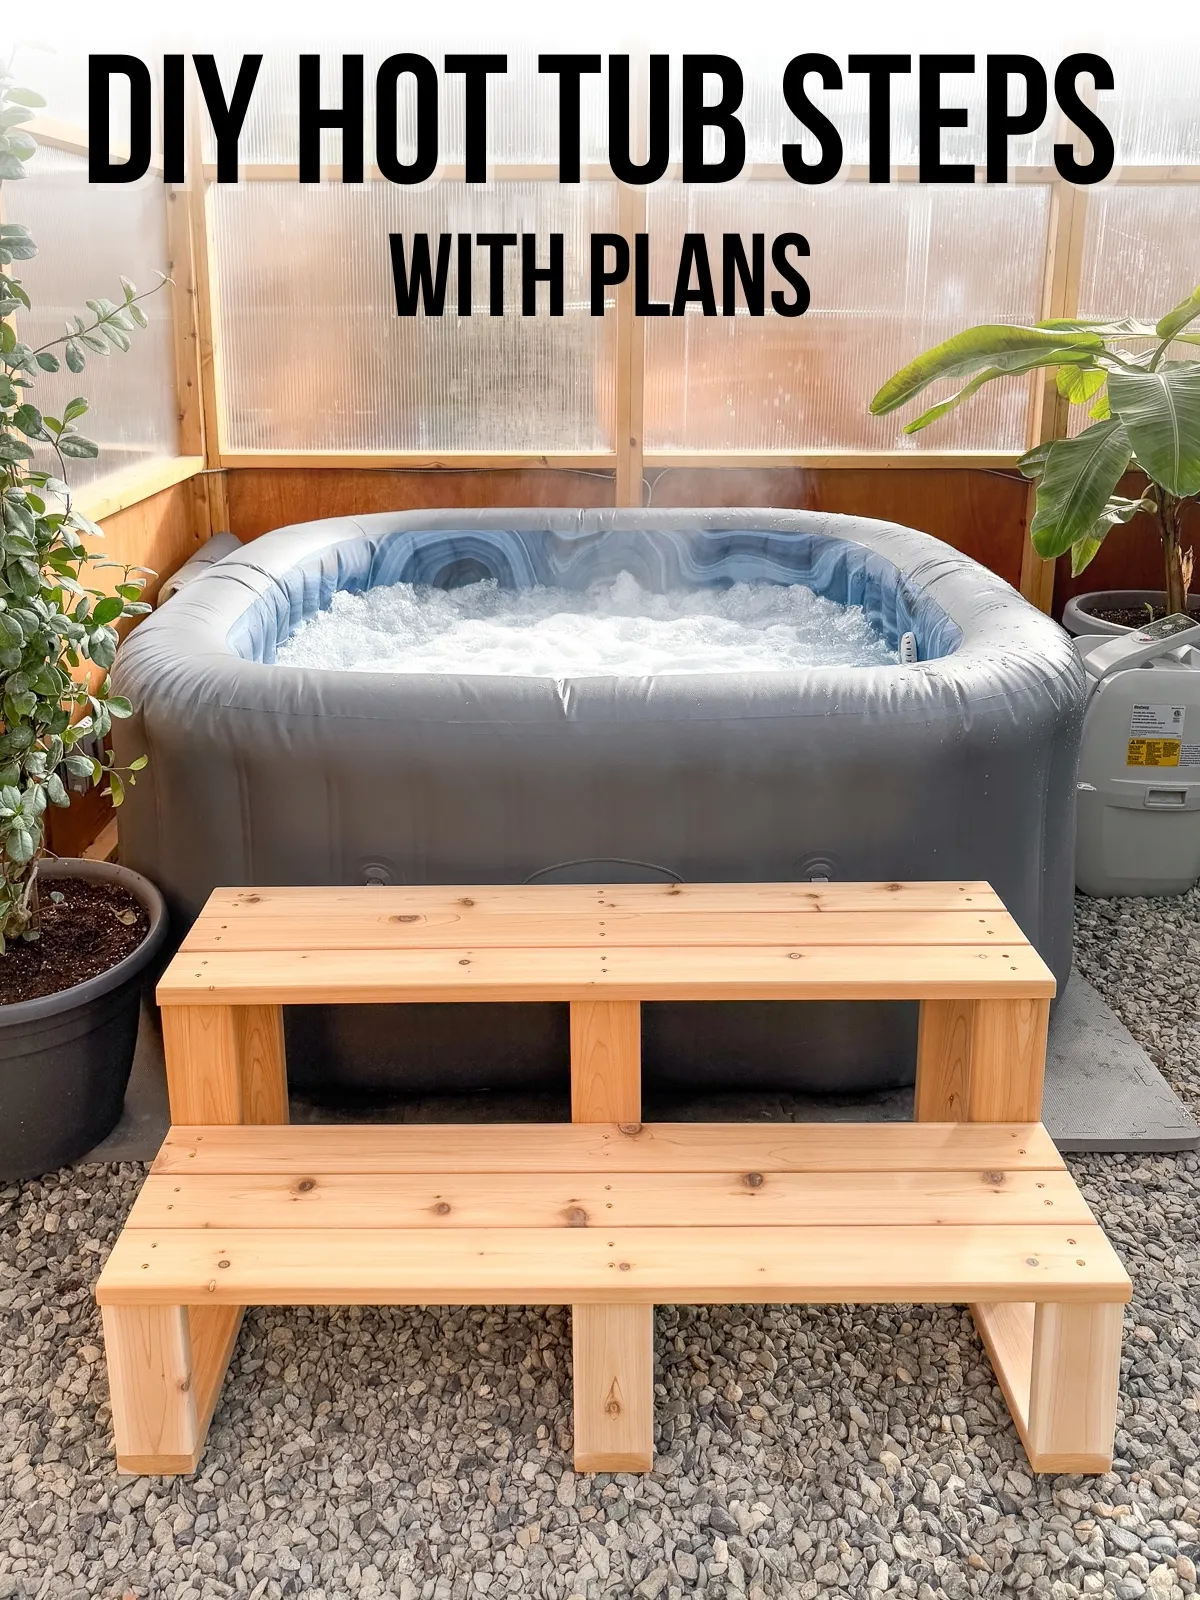
Getting into an above-ground hot tub can be a challenge! These easy DIY hot tub steps make it easier, and double as a plant stand too!
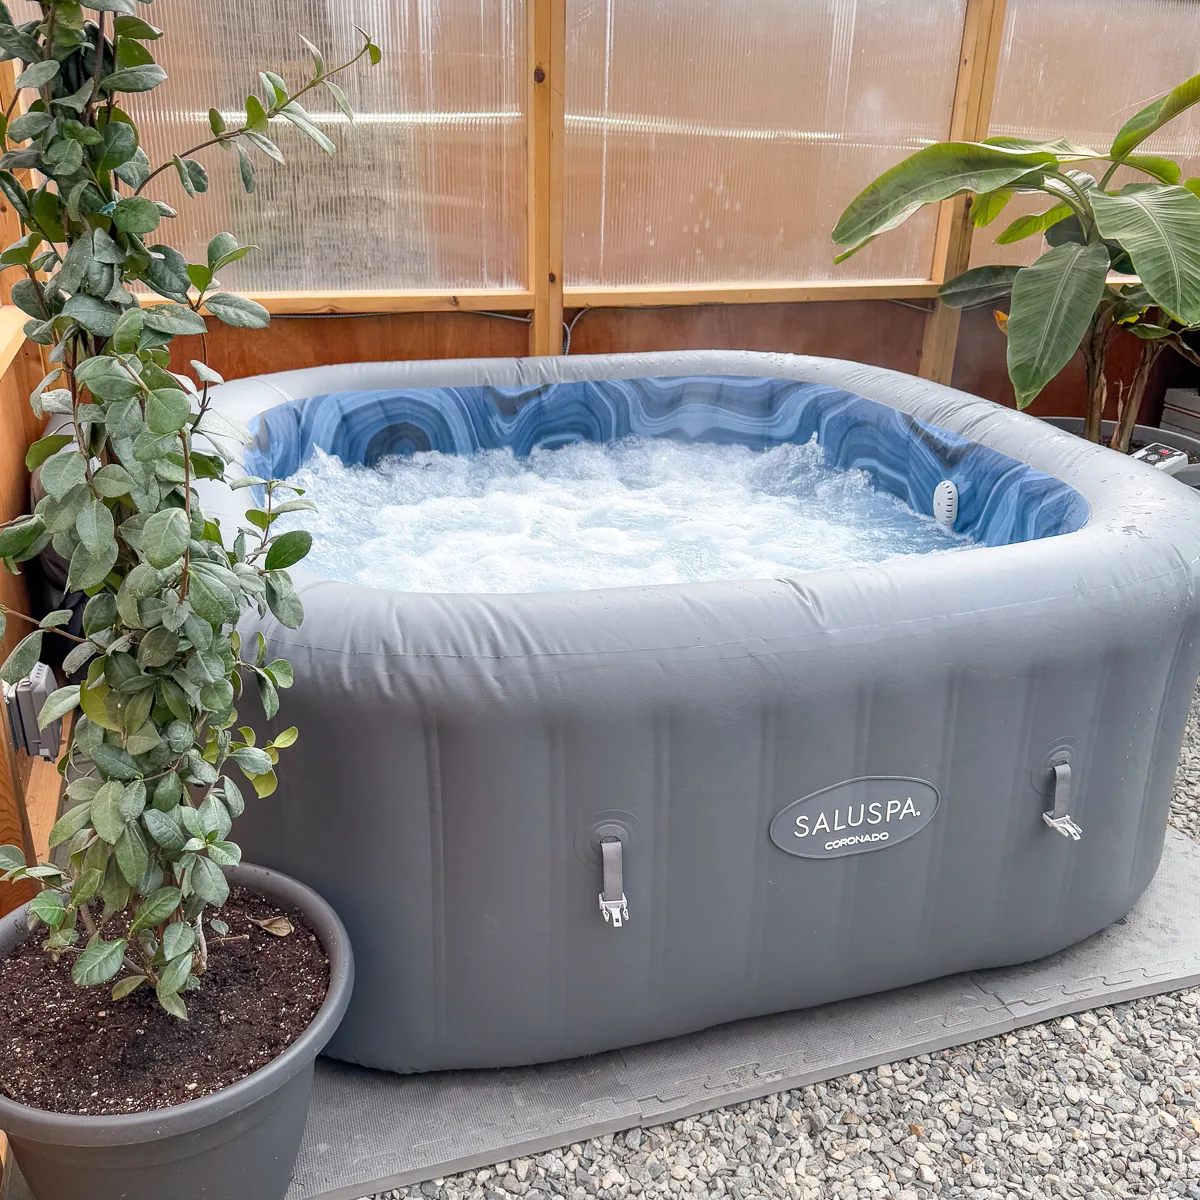
Last year, we had a beautiful 12'x20' greenhouse built in our backyard for all the plants I write about on my other website, Grow Happier Plants. My husband agreed to it on one condition: we put a hot tub inside.
It actually works pretty well in the space, since the hot water acts as a heat sink to keep the rest of the greenhouse warm in winter. But getting into it while walking over the gravel floor in bare feet is less than pleasant!

I decided to built a set of hot tub steps that make it easier to get in and out, and can also be used as a plant stand! Here's how to make it!
This post contains affiliate links for your convenience. Purchases made through these links may earn me a small commission at no additional cost to you. Please visit my disclosures page for more information.
Materials needed
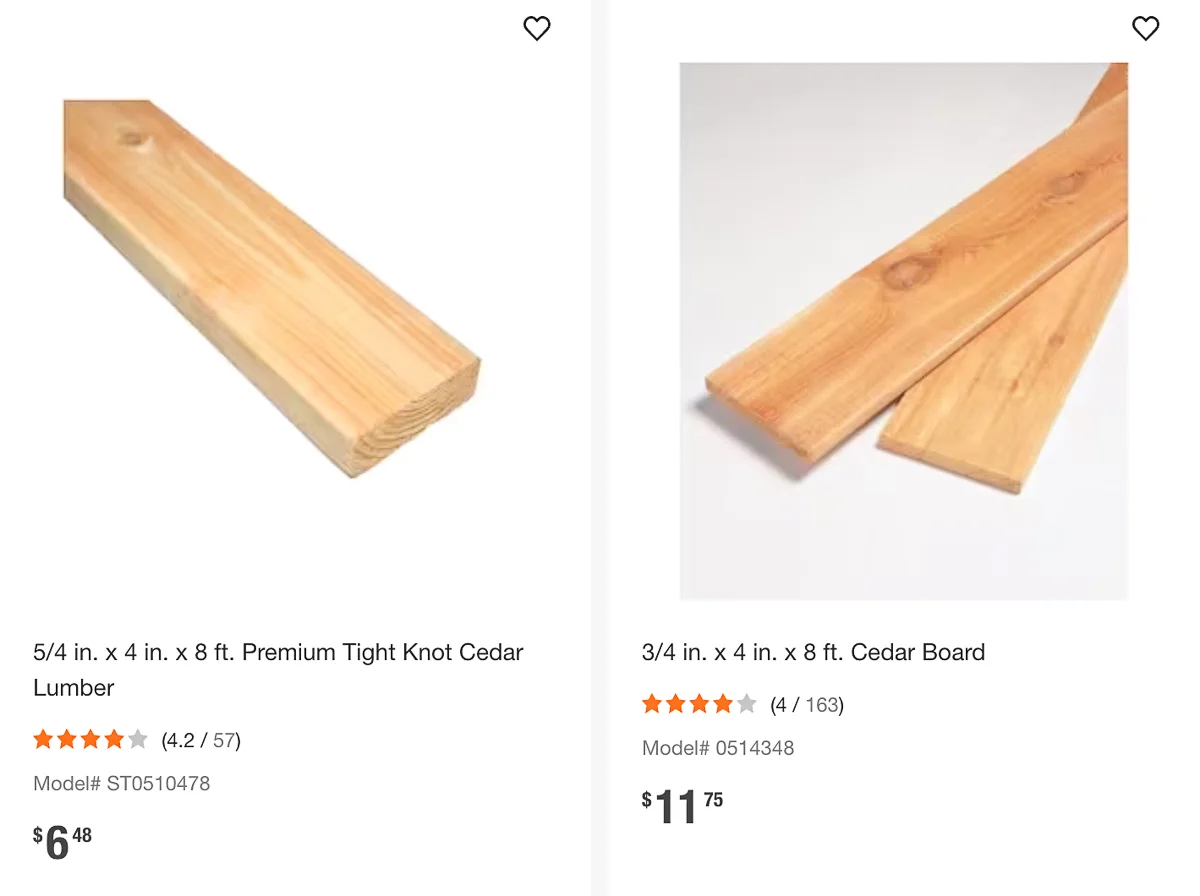
- Six 8-foot long 5/4 deck boards (preferably cedar or pressure treated)
- Pocket hole jig
- 1 ¼” exterior grade pocket hole screws
- 1 ⅝” exterior grade wood screws
- Countersink bit (optional)
- Waterproof wood glue (such as Titebond III)
- Right angle drill bit attachment (to attach lower step pocket hole screw to base)
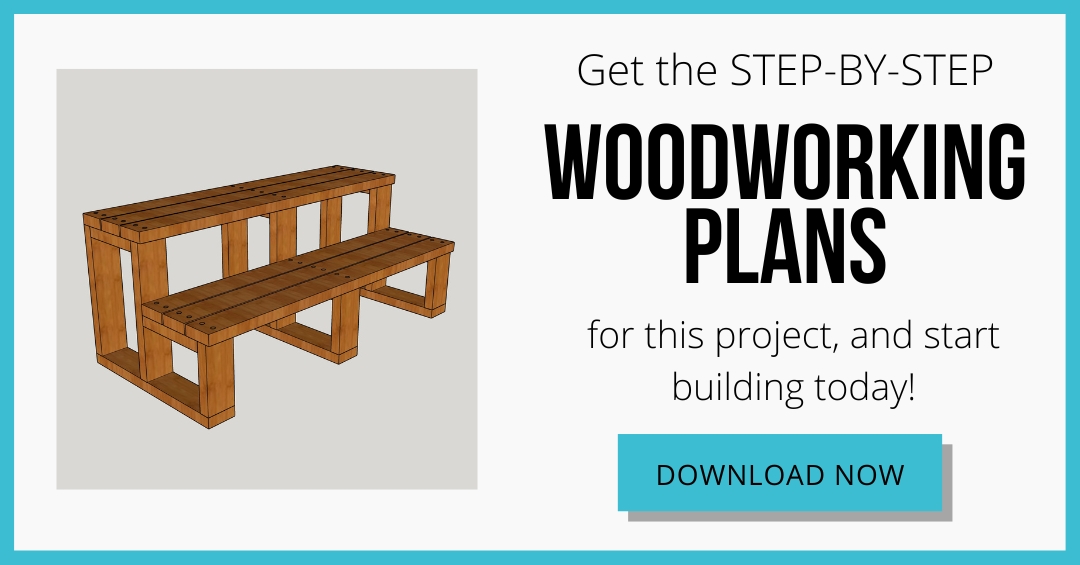
Download the woodworking plans
Before I start any build, I make a 3D model in SketchUp first. I measured the width of the flat part of the front of the hot tub, as well as the height. Your hot tub might be different, so double check the measurements before you start cutting pieces!
You can get the hot tub steps woodworking plans by clicking the button below!

Cut and sand all the parts
I used 5/4 cedar deck boards for all the parts of the stairs. It's less chunky than 2x4s, but strong enough to briefly hold the weight of a person. For some reason, they were almost half the price of the ¾" cedar I was originally planning to use!

I picked through the boards to find the straightest ones without a lot of knots or cracks. The best ones were cut down to make the stair treads, and the rougher ones were used for the frame.
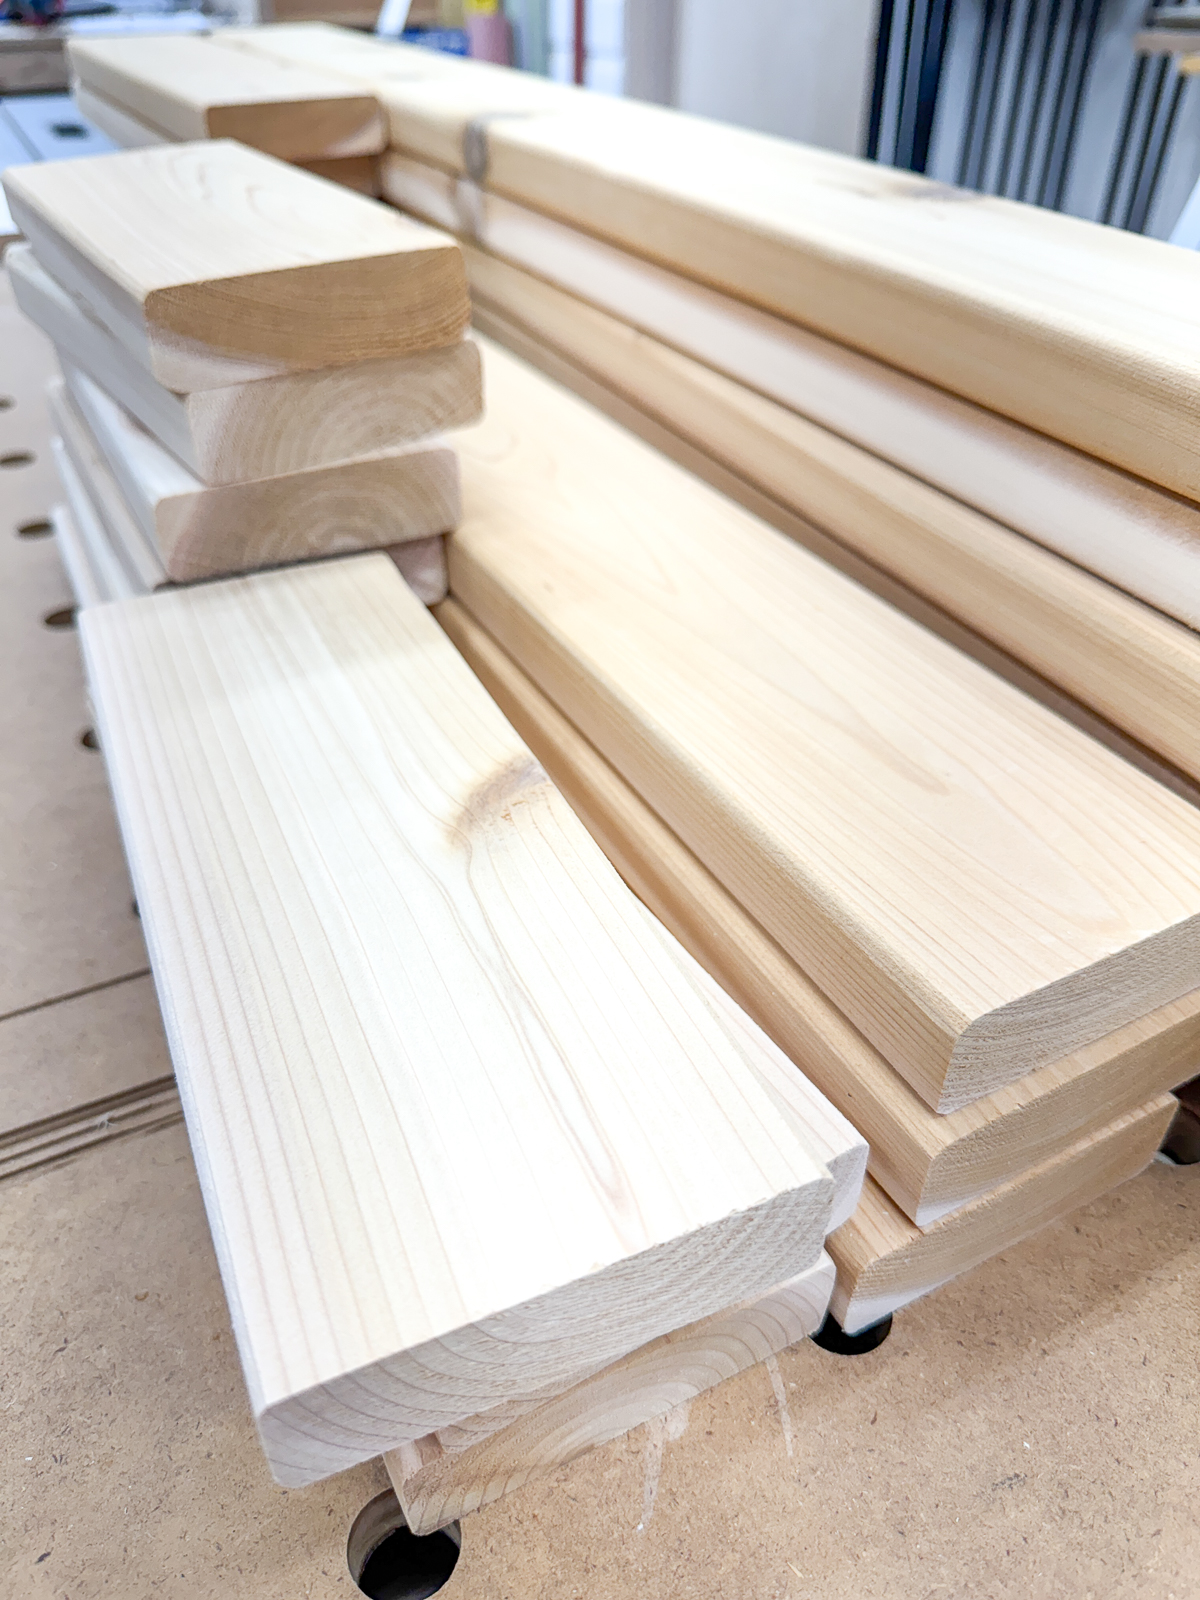

Sand all the parts with 120 grit sandpaper before starting assembly. It's much easier to sand when they're flat, and you can skip to the higher grit sandpaper once it's all put together.
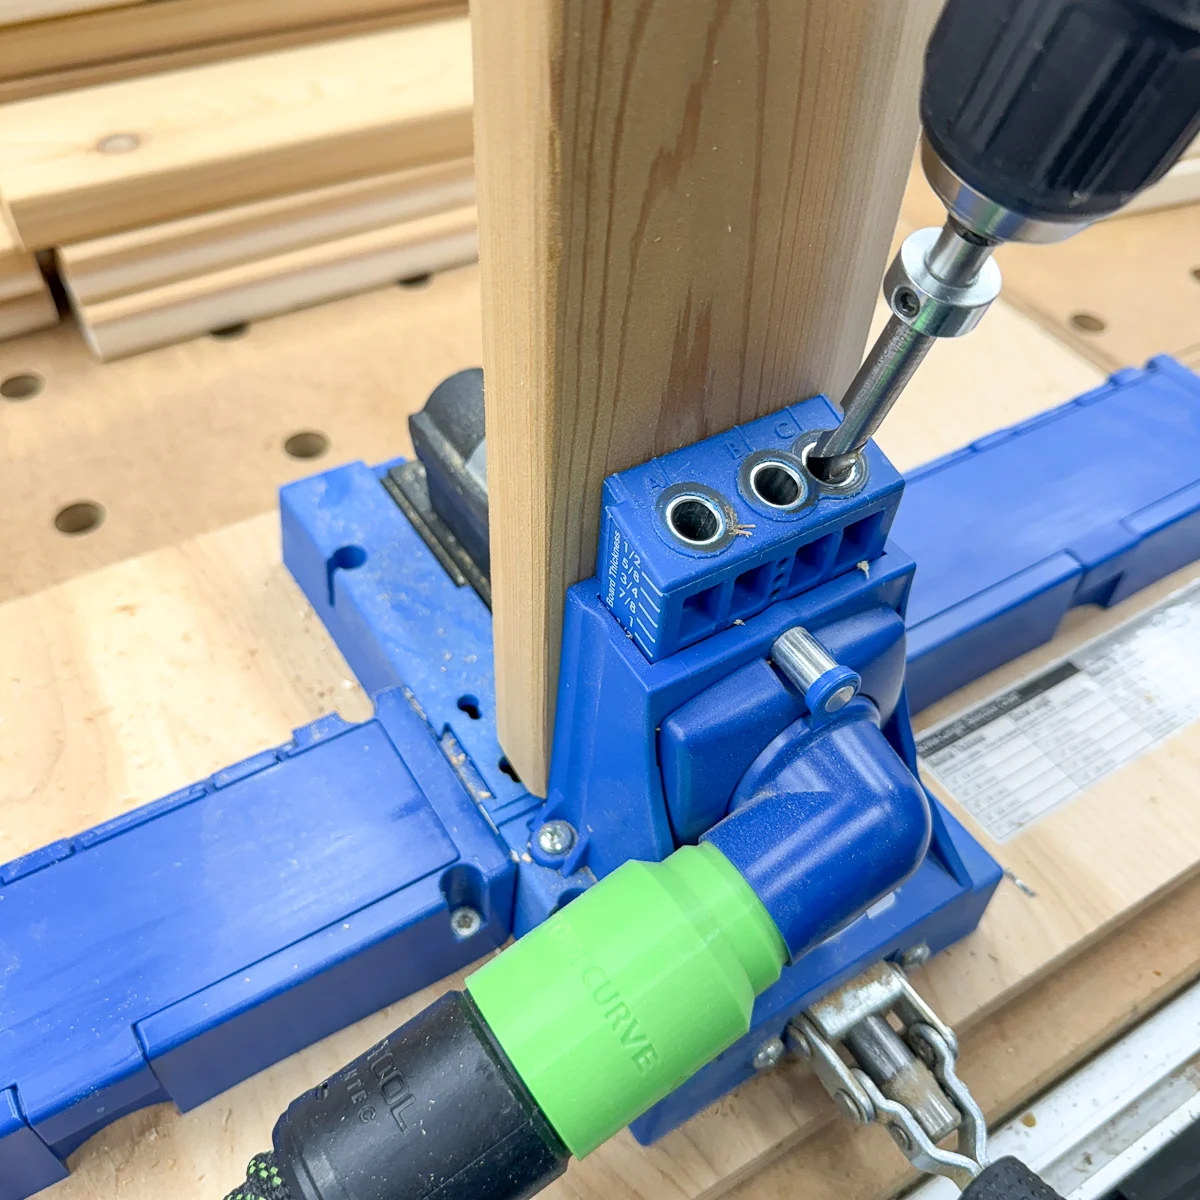
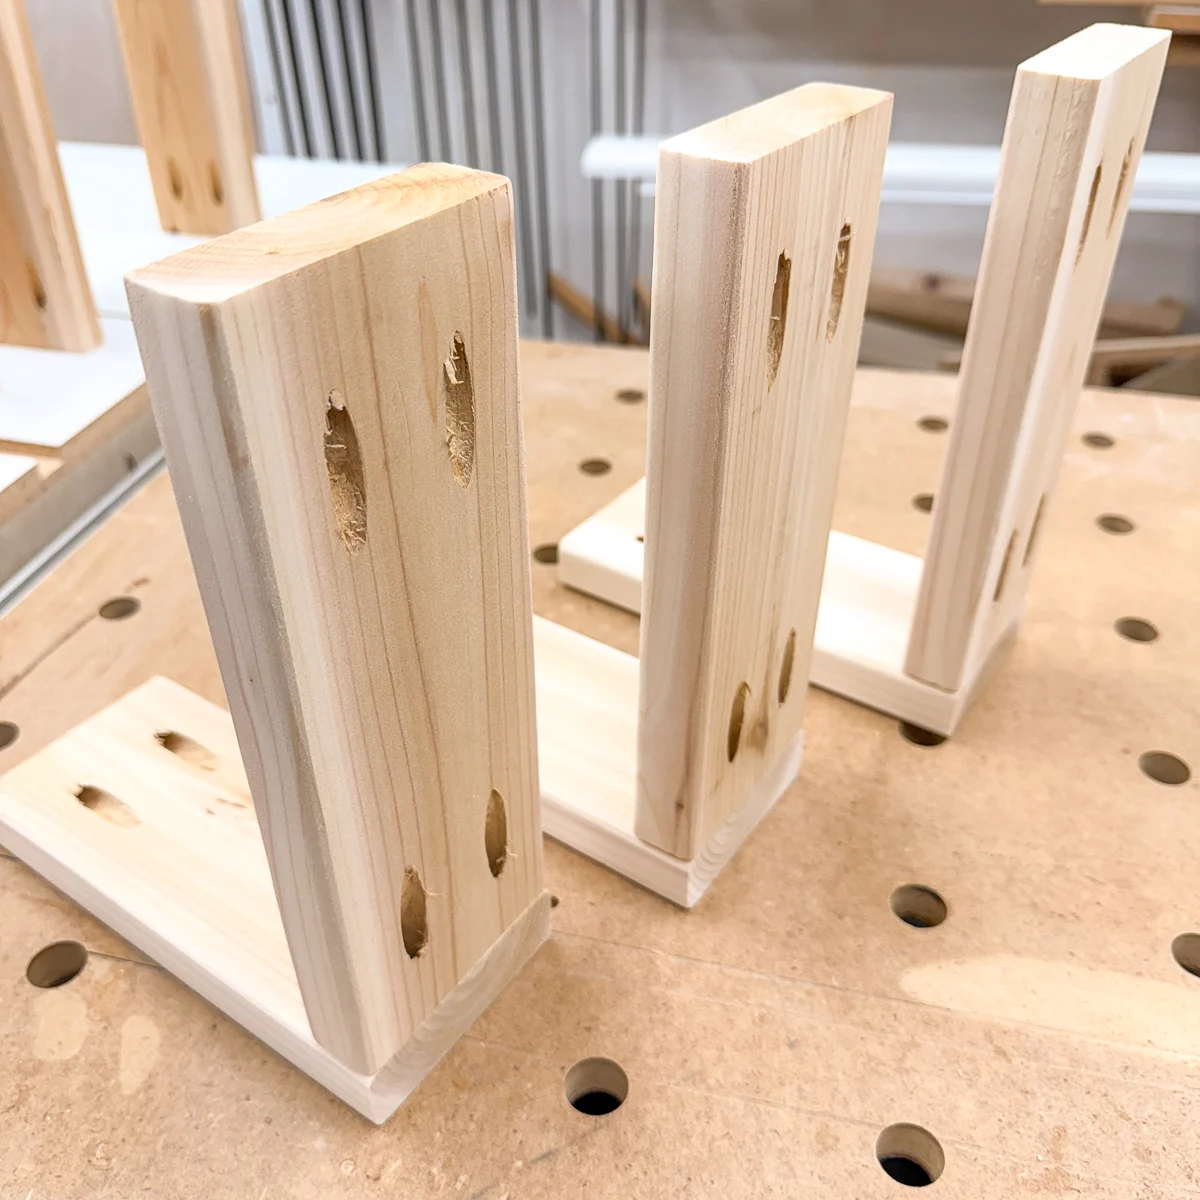
Drill pocket holes
The entire frame is put together with pocket holes. Check the plans to make sure you're drilling them in the correct locations so they'll be hidden during assembly.

Assemble the frame
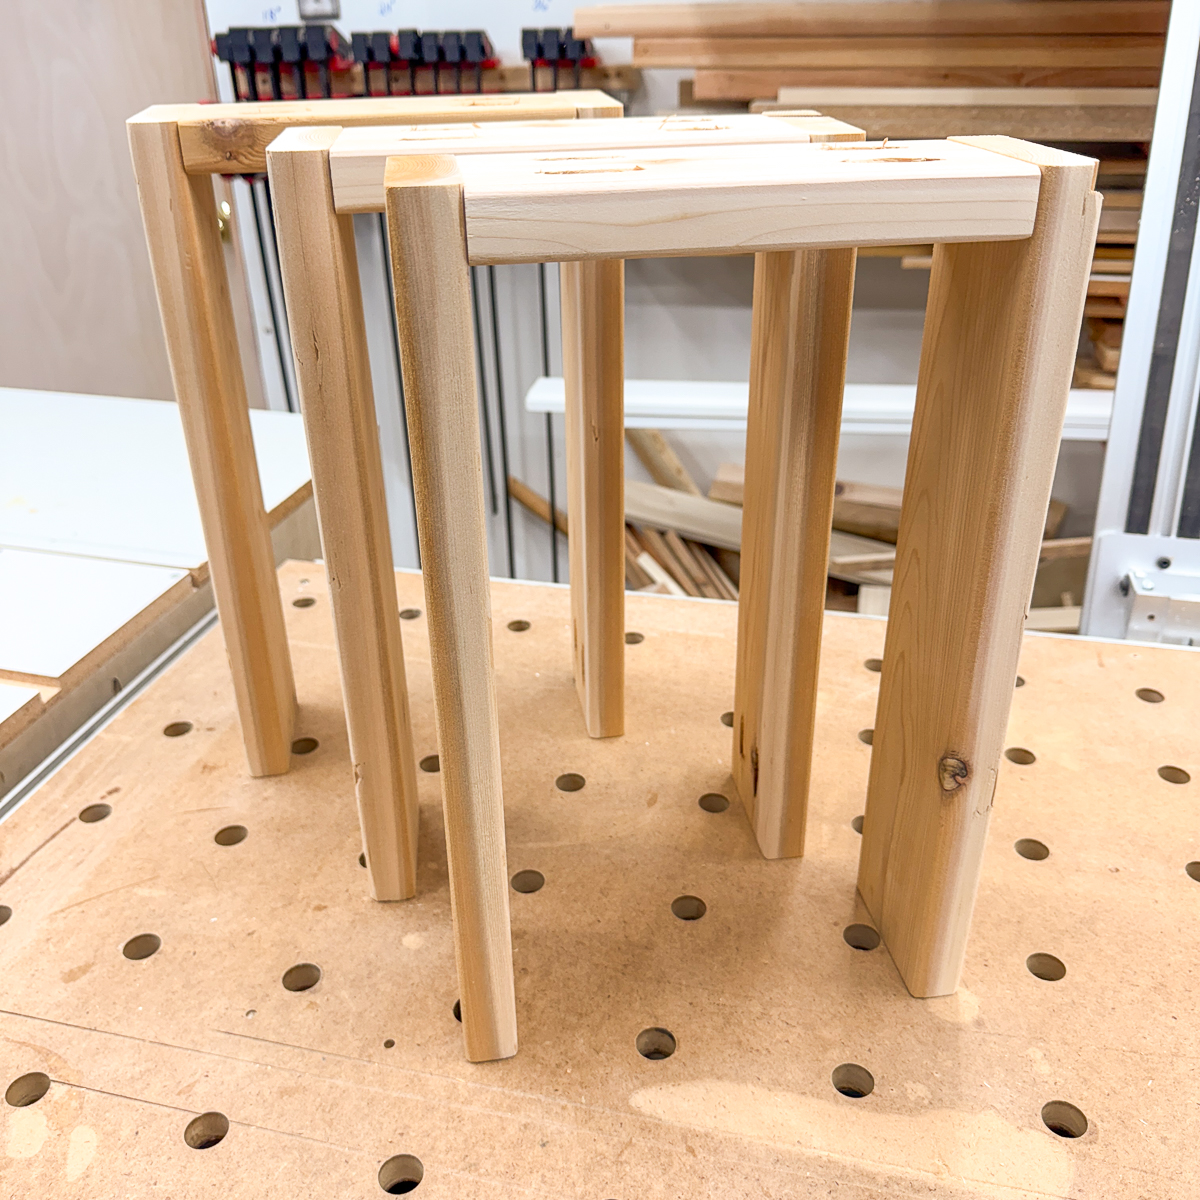
Start with the taller legs. Attach the front and back legs together with one of the short top pieces. Make sure to use exterior grade pocket hole screws, which won't rust!

You should end up with three sets of tall legs like this.

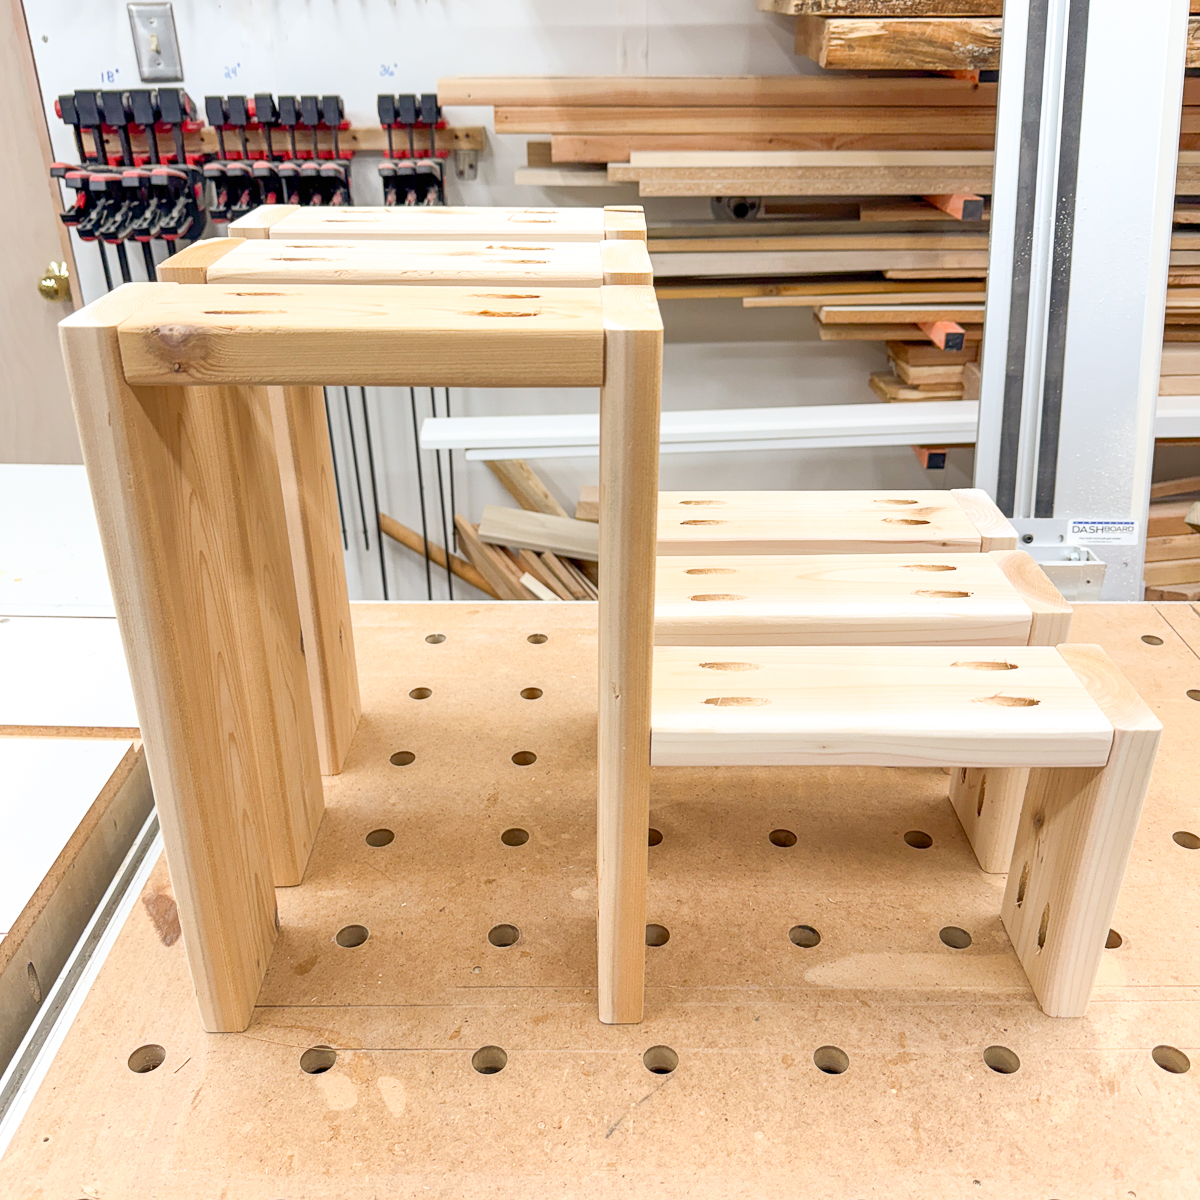
Next, assemble the shorter legs. The piece with pocket holes on both ends will be the top of the step.

The shorter legs attach to the front of the taller ones. Use a speed square to check that it's level, then clamp it while you screw it in place to prevent shifting.


You should end up with three sets of legs that look like this.

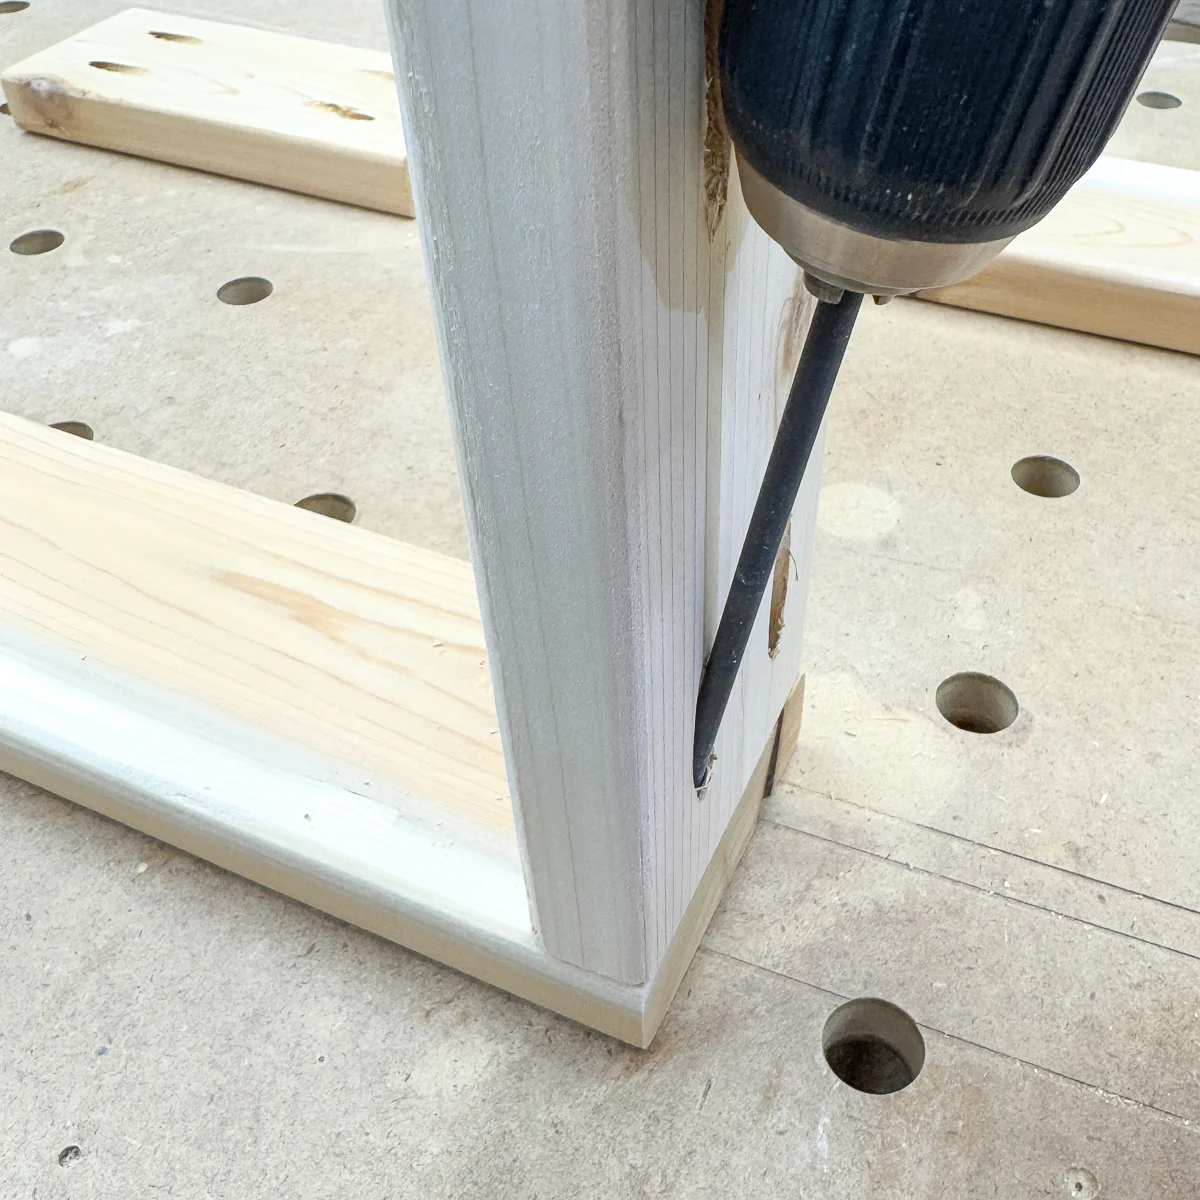
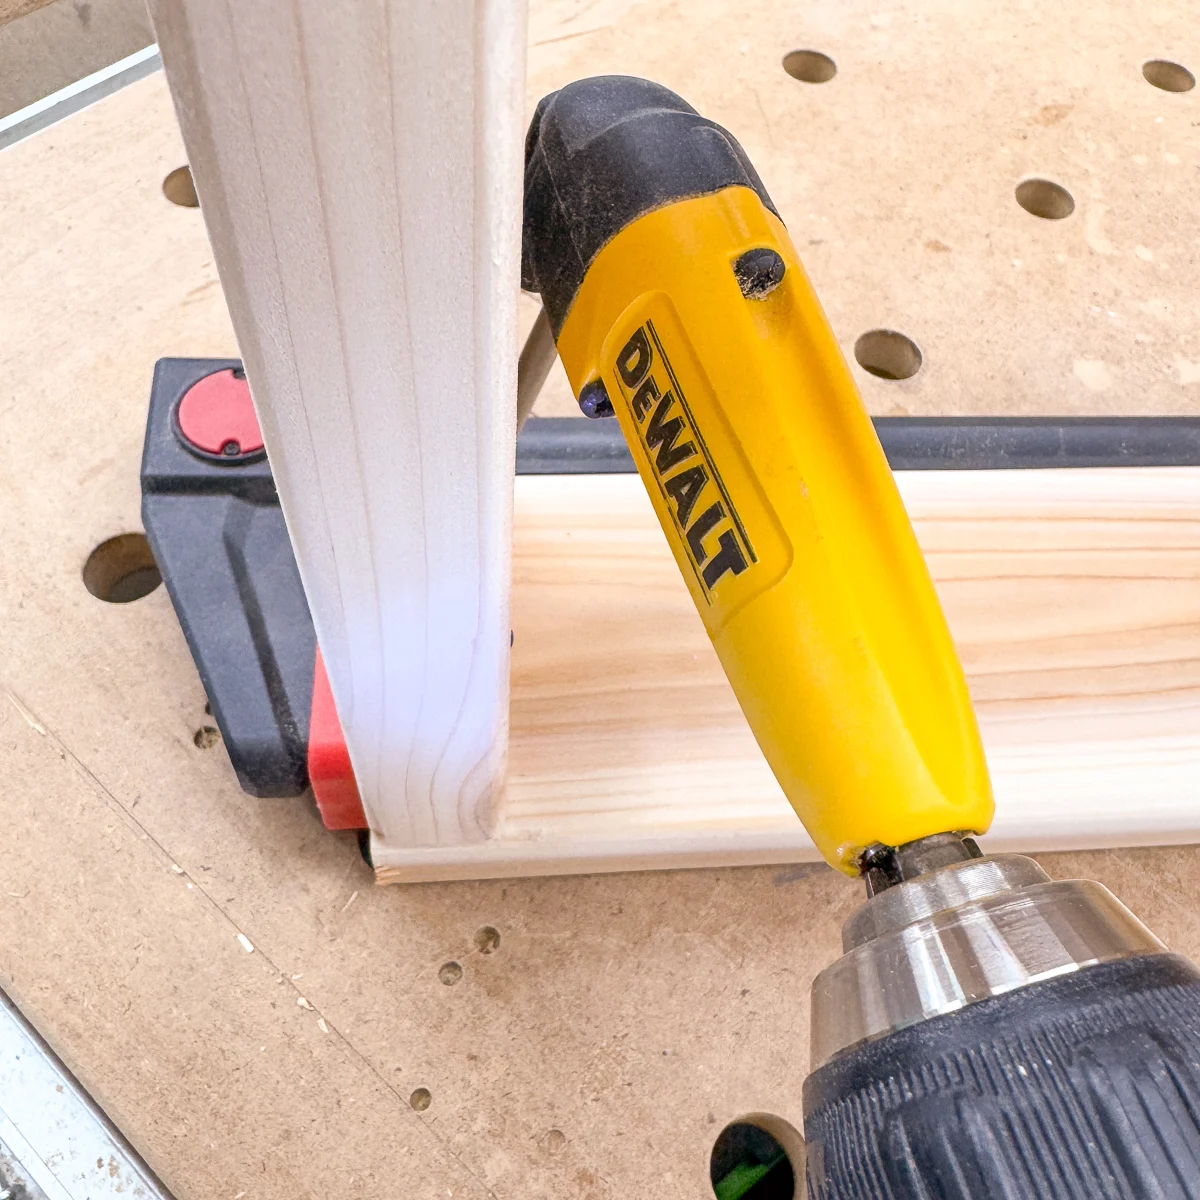
All three of the vertical pieces will be attached to a bottom piece that holds them all straight. You'll need a right angle drill attachment to get into the tight spot under the bottom step.

Attach the stair treads
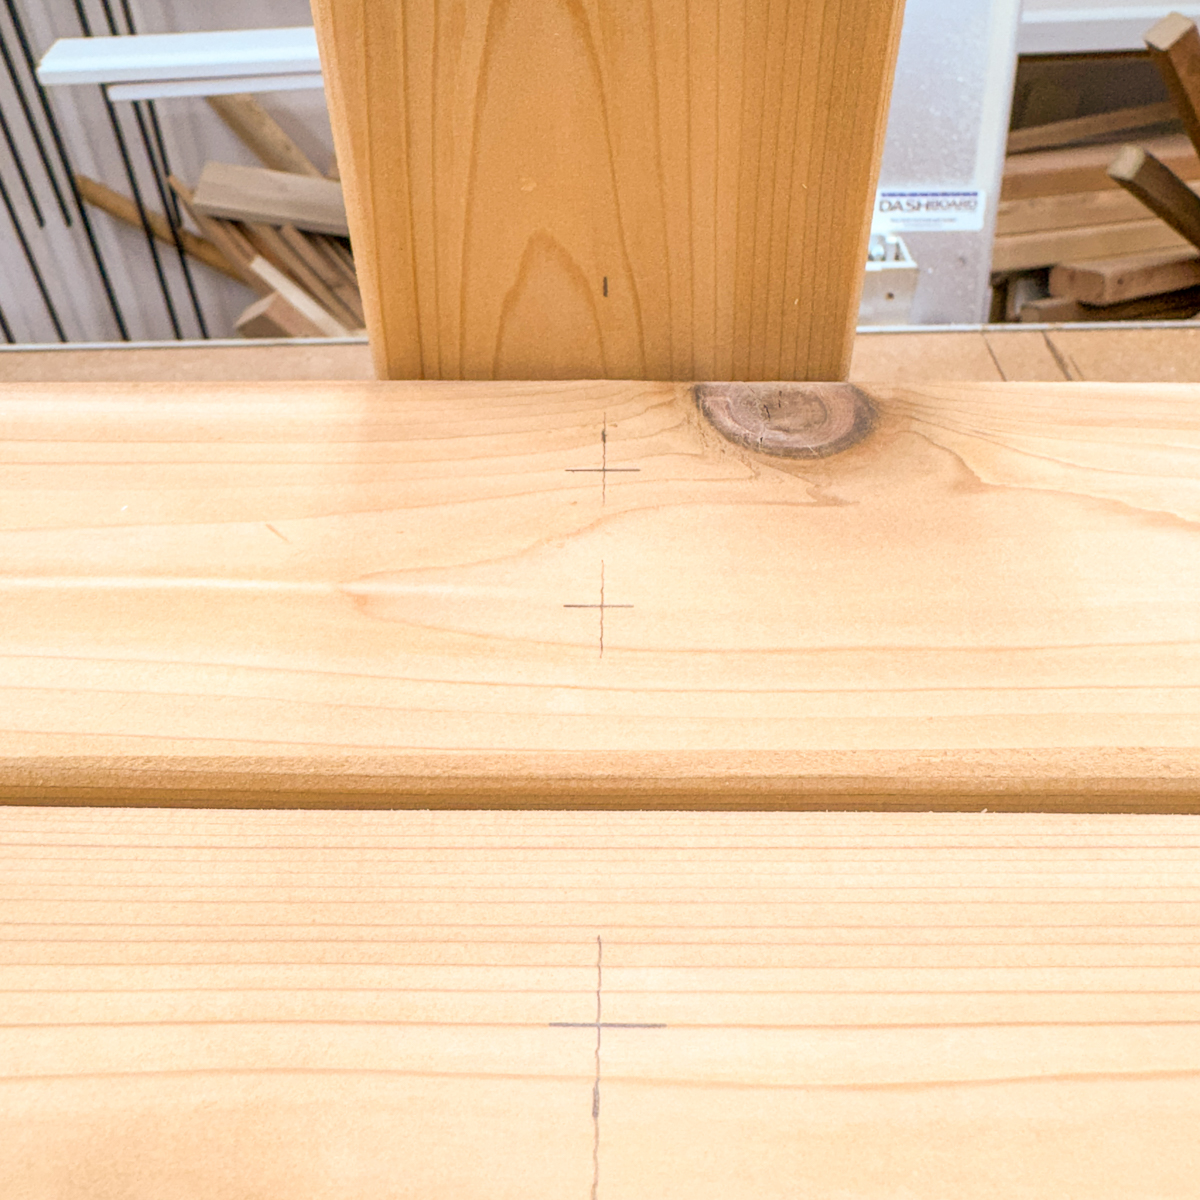
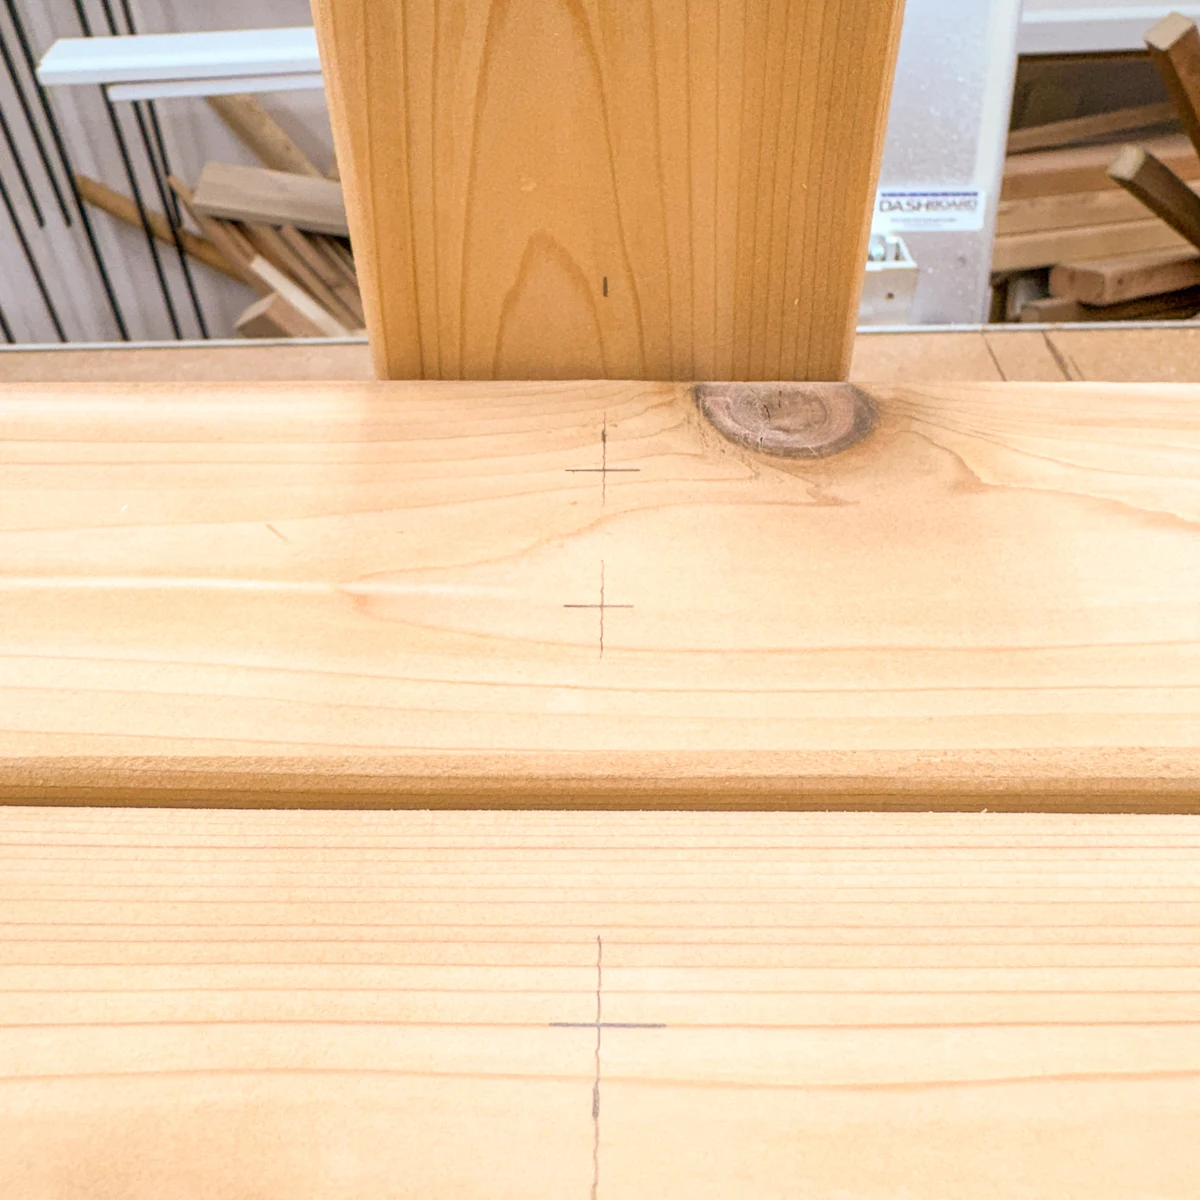
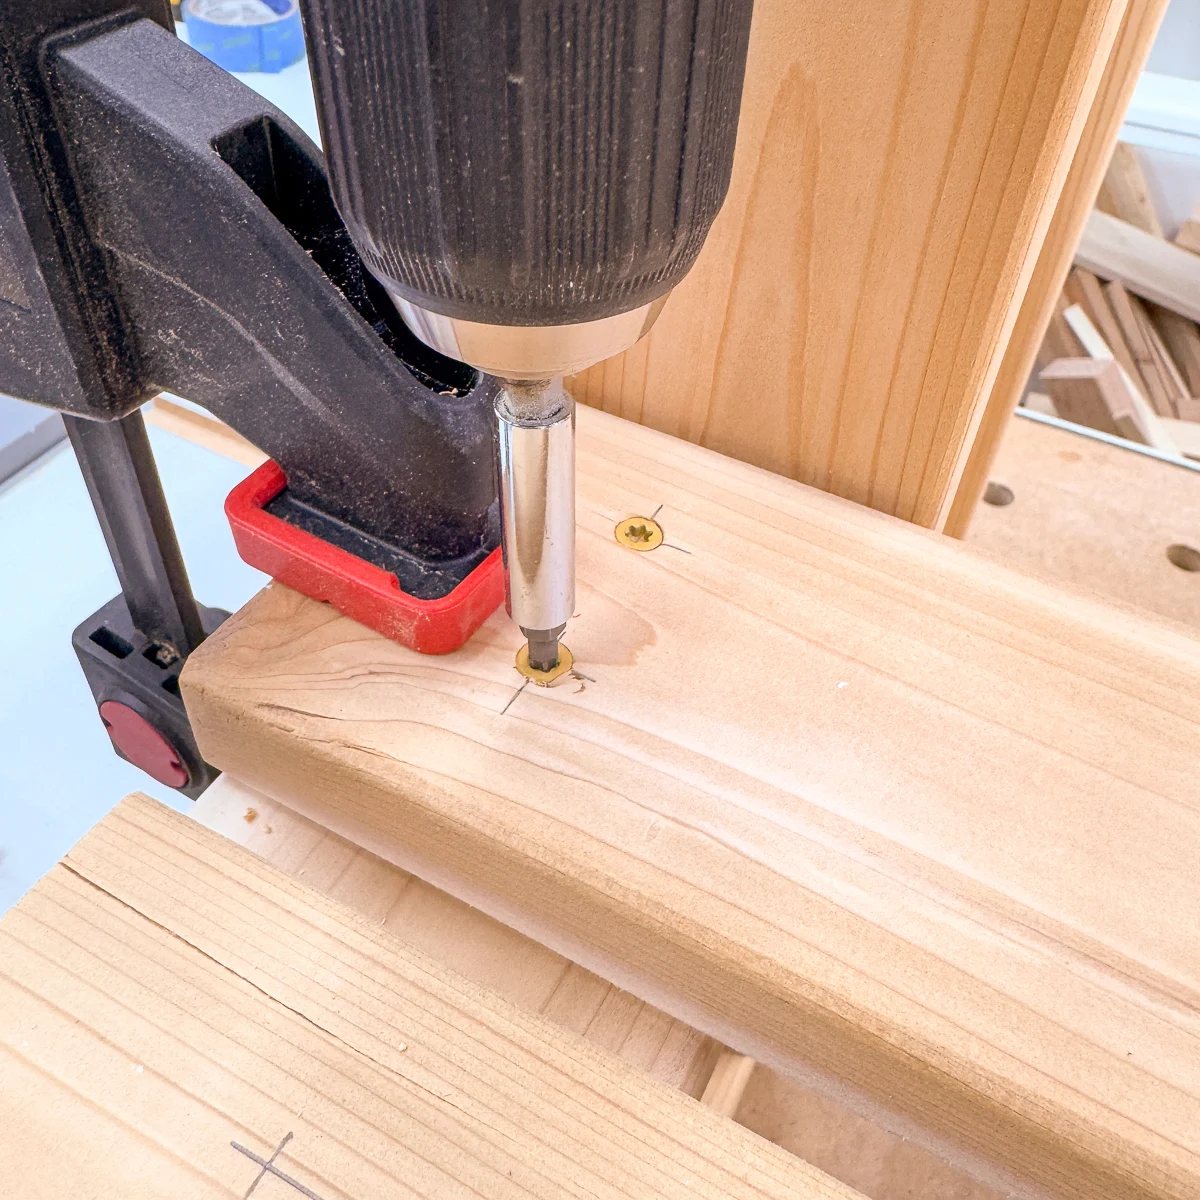
The stair treads connect the three leg assemblies together. Position one set on either end, then measure and align the center points together. I also measured and marked the position of each pair of holes so they hit the center of the board and are evenly spaced.
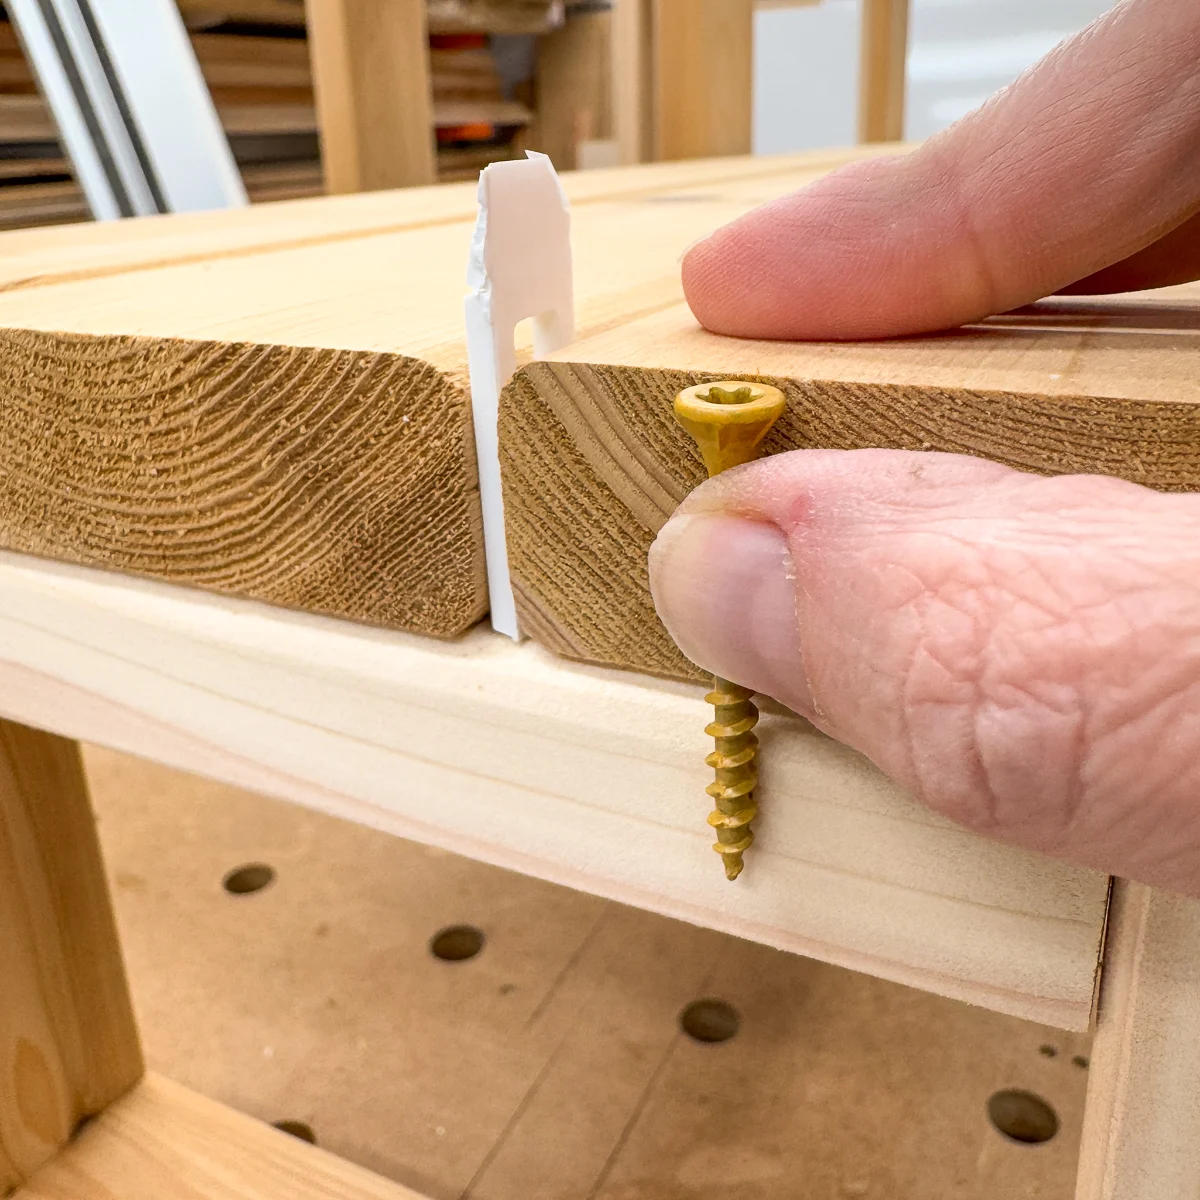
I tested out a few different exterior wood screws and found that 1 ⅝" deck screws will work best with these 5/4 boards. I used ⅛" Handi-Shims between the boards to get even spacing that allows for water to drain through.

Start with the back tread on the bottom step to lock in the placement of the frame parts. You can use a countersink bit to predrill the holes, but these screws are self-tapping and went in cleanly without it.
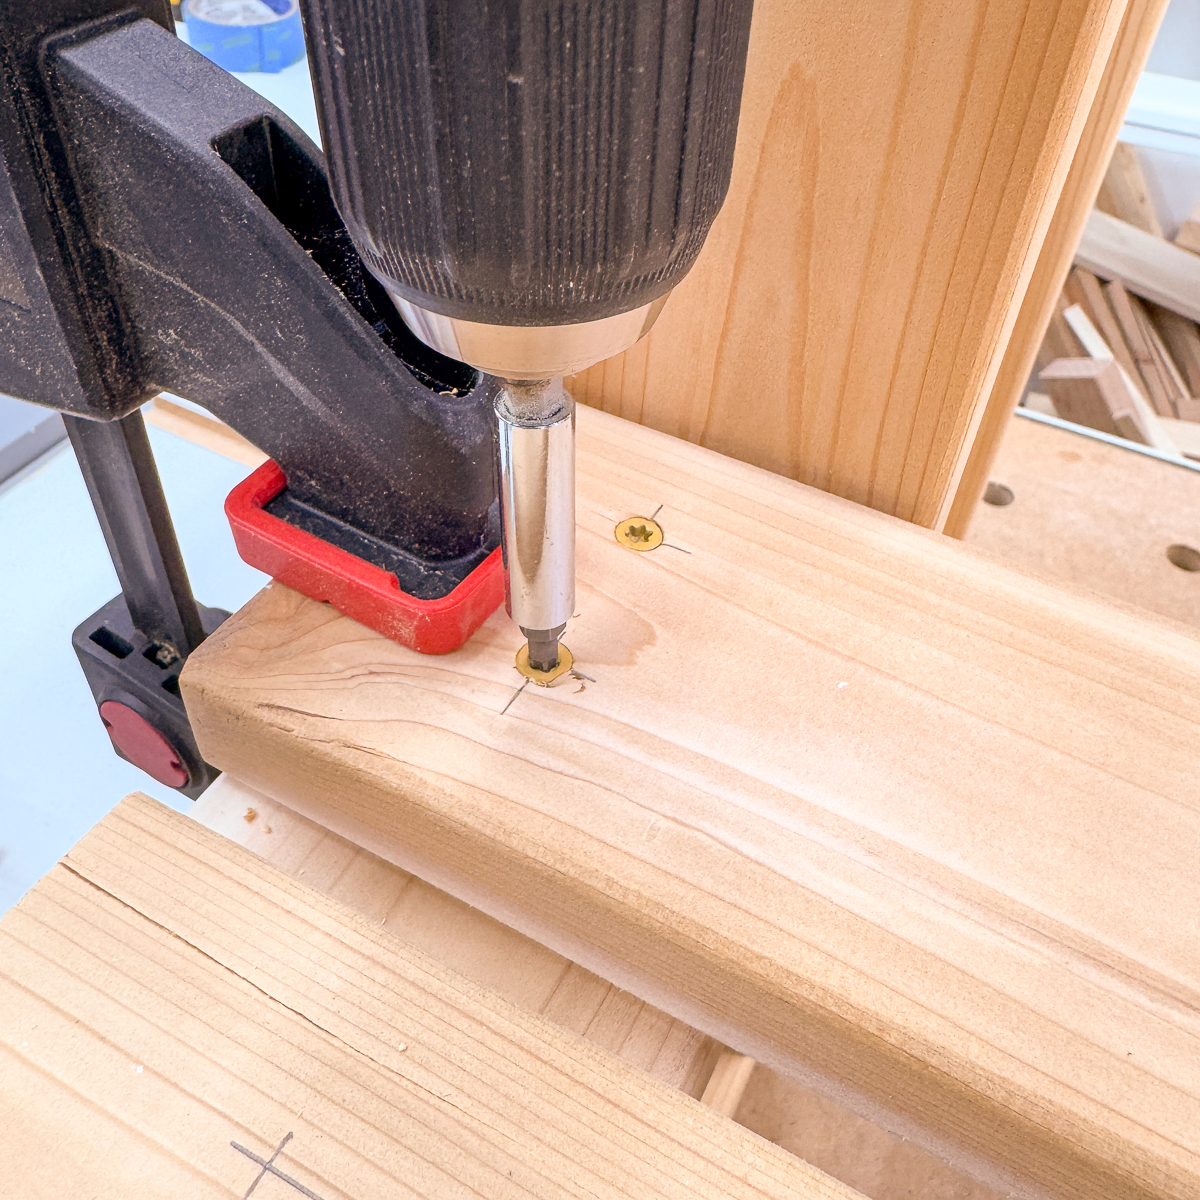
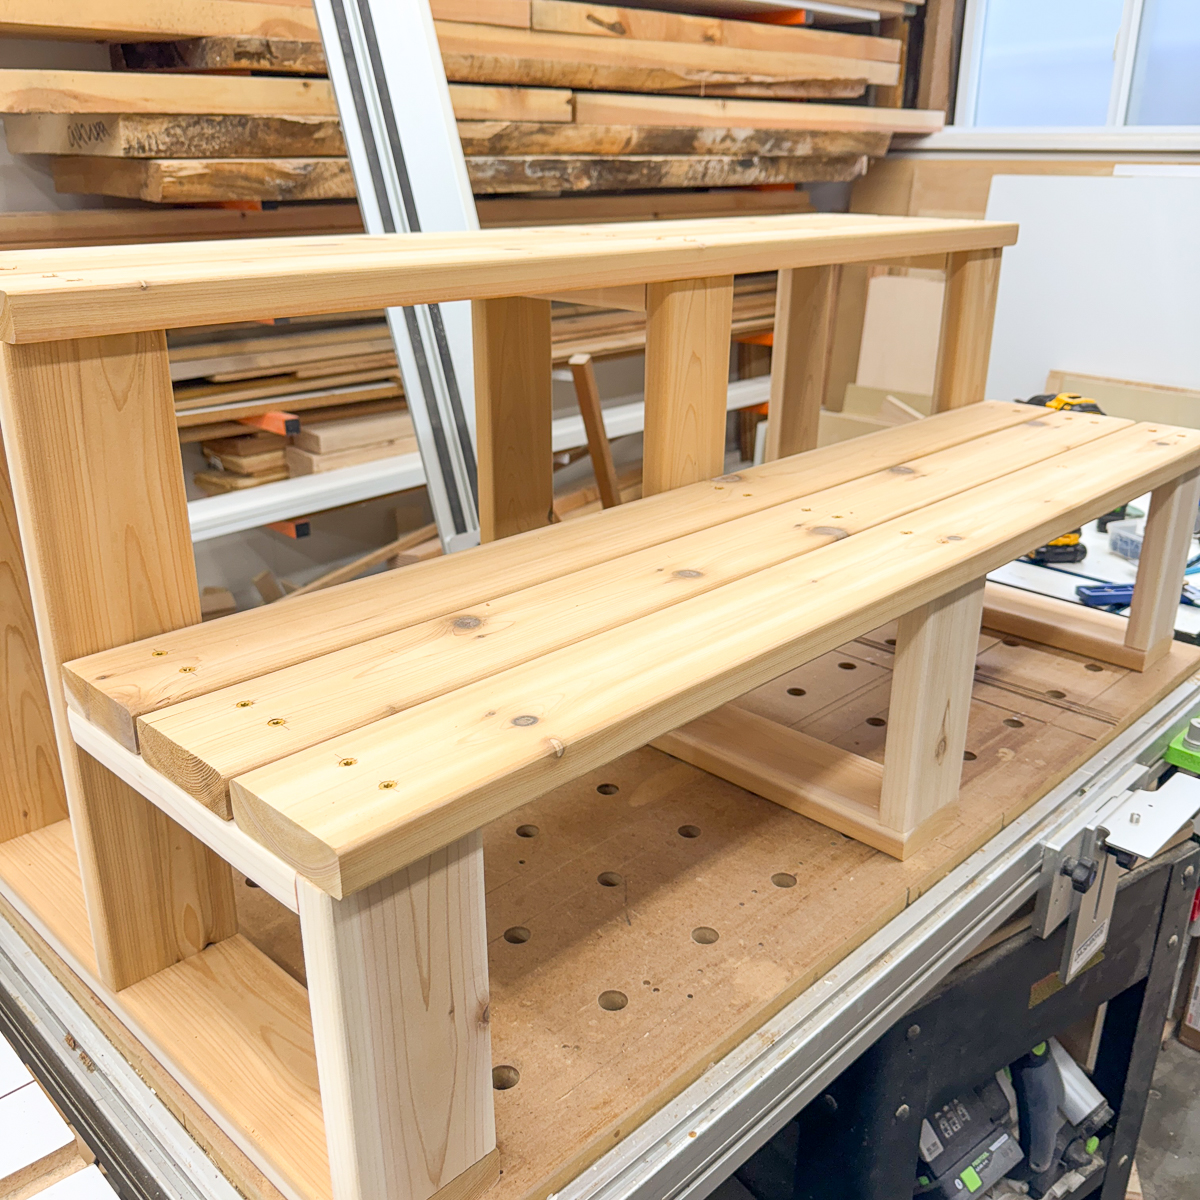
Place a ⅛" shim between the treads and screw down the remaining boards. Now it looks like actual stairs!

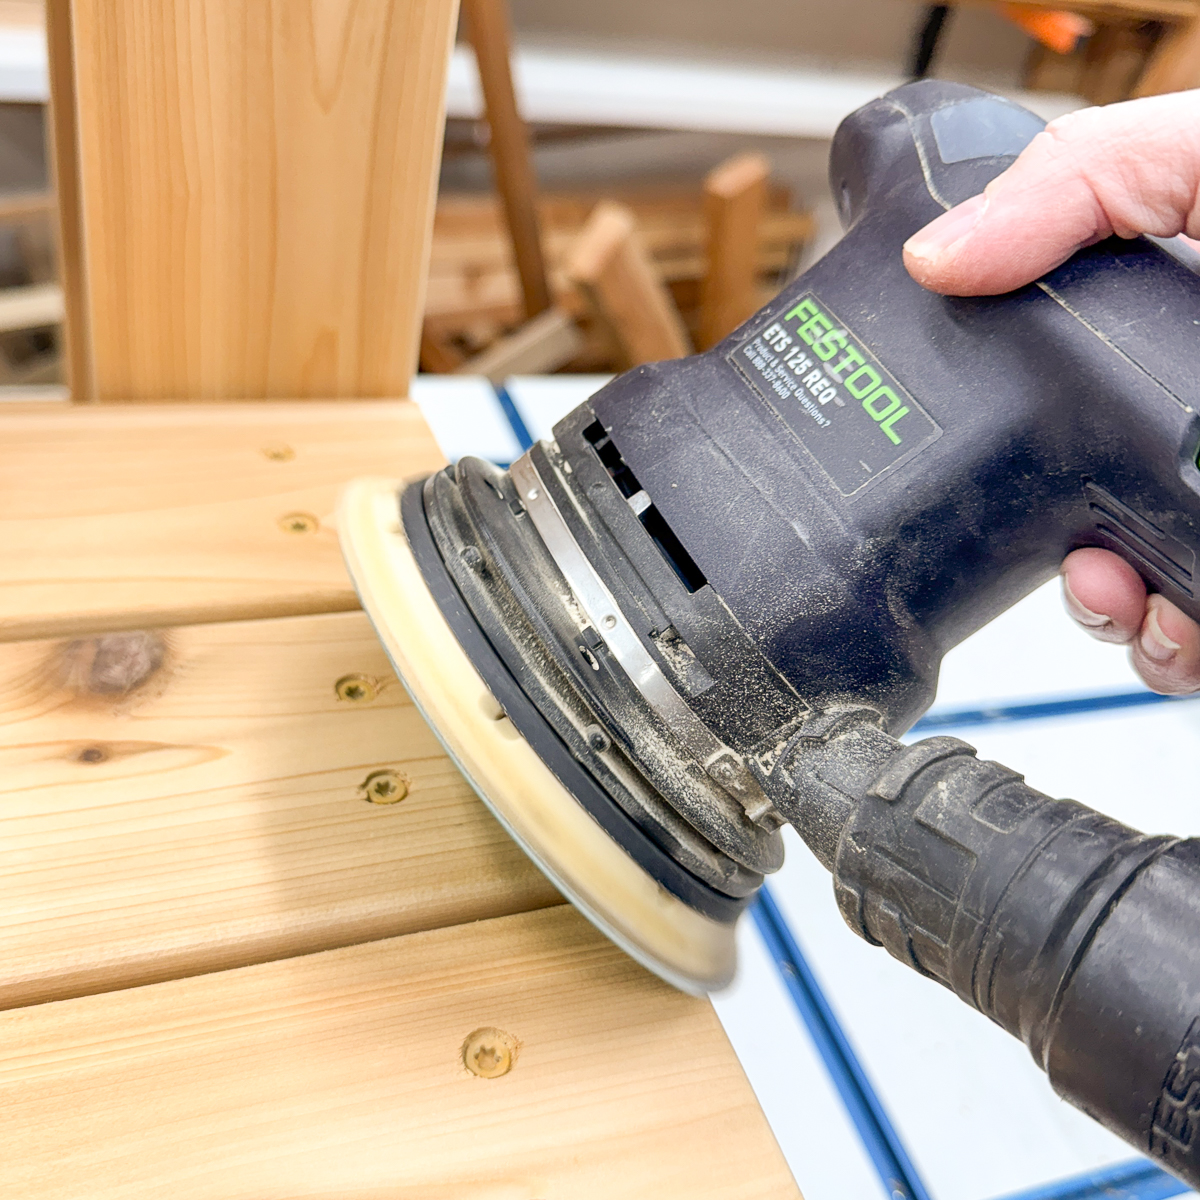
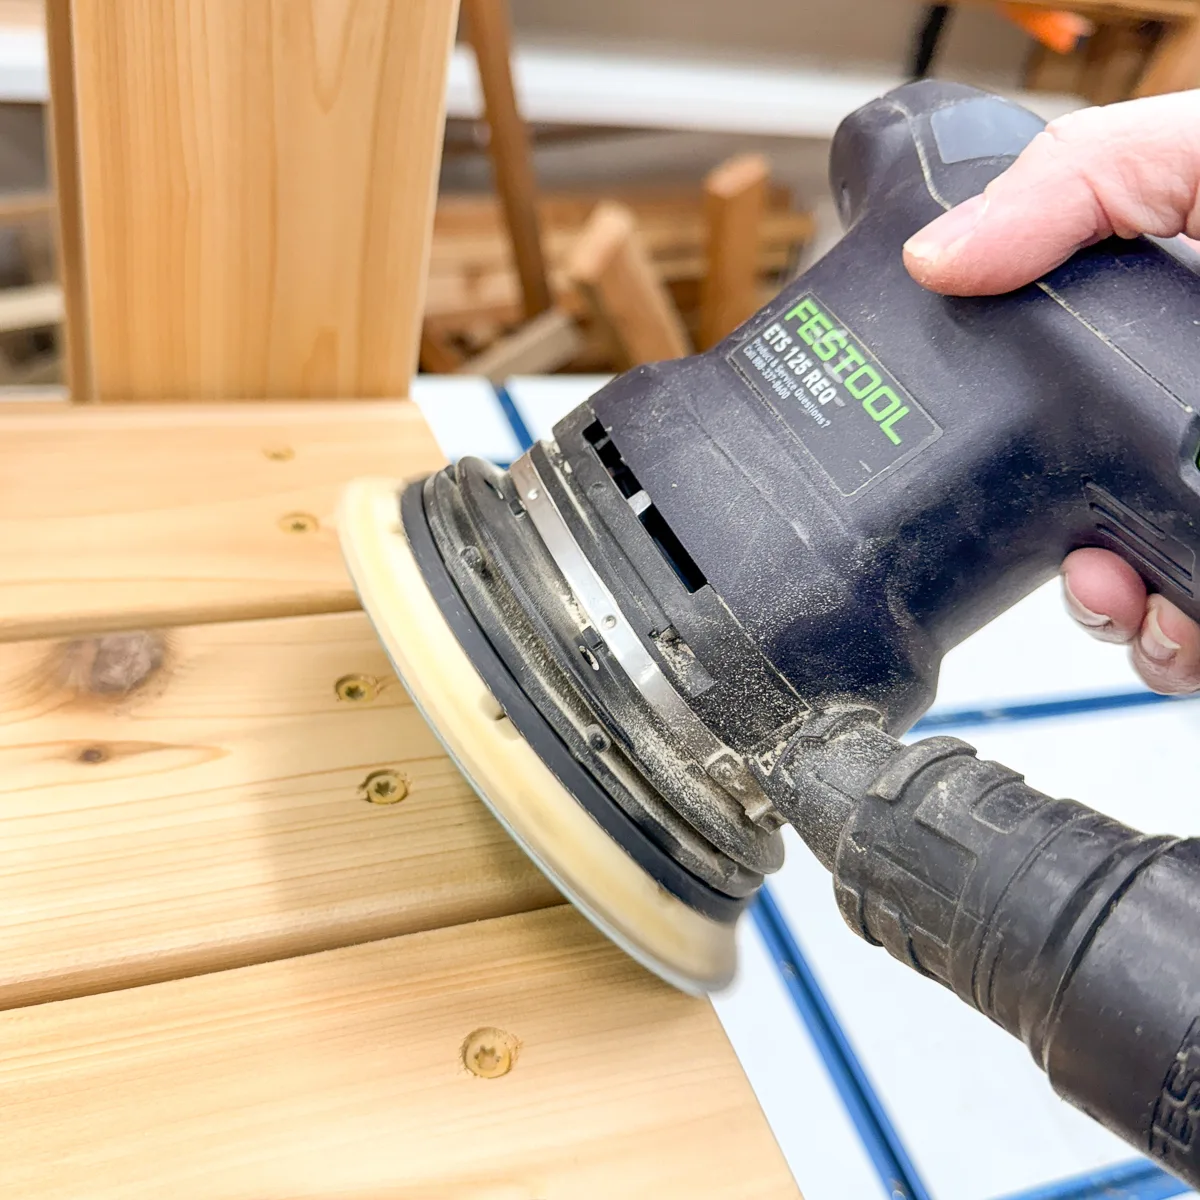
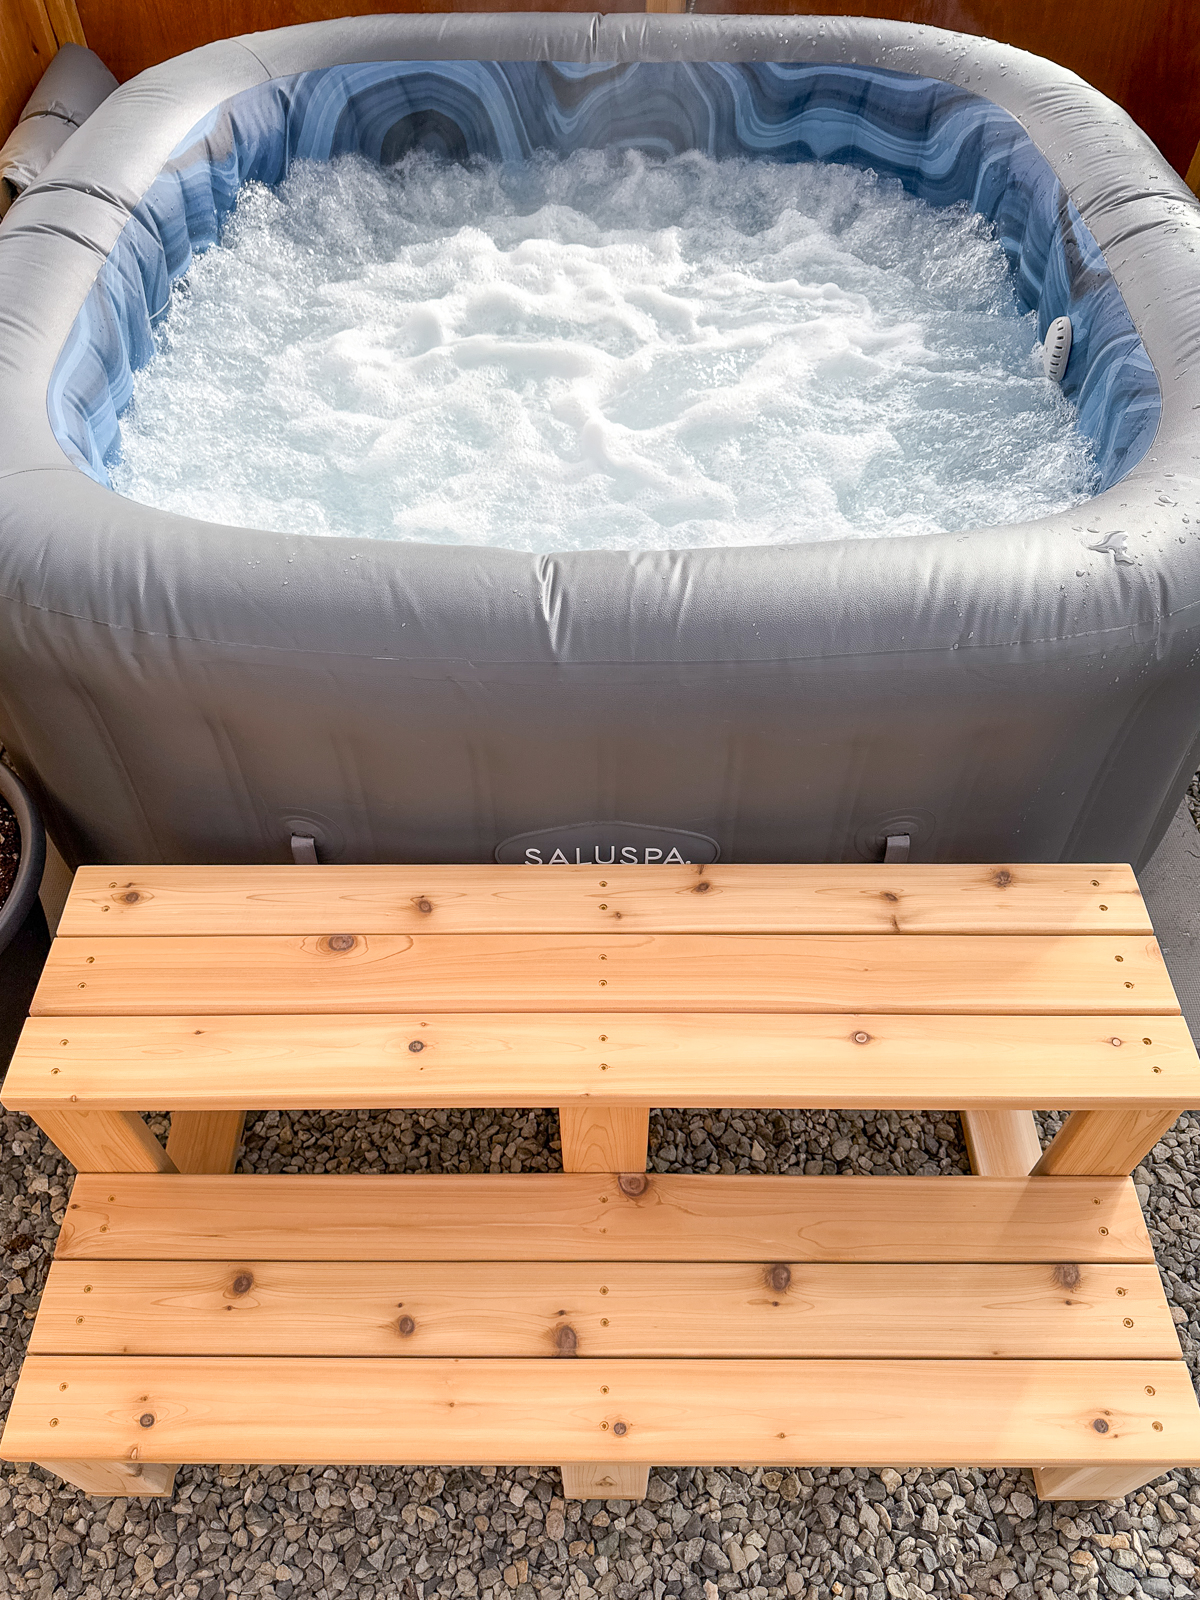
Since these steps will be used by bare feet, I made sure to give the treads a good sanding and rounded over any sharp corners. No bleeding in the hot tub!
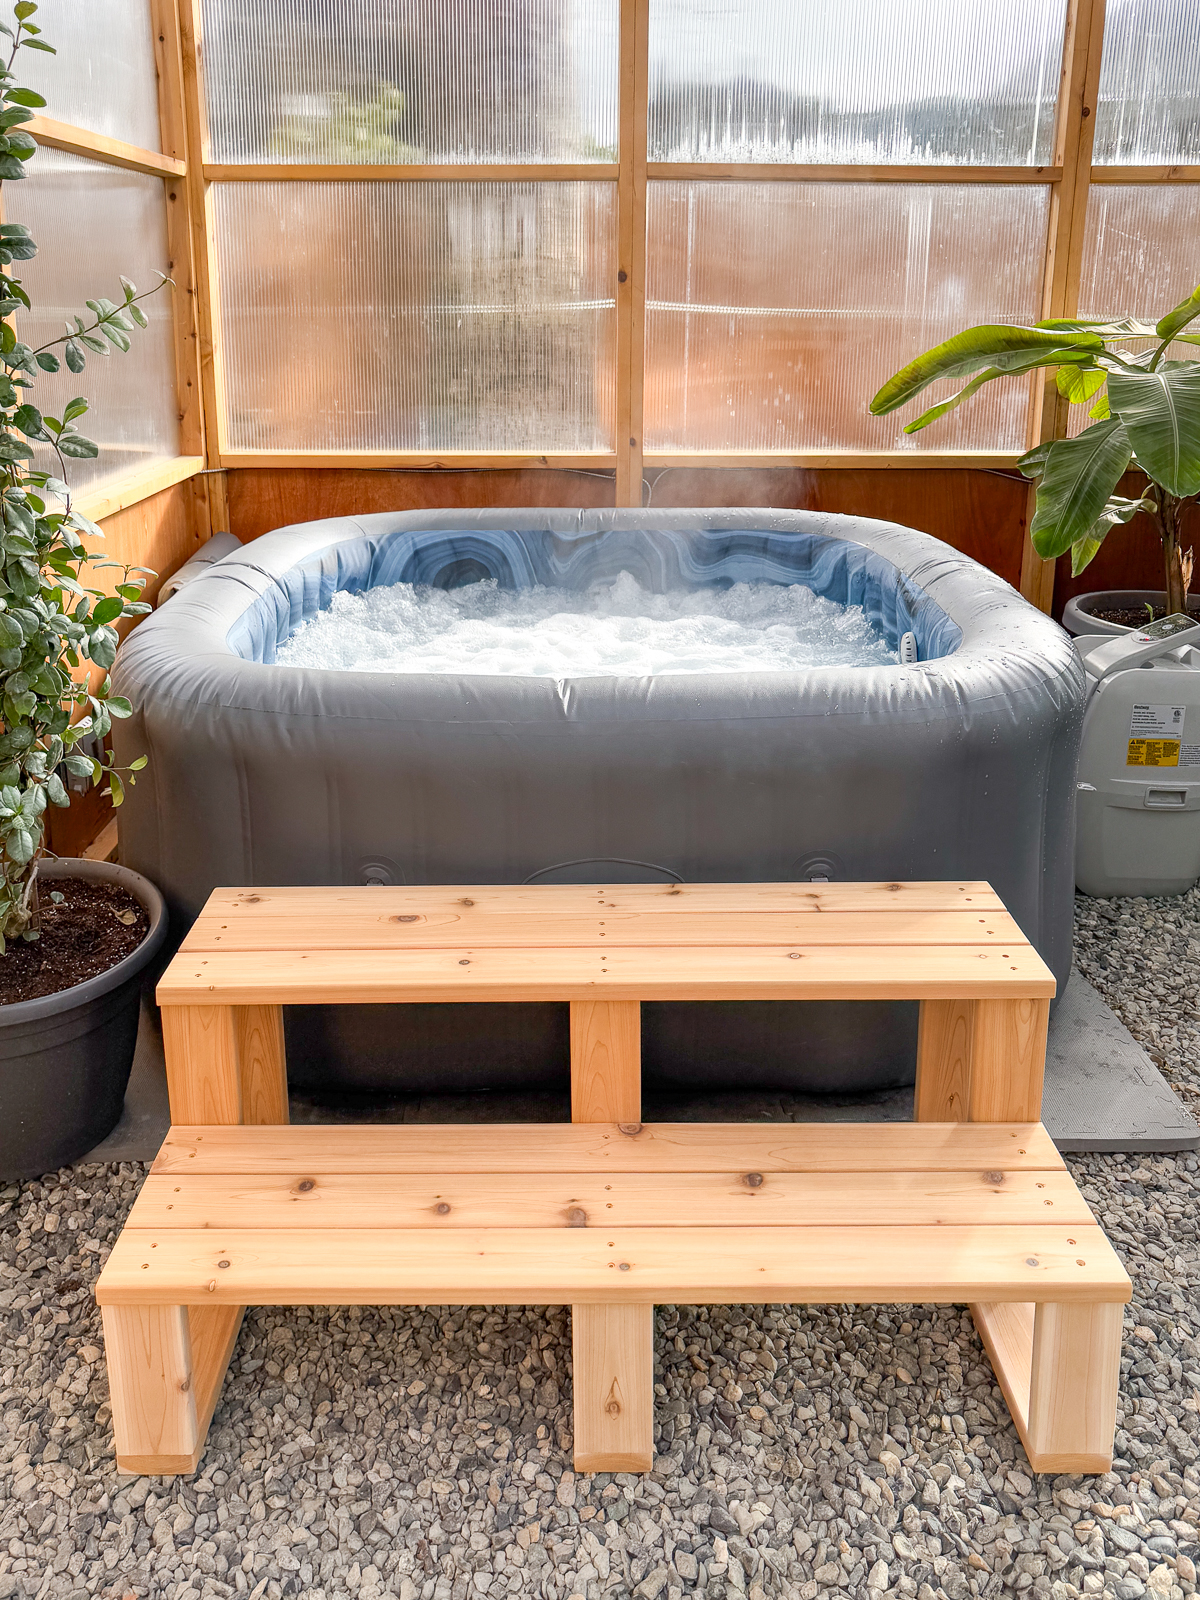
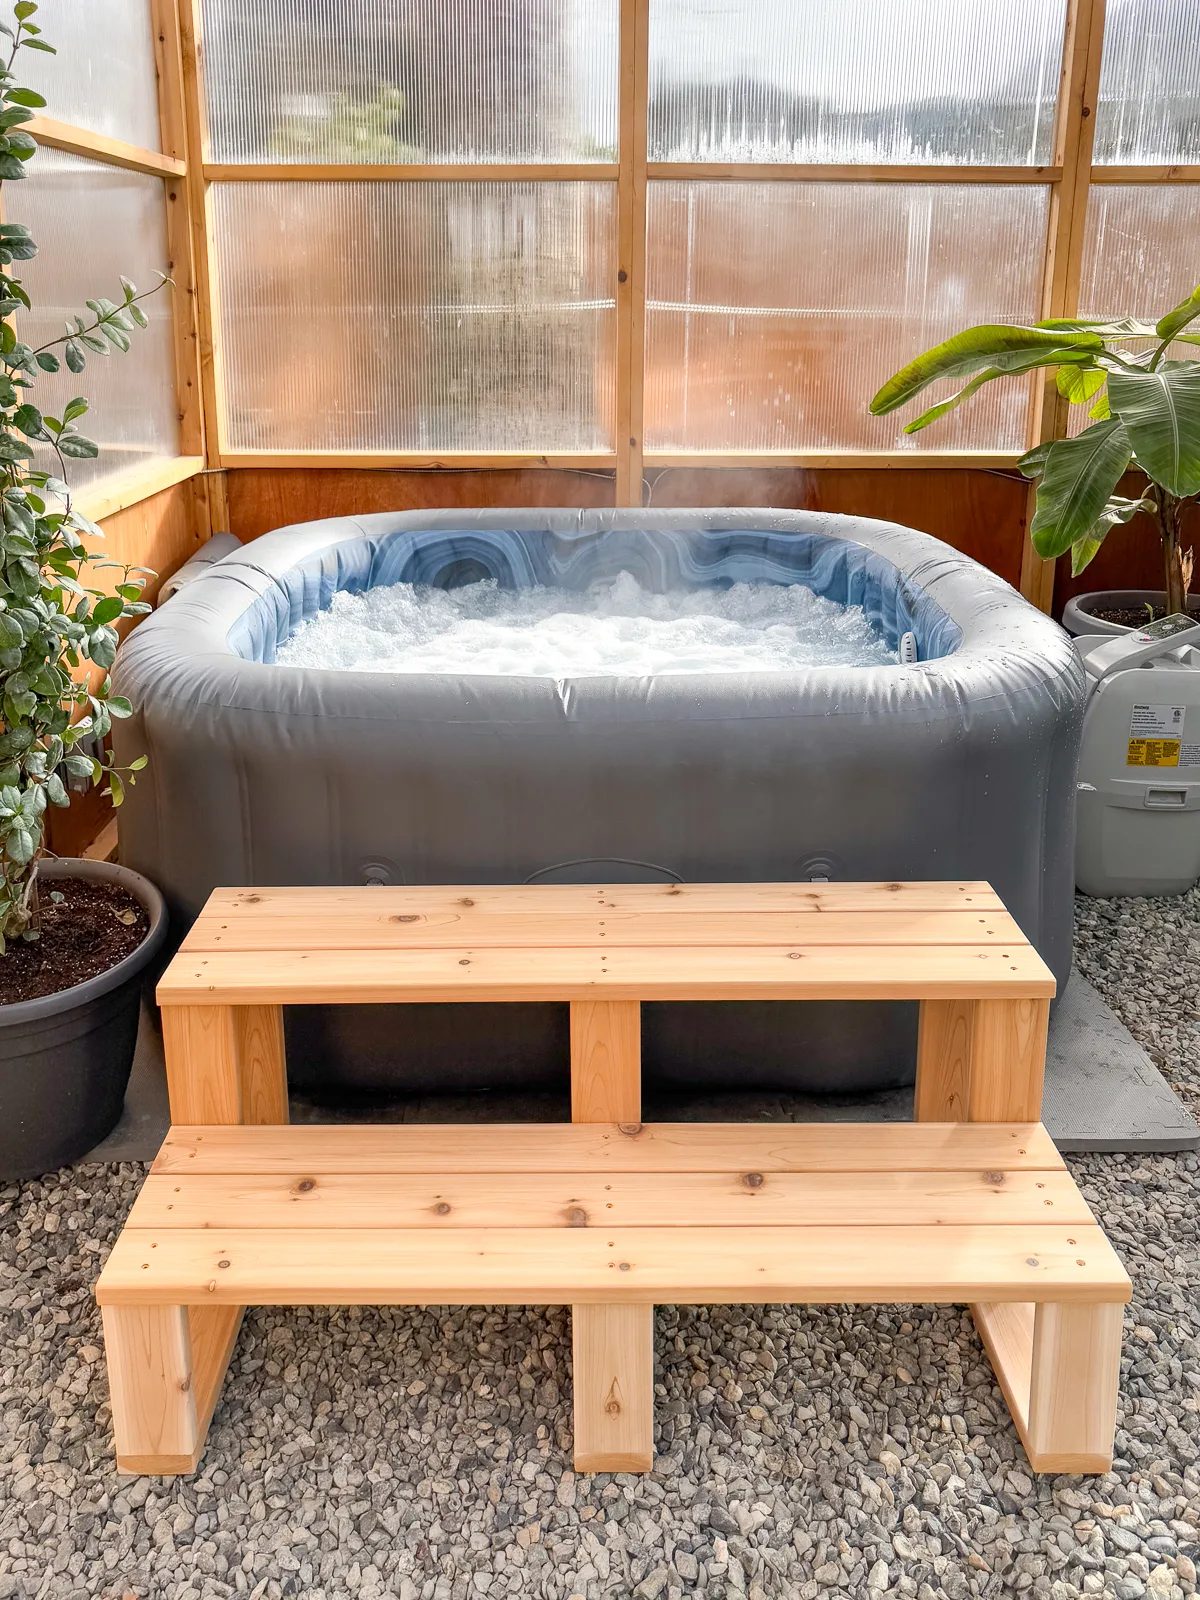
Enjoy your new hot tub steps!
I really love how these steps turned out! It makes it much easier to get in and out of the hot tub. You can slip on your flip flops while sitting on the top step so you don't have to walk on the gravel barefoot.

Cedar is naturally rot resistant, so I didn't apply any finish to the wood. I didn't want it to become slippery from a polyurethane clear coat. Plus, it matches the greenhouse framing!
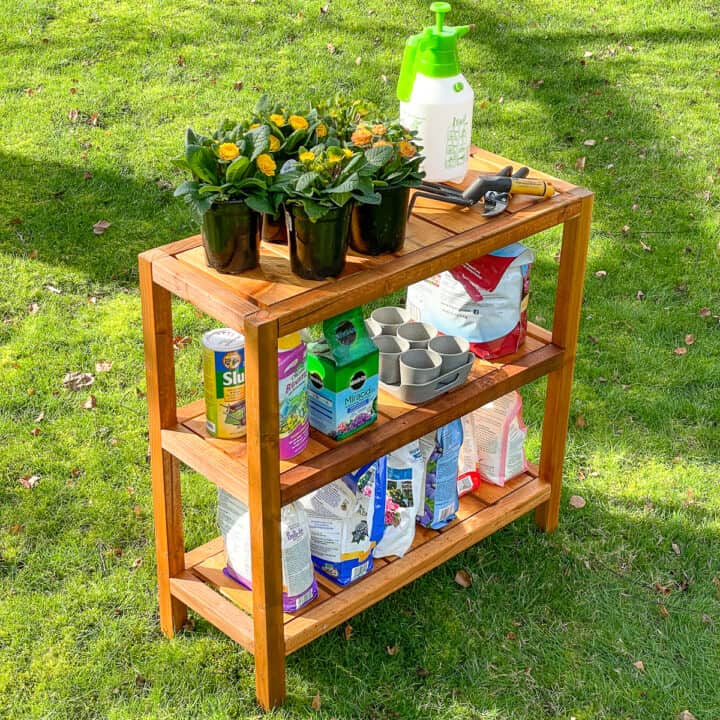
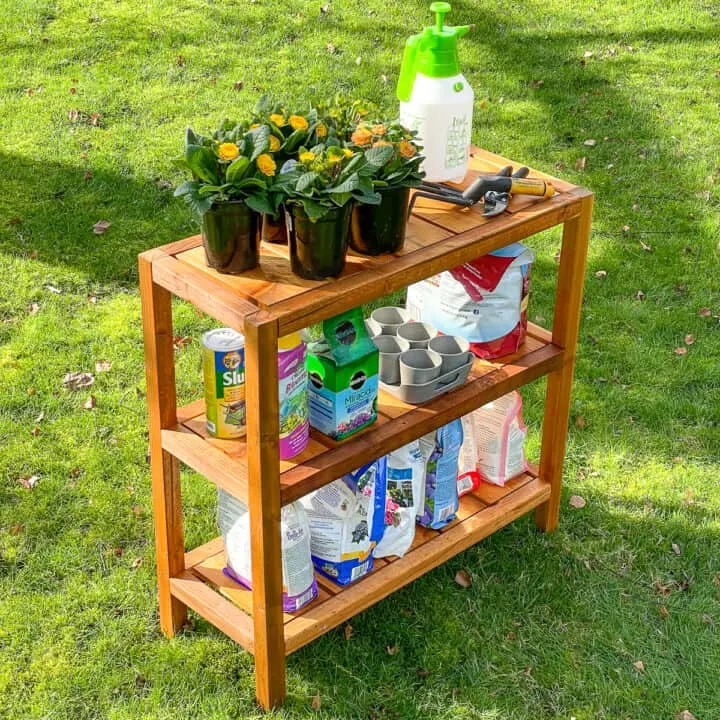
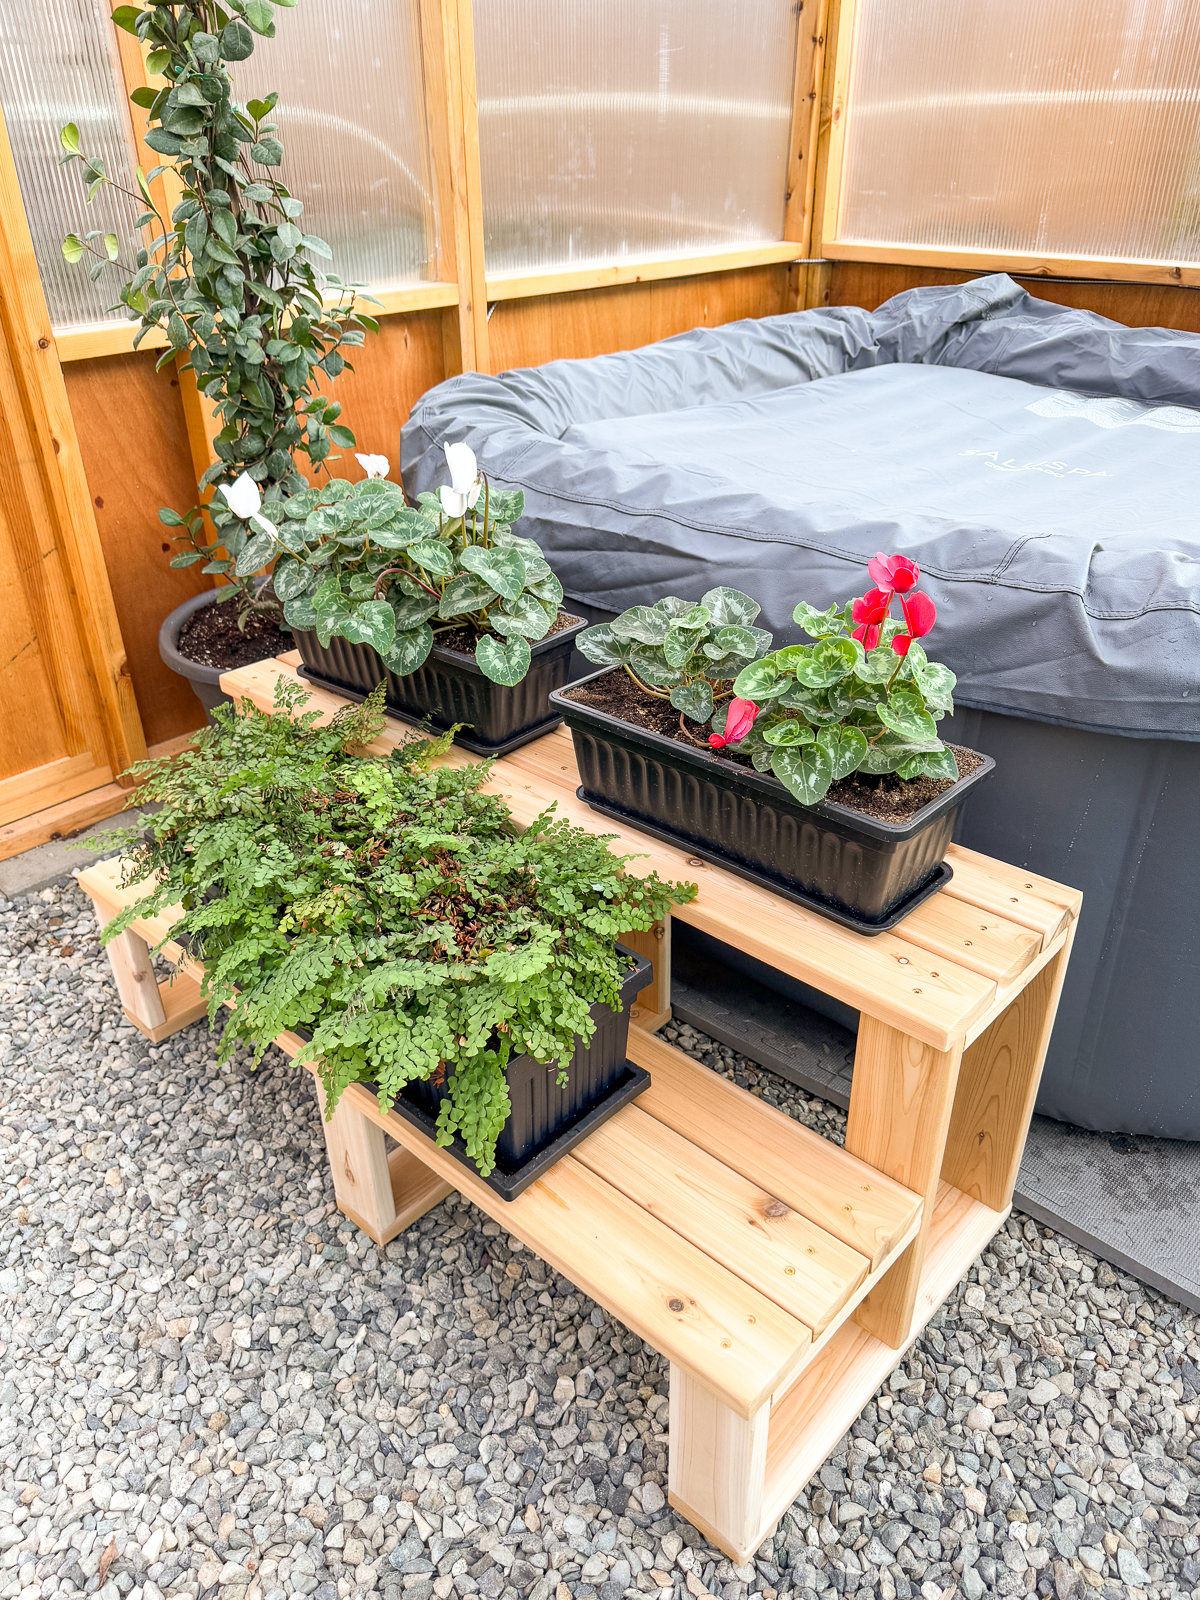
We keep the cover on the hot tub when we're not using it to retain heat. Most of the time, I'll be using the steps as a plant stand!
I made sure to only use pots with saucers to prevent the wood from getting dirty. They can be easily moved aside when it's time to go for a dip!

Next, I'll be building a taller hot tub surround for the corner to hold drinks and phones (and more plants!) Stay tuned for that project soon, and in the meantime, download the plans to build these hot tub stairs today!