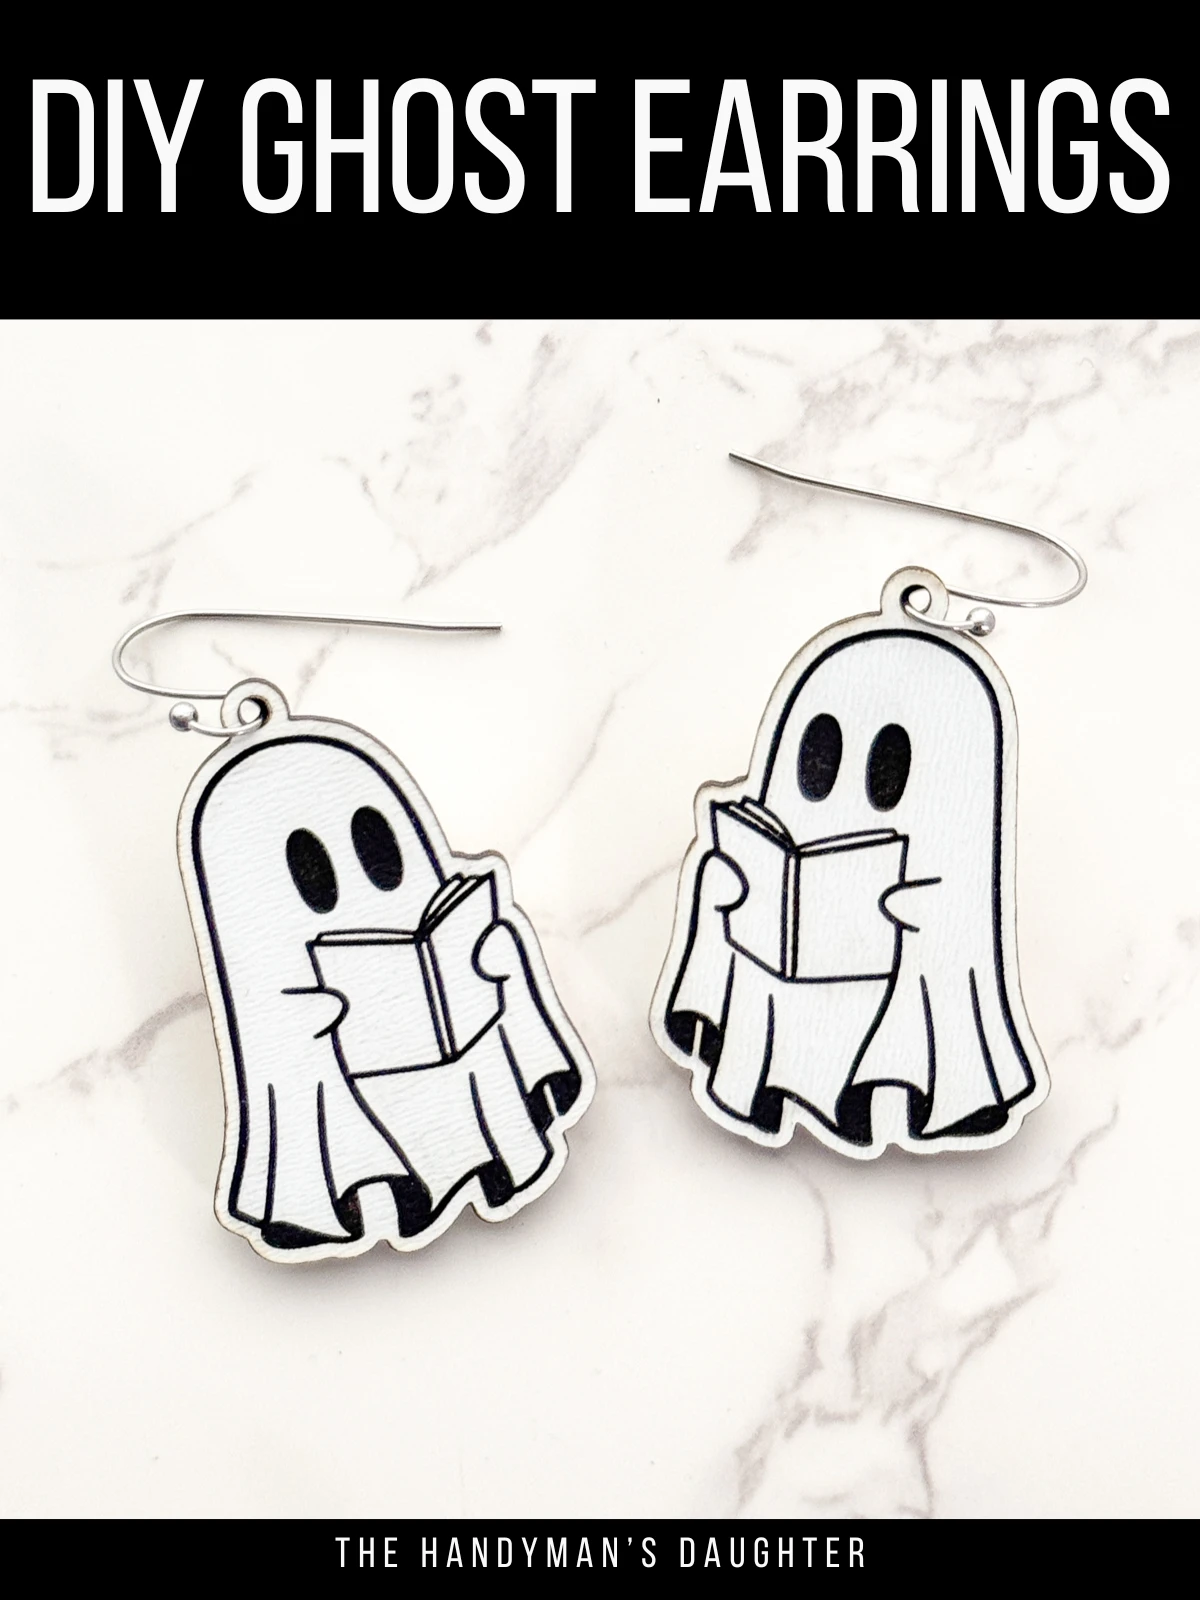
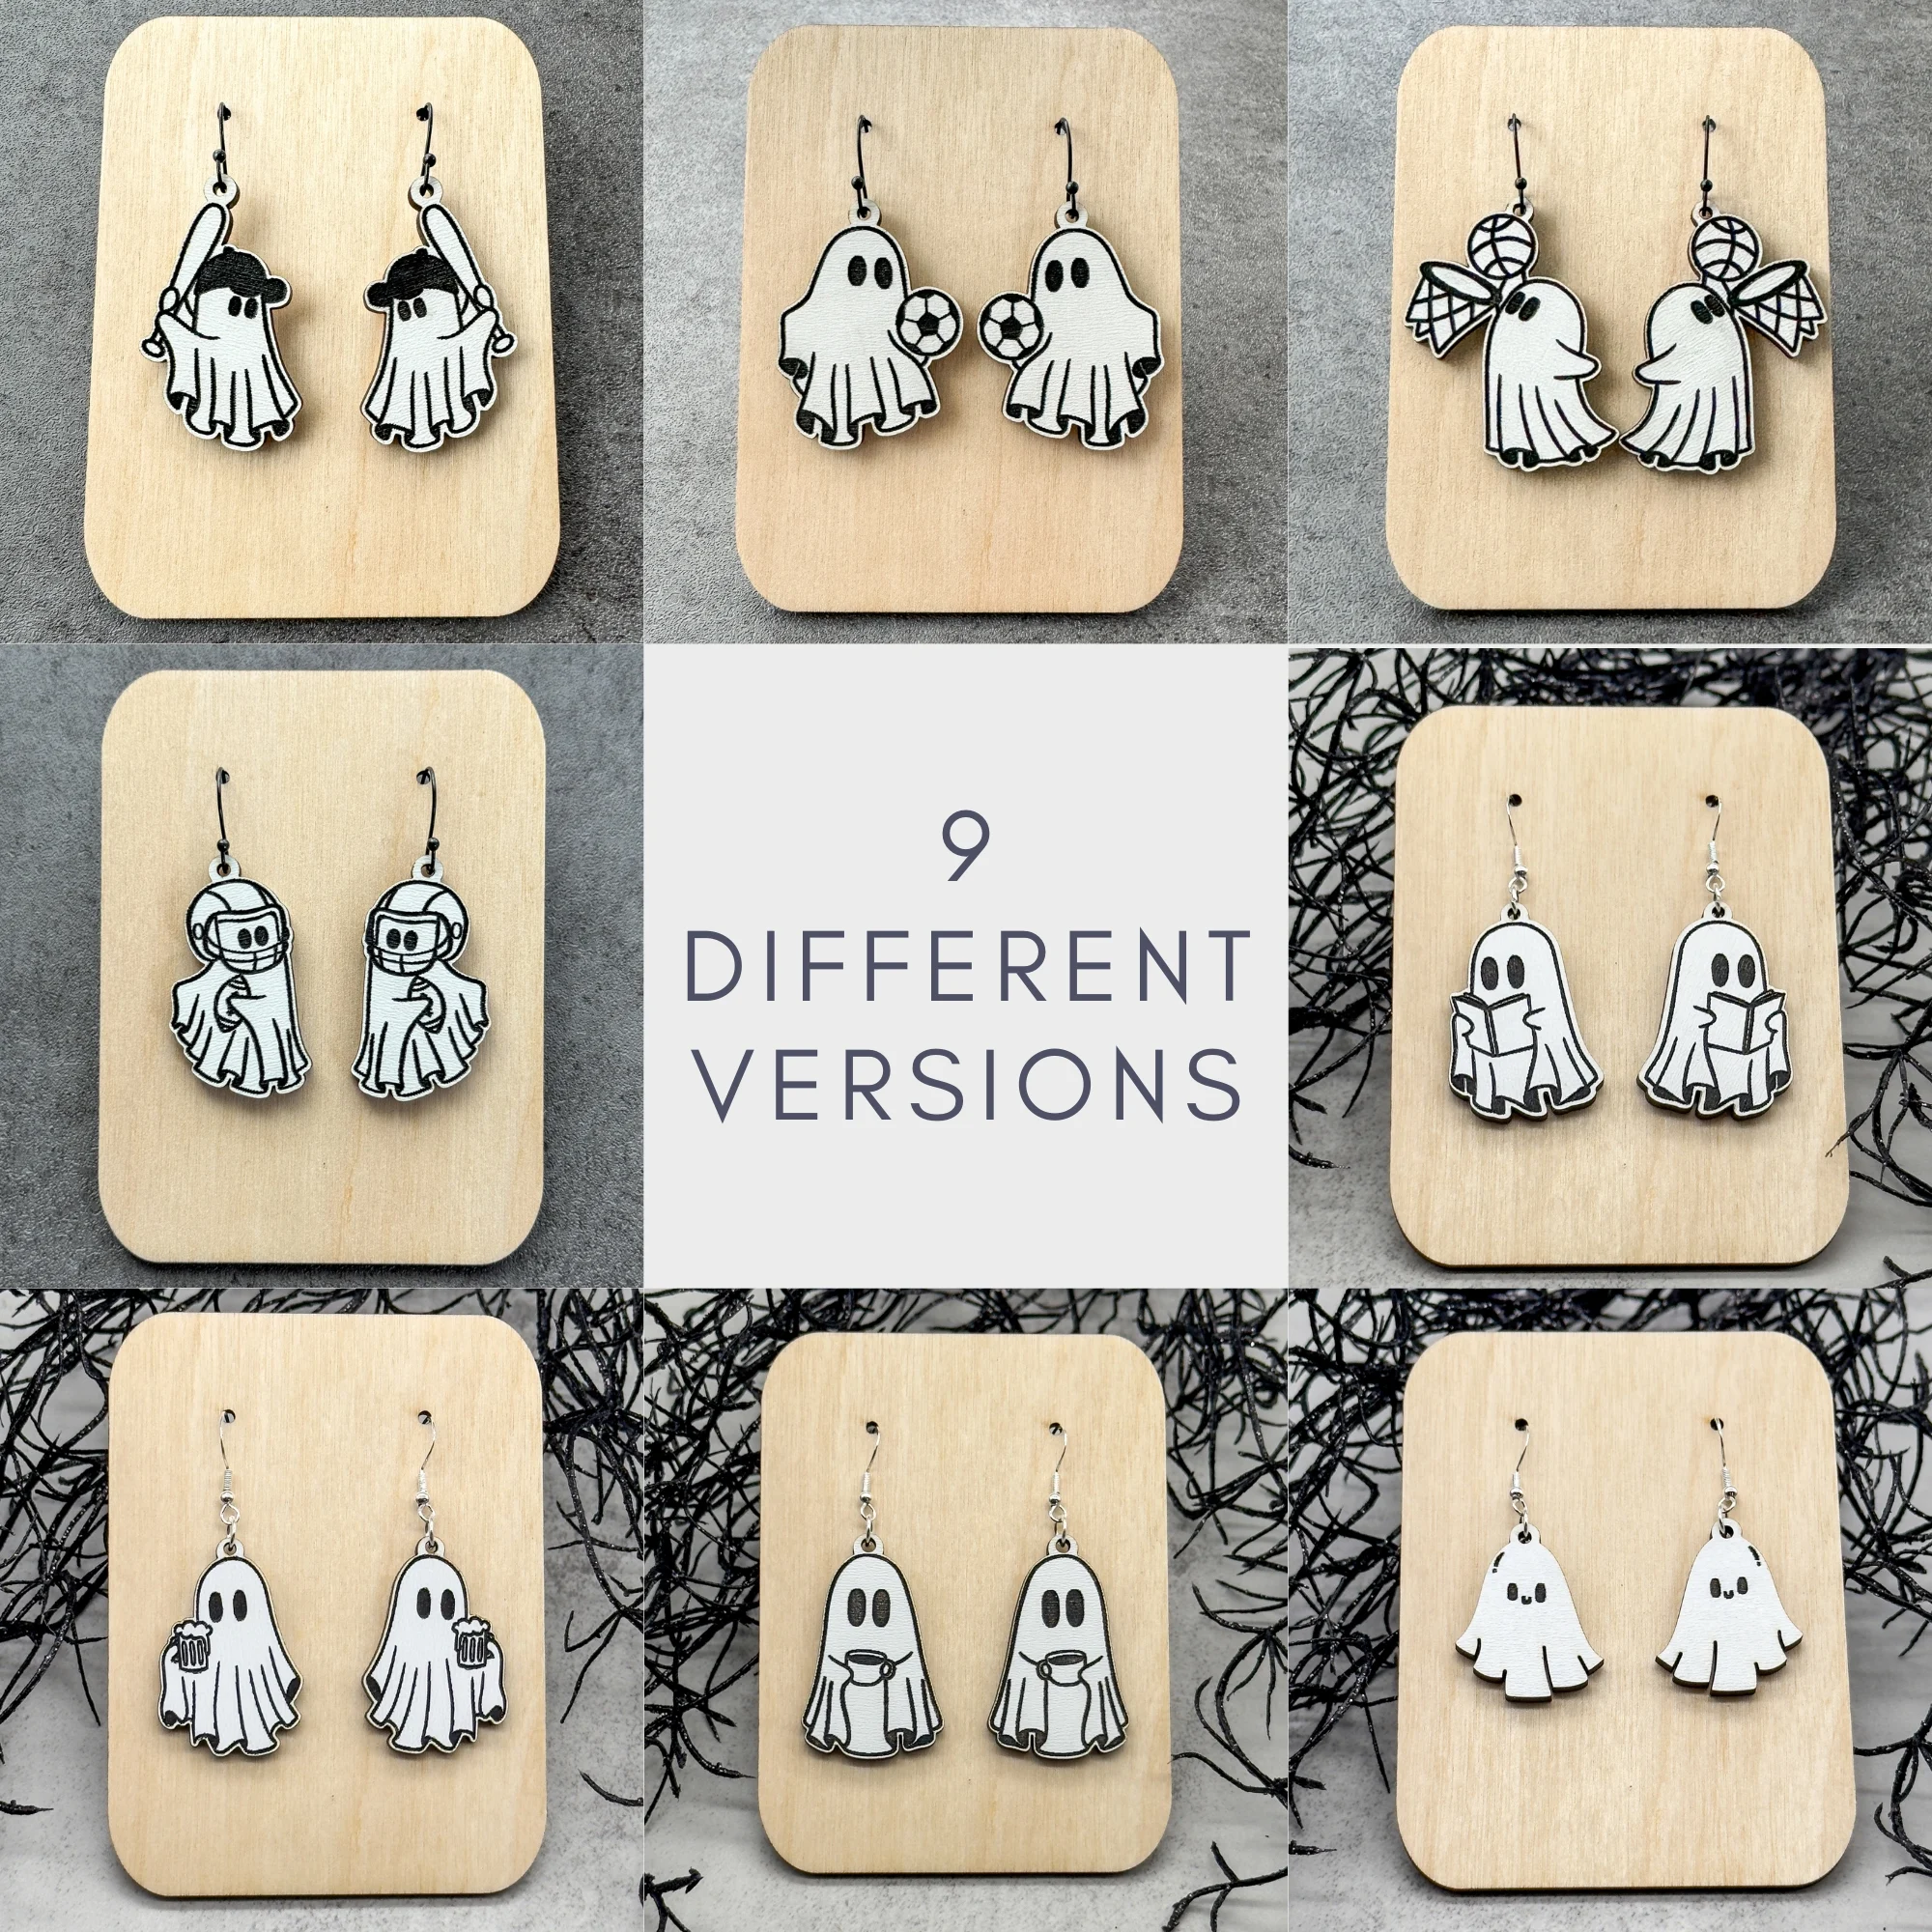
These adorable ghost earrings are perfect for spooky season, and they're super easy to make with a laser! Get the files to make your own!
This post contains affiliate links for your convenience. Purchases made through these links may earn me a small commission at no additional cost to you. Please visit my disclosures page for more information.
Halloween is quickly approaching! I'm generally not the type to go all out and dress up in costume, but a pair of cute, festive earrings will get me into the spooky season spirit.
Luckily, making your own earrings with a laser is super easy! In this tutorial, I'll show you how I created these cute ghost earrings with my xTool M1 Ultra!
Don't have a laser, or looking to upgrade? Use the code VINETA100 for $100 off an xTool laser! Click here to check them out!
Create the laser file
I can't draw to save my life, so I rely on sites like Canva and Creative Fabrica for graphics. Just search for the type of image you want, and select your favorites! Make sure to download them as an SVG (you'll need a Canva Pro account for this feature).
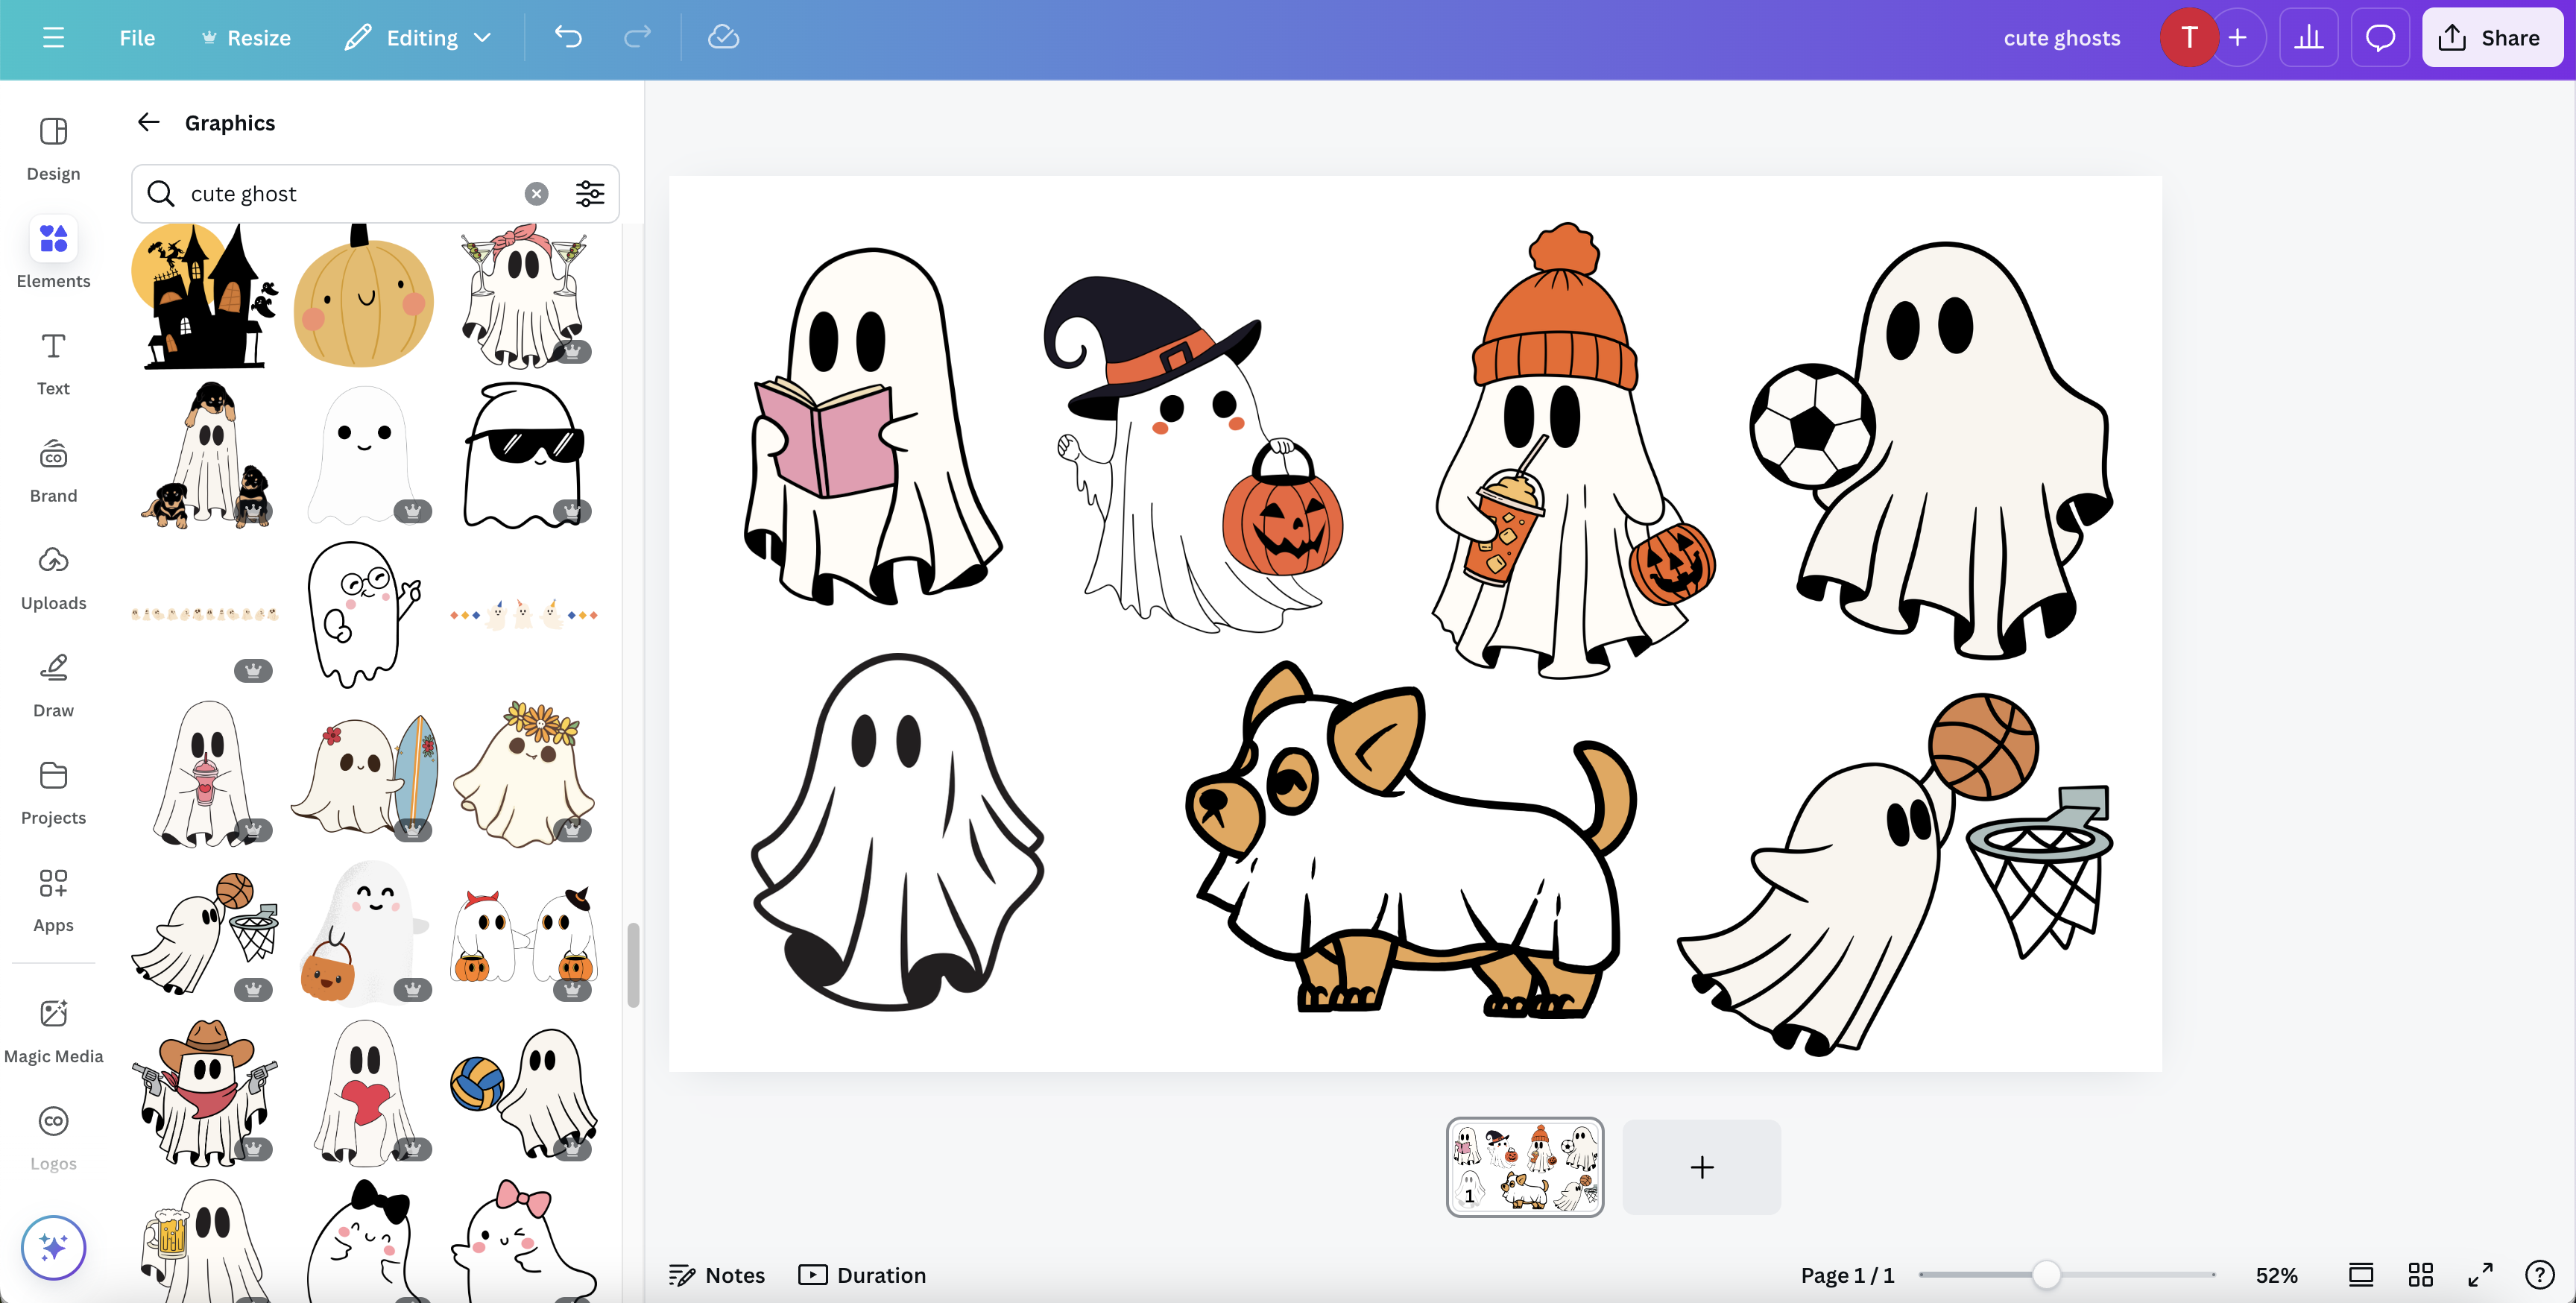
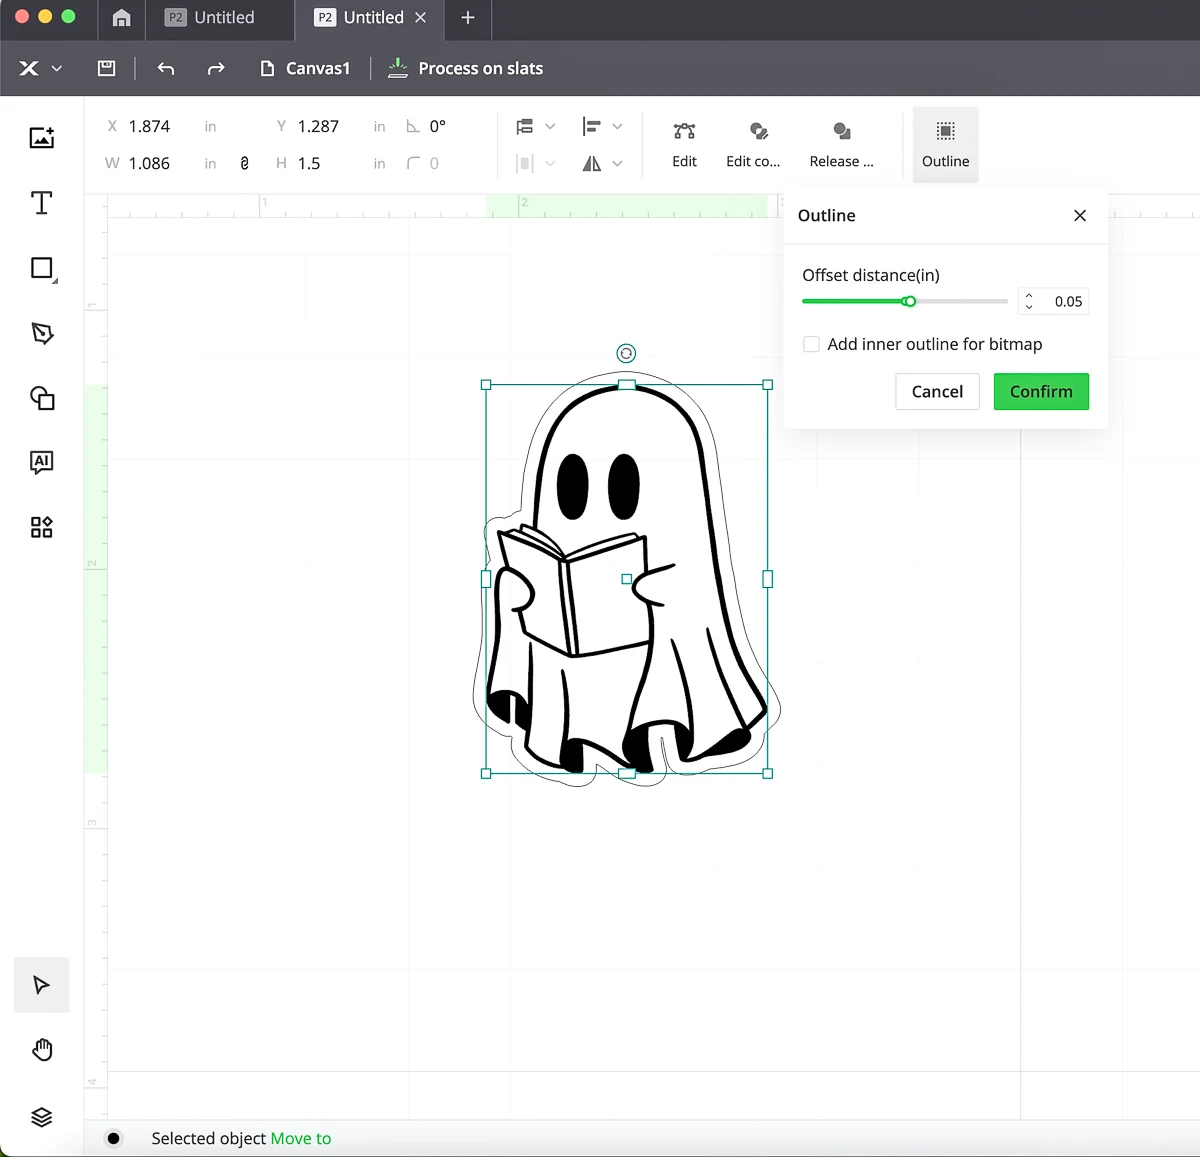
My favorite of the bunch is the reading ghost, so I'll work on that one first. Import the SVG into xTool Creative Space, and resize it to the length you want your earring (mine is 1.5 inches). Then create an outline around the entire image for the cut line.
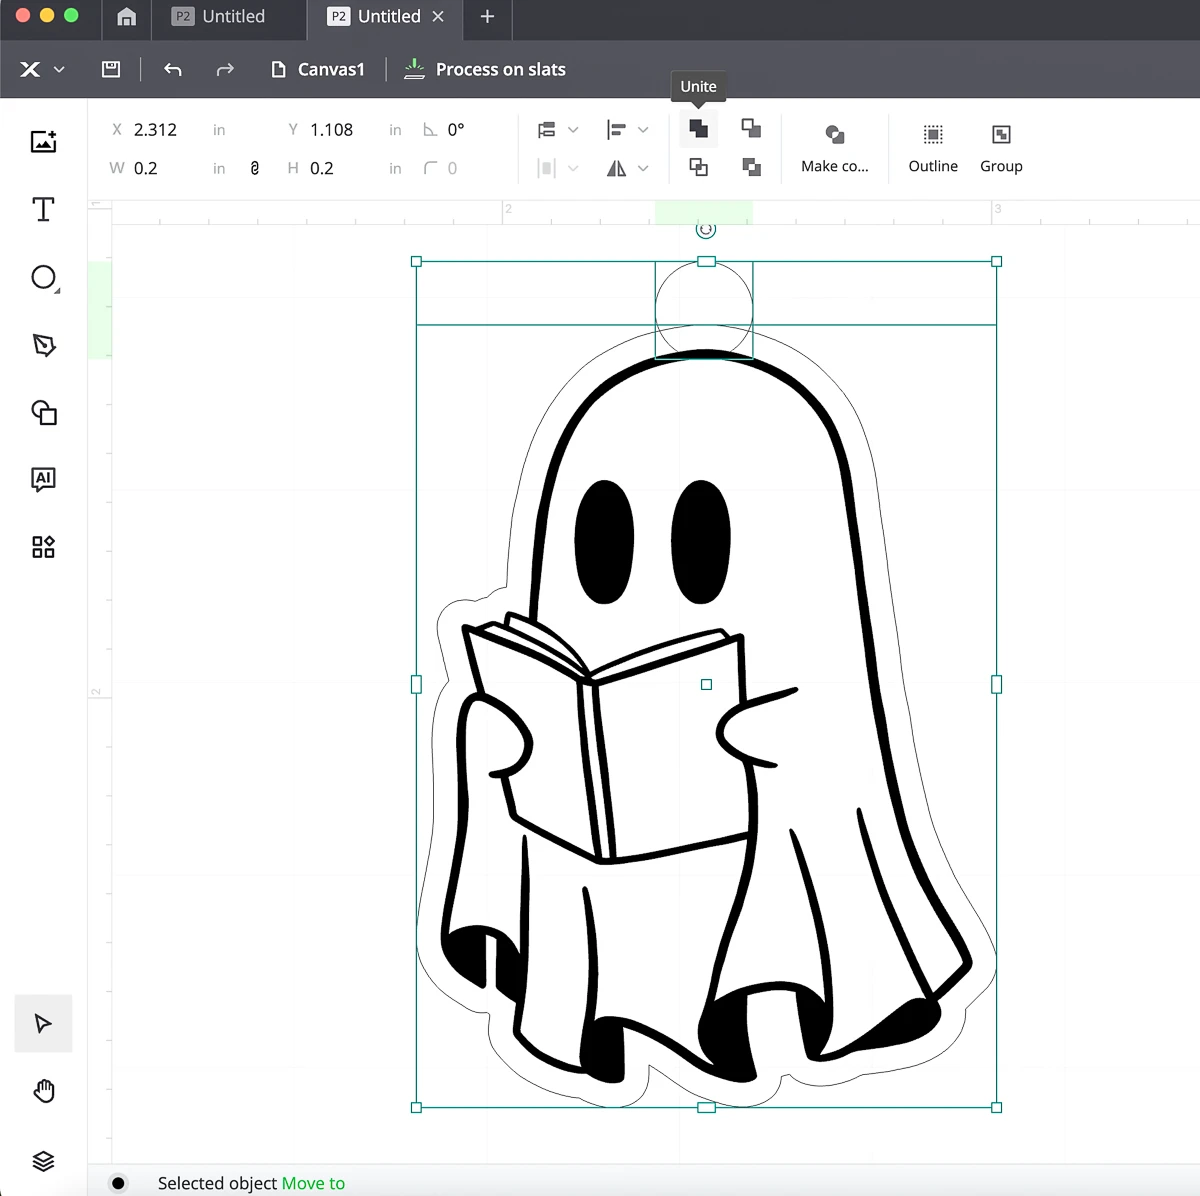
Next, add a circle at the top for the earring hardware. Unite the earring hole with the outside cut edge.
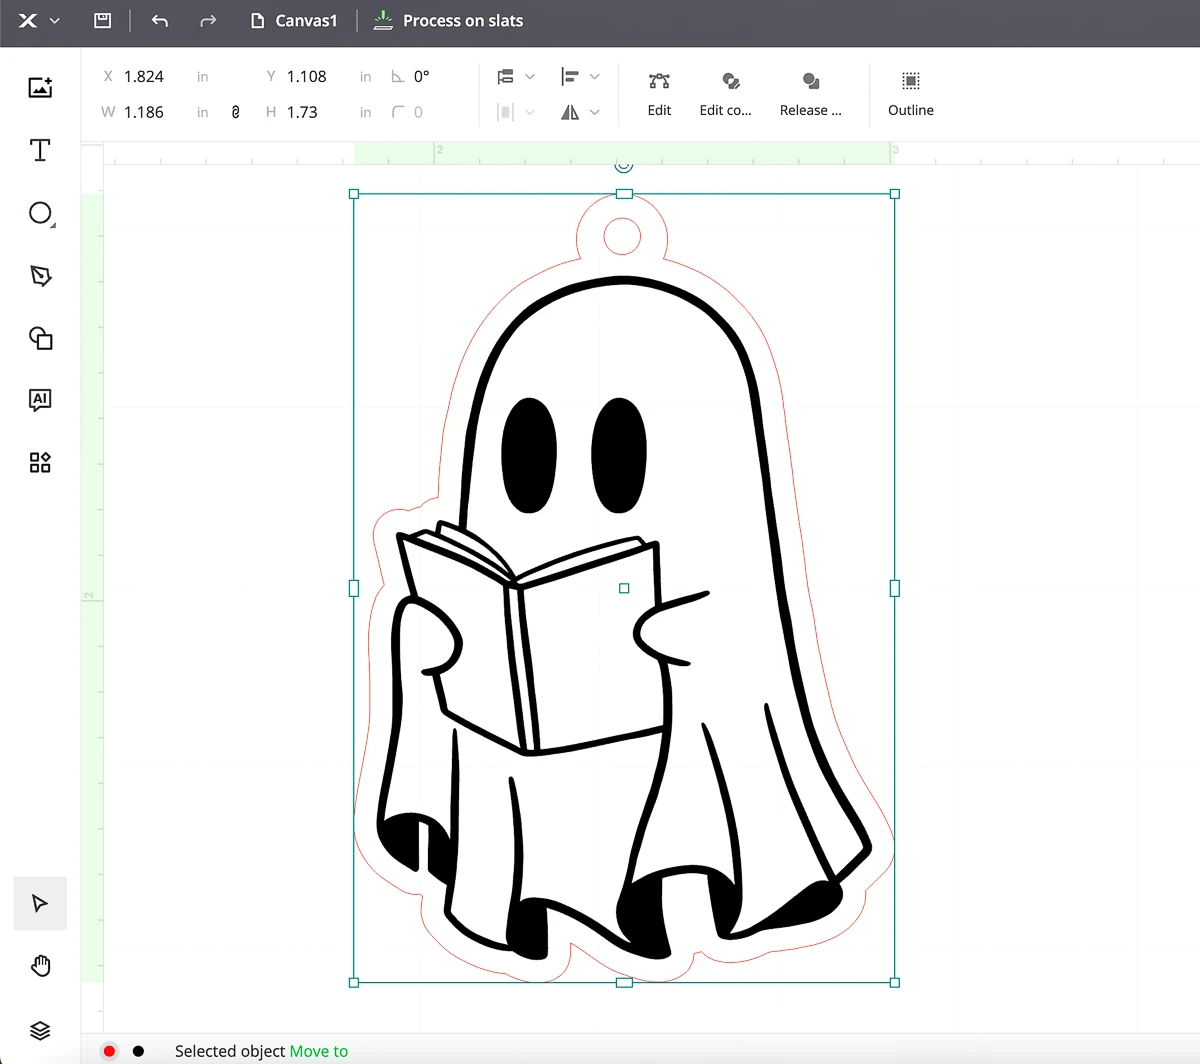
Then center a second, smaller hole inside the bump at the top of the earring. You can either group these two elements together, or subtract the smaller hole from the outline so it becomes one piece.
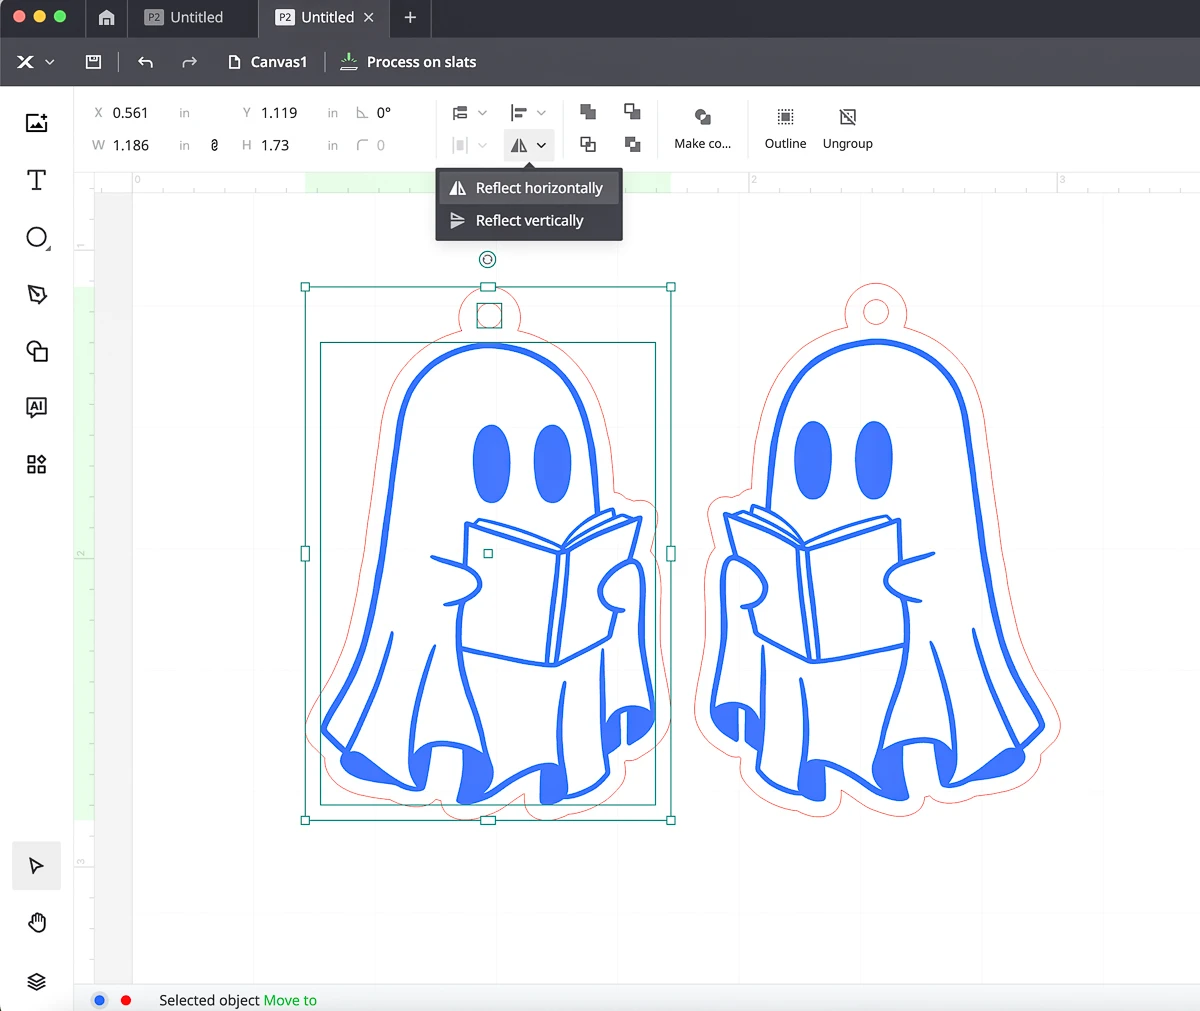
Finally, duplicate the entire thing and mirror it, so you have two ghost earrings facing in opposite directions. That's it!
Don't want to go through the hassle of making your own ghost earrings laser files? I have this one, plus lots of other cute options over in my Etsy shop!
Engrave and cut with the laser
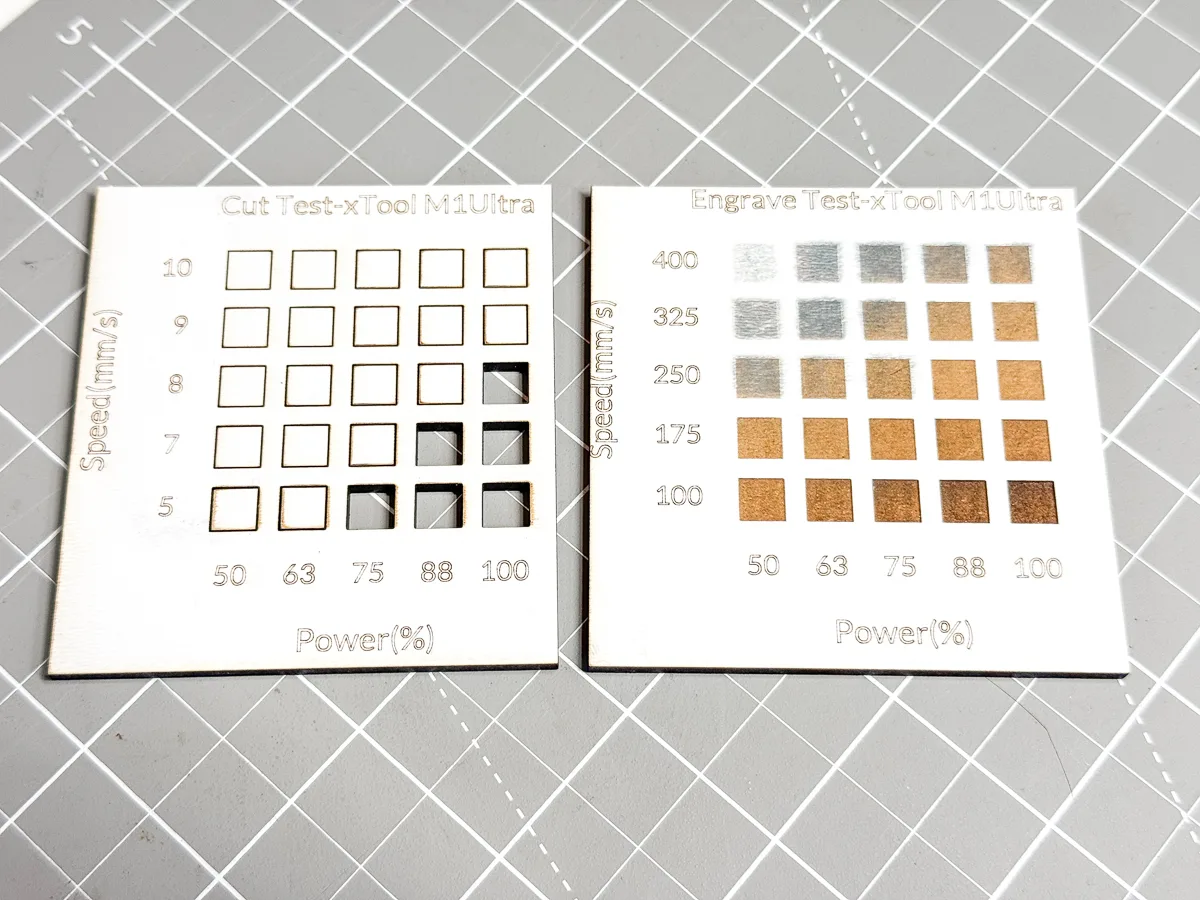
I'll be using Smokey Hills EcoWhite MDF for my earring material. It's made with a special coating on the surface that allows paint to be wiped away easily, while leaving the paint inside the engraving. I have an in-depth tutorial on how to paint fill laser engraving if you want to check it out.
I use this material a lot, so I already ran a test grid to see what the best settings would be for my machine. For the engraving test, you're looking for a deeper engrave that will allow the paint to settle in the bottom. I'll be using 175mm/s speed at 100% power, with 200 lines per cm.
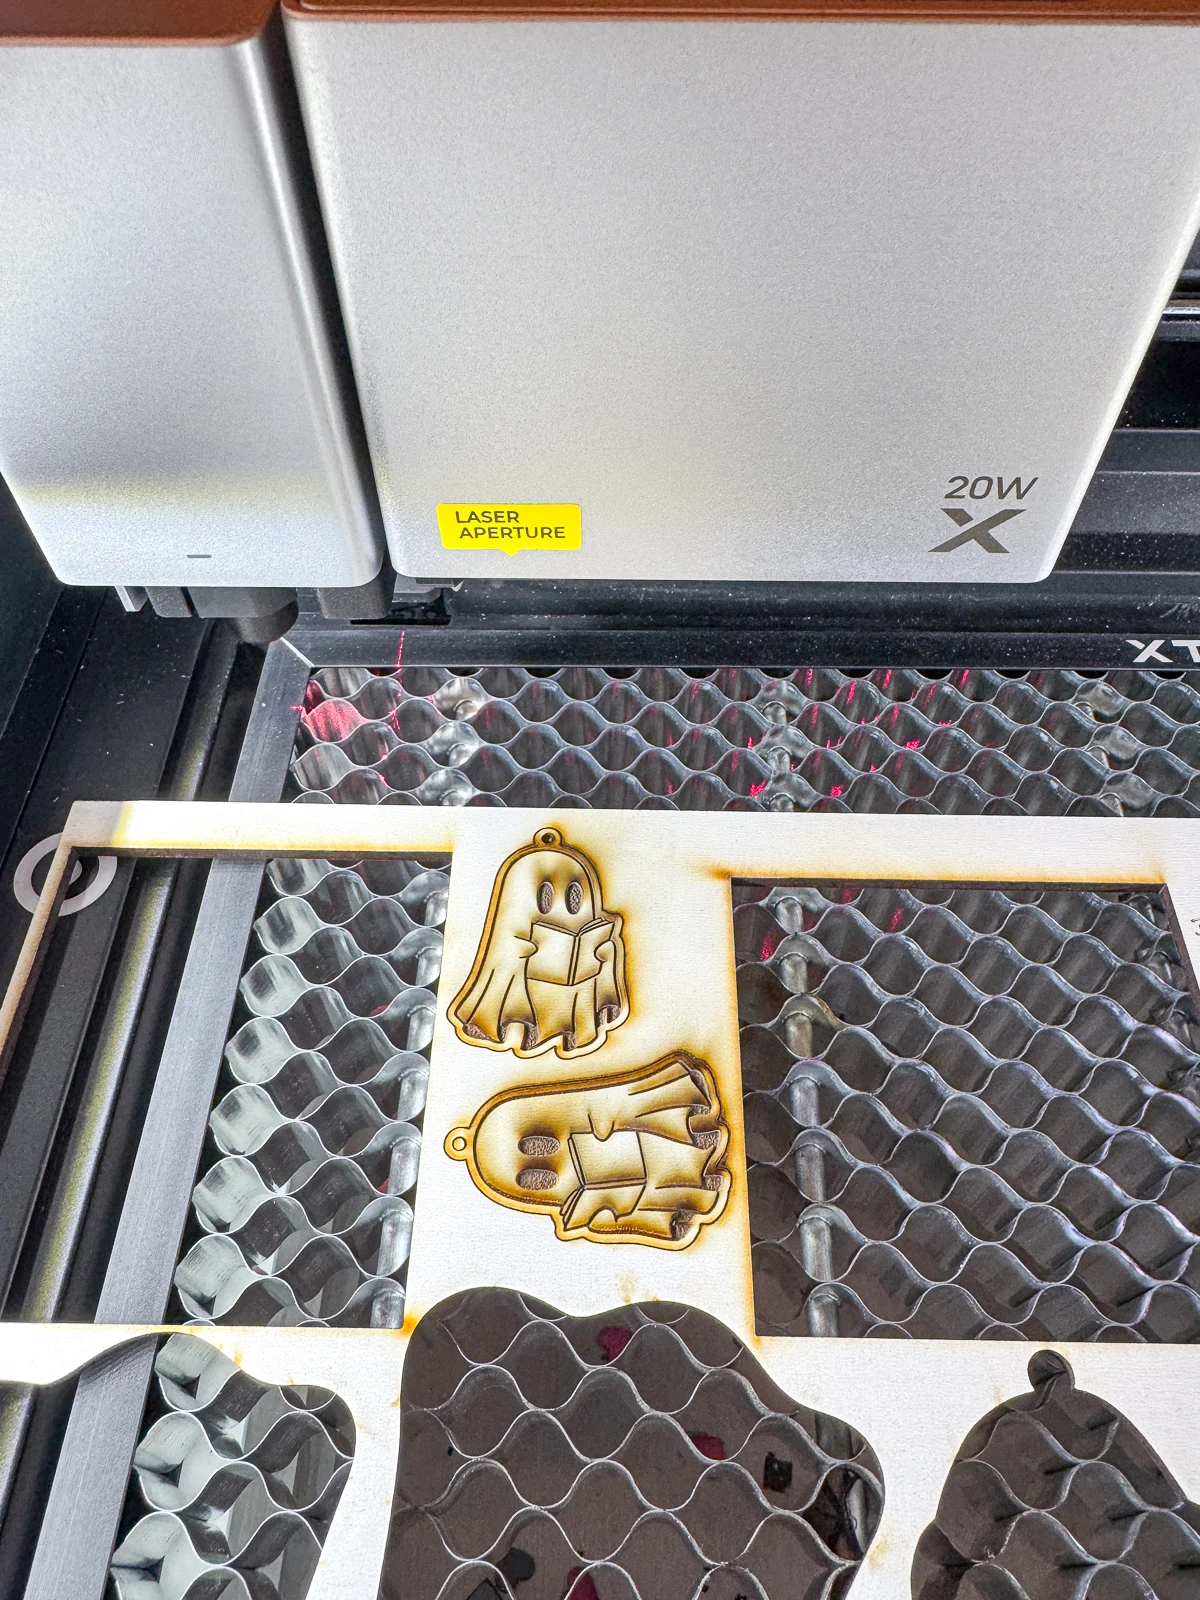
I had a little space left on this sheet of EcoWhite that just barely fit the earrings. I love using up every scrap! I set the power and speed for each operation, then sent it over to the M1 Ultra to do its thing! It only took 7 minutes to engrave and cut one set of earrings.
Paint fill the engraving
Wipe off the char from the surface with rubbing alcohol or a baby wipe. Look at that crisp engraving! One benefit of diode lasers over a CO2 laser is that engravings usually come out much more detailed because the beam is smaller.
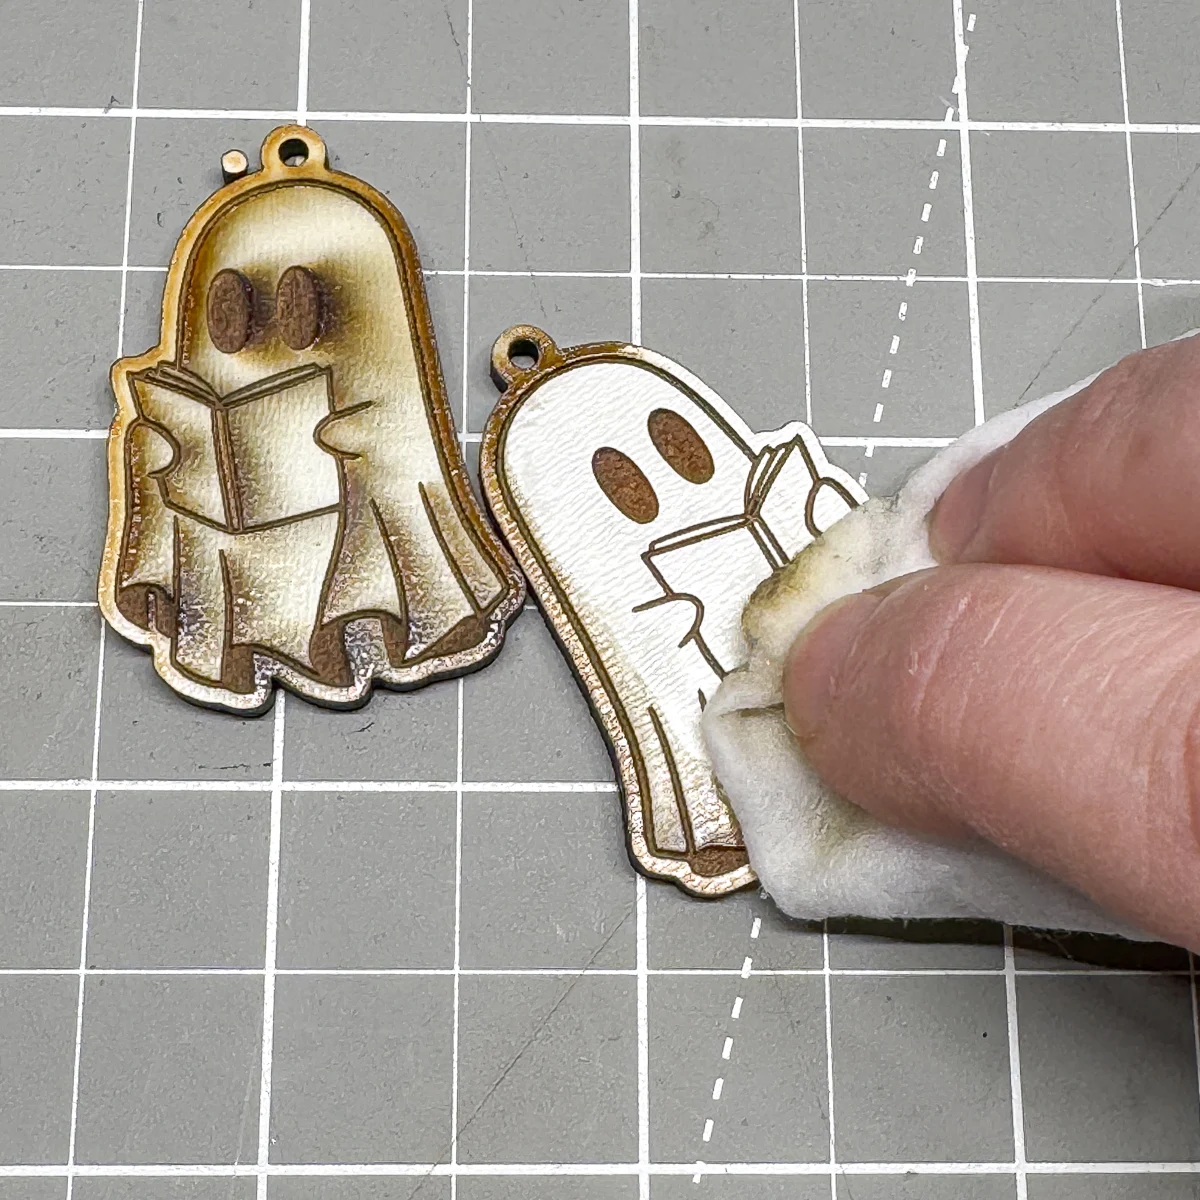
Once the soot is removed, fill the engraving with paint. I just used cheap craft paint and worked it into the engraving. Paint won't stick to the surface of the EcoWhite MDF, so you can just wipe off the excess.
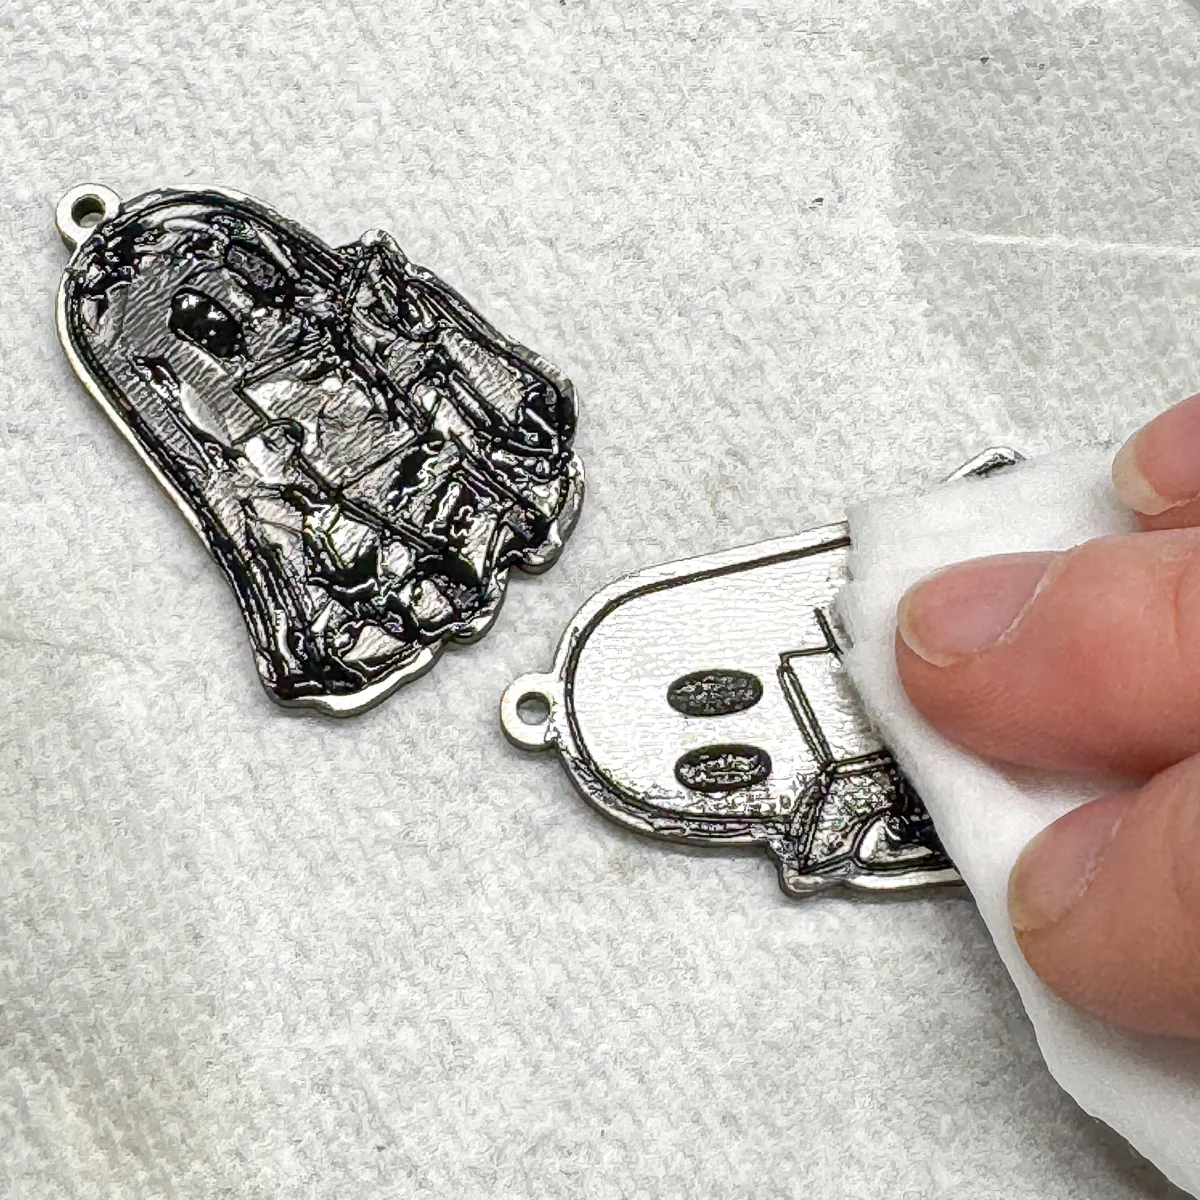
Look at how cute they turned out!
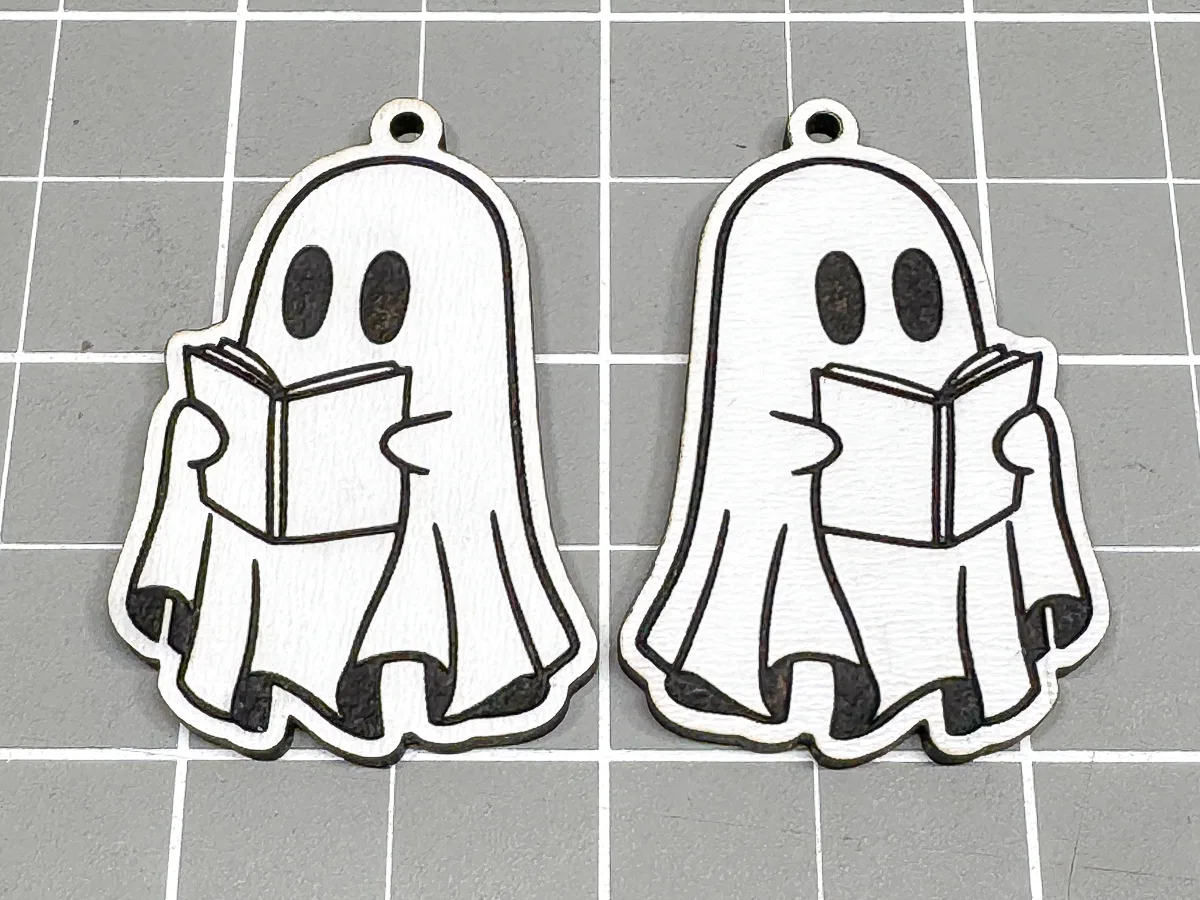
Add earring hooks
There's a ton of different earring findings out there, from jump rings to pinch bails to fish hooks. I like to keep things simple, with these S shaped hooks with a ball at the end.
You don't even need to open them up! Just thread the back of the hook through the front hole and settle the earring into the bottom of the loop.
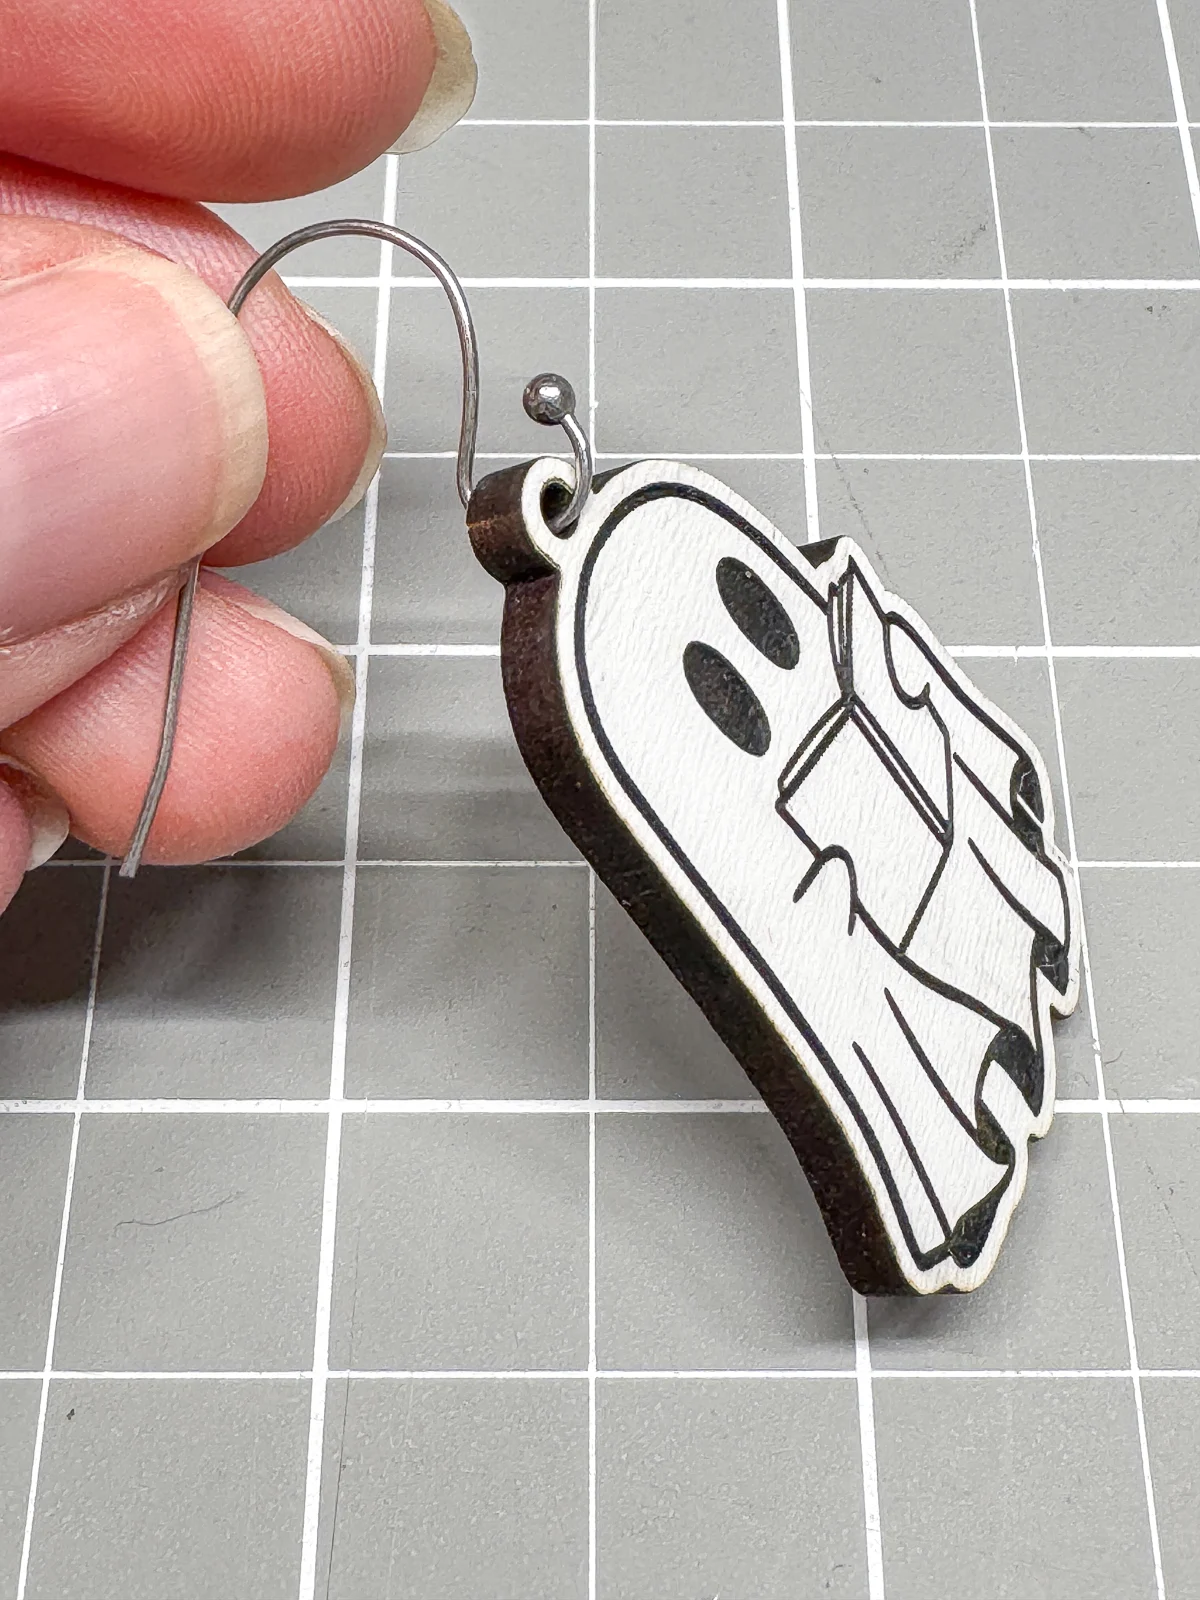
Now these adorable ghost earrings are ready to be worn on Halloween!
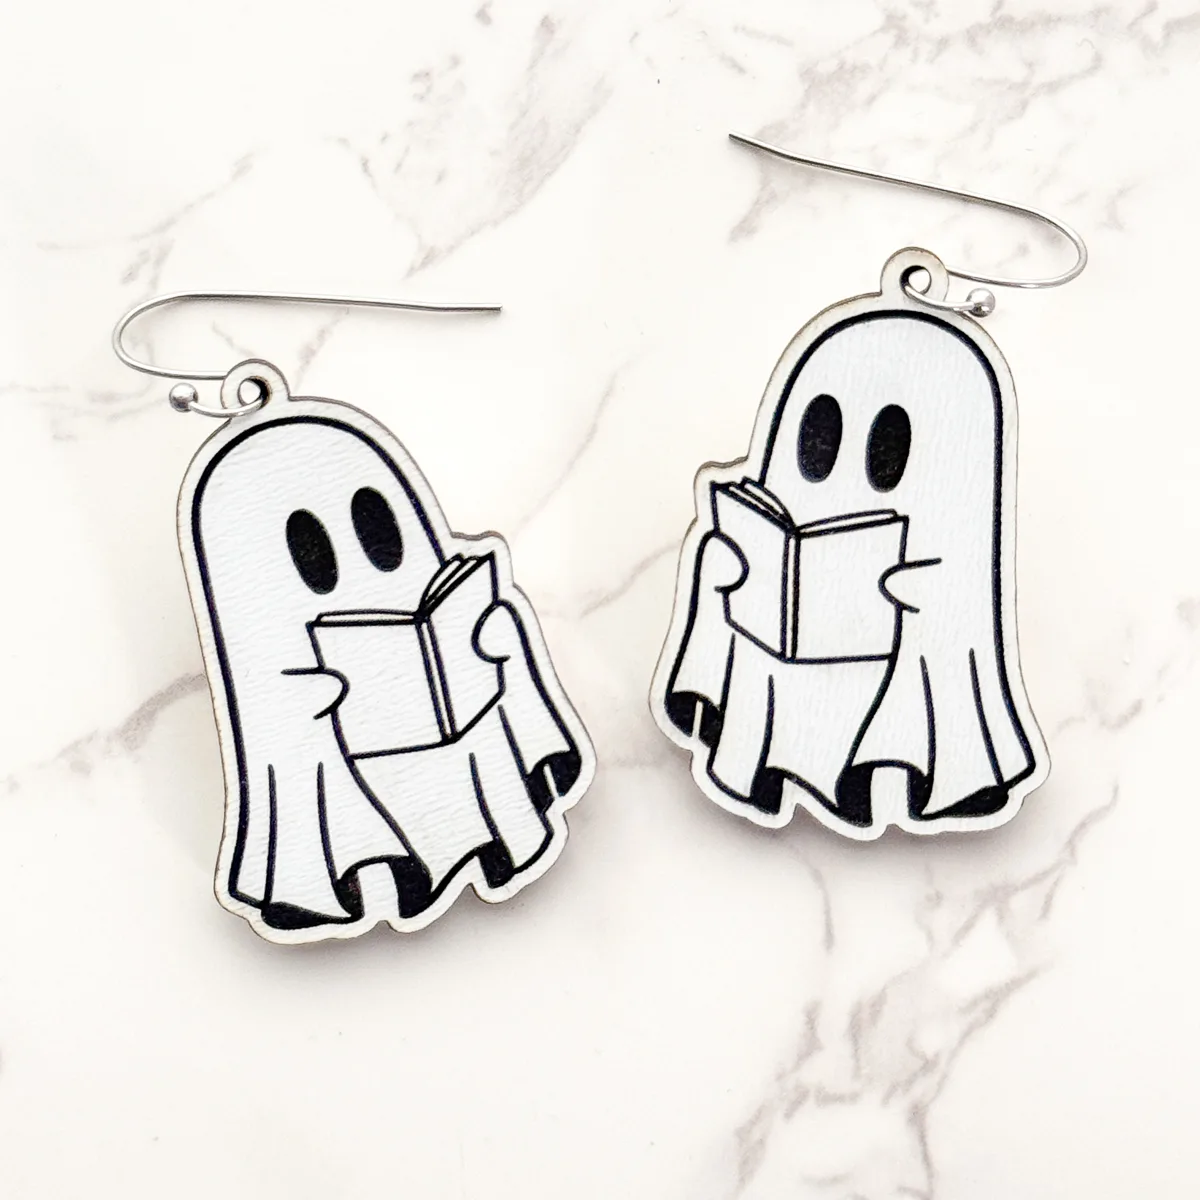
You can use this same technique to make tons of different earrings in almost any theme you can imagine! I'm already working on a bunch more for Christmas! Don't forget to check out my Etsy shop for all my laser file designs.

