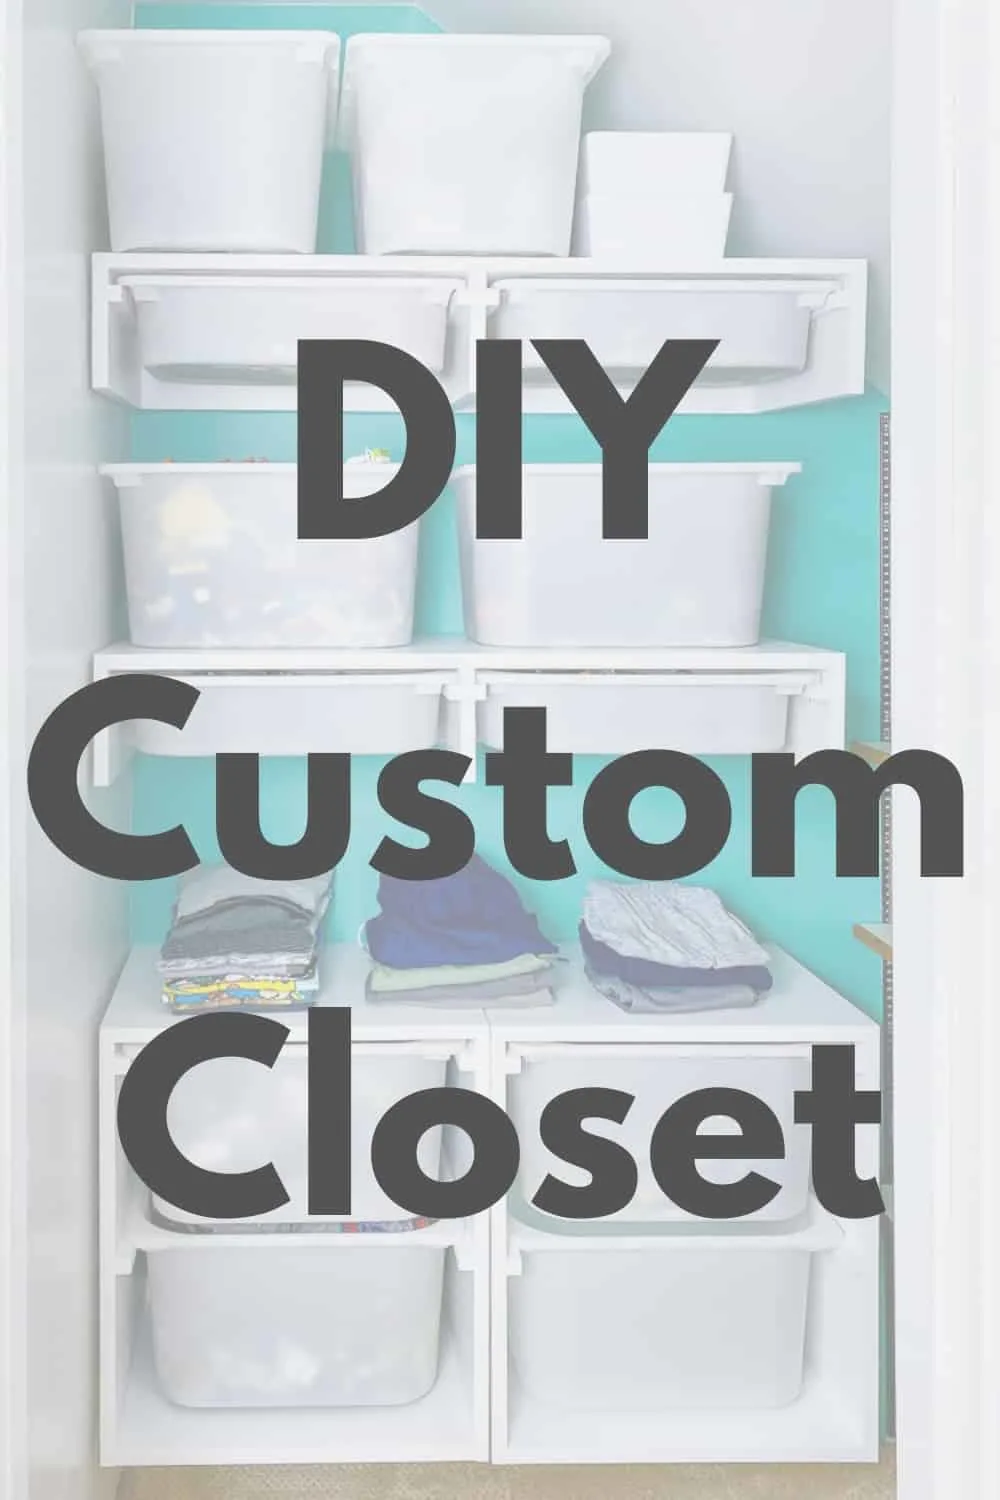
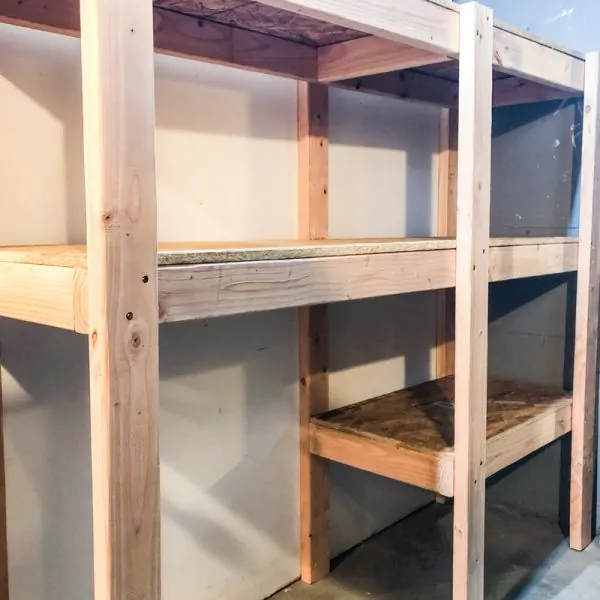
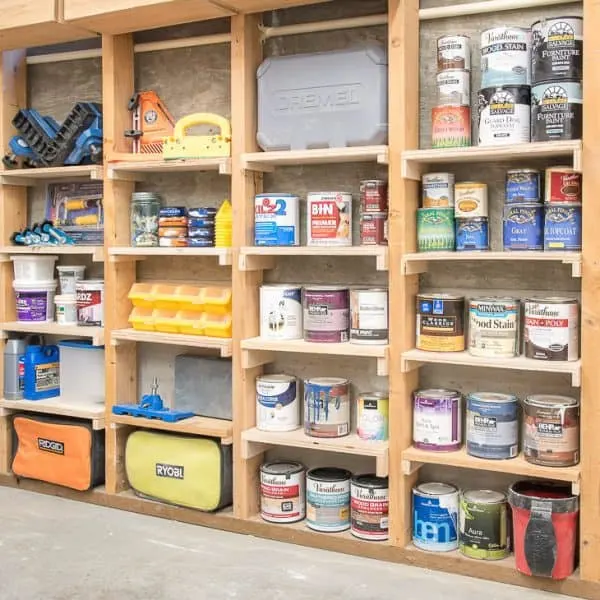
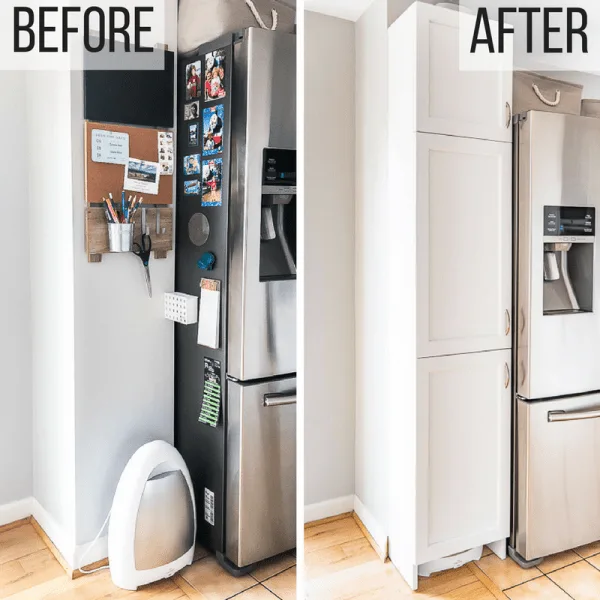
Create a DIY custom closet with this simple French cleat system! Make shelves with undermount bins that slide out for easy storage!
My son's closet was a disaster! It was almost impossible to pull out a toy without an entire pile crashing down like a giant Jenga tower. When this room was his playroom, it was easy to ignore the mess. But now that it's his bedroom (so we can use his previous bedroom as an office), it's time to get it organized!
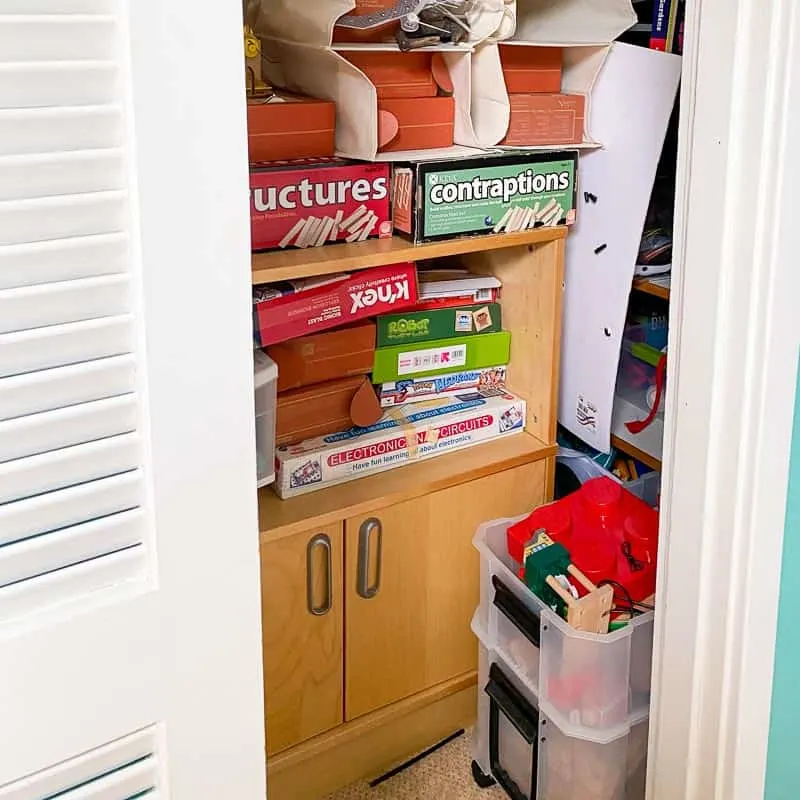
After spending a day sorting and donating most of the toys, we were left with a completely empty closet...and one big problem.
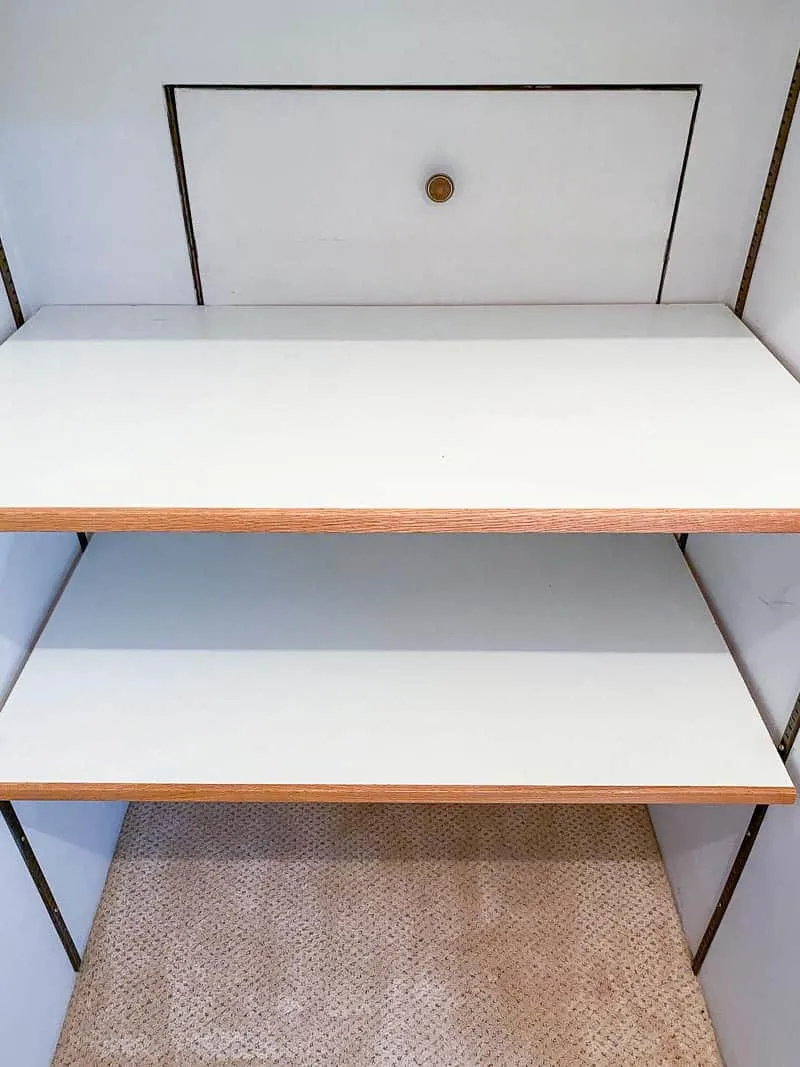
I forgot there's an attic access panel in the back of the closet! Obviously I couldn't create the built-in custom closet I was envisioning, since it would block the door permanently. Time to get creative!
Want more custom closet ideas?
Check out this list of 20 DIY closet organizers to get more inspiration for your project!
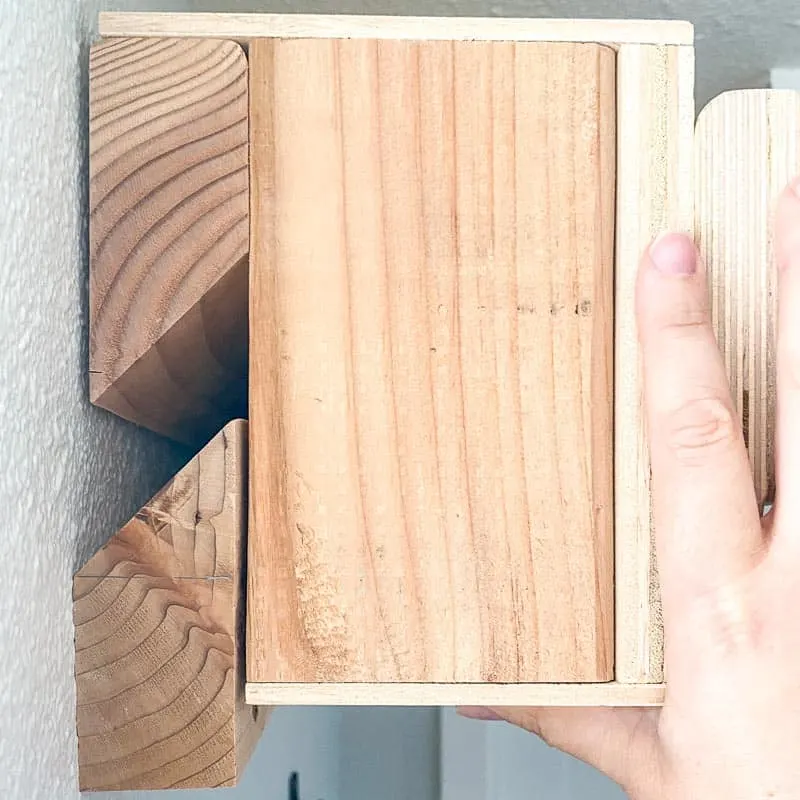
I've used French cleats in various projects around the house (like these planter boxes and my son's hangboard mount). This simple bracket can hold a lot of weight AND it comes apart in seconds!
This DIY custom closet uses a French cleat system to create shelves and bins that give him plenty of storage that can be taken down at a moment's notice. He has plenty of space for all his clothes, plus lots of room for toys!
As he gets older, I can swap out the bin storage for a rod for hanging clothes. I love how flexible and versatile this system is!
Just want a few simple shelves? Check out this tutorial on quick and easy DIY closet shelves that add instant storage space to the side!
This post is sponsored by Handy Products and contains affiliate links for your convenience. Purchases made through these links may earn me a small commission at no additional cost to you. You can read more about how this site earns money on my disclosures page.
Remove existing shelving
Once everything was cleared out of the closet, I was left with one little shelf with a clothes rod, and the shelves in front of the attic access door.
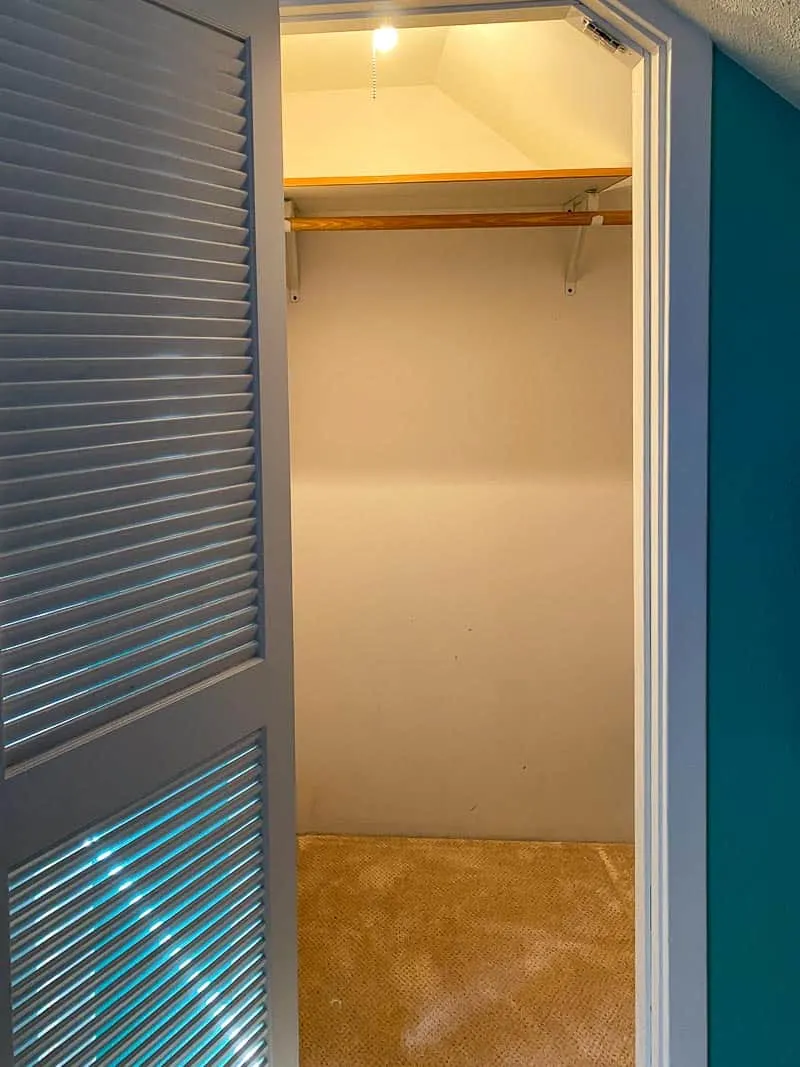
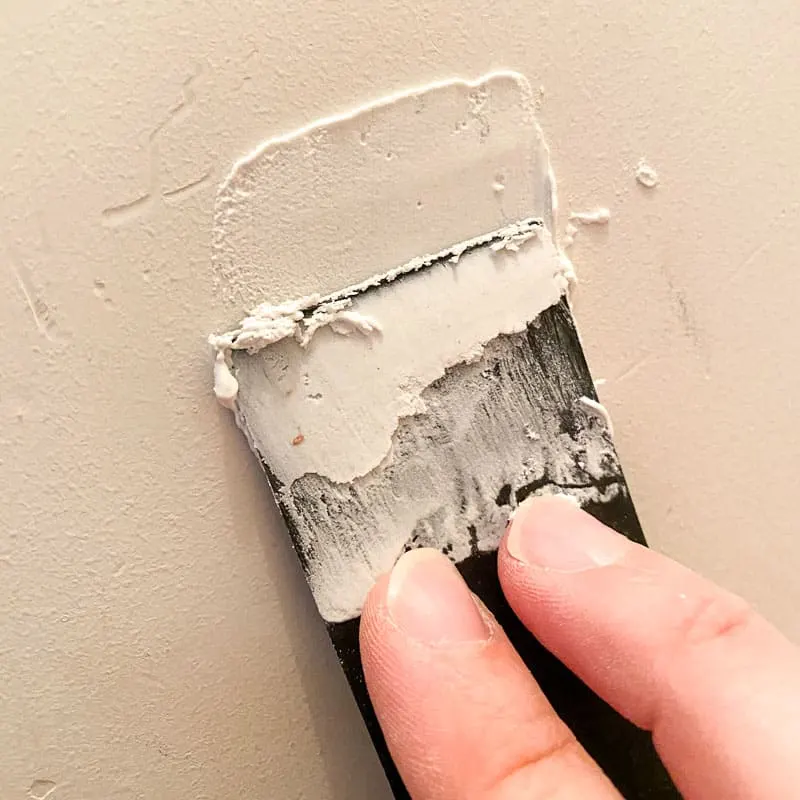
I removed the clothes rod shelf, and patched the holes with spackle. The walls had quite a few dents and scratches, so I filled in all those spots while I was at it.
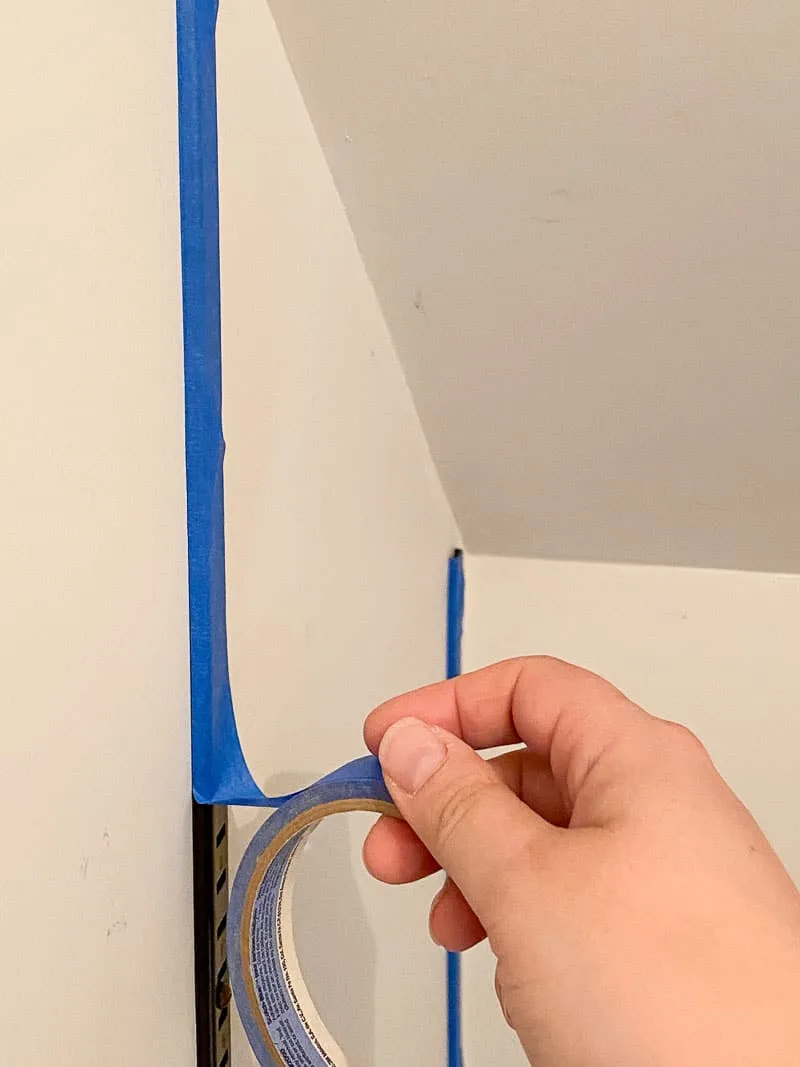
The shelves in front of the access door rest on these little clips in the adjustable wall mounted brackets. They work pretty well in this space, so I'll keep them the same. For now, I just removed the shelves and covered the vertical brackets with painter's tape.
Paint the closet
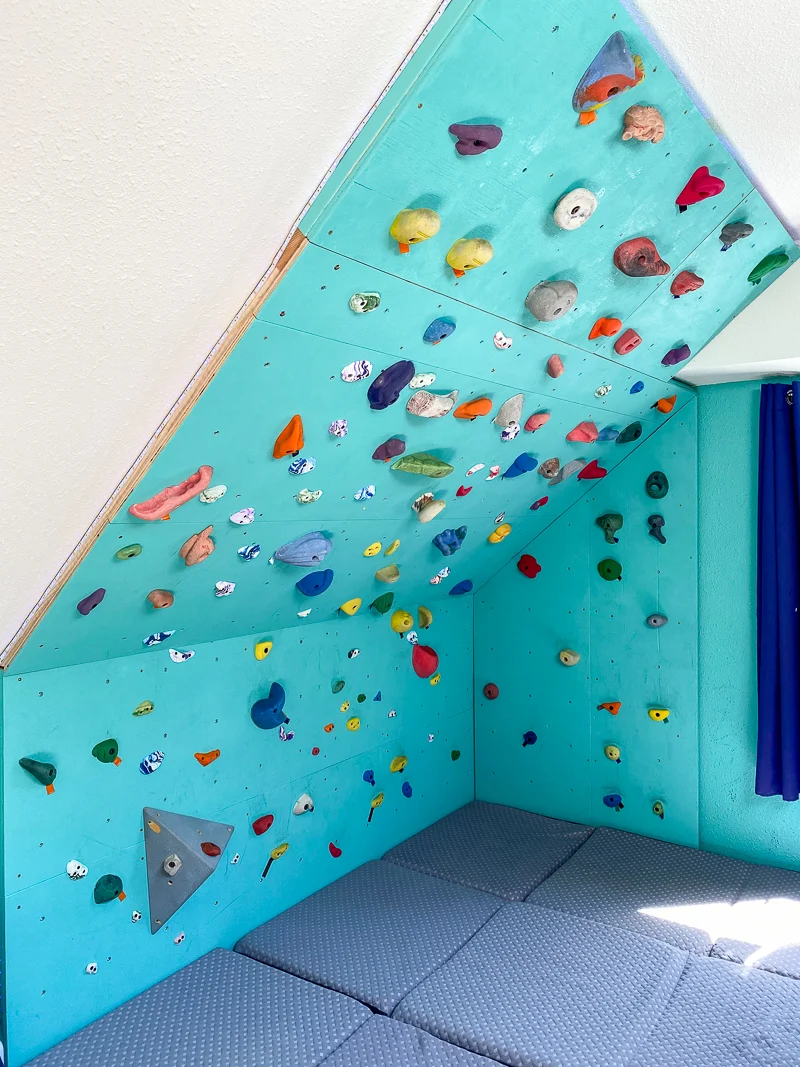
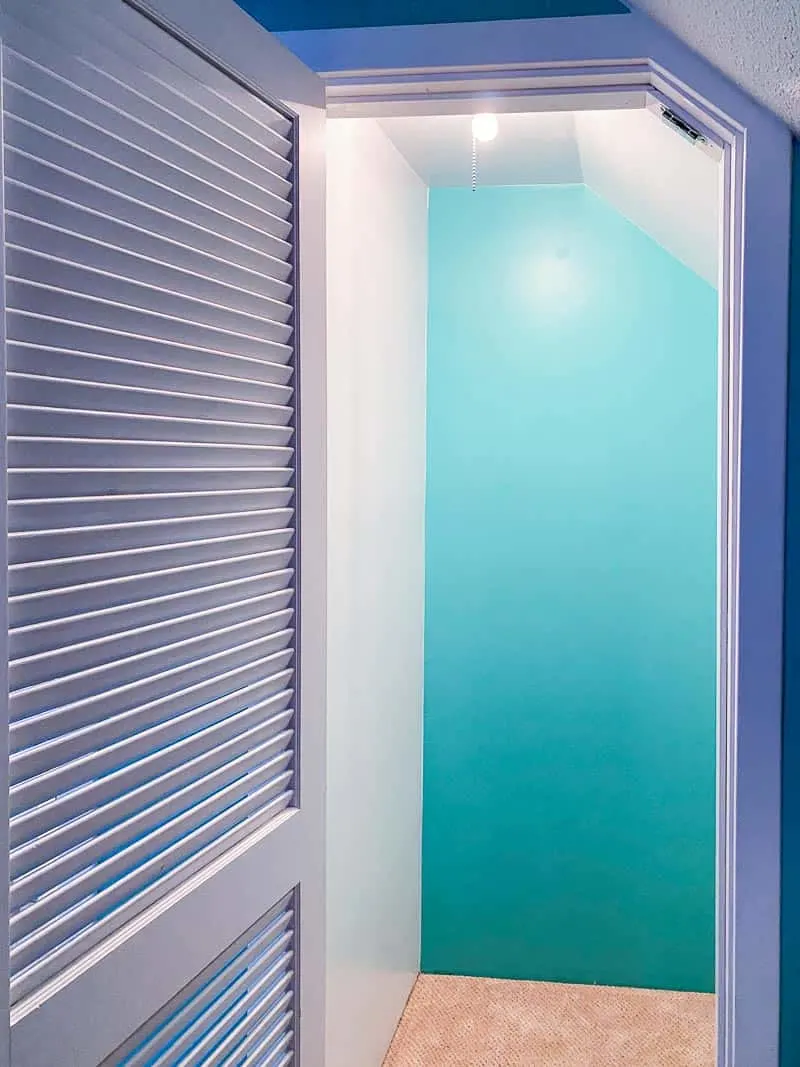
The closet was looking pretty drab, especially next to the brightly colored walls in the rest of the room. To brighten up the space, I decided to paint most of the walls and ceiling white, with an accent wall in the back the same color as the rest of the bedroom (and his climbing wall!)
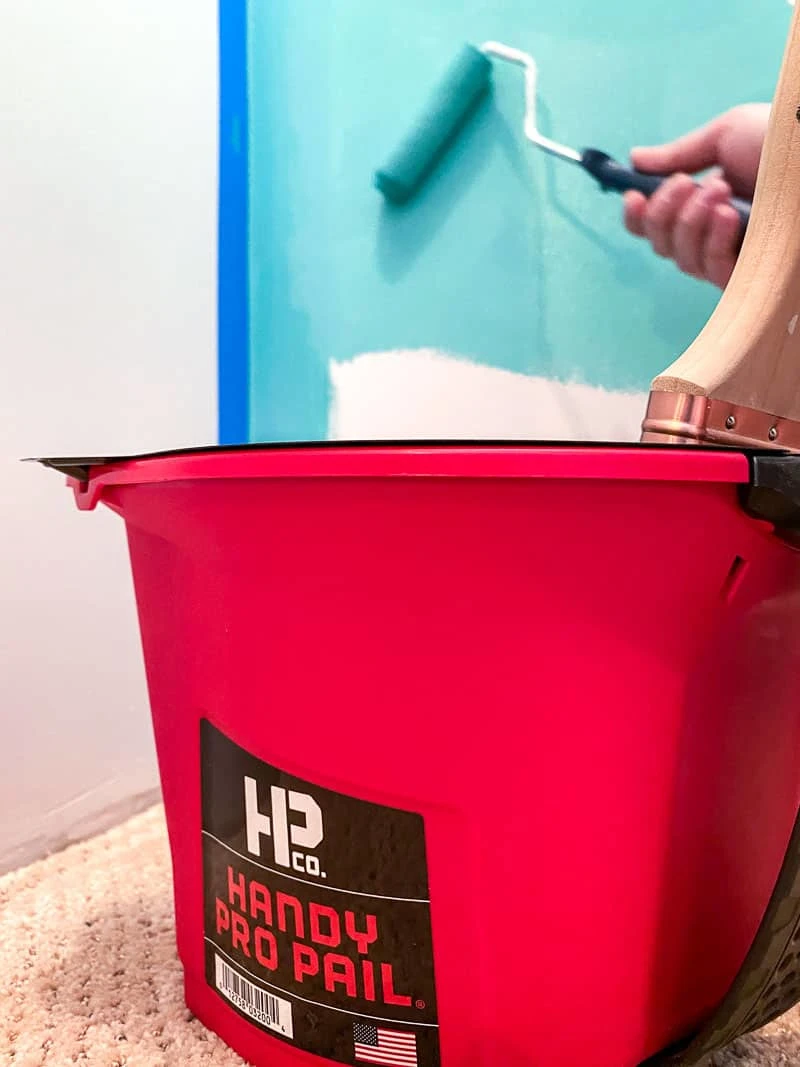
Painting in a closet can be a little awkward, especially with a sloped ceiling! There's not a lot of room to maneuver, and certainly not enough space for a full paint tray. The Handy Pro Pail lets me carry enough paint for the whole job, plus a brush and small roller, in the palm of my hand!
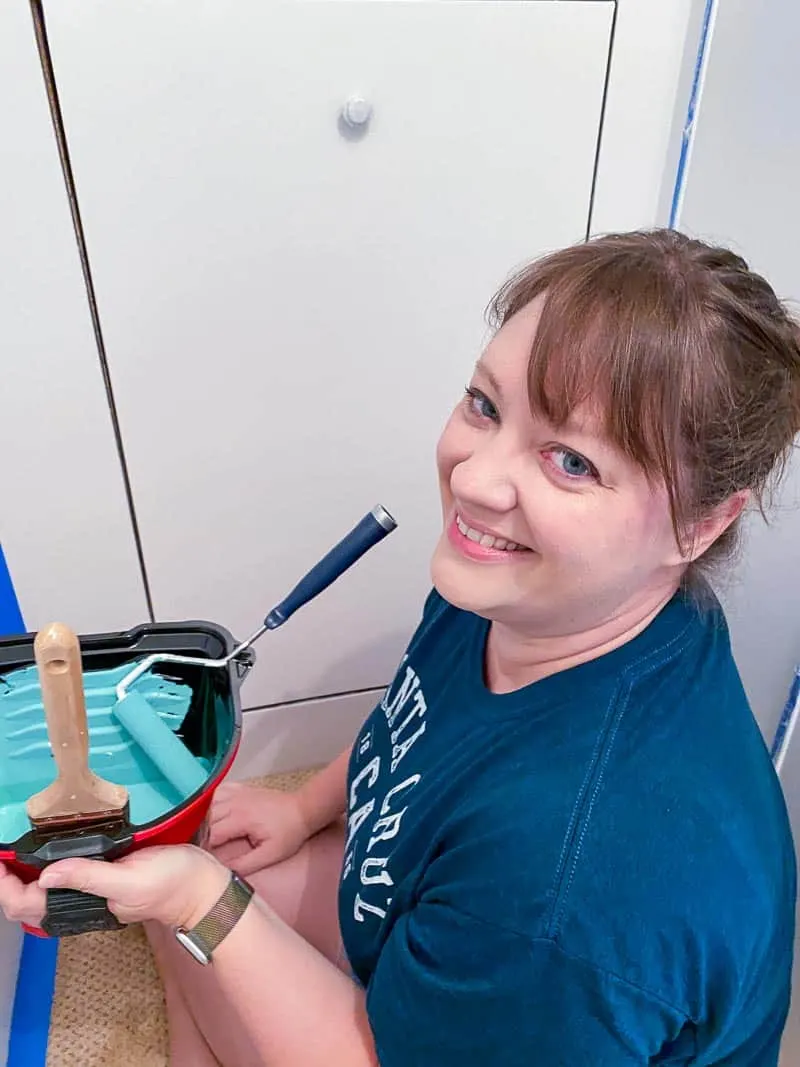
I can easily switch between the brush for cutting in at the corners and edges...
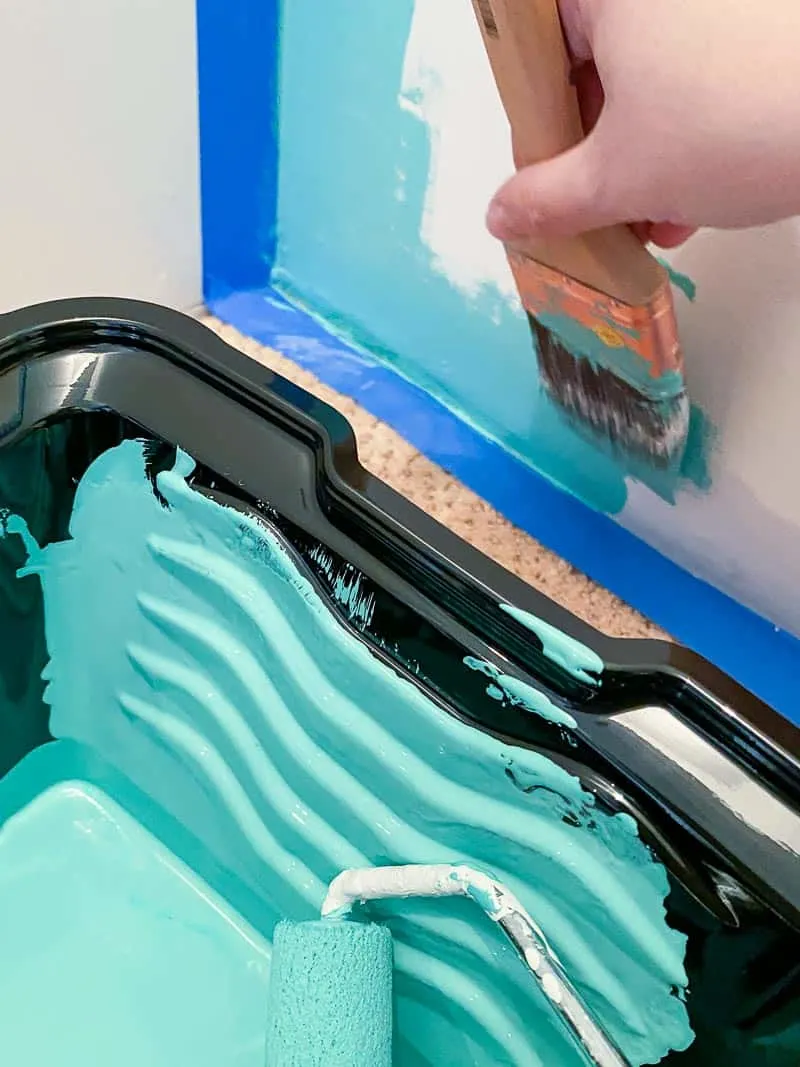
then fill in the rest with the roller. A four inch roller is all you really need for a small space like this, and I was done with the first coat in less than half an hour.
The back wall really pops against the bright white, and makes the closet seem bigger.
Build the Dresser
The beauty of the French cleat system is that you can build shelves however you like, instead of being stuck with whatever is available at the store. My son loves using IKEA Trofast bins for storing all his Lego and toys, and this closet is going to be full of them!
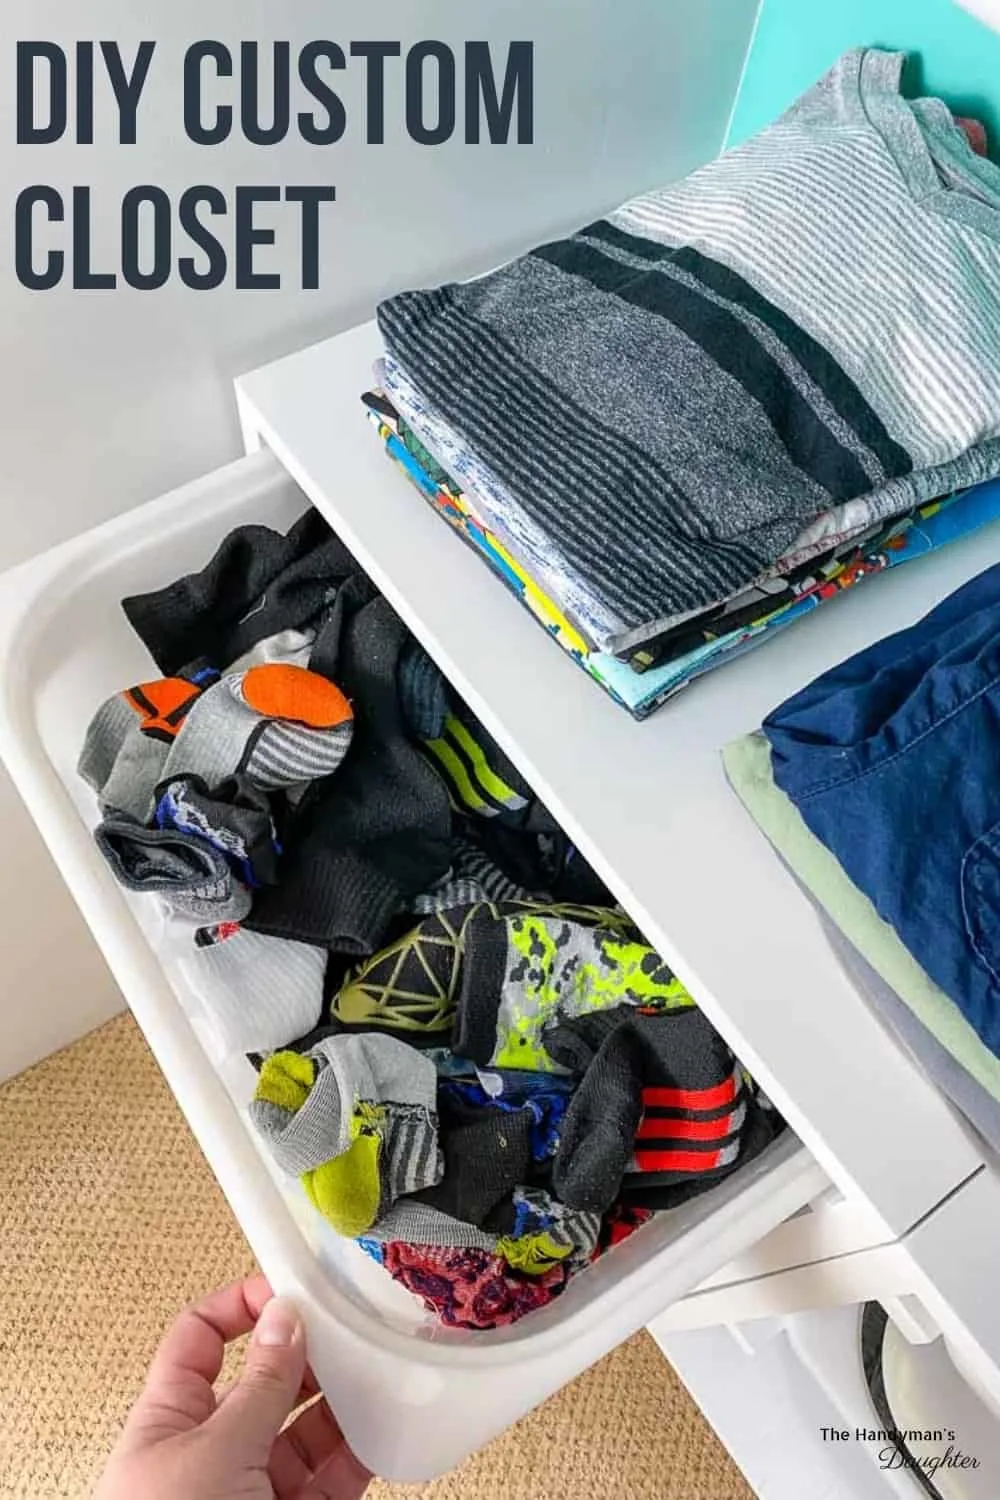
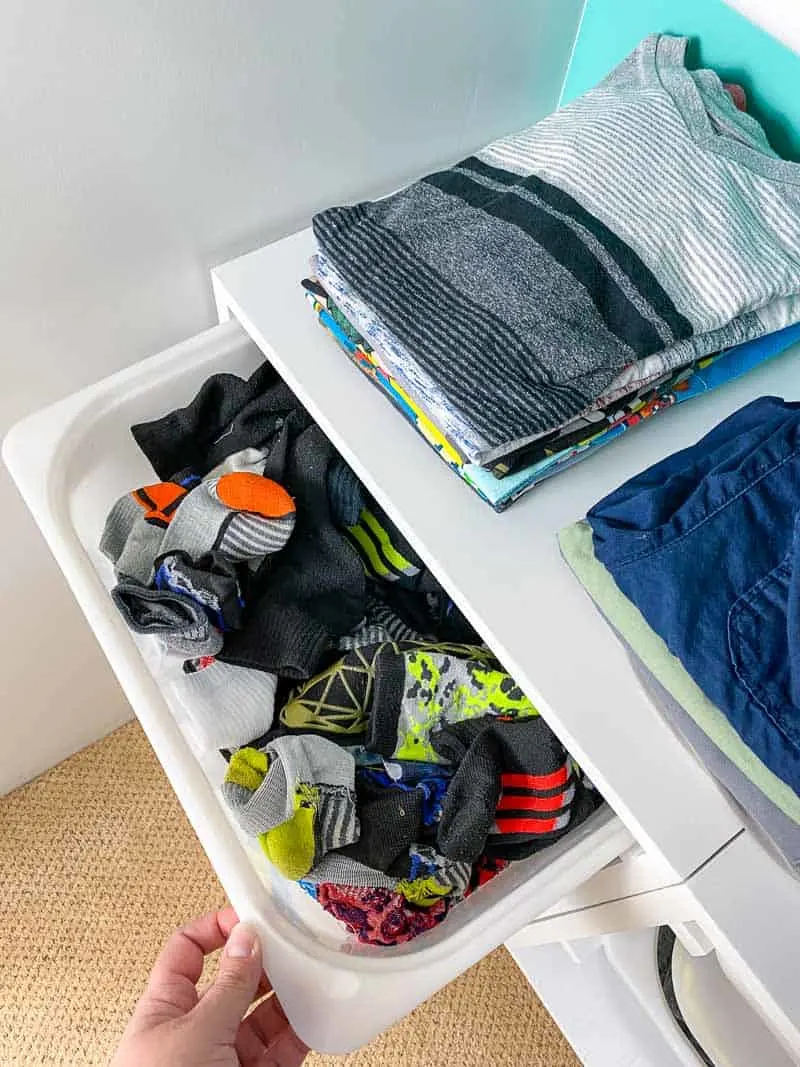
First, I created a "dresser" for the bottom of the custom closet. You can find the tutorial for these wall mount storage bins here and you can get the woodworking plans here. Socks, underwear, pajamas and workout clothes each get their own bins. The top of the frames create a shelf for shirts and pants.
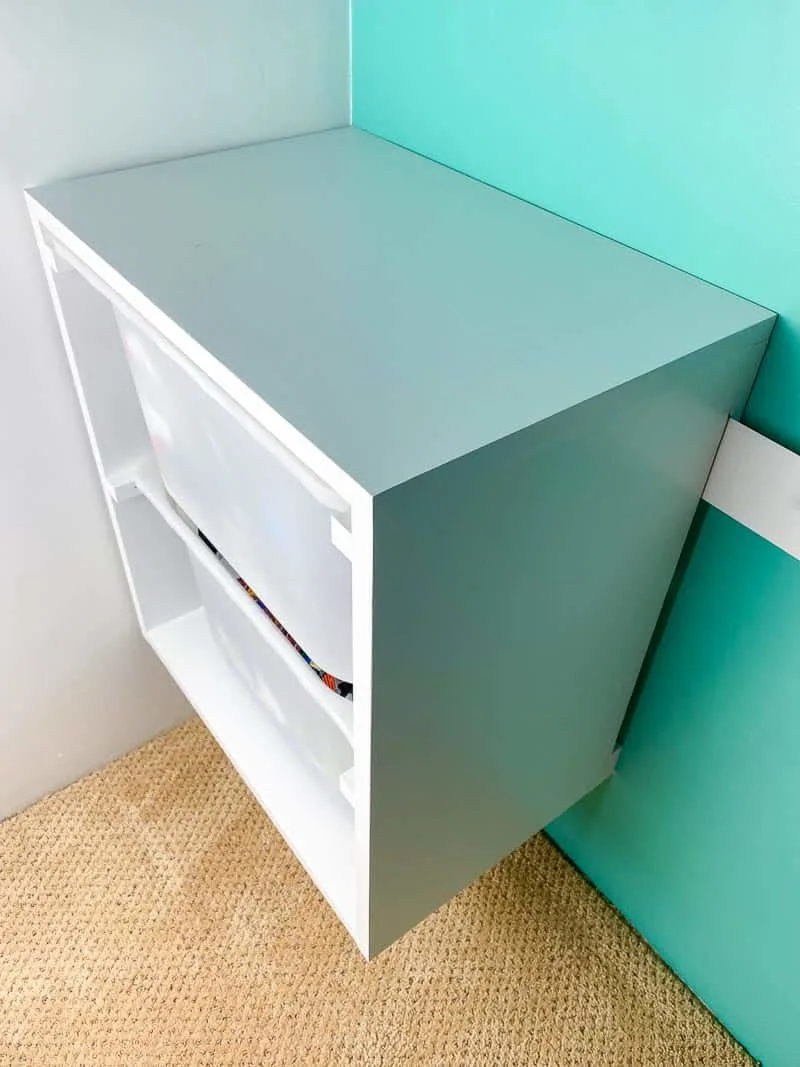
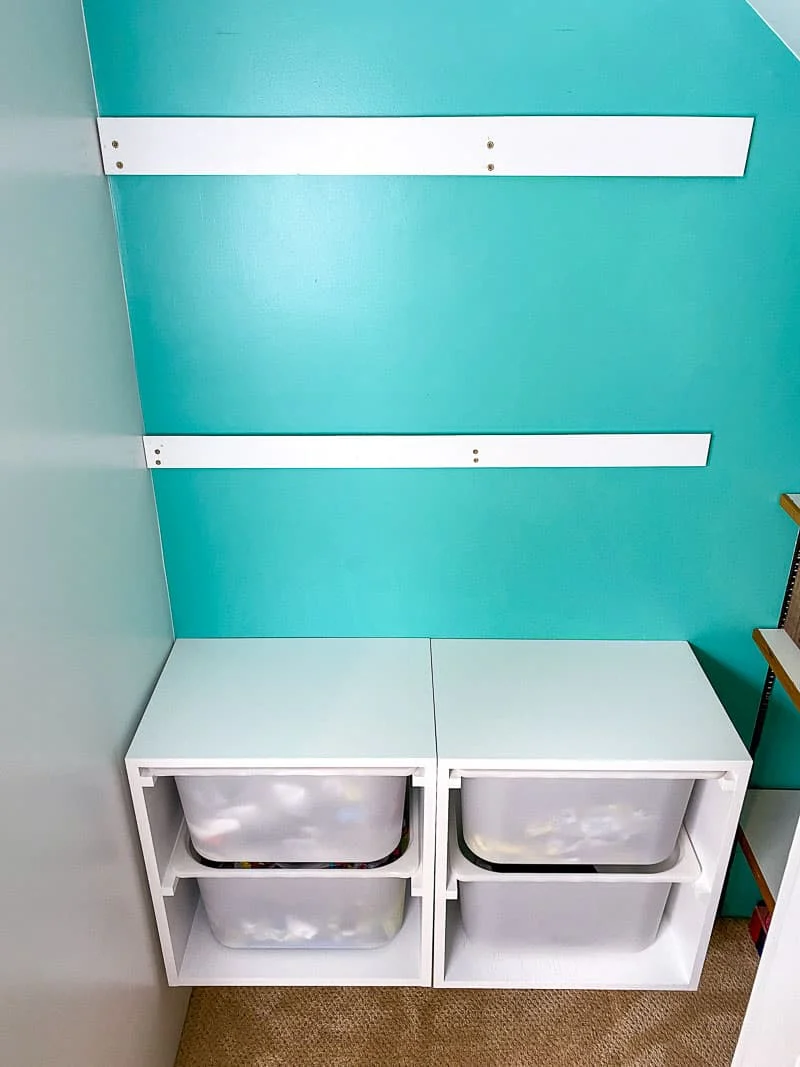
The drawer units hang on a single French cleat that spans the length of both frames. I mounted the cleat to the wall an extra six inches off the ground, so he can store shoes underneath.
Build the Shelves
I pondered a few different ways to build the French cleat shelves. At first, I was thinking of using large L brackets to support a plywood shelf, with a French cleat somehow attached to the back. But I decided it would look a little weird to have the brackets hanging down without actually being attached to the wall.
Then I remembered the IKEA Trofast floating shelf I made a while back. I had to take it down to make room for my son's new desk, and it was sitting in the donation pile since there wasn't another spot in the room where I could hang it.
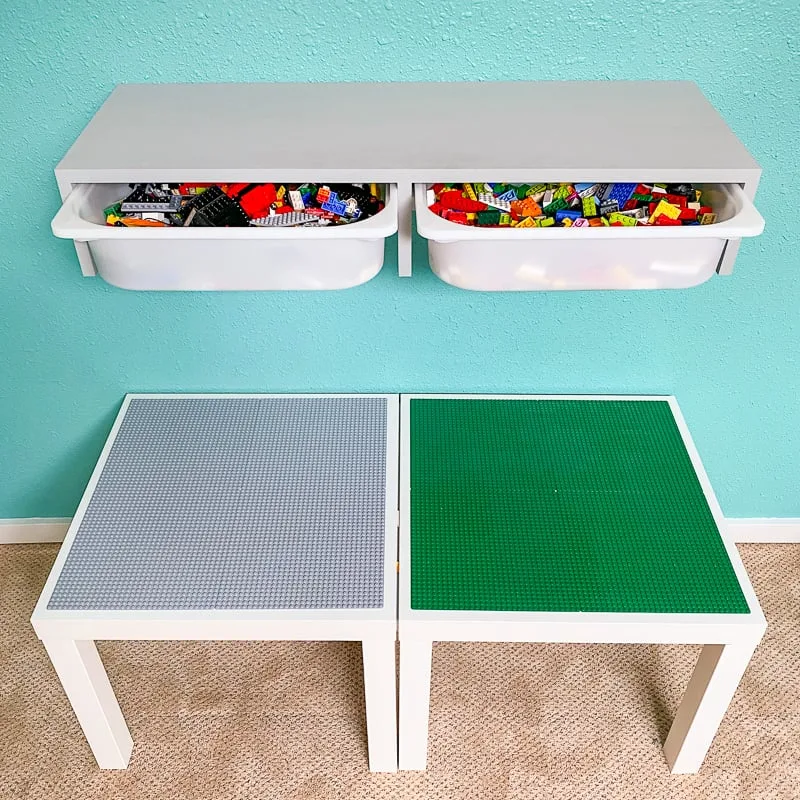
I dug it out of the donation pile, attached a French cleat to the back, and painted it white to match the other shelves. Then I built a second one! I've updated the woodworking plans with the optional French cleat if you want to make your own.
Attach the French cleats
The first shelf hangs about a foot above the dresser. But the cleat on the wall needs to be mounted 2 ½" below that, since the other half will sit on top of it. Attach the cleat to the studs with countersunk flat head screws.
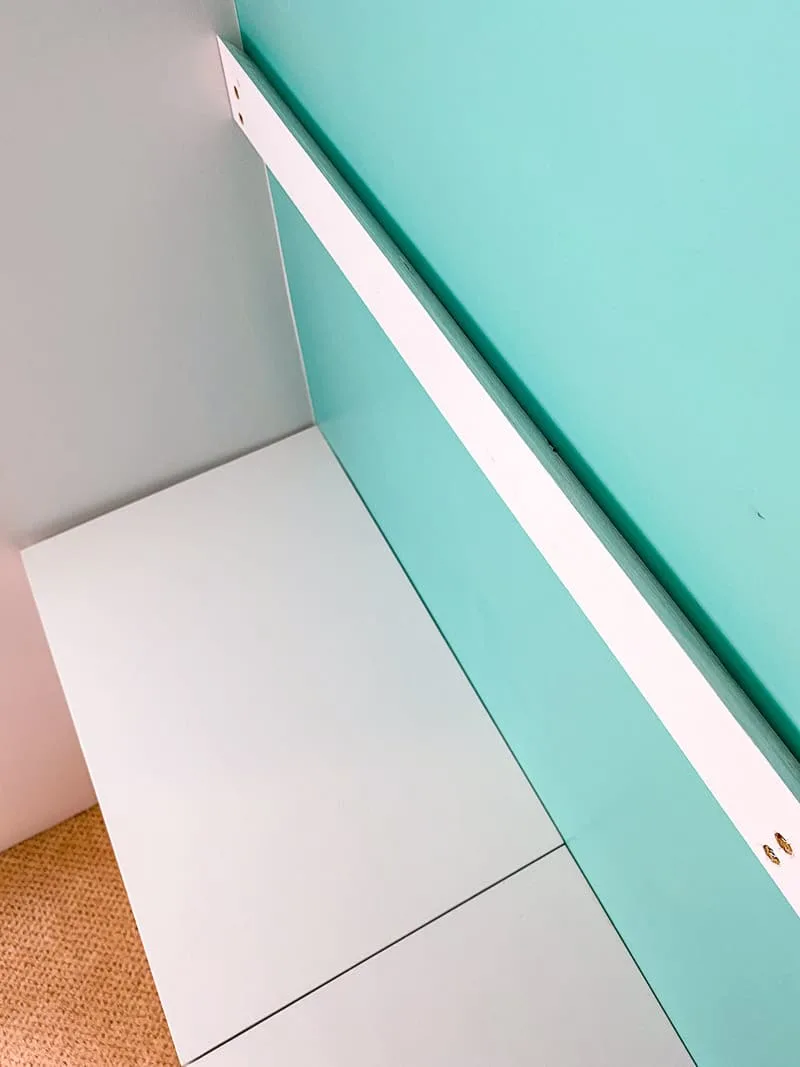
The cleat near the sloped ceiling took a little trial and error to get right. I needed enough clearance to lift the shelf over the point of the cleat without scratching up the ceiling.
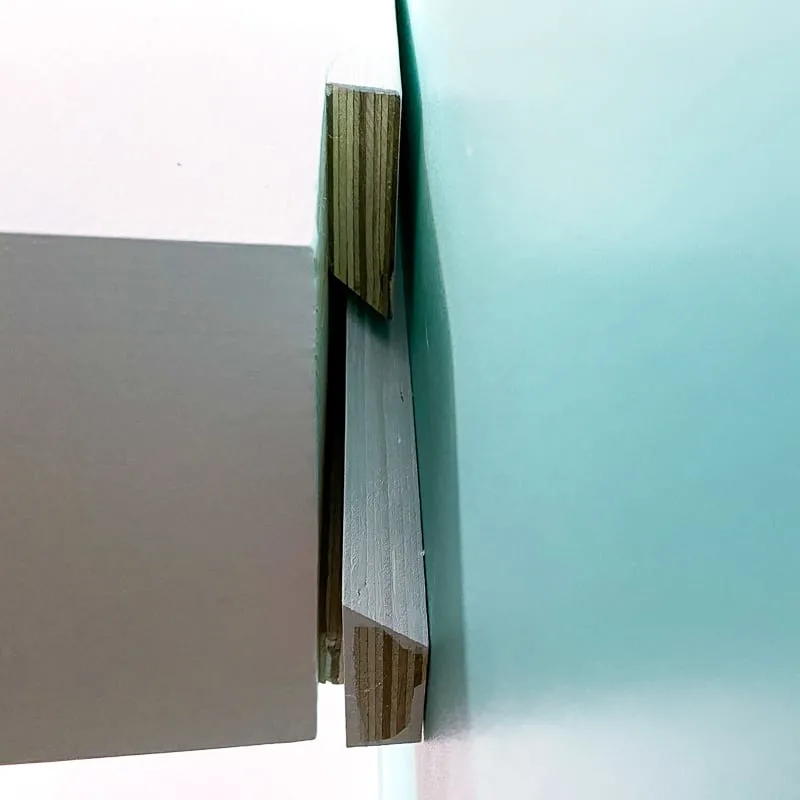
The back of the shelves hook onto the cleat on the wall, and the weight of the entire piece is evenly supported. If we need to remove the shelves to get into the attic crawl space, we just lift them up!
Ready to see my new custom closet?
It takes a lot to get a pre-teen boy excited about a closet, but even my son was impressed by this transformation!
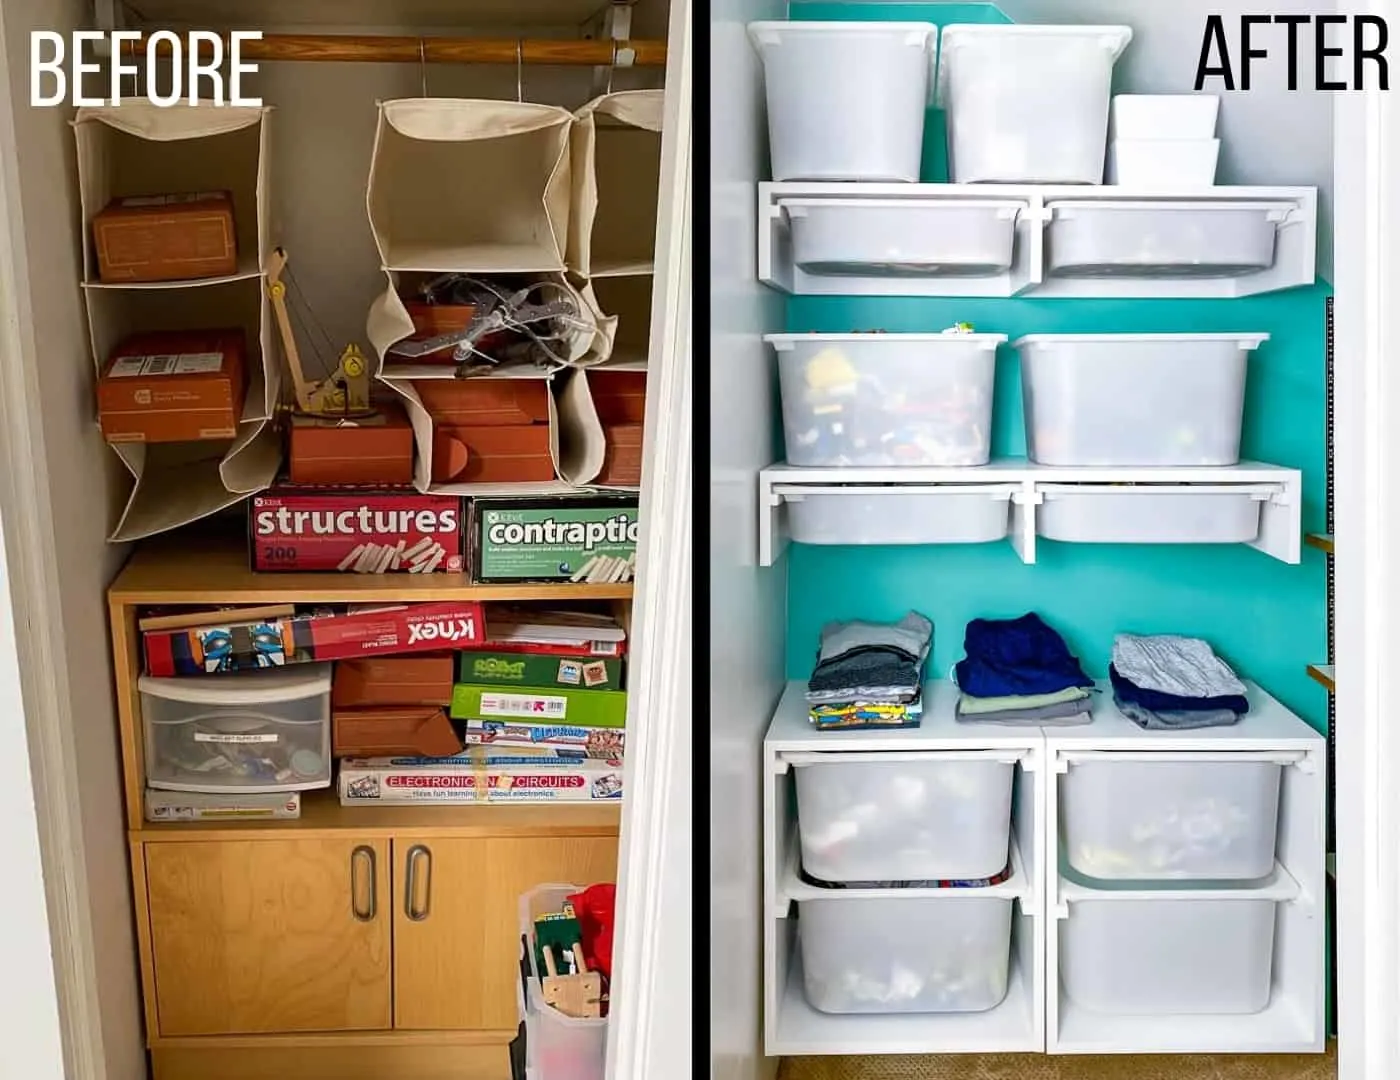
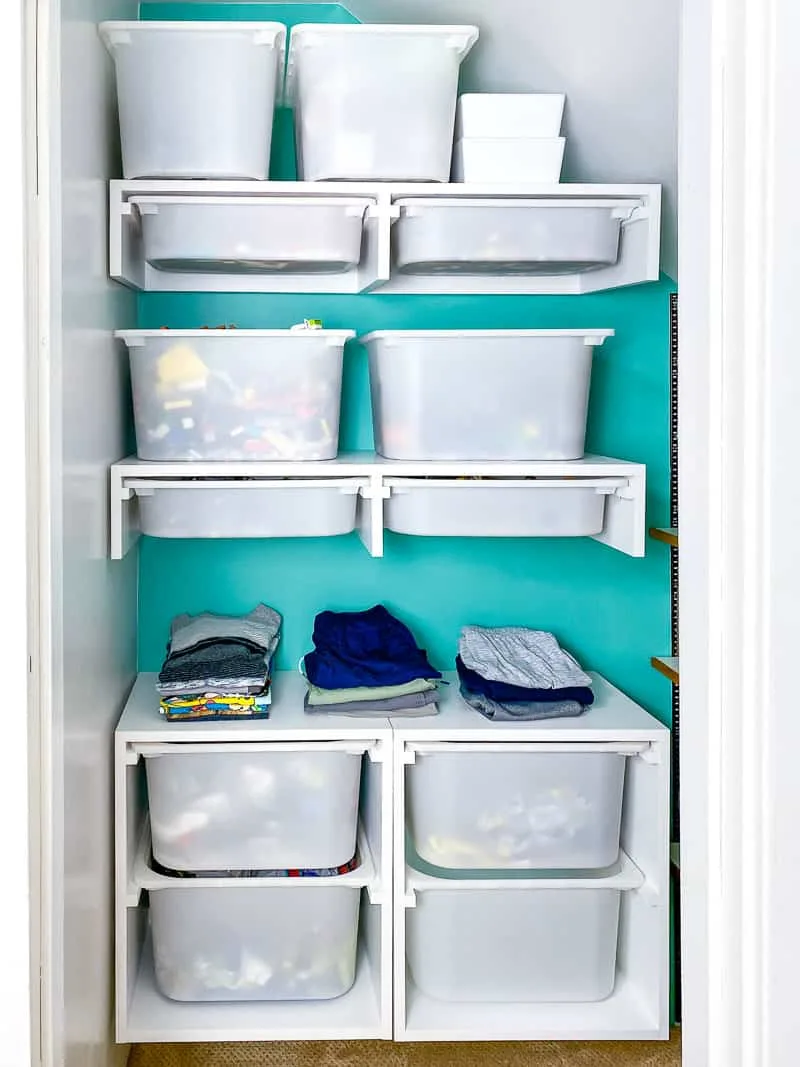
Adding a fresh coat of paint and the accent wall in the back really gave this space new life! I used a satin finish on all the white surfaces, so it bounces the light around and makes the closet feel brighter. When the door is open, it looks like an extension of the room!
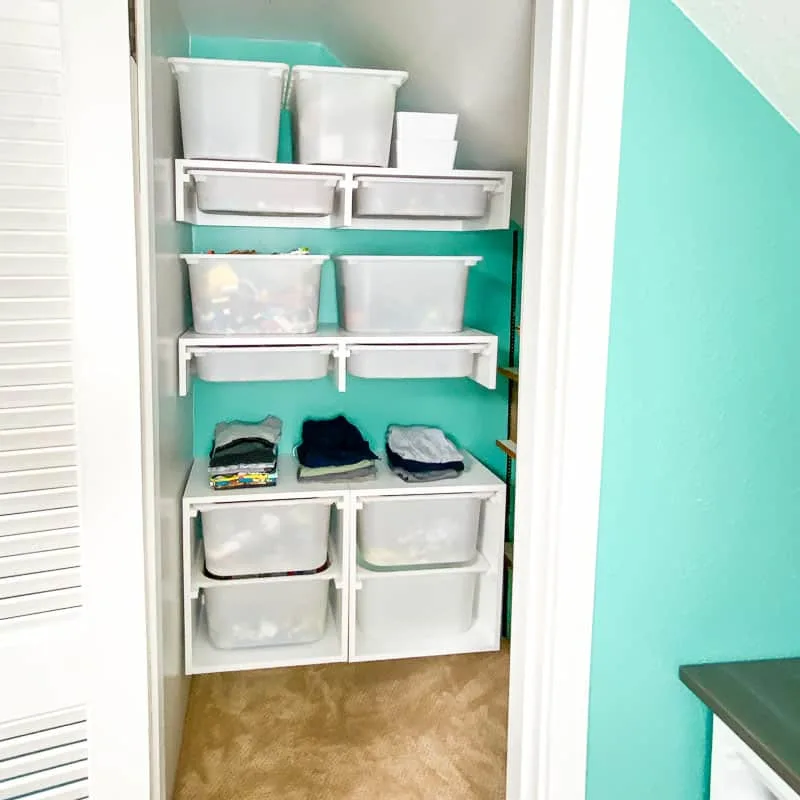
Even with the top of the shelves empty, there's still a ton of storage space thanks to the hanging bins.
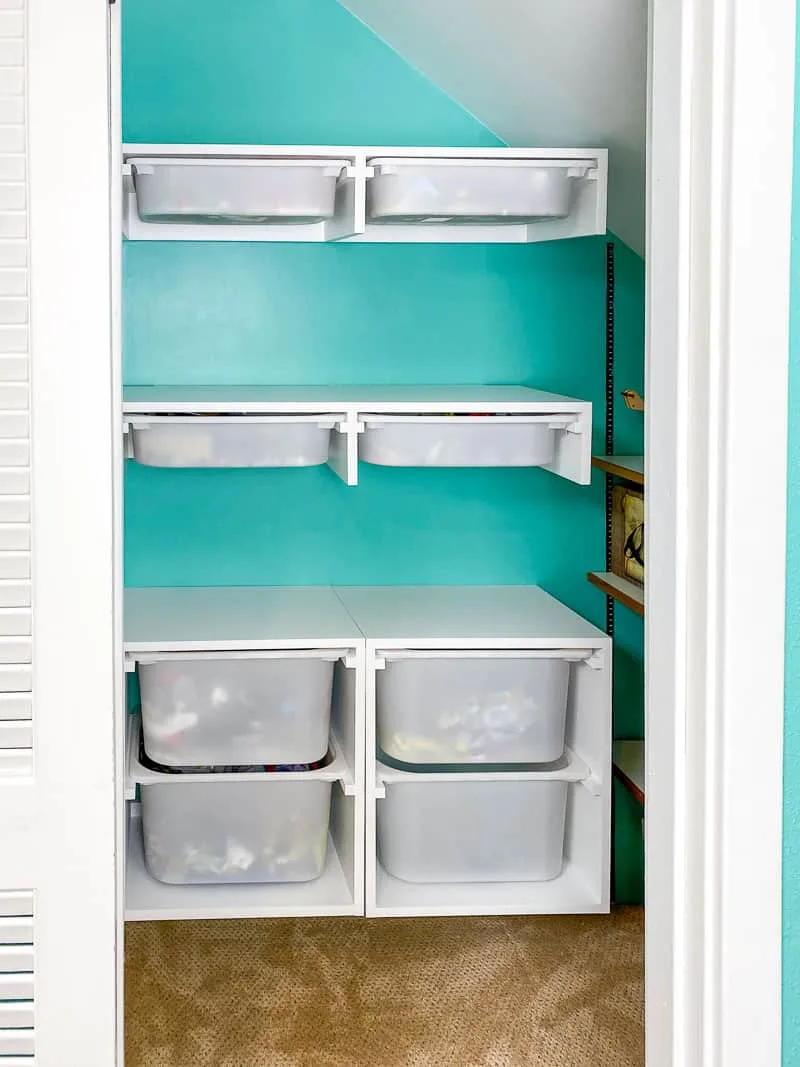
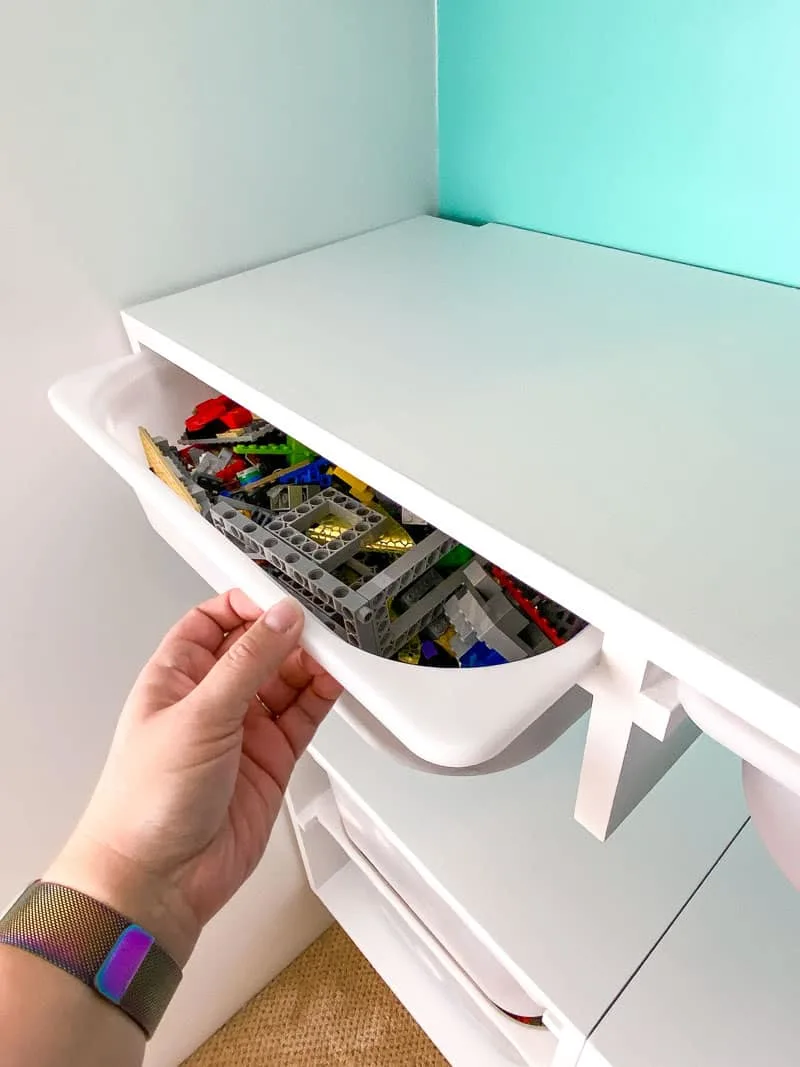
I always hated how much space is wasted underneath conventional shelves, unless you stack stuff all the way to the top. Now that space is put to good use to hold lots of Lego pieces!
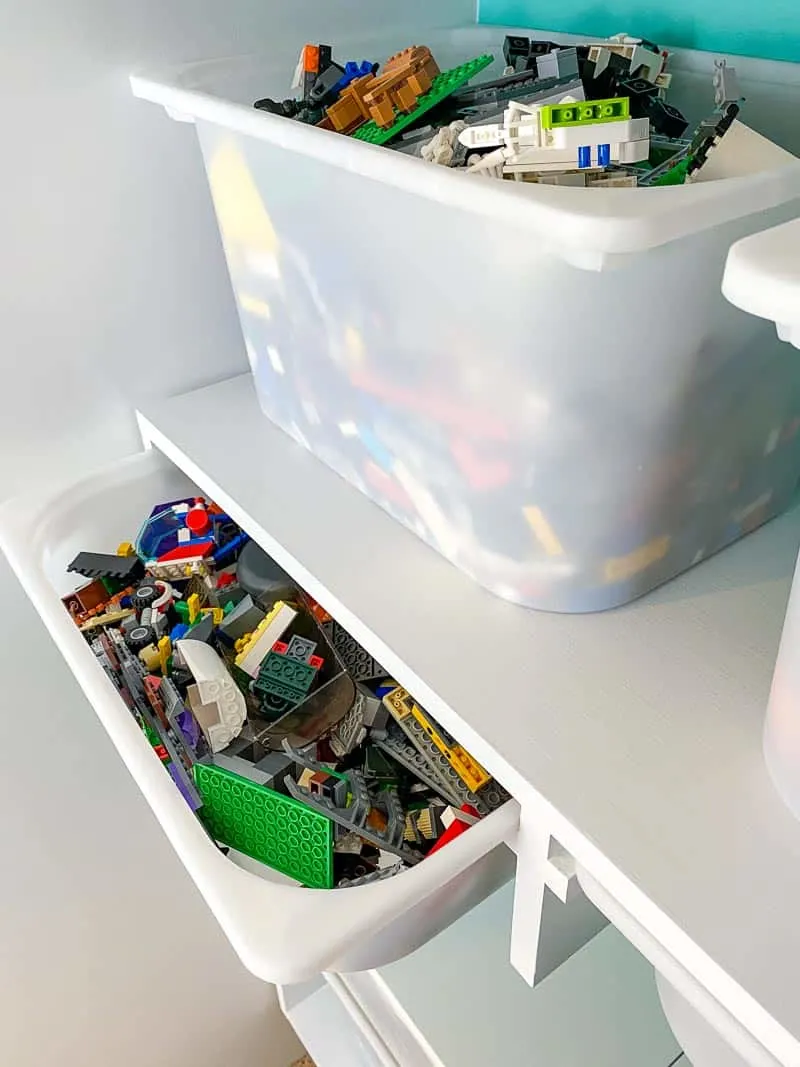
The French cleat is strong enough to hold the weight of even more bins filled with Lego on top! Are you sensing a theme yet? 😉
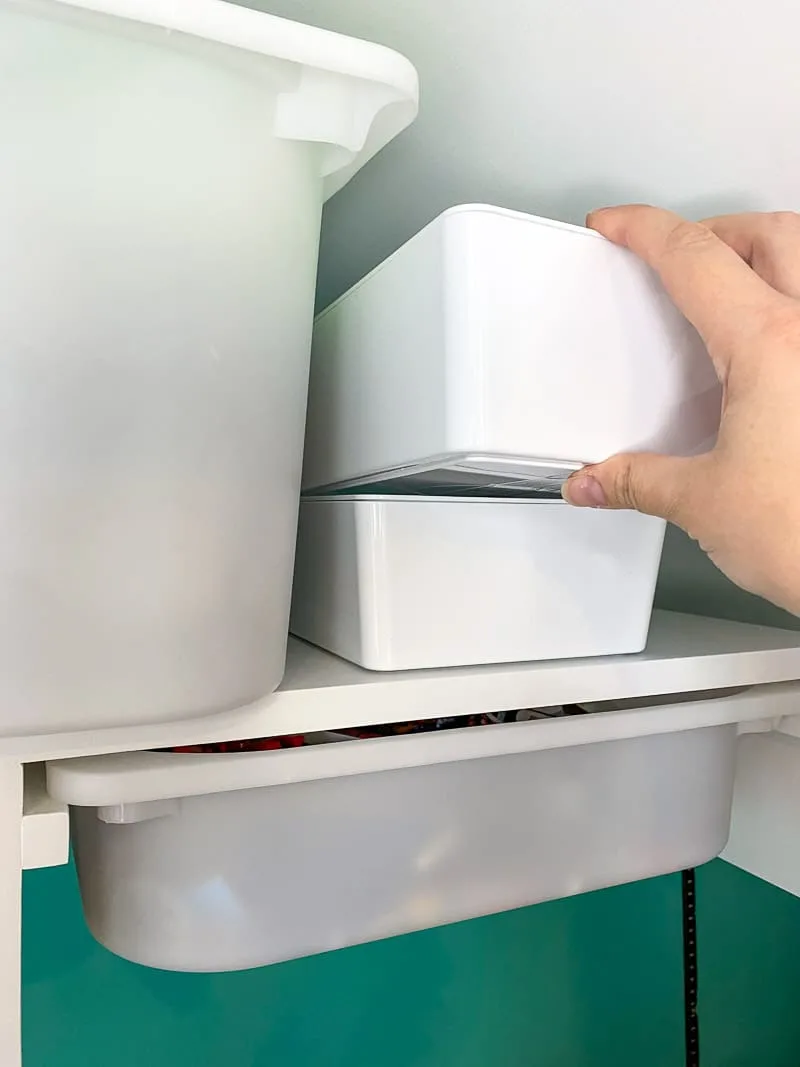
The top shelf fits right under the sloped ceiling. It holds even more bins, plus these smaller stacking ones that take advantage of that awkward triangular space.
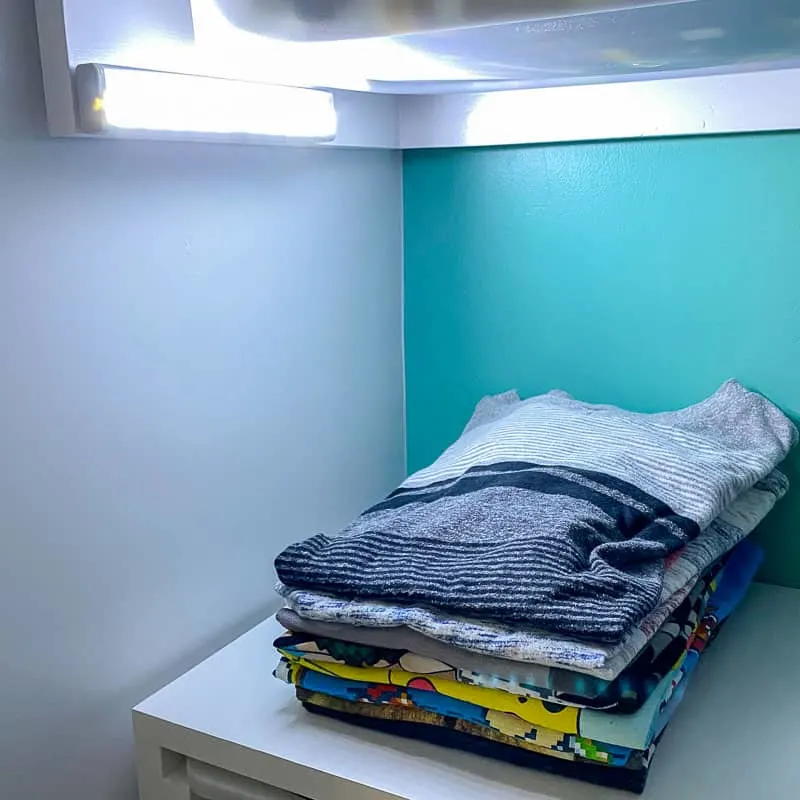
I removed the bulb from the pull-chain light fixture on the ceiling (since my son couldn't reach it anyway), and installed these motion-sensing LED lights instead. He doesn't even have to turn on the bedroom light to get dressed on those dark winter mornings!
I'm so glad I finally tackled this project! Now my son has a space for all his clothes and toys with room to grow. And everything can be taken down at a moment's notice if we need to access that mysterious door in the back of the closet!
Check out these other storage ideas!
