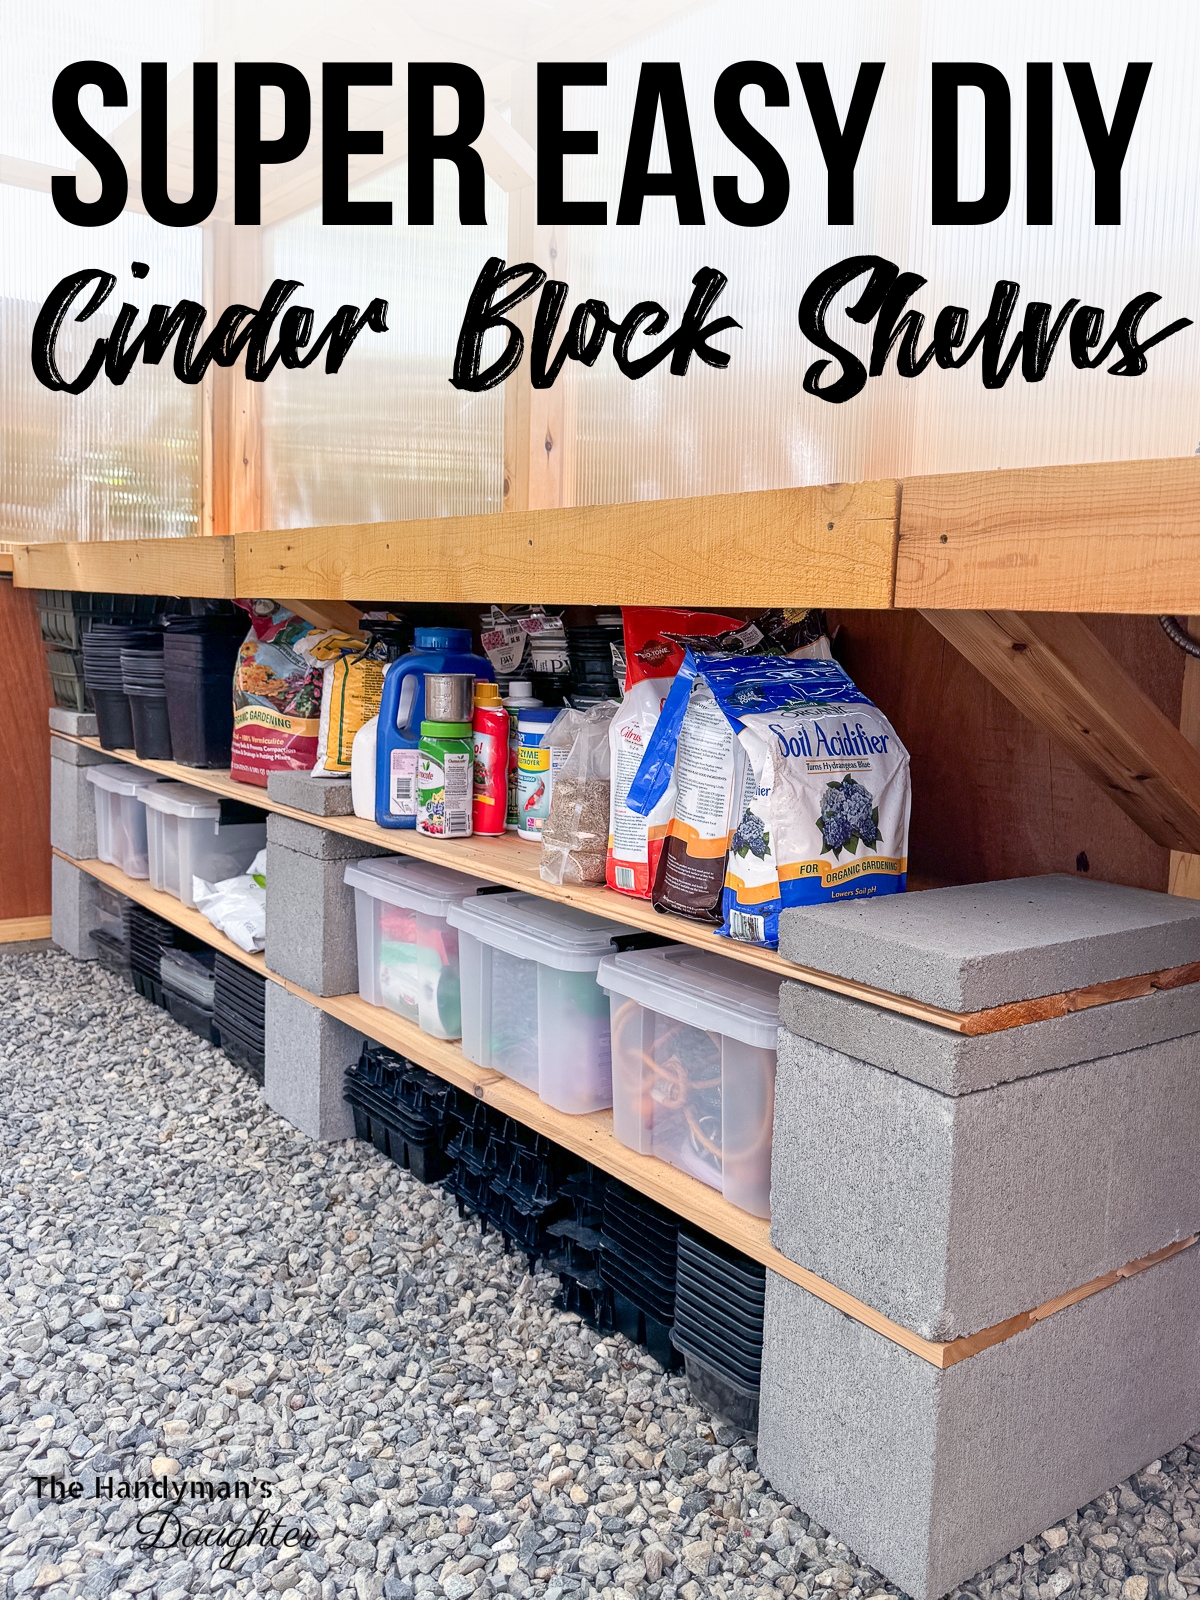
Need cheap and easy shelves in a hurry? These DIY cinder block shelves assemble in minutes, and don't require any power tools to build!

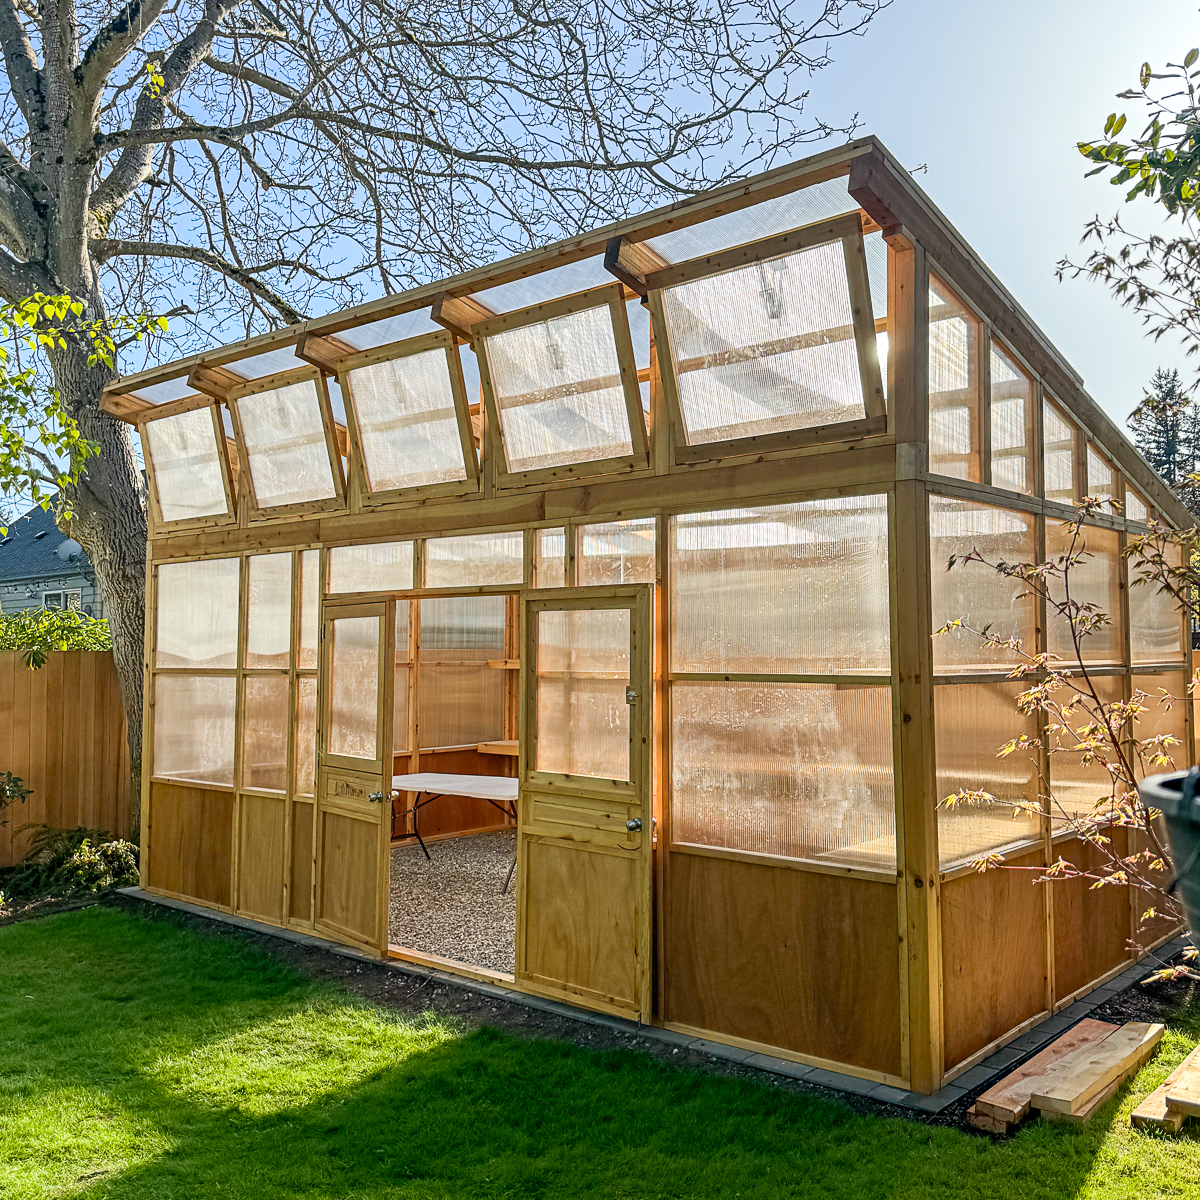
A few months ago, we finally had my dream greenhouse built in the backyard. No more starting seeds in the basement under grow lights, or cleaning spilled potting soil off the garage shelves!

I tried to keep all the gardening supplies in the shady back corner of the space where they wouldn't get watered on every day. But it quickly turned into a cluttered mess!
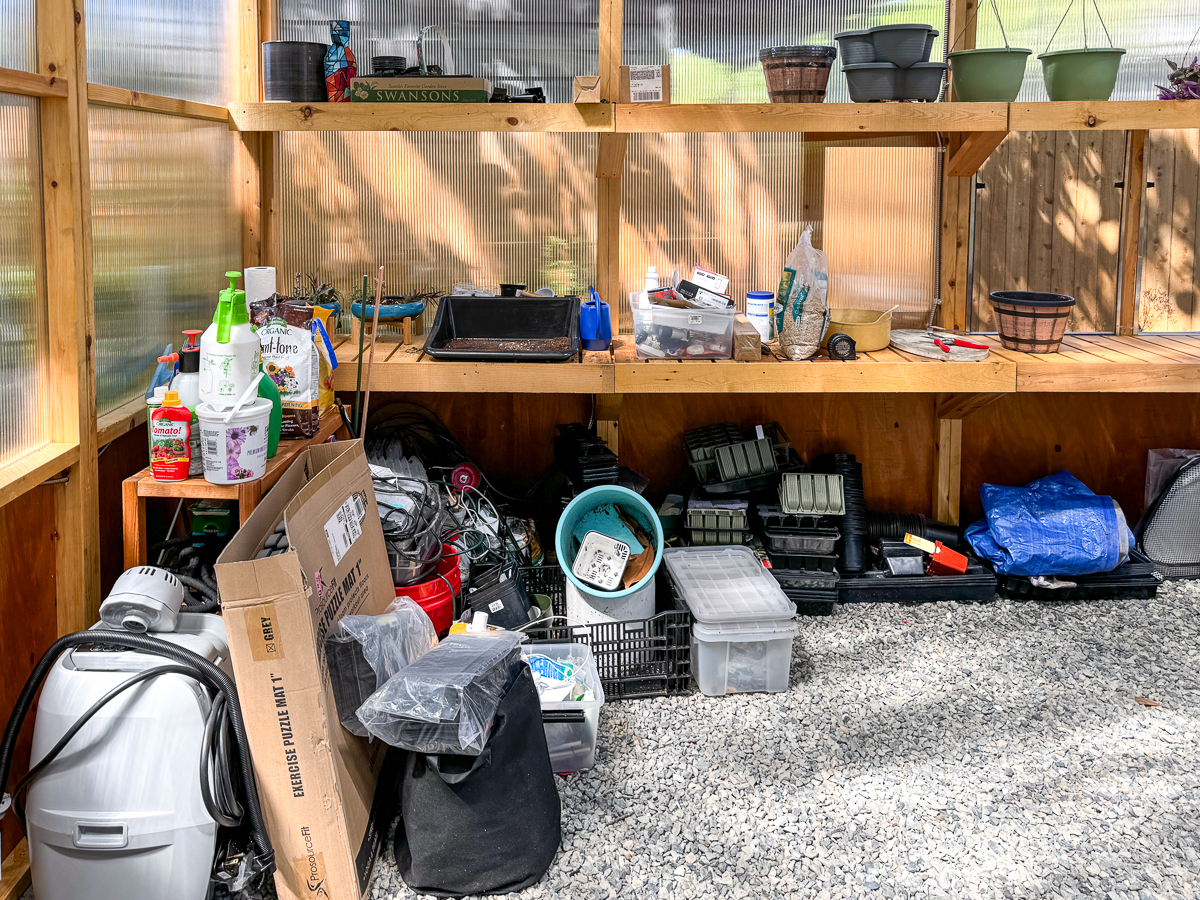

I debated making a longer set of outdoor shelves like these. But 8 foot cedar shelves would be expensive, and would take a while to build. I wanted all this clutter tamed NOW, and on a budget!

I rummaged around in my lumber rack and found a bunch of tongue-and-groove cedar boards left over from my garden shed door and bike shed builds. All of them either have cracks or big knot holes that I didn't want to use in those projects, but they'd be fine for simple cinder block shelves!
Here's how I made them!
This post contains affiliate links for your convenience. Purchases made through these links may earn me a small commission at no additional cost to you. Please visit my disclosures page for more information.
Take measurements of the space
After clearing out the corner and organizing all the supplies, I took some measurements. I wanted to utilize the full length of the boards, which are the same width as two panels.
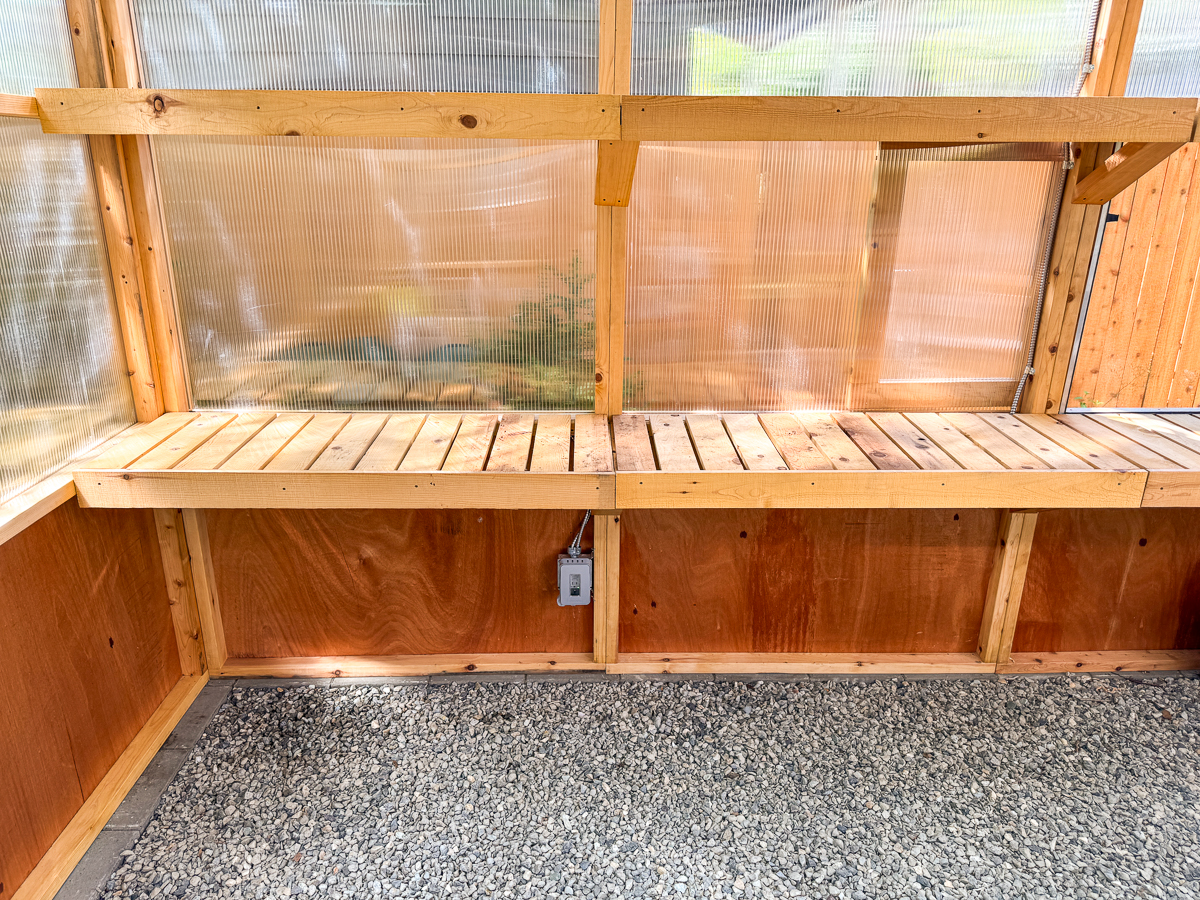

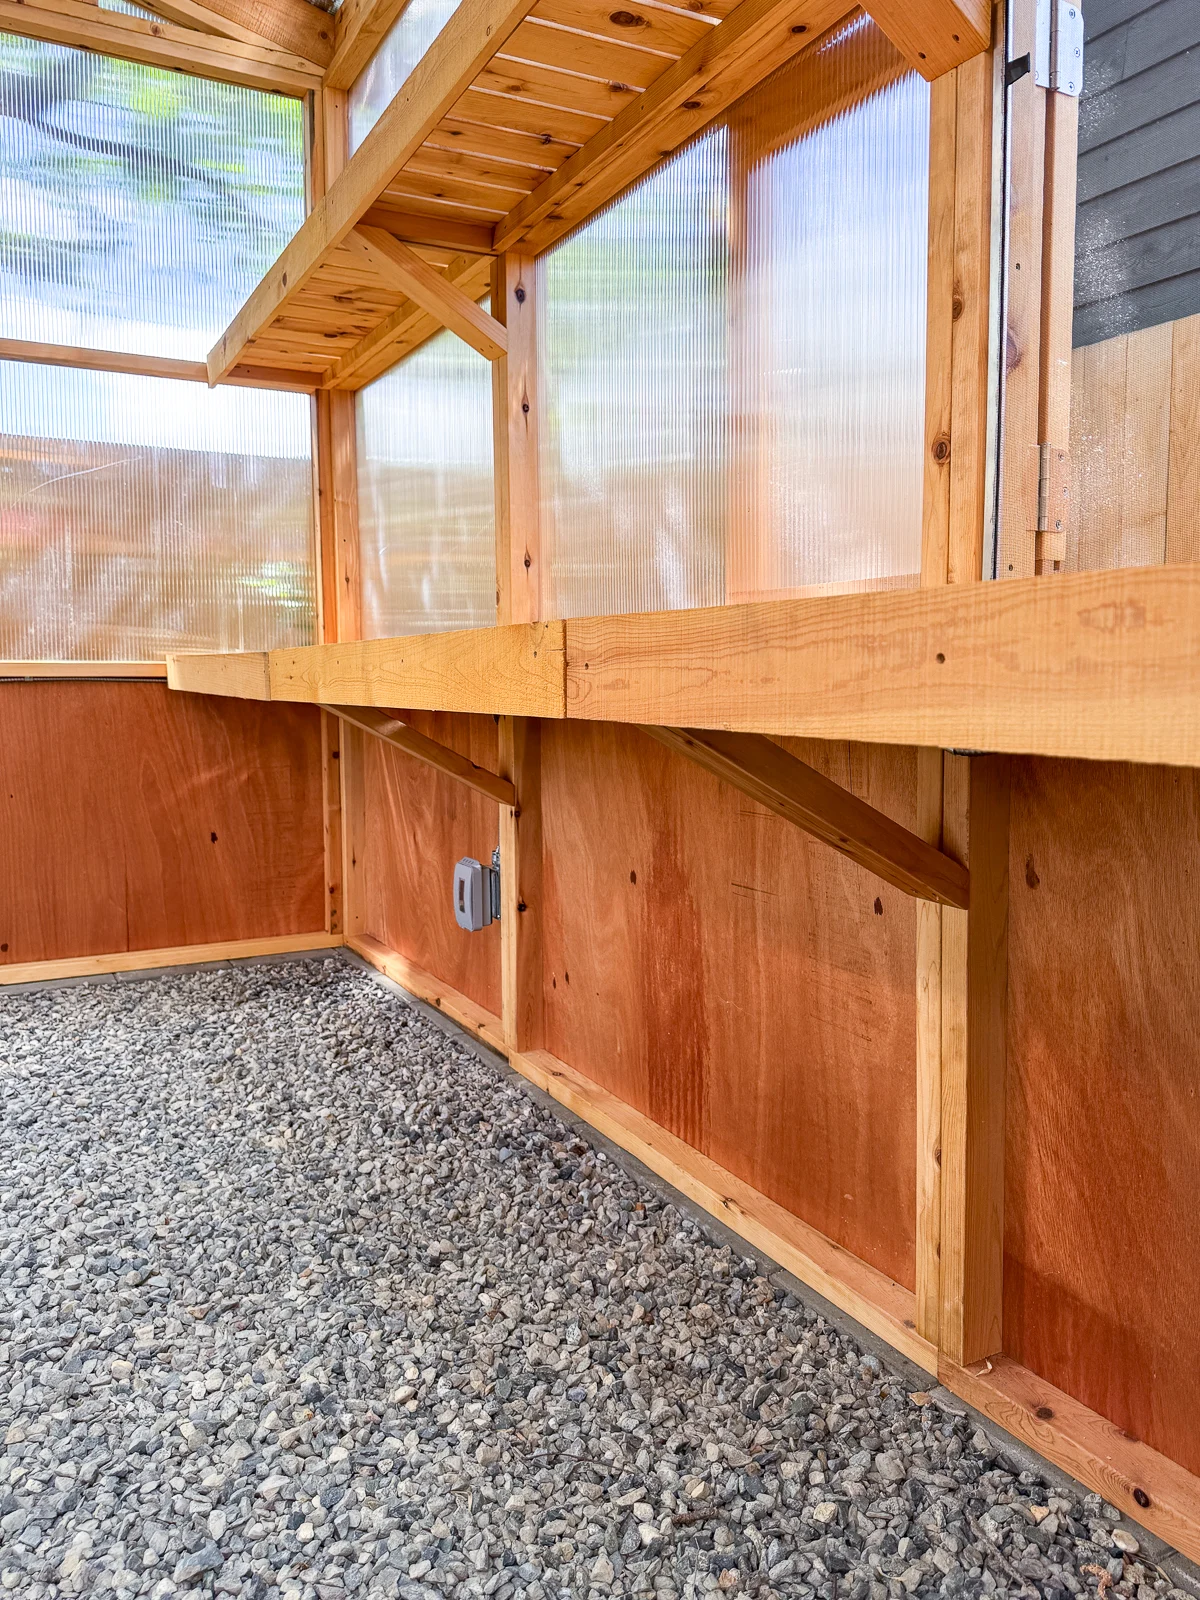
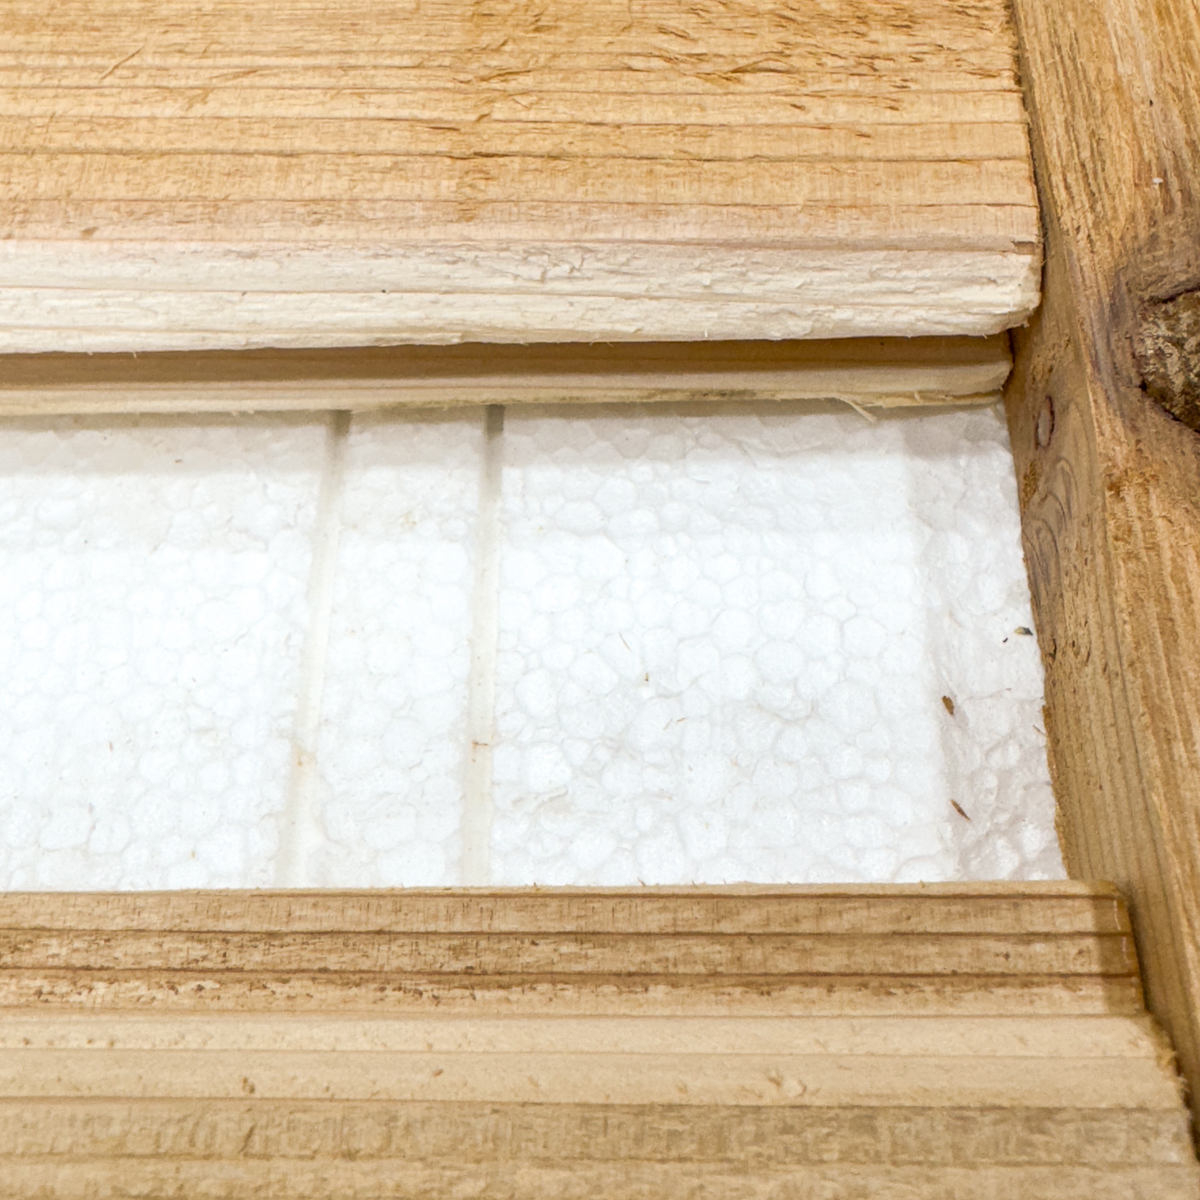
These diagonal supports limit the height of the shelves underneath to 21 inches. I also needed to avoid the outlet with the waterproof bubble cover that sticks out from the wall.

I headed over to the Home Depot website to get the dimensions of their cinder blocks and pavers. Then I played around with the different size combinations in SketchUp until I found a solution that would work for my space.
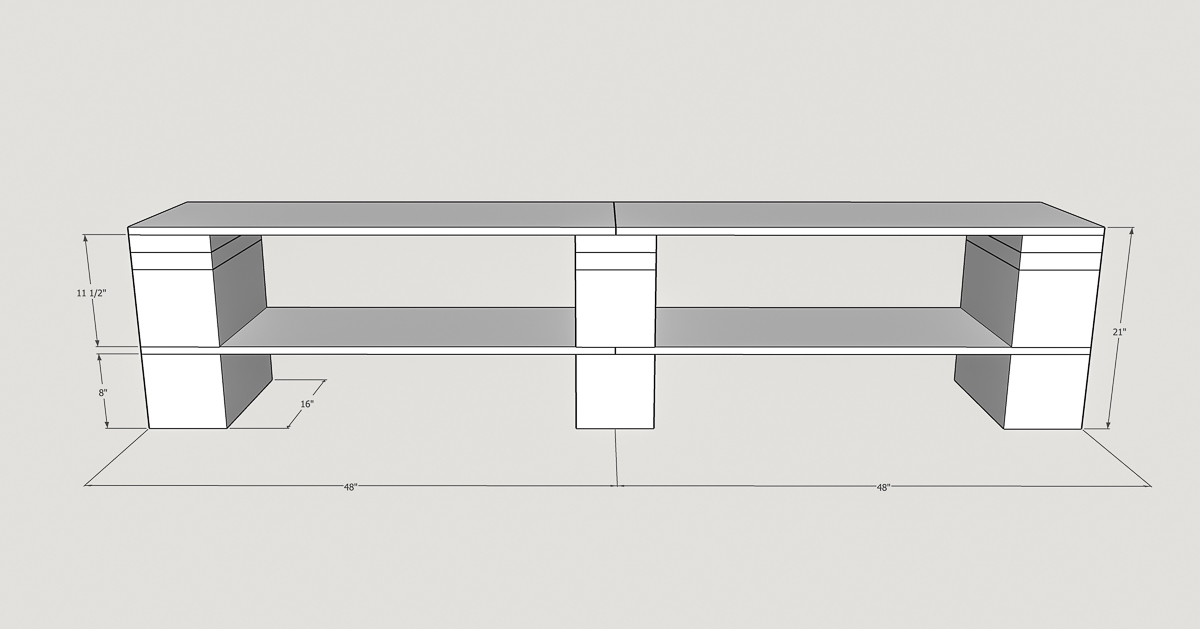
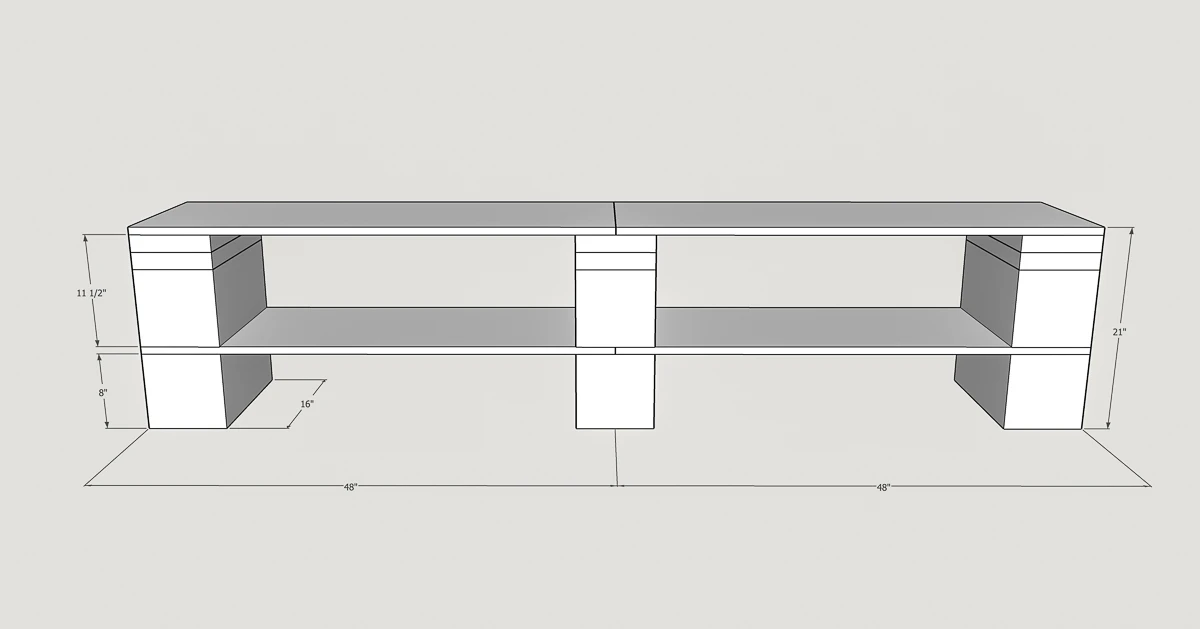
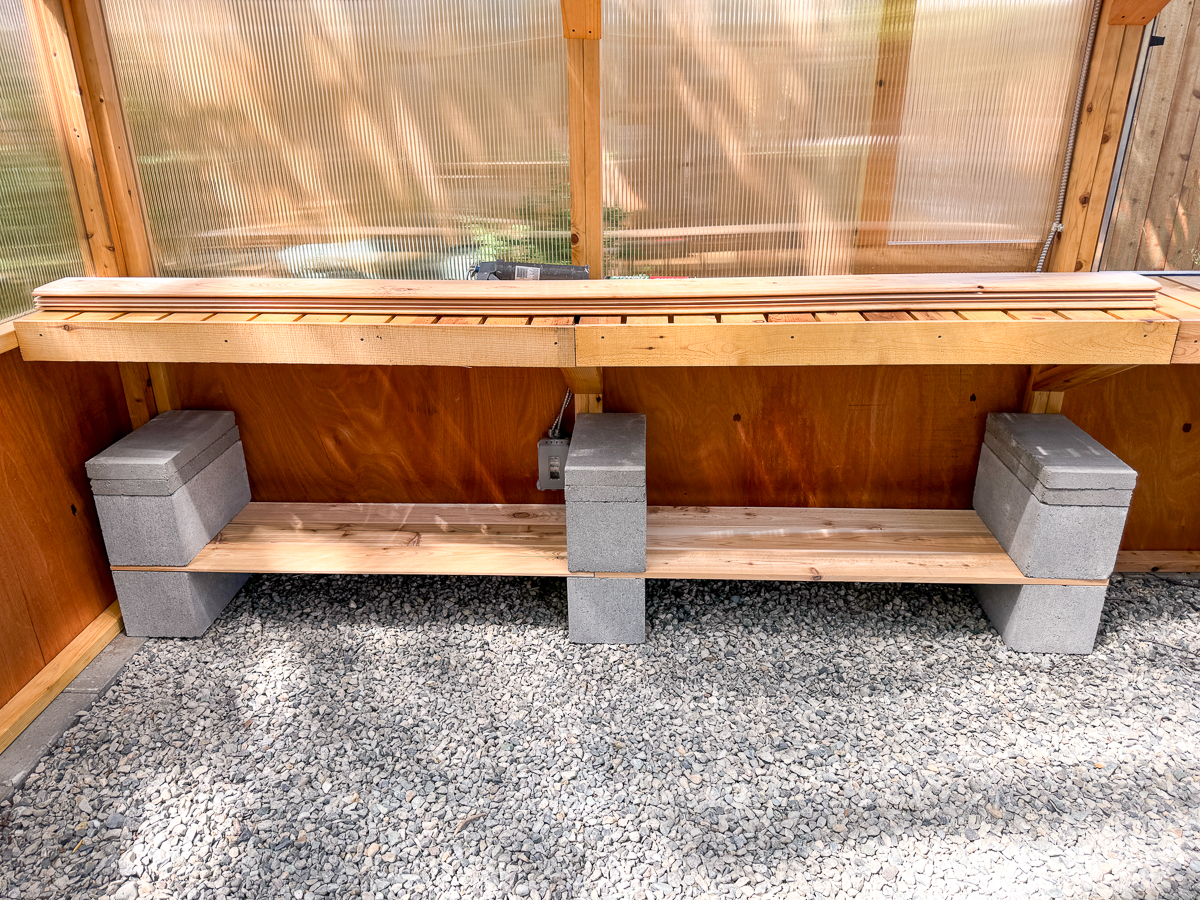
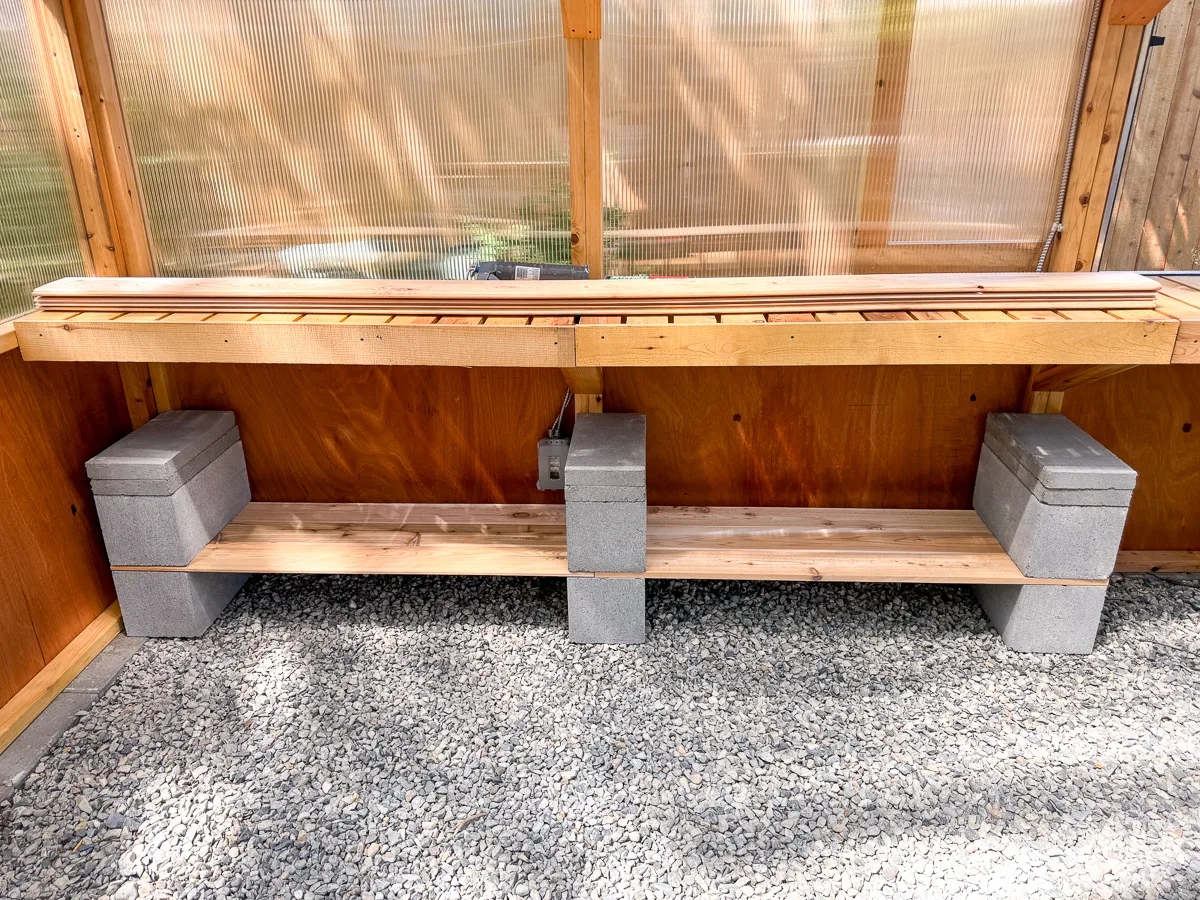
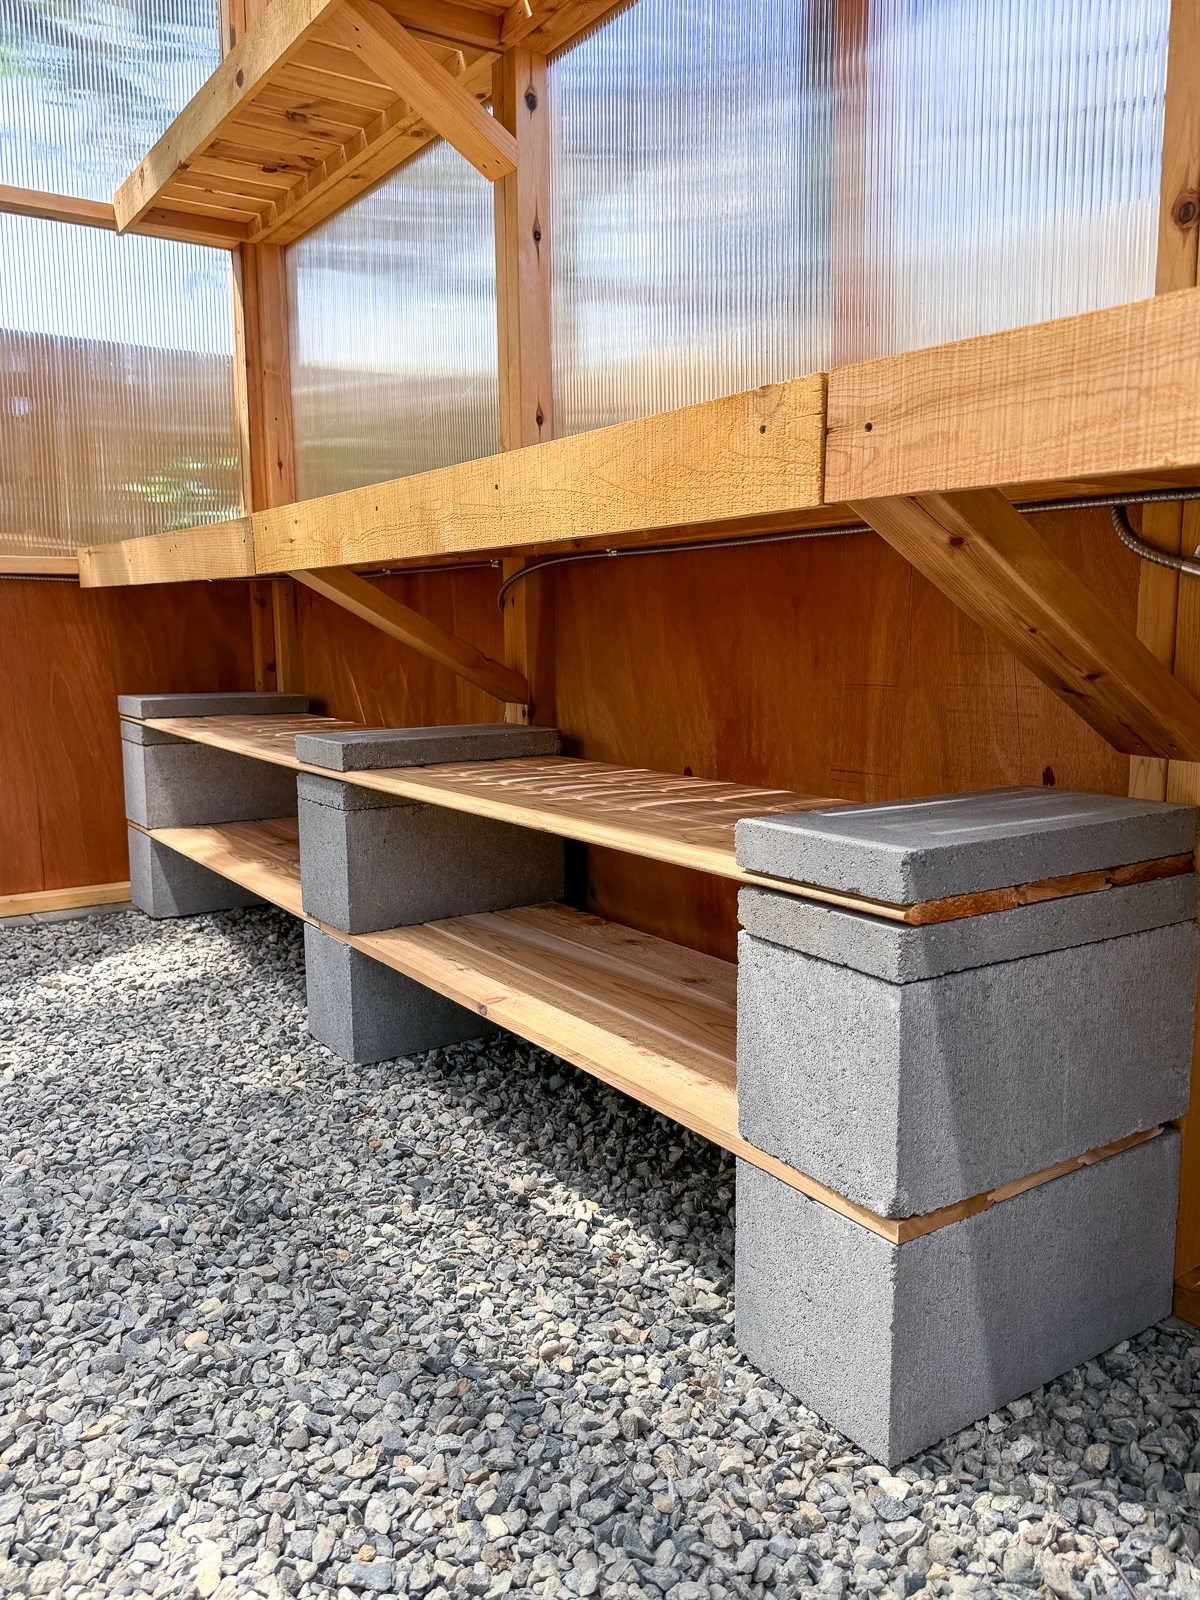
By combining full size cinder blocks with the shorter 8"x16" pavers, I was able to create shelves that would fit perfectly and give me tons of storage space!
Level the first blocks
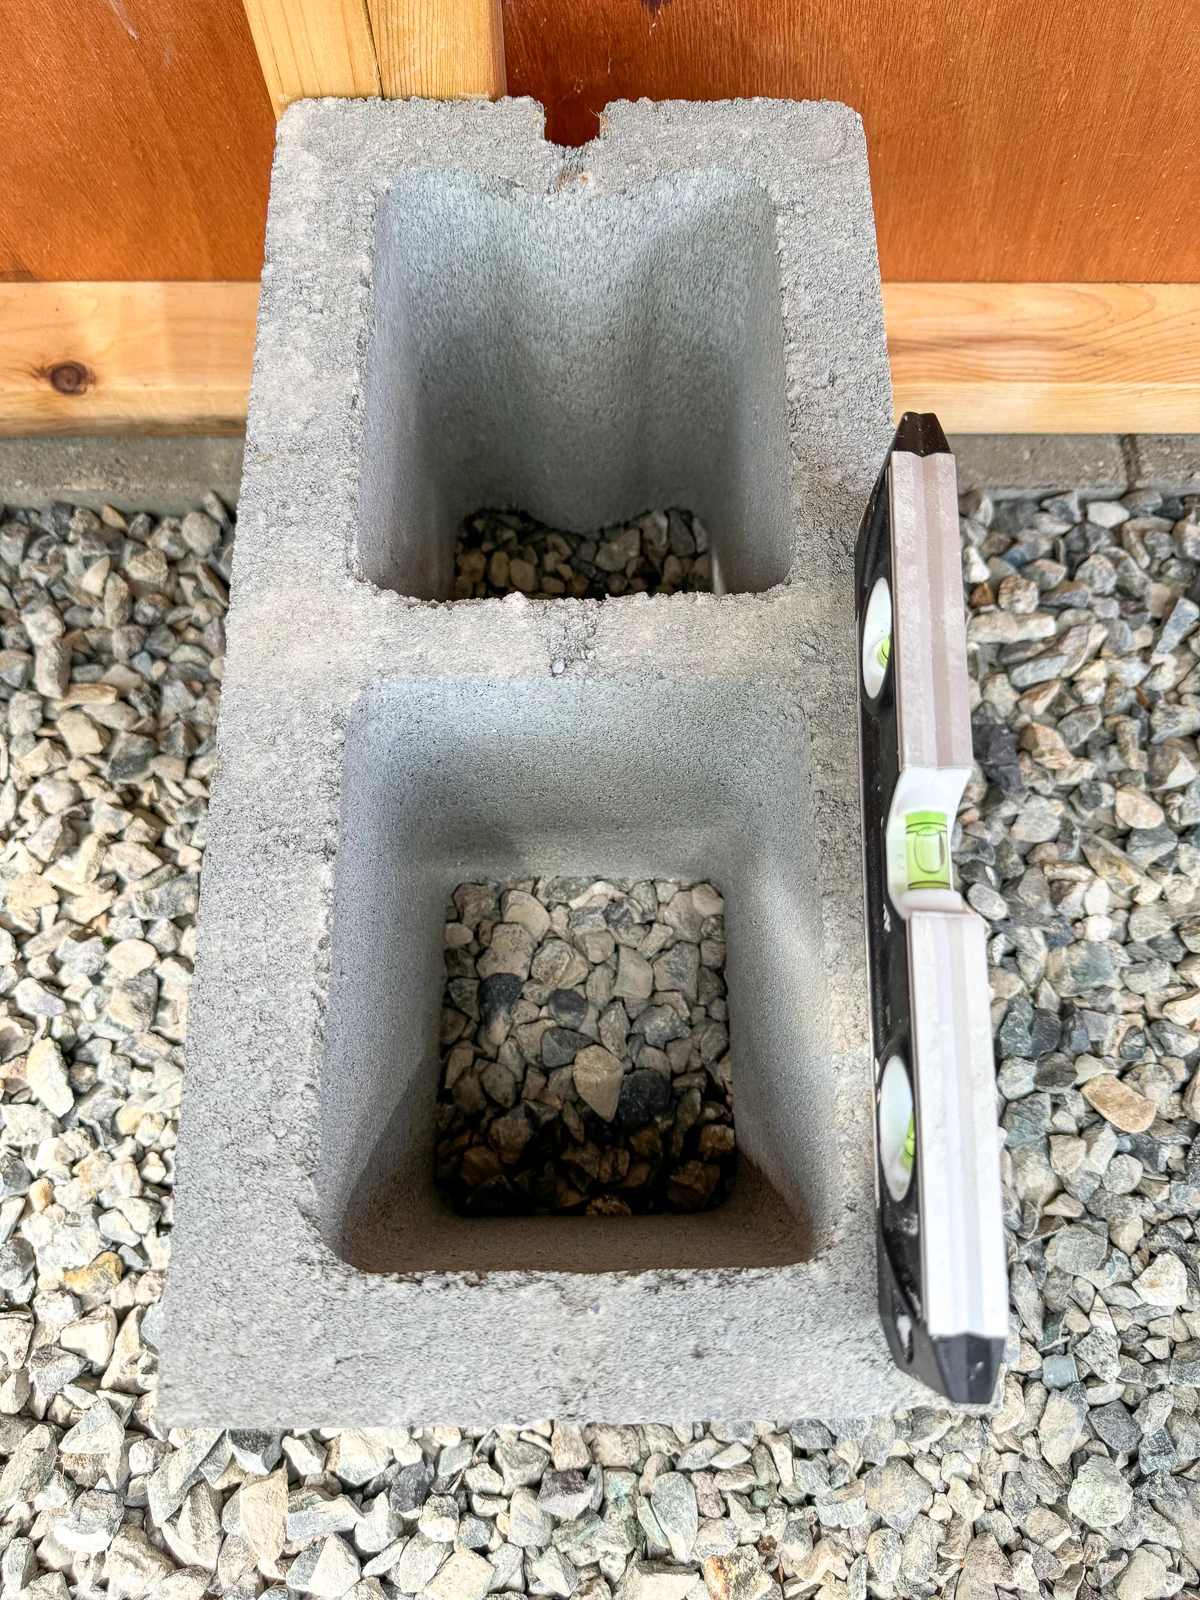
Cinder blocks are heavy, and you don't want them toppling onto your foot! Even if you're placing them on a garage floor, the surface might not be perfectly flat.
Take the time to check that the first blocks are level in both directions before you build up. Mine are on compacted gravel, and I just pushed a few pieces under the low spots and removed them from the high ones until the block was level.

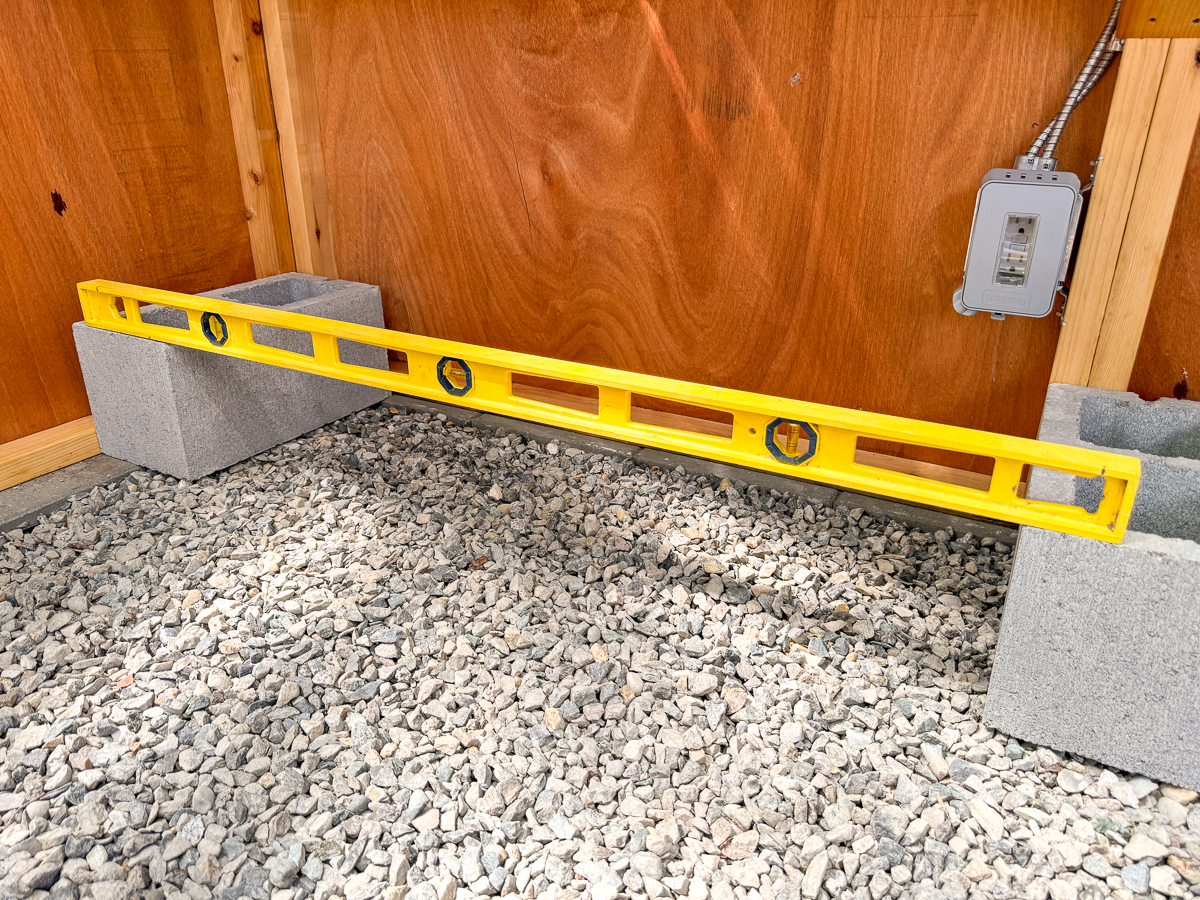
Then I used a four foot level between two blocks to make sure they were level all the way across. Looks good!

Cut the boards to length
There are a lot of different options for the lumber you use for these shelves. For outdoor shelves that will get wet, you'll want to stick with exterior grade or waterproofed plywood, cedar or pressure treated lumber. Indoor shelves, such as in a garage, can use any construction grade lumber, plywood or OSB.
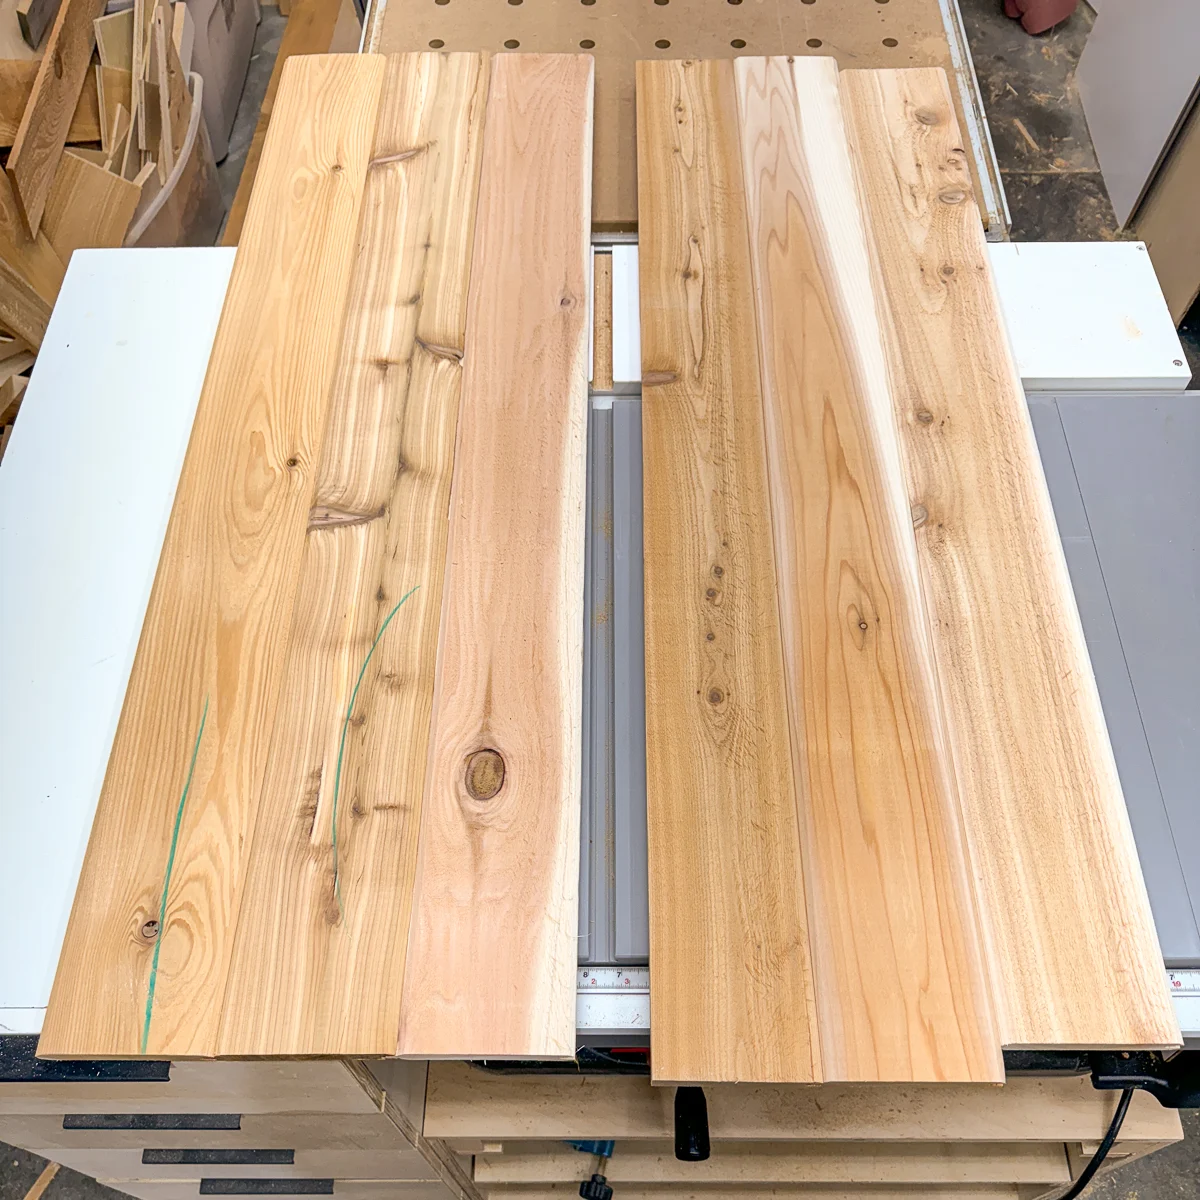
I'm using 1x6 cedar tongue and groove boards for my shelves. The tongue on one edge fits snugly into the groove of the opposing edge, so the two board stay together without glue or screws.

My shelves are 8 feet long, but I only had enough full length boards for one of the shelves. I decided to save those for the top shelf, and cut six 4-foot lengths for the bottom shelf. One board is just shy of 48", but I'll hide that gap in the back.

If you don't have any power tools, you can use a miter box to guide your handheld saw for straighter cuts. You can also have them cut it to size for you at the big box home improvement store!
Apply construction adhesive
It may seem like overkill, but those loose boards and blocks can hurt if they get knocked over! We live in earthquake country, so anything that isn't properly secured is a safety hazard.
I'm using landscape adhesive, which is waterproof and formulated to join wood and masonry together. Make sure you wear gloves while you work, so you don't accidentally stick your hand to the block while you're moving it!

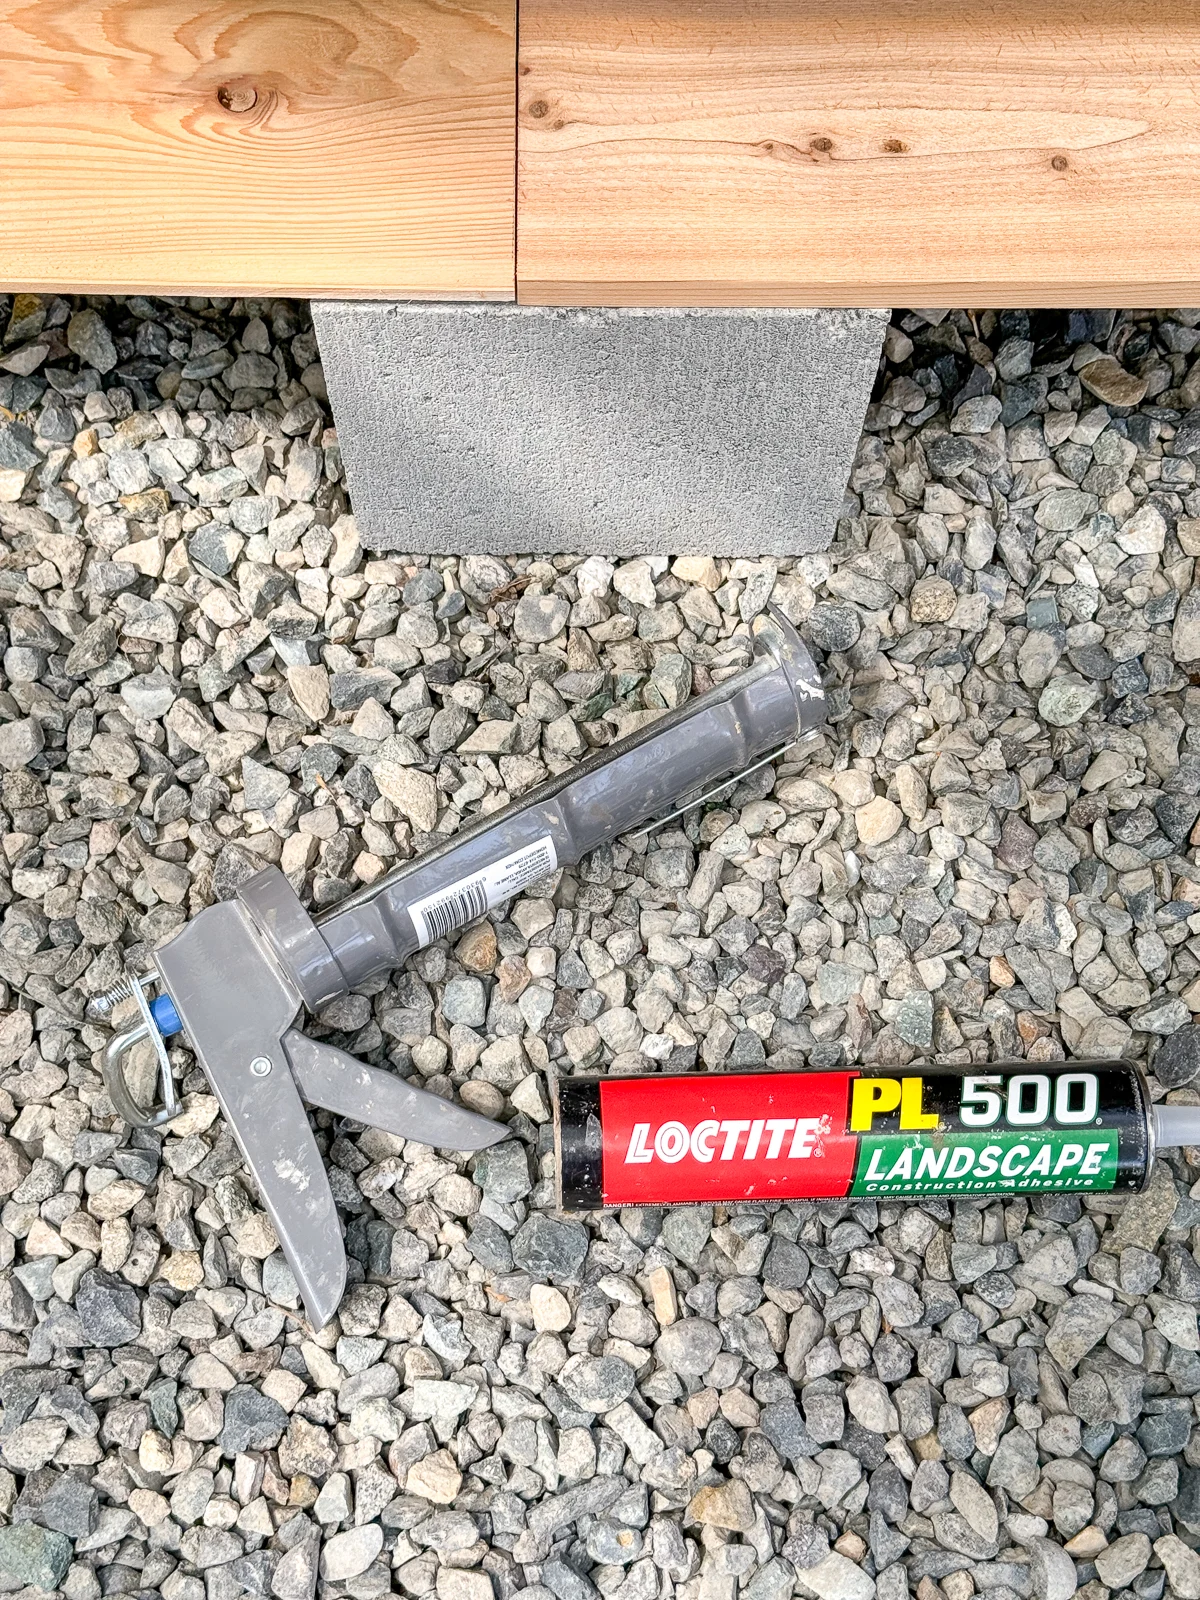
Apply a bead of adhesive to the top of the cinder blocks with a caulk gun. Keep it away from the outside edge so it doesn't smoosh out and look ugly.
Build the shelves
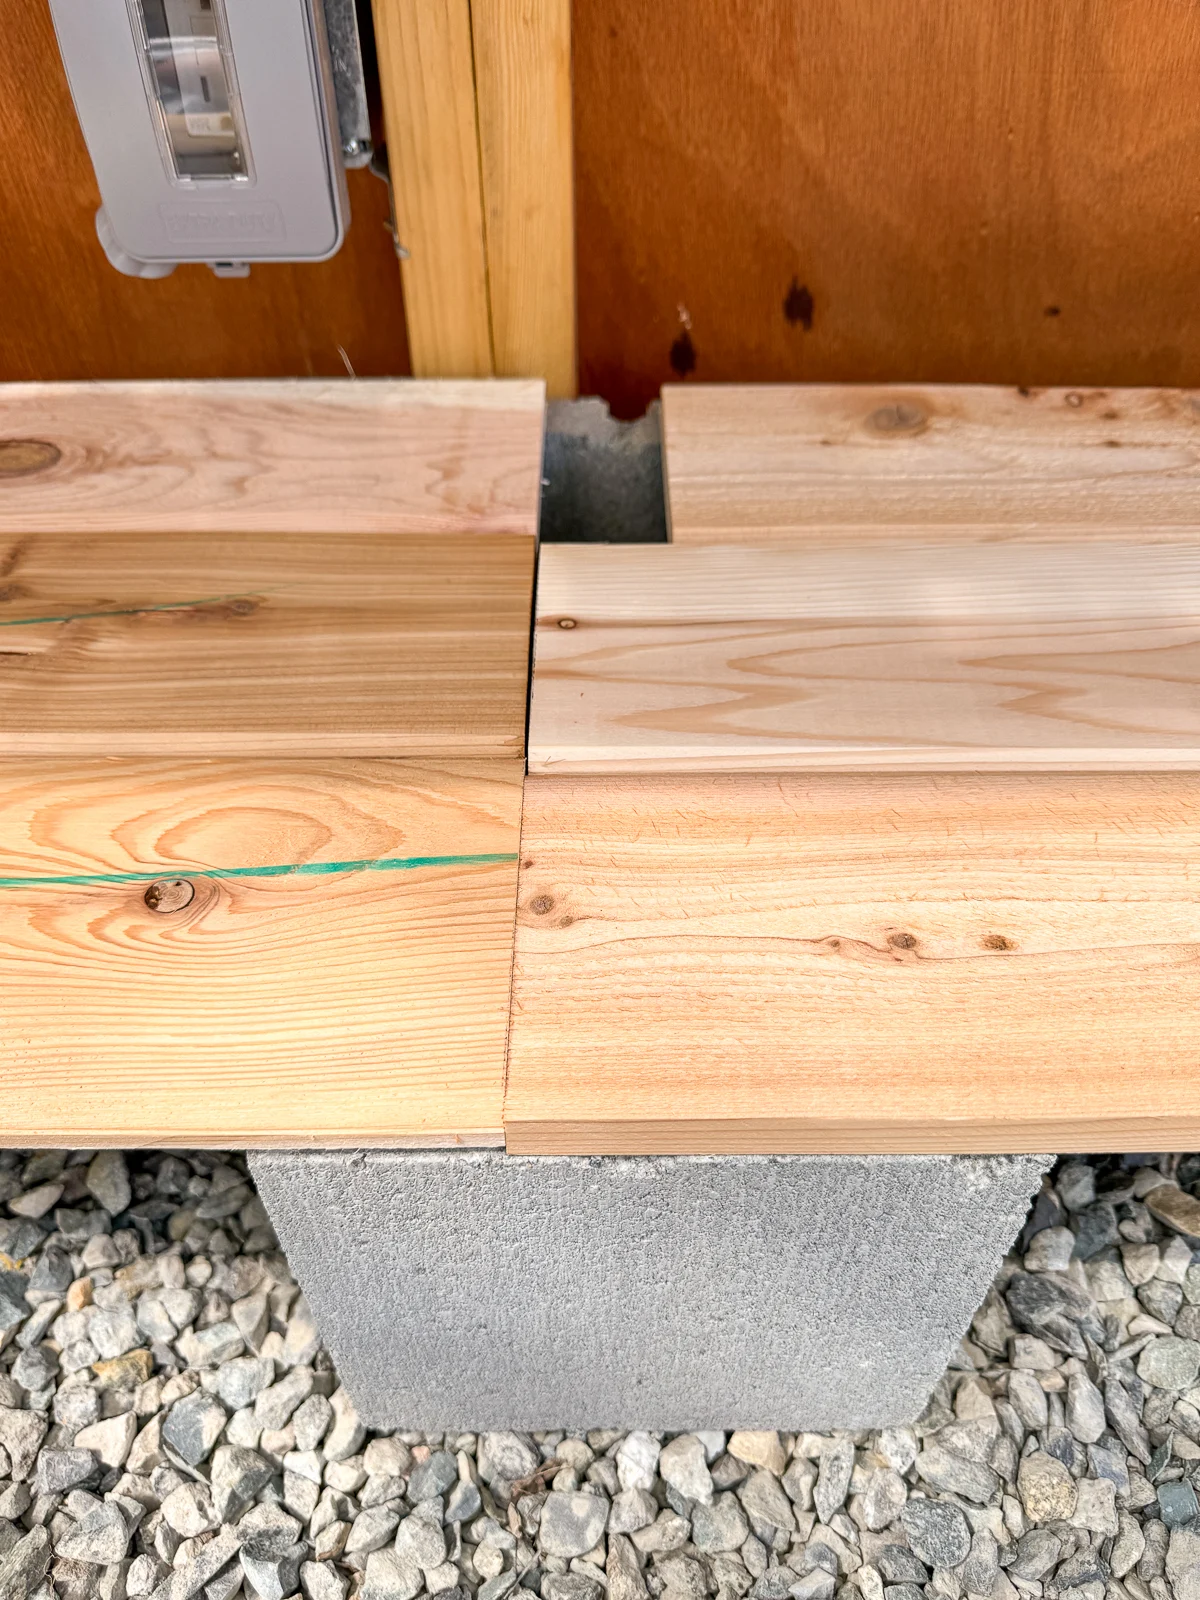
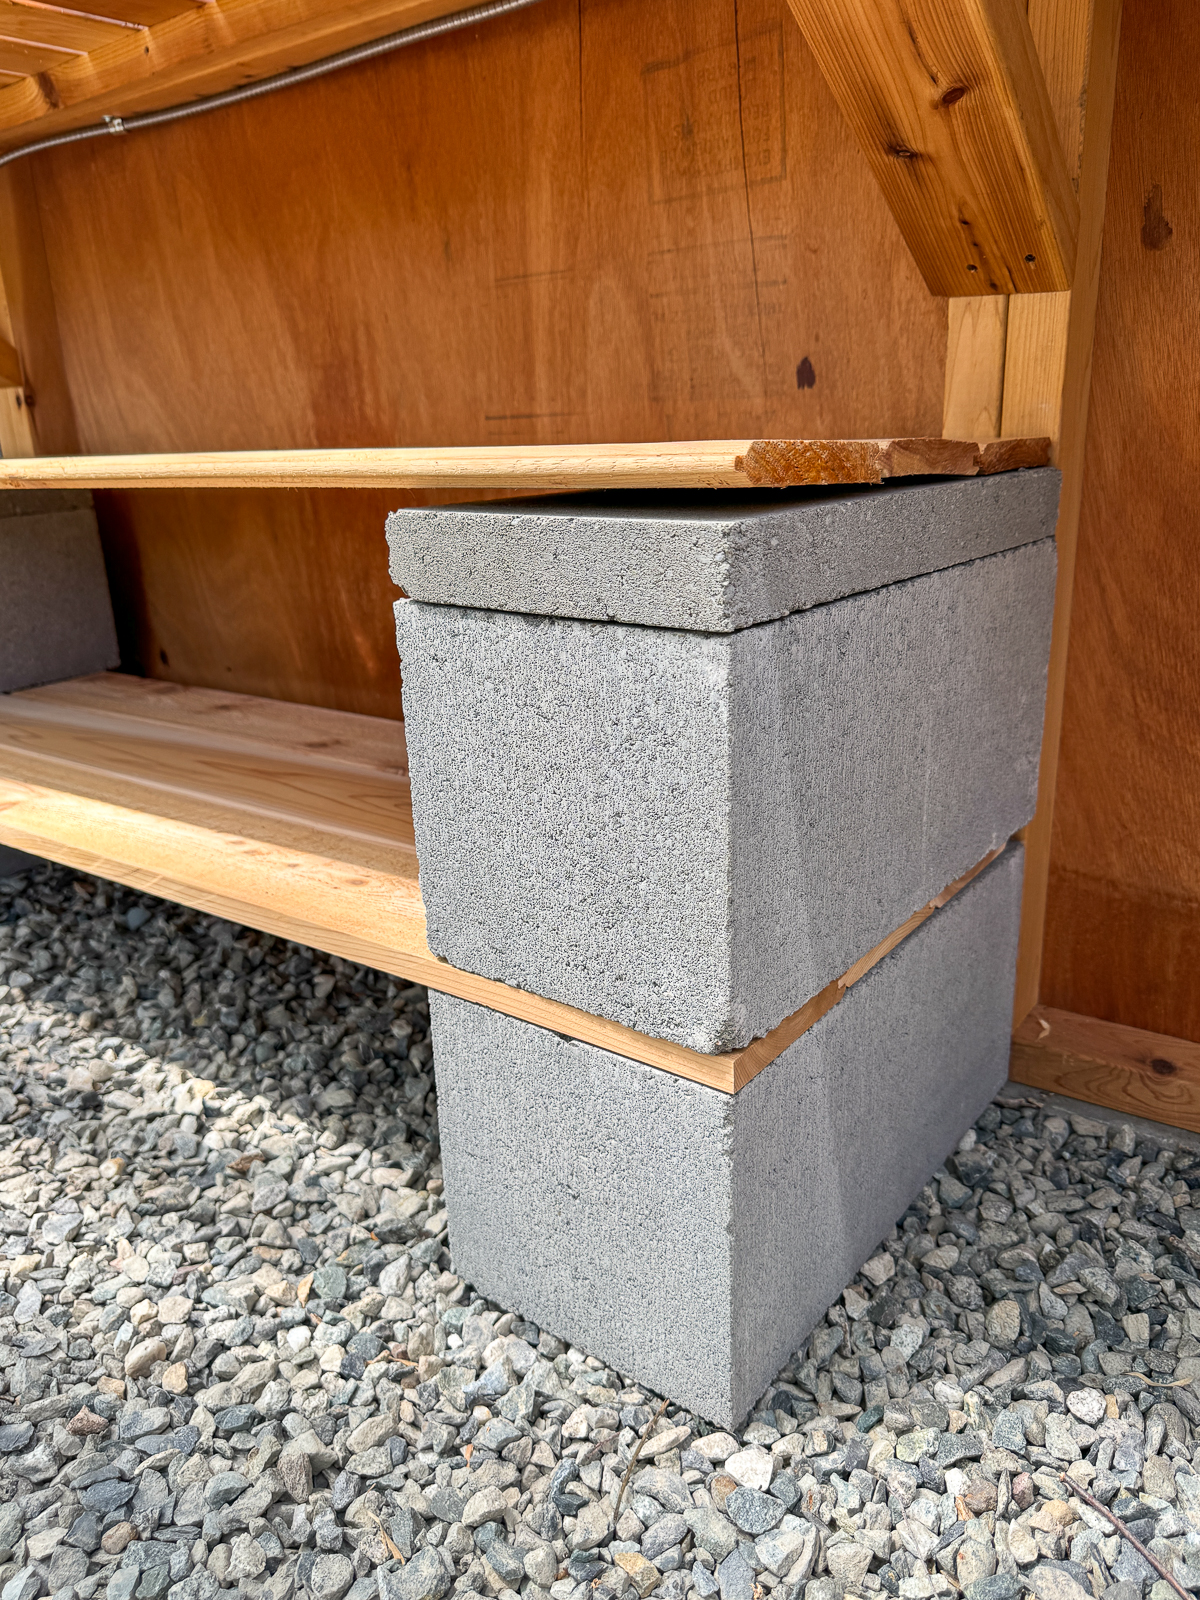
Now that the bottom row is level and adhesive is applied, you need to work quickly to build each row of shelves. I positioned the gap between the shorter boards in the middle of the block so they'd be evenly supported.

When the next row of cinder blocks is added, you won't see the hole. The extra height from the shorter pavers is just enough to clear the top of the outlet, while still allowing access to the plugs.
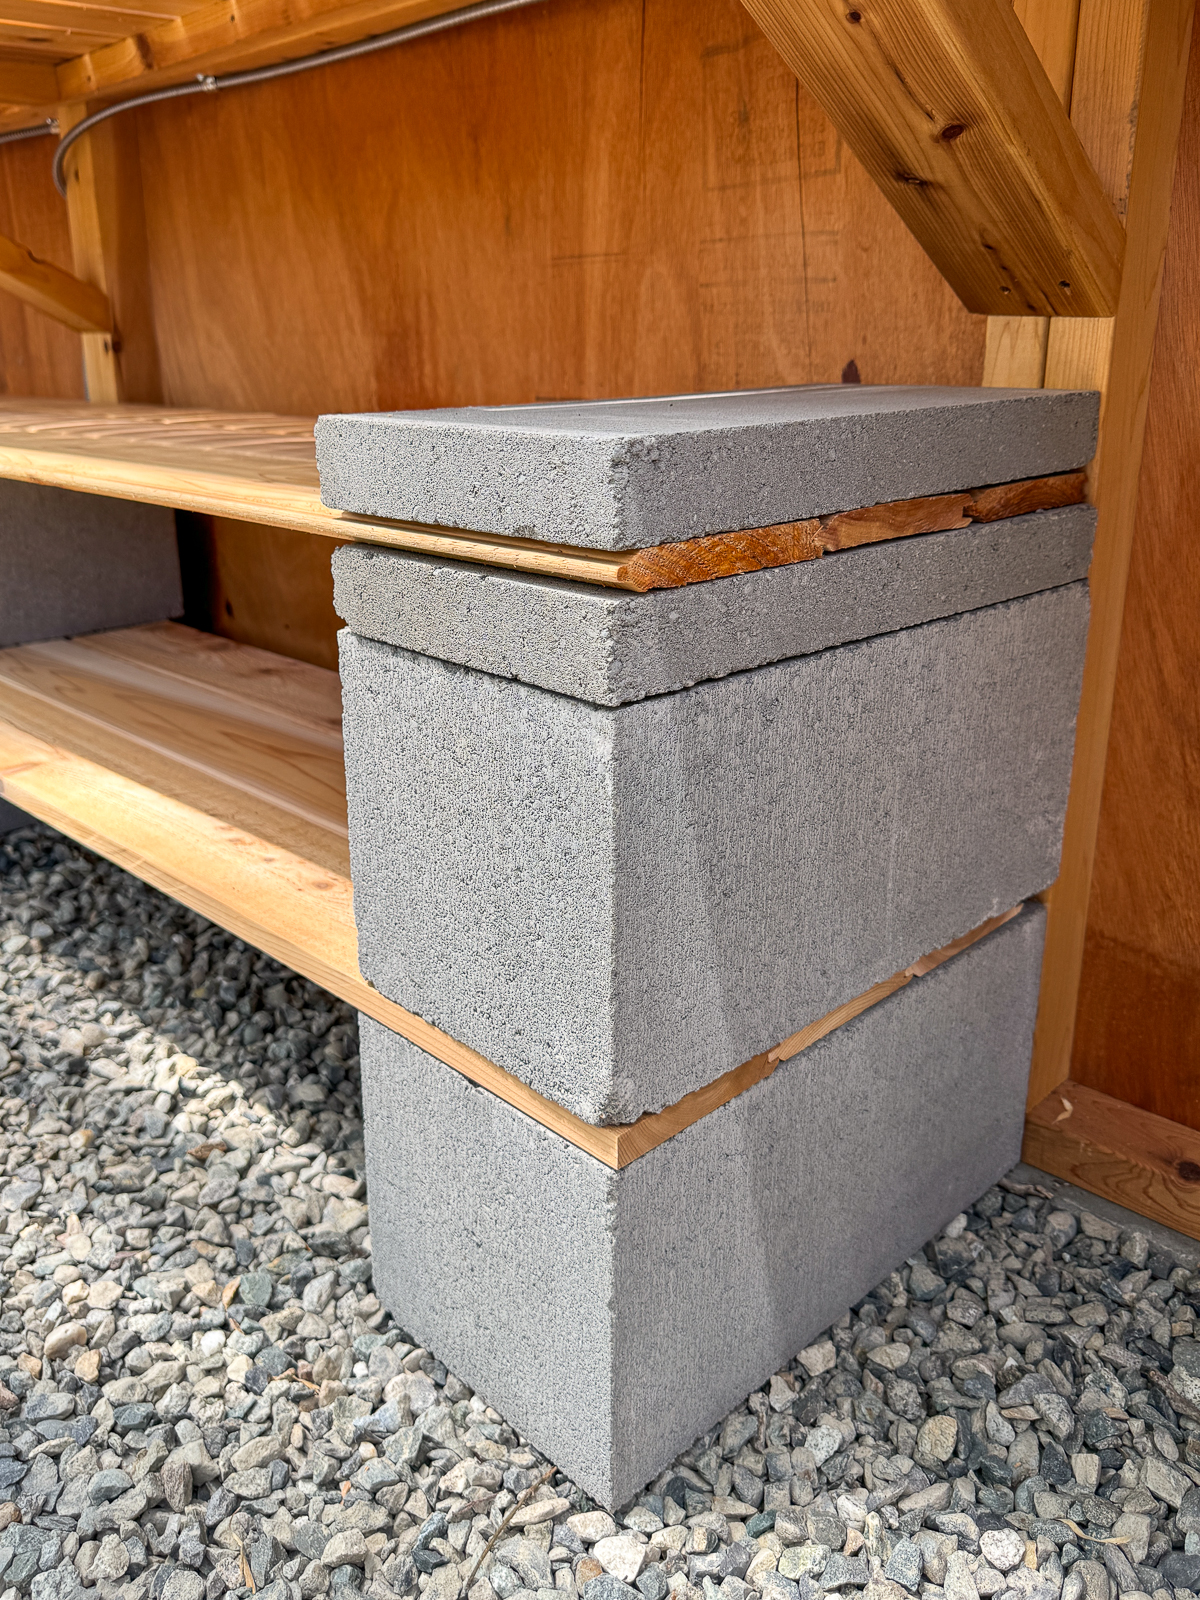
The ends of the top boards didn't sit totally flat, which is probably why I rejected them when building my previous projects.

Luckily, I was able to force them flat with one of the shorter concrete blocks! I'm glad I did a dry fit before applying more adhesive, or I wouldn't have been able to switch up the design.

Load up your new cinder block shelves!
This project went together really quickly! I wish I had done this months ago, before the clutter took over this corner!

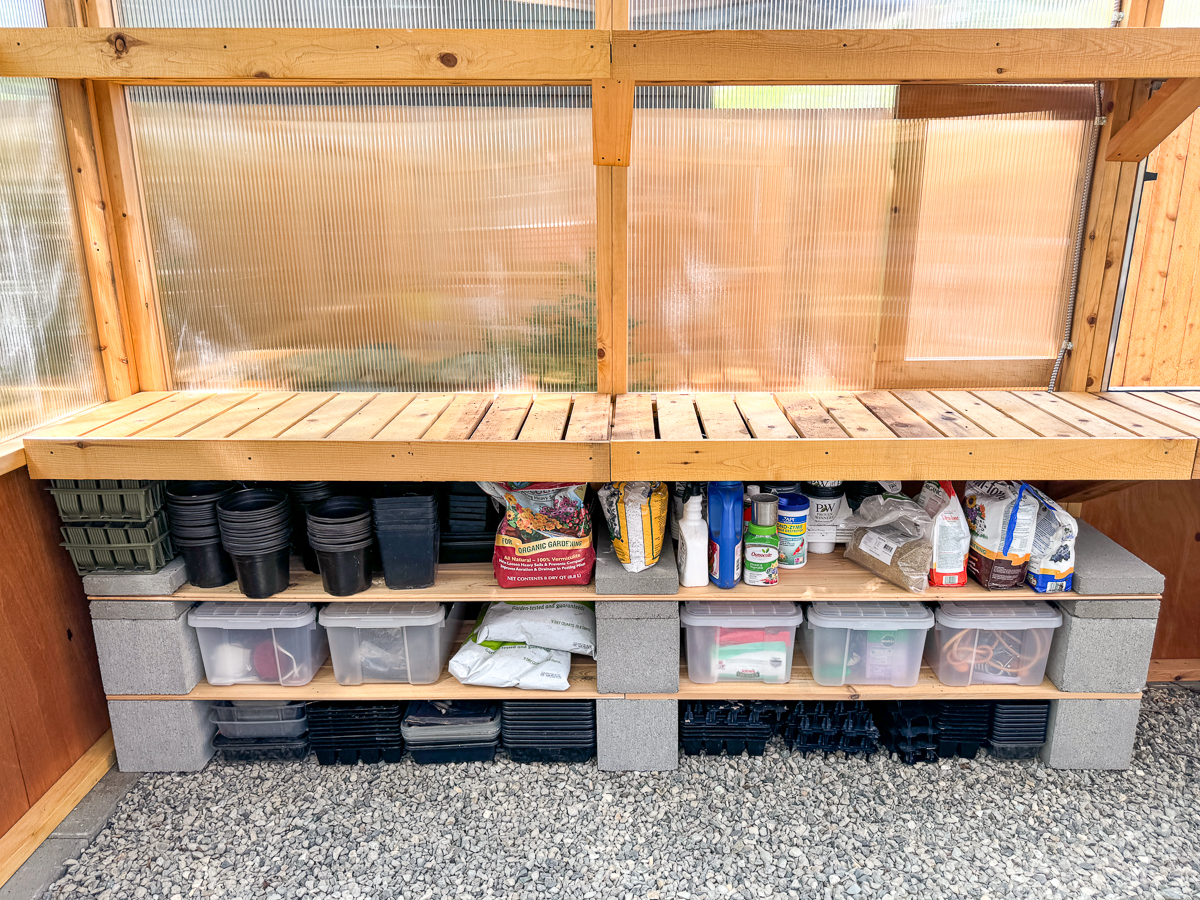
It was so satisfying to organize all my gardening supplies on these sturdy concrete shelves!

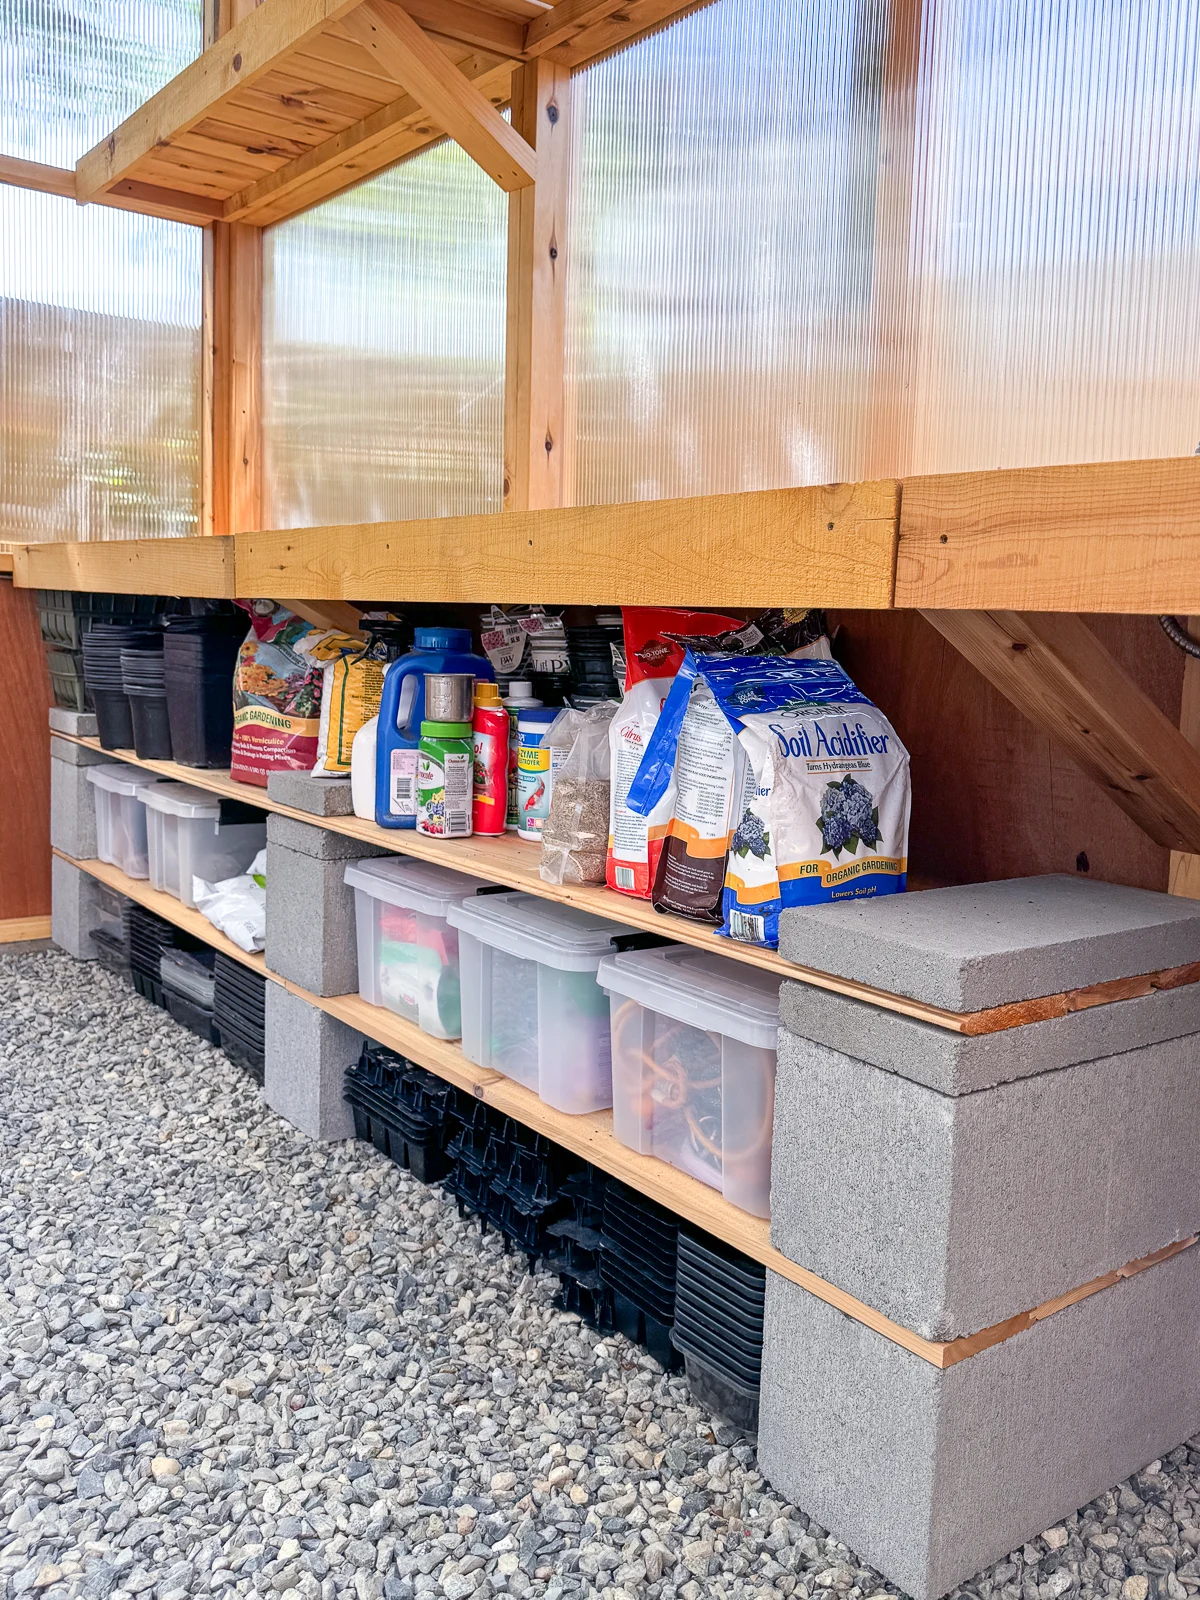
All my GrowEase seed trays and their self-watering components are stacked neatly on the bottom. Weathertight bins slide into the second shelf, and all my pots and fertilizers line the top!

Now that this corner of the greenhouse is neat and tidy, I can move on to my next project...setting up the hot tub! Can't wait!
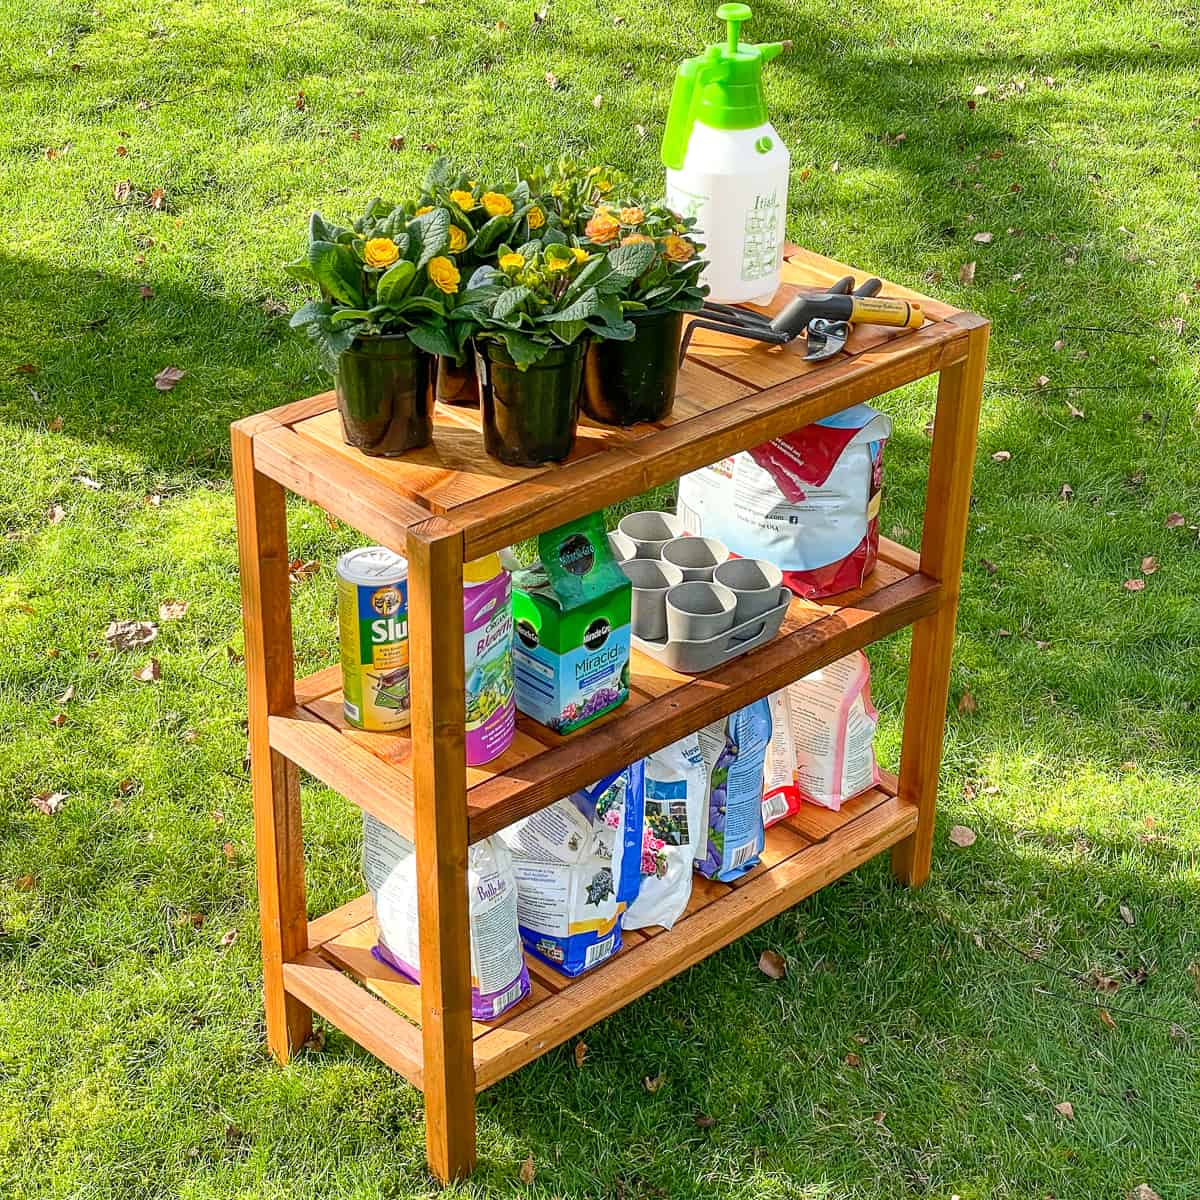
You could use these cinder block shelves to make your own potting table too! Check out these other outdoor projects for more inspiration and ideas!
Terri
Sunday 4th of August 2024
Excellent job! Thanks for sharing.