One of the best features of a butcher block countertop is that you can cut it yourself with basic tools. Here's how to get the best results!
Whether you're upgrading your existing kitchen or remodeling it from scratch, cutting butcher block countertop is an easy project that you can do yourself! It may be a little nerve-wracking to chop up that huge slab of wood, but with the right preparation and tools, you can have new countertops ready to install in no time!
This post contains affiliate links for your convenience. Purchases made through these links may earn me a small commission at no additional cost to you. Please visit my disclosures page for more information.
Measure (and measure again)
You know what they say...measure twice, cut once! Butcher block is expensive, and you don't want to cut it too short and have to buy another one.
Luckily, most premade slabs comes in just two widths: countertop and island depth. So you only need to measure for the length.
If you have a lot of cuts to make, make a template out of cardboard first. Then you can transfer the design directly onto the countertop to minimize errors and maximize your materials. Check out the video below for tips on how to create a countertop template.
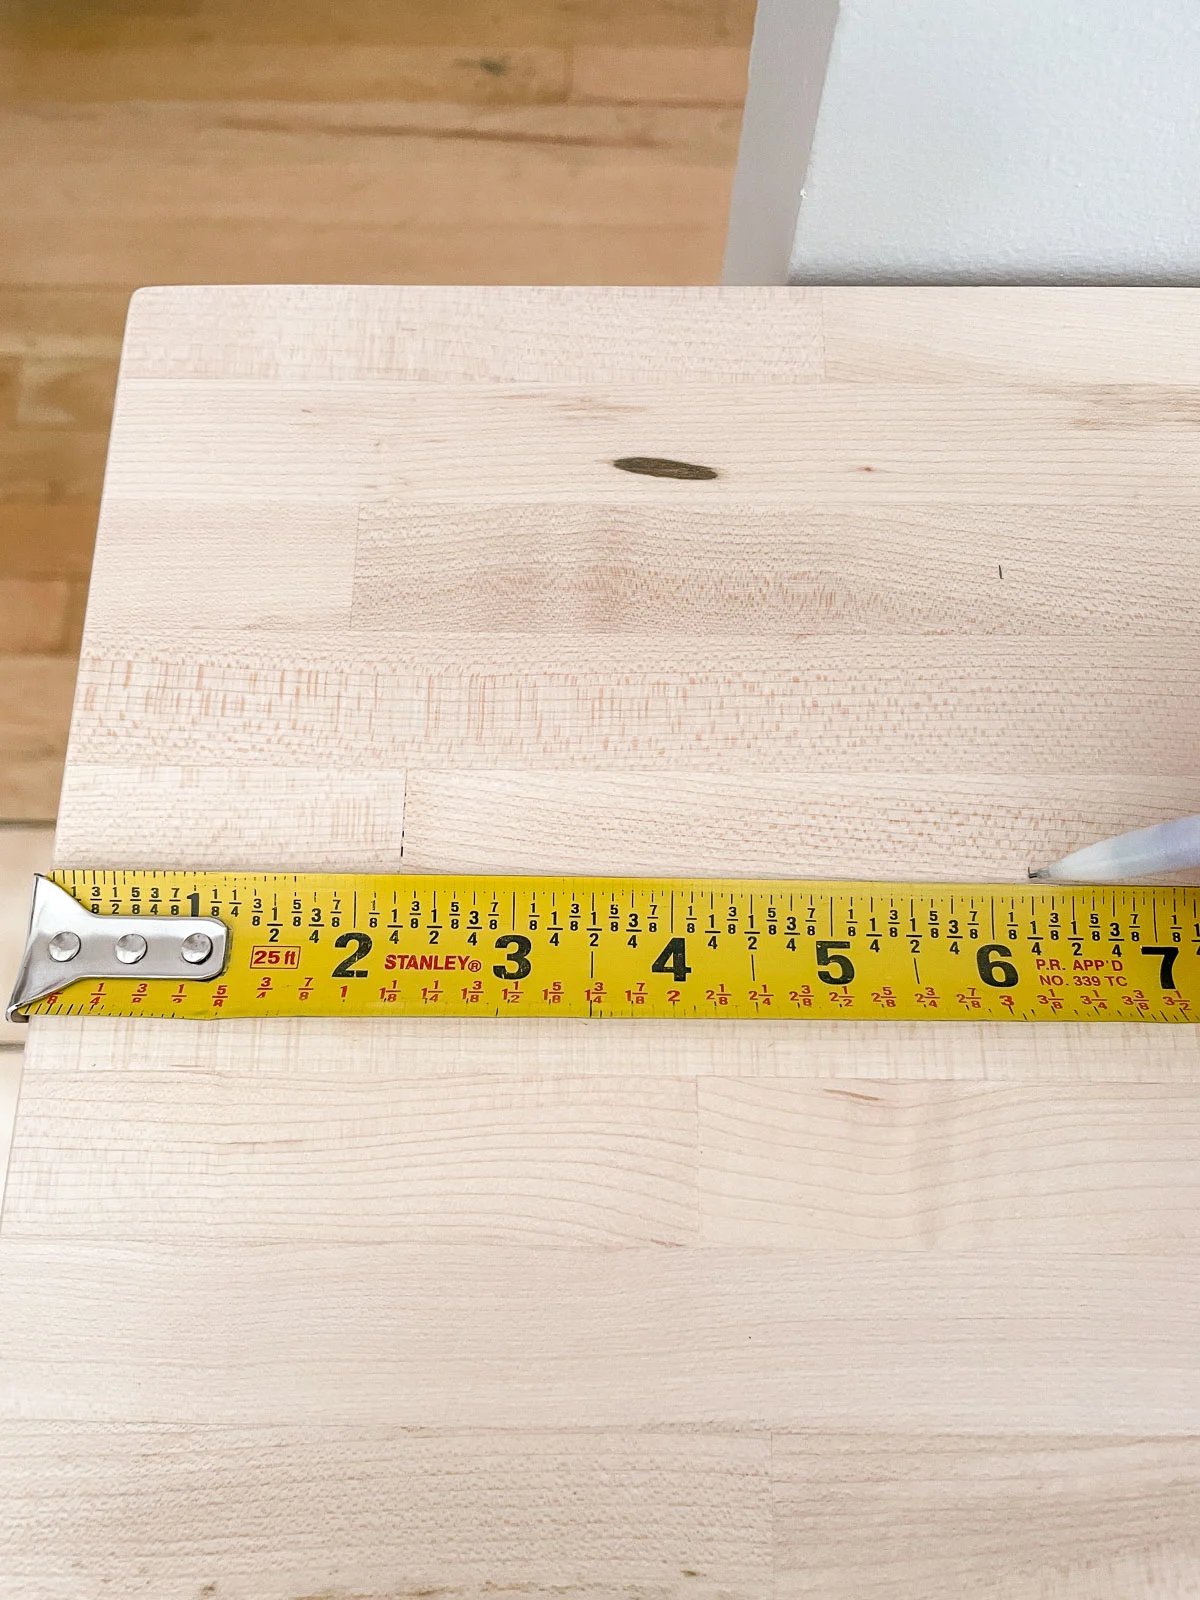
Our kitchen island is just under 8 feet long, so I only had to trim about half a foot off the end of the countertop to get it to fit. After the end panels are installed, there will be an inch of overhang on either end. As an added bonus, I was able to cut off that dark knot too!
Seams and Corners
The other side of our kitchen was a little trickier. It's an L shape, with the stove on one side and the sink on the other. To join the two sections of countertop together, you need to decide whether you want a miter joint or a butt joint.
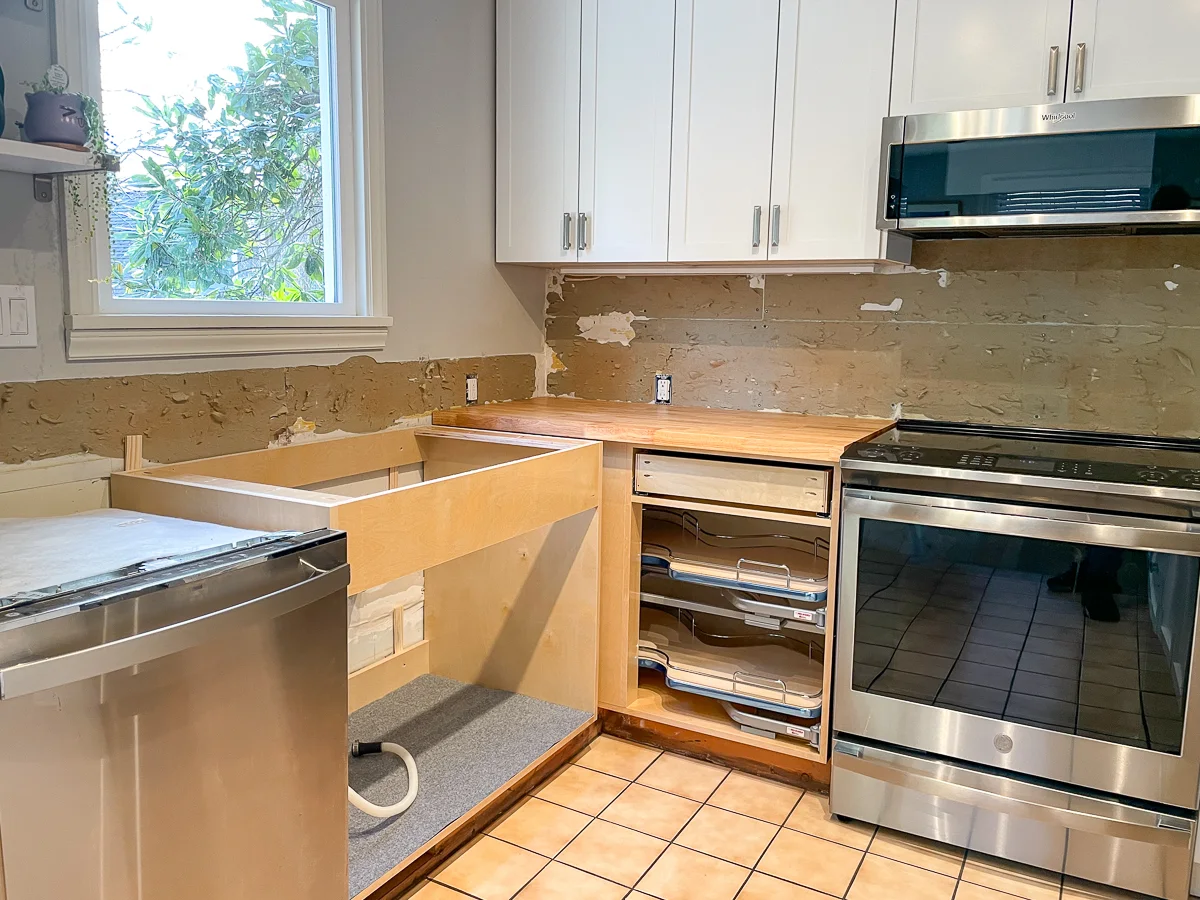
While a 45 degree cut can look nicer, there are a few drawbacks to a mitered joint:
- It's much more difficult to make the cut on both ends that fit flawlessly together,
- Variations in the wall can throw the angle out of alignment,
- It's more expensive because you have to buy longer sections of countertop, and
- A long angled cut is more likely to separate over time due to wood movement.
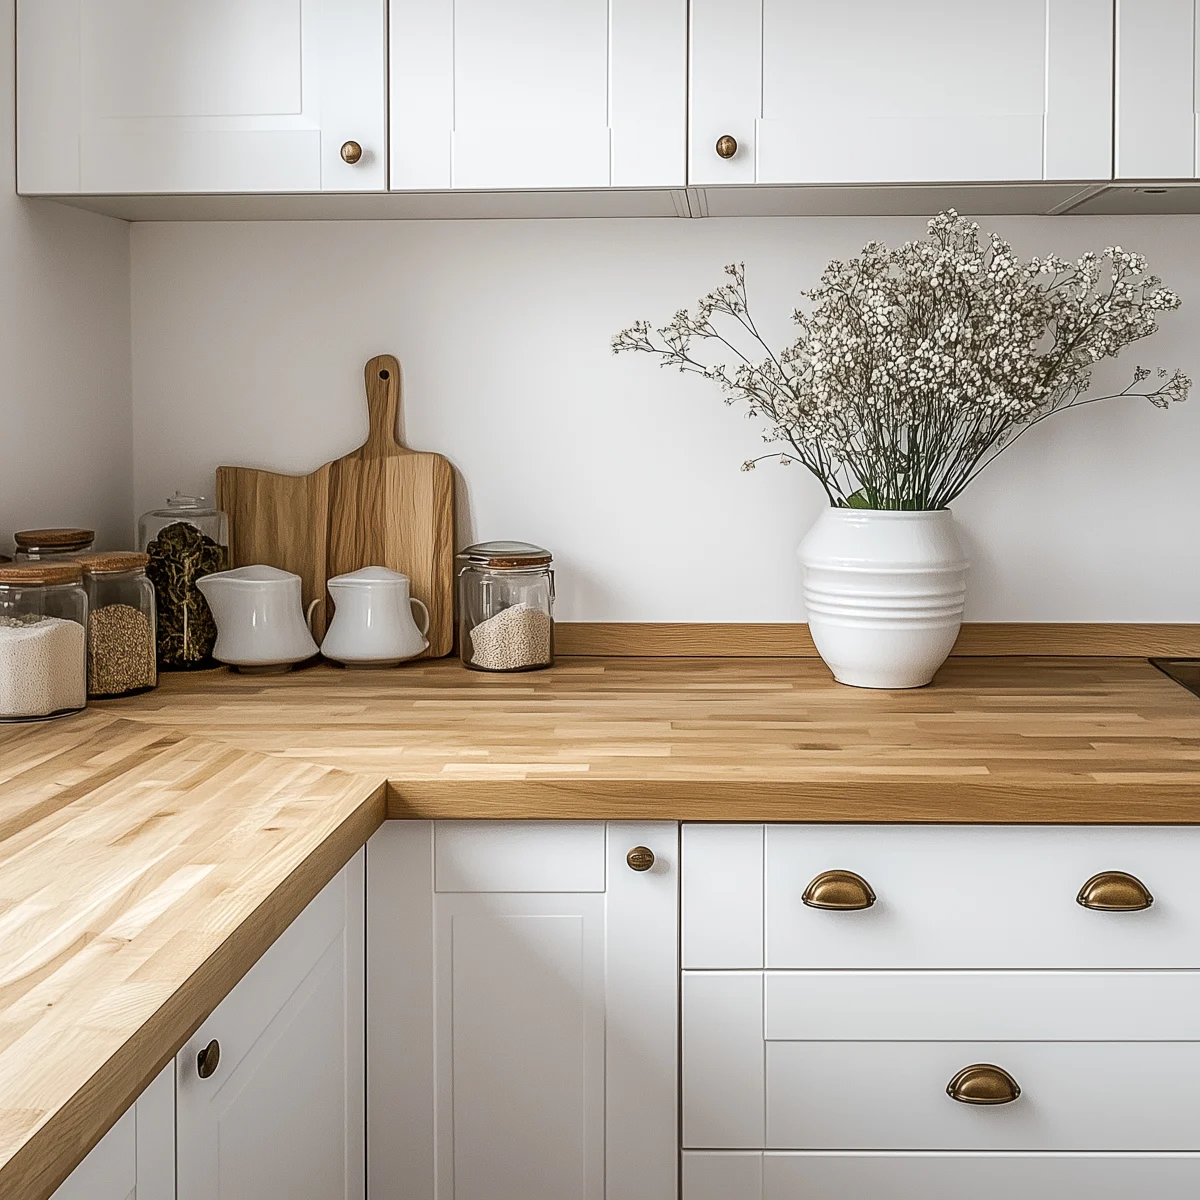
In our case, the joint is right next to the sink, so it's less noticeable. I was able to buy two 6-foot-long sections, which is cheaper and easier to move around.
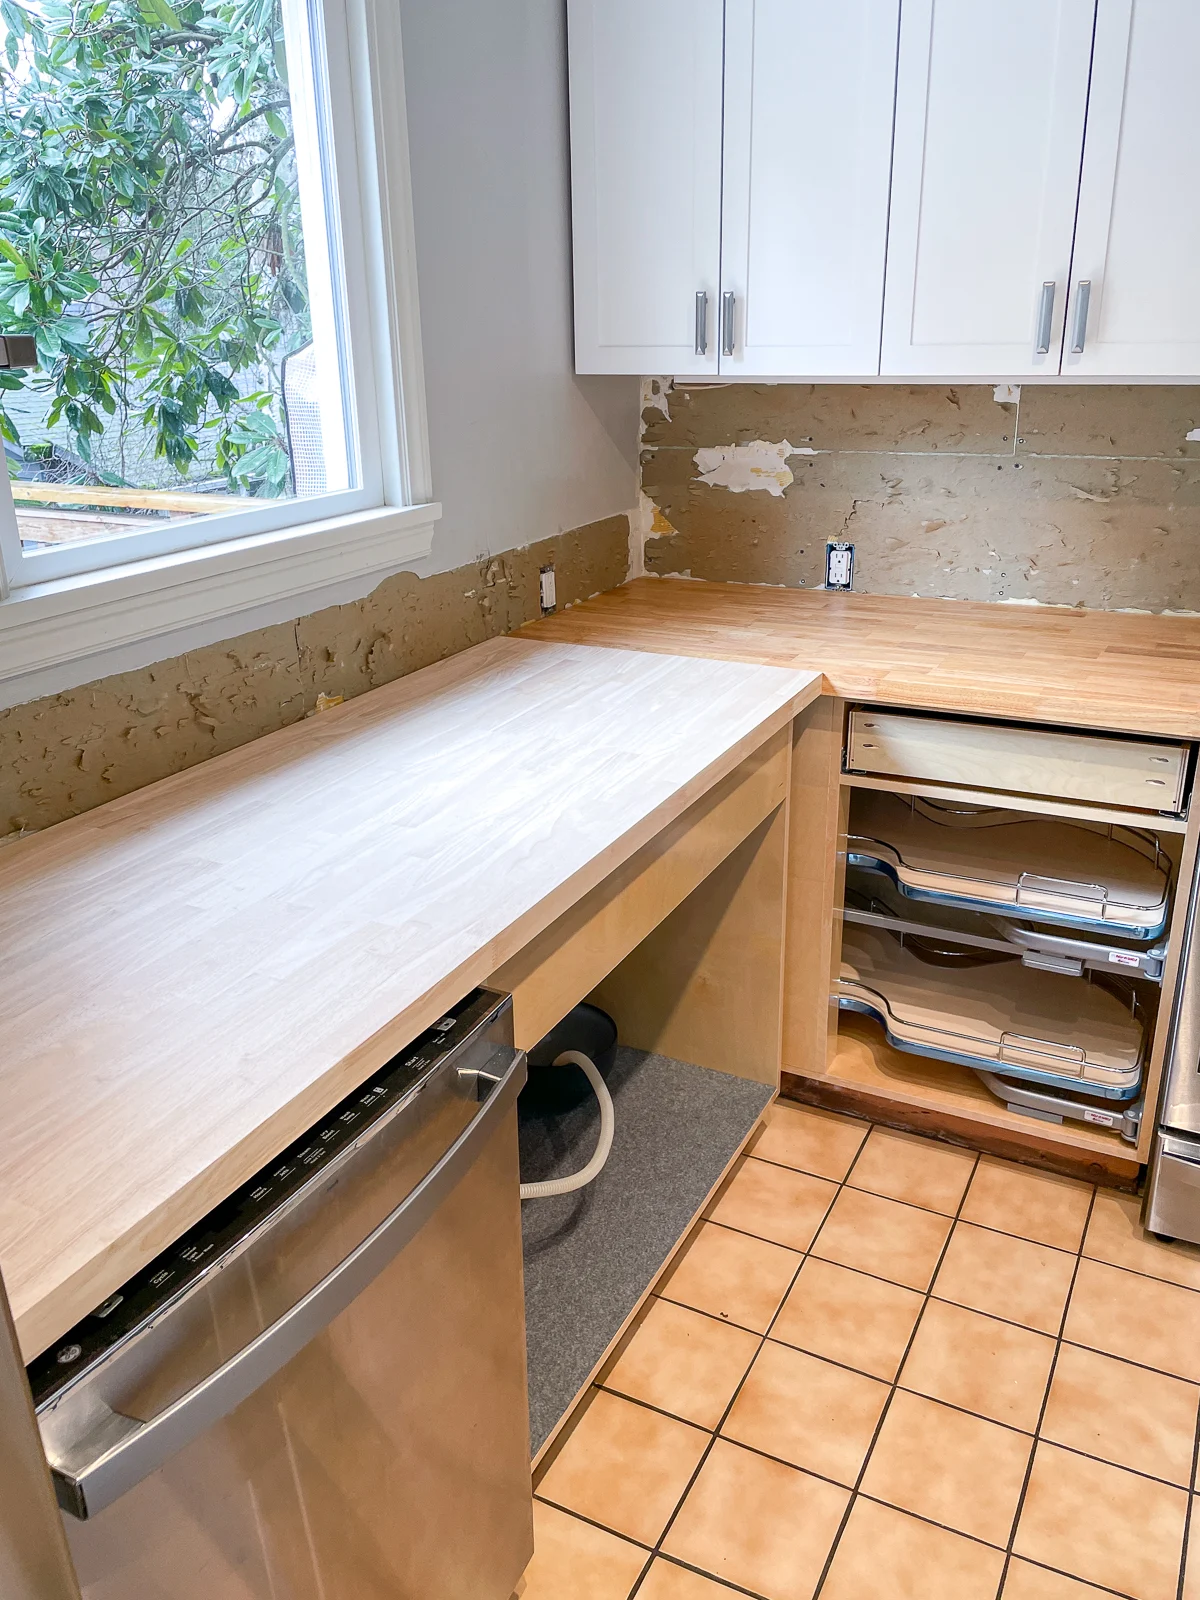
Measuring for these sections is also easier with a butt joint. I cut the corner piece first by measuring from the stove to the wall. When it was installed, I could use that edge as a reference point to measure the distance to the fridge.
Support your countertop
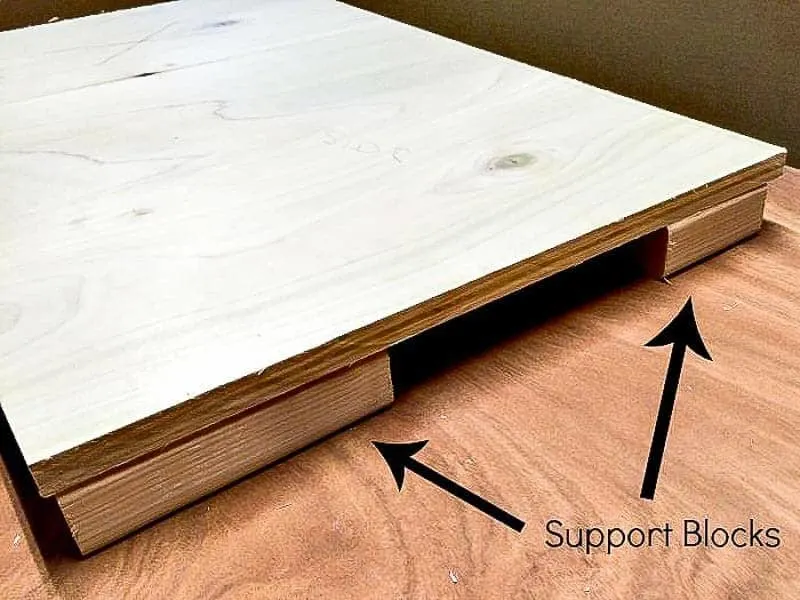
Butcher block is HEAVY, and you don't want to try catching the offcut with a spinning circular saw in your other hand! Unless you're just cutting off a few inches, you'll want to support both sides of the cut.
The best way to do this is by placing the slab on top of a foam sheet like this one. It will protect your workbench or floor from the saw blade and provide support for the entire piece. You can cut into it hundreds of times without it falling apart!
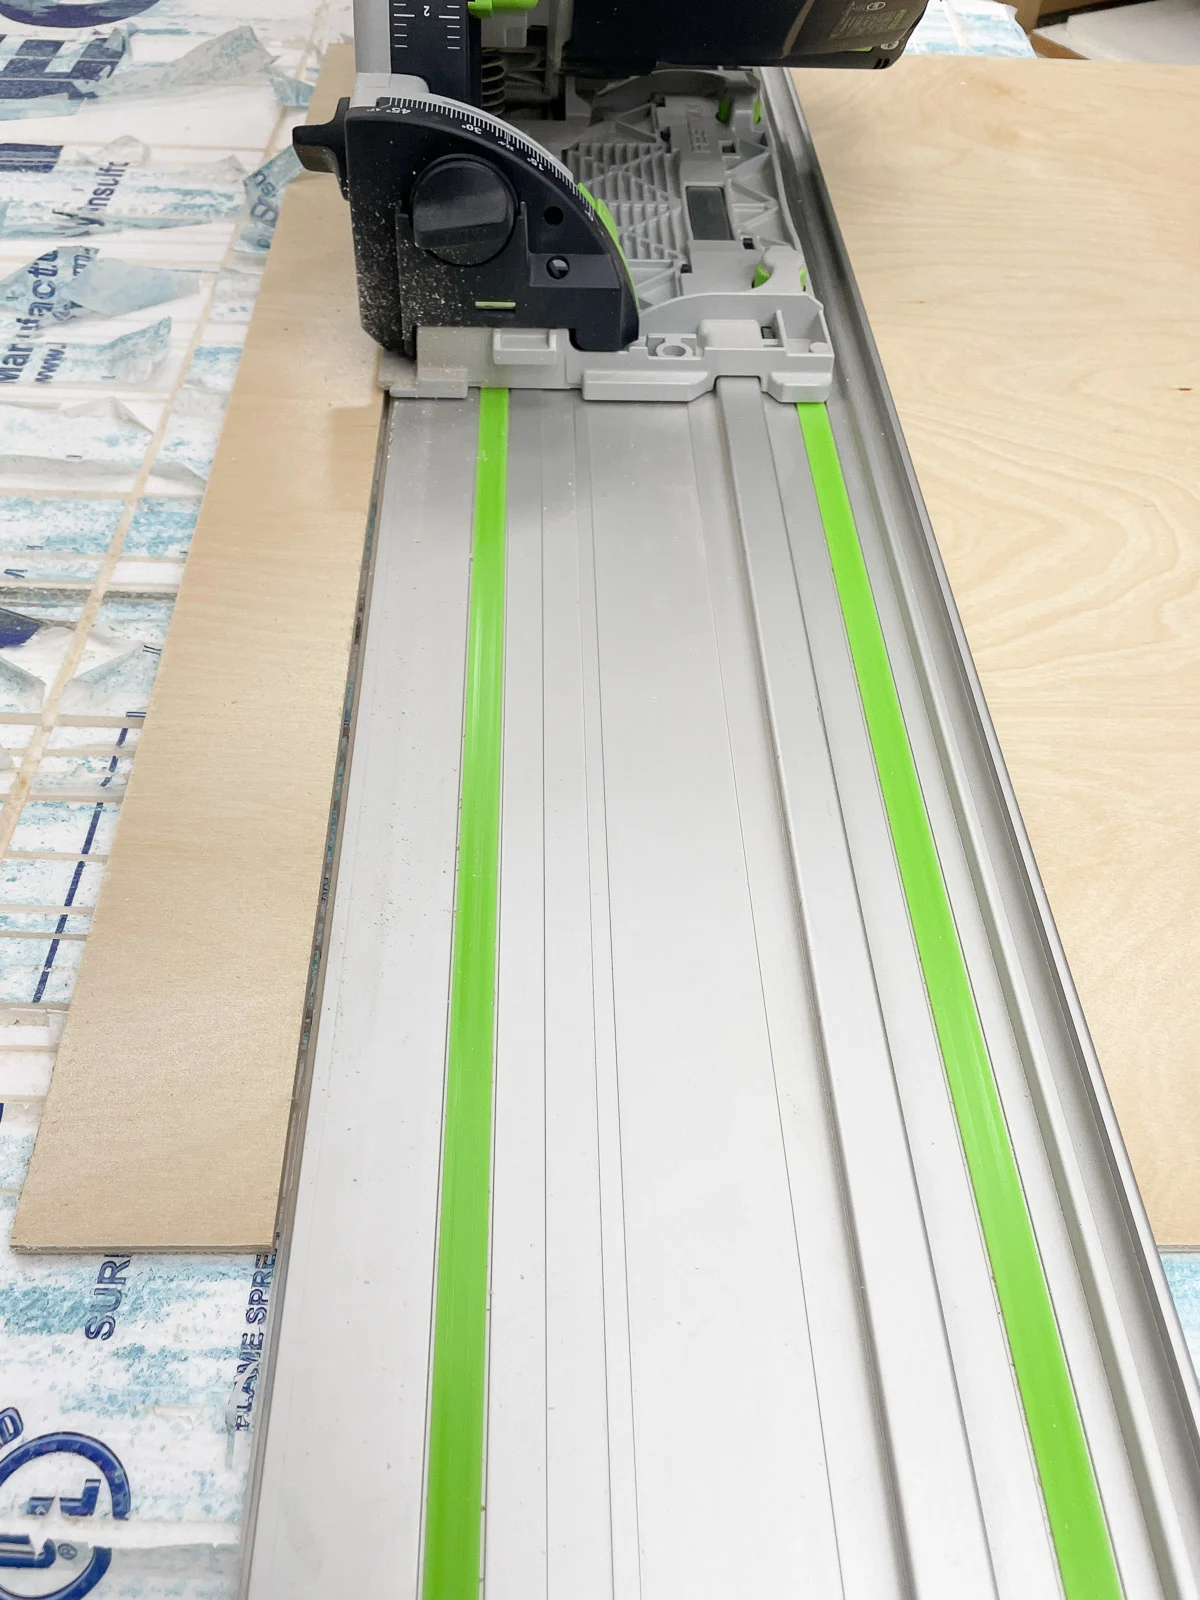
You can also use scraps of 2x4 boards to prop the countertop up off the ground to give plenty of clearance for your saw blade. Just make sure both sides of the cut are well supported so nothing drops and pinches the blade.
Mark your cuts first
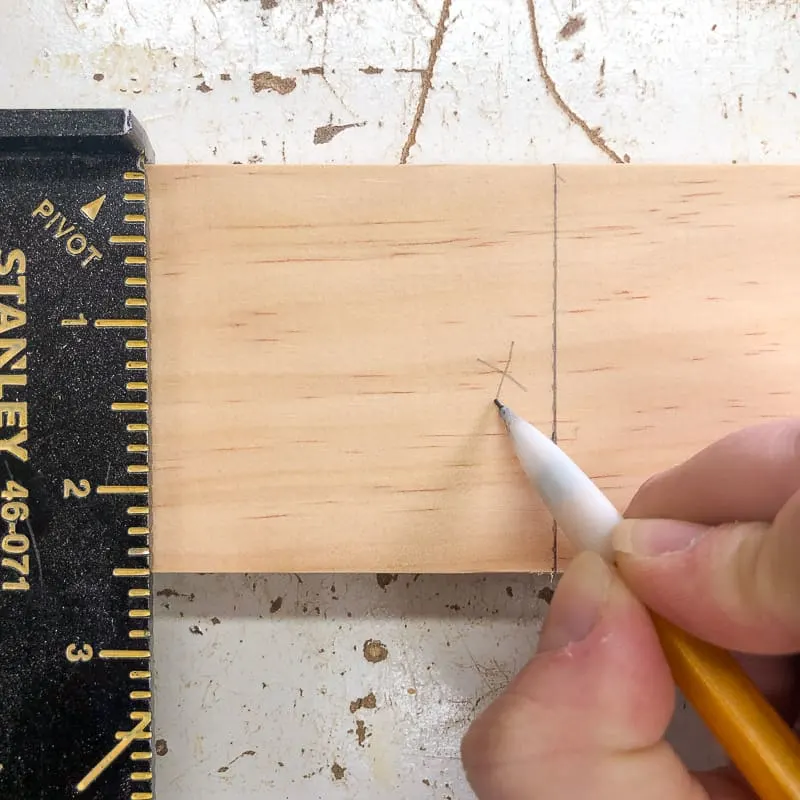
Measure from the end of the countertop to your desired length at several points, then draw a straight line to connect those points. I recommend using a long t-square so you know your line is 90 degrees from the front and back edge.
Make sure to take into account the thickness of your saw blade, also known as the kerf, when marking your cuts. I always mark the "waste" side of the line (the part that will be cut off) with an X, so I know to put the blade on that side of the line.
Use a straight edge guide
To ensure a perfectly straight cut with your circular saw, I recommend using some sort of straight edge or guide to keep your blade on the right path. You can use a long level clamped in place, a guide rail like the Kreg Accu-Cut, or make your own circular saw jig from scrap plywood!
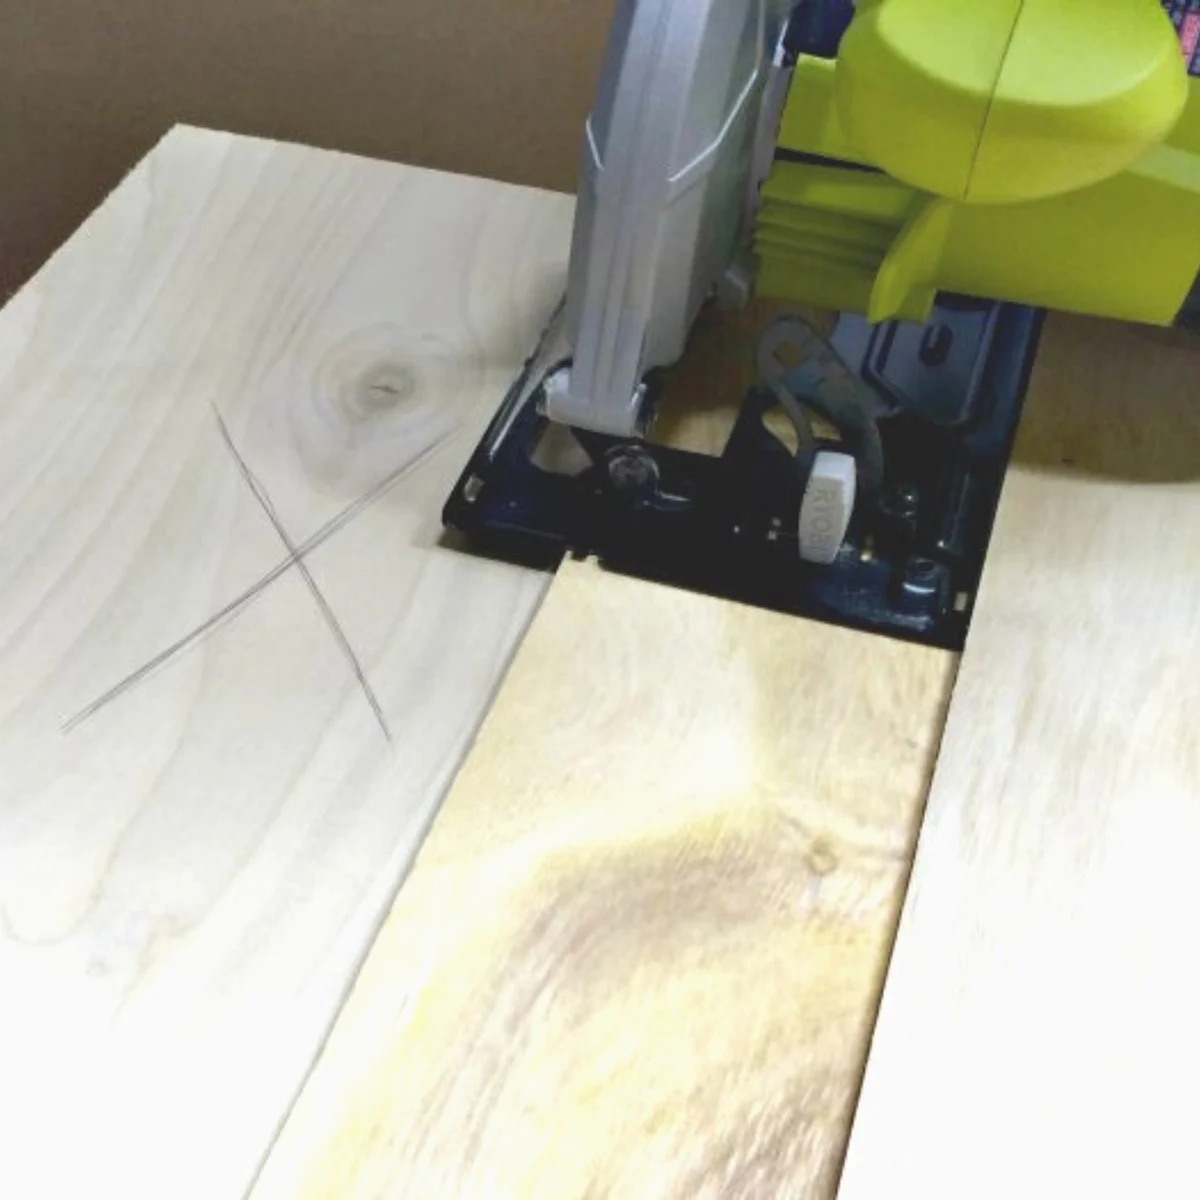
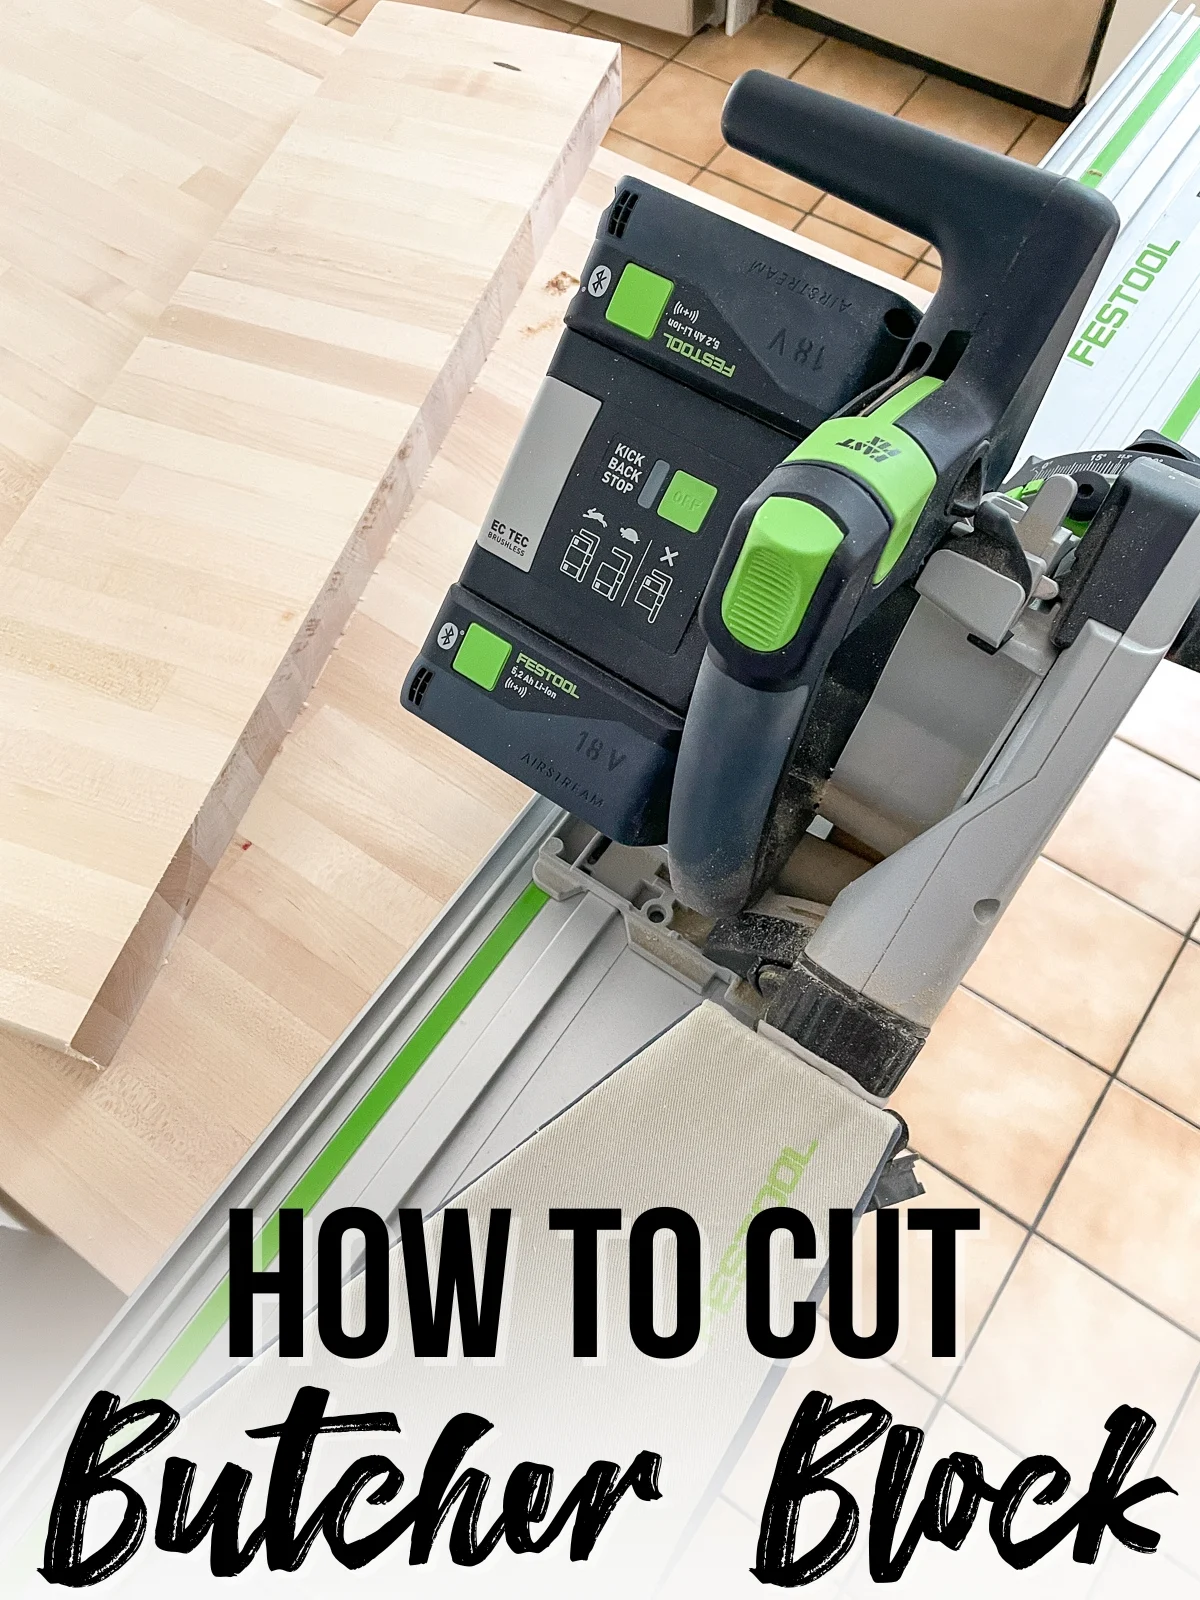
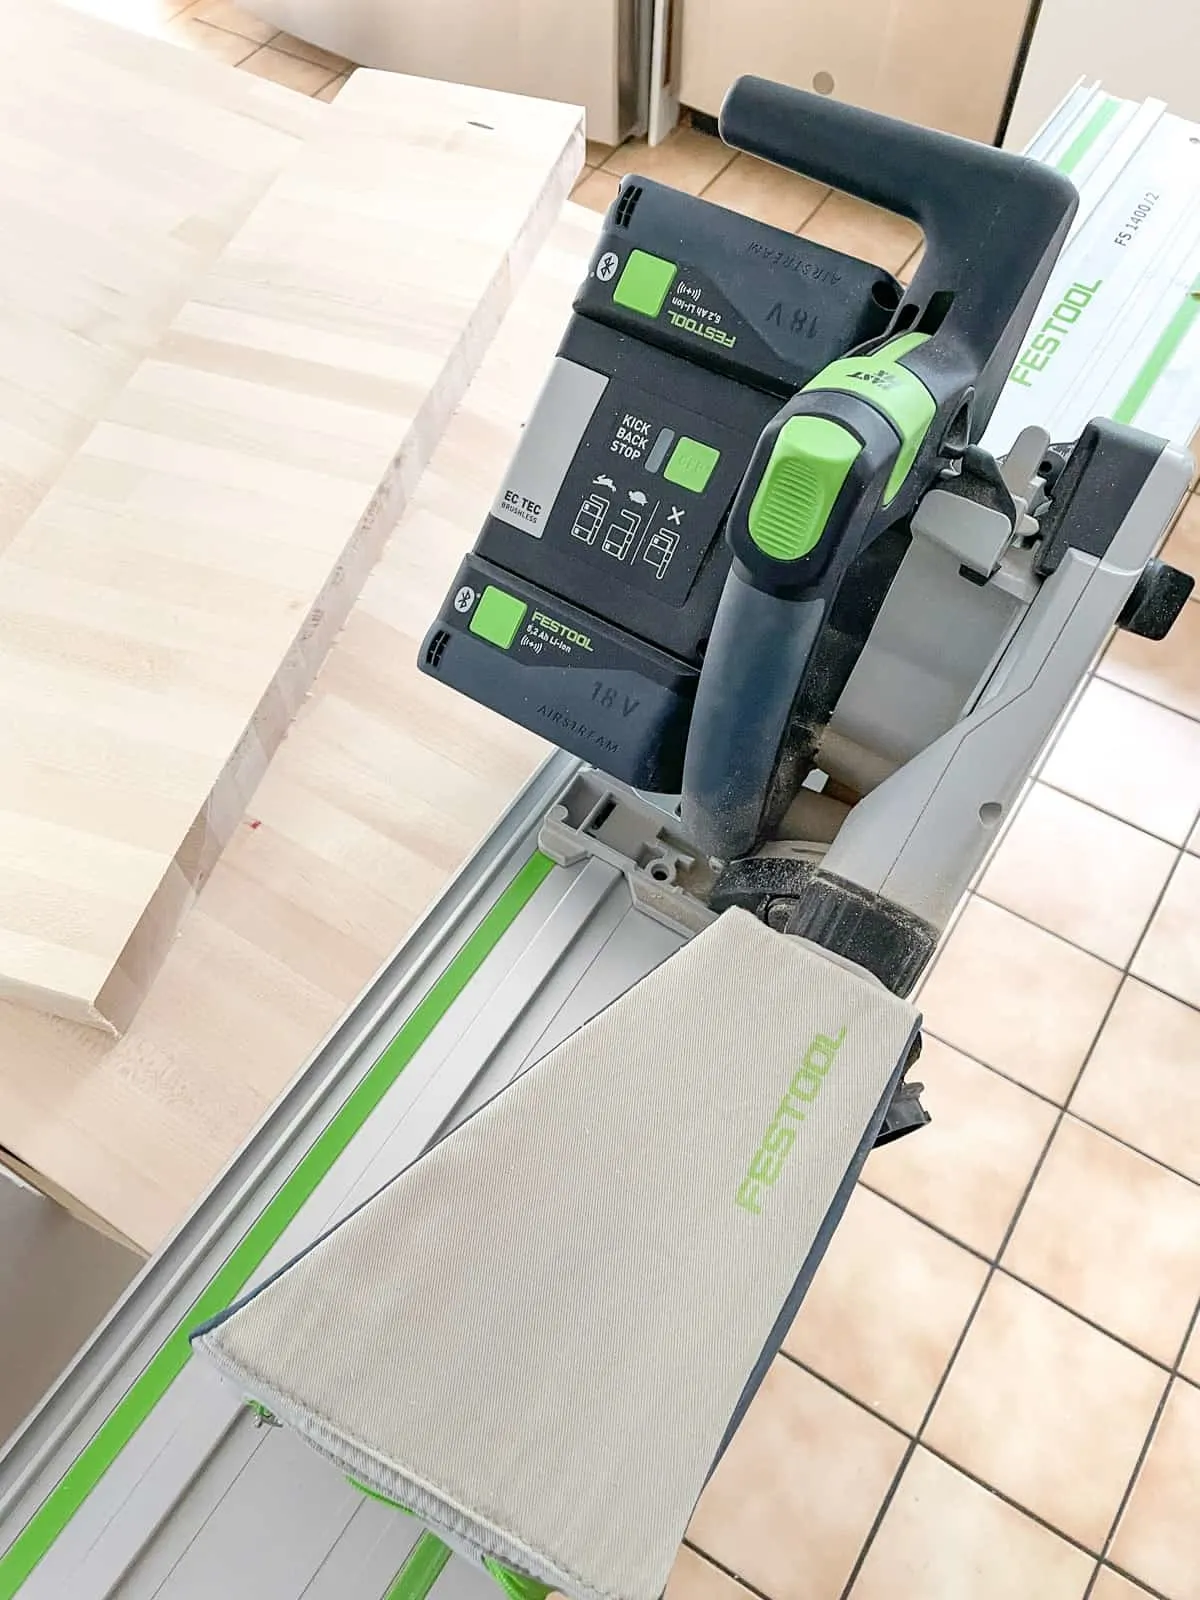
For my countertops, I used a track saw instead of a circular saw. It comes with a track that you place on your line for perfectly accurate cuts every time. A track saw also has better dust collection than a circular saw, so I could make my cuts in the kitchen without making a mess!
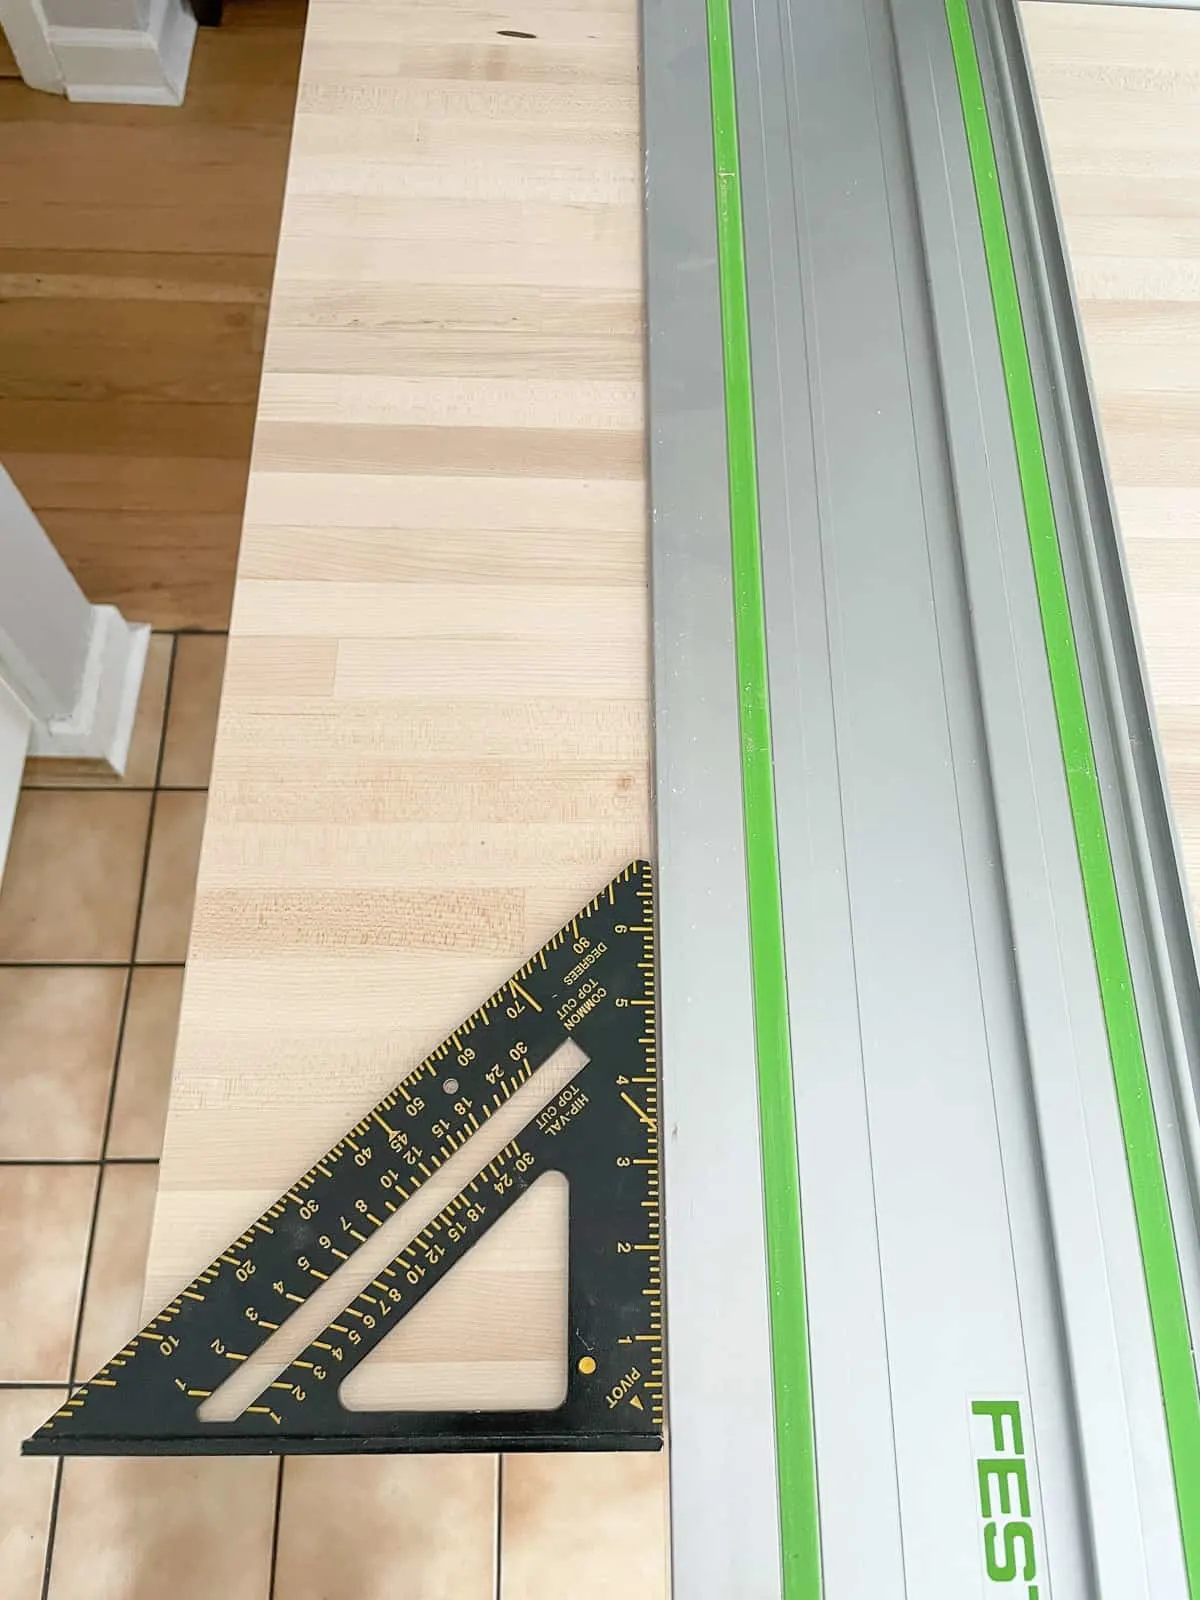
Before clamping down your straight edge, be sure to double check your measurements and use a speed square to ensure that it's perpendicular to the front edge.
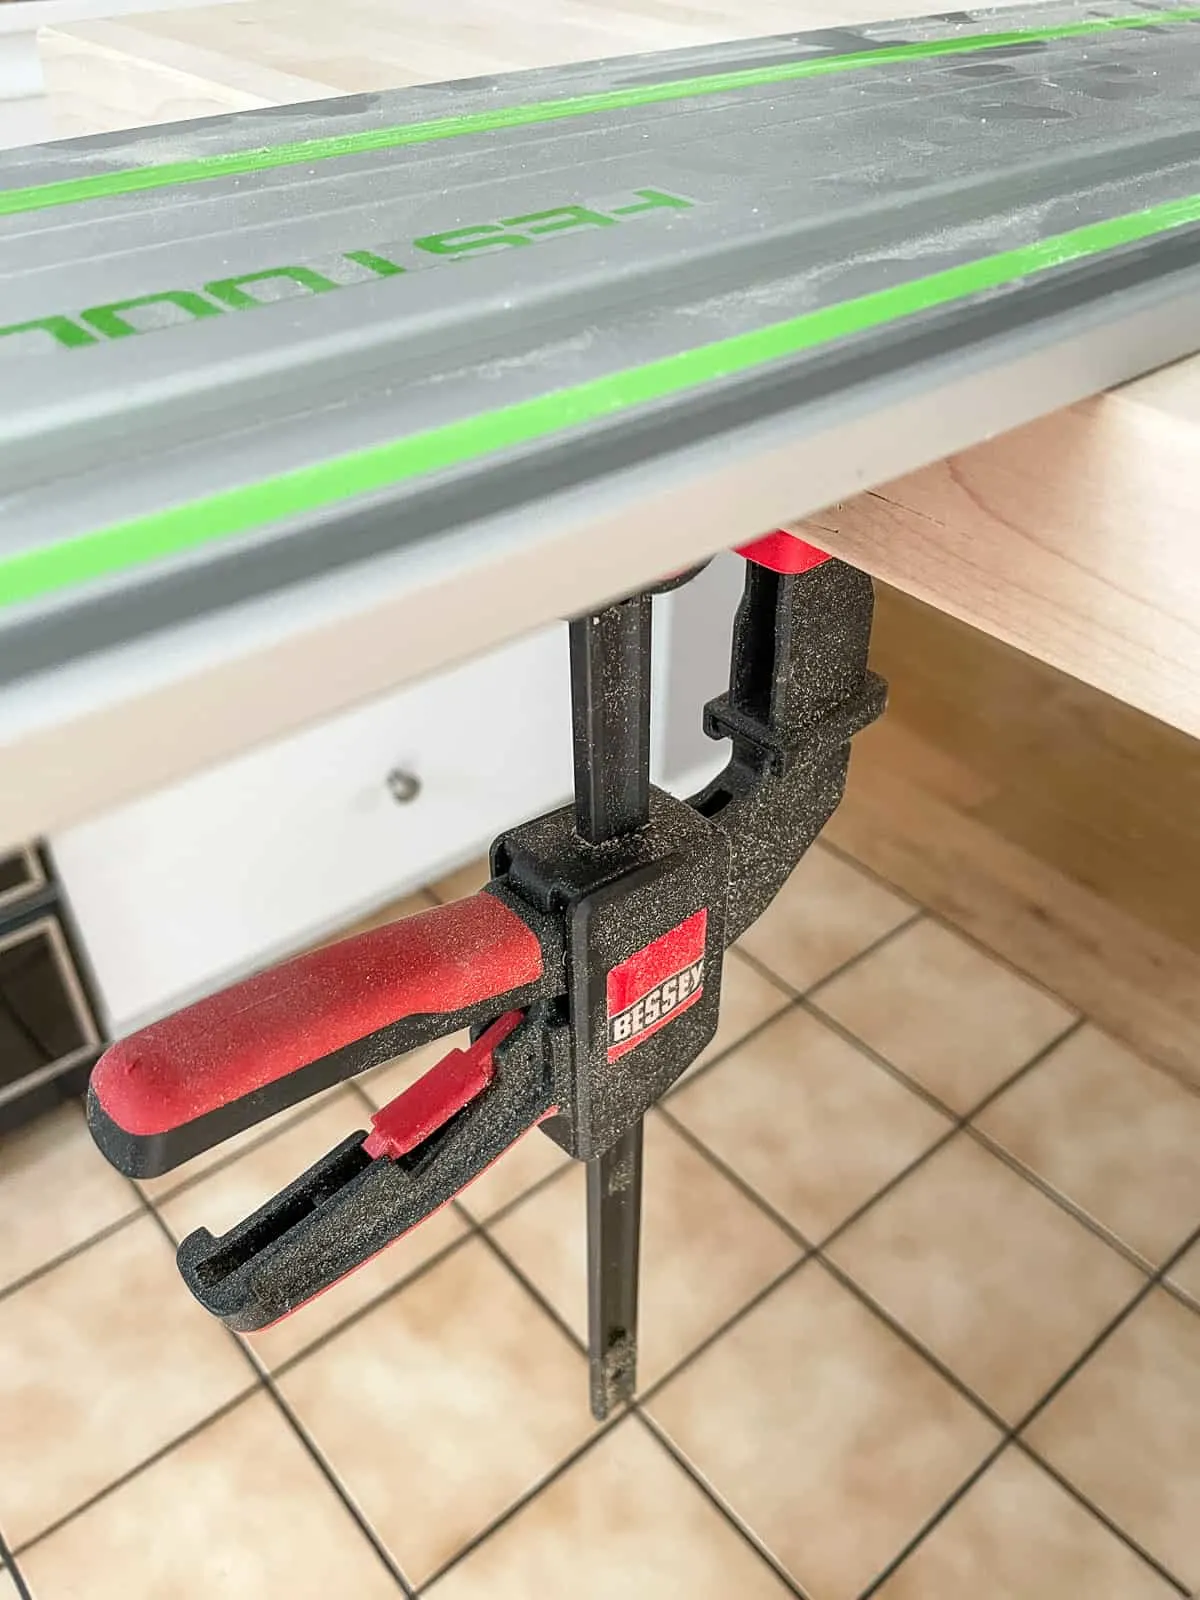
Normally I just rely on the anti-slip material on the underside of the track to keep it in place, but you only get one shot to get this cut right! These Bessey track saw clamps ensure that the track stays put without getting in the way of the saw.
Make a score cut first
Many battery powered saws can get bogged down cutting through thick, dense material like butcher block. If the blade struggles, it can cause burning along the cut edge.
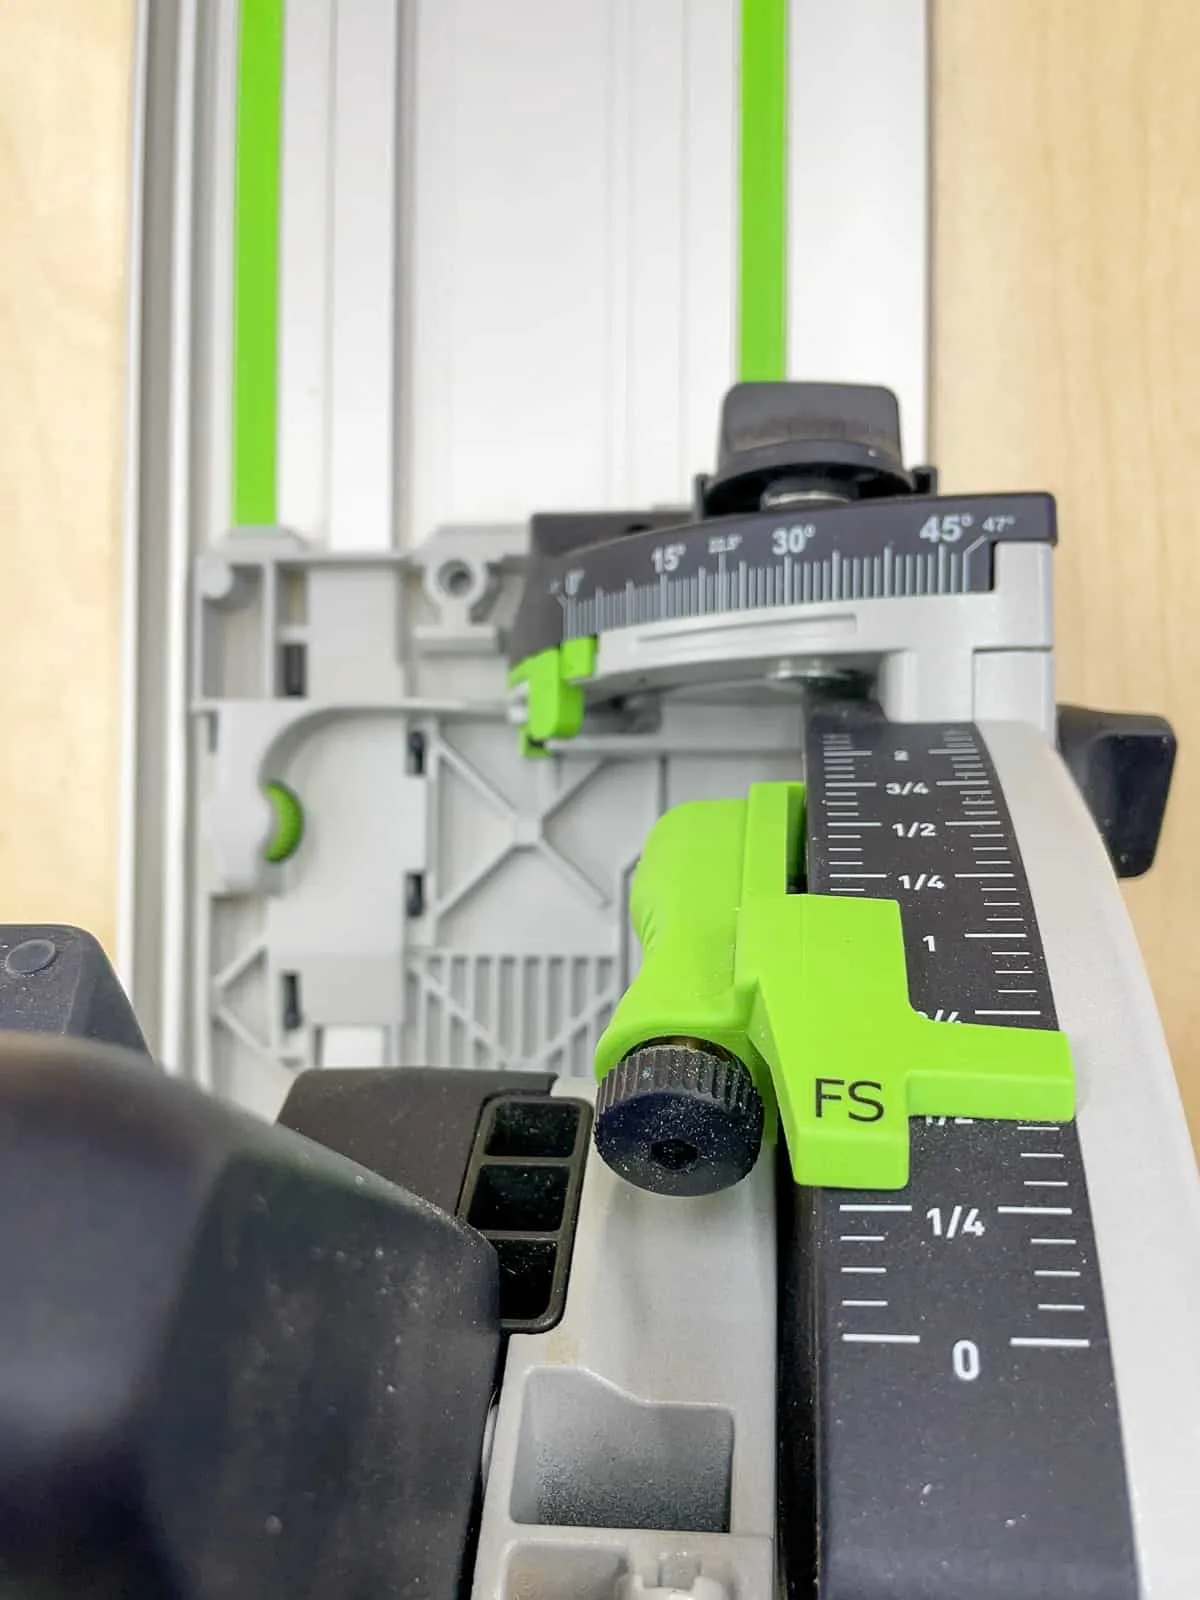
Set the blade to partway through the thickness of the wood, and make a score cut along your marked line. The score cut will also prevent splintering on the top surface. On this Festool track saw, you want to set the depth as indicated under the FS tab, which accounts for the height of the track.
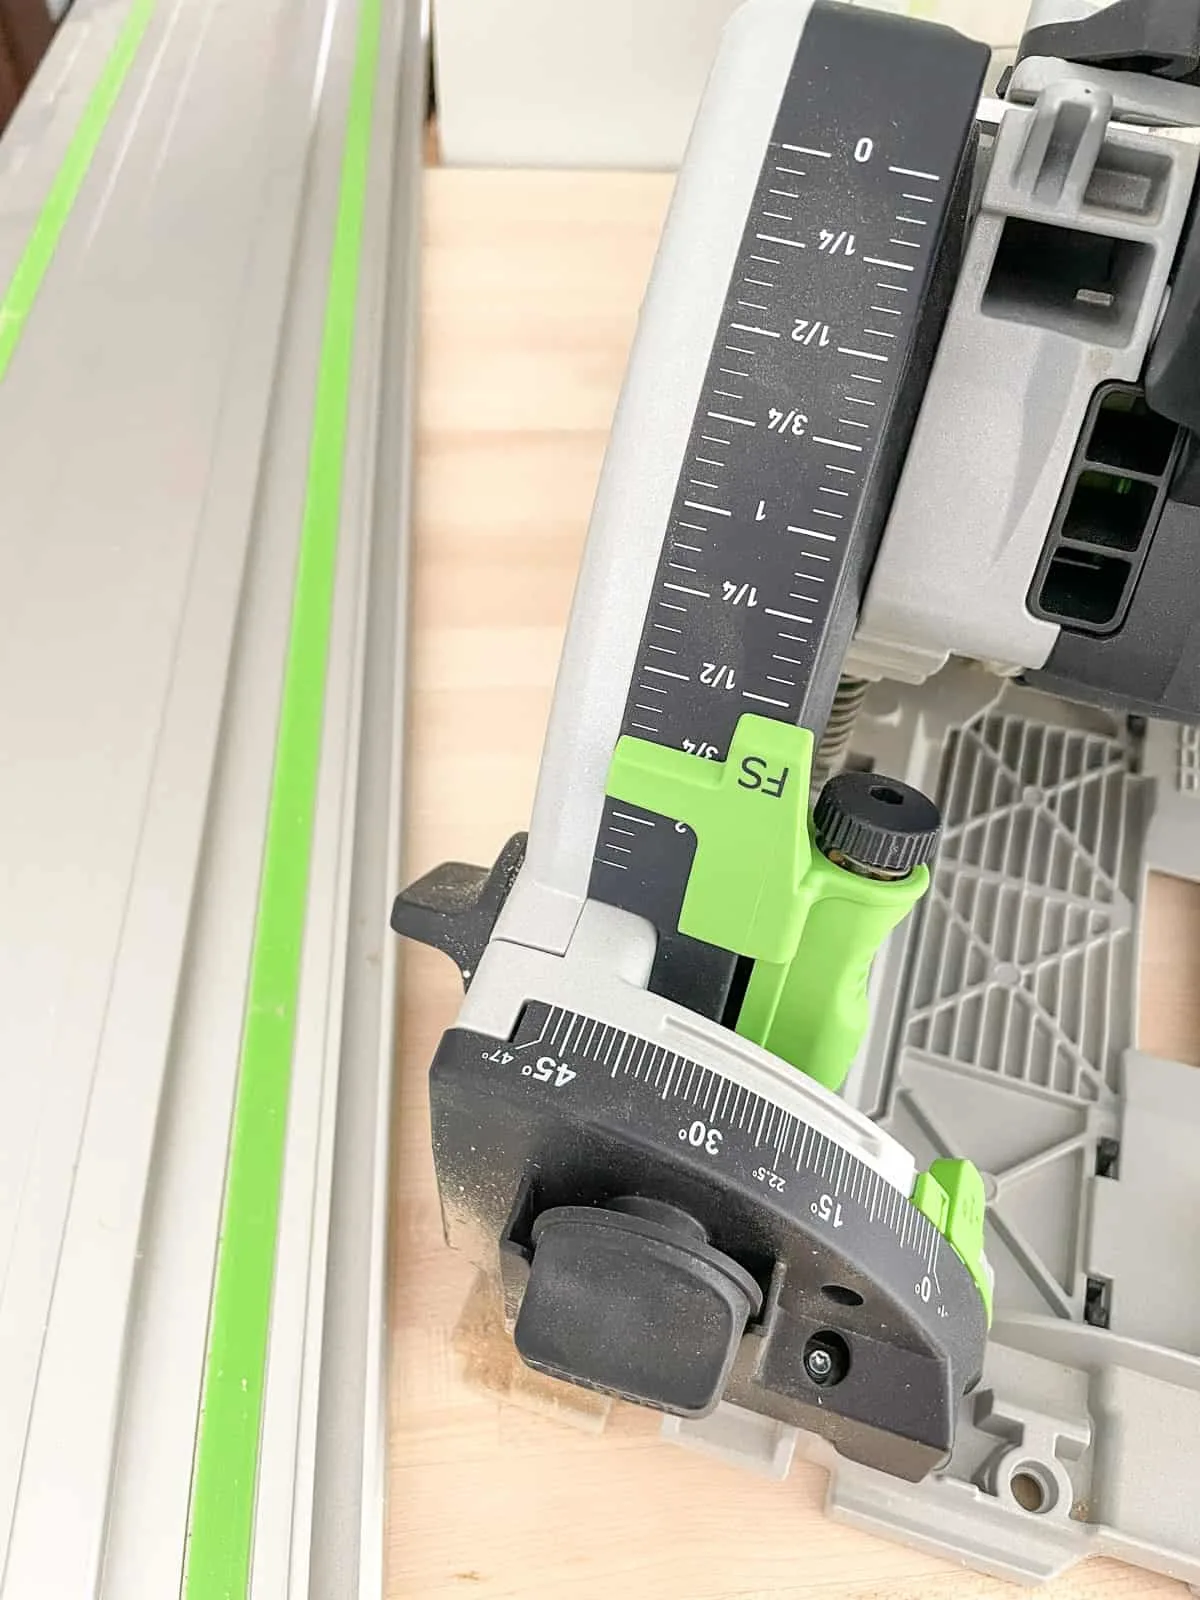
After completing the score cut, now you can adjust the depth of the blade to go all the way through the wood. The teeth should extend slightly past the bottom, so you don't end up with a sliver that can break off unevenly.
Double check that the track or guide didn't move during the score cut, take a deep breath, and make the final cut!
Sand or round over the cut edge if necessary
If your cut countertop edges are going up against the wall, an appliance or a corner, you'll want to keep those edges crisp. But this end will be hanging off the side, so I softened the sharp corners with a sander held at a 45 degree angle.
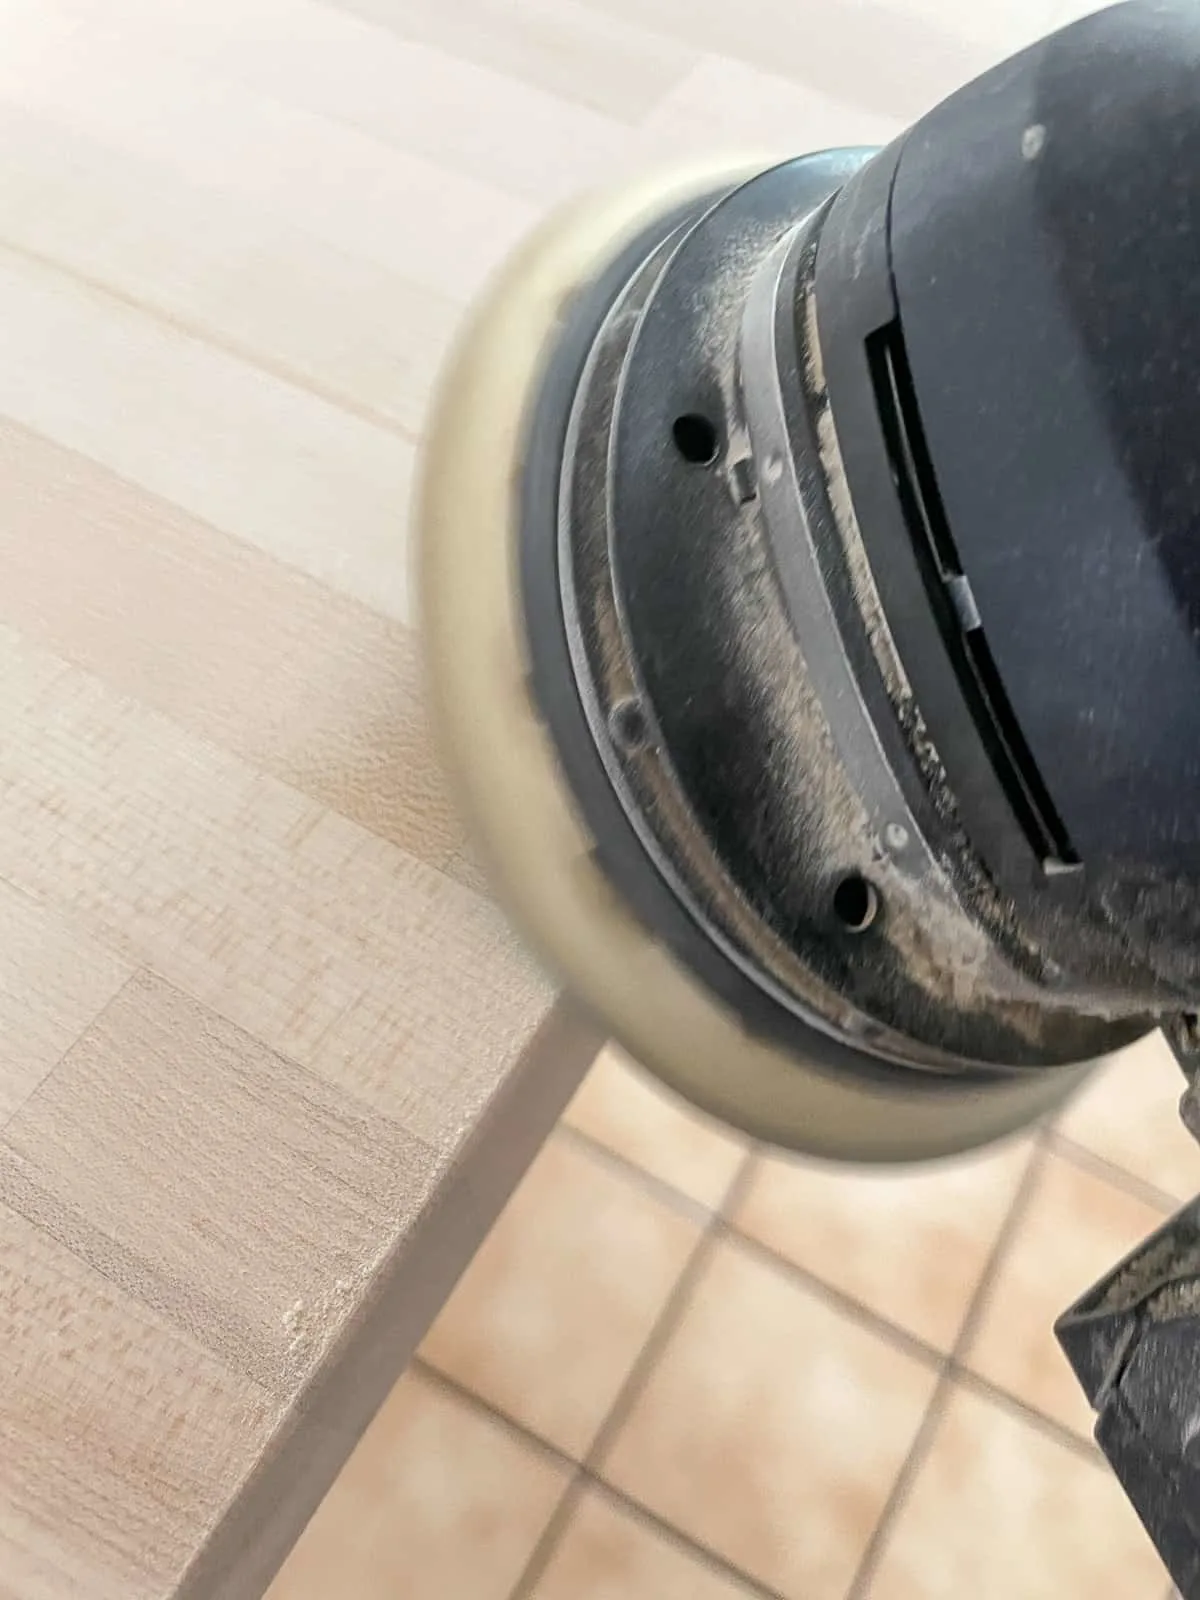
If you want to get fancy, you can use a trim router to create a decorative edge profile or a basic roundover. But I already had the sander out for the next step of the process, so this was quick and easy.
Cutting out holes for the sink
Honestly, the most nerve-wracking part of cutting butcherblock countertops is creating the hole for the sink! Luckily, most new kitchen sinks come with a template so you can cut the perfect size easily.
Mark out the cut line with the template, and drill holes in the corners inside the line with a bit larger than your jigsaw blade. If you have a track saw, you can use it to make plunge cuts along the straight sides first. Then use a jigsaw to finish off the rounded corners.
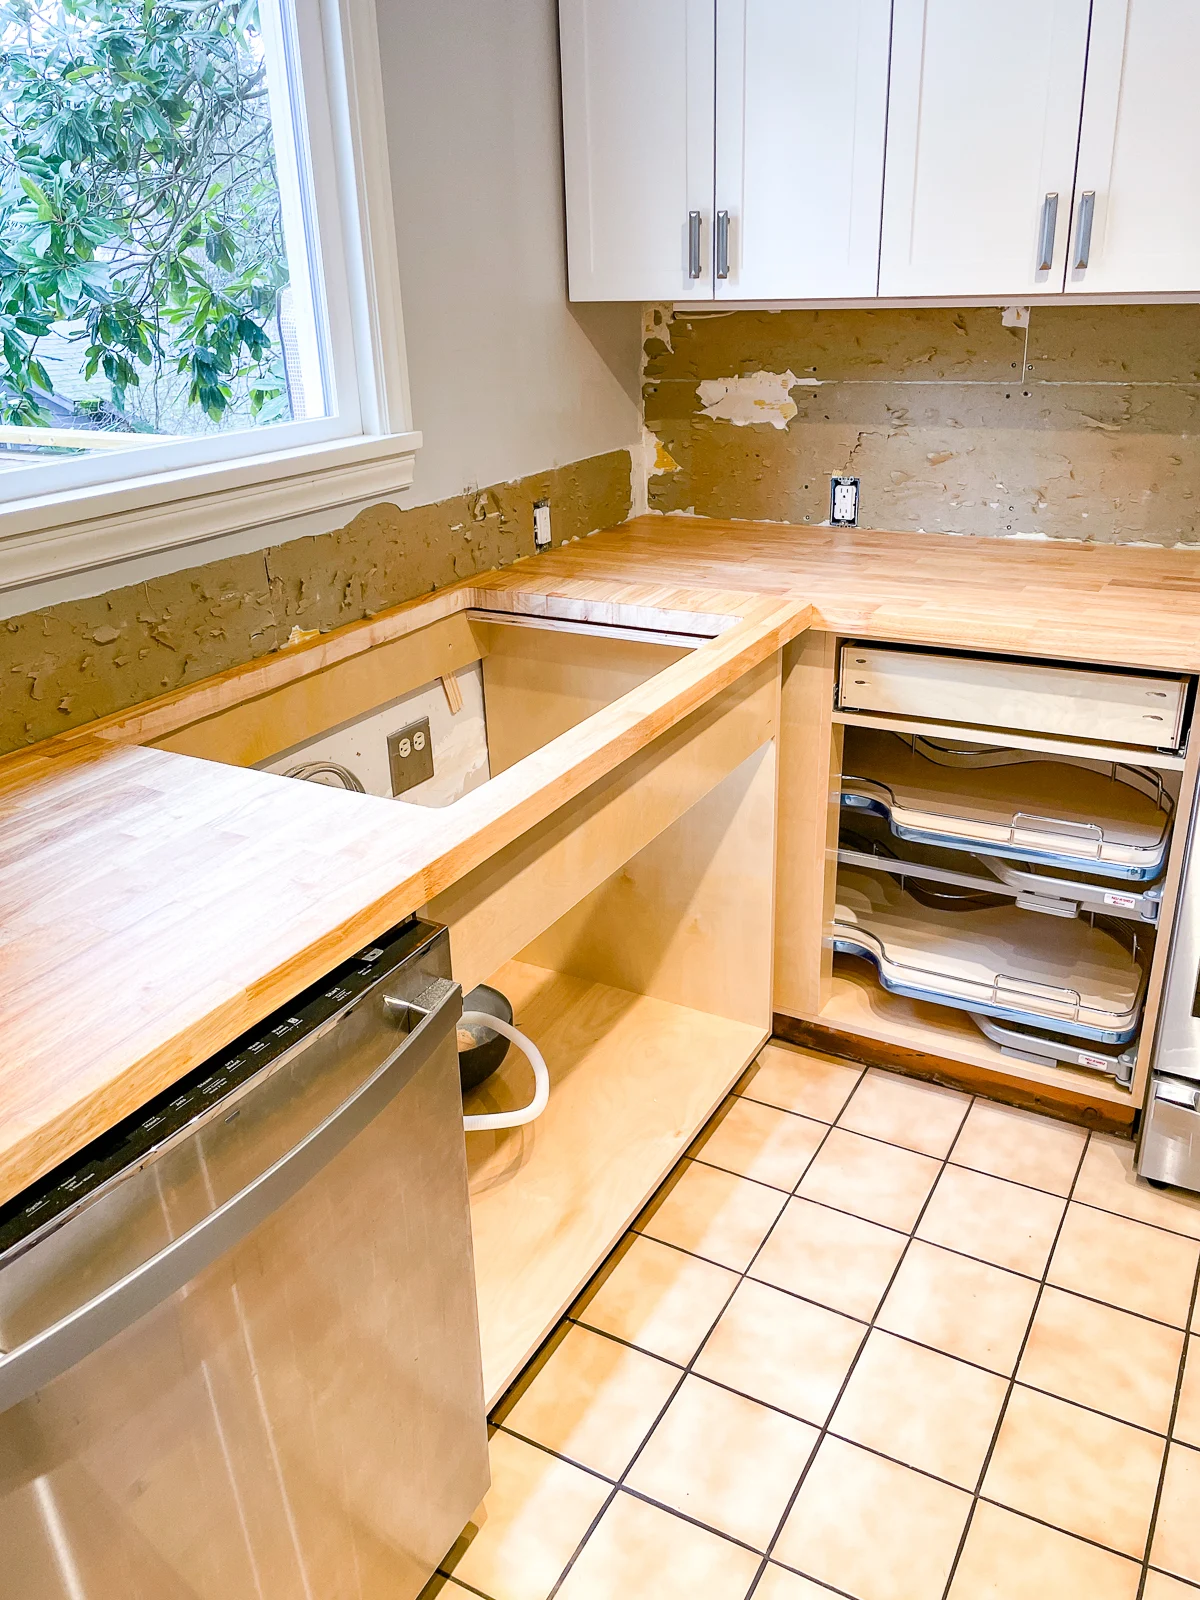
Use a hole saw to drill holes for the kitchen faucet and soap dispenser if you plan to surface mount them. I was in a rush to get the sink installed and the finish applied to the countertop before the plumber came the next morning, but it came out great!
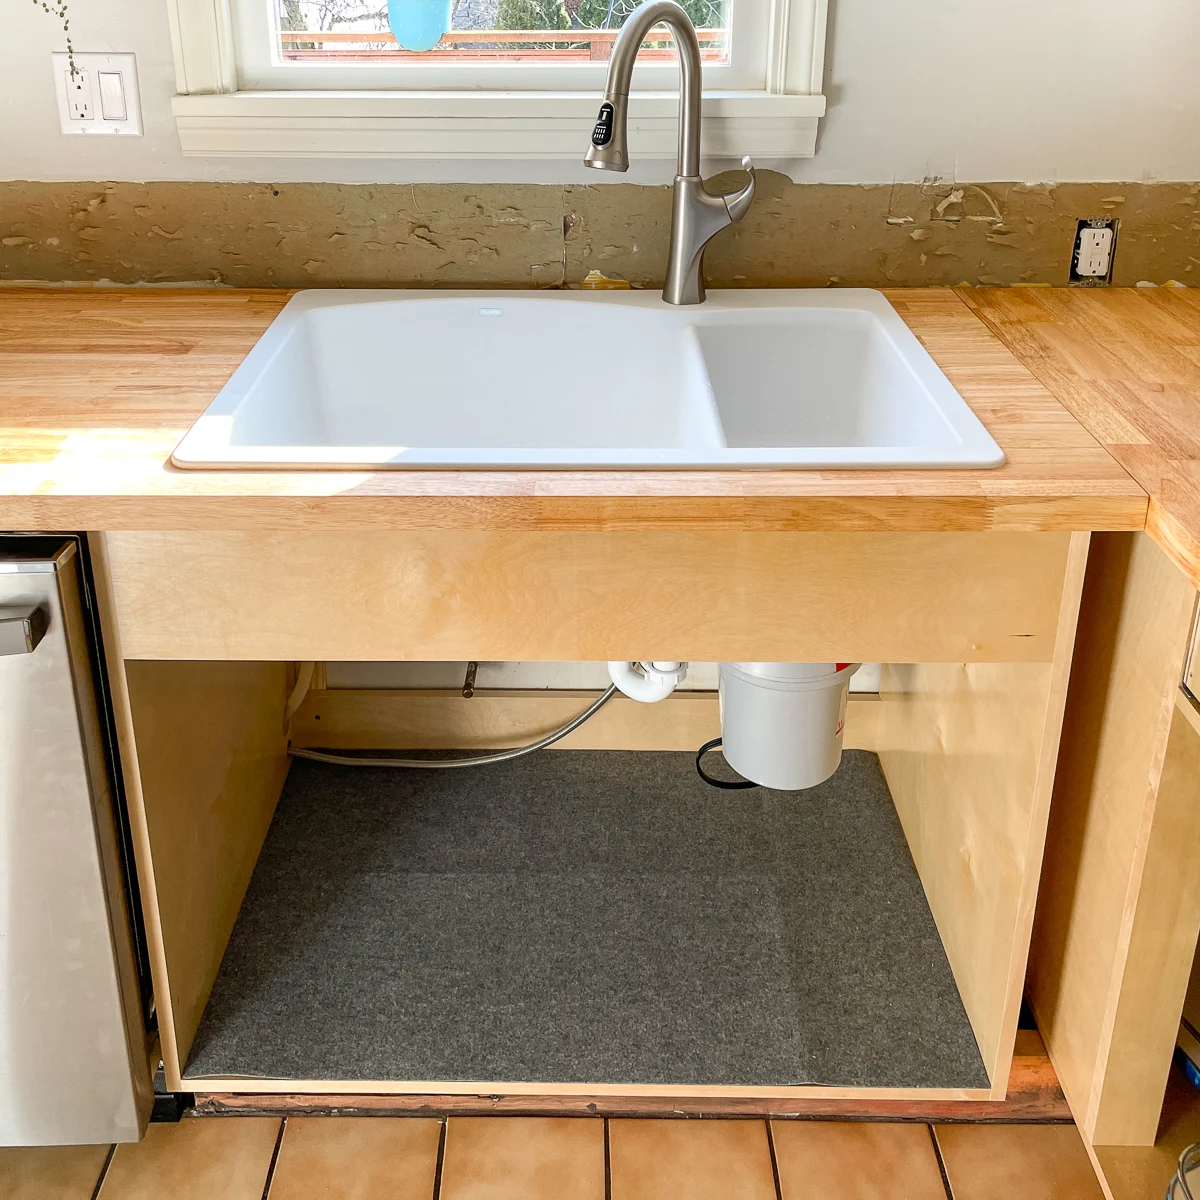
I didn't get a lot of photos of this process because I was in such a rush, but the video below goes into more detail if you need help!
Now that our butcher block countertop is cut and installed, we're in the home stretch of this kitchen renovation! Check out the articles below for more tutorials on this huge project!

