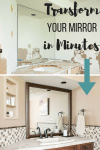
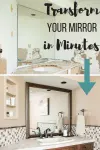
Want to upgrade that builder basic mirror? Learn how to frame a bathroom mirror without removing it from the wall! No hardware or tools required!
During our basement bathroom renovation, I removed two side mirrors from the vanity area to get rid of the funhouse effect. The one that remained was a basic mirror that was just glued to the wall. Boring!
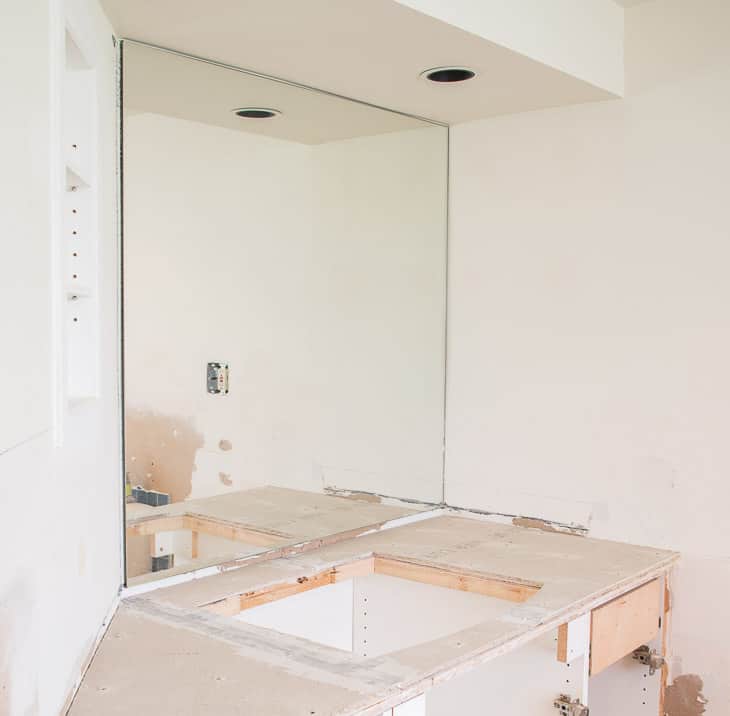

But it was perfectly sized to fit on the back wall of the vanity, and there's no way I was going to find a new mirror that would work in that space without it looking awkward.
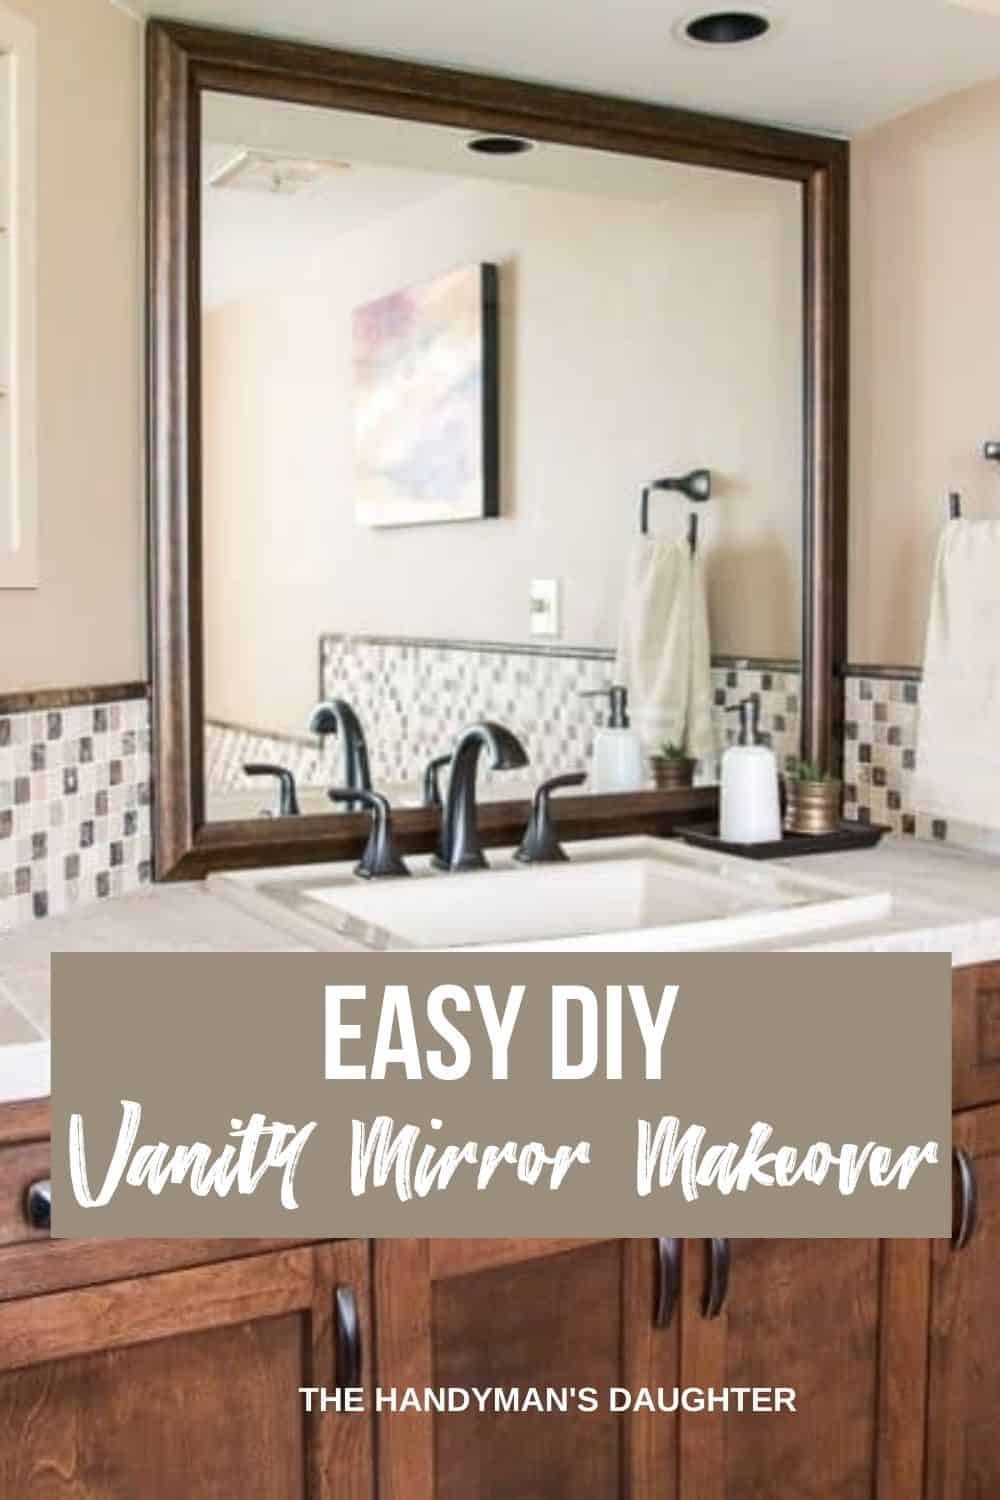
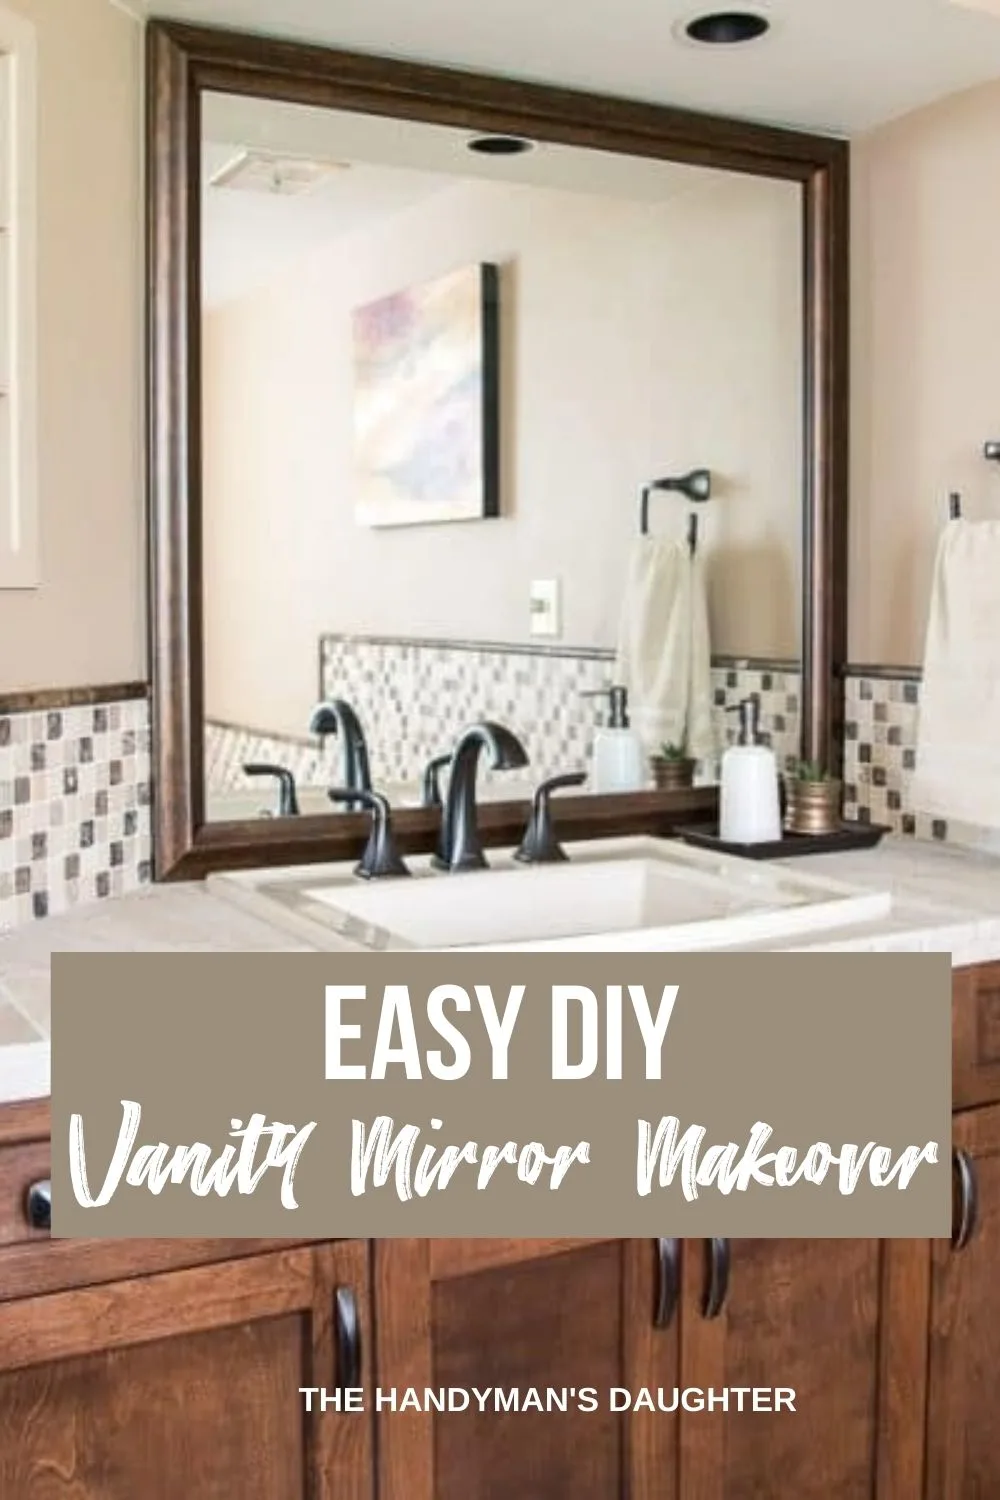
With the help of MirrorMate, I was able to create a gorgeous custom framed mirror, without removing the existing mirror from the wall! Best of all, it just sticks on, so you don't have to worry about mounting brackets or hardware!
This post was sponsored by MirrorMate, and contains affiliate links for your convenience. Purchases made through these links may earn me a small commission at no additional cost to you.
Take Careful Measurements
There are several measurements you'll want to take in order to get the correct size for your frame. MirrorMate's handy printable guide sheet ensures that you don't forget anything!
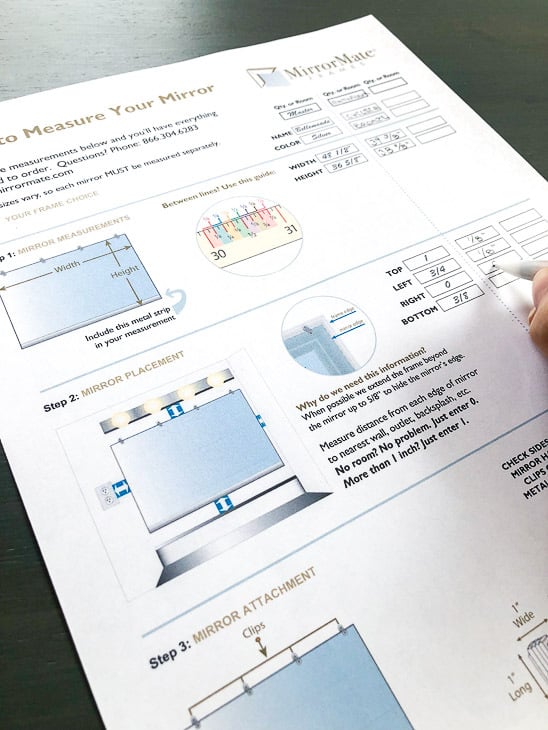

If you have any extra space around your existing mirror, you may want to add a little extra to cover the edges. I had a tiny bit of wiggle room, so I decided to add ⅛" to the top and left side to fill in the small gap and hide the mirror edge completely.
I ordered the classic Chelsea Brushed Bronze style. They quickly shipped me a custom mirror frame just in time to finish off my vanity!
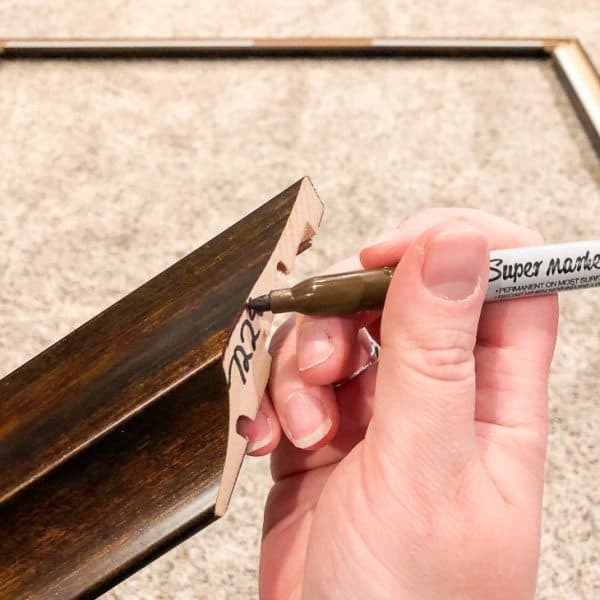
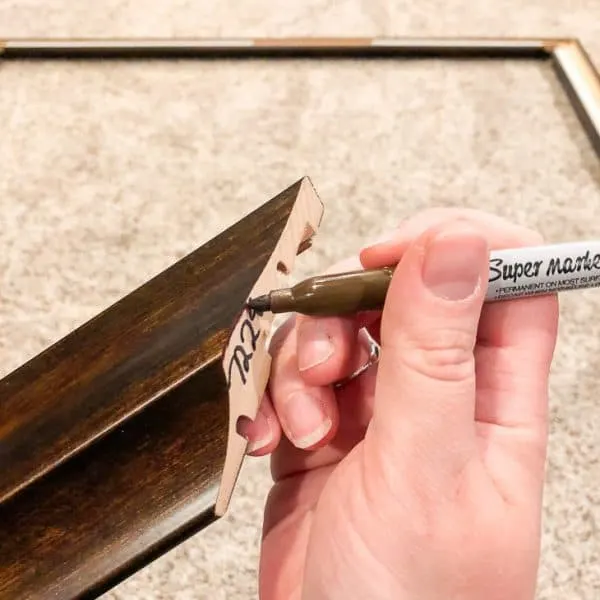
Prep the Mirror Frame Pieces
One thing to consider is that these lightweight frames are made from MDF, and the unfinished edges may show at the corners if they're not lined up perfectly. But there's an easy fix!
Color in the edges with a permanent marker in a matching color so the seam blends perfectly. You're sure to find the right color in this pack, even if your frame is metallic!
Assemble the Mirror Frame
Assembly couldn't be easier! You don't even need any tools!
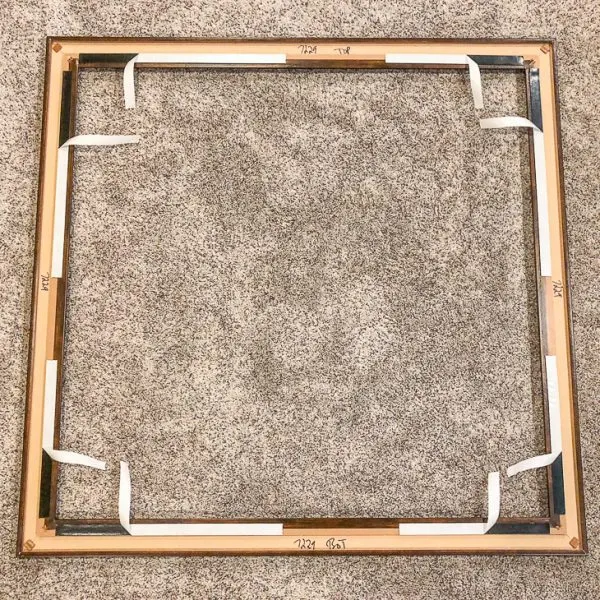
Lay out your frame as it will go up on the wall, with the back facing up. My frame pieces were labeled "top" and "bottom" for me, so I didn't even have to pull out the tape measure!
Protect your work surface in case any glue squeezes out. Apply glue evenly to each corner.

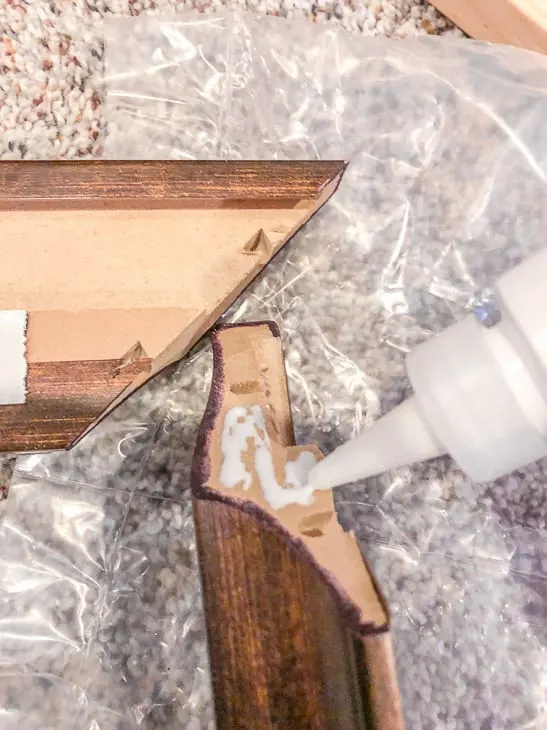
Then connect the two pieces together with the included plastic connectors. These little bowtie pieces fit in the holes in the back of the frame to hold the corner tightly together.

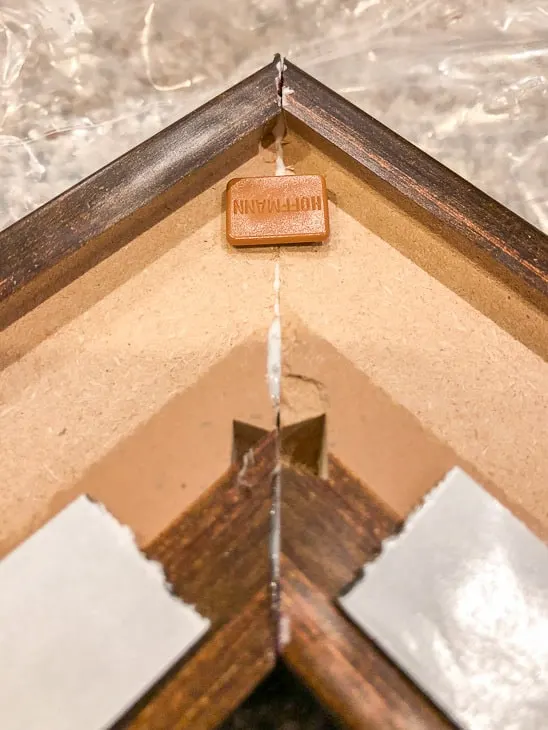
Allow the glue to dry for at least 30 minutes before handling the frame.
Prepare the Adhesive Strips
Each piece of the mirror frame comes with an adhesive strip already attached to the back. Pull back each end of the strips a few inches, then fold them in towards the center of the frame.
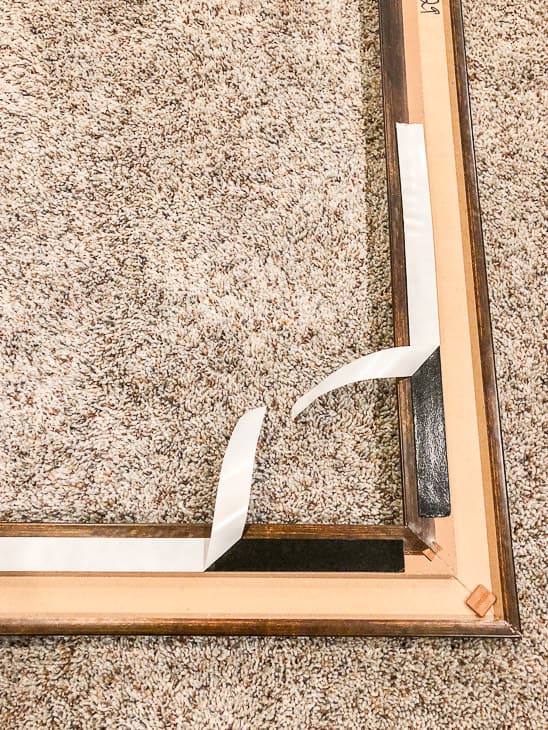

Your frame is ready to go onto the mirror when it looks like this.

Stick the Frame on the Mirror
Place a bubble level within arm's reach of the mirror to be framed before you start. The adhesive is really sticky, and it's hard to move once it's stuck on there!
Carefully pick up your glued frame with two hands and carry it over to your mirror. If you have a particularly large mirror, you may want to have a helper hold it in place.
With all the adhesive strip paper facing towards the center of the mirror, lightly press the frame in place. Use the bubble level to make sure everything is straight.

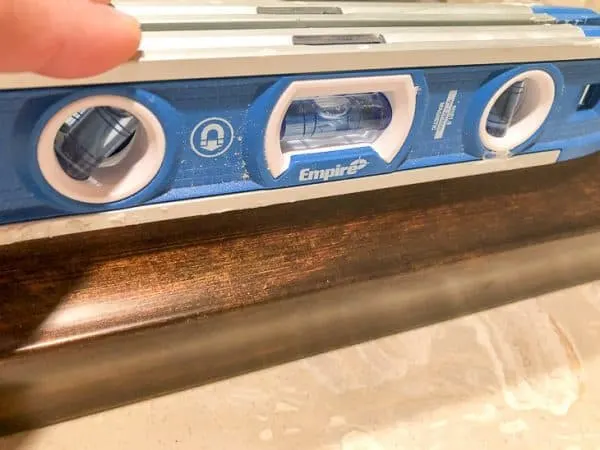
Now, gently pull the ends of the paper strips out from behind the frame. Check that it's level one last time, then firmly press the frame to the mirror all the way around.
Enjoy Your New Custom Framed Mirror!
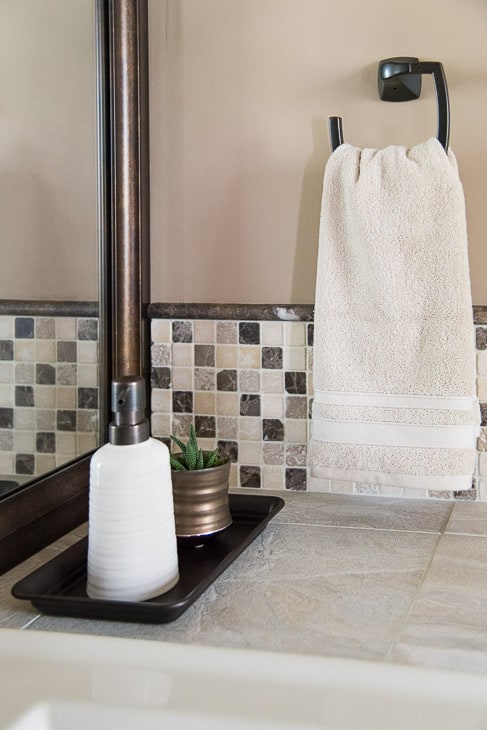
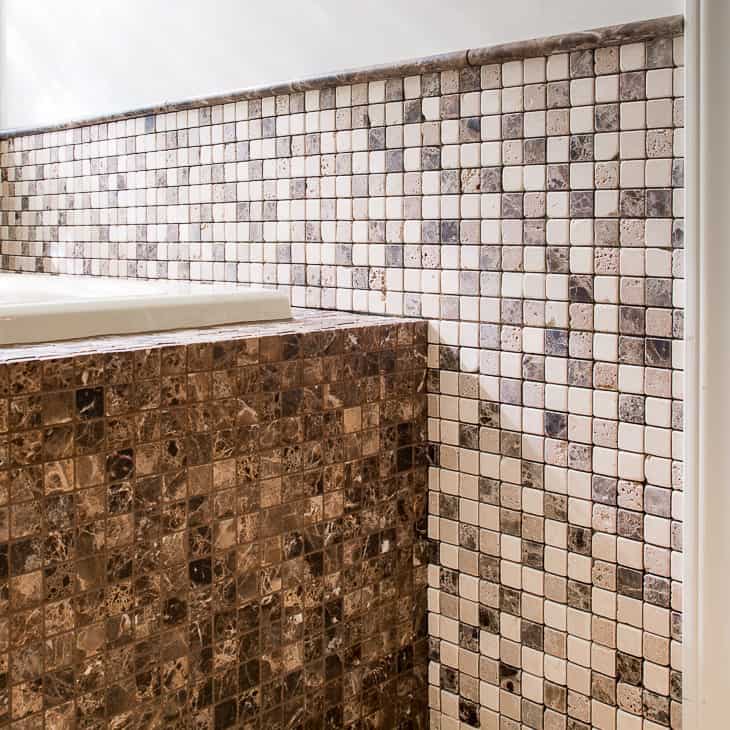
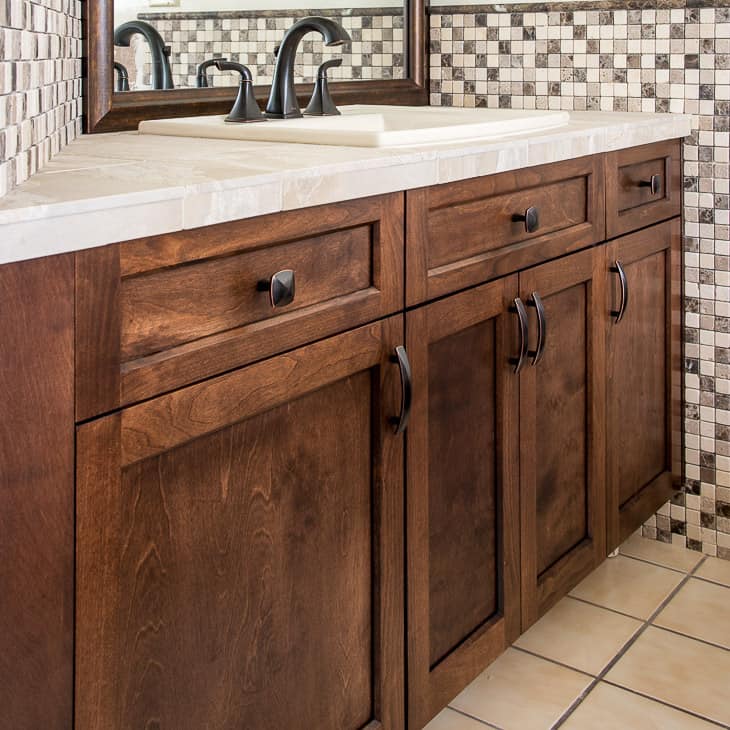
This was by far the easiest project in my entire bathroom remodel! It really elevated the vanity from builder basic to a custom look. I love how the copper accents in the frame can be found all around the room, from the towel racks to the little succulent pot!

A huge thank you to MirrorMate for helping me create a custom framed mirror for my bathroom! I can't imagine what it would look like without it!


Jann Olson
Wednesday 30th of May 2018
what a difference this makes! We have a huge mirror in our master bath. I'd love to do this. Thanks for sharing with SYC. hugs, Jann
Lynda Hardy
Tuesday 29th of May 2018
Wow! What an awesome find! Thanks for sharing with Party in Your PJs!
Jacquie | Seeking Simple Life
Monday 28th of May 2018
I love that this is so simple! Thank you for sharing! I've pinned this to my board.
Chas
Wednesday 23rd of May 2018
This technique is so popular right now and I truly thinks it makes a huge difference. Great job! Thanks for sharing on To Grandma's House We Go!
Sharon@bluewillowhouse
Wednesday 23rd of May 2018
I love the way your mirror turned out. Thank you for sharing your tutorial at Snickerdoodle.