Butcher block wood kitchen countertops are an easy and affordable option that look amazing! Here's everything you need to know, from cutting to finishing!
Butcher block countertops are a classic option for a kitchen, but are frequently passed over for more expensive materials like stone. We chose a wood countertop to add warmth to our white and stainless steel kitchen, and it was super easy to install!
However, butcher block countertops aren't for everyone. Check out the pros and cons in this article, and compare the different types of countertops to see which one works best for you and your kitchen.
This post contains affiliate links for your convenience. Purchases made through these links may earn me a small commission at no additional cost to you. Please visit my disclosures page for more information.
What is butcher block?
Butcher block is comprised of strips of hardwood that are glued together to form a thick, solid countertop. When properly cared for, the surface can be used for food preparation and chopping without dulling your knives.
Traditionally, butcher block is assembled with the end grain facing up so the surface looks like a grid of squares. This is the most durable option and won't show knife marks even with heavy use. However, this is the most expensive option and can be difficult to find.
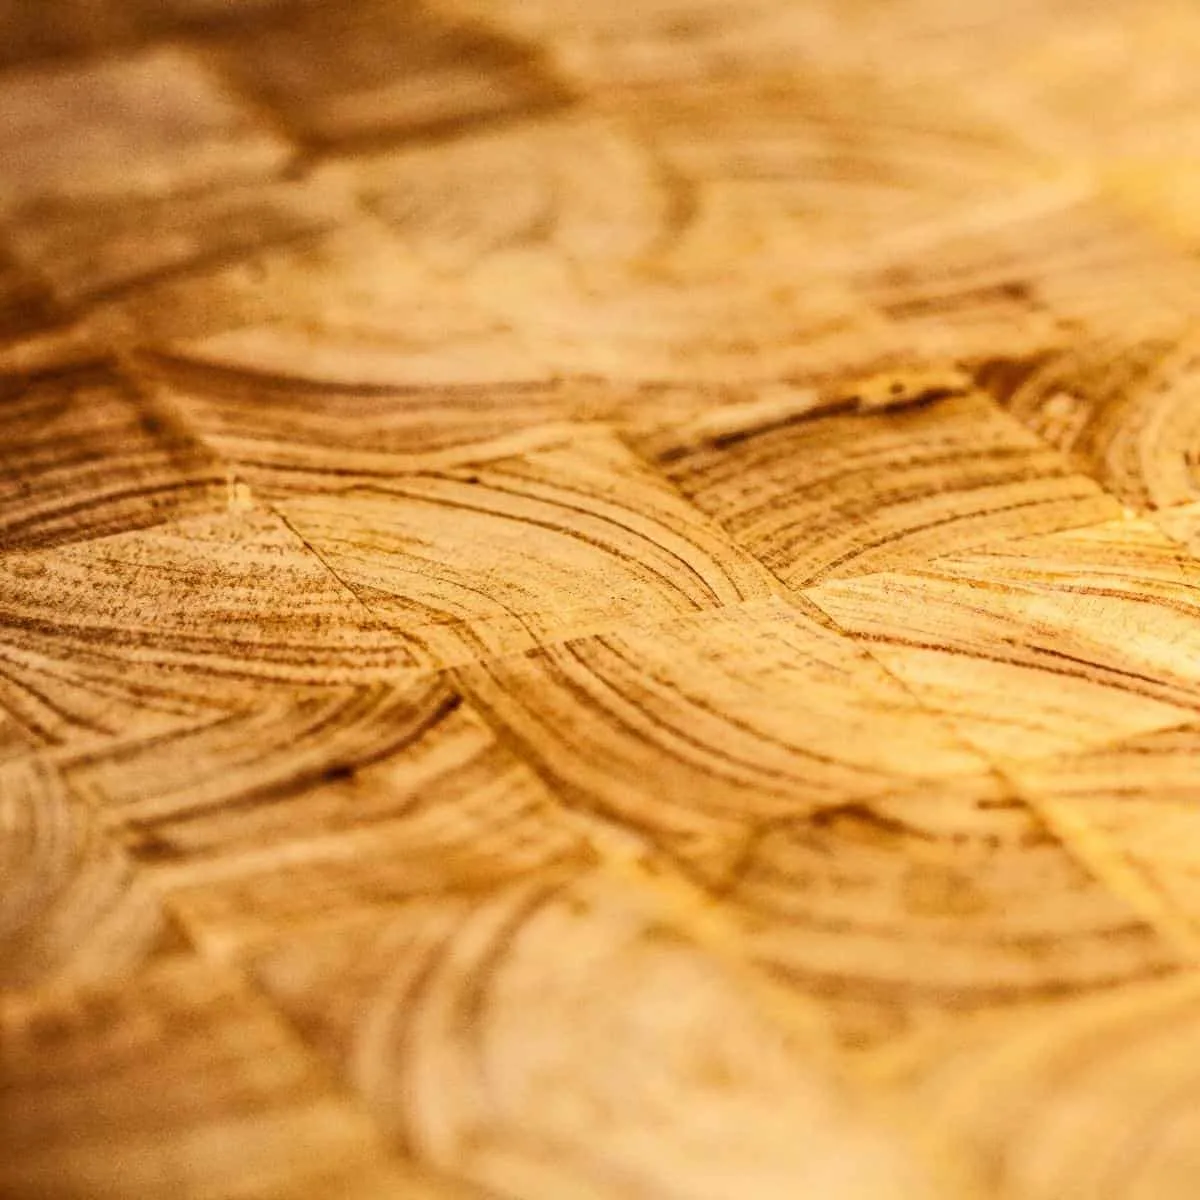
Budget friendly butcher block countertops use the face grain or edge grain of the boards, rather than the ends. This option looks less busy, because it uses longer boards rather than short ends.
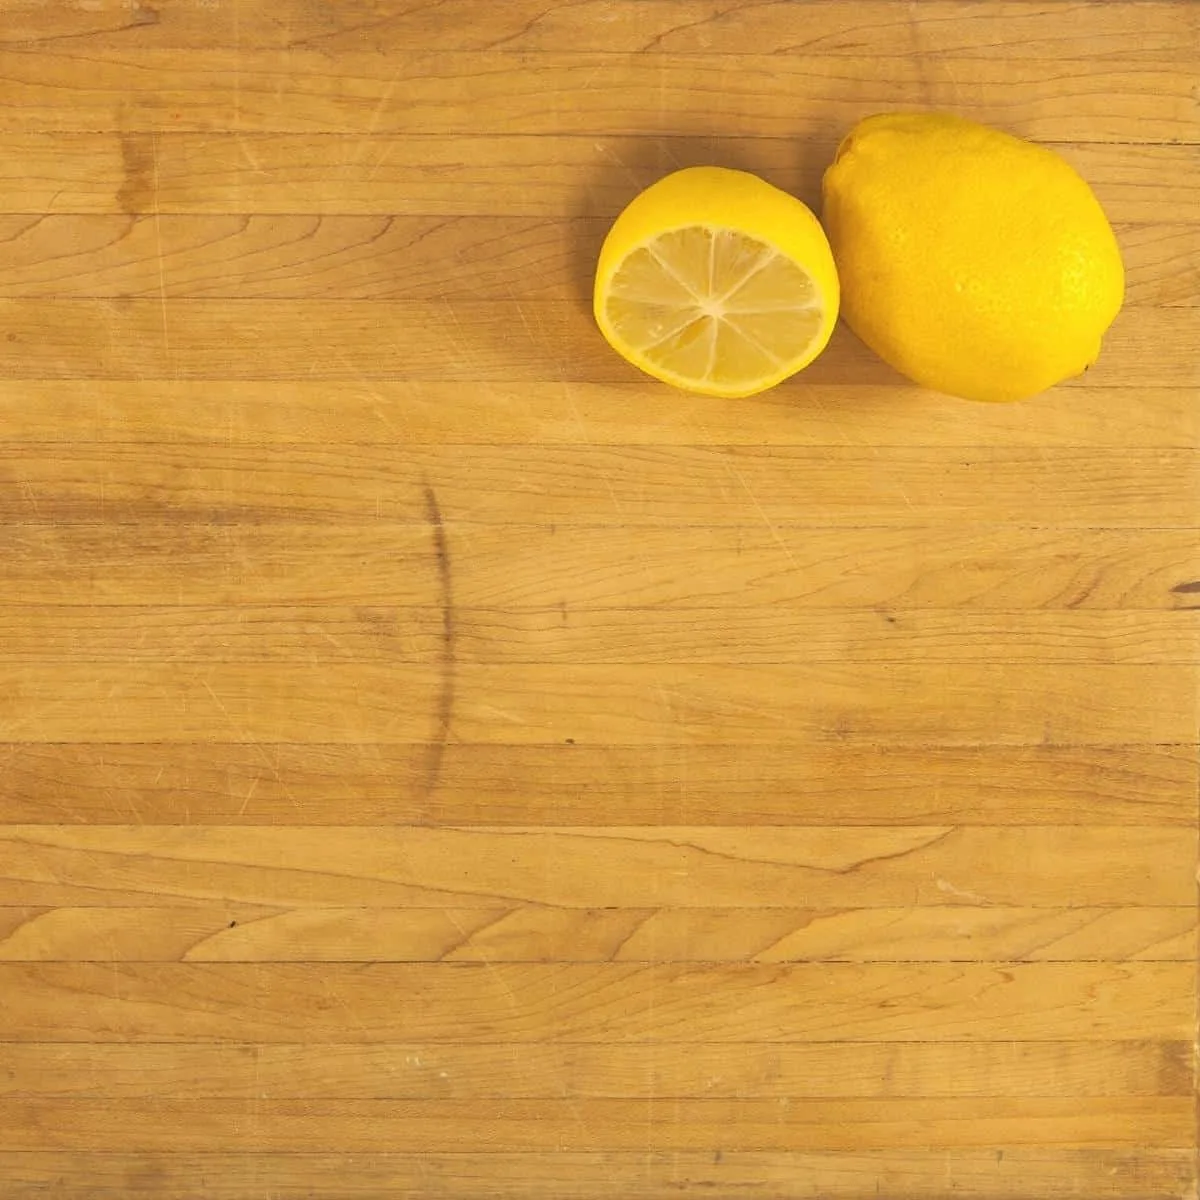
You can still use an edge grain butcher block countertop for food preparation, but you may want to sand out the visible cut marks periodically. However, some people like the character of a well-worn wood countertop!
Where to buy butcher block countertops
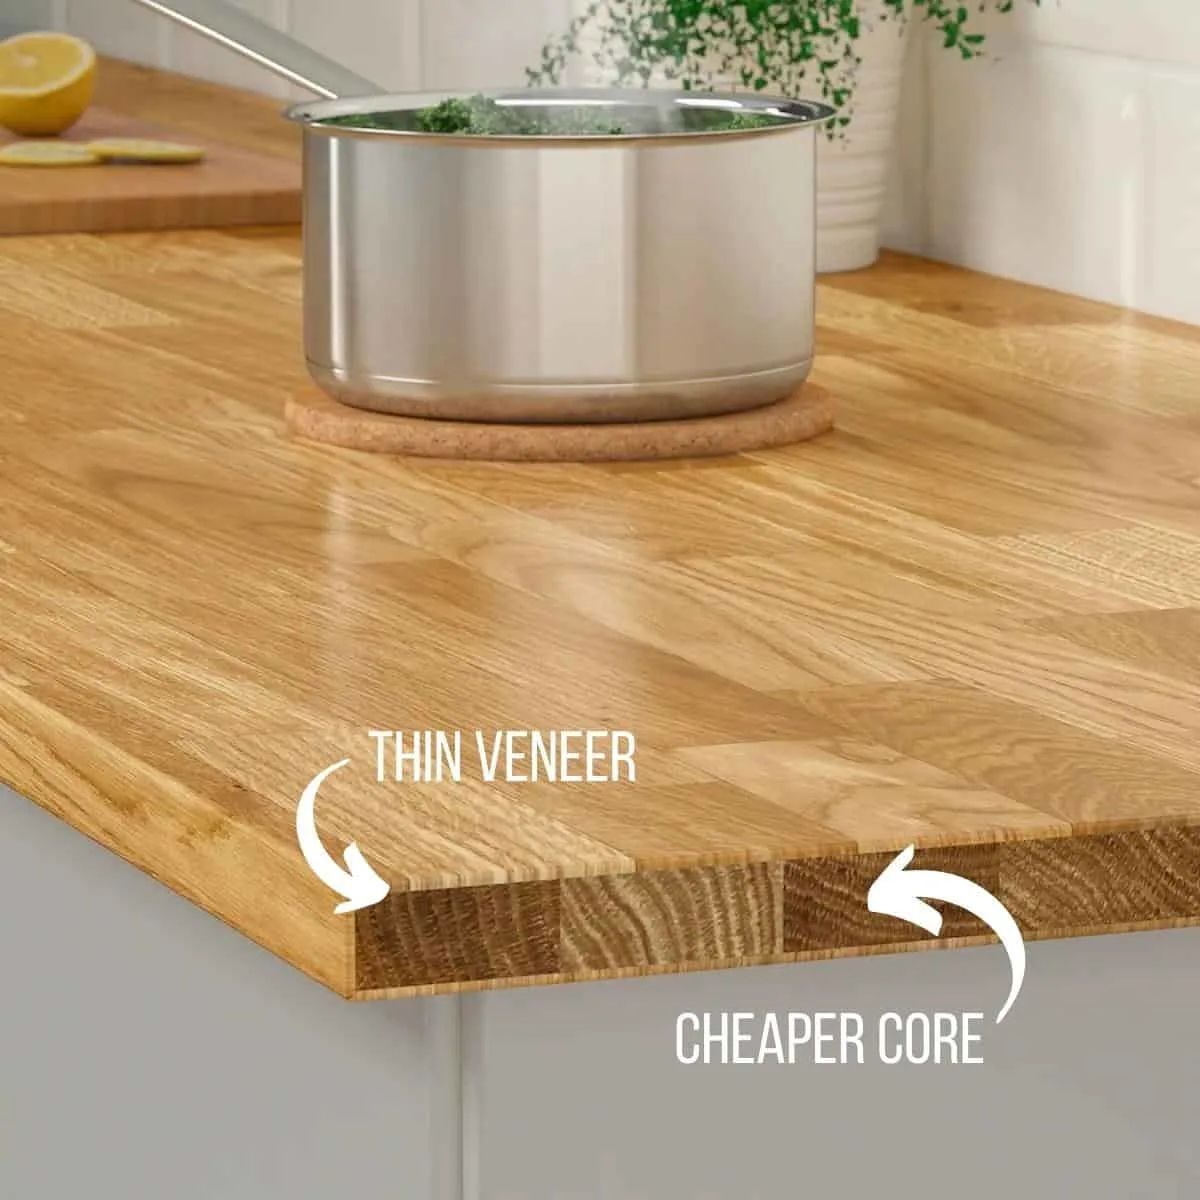
IKEA is a common place to start when shopping for butcher block countertops. They offer a few different wood species and sizes at an affordable price. However, many of their countertops aren't solid wood, but rather a thin veneer of nicer wood over a cheaper wood core.
This cheaper option is great if you plan to use cutting boards instead of the countertop for all your food prep tasks. Otherwise, you can easily ruin the surface with knife marks that can't be sanded out without exposing the cheap wood below!
Home improvement stores like Home Depot and Lowe's have a great selection of butcher block countertops, but they're usually only available online. If you want to inspect the surface before you buy, check out specialty stores like Floor & Decor for in-store stock.
I purchased my maple countertop from Home Depot, and I was able to get it shipped straight to my doorstep instead of lugging it home in a rental truck. All that wood is really big and heavy, and there's no way I could get it into the car!
You can also make your own butcher block countertops! I almost went this route, since I already have all the tools in my workshop. But when I accounted for the time it would take to plane the wood flat, cut it to size, glue up all the strips, then sand the finished panel, I decided to skip all that and buy one instead!
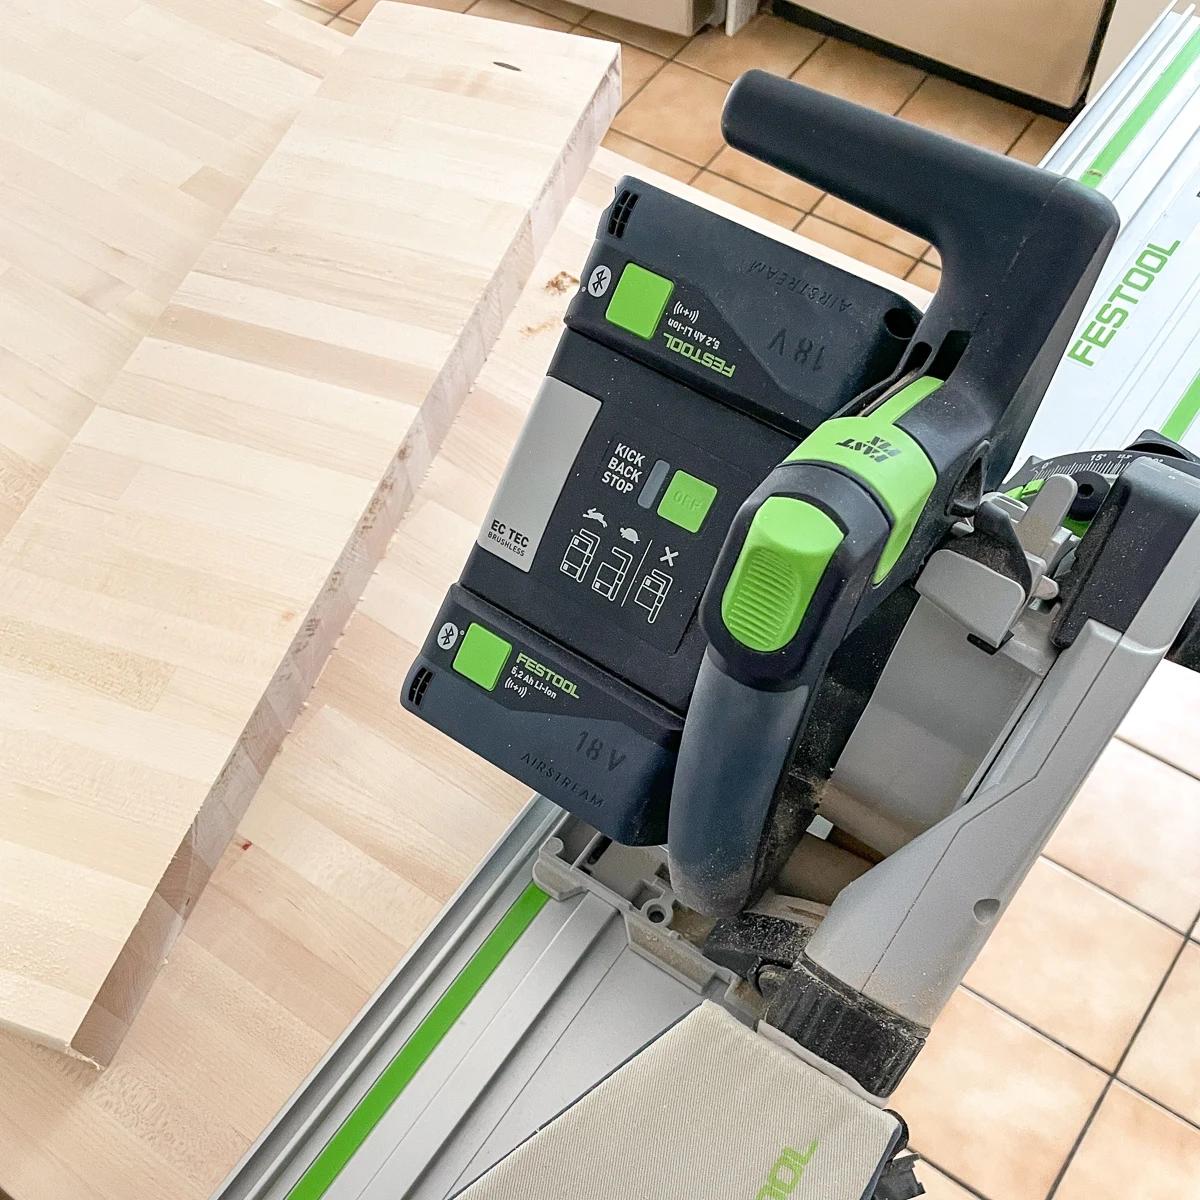
How to cut butcher block countertop
Cutting those big, expensive wood slabs isn't difficult, but it definitely can be nerve-wracking! I have a more in-depth article on how to cut butcher block countertop with lots of tips and tricks to ensure a perfect fit.
How to sand butcher block countertop
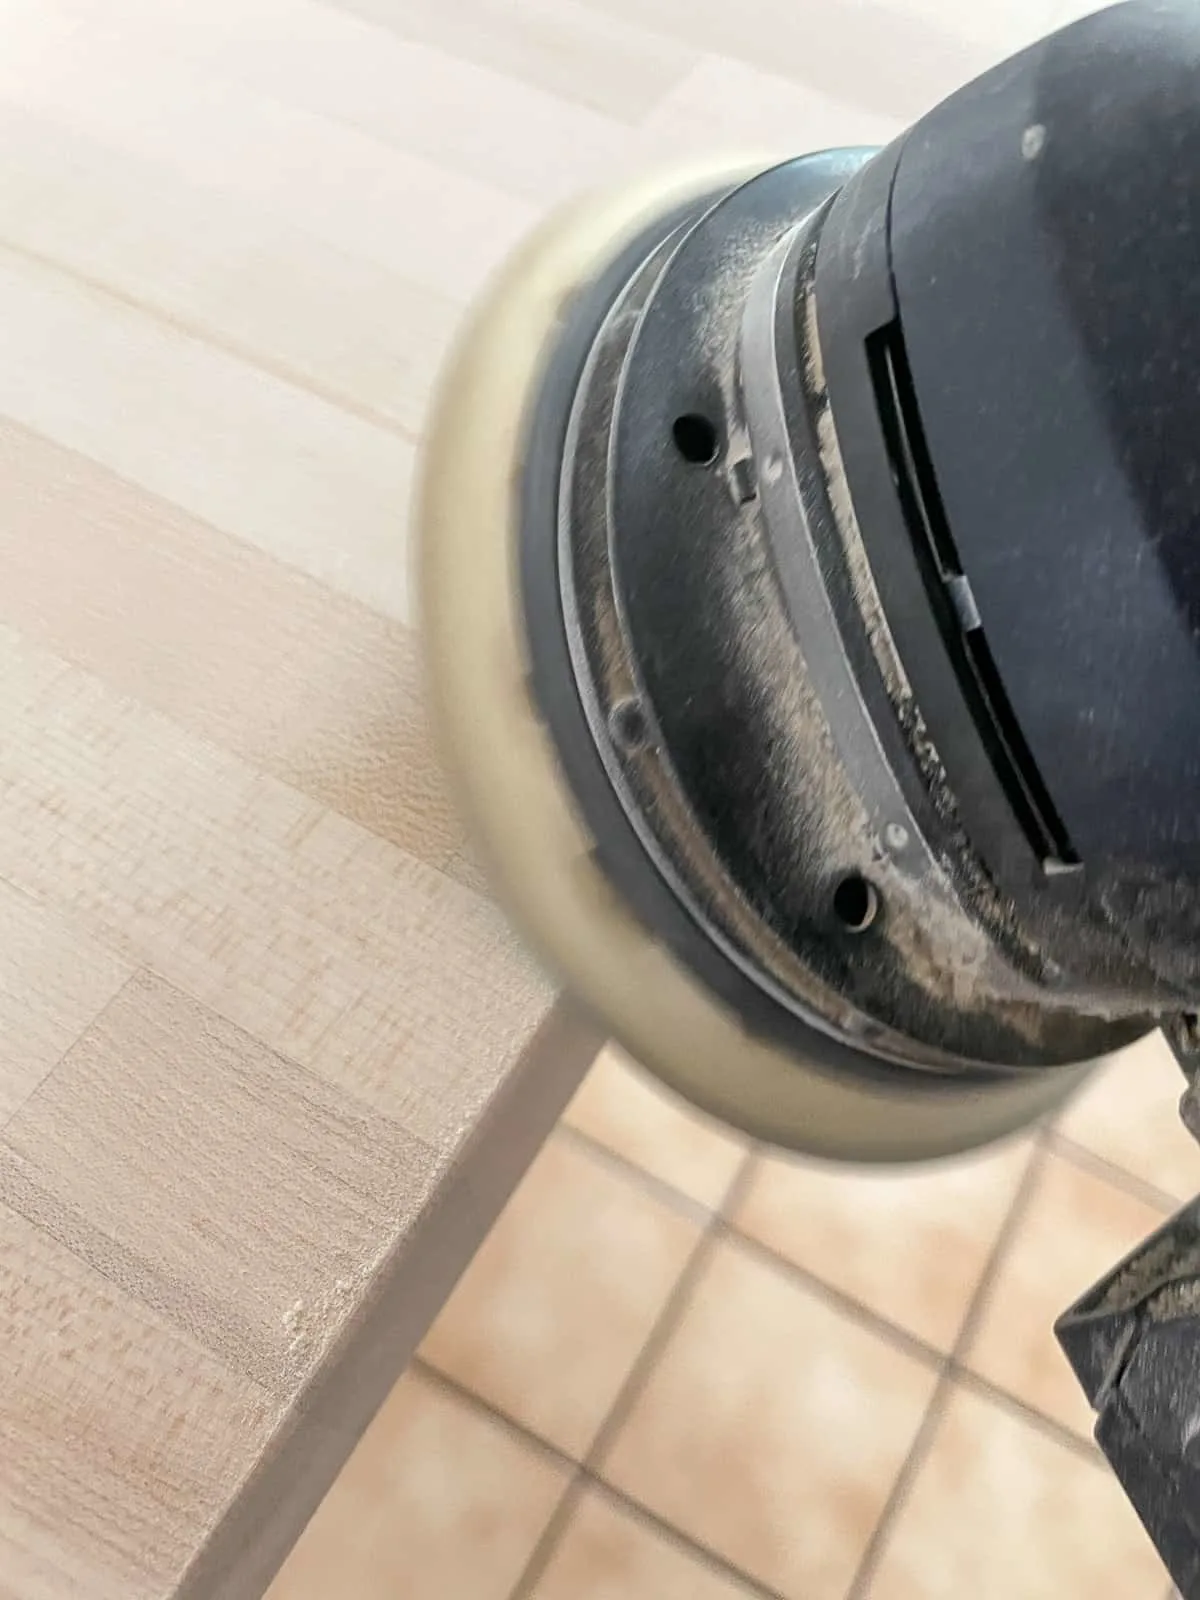
With all the cuts made, it's time to sand! If your cut edges are going up against the wall, an appliance or a corner, you'll want to keep those edges crisp. But on exposed ends, you can soften those sharp corners with a sander held at a 45 degree angle.
Even with store-bought countertops, it doesn't hurt to give it a quick sanding to buff out any scratches. Start with a lower grit sandpaper to even out the surface and work your way up to the higher grits. Check out this article on sandpaper grits for more info!
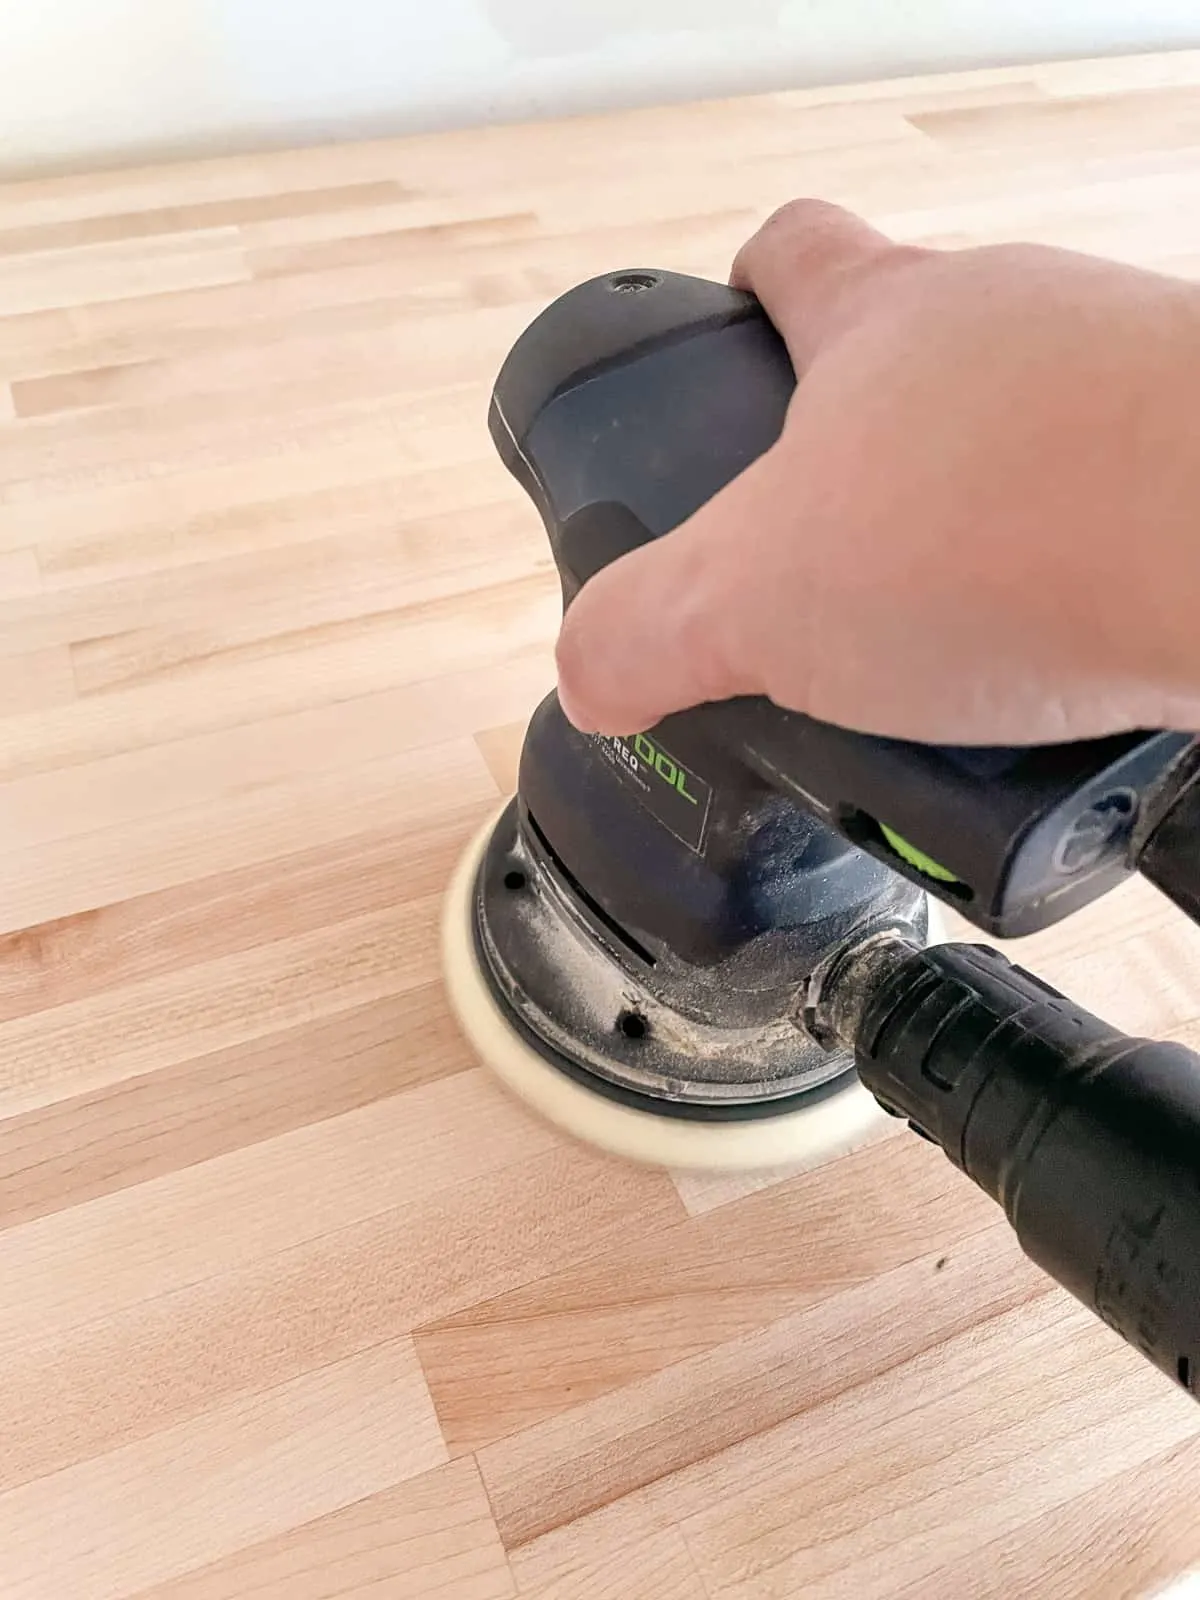
After sanding with the highest grit, you need to raise the grain of the wood by wiping down the entire countertop with a damp cloth. The wood will absorb the water and expand slightly, leaving a rough surface. Once it's dry, sand one last time with 220 grit sandpaper to remove the raised fibers.
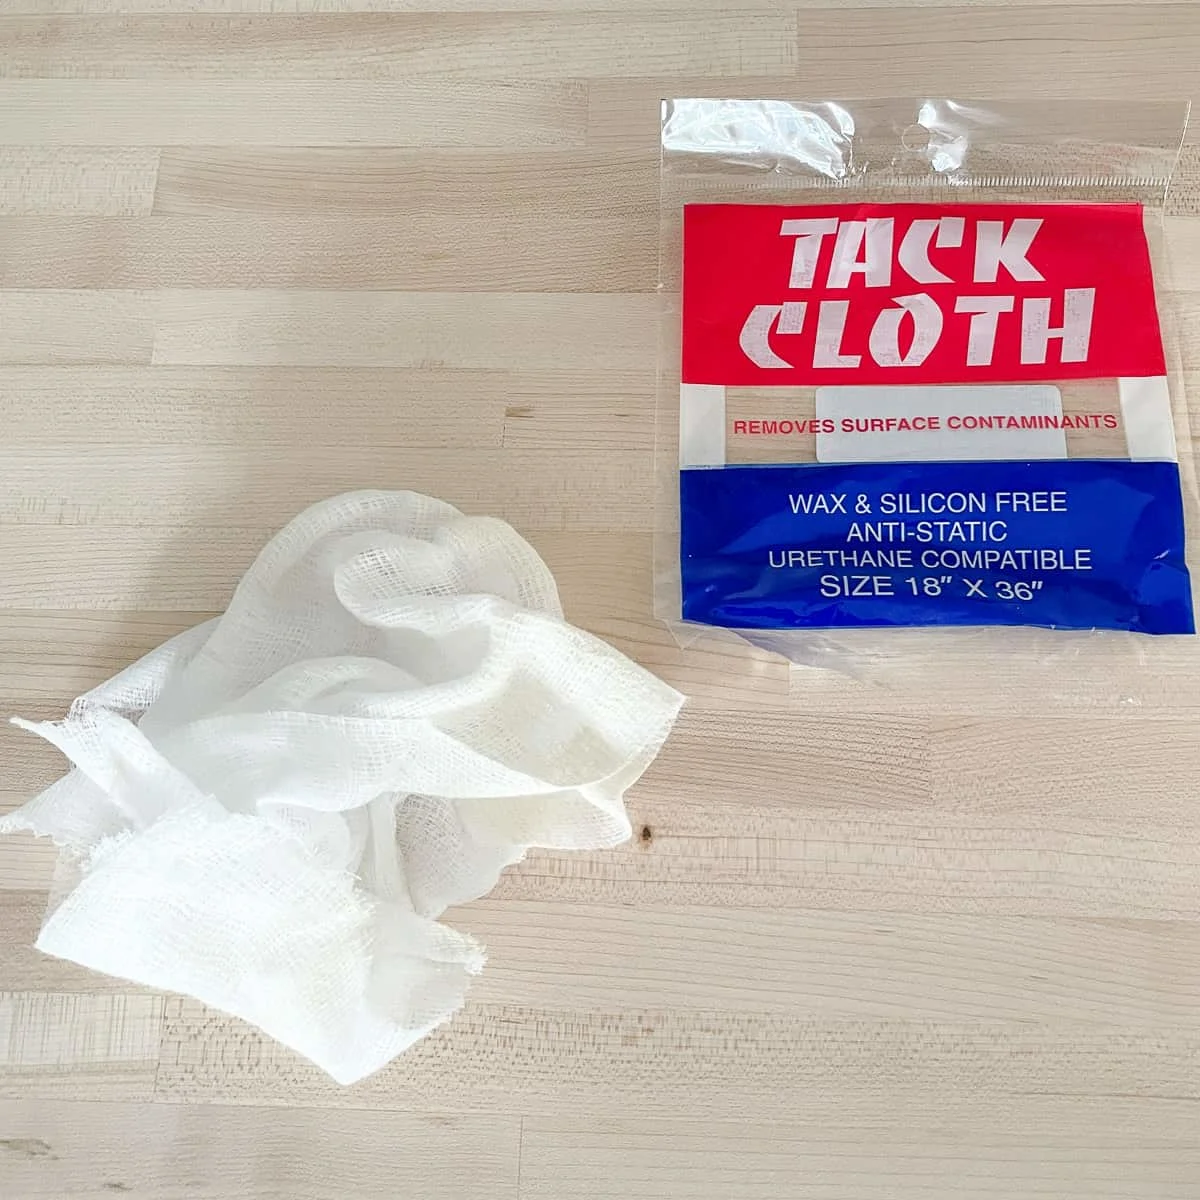
Once you're finished sanding, remove all the dust with a tack cloth. You don't want anything left behind to ruin the finish!
How to seal butcher block countertops
Now that your beautiful butcher block countertops have been cut to size and sanded smooth, you need to seal and protect the wood! Otherwise, the surface will absorb stains and harbor mold.
Some issues, like black stains created by wet metal touching the wood, are easy to remove with the right cleaner. Other stains may require you to sand the entire surface back to bare wood and start over!
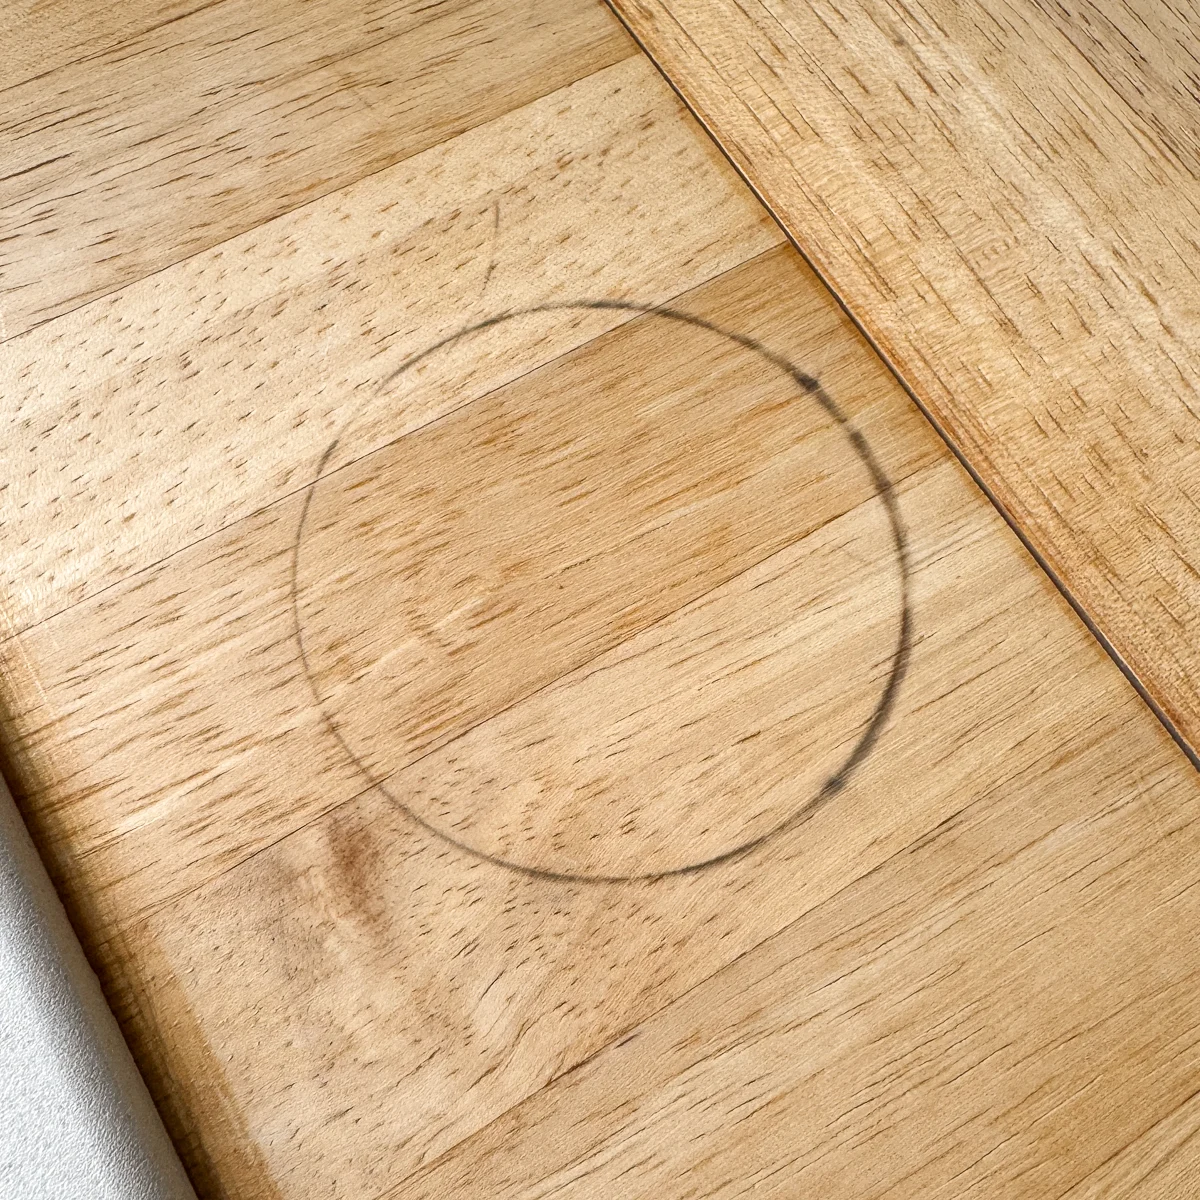
Make sure you apply the finish to both sides of the countertop. If you only seal the top, the wood will absorb moisture in the air underneath differently and may cup or bow over time.
If you're joining two sections of countertop together (such as at a corner), you should avoid getting any finish along those edges. You'll need to apply wood glue to both sides of the joint, and it won't adhere properly if there's finish on the wood.
Food safe finishes
If you're going to cut directly on the countertop, you should not use any toxic wood stains or top coats that could get into your food. Food safe finishes that contain natural ingredients such as beeswax or mineral oil are your best bet. They will repel moisture without introducing any unwanted chemicals.
I started off with a few coats of butcher block conditioner. Just squirt it over a section of wood and rub it in with a clean rag. You can see the difference between the finished and unfinished sides of this maple wood countertop below.
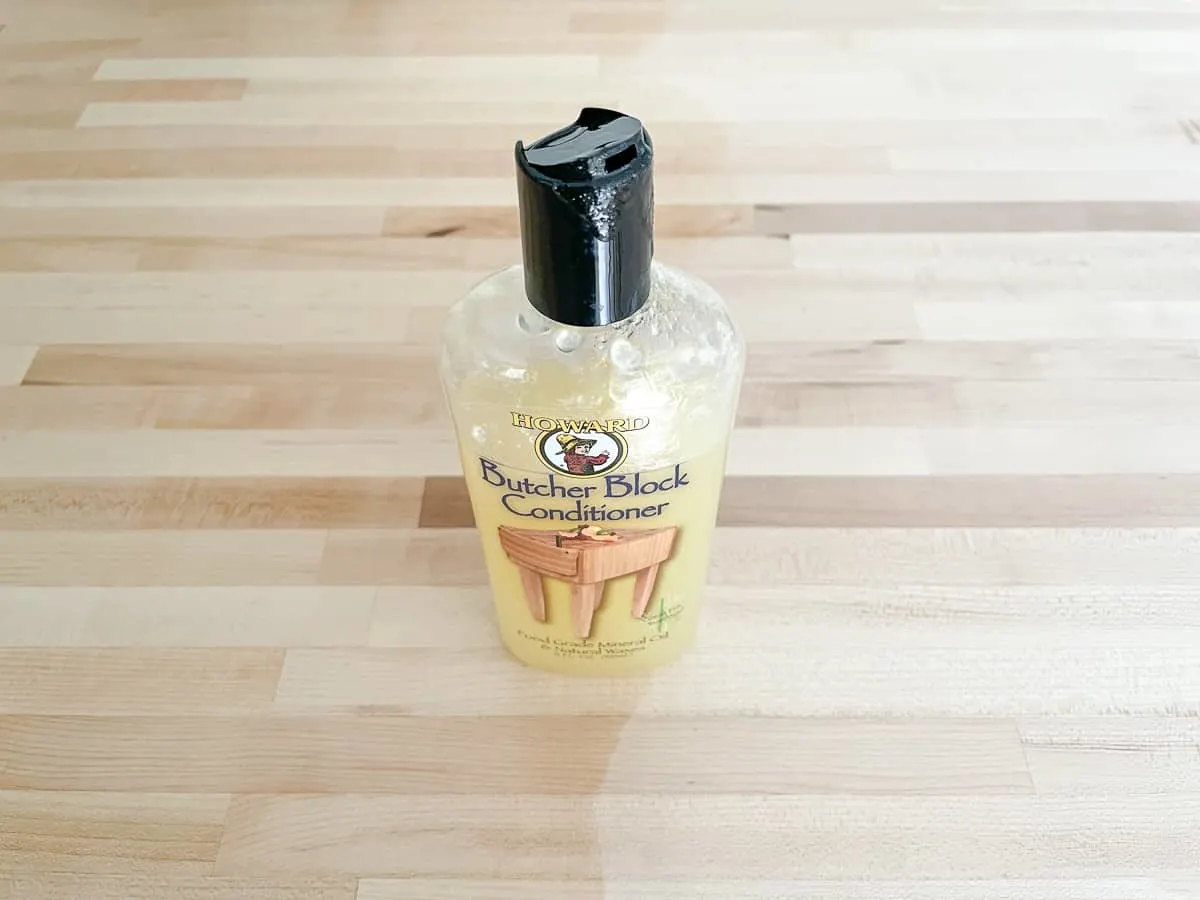
But after living with it for a couple of weeks, I decided I wanted something with a bit more shine. The butcher block conditioner soaked deep into the wood fibers and left the surface looking dry and dull.
So I lightly sanded the surface and applied multiple coats of Walrus Oil (not made from walruses!) This gave the maple countertop a slight sheen, and repelled moisture much better.
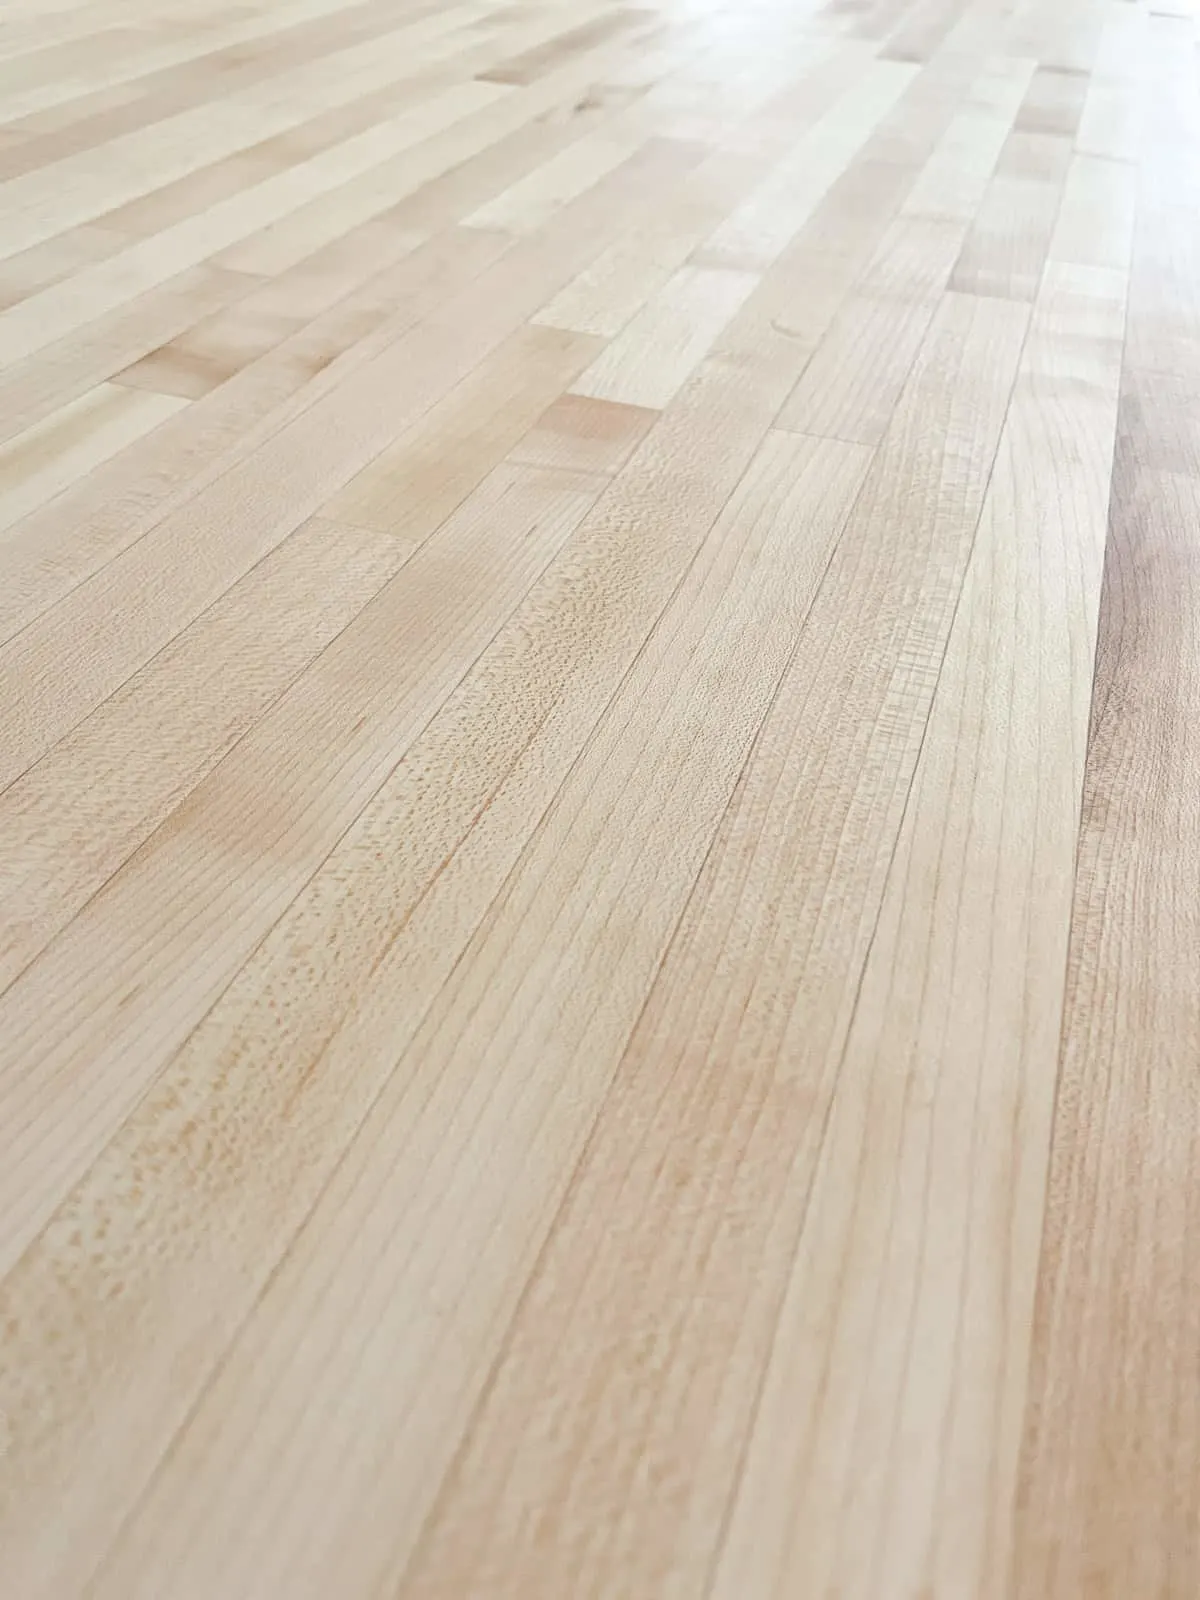
I set a reminder in my phone to apply additional coats of oil once a week for the first month, then once a month after that. Eventually, the wood fibers will become completely saturated with oil and won't need so much upkeep.
Stained wood countertops
Want to change the color of your wood countertops? You'll need to stain and seal them with a protective top coat such as polyurethane or polycrylic. This will make them completely waterproof, so it's a good option if you're prone to spills while cooking and cleaning!
You may also want to consider applying wood conditioner before staining. This will even out all those different grain directions of the butcher block, so the stain gets soaked up evenly.
I have a side-by-side color comparison of various gray wood stains if you want a gray butcher block countertop. My dining table had a maple butcher block top, and the gray wood stain turned out amazing! It would really pop against white kitchen cabinets!
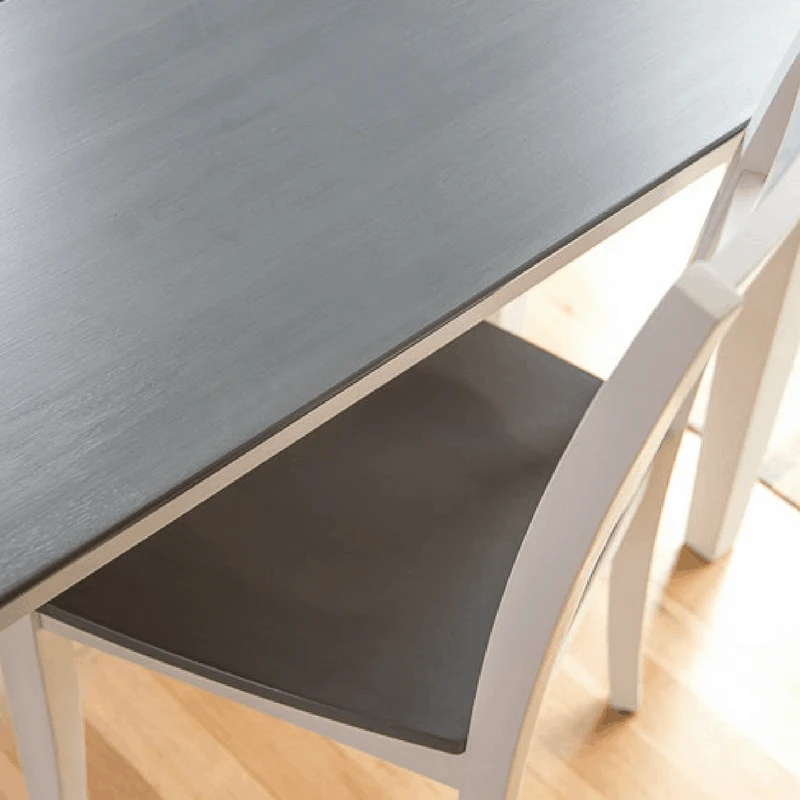
Want to go even darker? Check out these black wood stain options too!
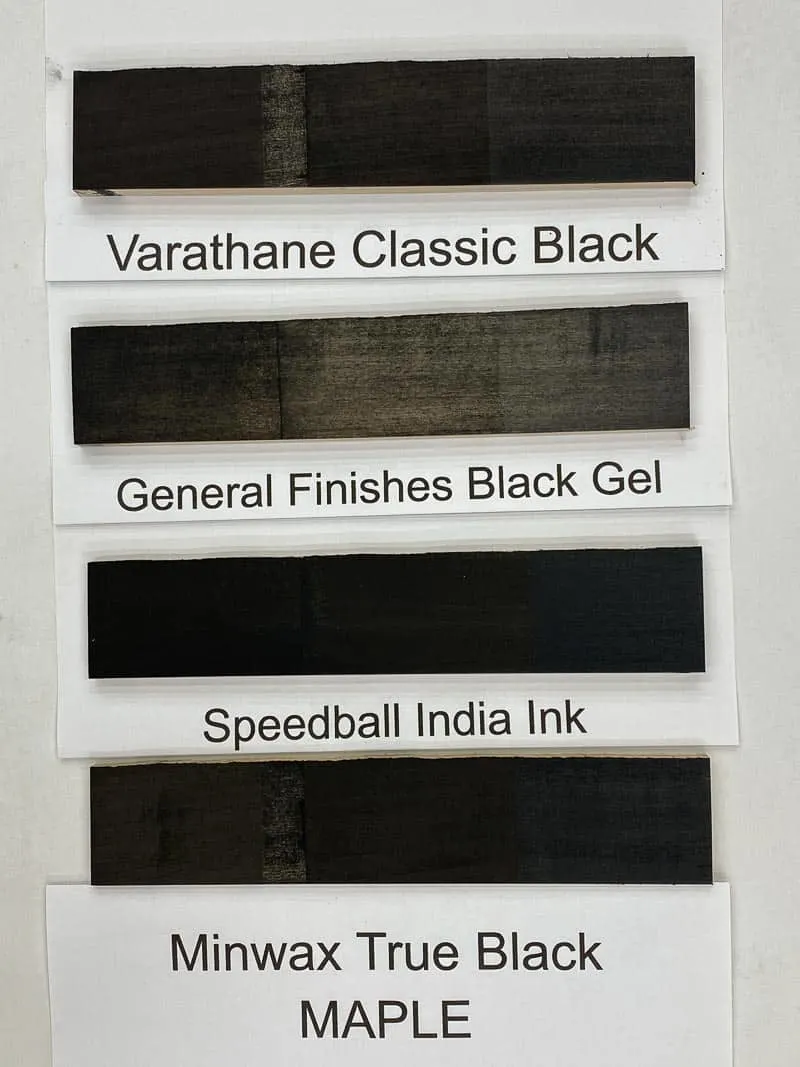
I recommend General Finishes High Performance Top Coat for sealing stained butcher block countertops. It's super easy to apply, and holds up really well to wear and tear. They even have a super flat version if you want to keep the natural wood look with the added protection of a top coat.
How to install butcher block countertops
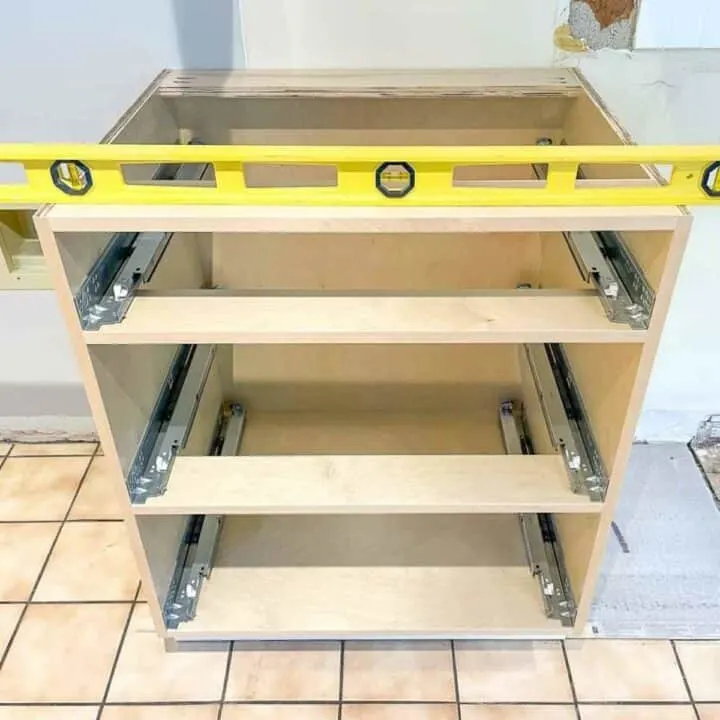
Now that your new countertops are looking great, it's time to attach them to the base cabinets! You can learn how to install base cabinets and get them level and flush here.
If you're joining two sections together at a corner, you'll need to drill holes for the countertop connector hardware first. This will allow for wood movement while keeping the seam tight.
There should be stretchers across the top of the base cabinets. Refer to the diagrams in this article about the parts of a cabinet if you're not sure where they are.
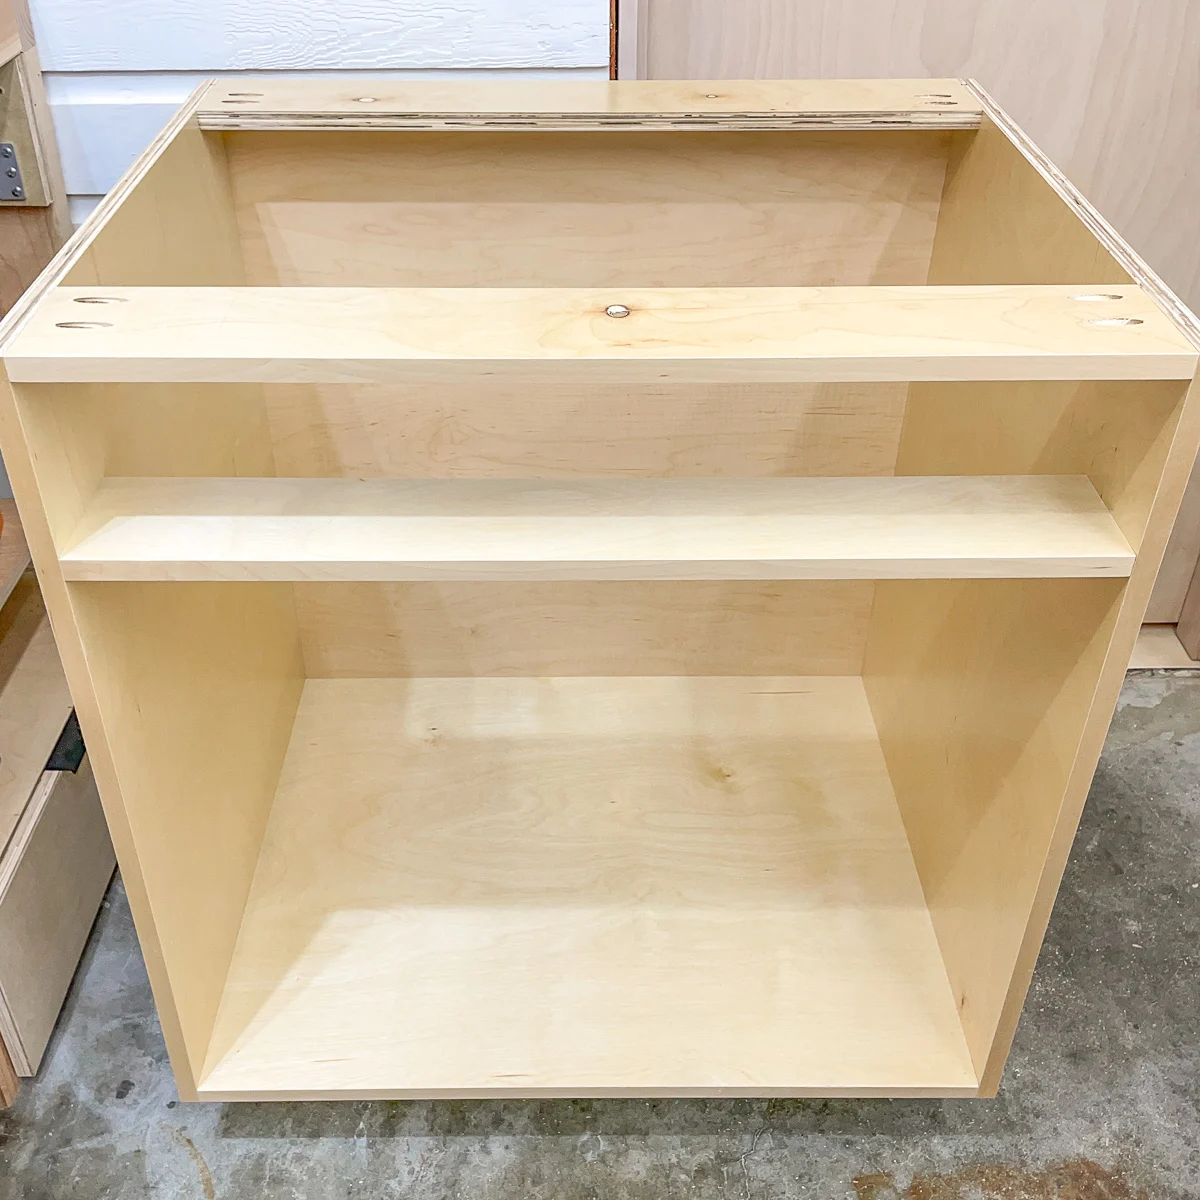
Choose screws that will be long enough to go through the stretchers and into the countertop, but not so long that they poke through the surface. I recommend predrilling the holes with a countersink bit to hide the screw heads and prevent them from interfering with the movement of the drawers below.
Once you get the countertop in place with even spacing on the front edge, screw through the stretchers and into the underside of the countertop to secure it in place.
This video gives a great overview of how to install butcher block countertops, including the corner connectors.
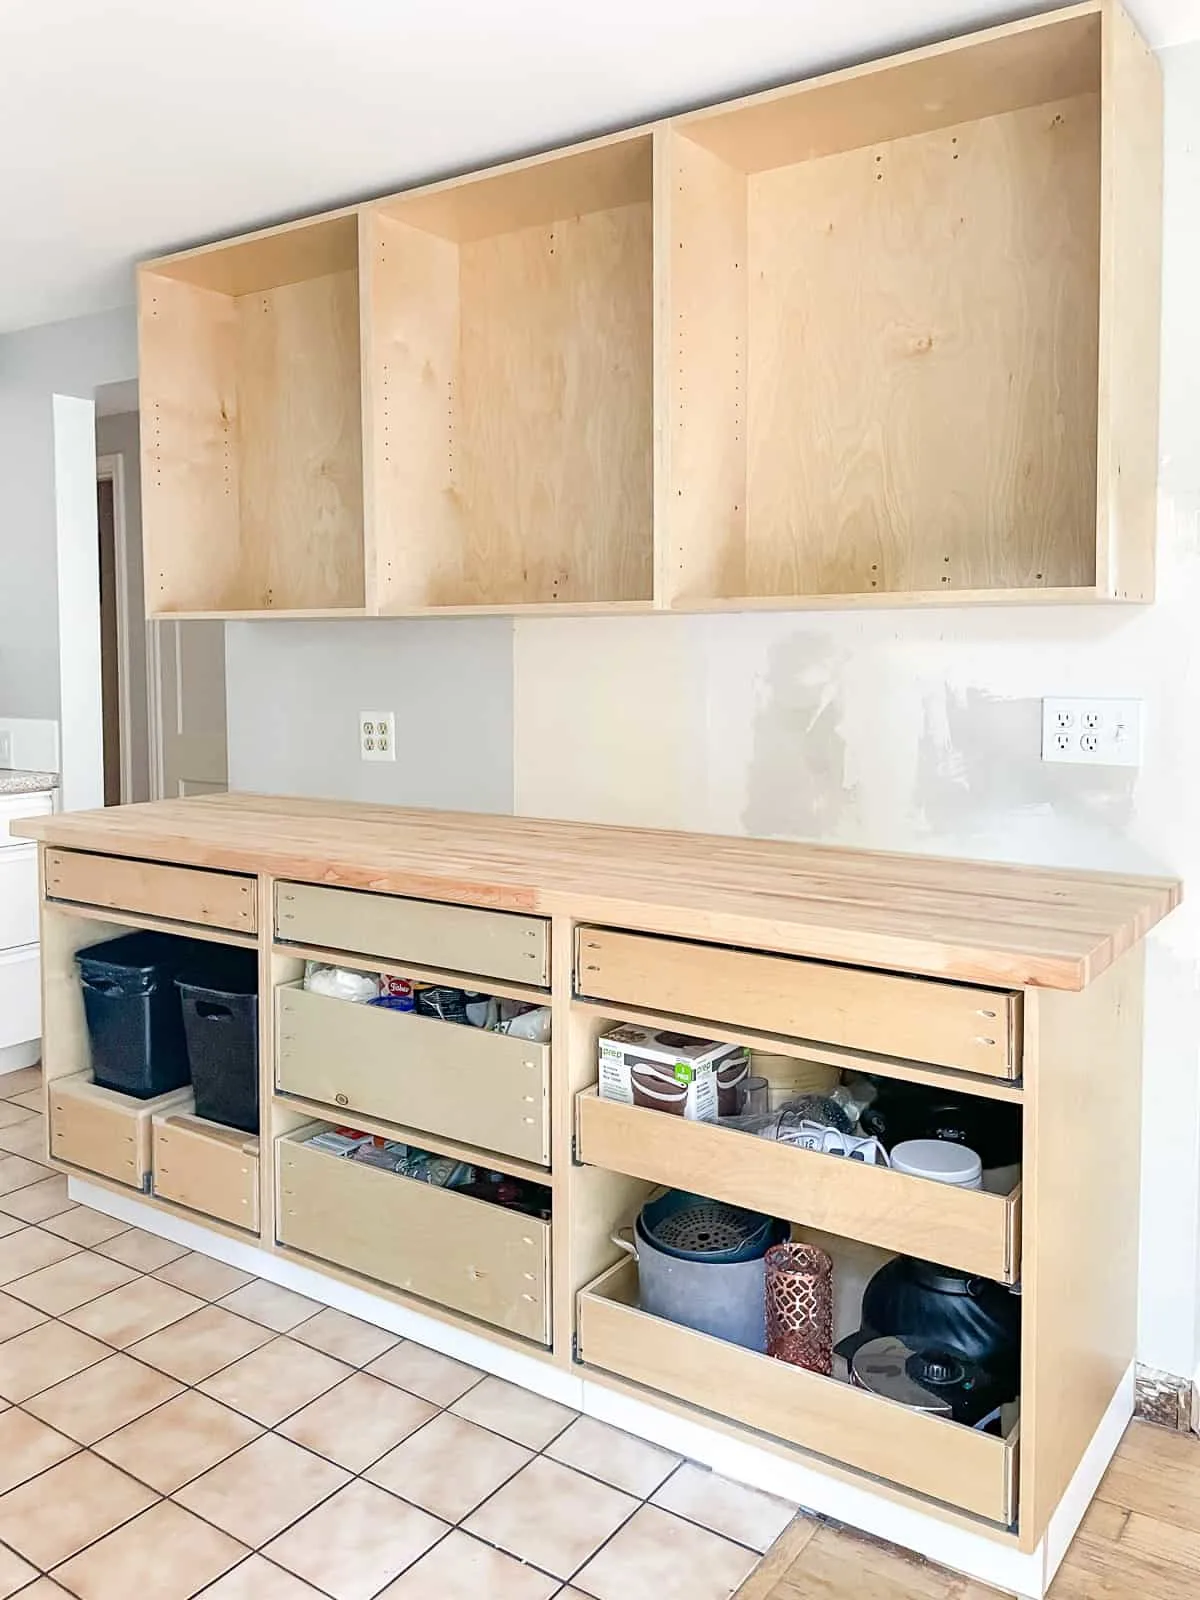
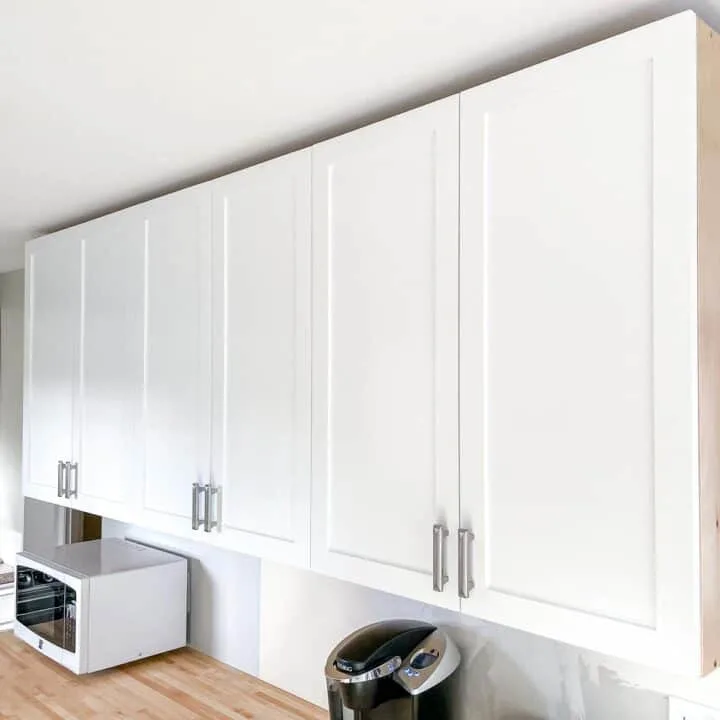
With the countertop installed, we can finally use this section of the kitchen again! It's really starting to come together now. You can learn about how to build a wall cabinet, and I'll have tutorials for the doors and drawer fronts coming soon!



Dennis
Friday 4th of February 2022
I work for Lowe's for 5 years in they're receiving and stocking. I can guarantee that Lowe's carries butcher block counter tops In their stores. As for Home Depot i have no knowledge one way or the other.
Tom
Friday 22nd of April 2022
@Vineta Jackson, I bought my two 72” and 48” butcher blocks at the local Home Depot, they are going in my remodeled laundry room
Vineta Jackson
Friday 4th of February 2022
Good to know! My nearest Lowe's is more than twice the distance of the two closest Home Depots, so I don't shop there as much. But I'd much rather pick out my countertop in person next time!