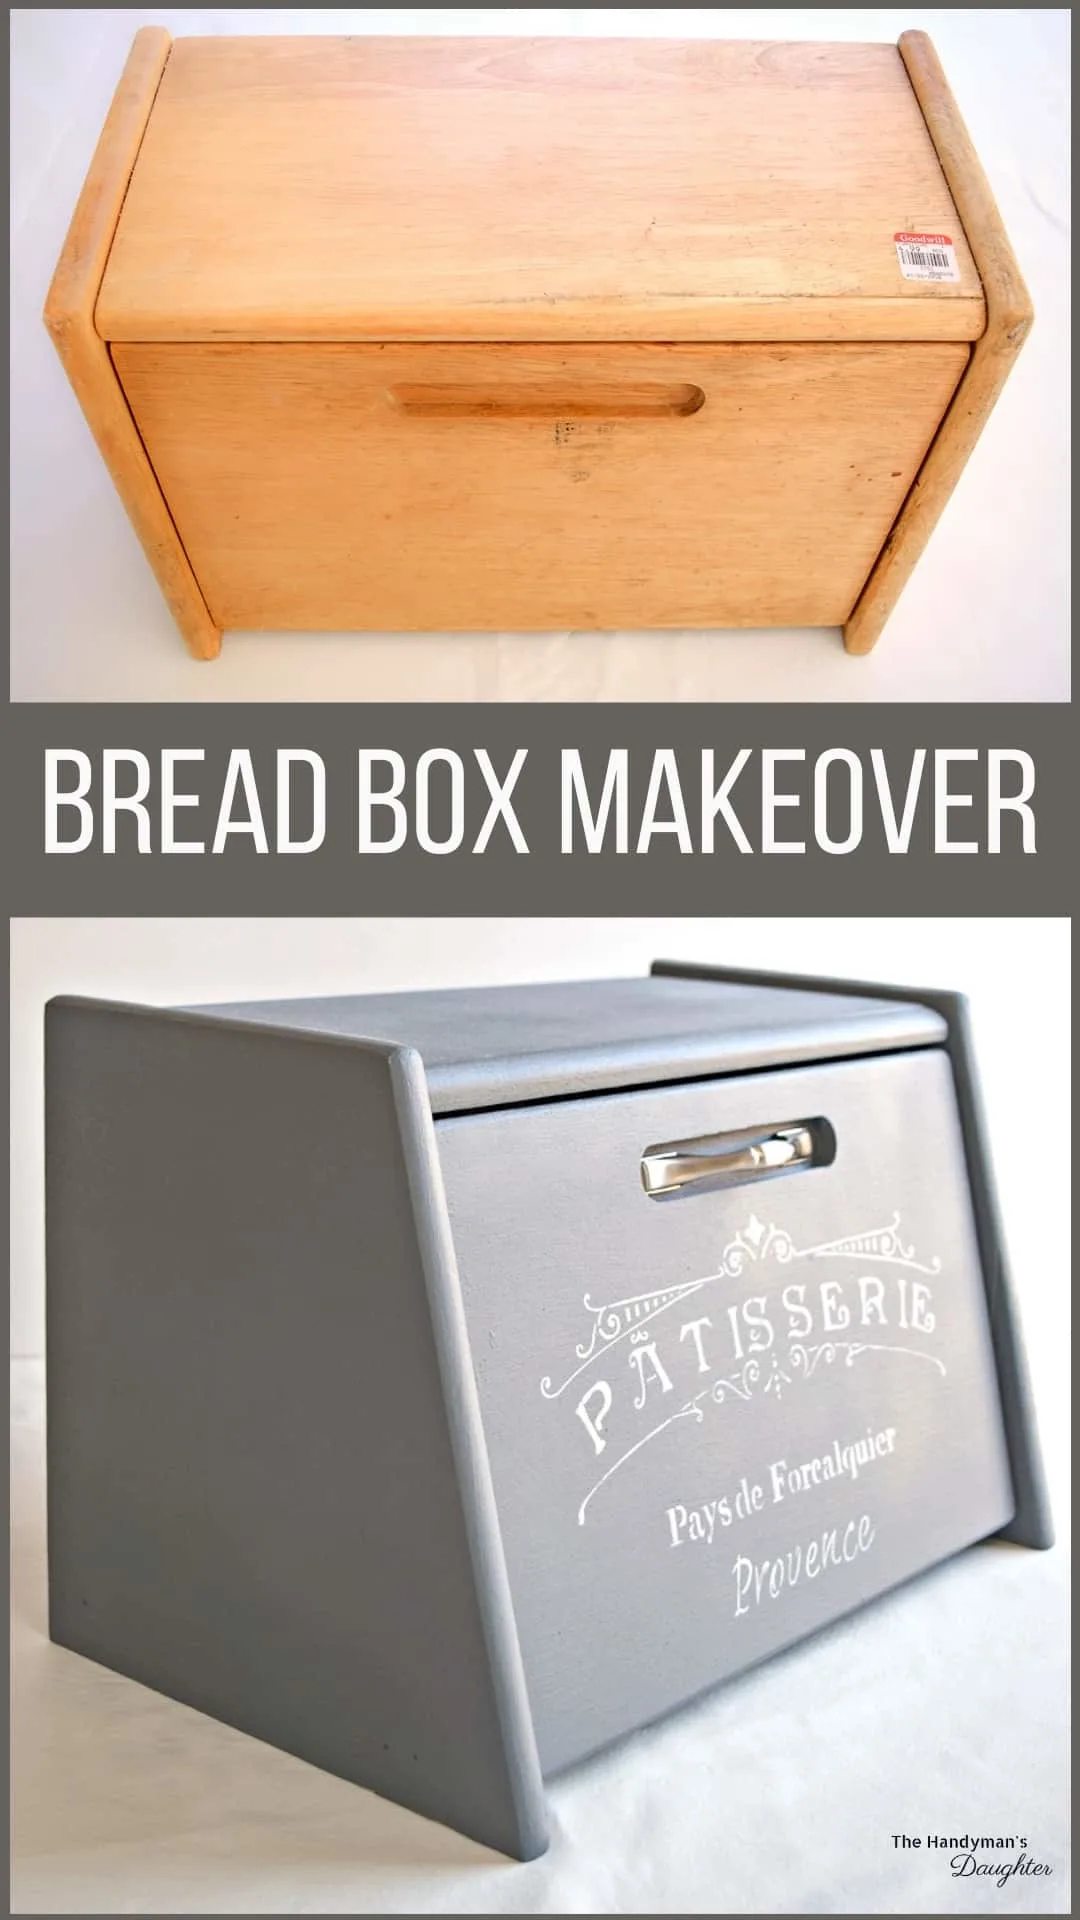
Give that old bread box a new look! Get my tips for painting a wooden bread box with chalk paint and a stencil in this easy DIY project!
Every morning before school, I make my son the same lunch: a peanut butter sandwich (no jelly for him. He complains that it's too messy! Did I mention he's a picky eater?) In the mad rush to get out the door, the bread and peanut butter end up sitting on the countertop all day, contributing to the clutter in our small kitchen.
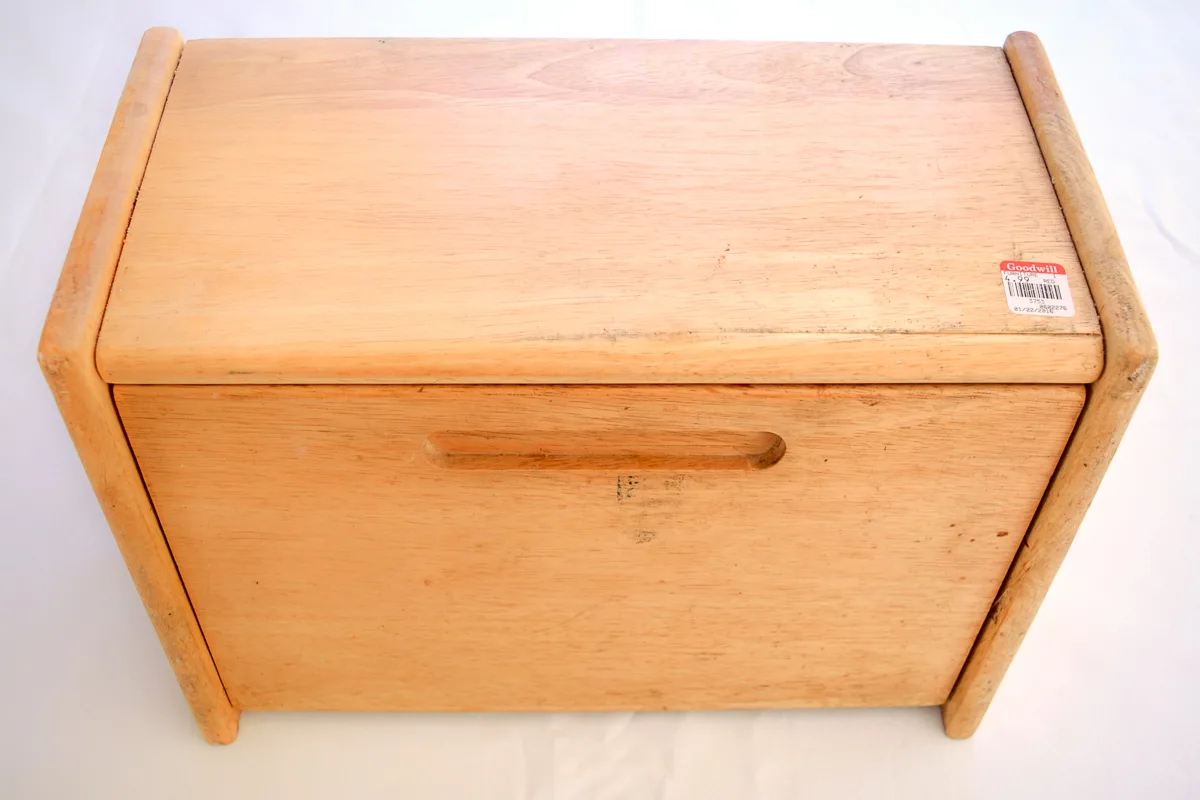
After completing my kitchen makeover this summer, I vowed to keep it neat and clean. This beat up bread box I picked up at the thrift store is a key to keeping that promise.
This post contains affiliate links for your convenience. Purchases made through these links may earn me a small commission at no additional cost to you. Please visit my disclosures page for more information.
Materials Needed
- Old wooden bread box
- TSP cleaner
- Latex paint
- I used chalk paint mix to give my painted bread box a matte finish.
- Stencil (optional)
How to Paint an Old Bread Box
Clean the wood
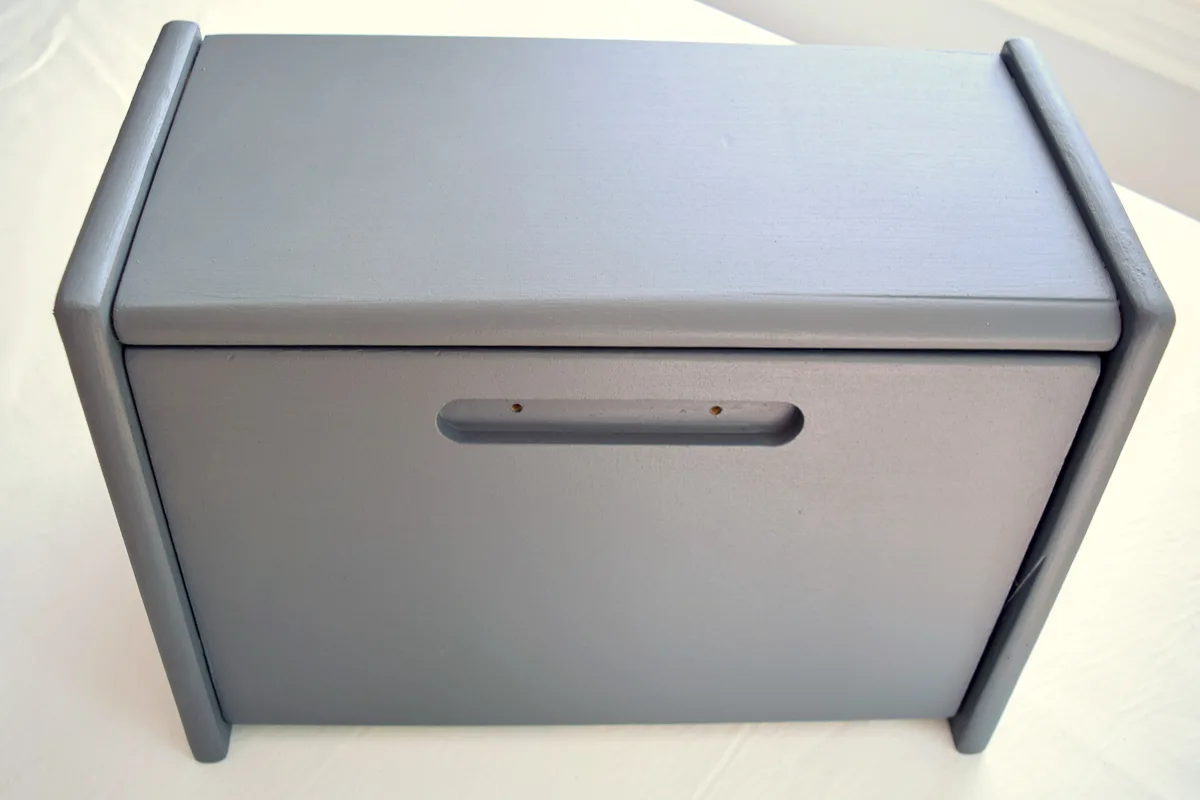
When I brought this bread box home from the thrift store, my husband gave me a look that said "You're not seriously thinking of putting food in that thing, are you?" Admittedly, it was in pretty sad shape, with an unknown sticky substance outside and crumbs lingering inside. A good scrub with TSP took care of all the grossness.
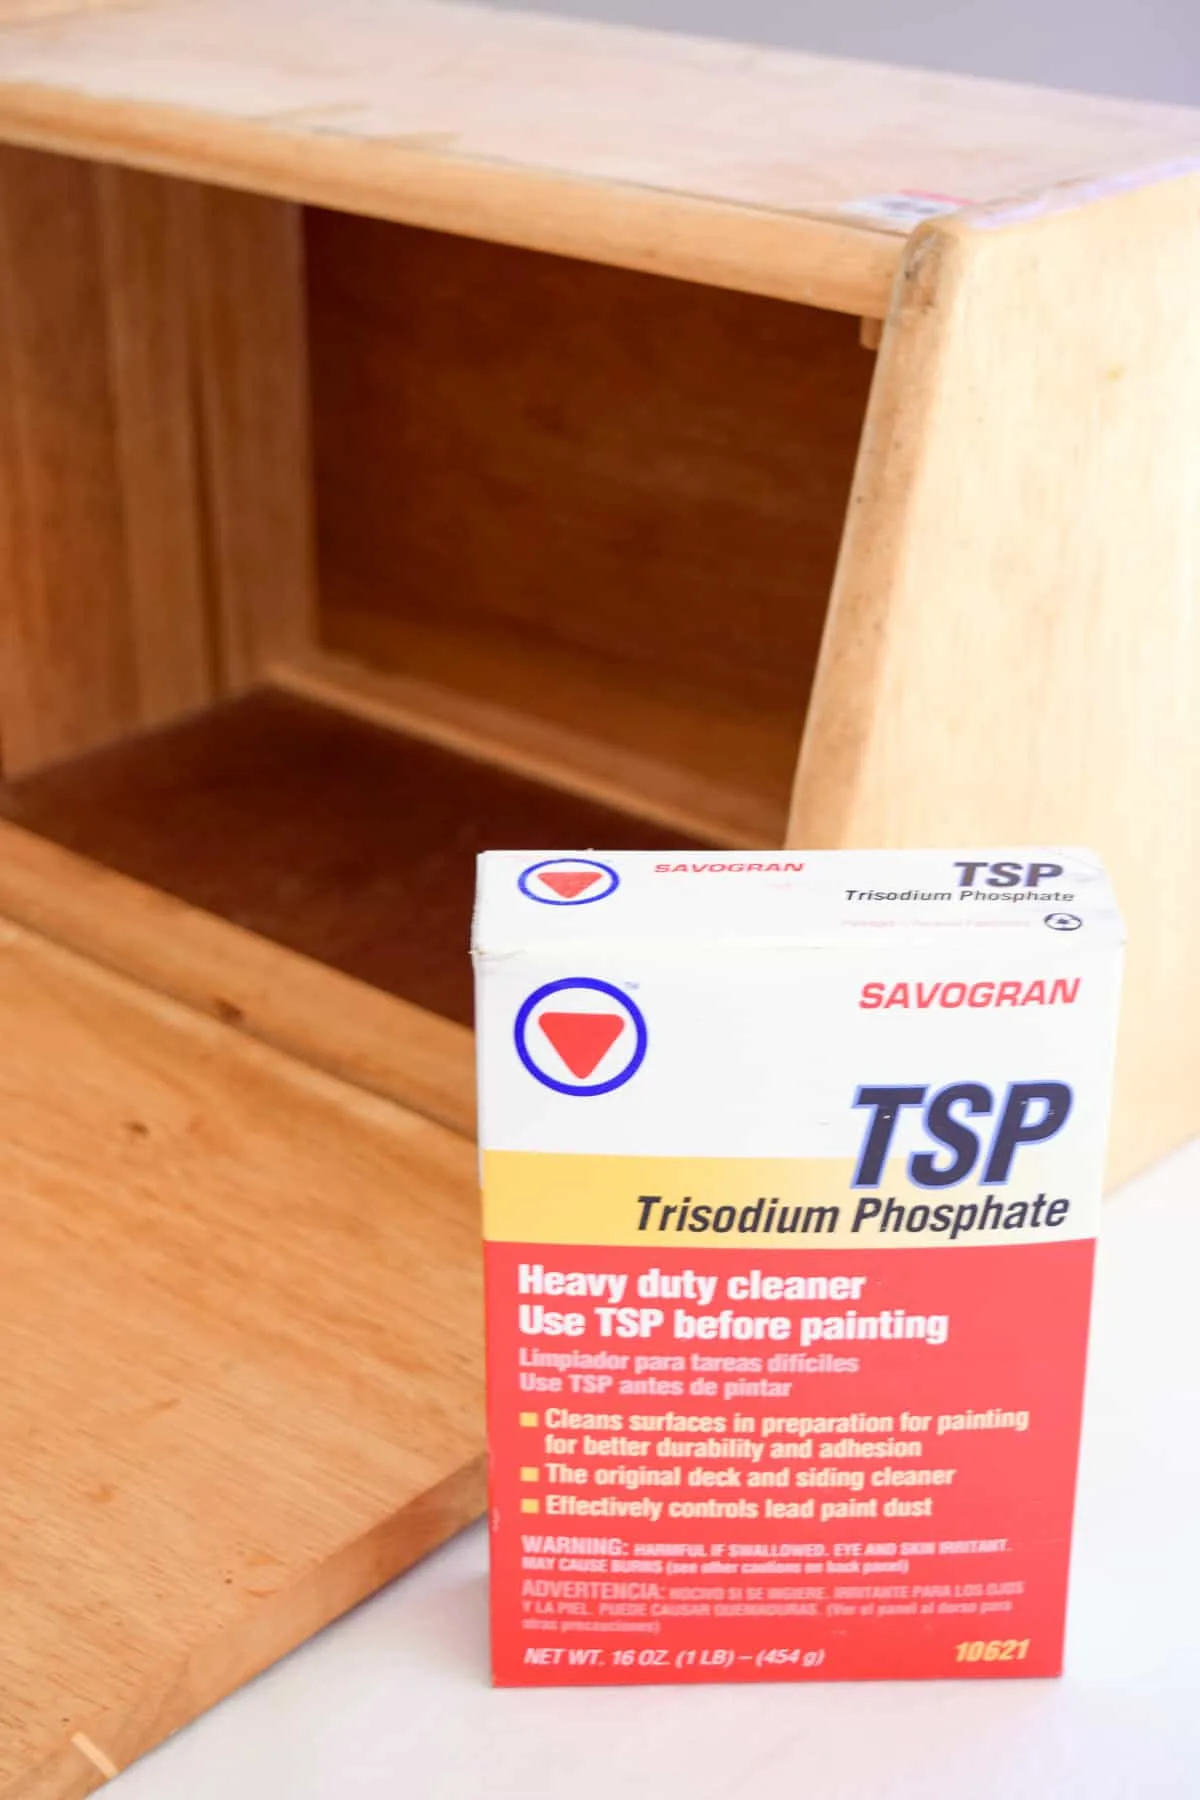
This stuff will suck the oils right out of your skin, so I recommend using protective rubber gloves when using it. But it does an amazing job at getting tough surfaces ready for paint!
Drill hardware holes (optional)
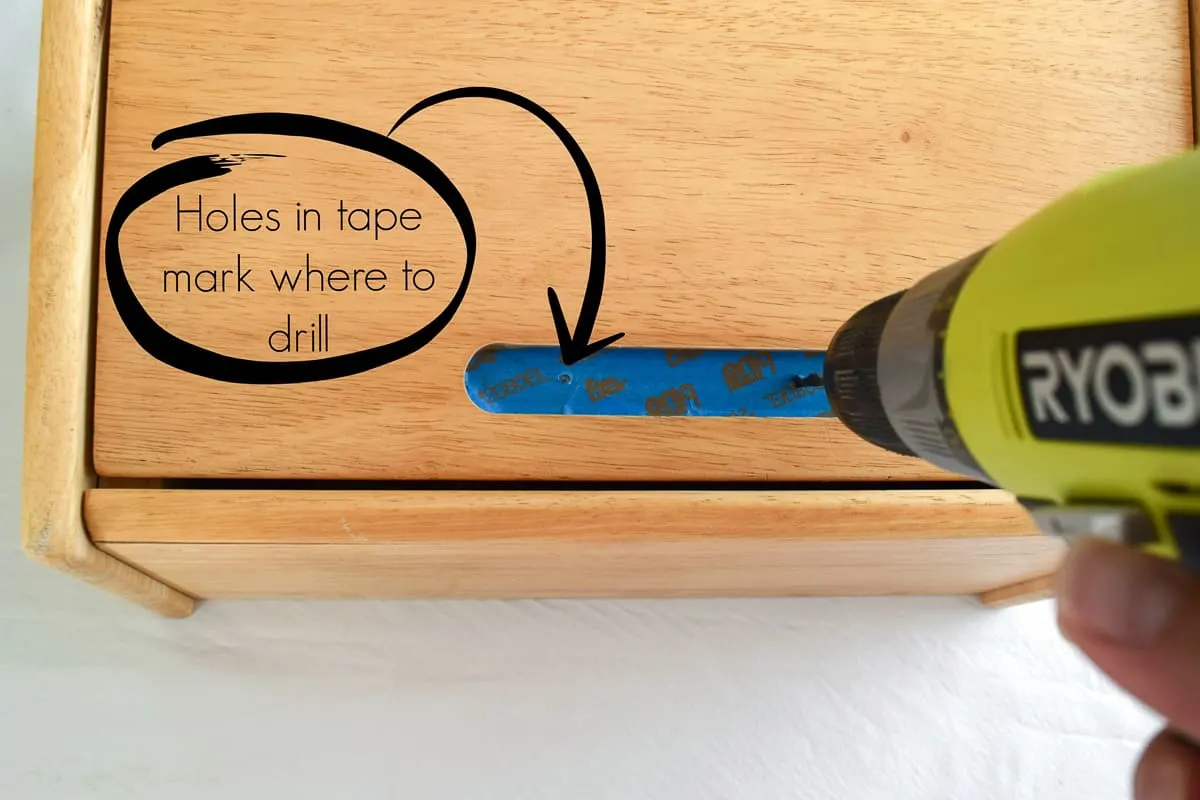
I wanted to install a handle to open the bread box rather than use the little grab notch cut into the front. What was it about the 80's that made people refuse to put hardware on anything, including our kitchen cabinets!
I stuck a piece of painter's tape to the back of the drawer pull, and poked a pencil into the holes where the screws will go. Then I centered the painter's tape over the notch and drilled the holes for the new hardware.
Paint all the wood surfaces
I mixed up four tablespoons of a chalk paint mix with two tablespoons of hot water and one cup of dark gray paint I found in the "oops" section of Home Depot. You can certainly use regular latex paint for this project as well!
This was my first time using a chalky finish paint, but it's certainly not my last! I was amazed at the solid coverage and how fast it dried. I only needed one coat for the interior, but applied two to the outside of the bread box for a flawless finish.
Add a stencil (optional)
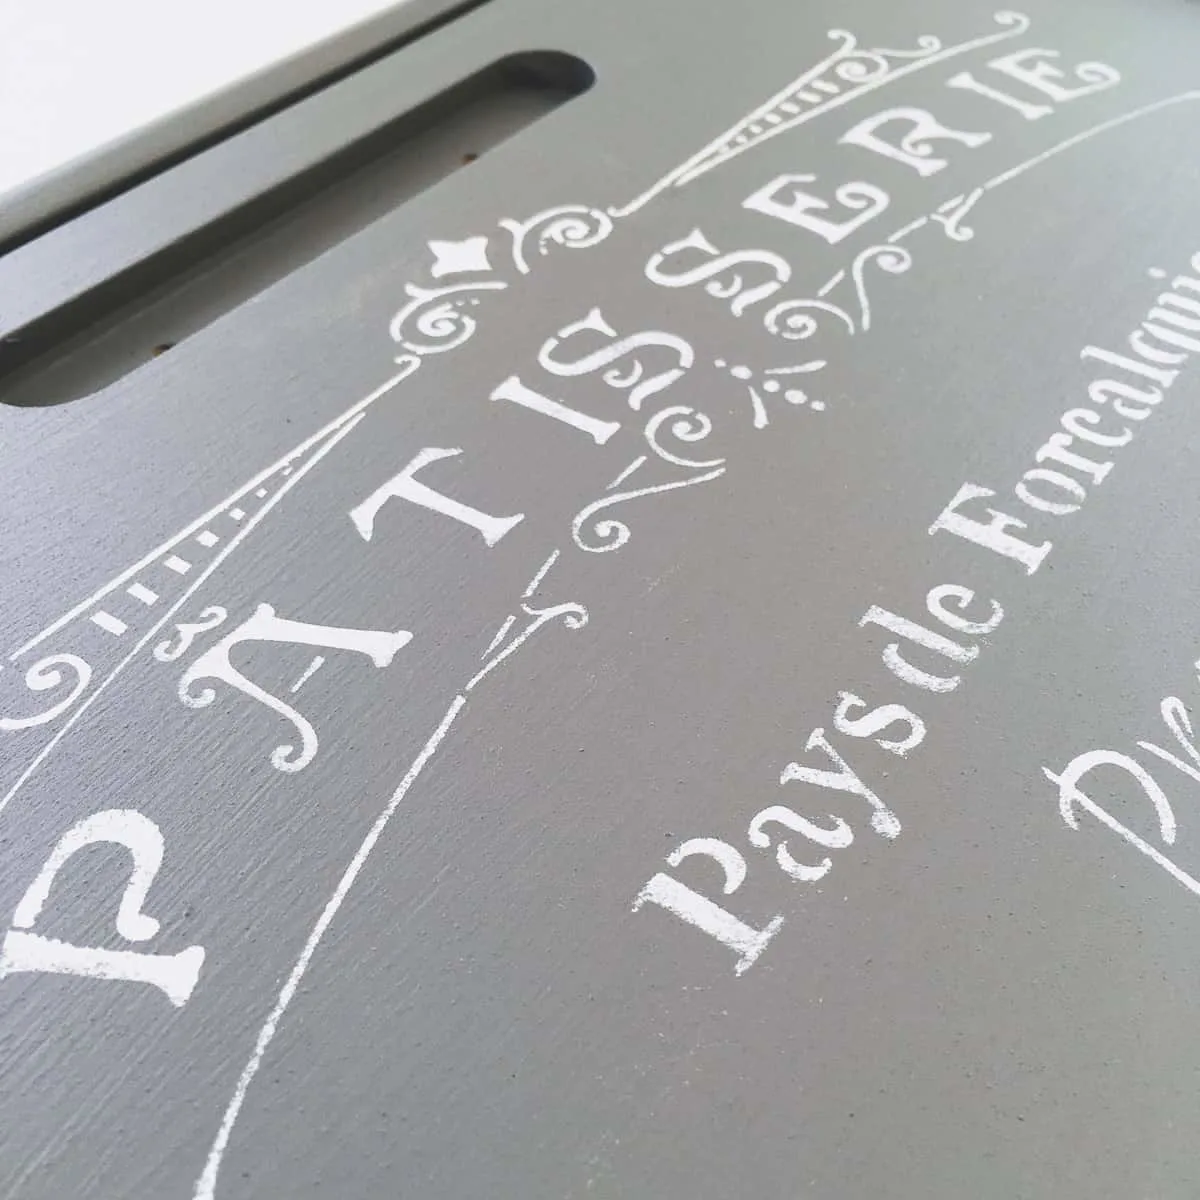
I decided to add a French bakery stencil to the door so it didn't look so blah. Yes, I know that a pâtisserie sells pastries and a bread box should really say boulangerie. C'est la vie. 🙂
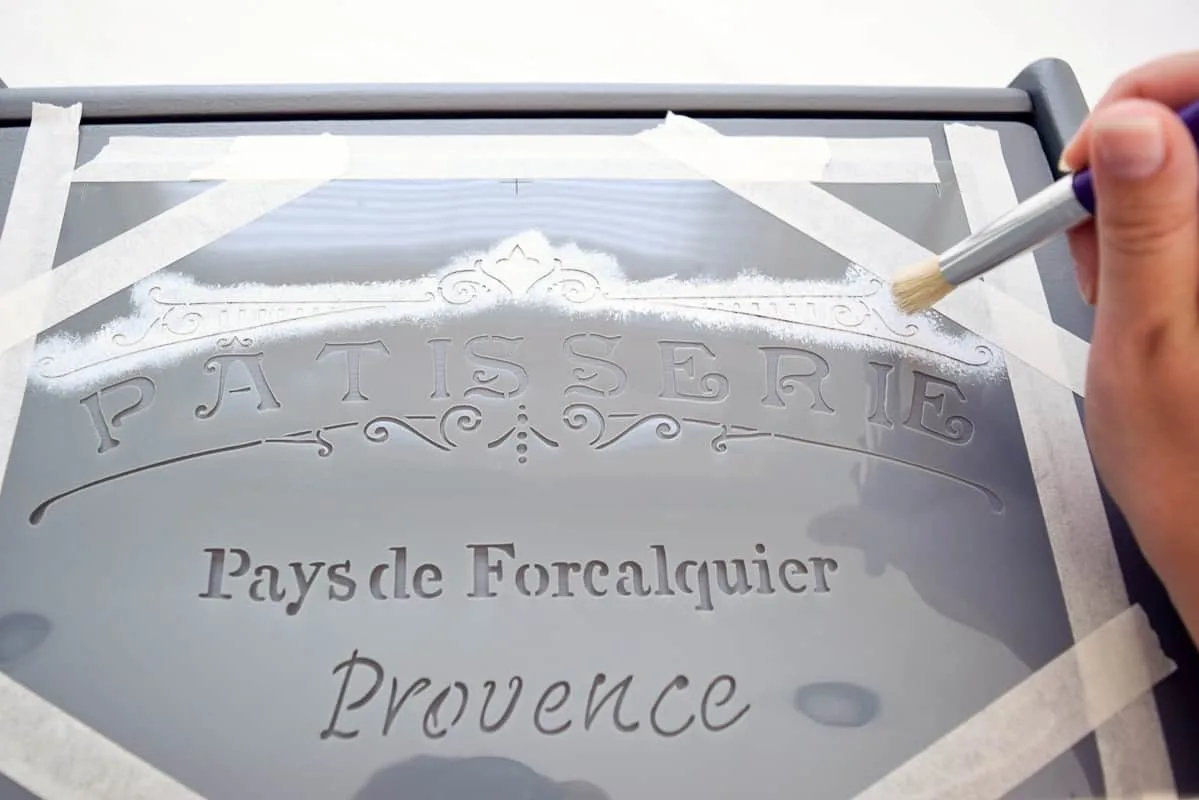
I mixed up a smaller batch of the chalk mix in the light gray color I used for our kitchen walls. After finding the perfect placement for the stencil, I held it down with stencil tape.
Lightly pouncing the paint onto the stencil allowed a bit of the dark gray paint to show through and gave it a vintage look.
Apply a protective top coat
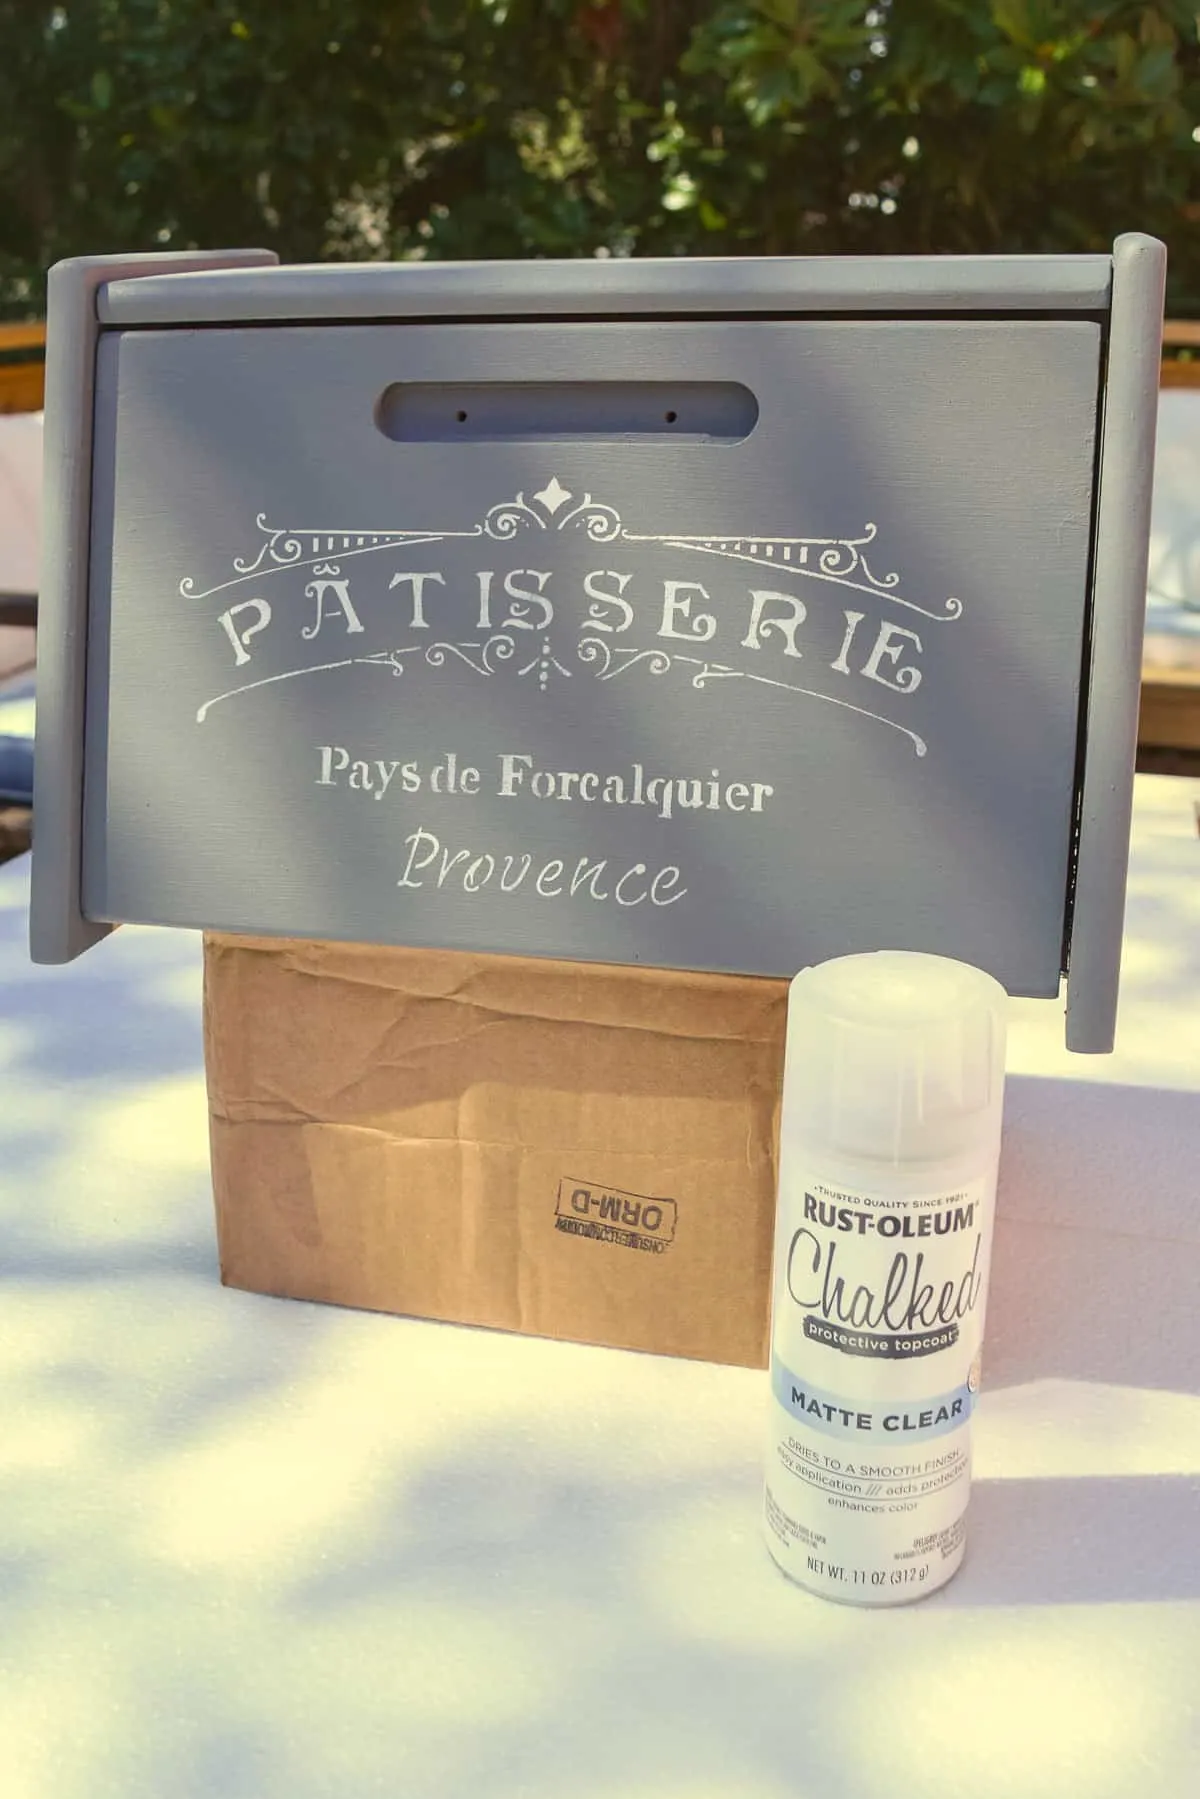
Chalk paint can easily scratch off without a protective top coat. I sprayed the entire bread box with Rust-oleum's Chalked Protective Top Coat in a matte finish. Hand-applied wax probably would have given it a nicer sheen, but this spray was quick and easy to use.
Attach the new hardware
Finally, I attached the new hardware through the pre-drilled holes. Usually I would go with something more modern, but the traditional details of this door pull were a perfect match for the fancy French script of the stencil.
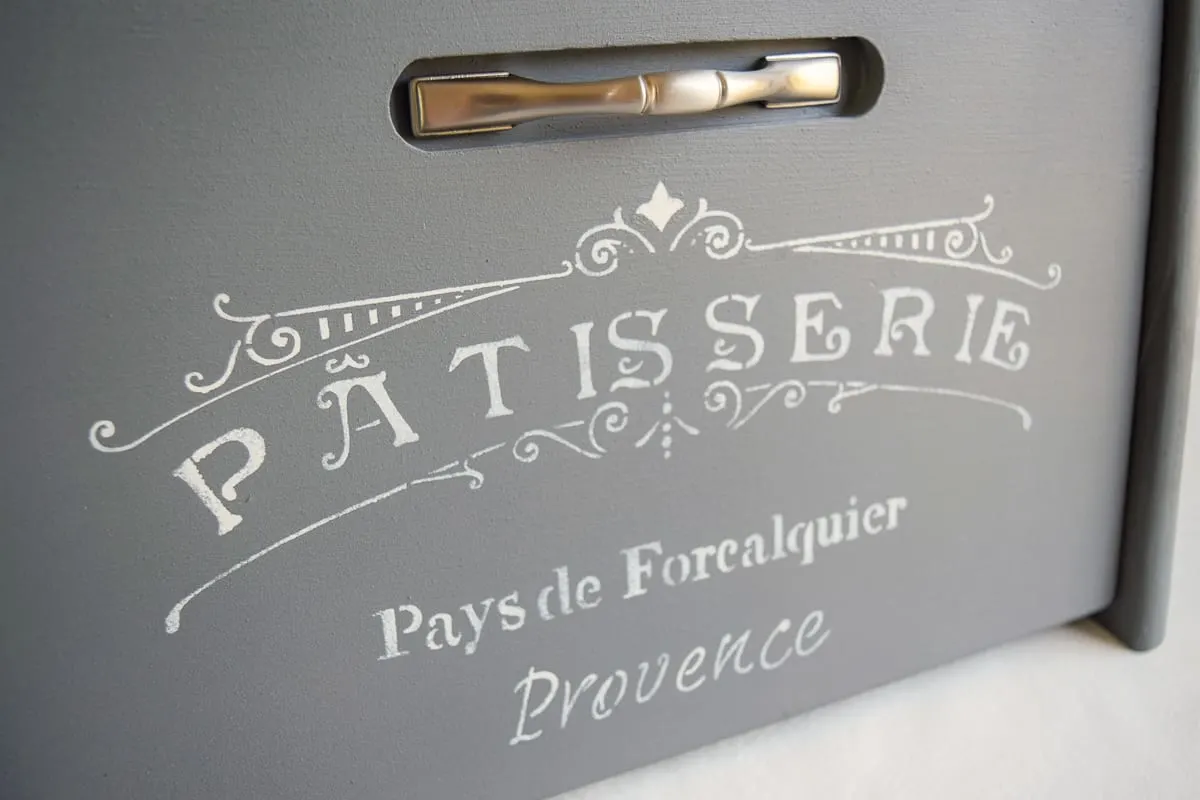
The screws provided with the hardware were too long, but it was easy to find shorter ones to match the depth of the bread box door.
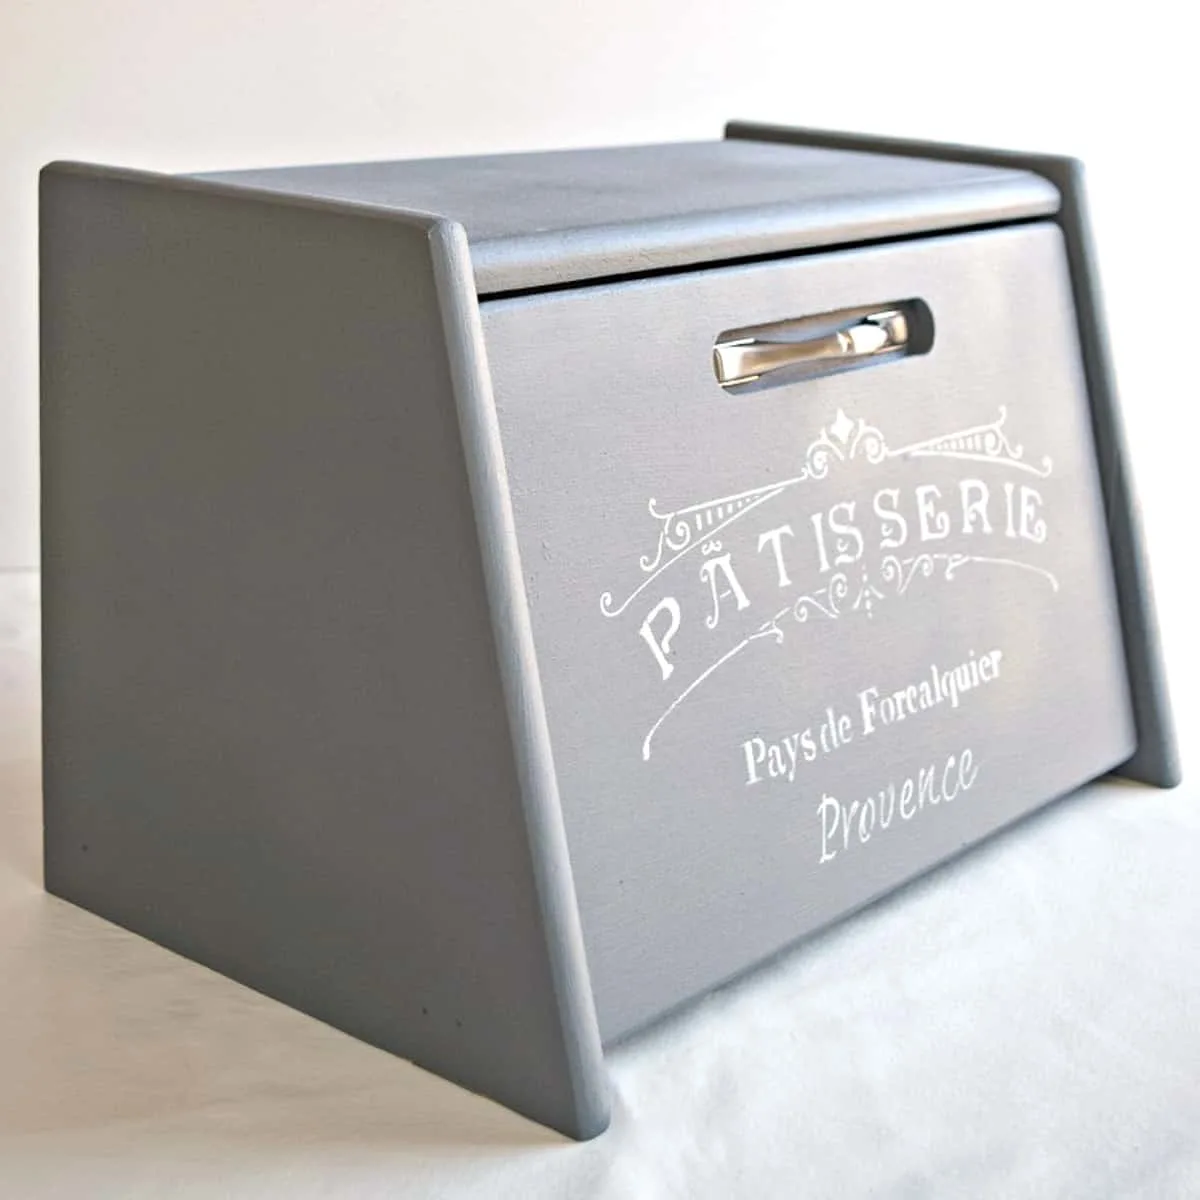
Enjoy your newly painted bread box!
This project makes me want to scour every thrift store in search of more items I can make over with paint! This is one bread box that I won't be embarrassed to display on my countertop!
Check out these other painting tutorials!


debbie
Monday 12th of September 2016
Another spectacular project. This is so beautiful. I love French anything so to see what you did with the stencil and the chalk paint to something that was pretty dull and uninspiring is amazing. Great Job!
The Handyman's Daughter
Monday 12th of September 2016
I'm a sucker for anything French too! Thanks for all your kind comments!
Beverly
Friday 9th of September 2016
I love the makeover you gave to this breadbox. It looks wonderful. Thanks for sharing with us at Snickerdoodle Create~Bake~Make Party. I'll be featuring this at tomorrow's party. Hope to see you there!
The Handyman's Daughter
Sunday 11th of September 2016
Thank you so much, Beverly! I'm honored you'll be featuring my project!
marjan
Thursday 8th of September 2016
What a great project! love the colors you choose and the stencil is perfect!
Marisa
Tuesday 6th of September 2016
You did a great job, I would love to try something like this one day soon!
Toni | Small Home Soul
Friday 2nd of September 2016
Wow that turned out so great, I love the color and of course the french stencil. I'm seeing them everywhere these days and I think I need to get one. I love the tip for the tap over the hardware holes, how many times I've hassled to get them right only to be off ever so slightly.
I think I need to find a bread box at the thrift store :)