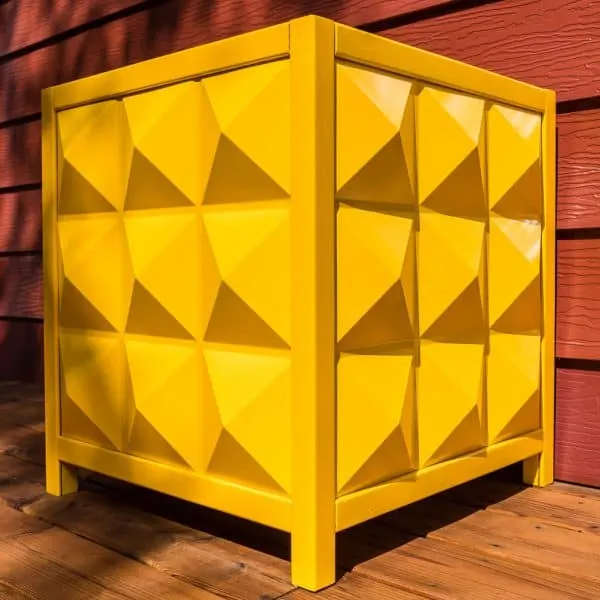
Add a cool geometric statement for your porch with this modern outdoor planter! Build the frame, then add PVC panels and a fun color to brighten up your entryway.
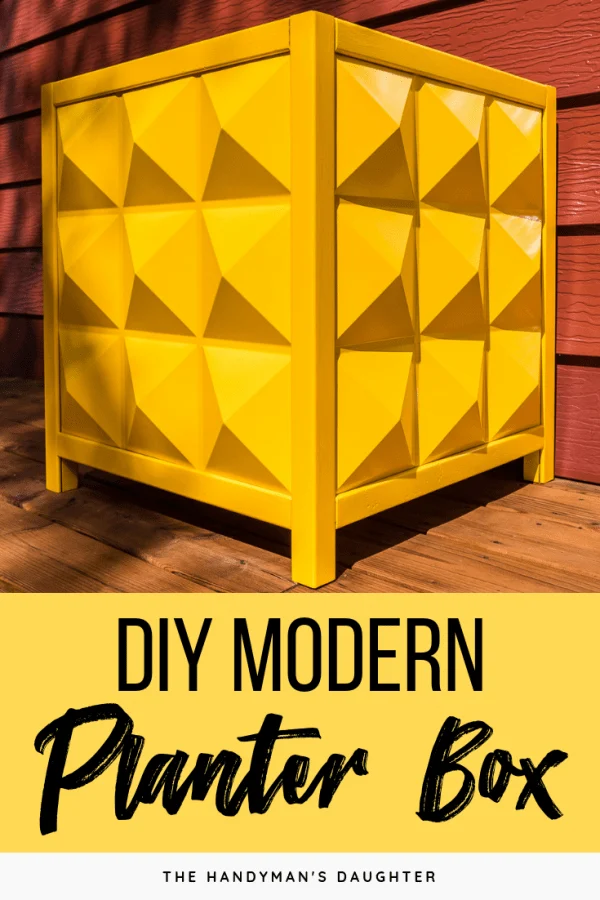
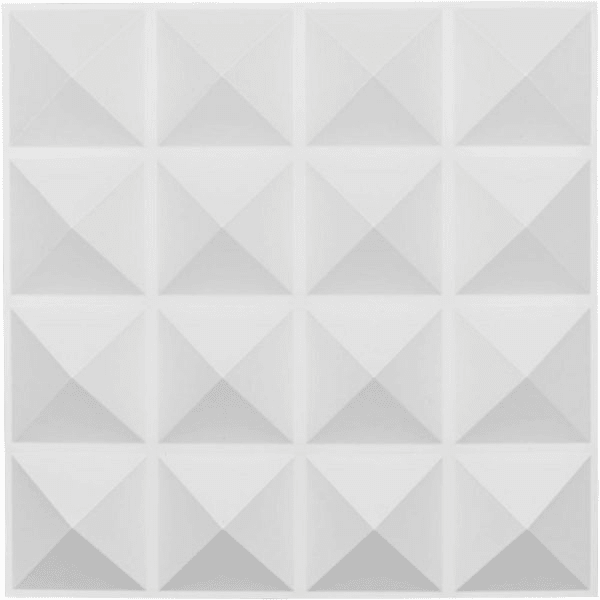
Sometimes, I spot something at the home improvement store that catches my eye, and it instantly gets the wheels turning in my head. This project was from one of those moments! These cool three-dimensional PVC wall panels inspired me to make this modern outdoor planter!
This post contains affiliate links for your convenience. Purchases made through these links may earn me a small commission at no additional cost to you. Please visit my disclosures page for more information.
You can find lots of these PVC wall panels on the Home Depot website. There are tons of fun patterns and textures to choose from! The paintable, waterproof surface is perfect for this modern outdoor planter box! I decided on this cool pyramid shaped design.
Materials Needed for Modern Outdoor Planter
- 3 - 2x2 boards
- I used 2x2 cedar balusters that I had on hand. Cedar is rot resistant, so it's perfect for a planter that will left out in the elements. You could use regular pine boards if the planter is going to be under cover.
- 2 - 5 ½" x 6 ft cedar fence pickets
- 4 PVC wall panels
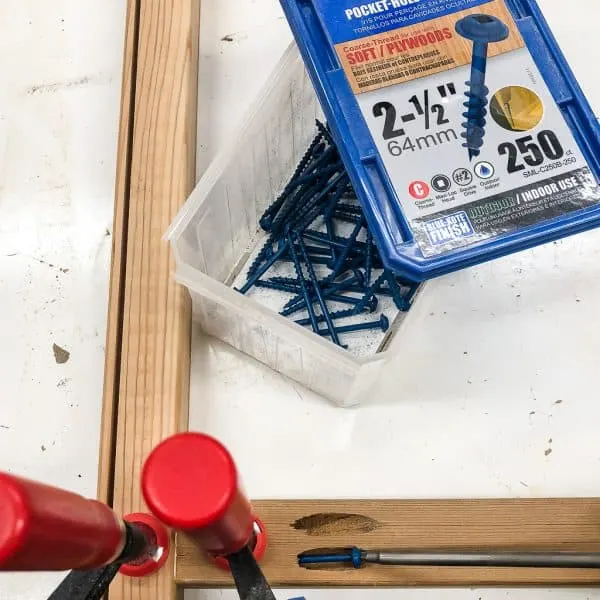
- 2 ½" pocket hole screws
- Blu-coat screws are preferred for outdoor use, but you can probably get away with regular ones if you have them on hand.
- Kreg Jig
- Check out my post comparing the two most popular Kreg Jig models to help you decide which one is right for you.
- Drill
- Table saw
- Brad nailer and 1 ¼" brad nails
- You could also use 1 ¼" screws, but make sure to predrill your holes!
- Sander and sandpaper
- Clamps
- Wood glue
- Square
- Spray paint
- I used Rust-oleum Golden Sunset spray paint, then color matched it to exterior paint for the frame.
- Paint or stain suitable for outdoors
Don't forget your safety gear when woodworking! Here are my recommendations for safety glasses and hearing protection. No excuses!
How to Make a Modern Outdoor Planter Box
Download the Free Woodworking Plans
Enter your email address in the box below to get the woodworking plans sent straight to your inbox! The plans include detailed 3D models of each step of the process to help guide you through the project.
Cut and Sand the Frame Pieces
Cut the 2x2's so you have four 24" pieces and eight 19" pieces.
Set the table saw blade depth to ⅜" and cut a groove into one side of each piece ¼" away from the edge. On the longer pieces, cut an additional groove on the adjacent side, but at the opposite corner.
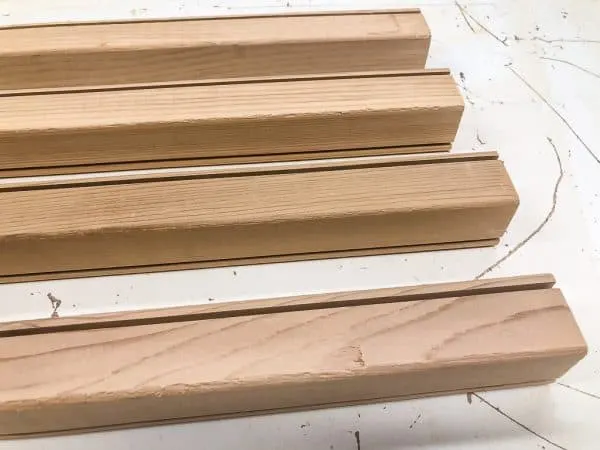
Drill pocket holes into both ends of each 19" piece. These should be placed on the side adjacent to the groove like you see below.
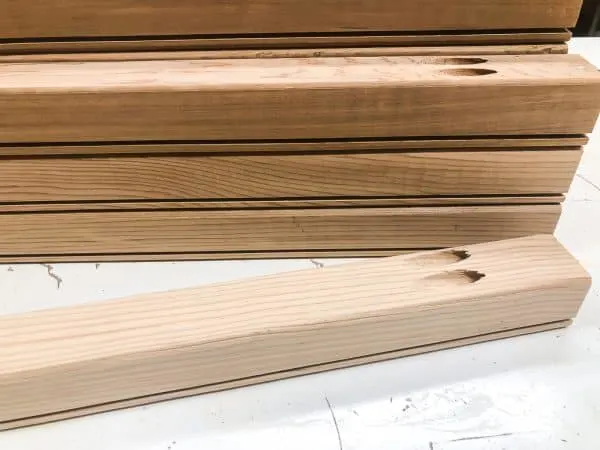
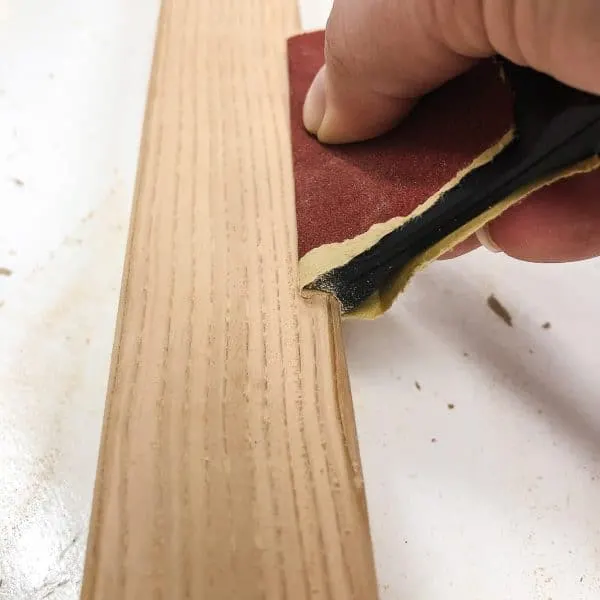
Sand all the pieces smooth. I used a random orbit sander for the flat parts, and these contour sanding grips for the rounded corners. The ⅜" size wraps around the corners of these 2x2's perfectly, so it keeps the curve consistent.
Assemble the Frame
Mark a line 2 ⅛" up from the bottom of the 24" pieces on the two sides with grooves. Apply wood glue to the end of a 19" piece, then align the bottom edge with that mark. Use a square to make sure it's at a right angle, then clamp the pieces down to the workbench.
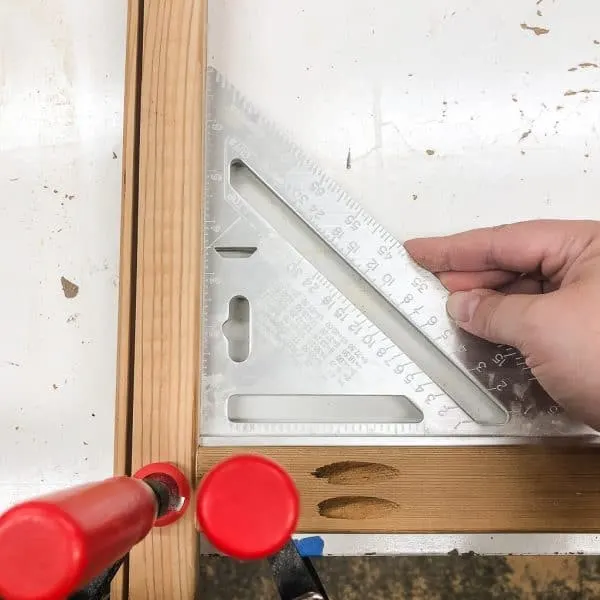
Attach the two pieces together with 2 ½" pocket hole screws.
Sometimes the grooves didn't quite line up, so I placed a shim under the lower piece before clamping to bring it up to the right height.
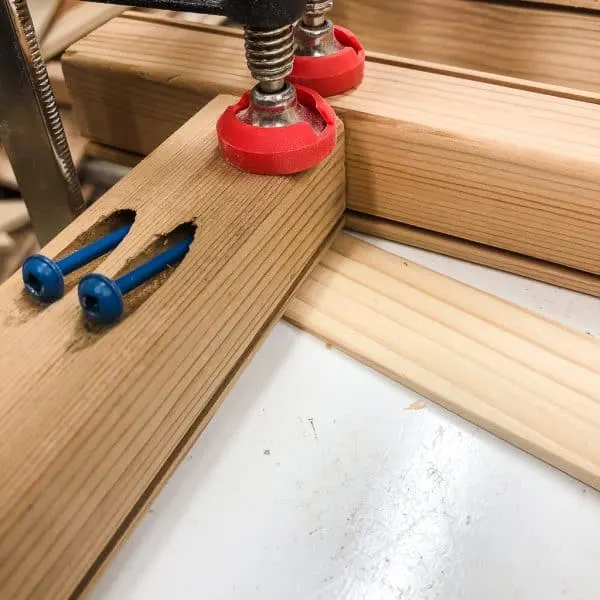
Repeat with the other set of pocket holes. Then do the same thing with the other two legs. Connect both sets of legs together with the 19" pieces, keeping the grooves facing up and towards the outside of the frame.
Attach the Bottom to the Frame
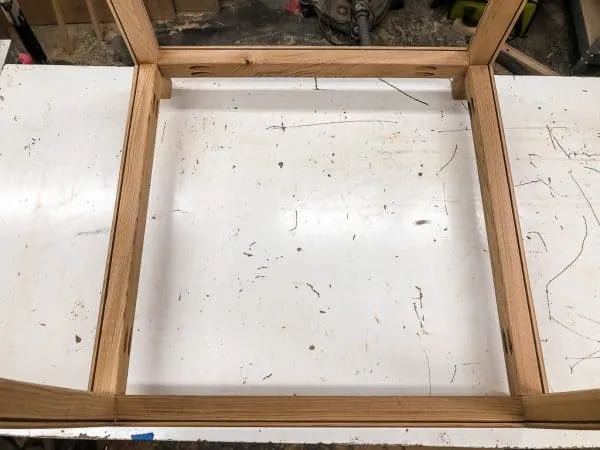
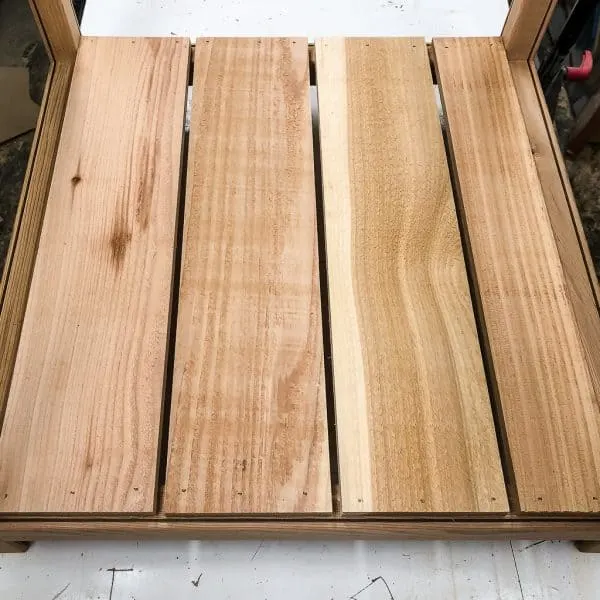
Cut the 5 ½" wide cedar fence picket into 21" long pieces. Attach them to the bottom of the frame with wood glue and 1 ¼" brad nails or screws.
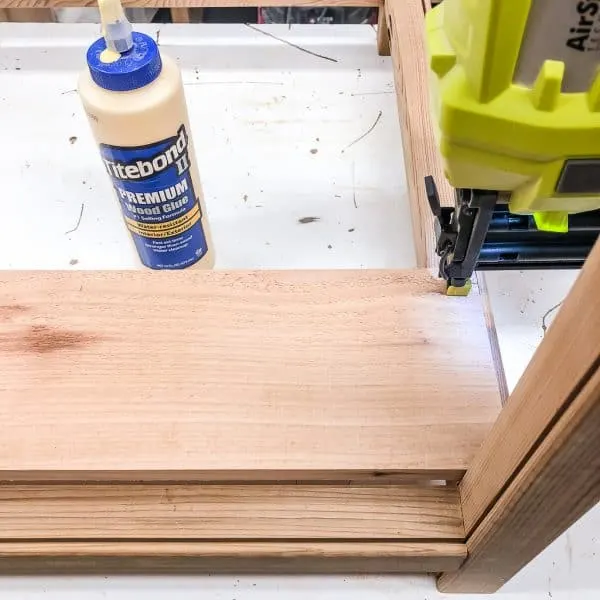
Make sure that the ends of the boards don't cover up the grooves in the frame.
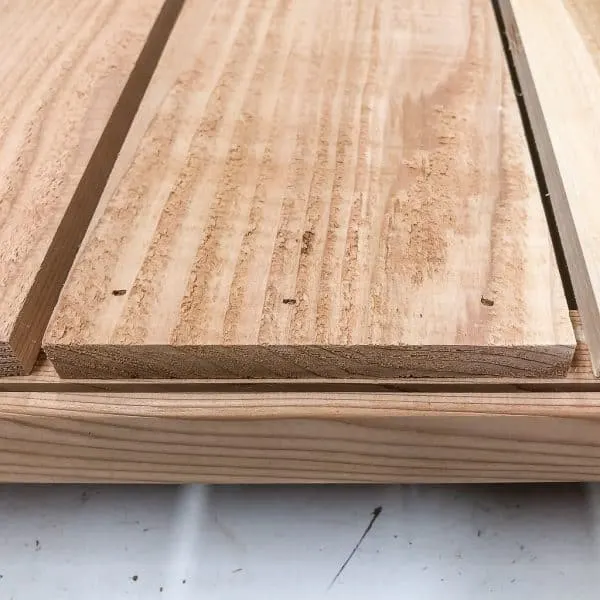
Leave a bit of space between each slat to allow water to drip through. I had to rip one of the slats a little smaller in order for it to fit.
Paint
We're not quite done building the frame, but now is a good time to paint. Doing it now will ensure that all the grooves have good coverage without worrying about messing up the PVC panels inside.
I painted the PVC panels with Rust-oleum Golden Sunset spray paint. This is the same color as the plastic planter I painted for our front porch this spring, and I love how the bright yellow contrasts with our red siding.
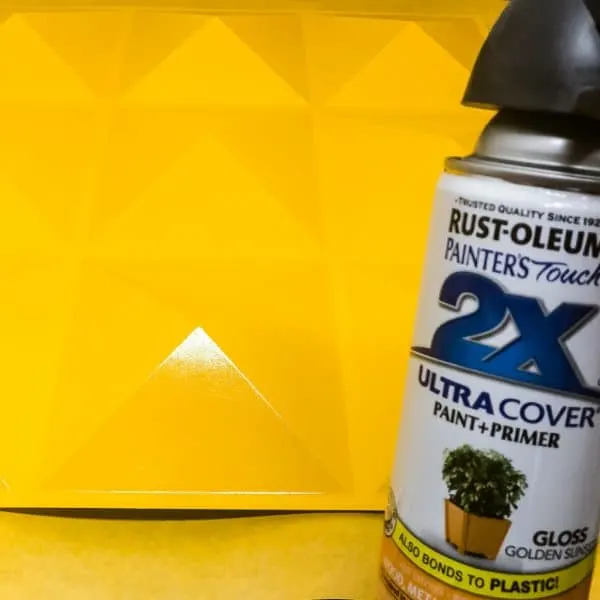
This is my spray painting set up when the weather isn't cooperating outside. The small HomeRight spray shelter fits on my workbench easily, and protects the rest of the workshop from overspray. A lazy susan with a non-slip lip is under the panel so I can turn it without touching the paint. Just make sure you leave the windows open for ventilation!
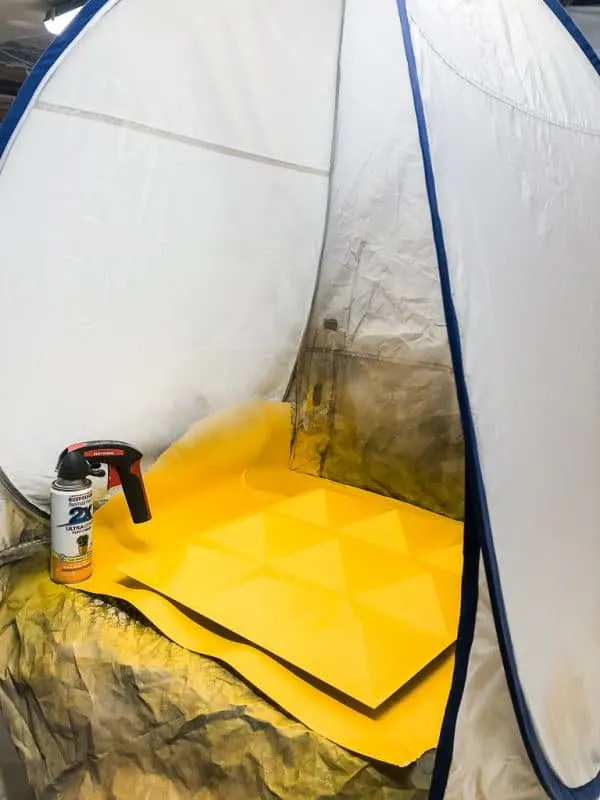
I brought the paper covered in overspray to Home Depot to have them color match the yellow to an exterior paint. I didn't want to spray paint the entire frame, and I only needed a small sample size to coat the entire exterior. Don't forget to paint the top pieces too!
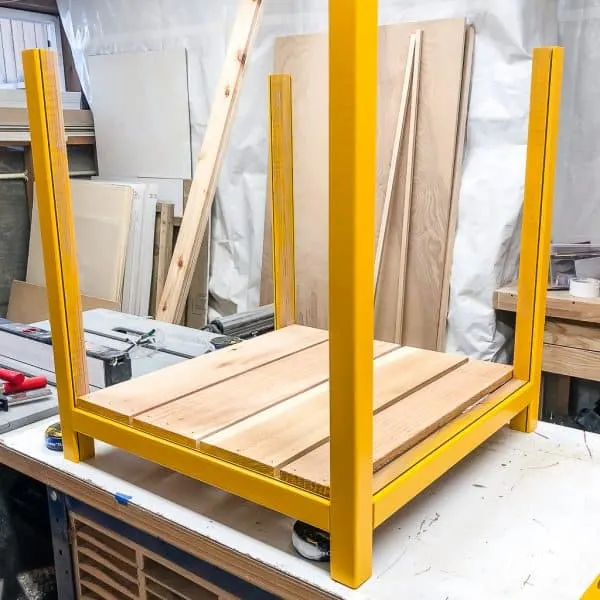
Insert PVC panels and Finish Frame
Here's the fun part! Insert the edges of the PVC panels into the top of the grooves in the frame, then slide it into place. Fits like a glove!
The panels are flexible, so if it's not resting inside the groove at the bottom, you can bend it a bit until it pops into place.
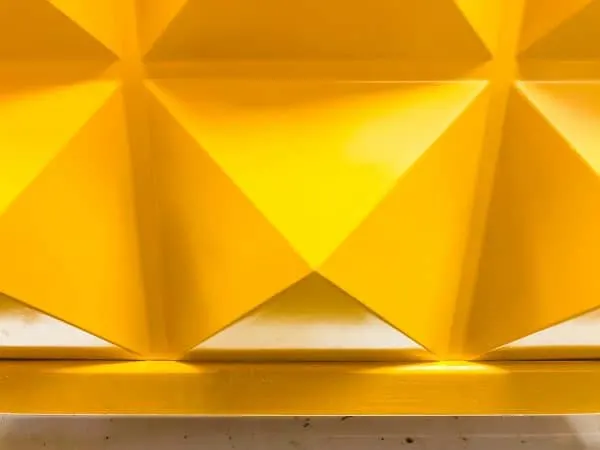
It's so satisfying when the project in your head starts to turn out exactly like you imagined it!
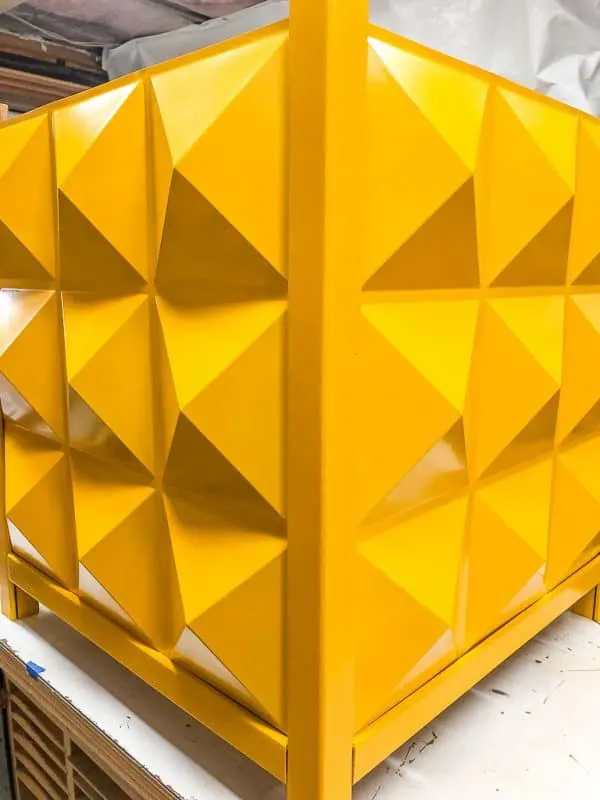
To finish off the modern outdoor planter box, attach the remaining frame pieces to the top. They should be flush with the top of the legs, with the edge of the panel in the groove. I forgot to paint the tops of the legs!
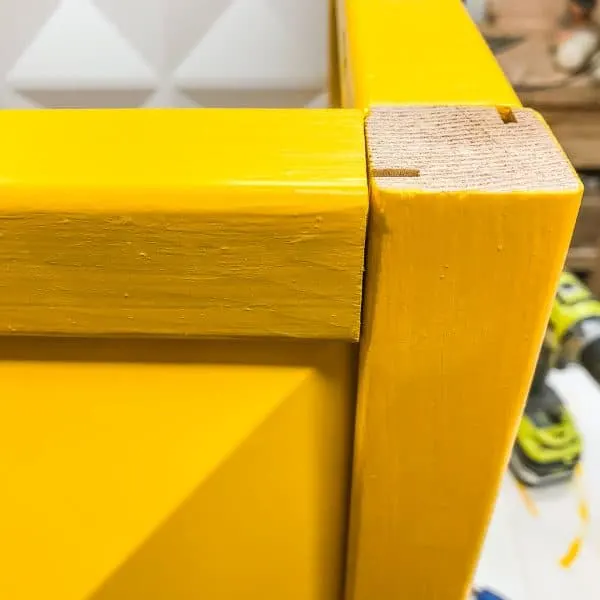
Screw the top of the frame together with 2 ½" pocket hole screws.
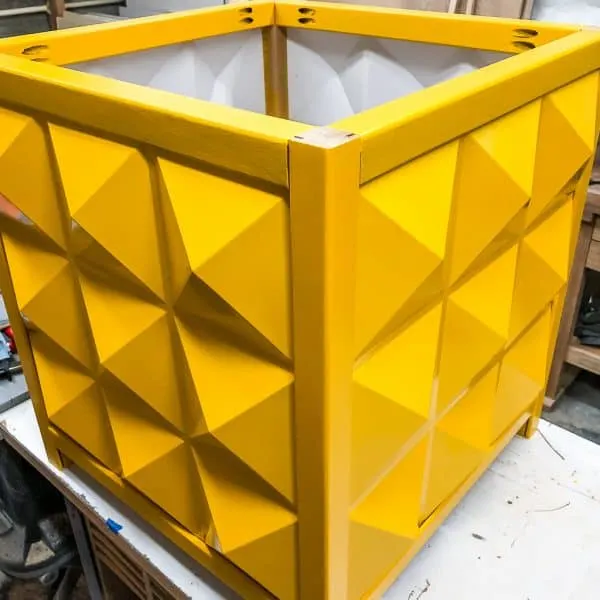
Display Outside and Add Plants
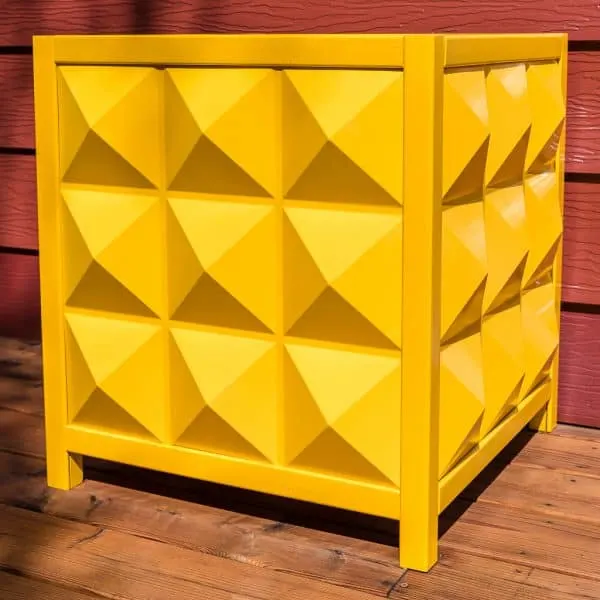
Wow, this planter box makes quite a statement!
This square plastic planter inside will make it easier to switch out plants, or elevate larger pots.
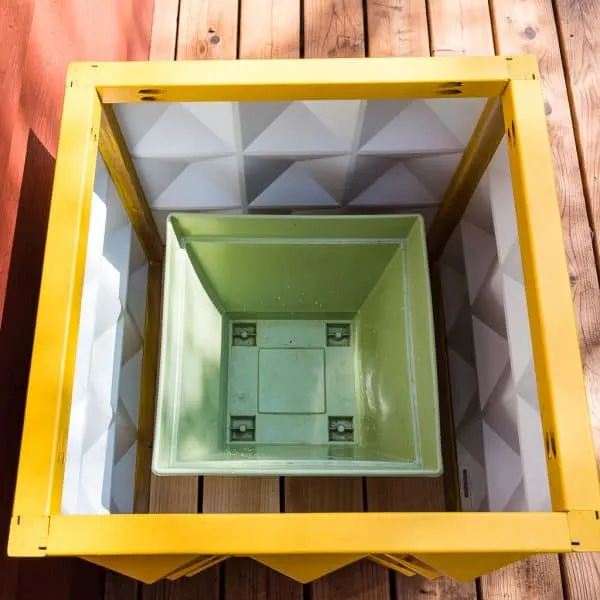
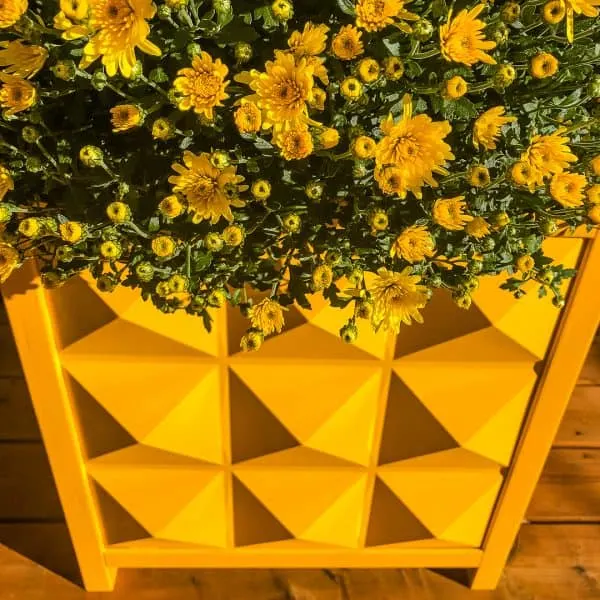
I filled the planter with beautiful fall mums for now, but I'm thinking of a topiary or other interesting plants in the future.
I'm thinking of making another version that will convert this planter design into an outdoor side table. You could change the entire look just by switching out the panels!
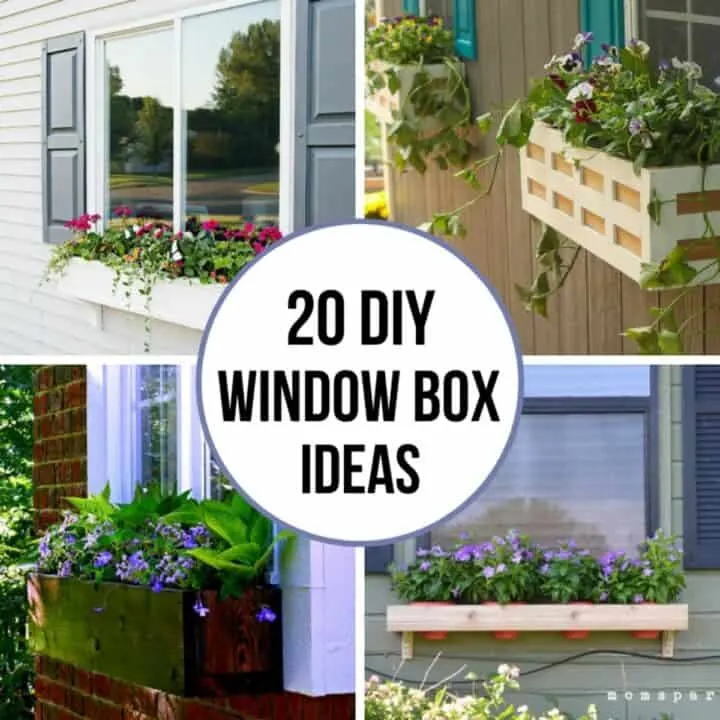
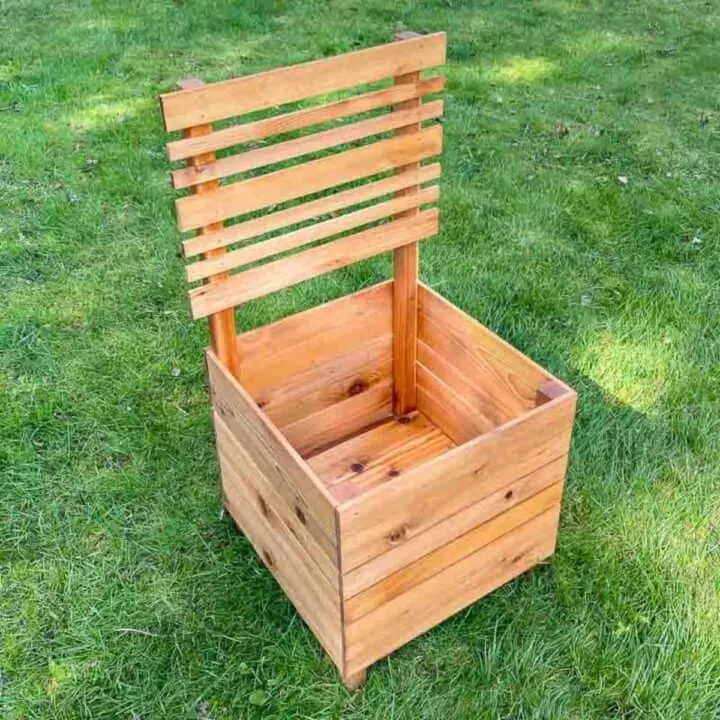
Check out these other DIY planter ideas!

Amy
Monday 1st of October 2018
This planter box turned out sooo cute! Thank you for the idea!
Jann Olson
Saturday 29th of September 2018
What a great job! Thanks for sharing with SYC. hugs, Jann
Cindy Magee
Wednesday 26th of September 2018
LOVE this idea! And yellow is my favorite color!
Thanks for sharing on Wonderful Wednesday Blog Hop!
Wendi@H2OBungalow
Friday 21st of September 2018
This is so cool! I'm loving the use of pvc. Our weather here in FL is harsh on wood, even treated wood. I'm pinning to make next year when I can build again! Super tutorial too!!
Anika
Thursday 20th of September 2018
What a cool idea! Those PVC panels are absolutely perfect and the planter turned out so amazing!