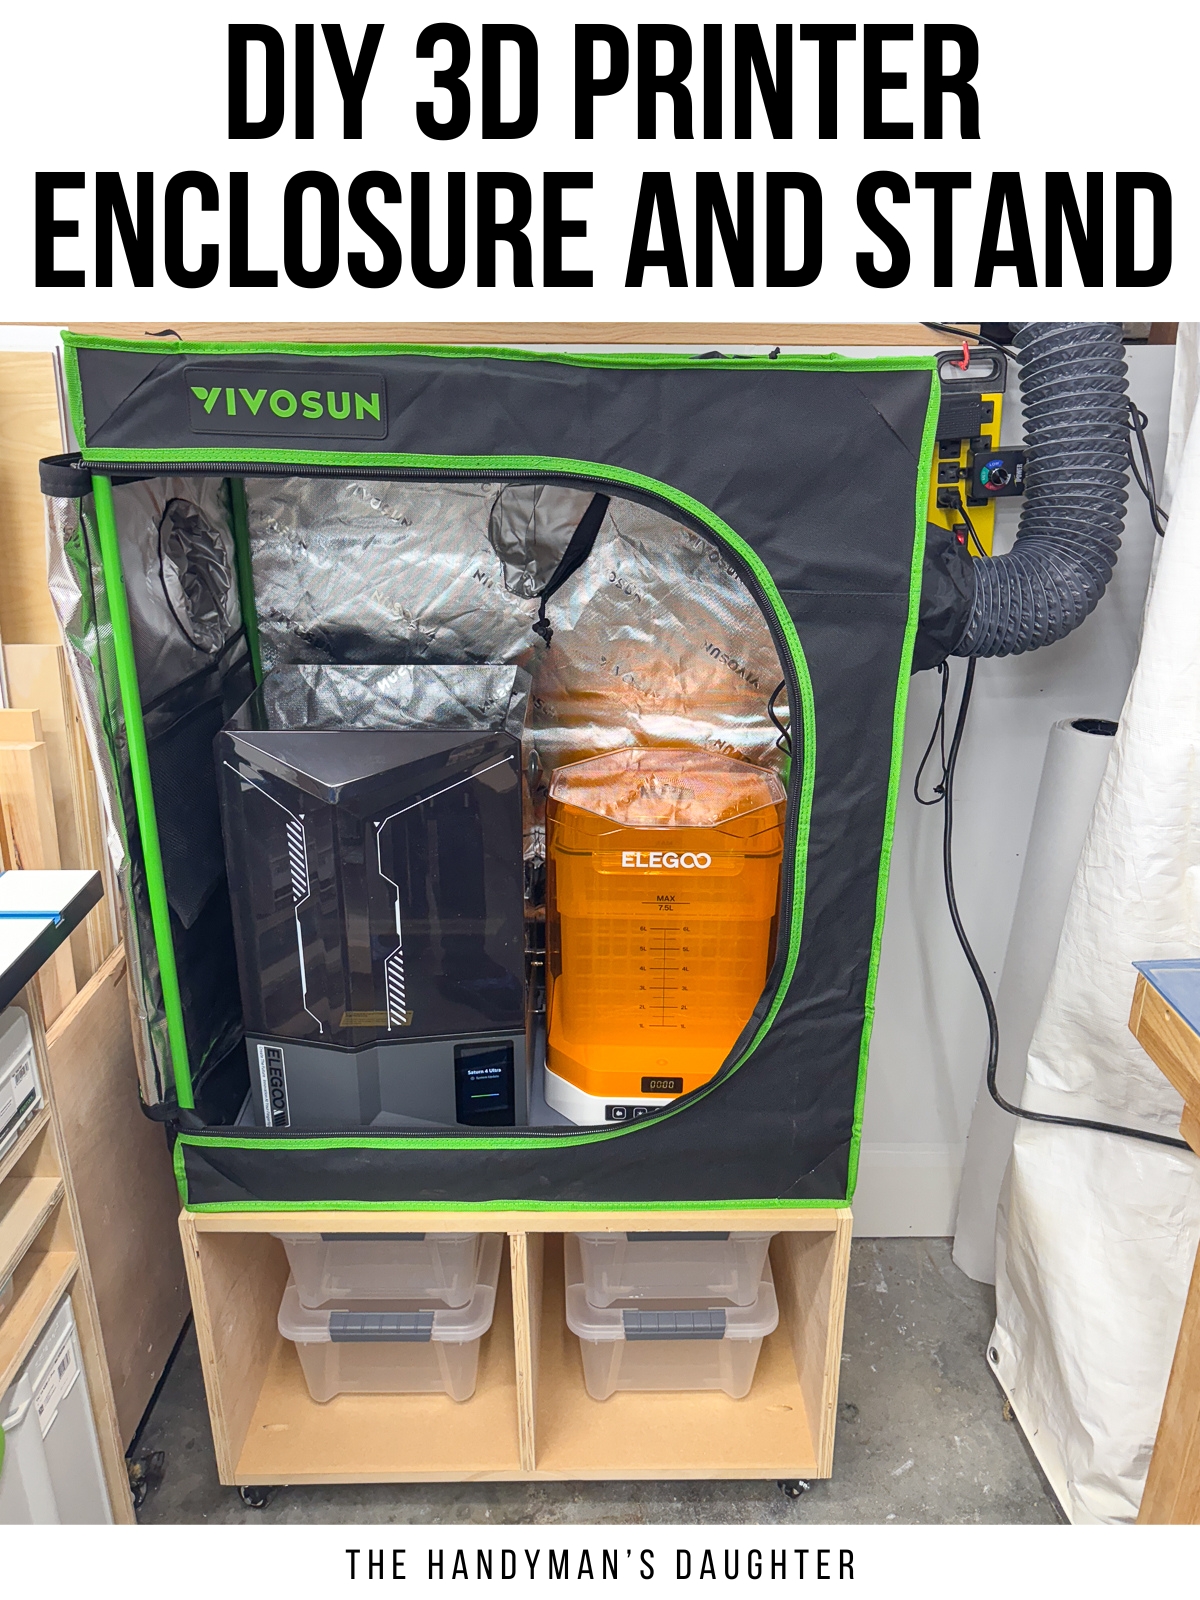
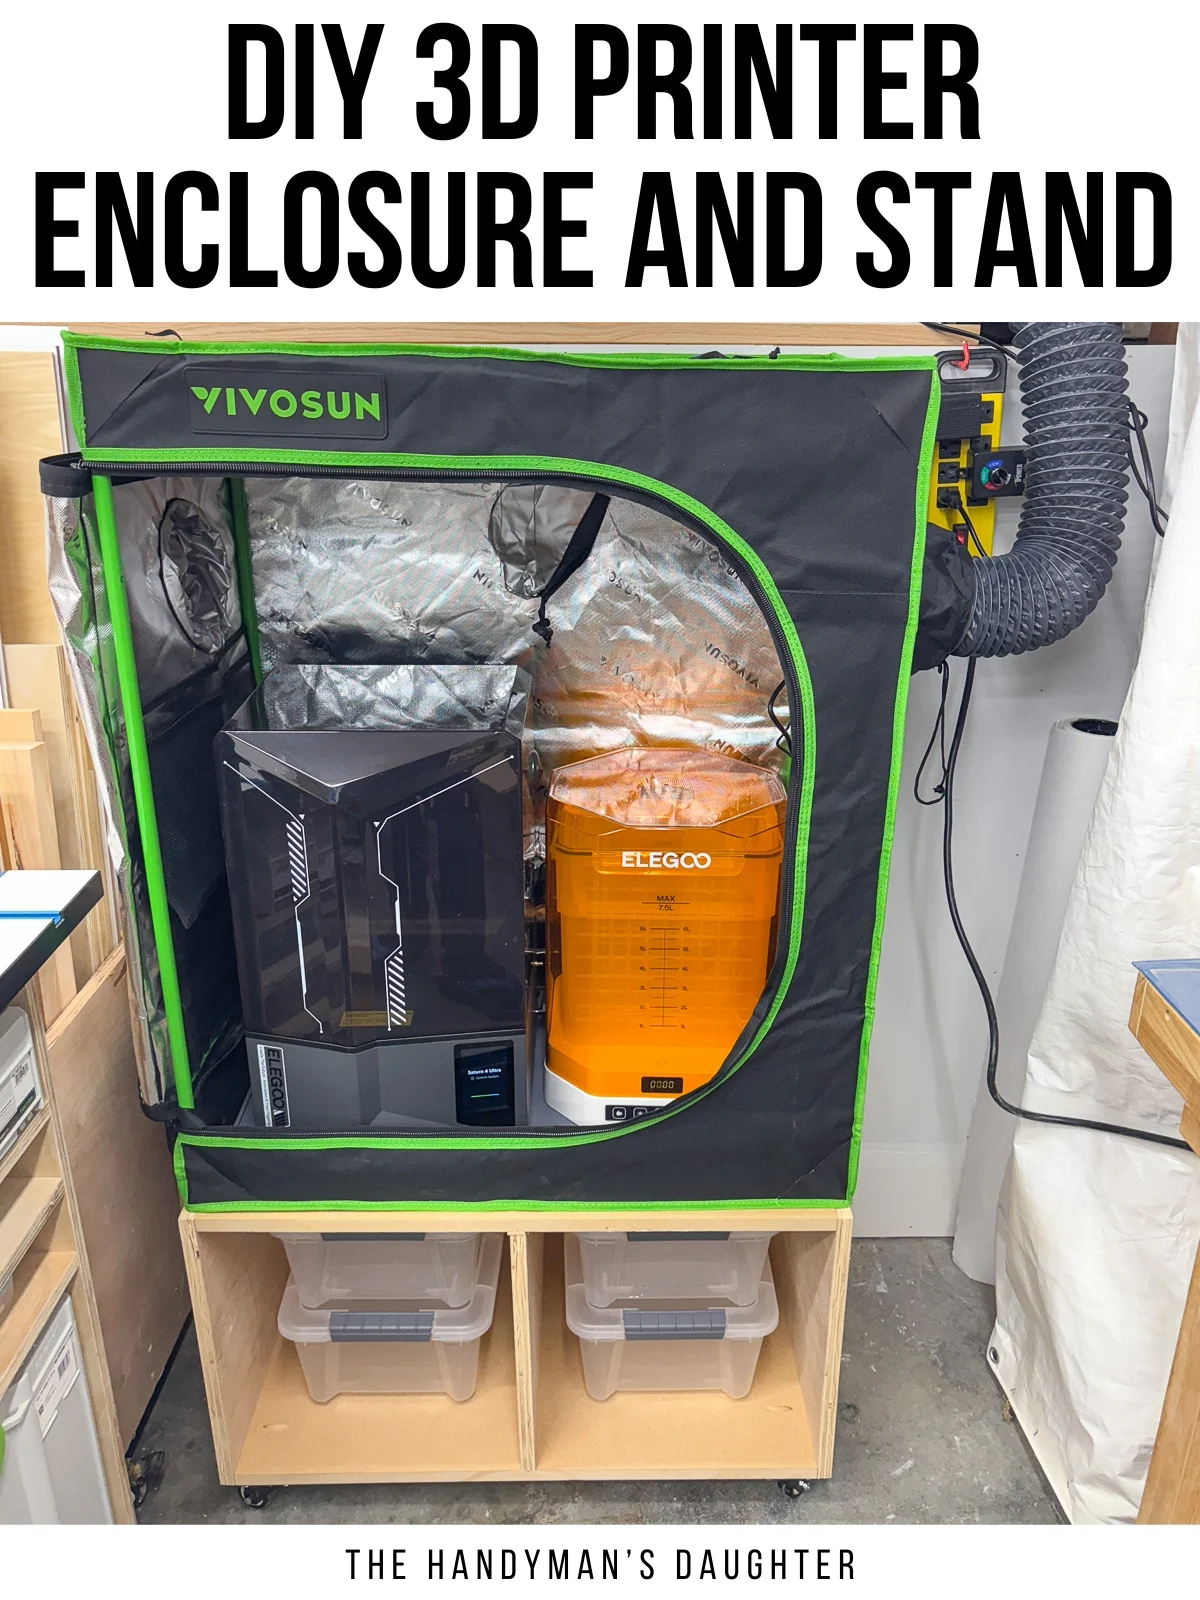
This DIY 3D printer enclosure and stand keeps UV resin away from light, allows venting of fumes, and provides storage for all your supplies!
I've been dabbling with 3D printing for a year or so, mostly making a bunch of fun Dungeons and Dragons terrain with my son. But filament 3D printers struggle with small, detailed prints like character miniatures.
So for Christmas this year, I got a resin 3D printer! This thing works like magic, using UV light to cure resin layer by layer until an intricate model is pulled out of the goop!
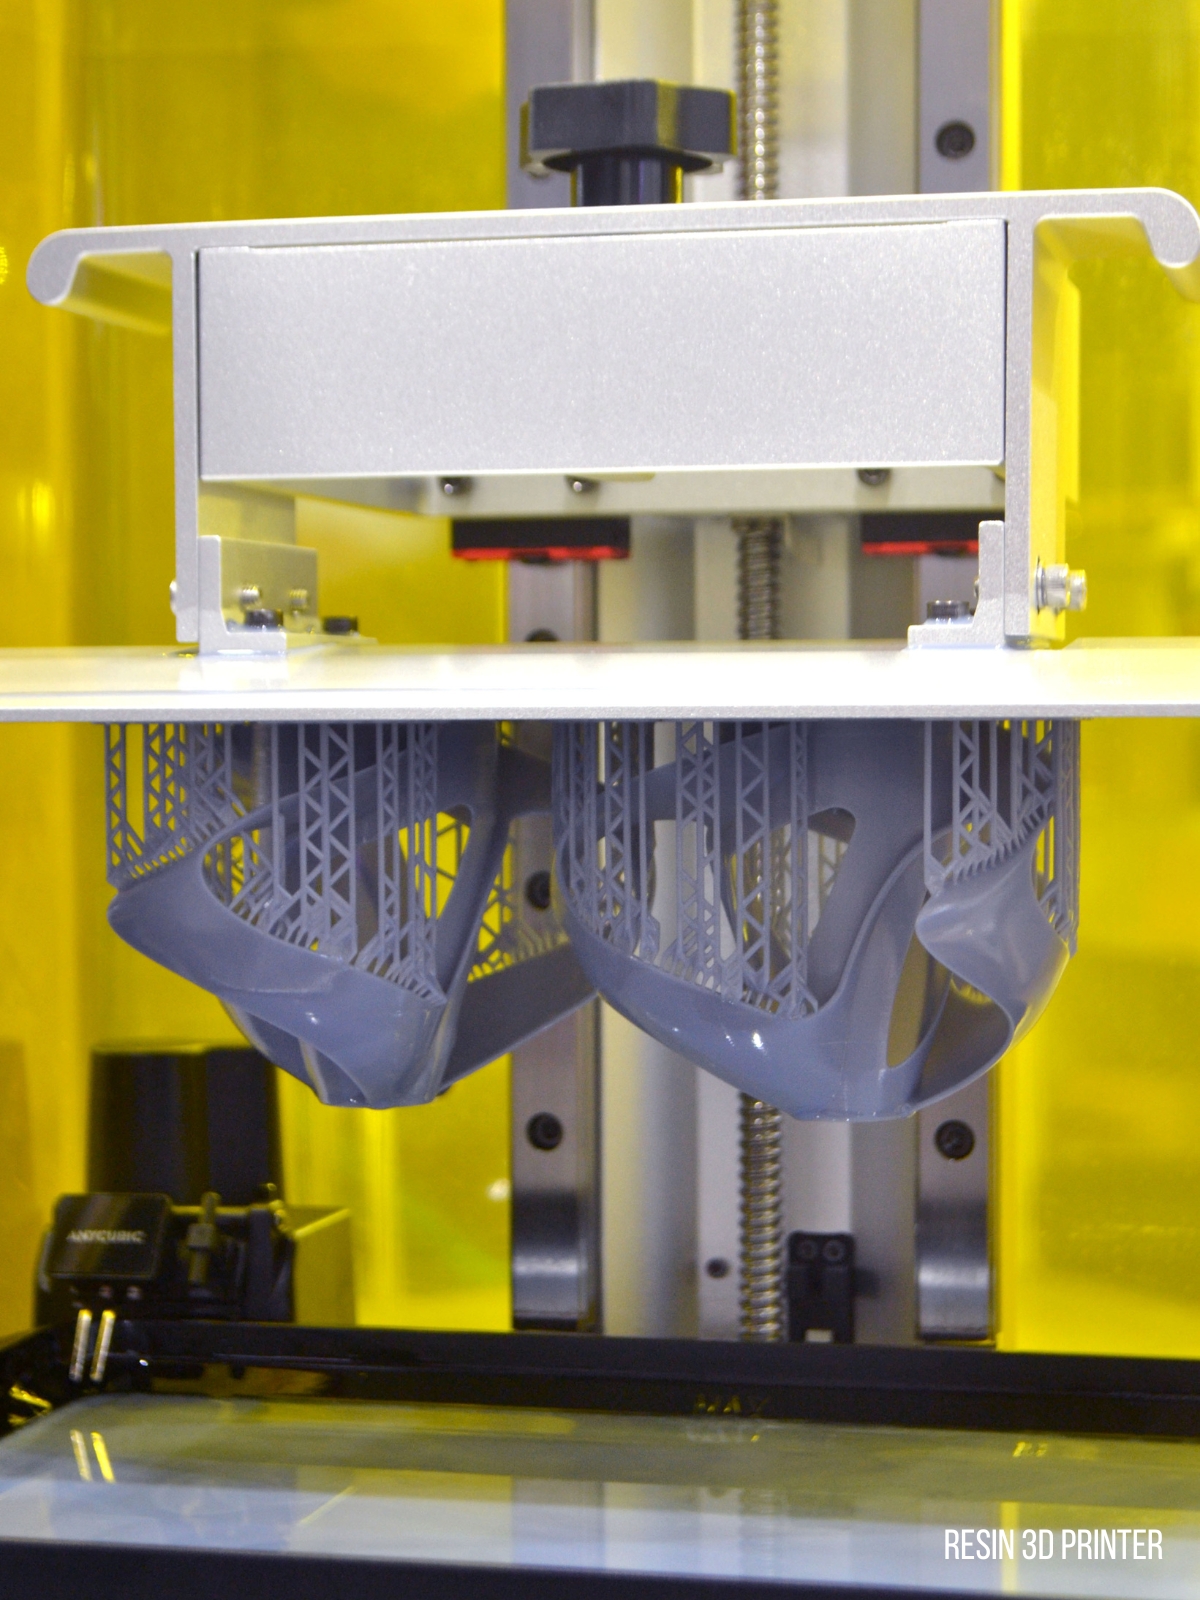
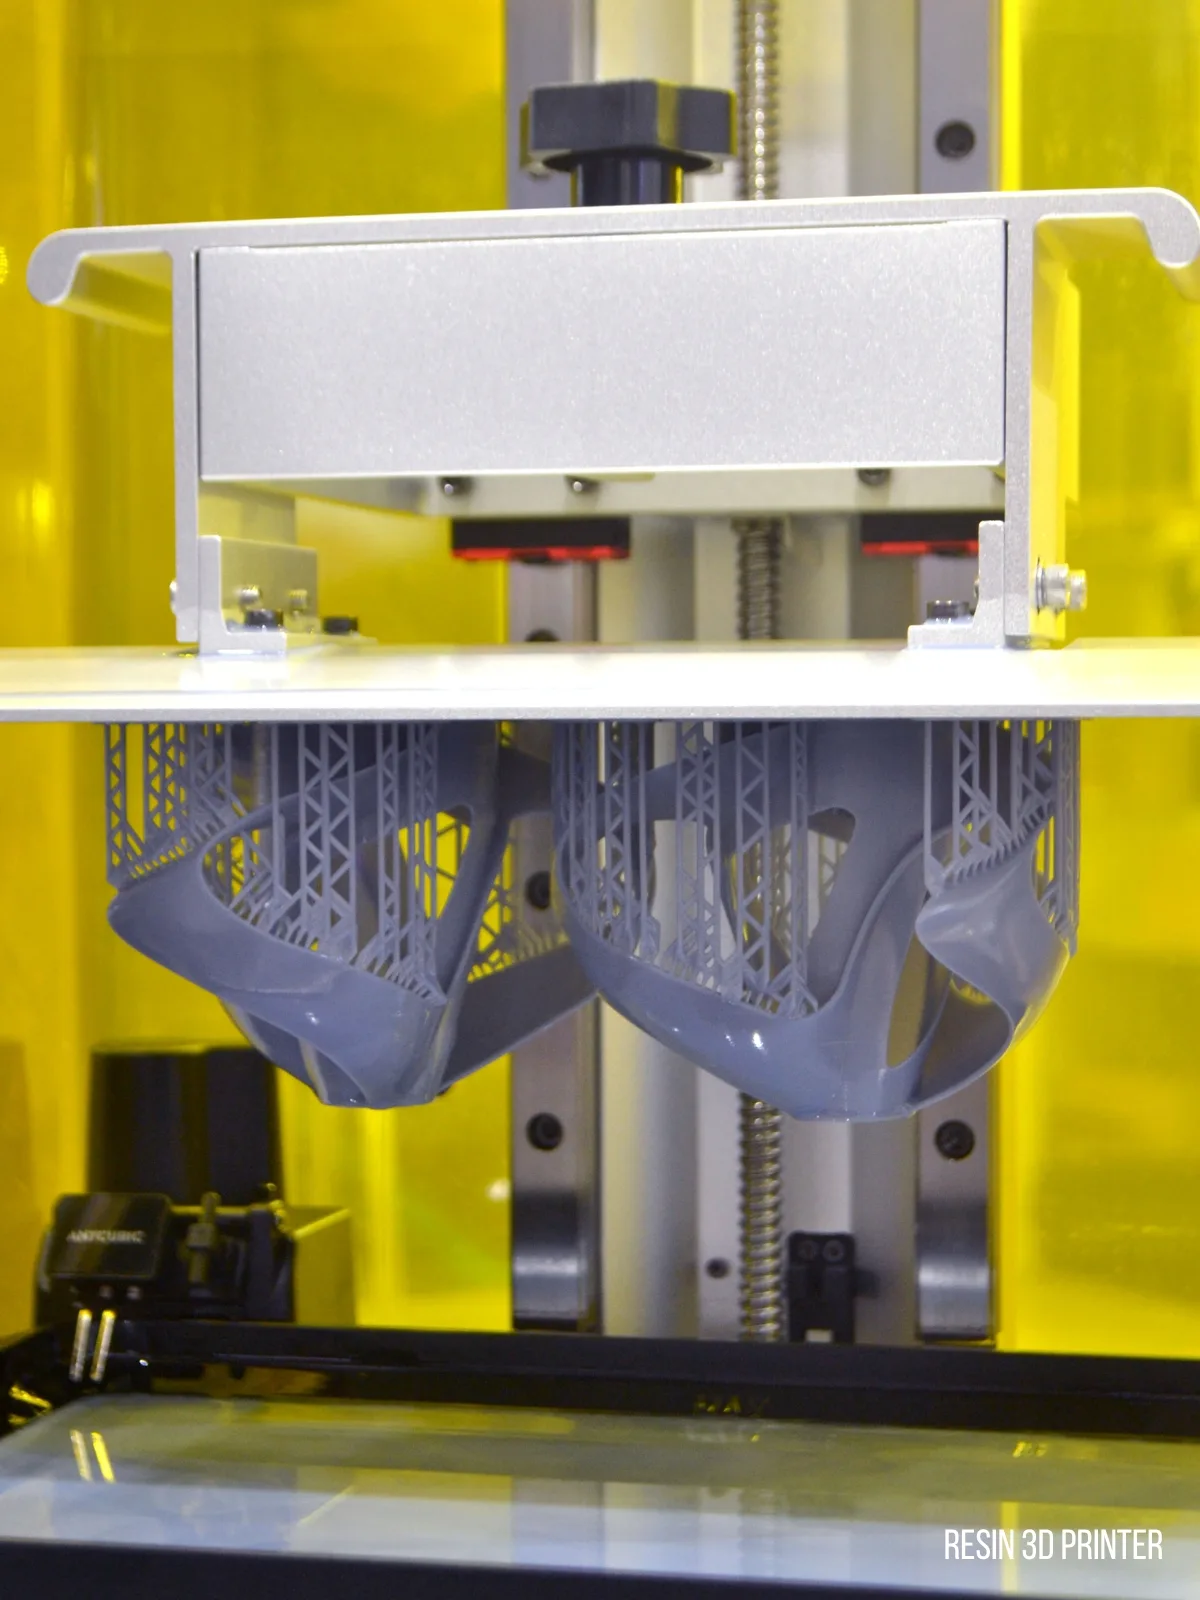
But resin 3D printing has a few drawbacks. The fumes can be toxic, so it's best to vent them outside. It needs to be in an area without sunlight, because the resin cures when exposed to UV light. And it's messy!
Here's how I cobbled together a DIY 3D printer enclosure and stand to solve all these issues!
This post contains affiliate links for your convenience. Purchases made through these links may earn me a small commission at no additional cost to you. Please visit my disclosures page for more information.
Choosing the right location
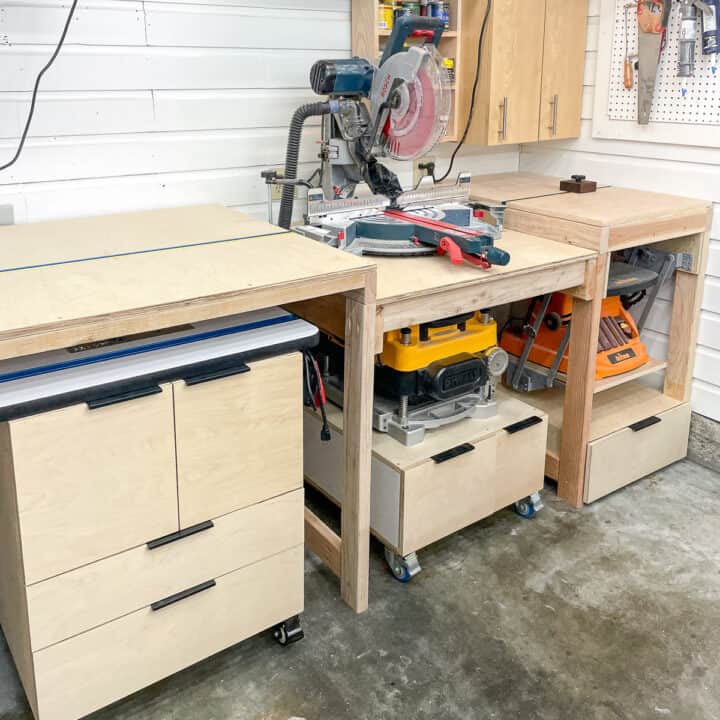
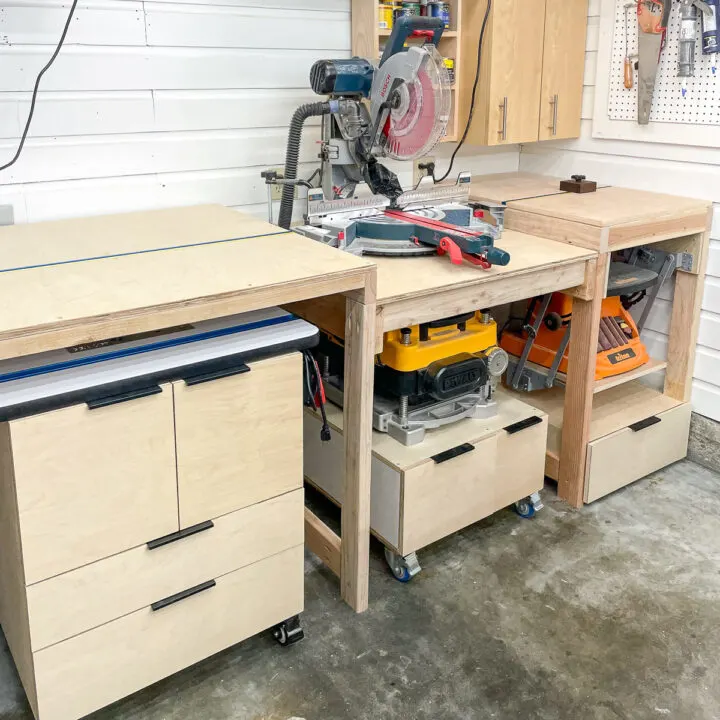
The only good spot in my house to set up the printer is in my workshop. It has concrete floors that can get dripped on, and there's a window that opens up to the alley for venting away from the house.
First, I tore out the shelves between the studs and did some reorganizing to make room. Then I installed insulation and thin white hardboard to cover up the exposed concrete wall. This corner has always been a mess, so this is the cleanest it's been for a long time!
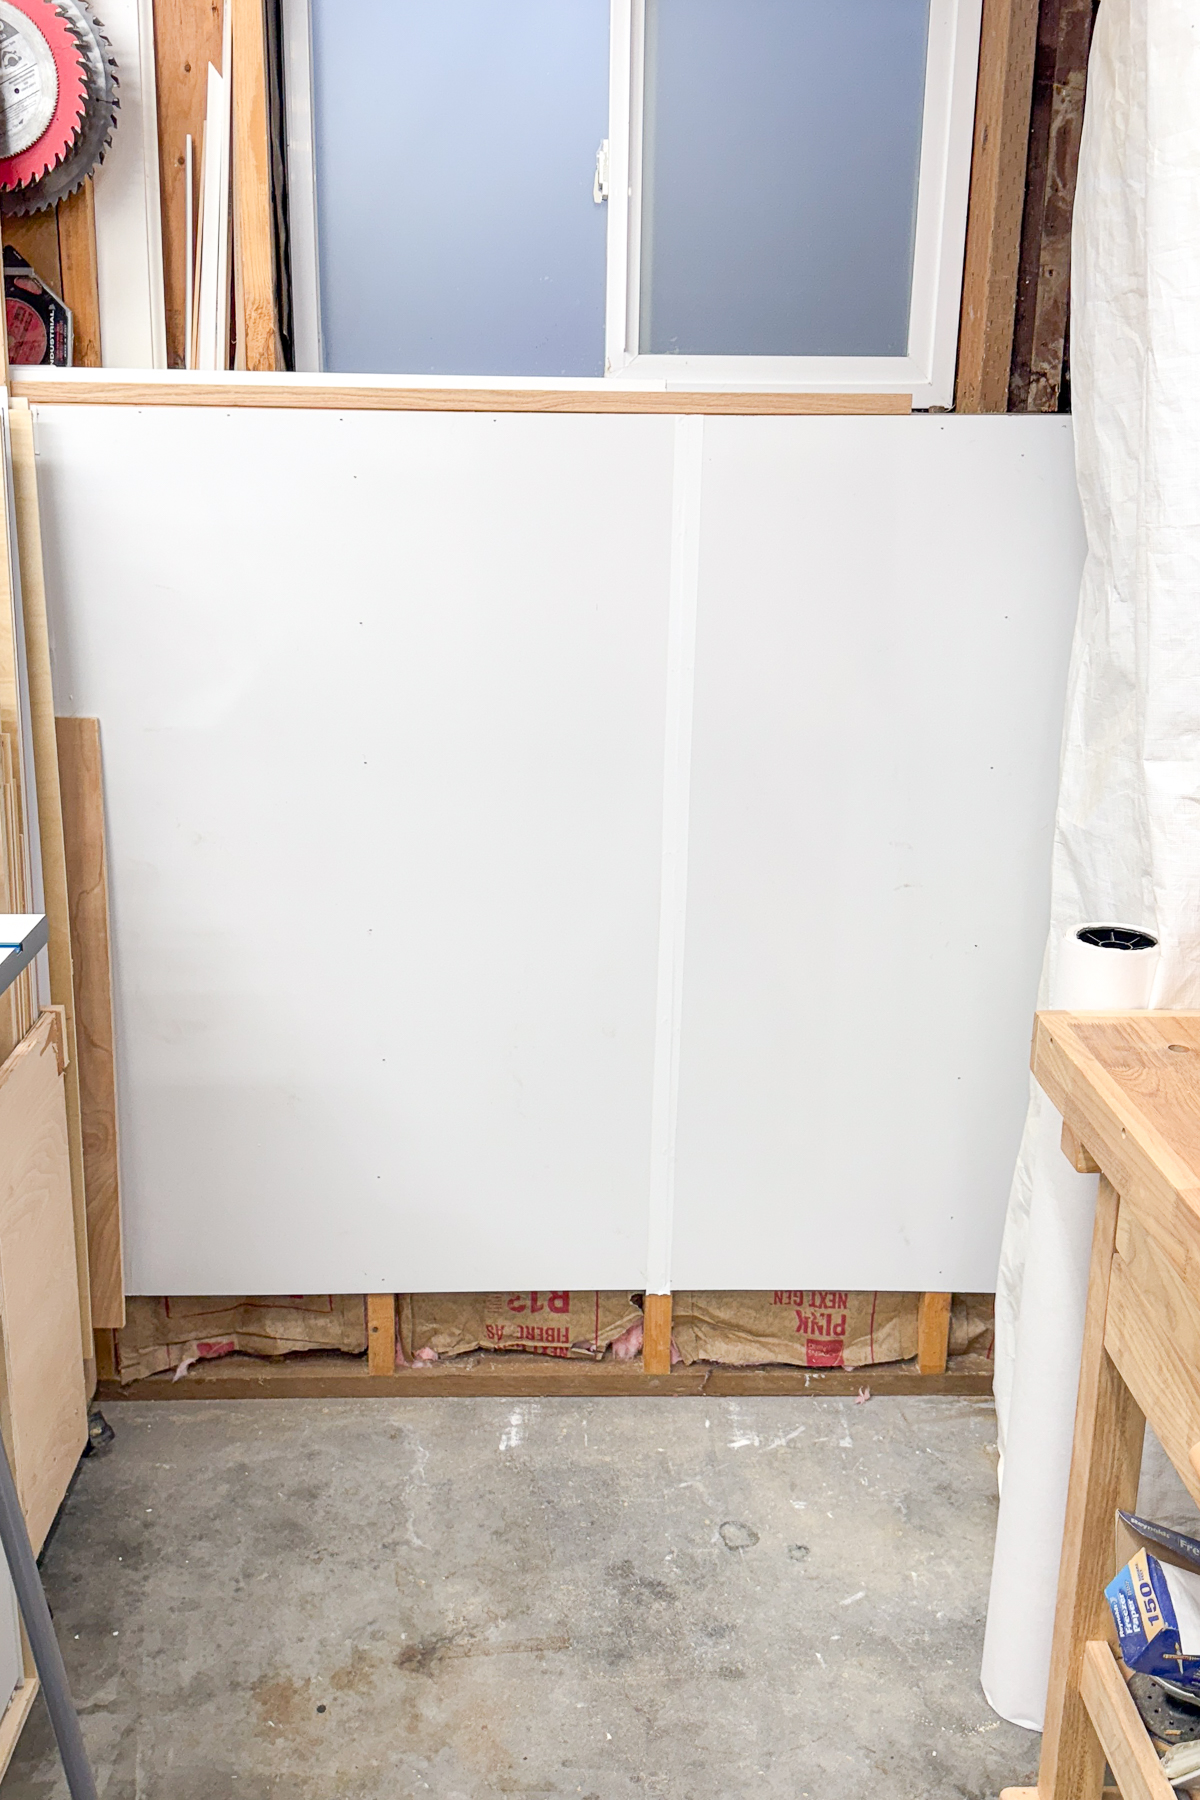
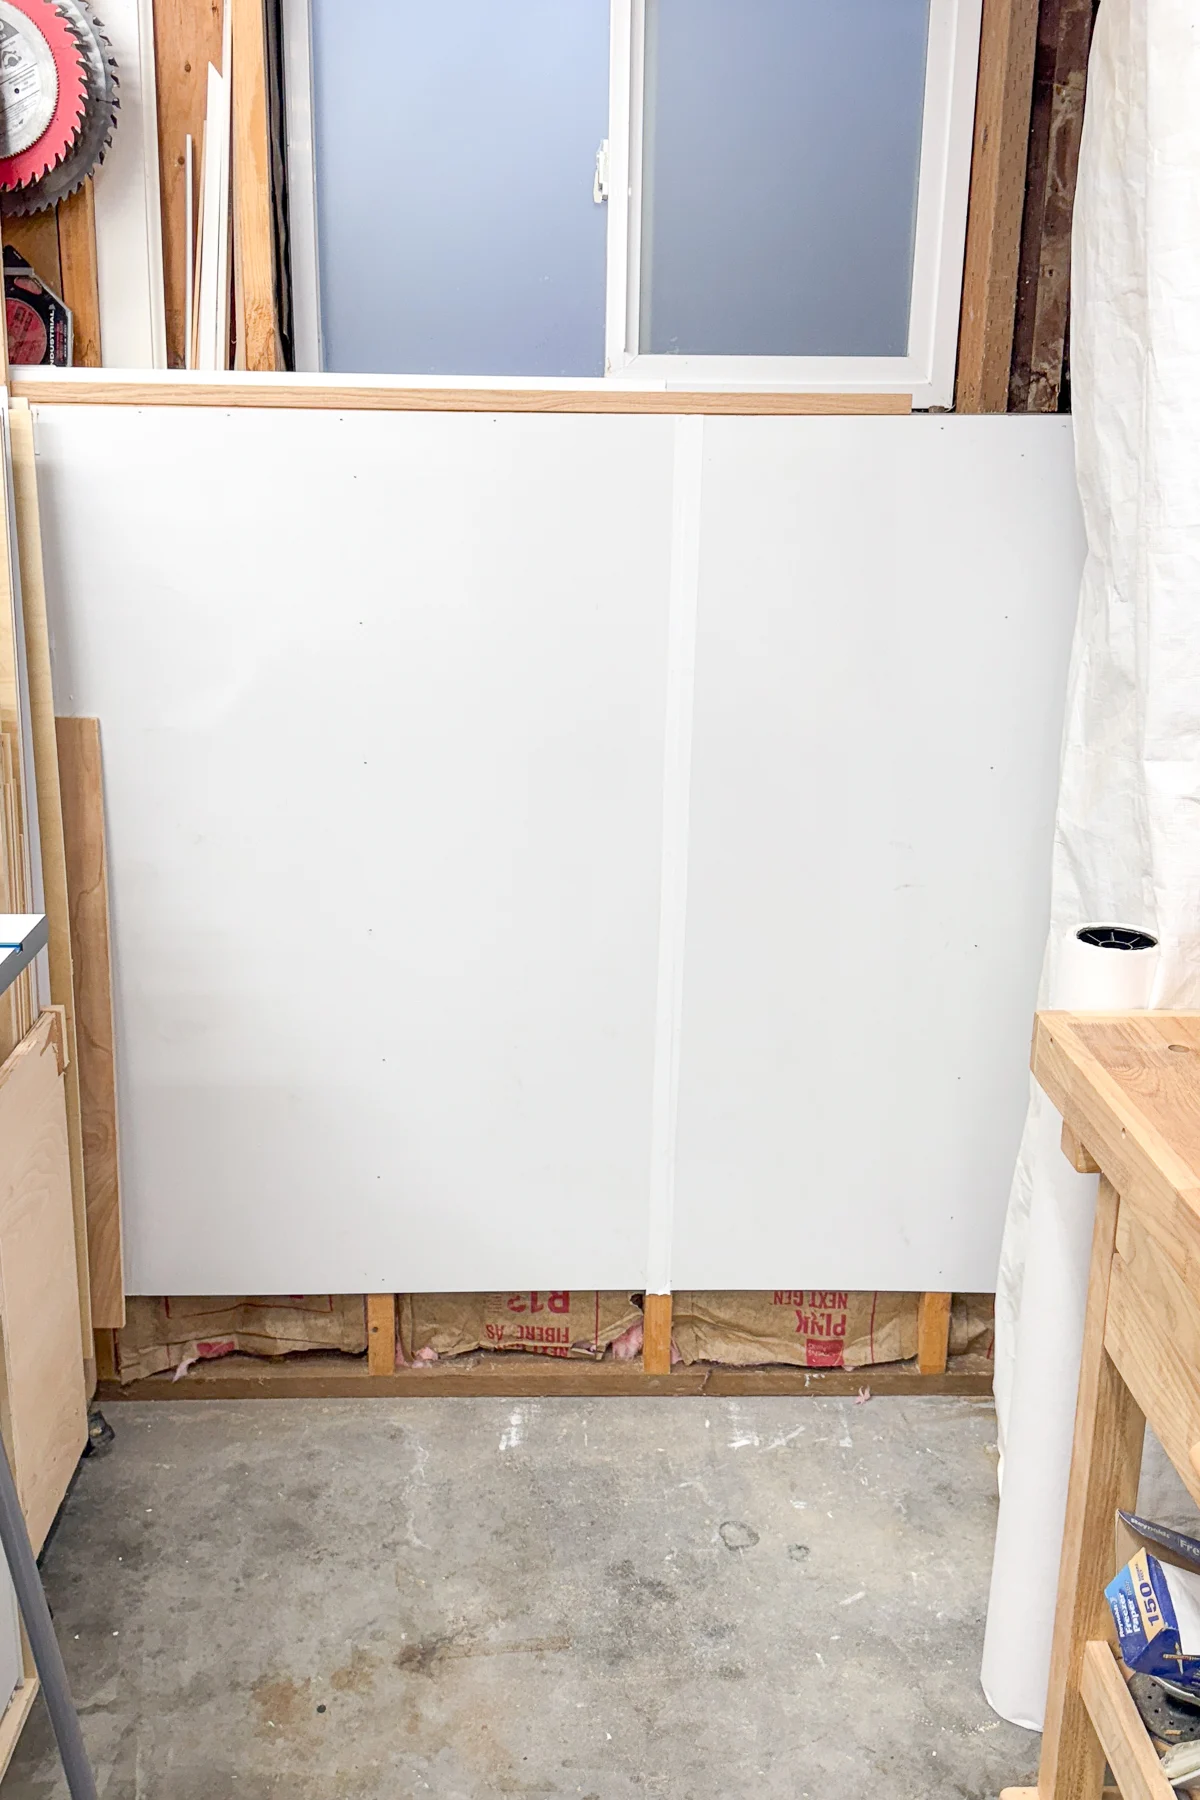
I have frosted contact paper over the window for privacy, but sunlight could still accidentally cure the resin while the machine is working. So how do I block light to JUST the printer?
3D printer enclosure
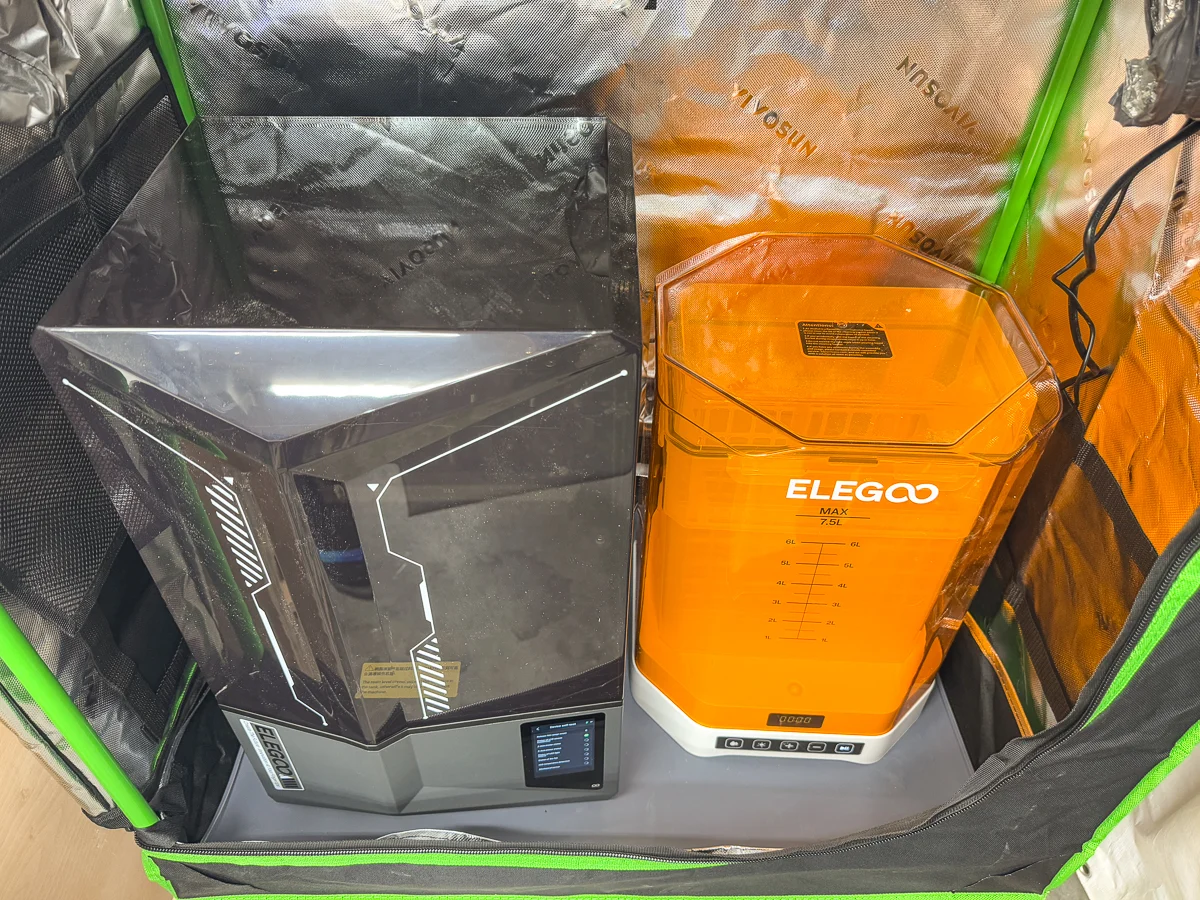
I did a quick search on Amazon and found a bunch of tent-like enclosures for resin printers, but none of them were the size I needed. I wanted to keep both the Elegoo Saturn 4 Ultra printer and the Mercury Plus 3.0 wash and cure station inside.
But those 3D printer enclosures look suspiciously similar to something that I almost purchased a few years ago for my flower seedlings...a grow tent! I took a few measurements and discovered that this 18"x30"x36" grow tent would fit both machines in the spot I cleared out in the workshop!
It was super easy to assemble and comes with a variety of exhaust port locations. I even found this silicone dog food mat to put on the bottom to catch drips! Both machines fit inside perfectly!

But before I start printing, I need to get this enclosure up off the floor!
DIY 3D printer stand
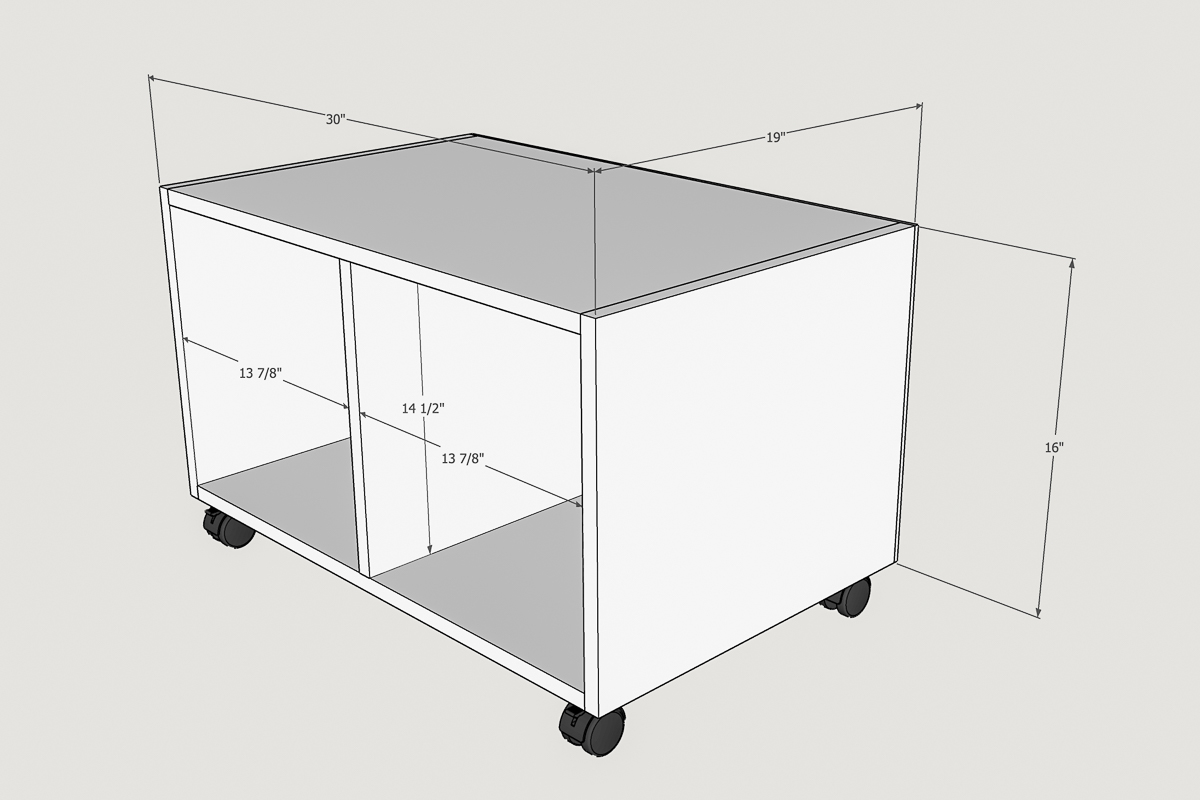
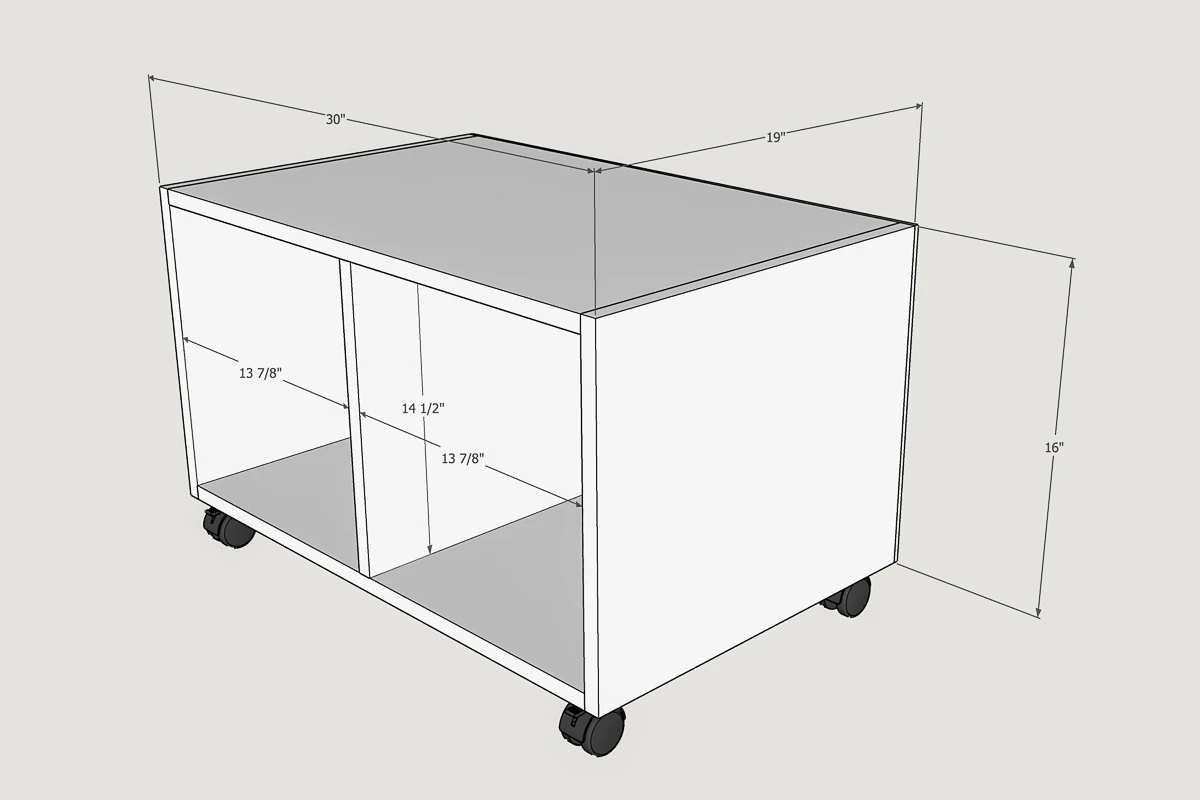
I took a few measurements of the space and the grow tent, and drew up a quick model in SketchUp. I kept the same footprint as the enclosure and created storage space underneath without making it so tall that it blocked access to the window above.
My lumber cart was full of scraps left over from building my kitchen cabinets, so I had plenty of pieces to use up. I even found a set of casters when cleaning out the space for the printer, so the entire project was free!
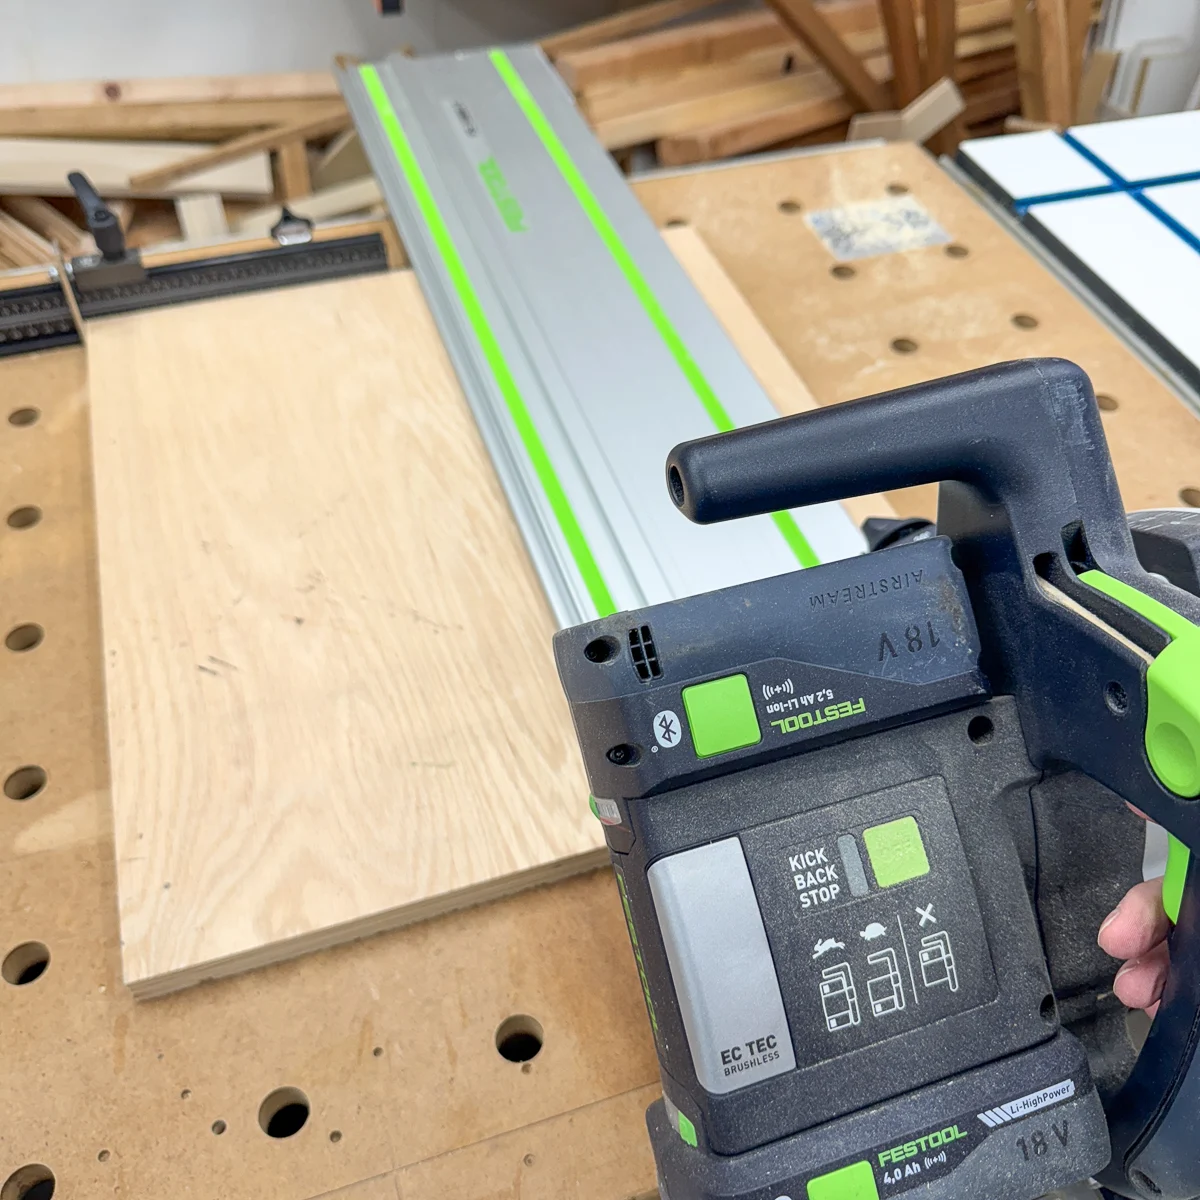
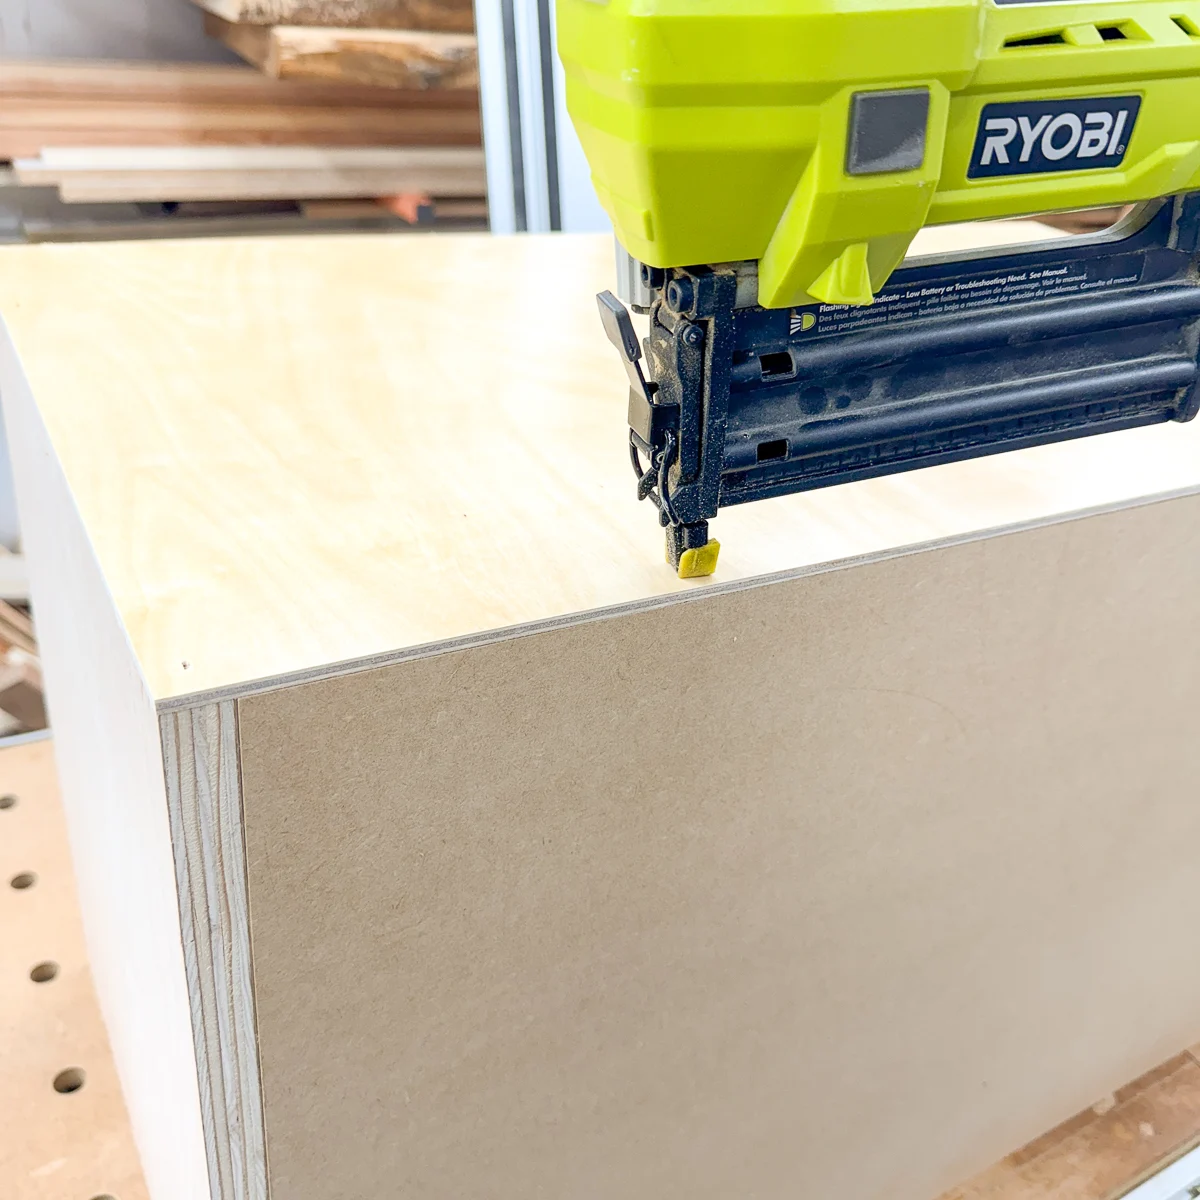
I started off by cutting one long strip of plywood down for the sides and center divider with my track saw.

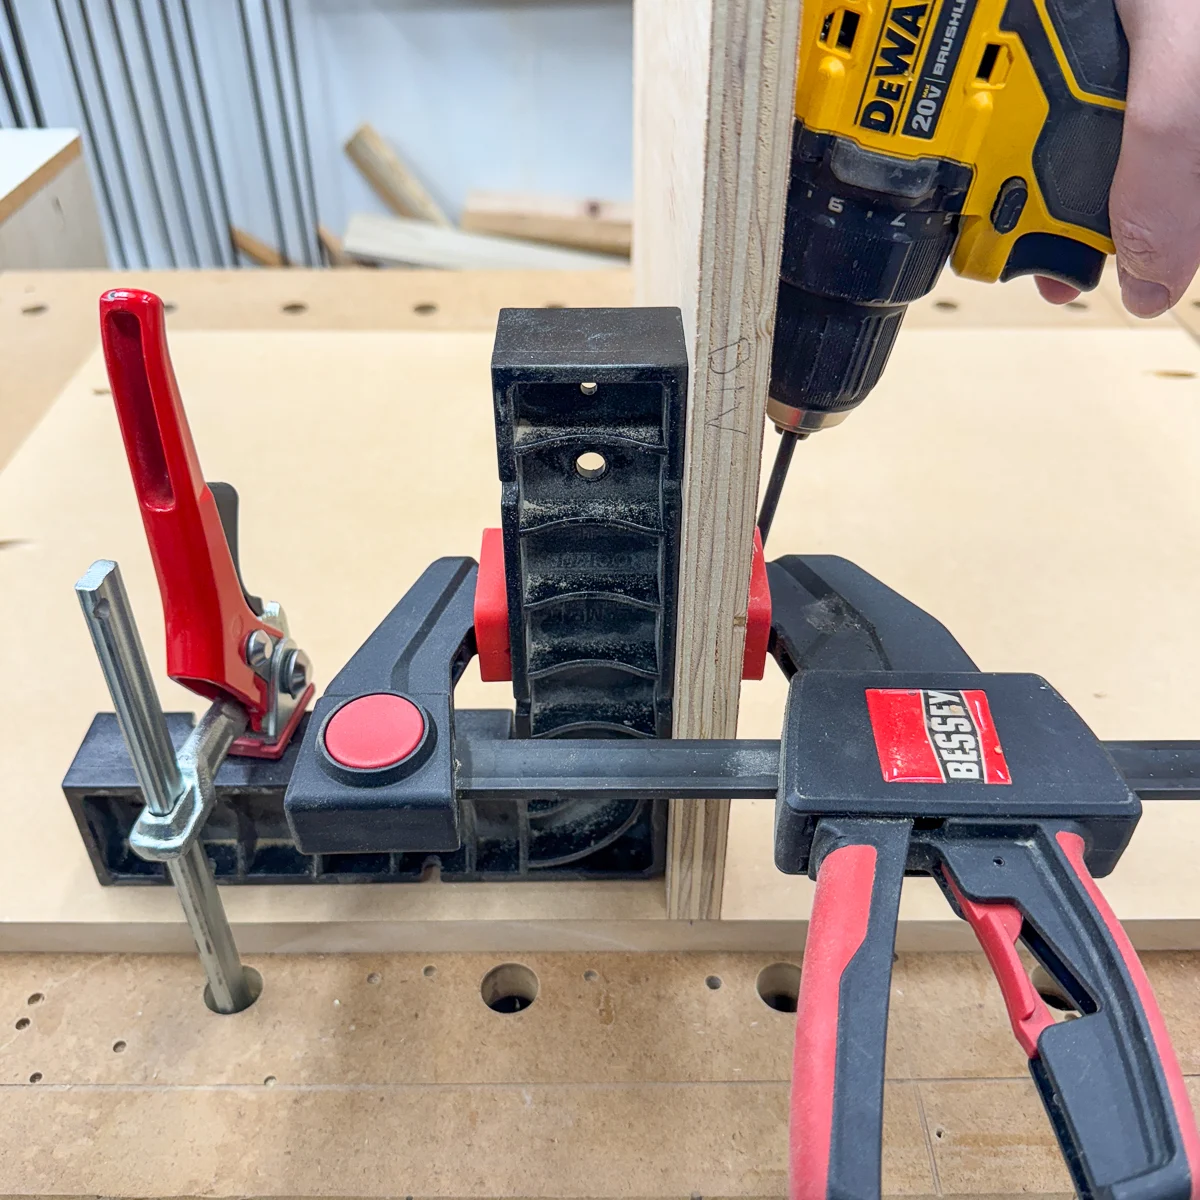
I only had a sheet of ¾" MDF that was large enough for the top and bottom, but no one is going to notice the mismatched materials but me! I drilled pocket holes in both of the shorter ends, as well as the center divider.


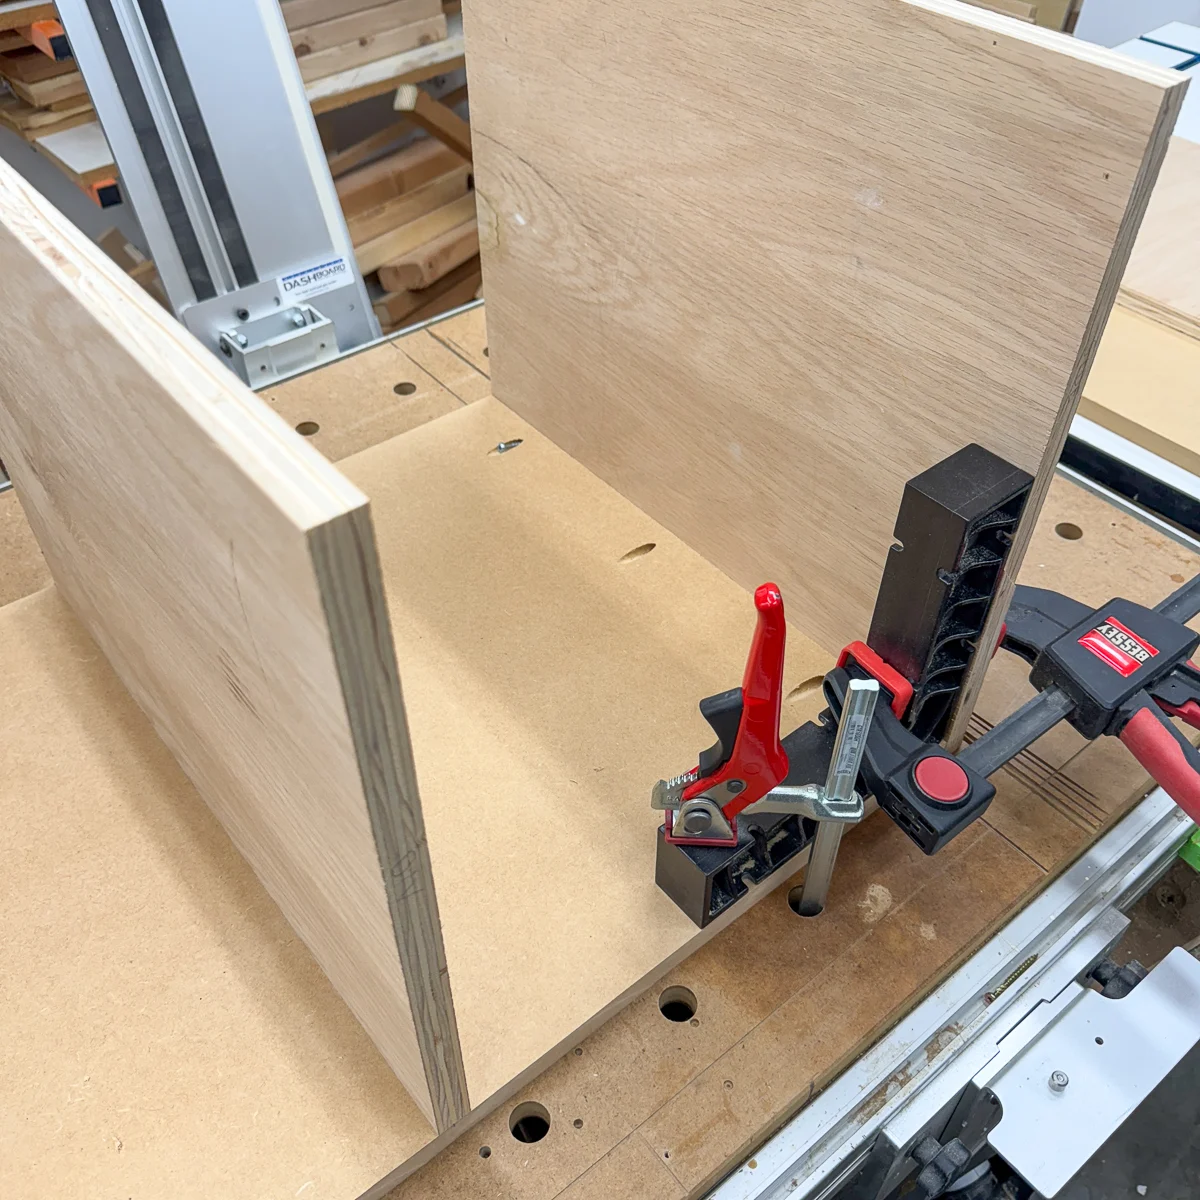
I marked the middle of the bottom panel, and lined up the center divider. I used clamps and an assembly square to make sure the divider stayed upright while I attached it with 1 ¼" pocket hole screws.

Then I attached the sides the same way.

Now I could flip the whole thing over and attach the top. Somehow, I managed to cut the center divider ⅛" too short, so I added a sliver of thin wood to fill in the gap. Oops!
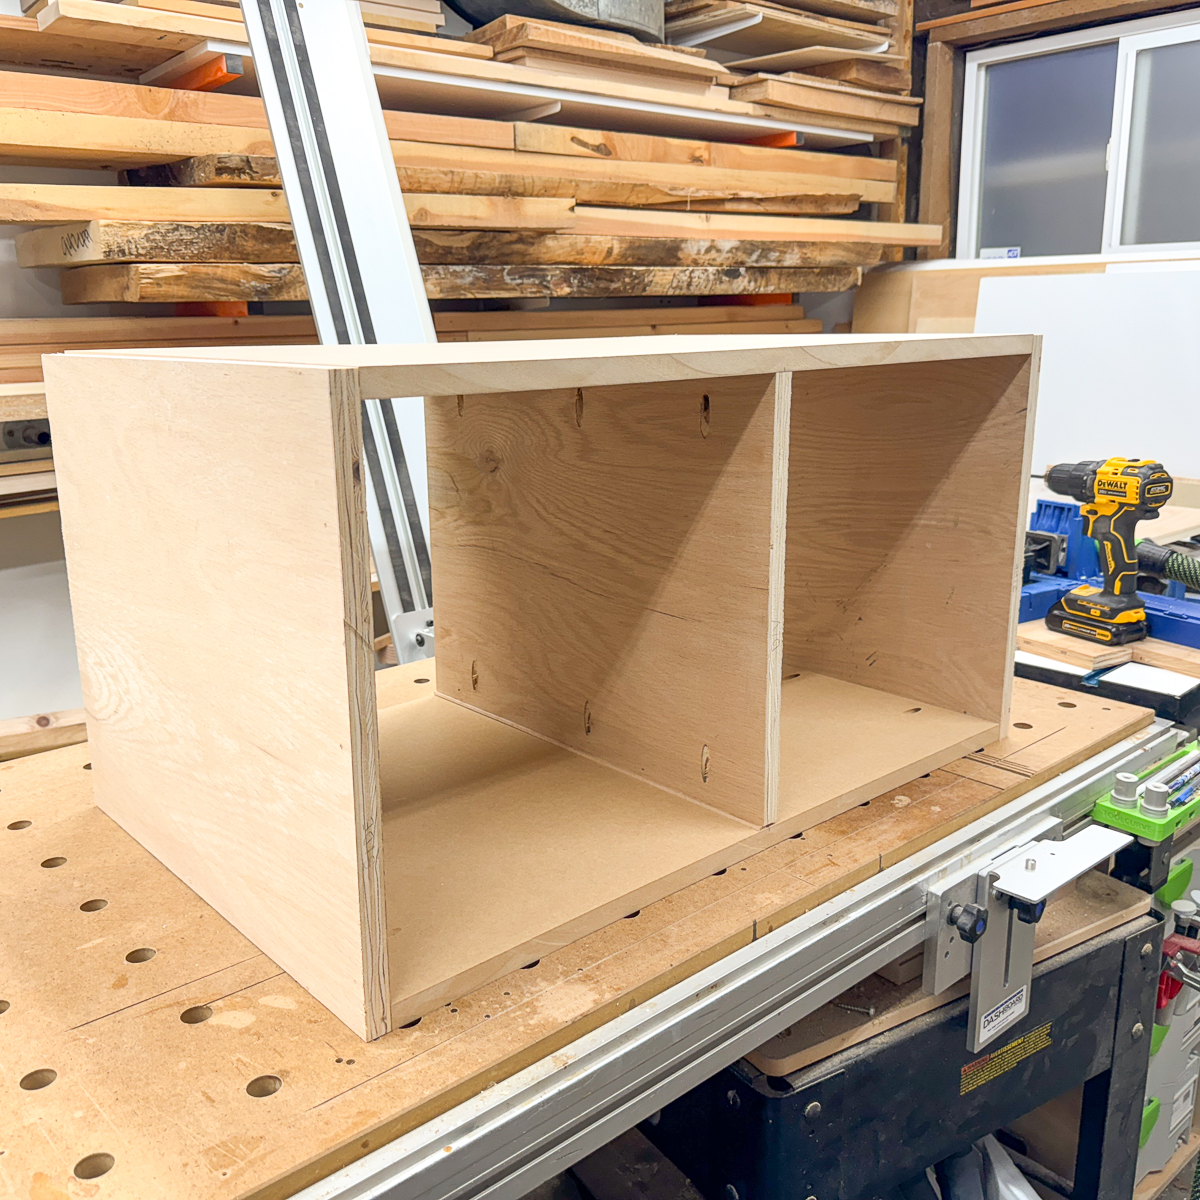

To prevent the box from getting twisted out of square, I attached a back panel of ¼" plywood with brad nails.

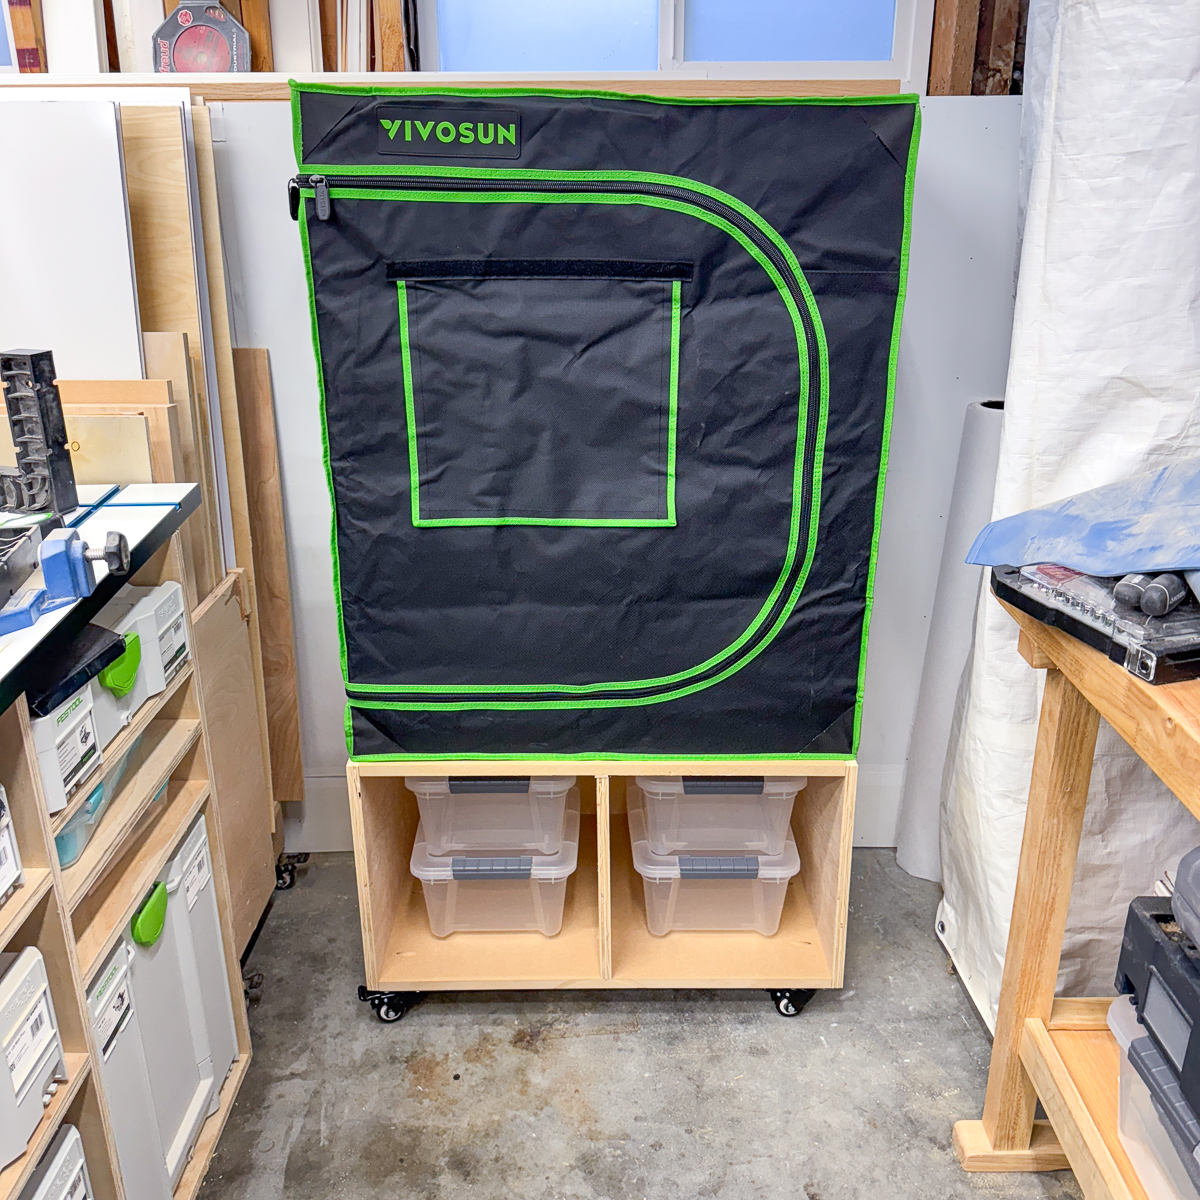
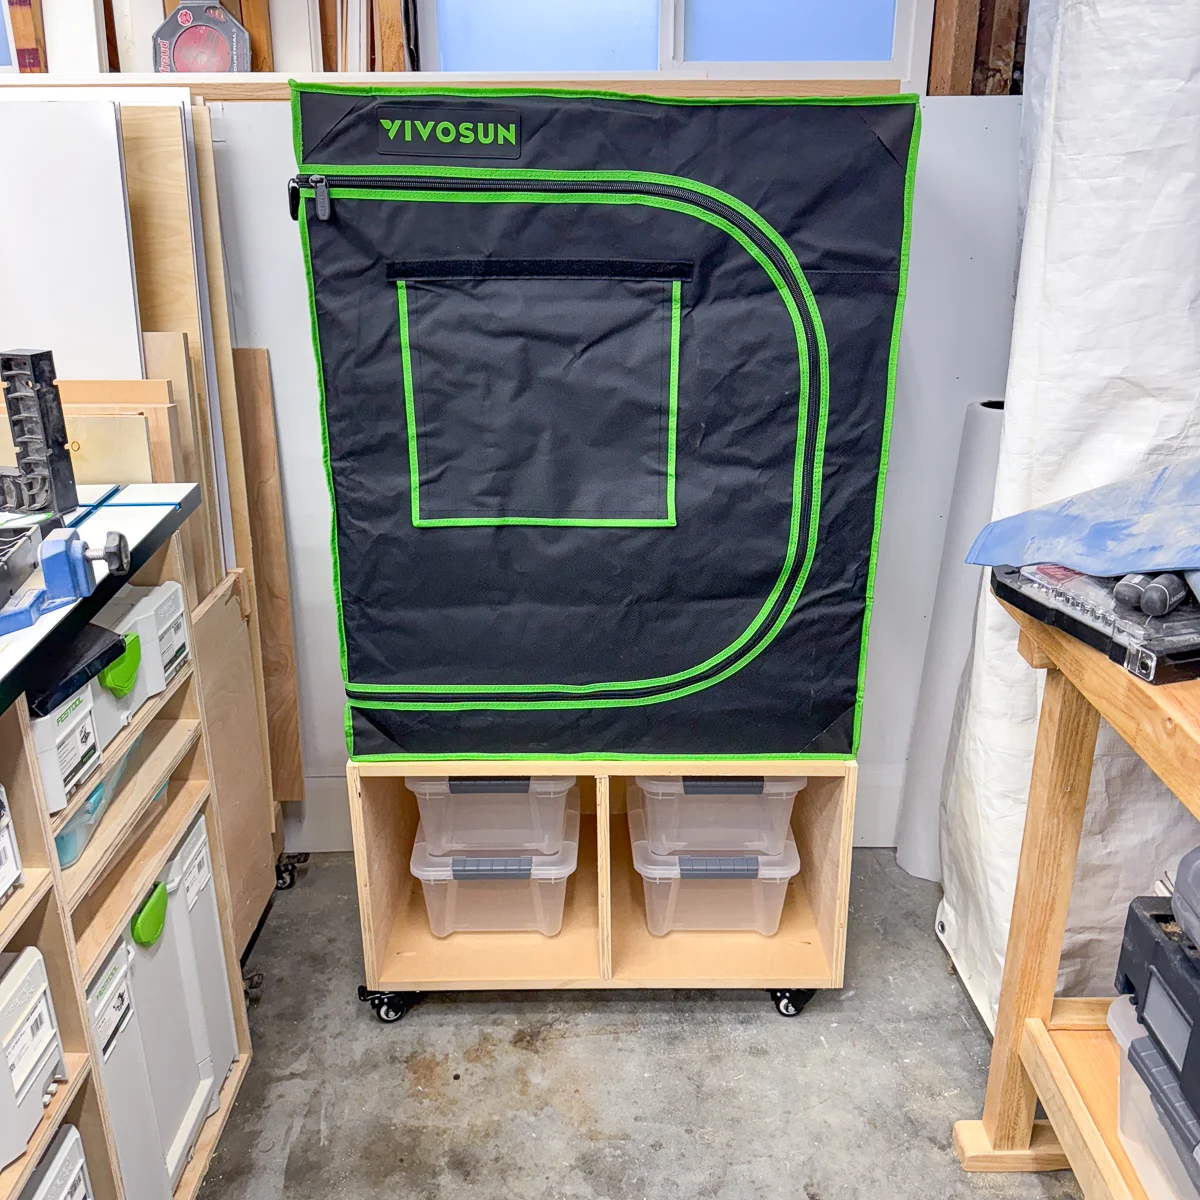
Finally, attach the casters to the bottom. Make sure you use locking casters and position them so you can actually access the locking mechanism easily with your foot.


That's it! The whole thing took me less than an hour to cut and assemble, and it fits perfectly under the window! I found some plastic storage containers at Costco that will protect all my 3d printing supplies from sawdust.
Finishing touches
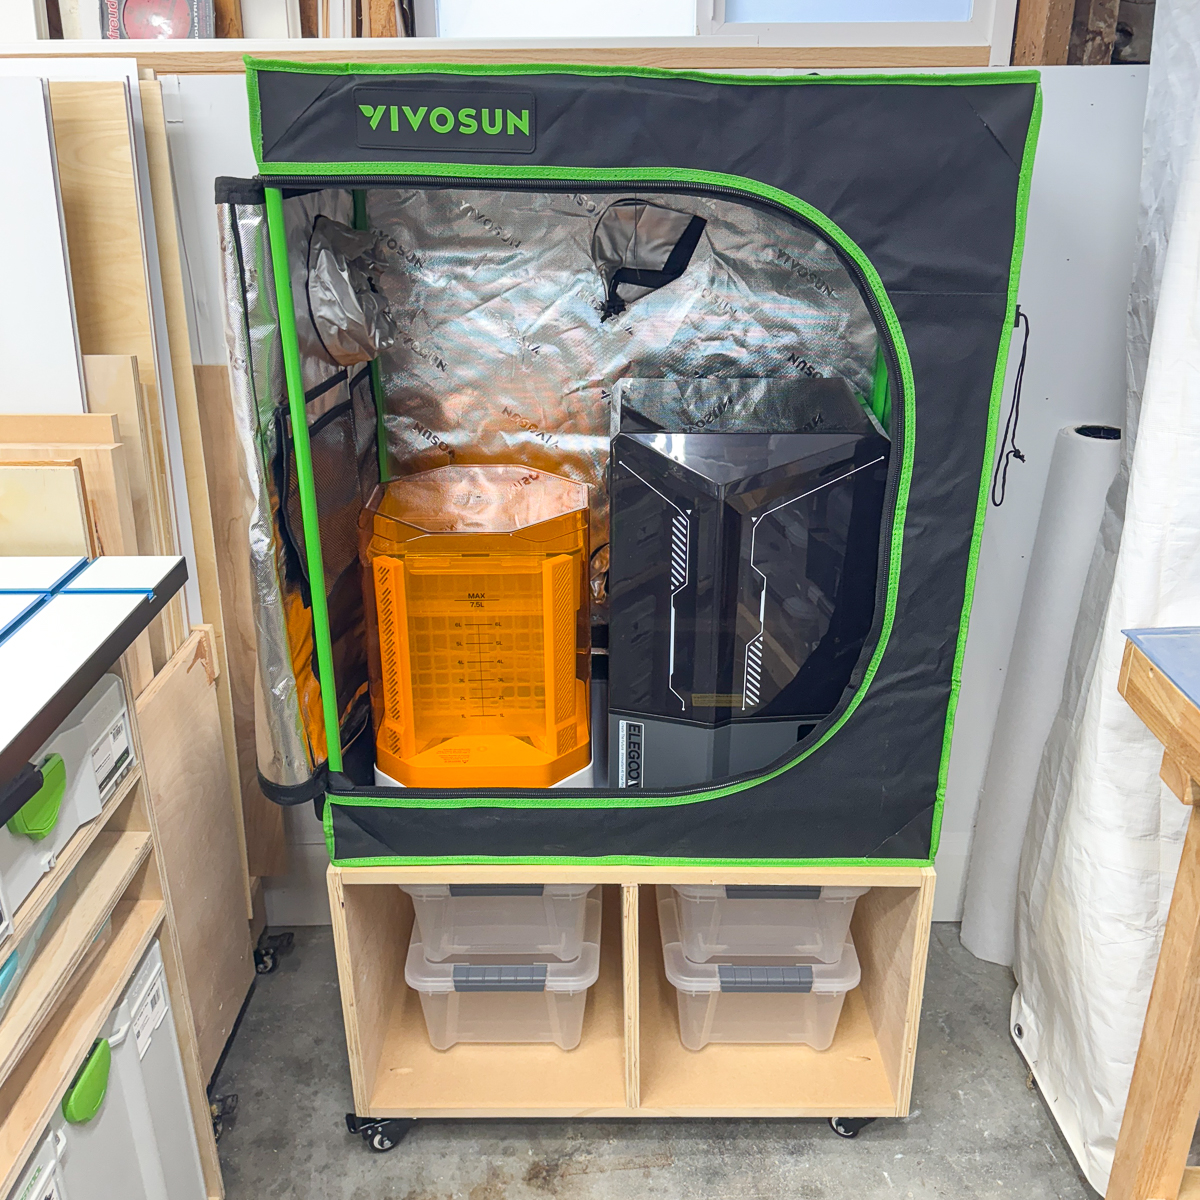
Now it's time to put everything in its place! The resin 3D printer and the cleaning/curing station fit perfectly inside the light-proof tent. I ended up swapping the position of the machines to make it easier to access the printer.

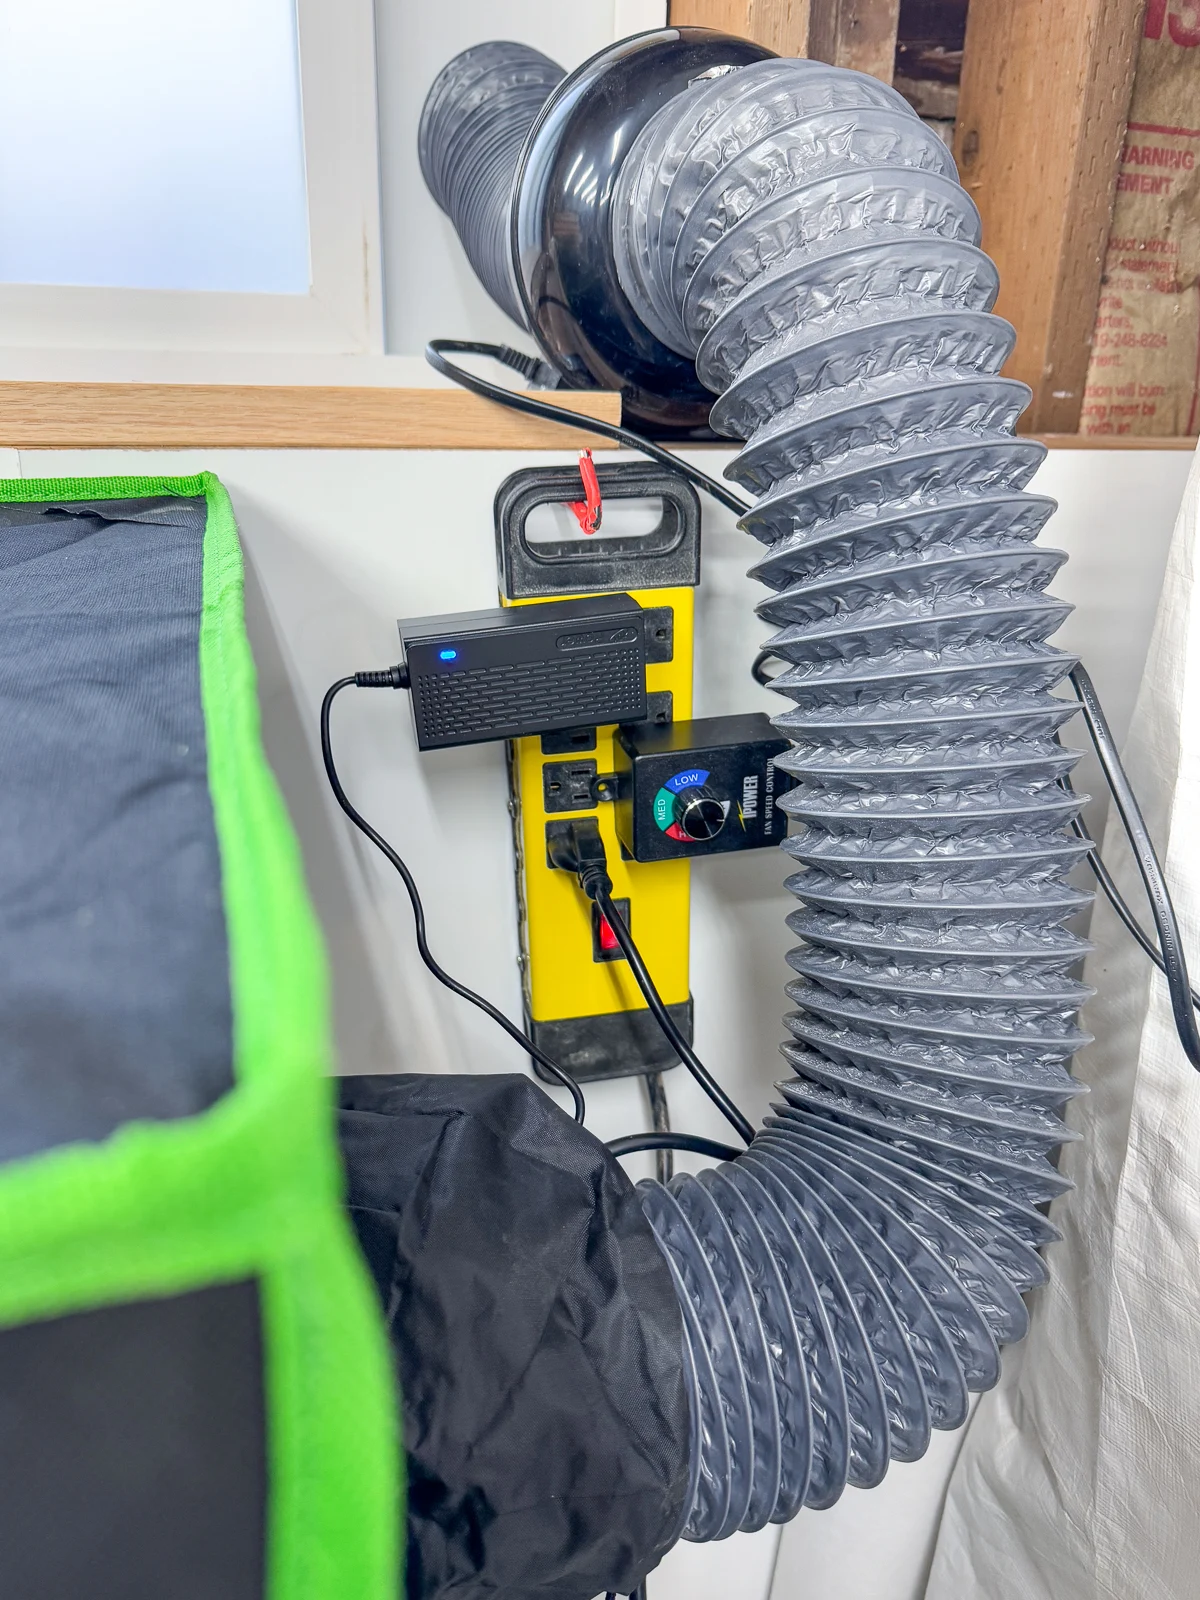
I recently upgraded the inline fan for my xTool P2 laser, so I used the old one for venting the fumes out the window. It's mounted to the top of the stud wall with 4" ducts coming out of the tent and through the window. The power strip hangs on the wall so everything can be shut off with the push of a button.

Now I'm ready to start printing! My son has a long list of models he's been wanting to make, so I'd better get to work!