Organize that jumble of shoes at the bottom of your closet with these easy to make DIY slanted shoe shelves!


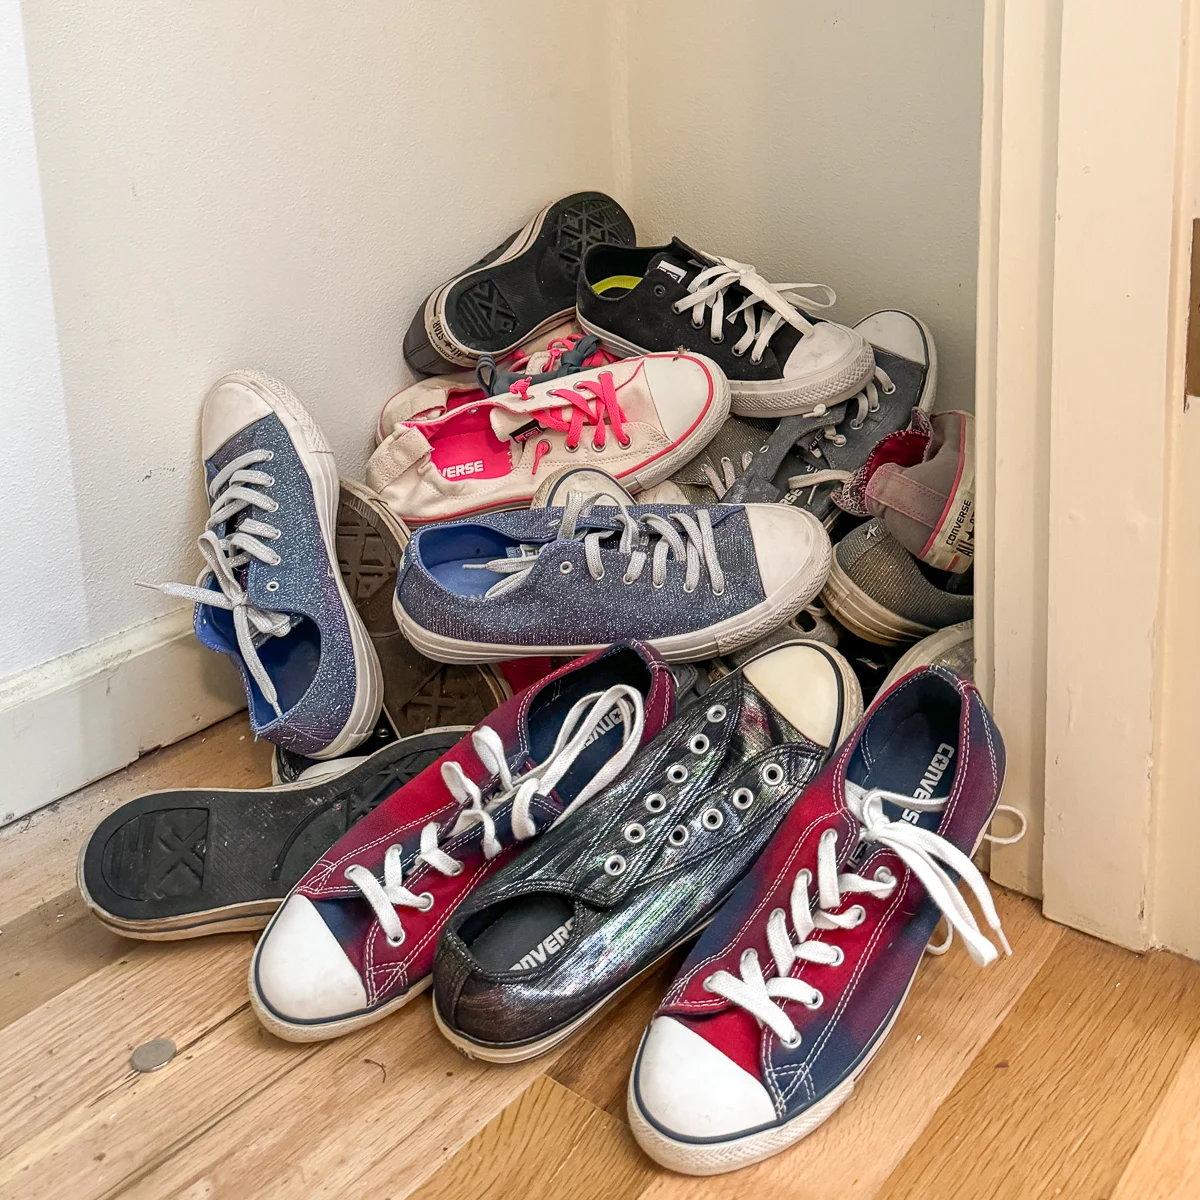
Every fall, I switch out the sandals and flip flops for my beloved Converse All-Star sneakers. I've amassed quite the collection over the years, and the bottom of the closet was a cluttered mess!

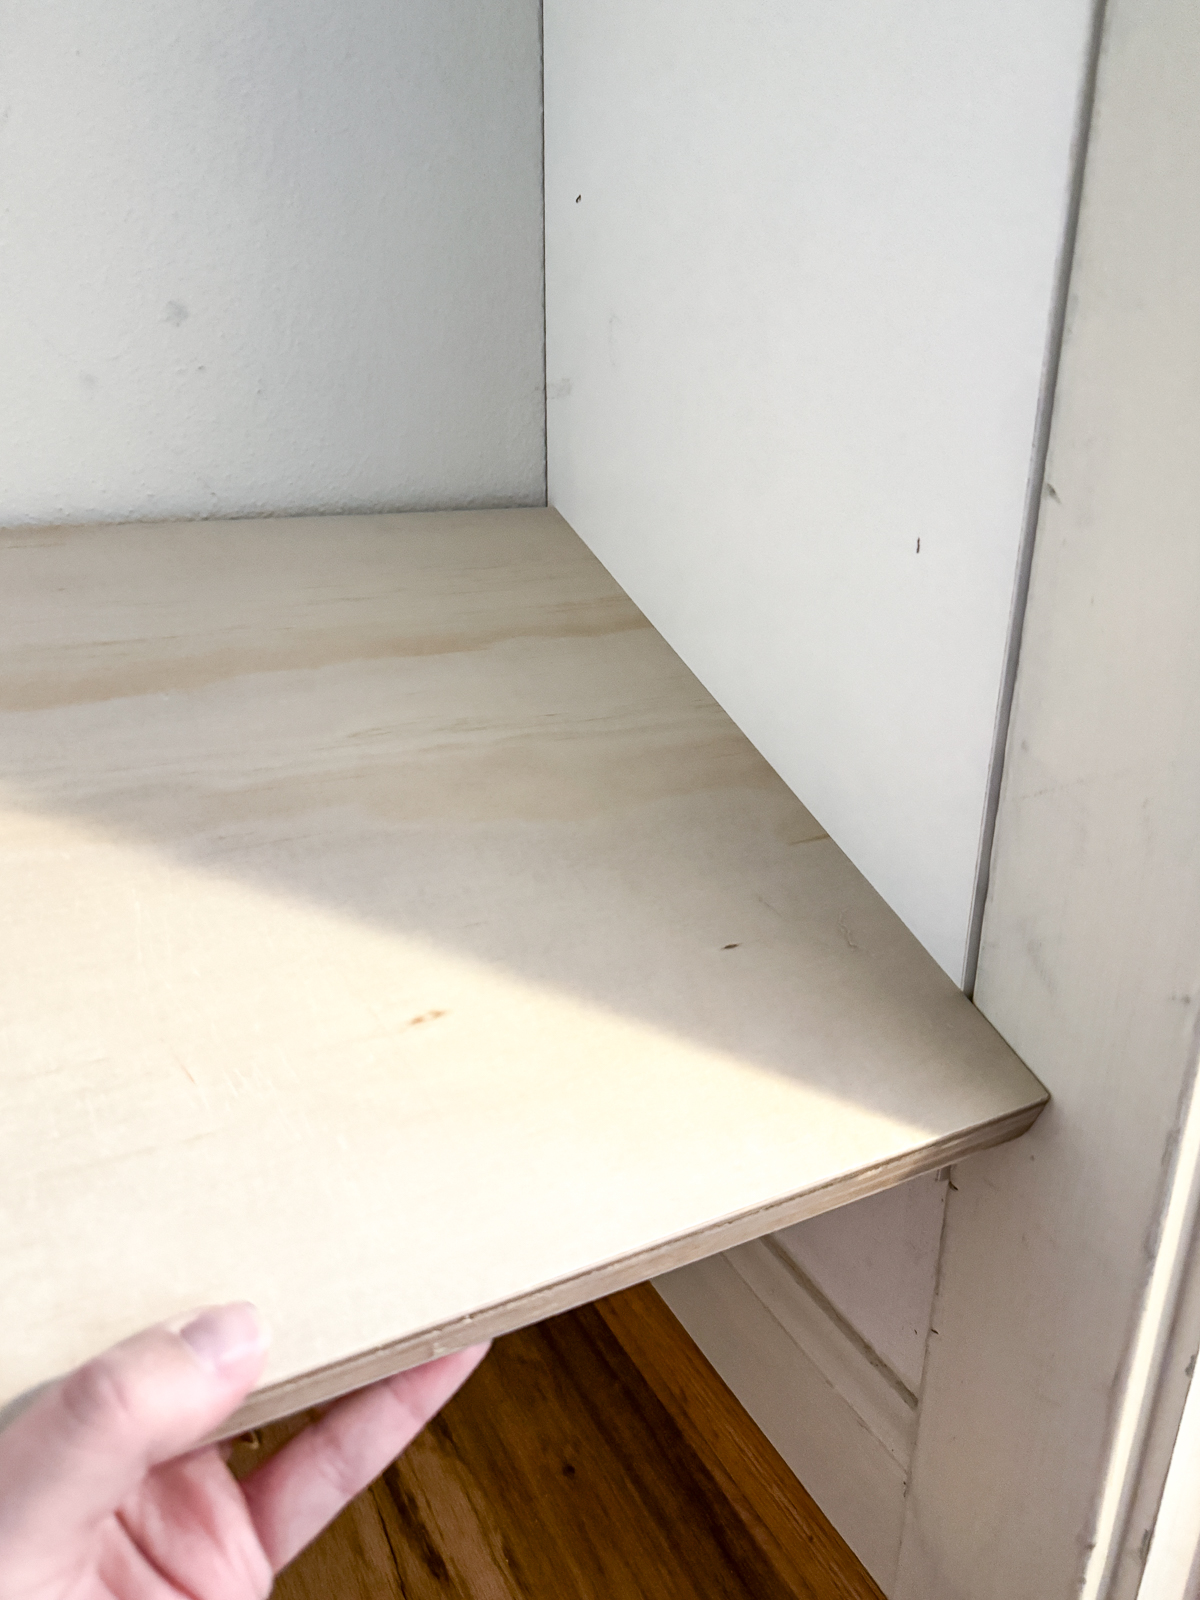
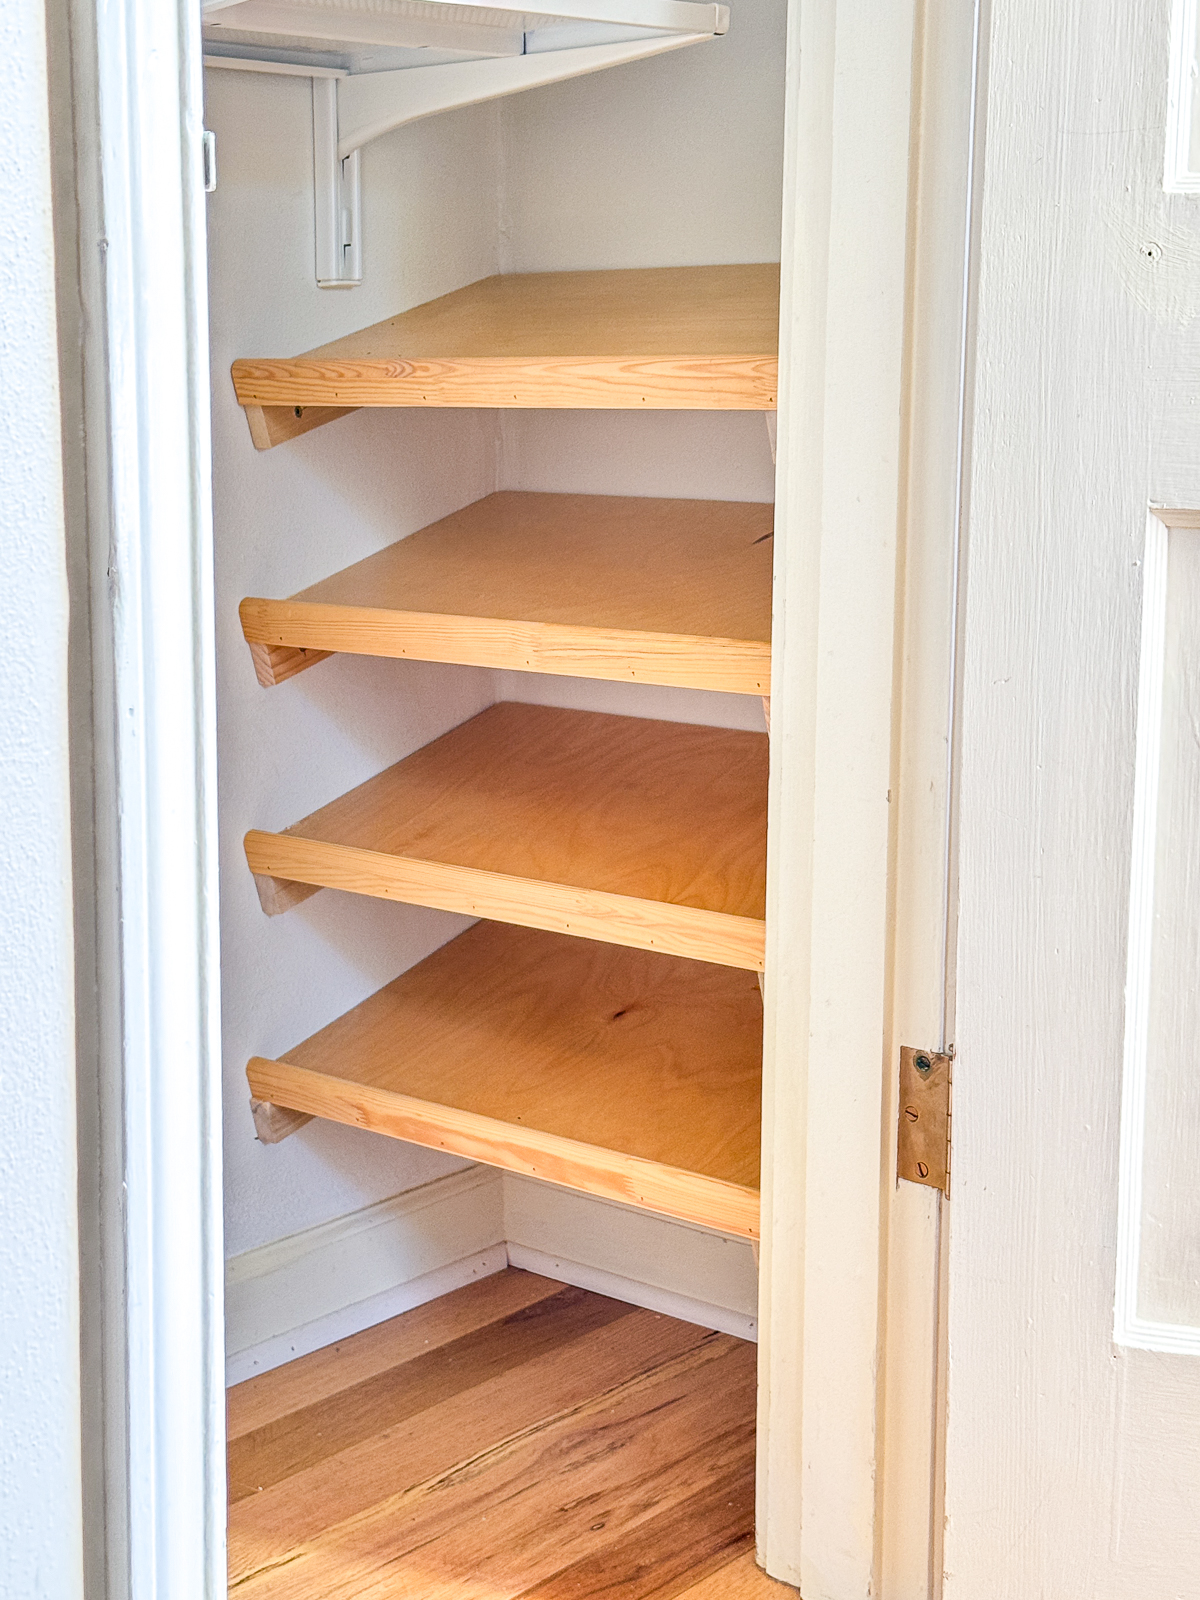
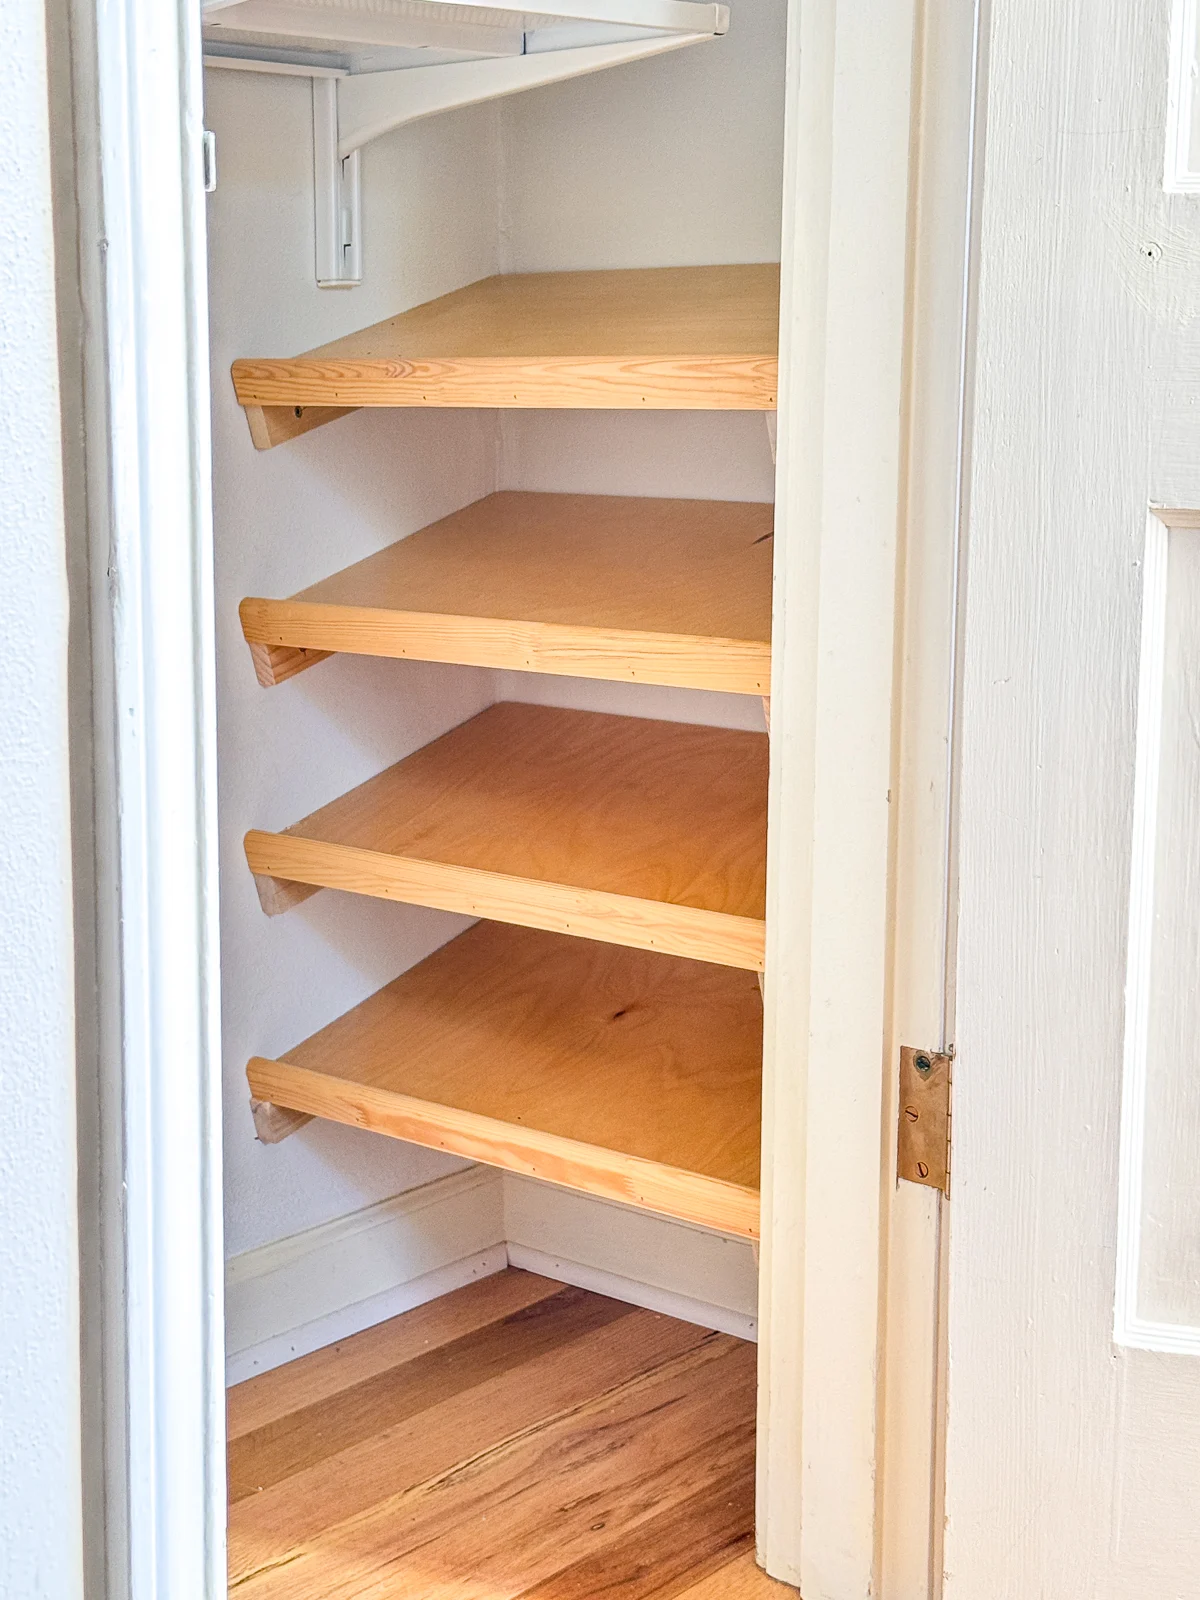
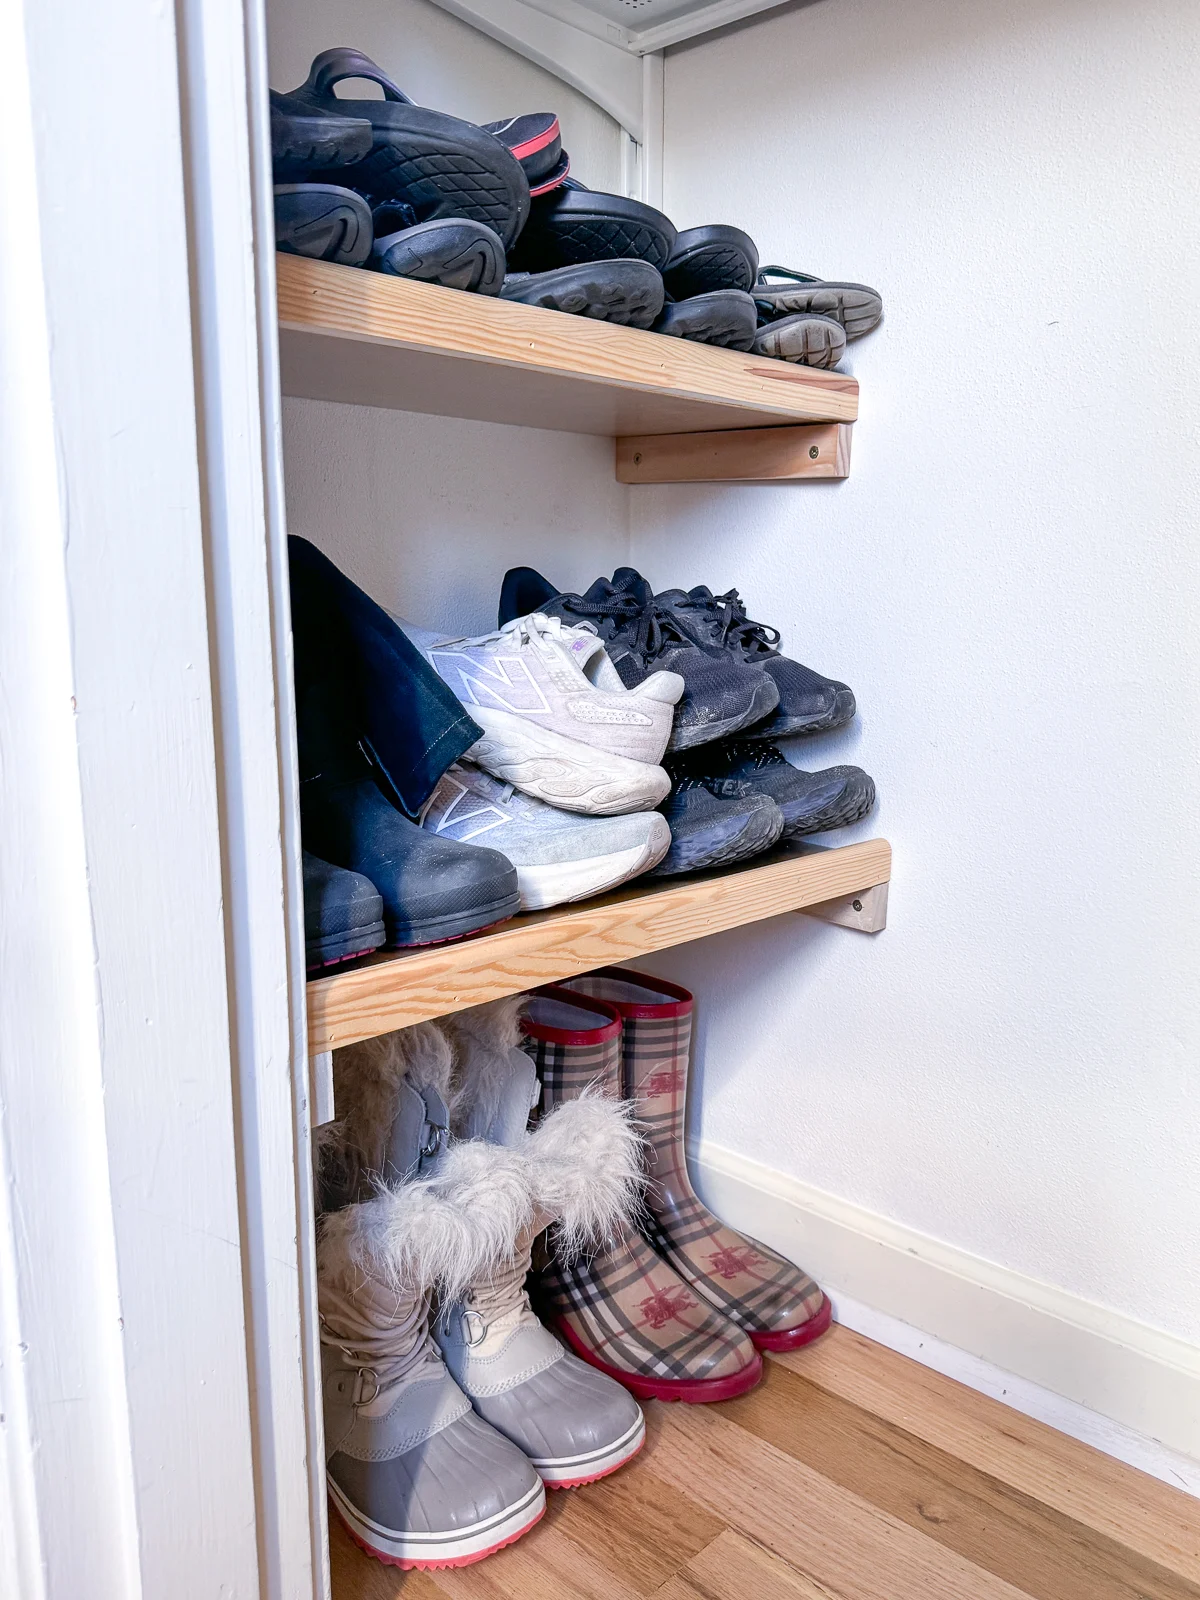
I didn't want to take up the entire bottom half of the closet with shoe storage, so mine will be built into the sides like the shelves I built in another closet. But these are slanted with a lip at the end to hold the shoes in place.
I rummaged through my scrap lumber cart and found half a sheet of prefinished ¾" plywood left over from building my kitchen cabinets and some other random pieces for the lip and supports. I love when I can make a project for free!
Let's get building!
This post contains affiliate links for your convenience. Purchases made through these links may earn me a small commission at no additional cost to you. Please visit my disclosures page for more information.
Materials Needed
- ¾" plywood
- 1x2 furring strips
- 3" screws
- Countersink bit (optional)
- Wood glue
- Brad nailer and 1 ¼" brad nails
- Level
- Stud finder
Measure your closet
After clearing everything out of the bottom of the closet, measure the space. I already have shelves across the top part, so I was confined to the bottom three feet.
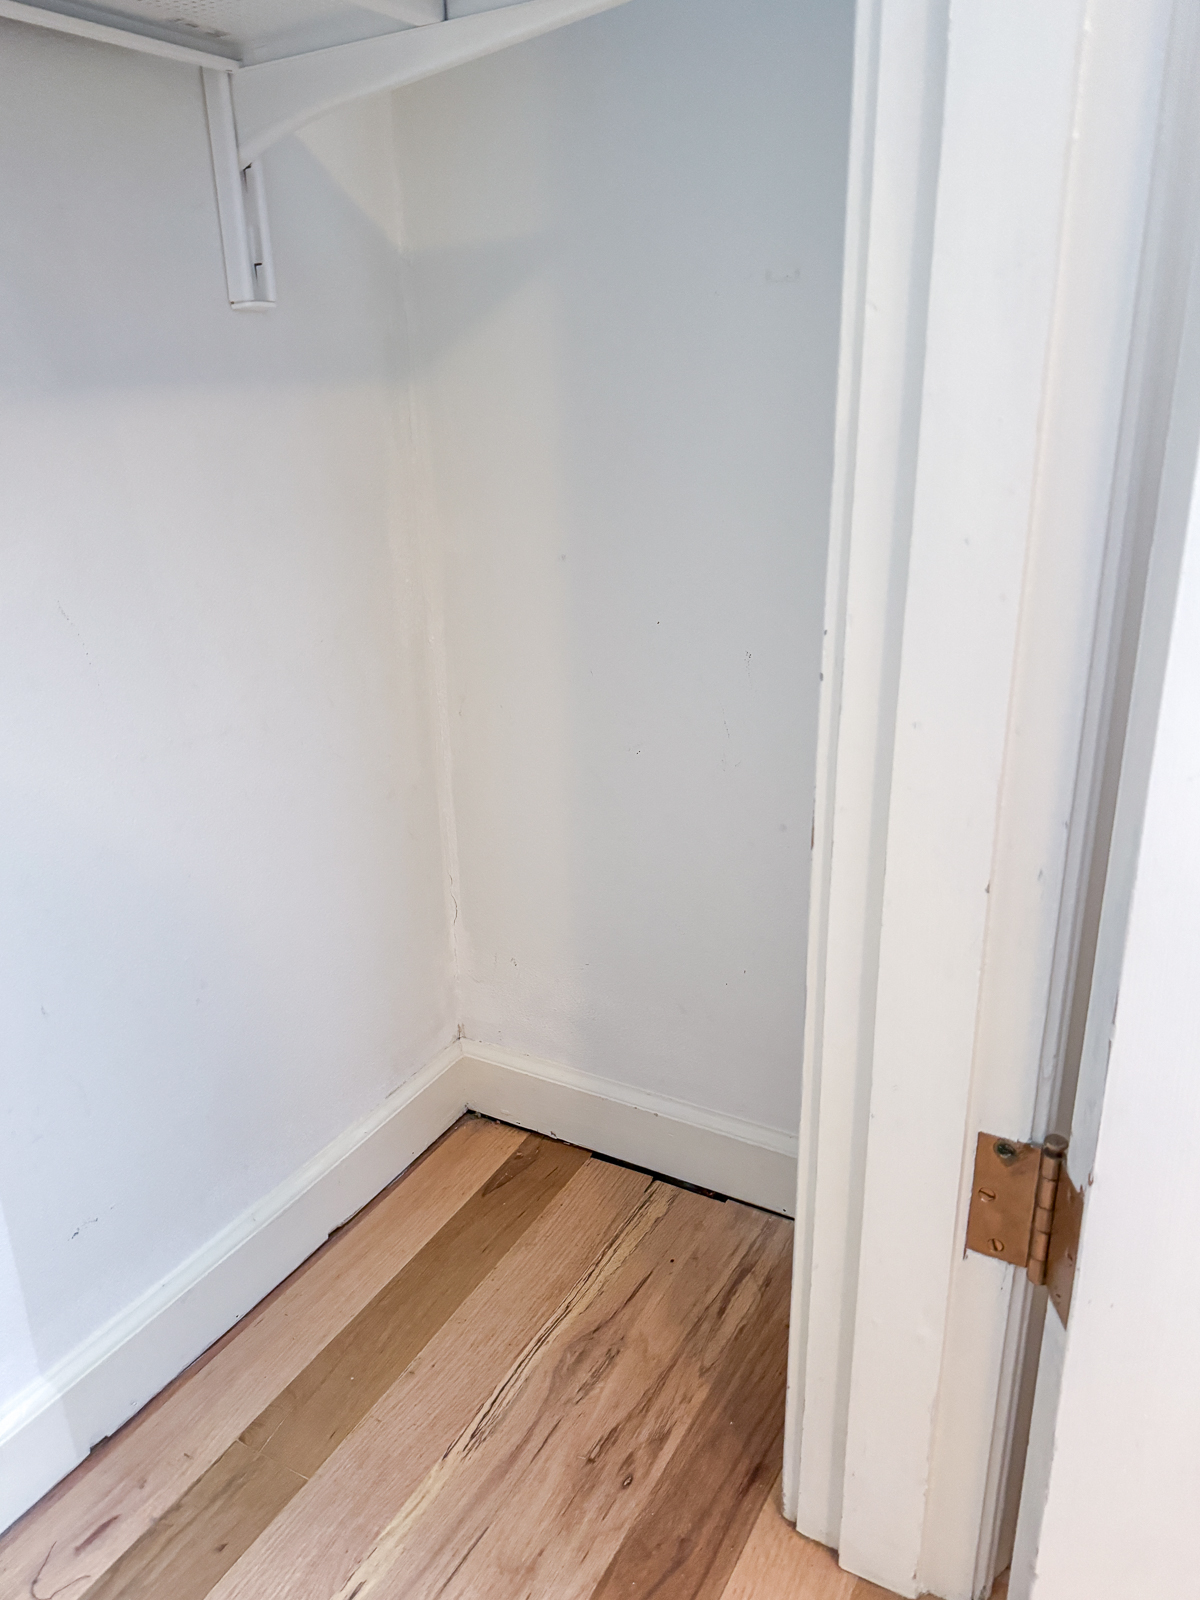

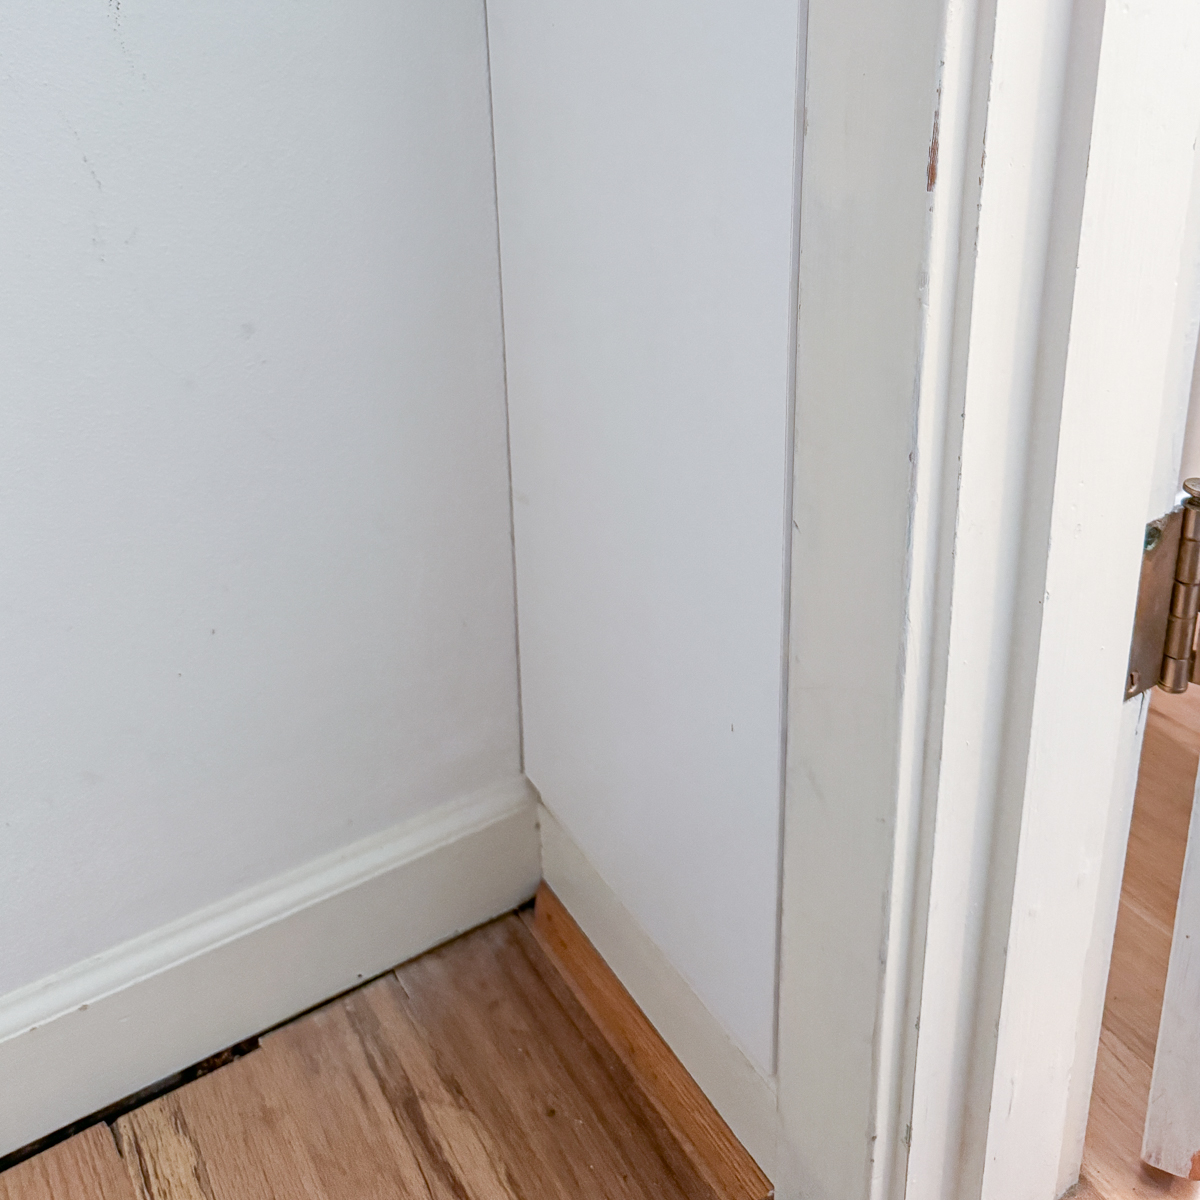
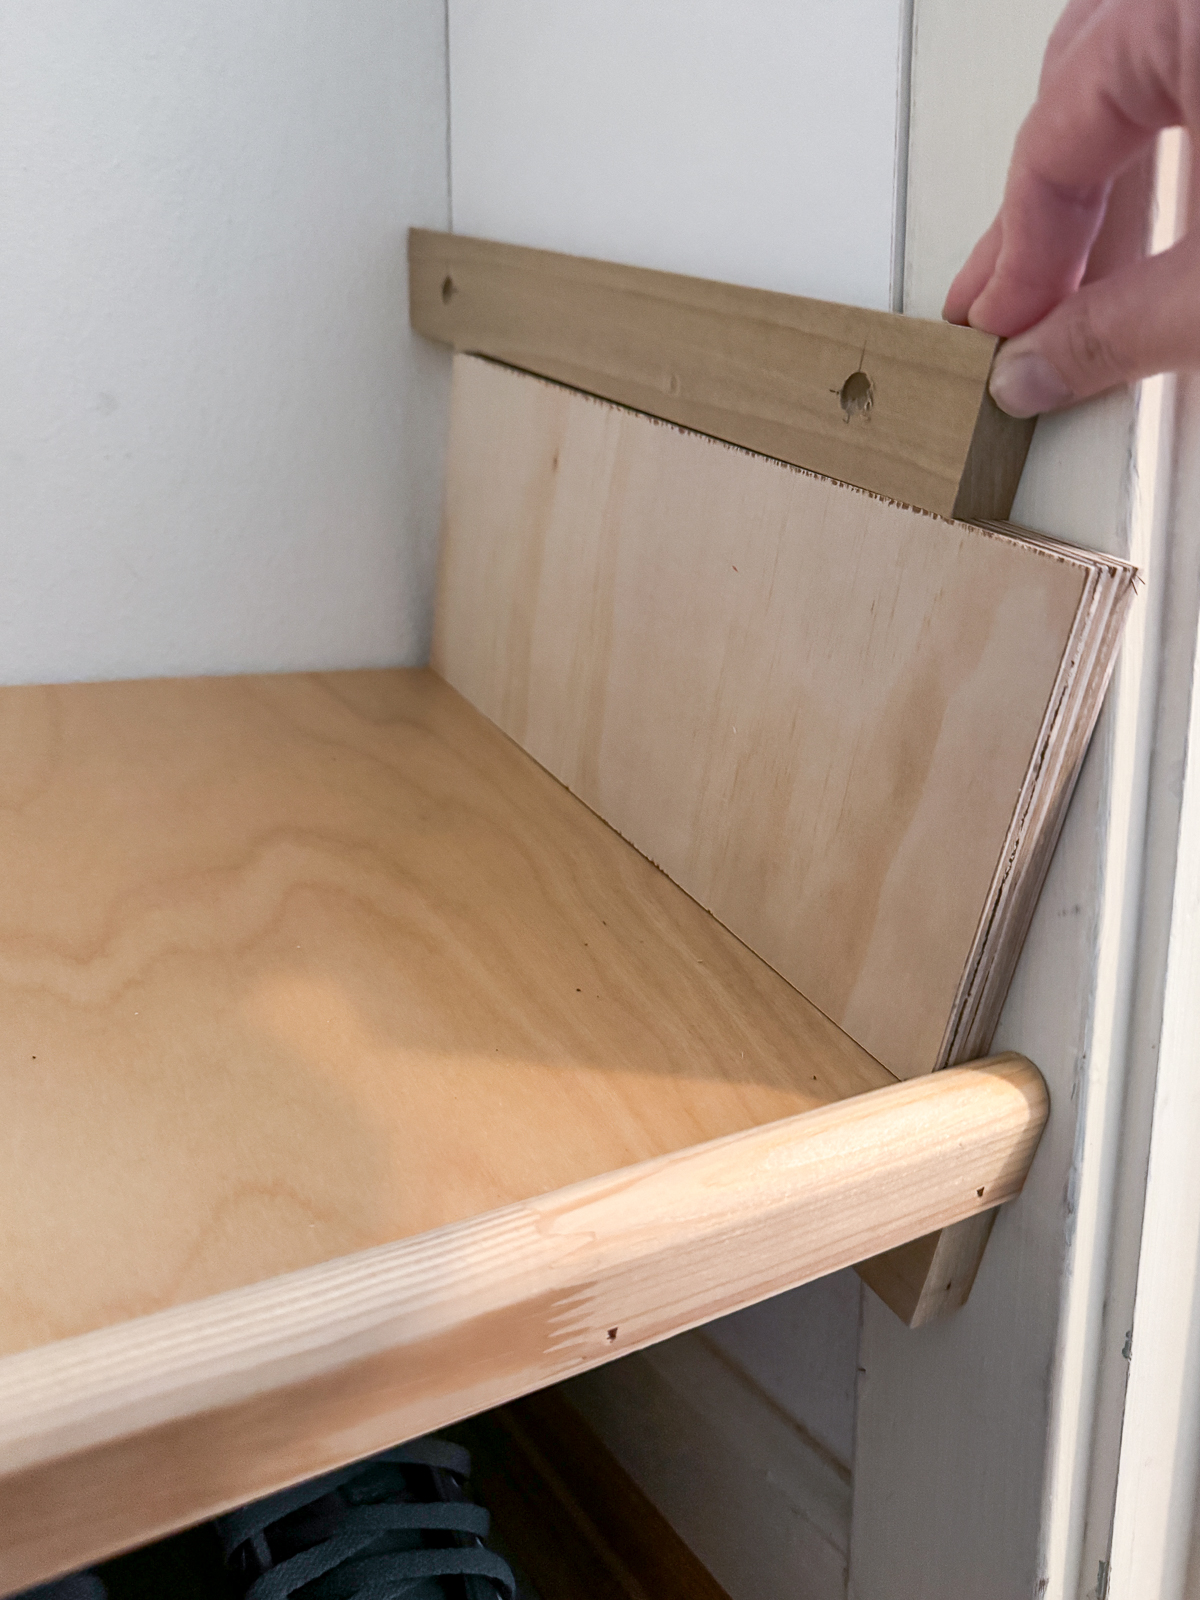
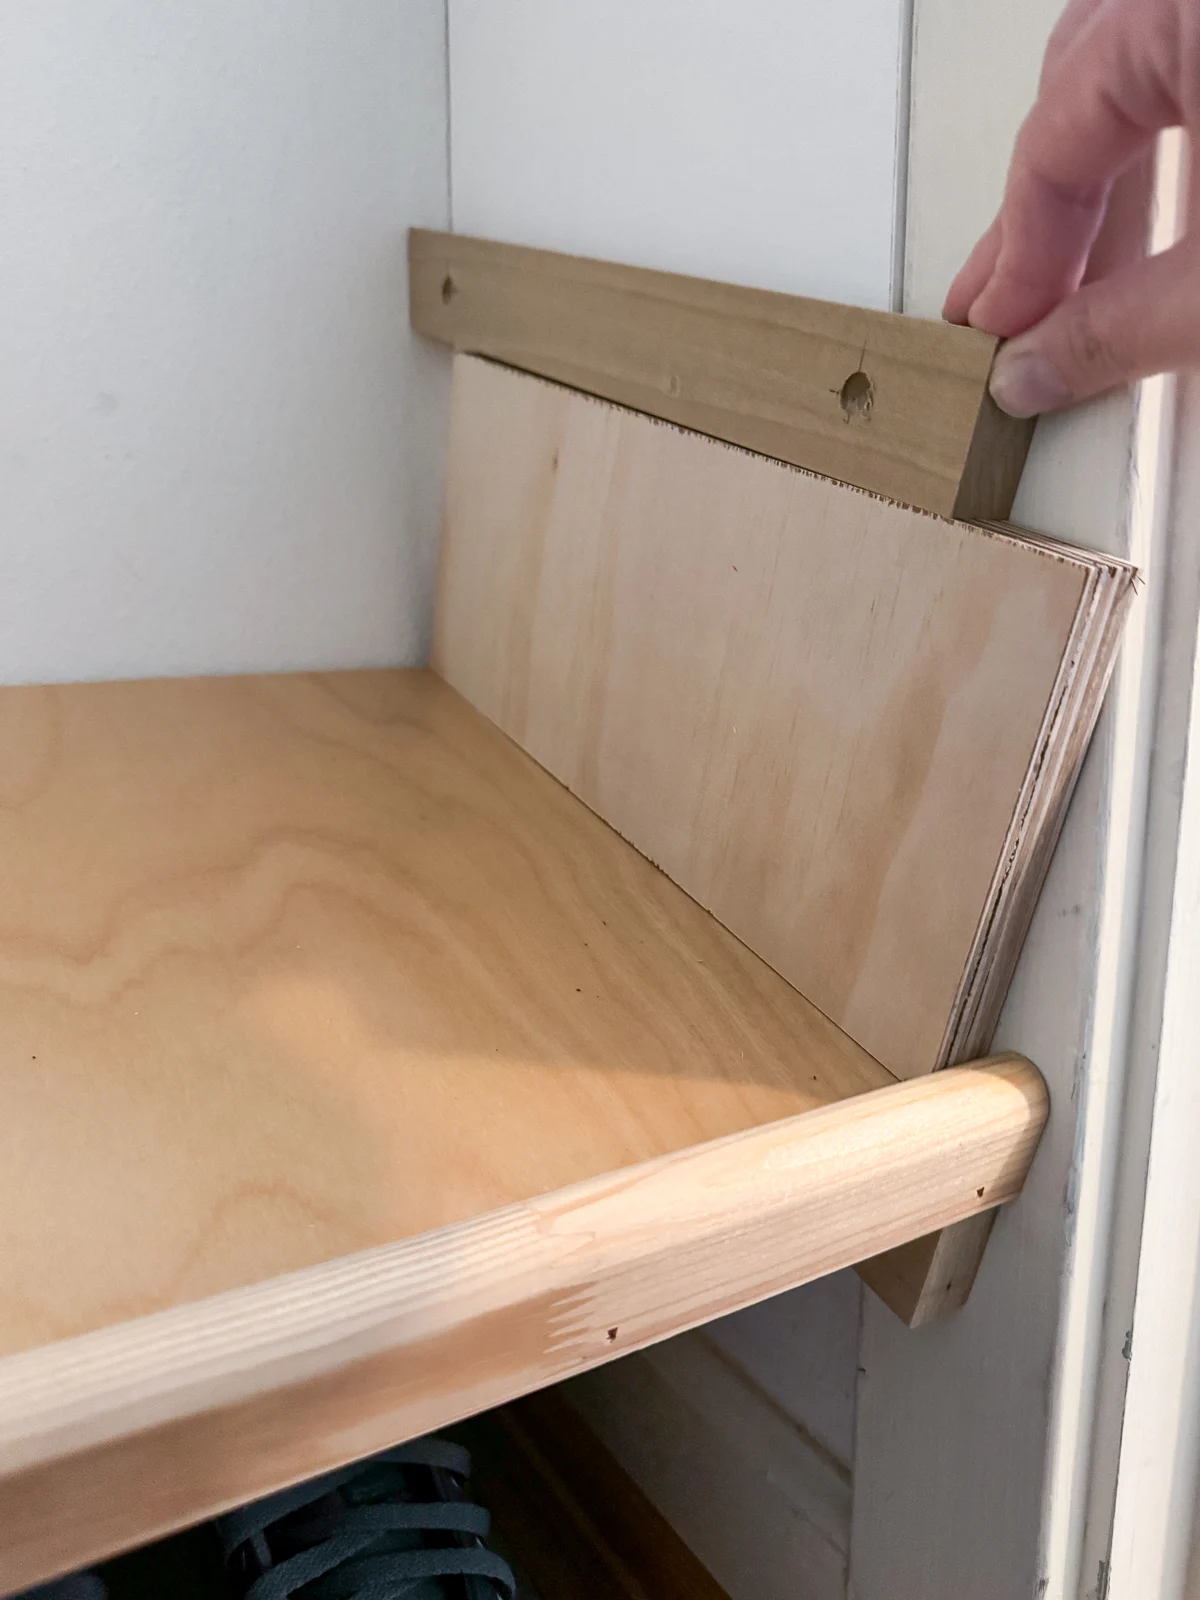
There's trim on the inside of the door frame, and the shelves will extend over that trim. Rather than notching out the corner of each shelf to go around it, I filled in that space with a board that's the same thickness as the trim.
Keep in mind that when the shelves are slanted, they'll take up less depth. I used a scrap of plywood cut to 12" to see if that size would work in the space. The lip will add another ¾", so the entire shelf will stay just inside the door opening. Perfect!

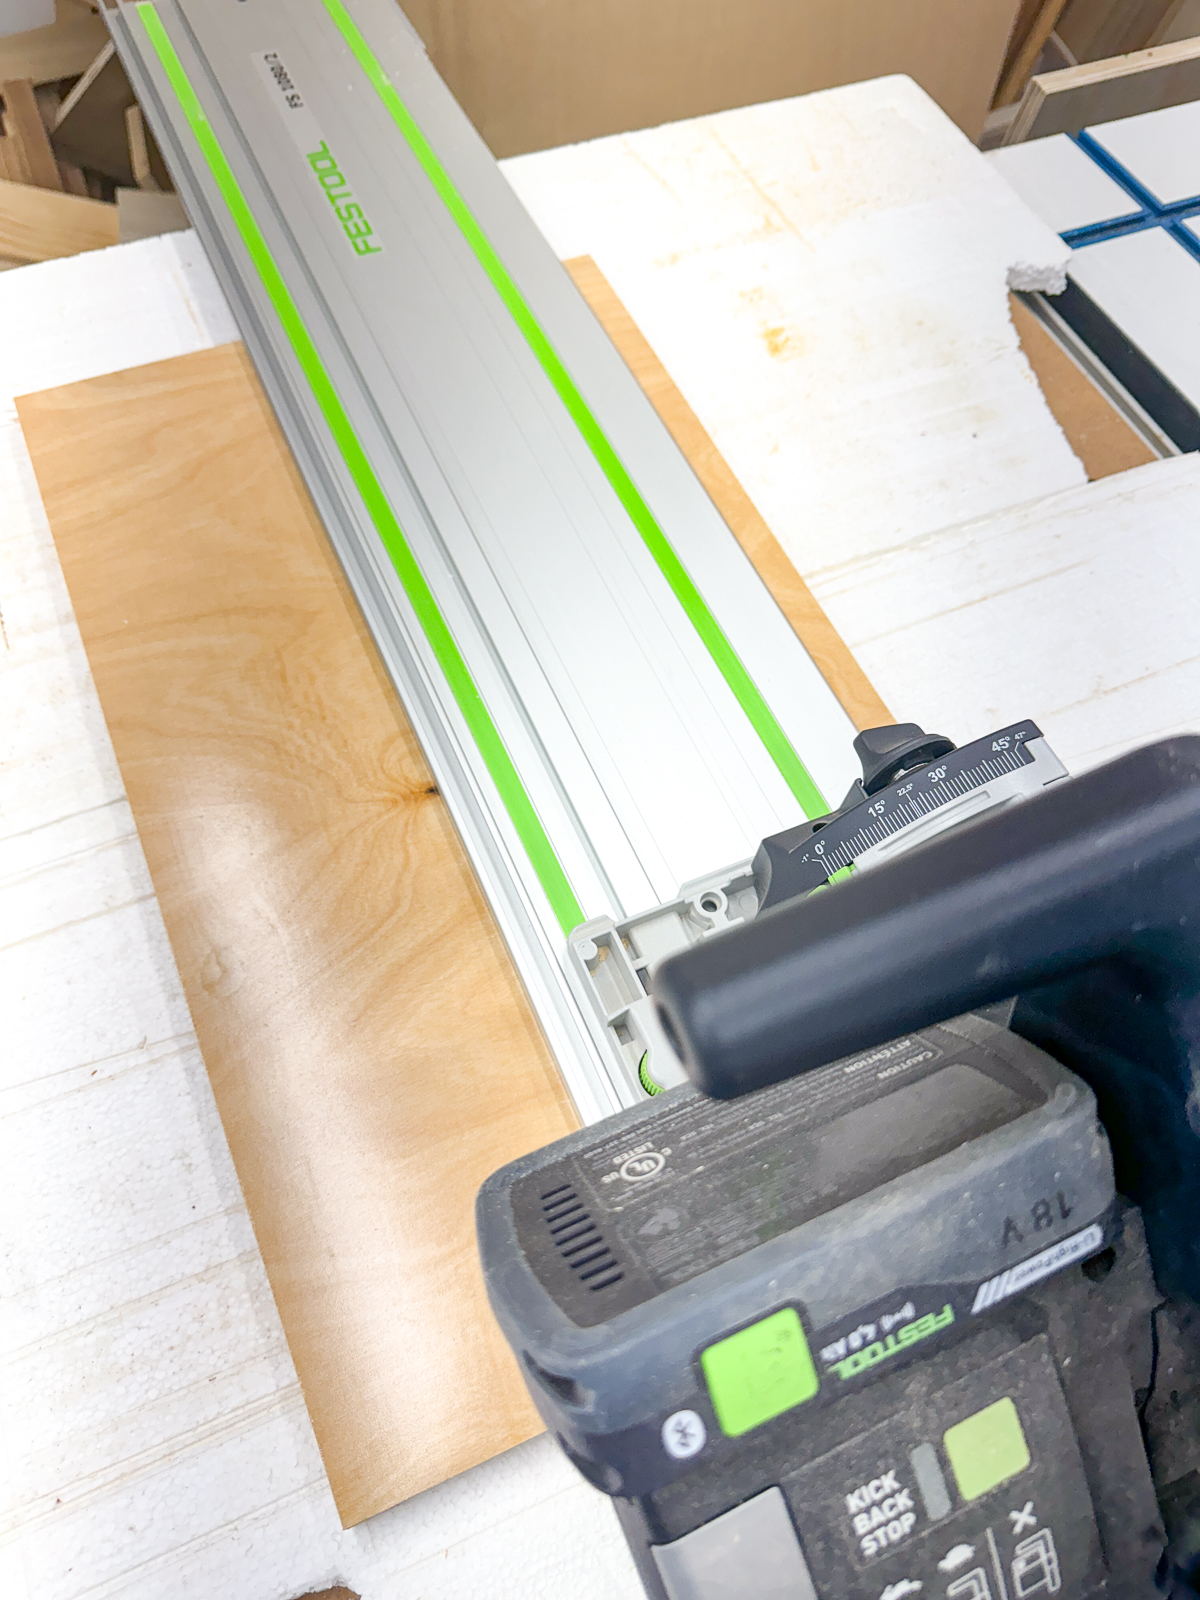
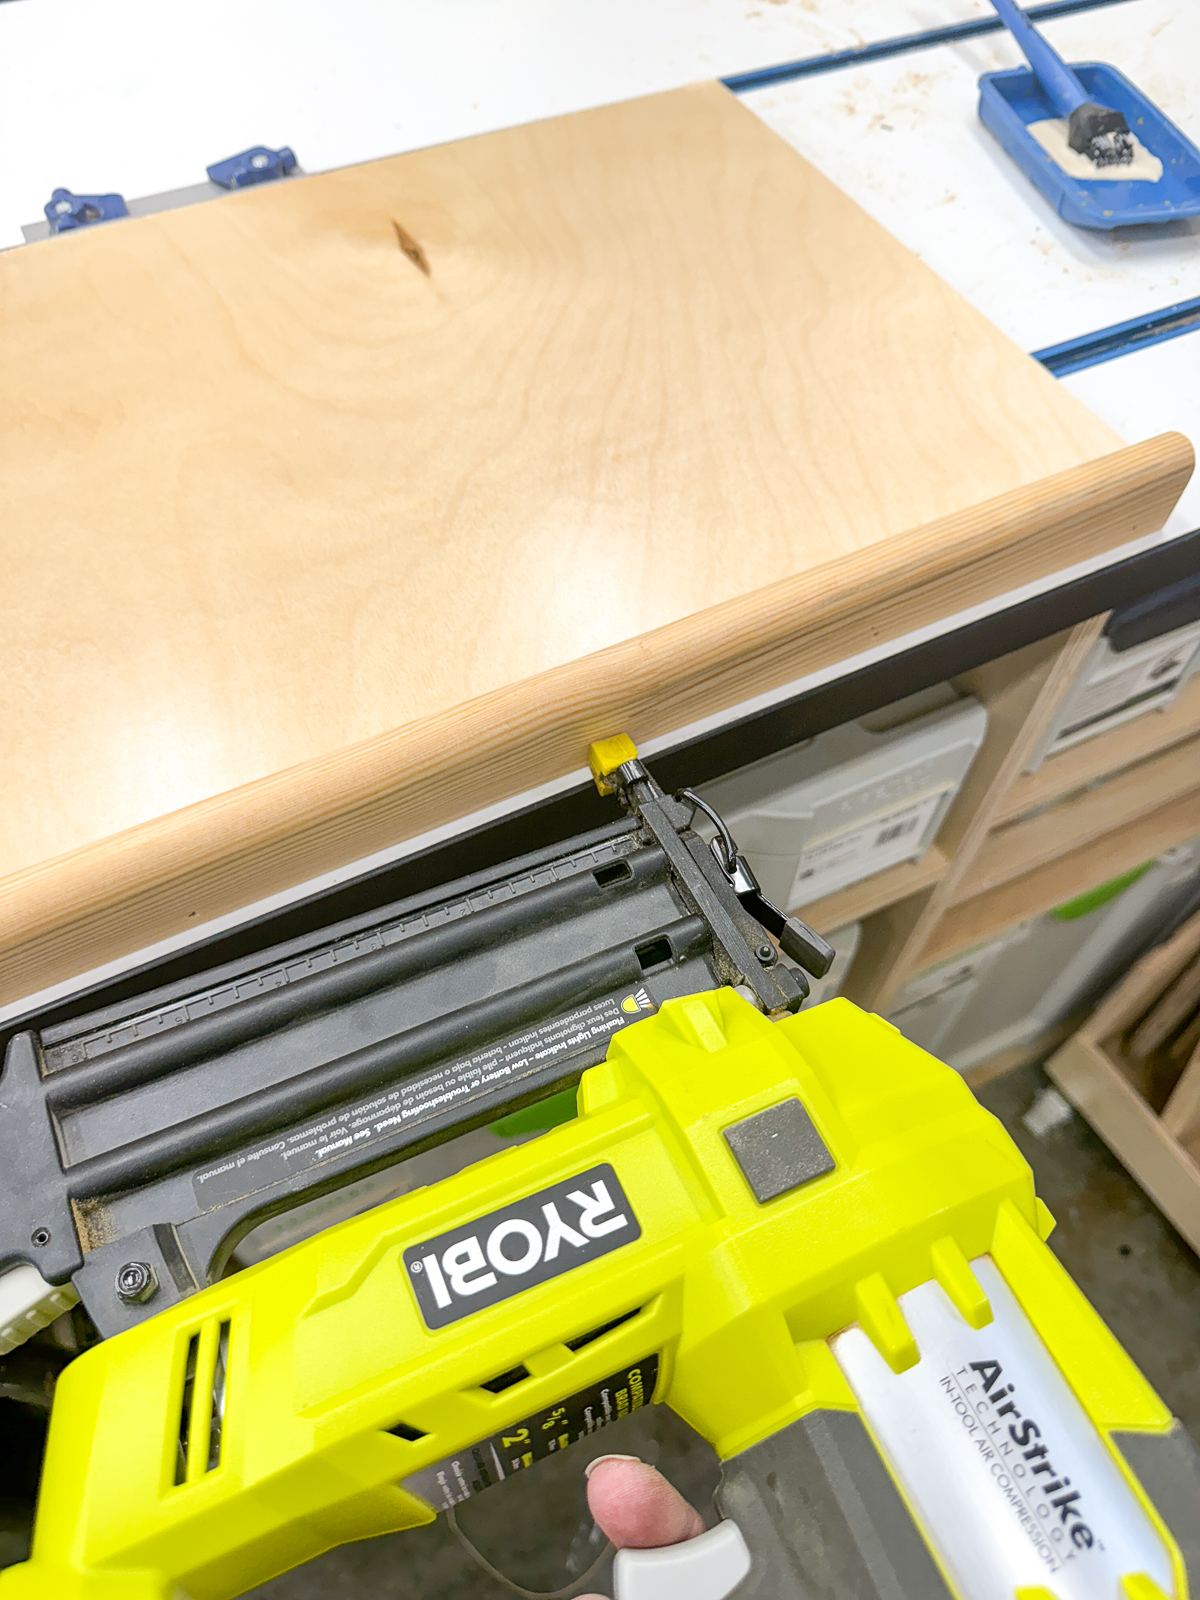
Cut the shelves and attach the front edge
Start by cutting your plywood down to size. I used my track saw because it doesn't create splinters along the cut edge of prefinished plywood like the table saw does.

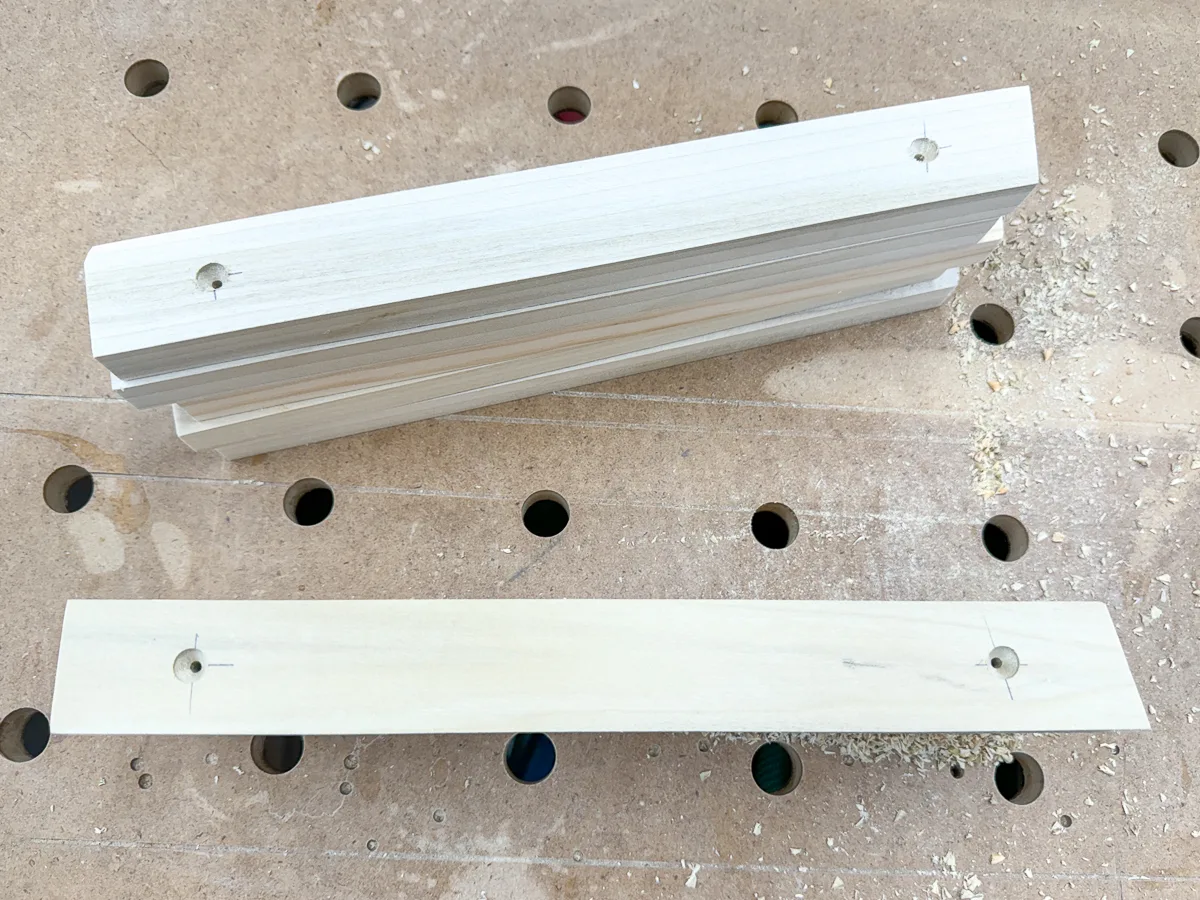
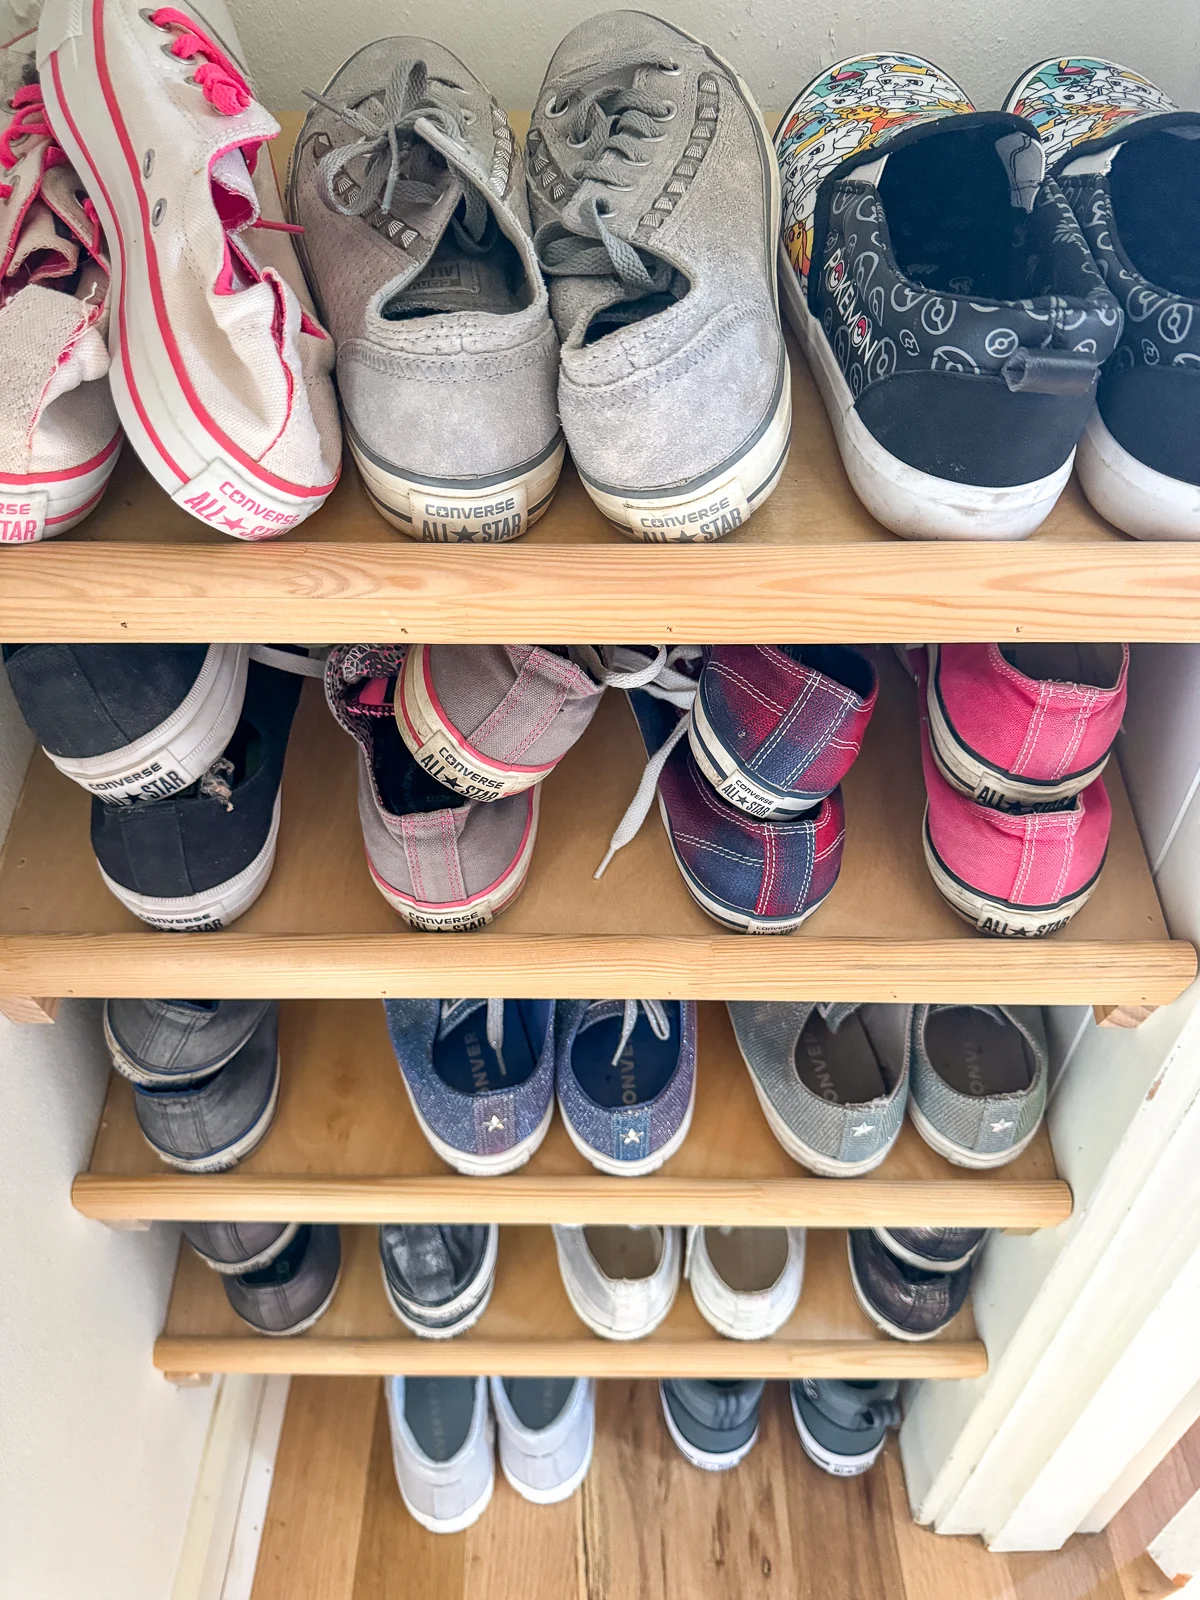
I've been saving these slats from my son's toddler bed for YEARS, just waiting for the right project. The rounded edge will be perfect for the lip on the front of the shoe shelves!
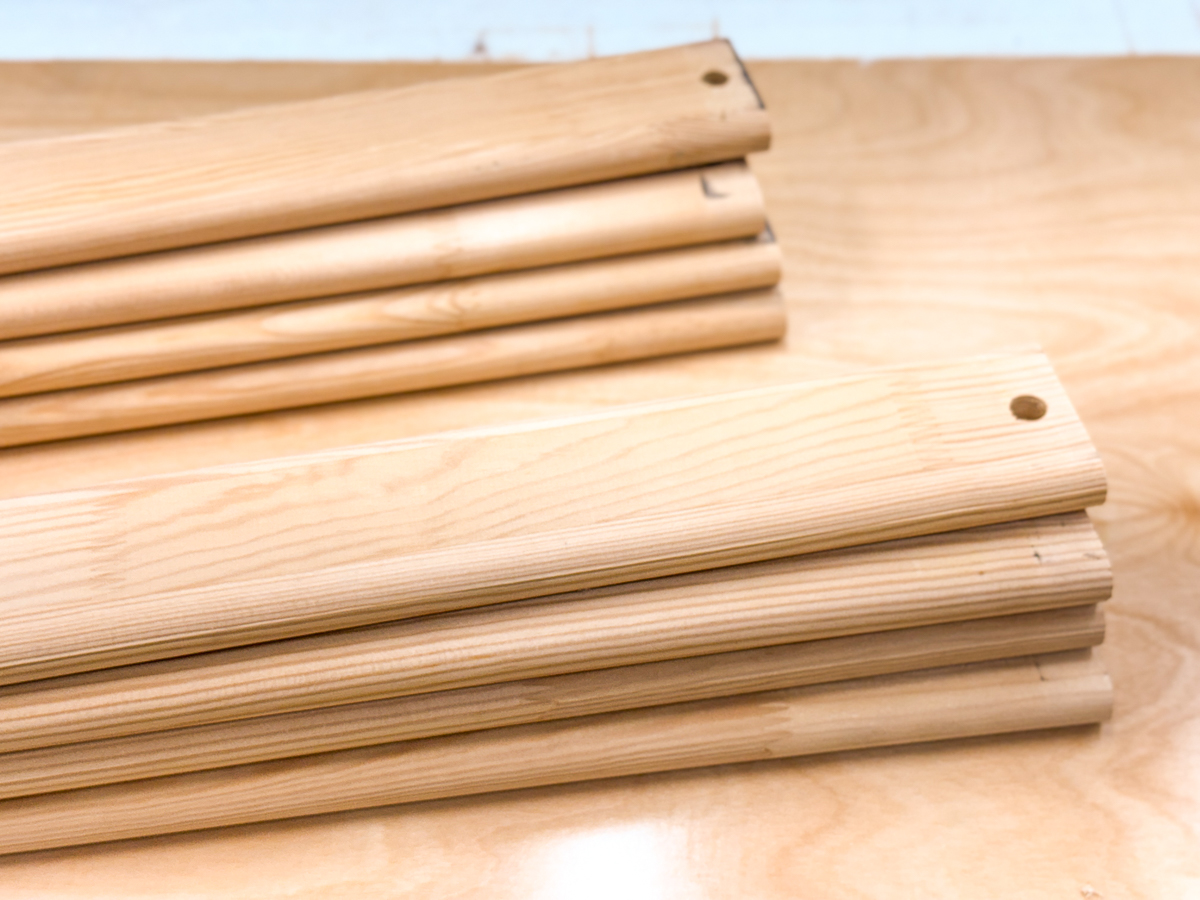

I cut them down to the same length as the front edge of the shelves at the miter saw, then ripped them in half down the middle at the table saw. You could create the same look with 1x2 furring strips, and round over the top edge with a router table or some heavy sanding.
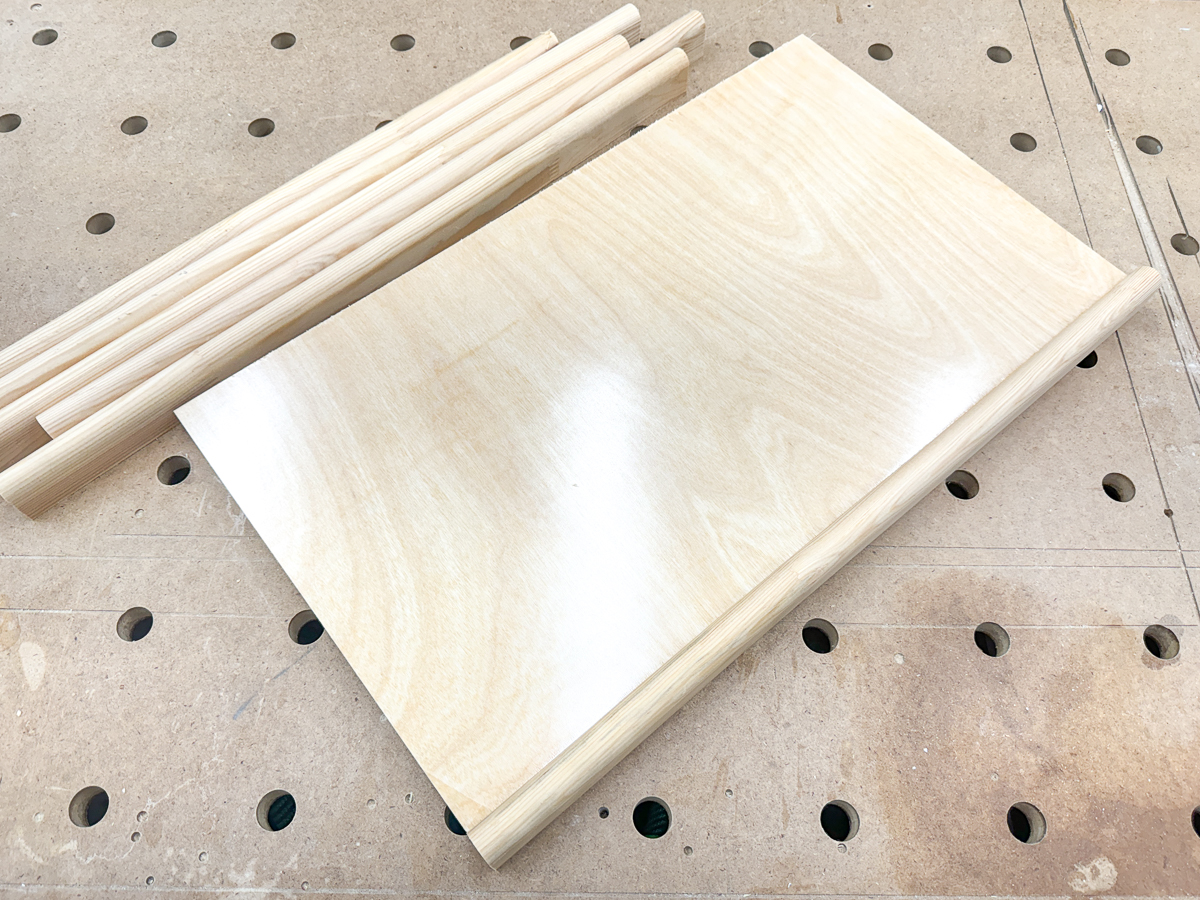

I used my t-track workbench with a stop at the back edge to keep everything flat and prevent shifting as I tacked them together with wood glue and 1 ¼" brad nails.

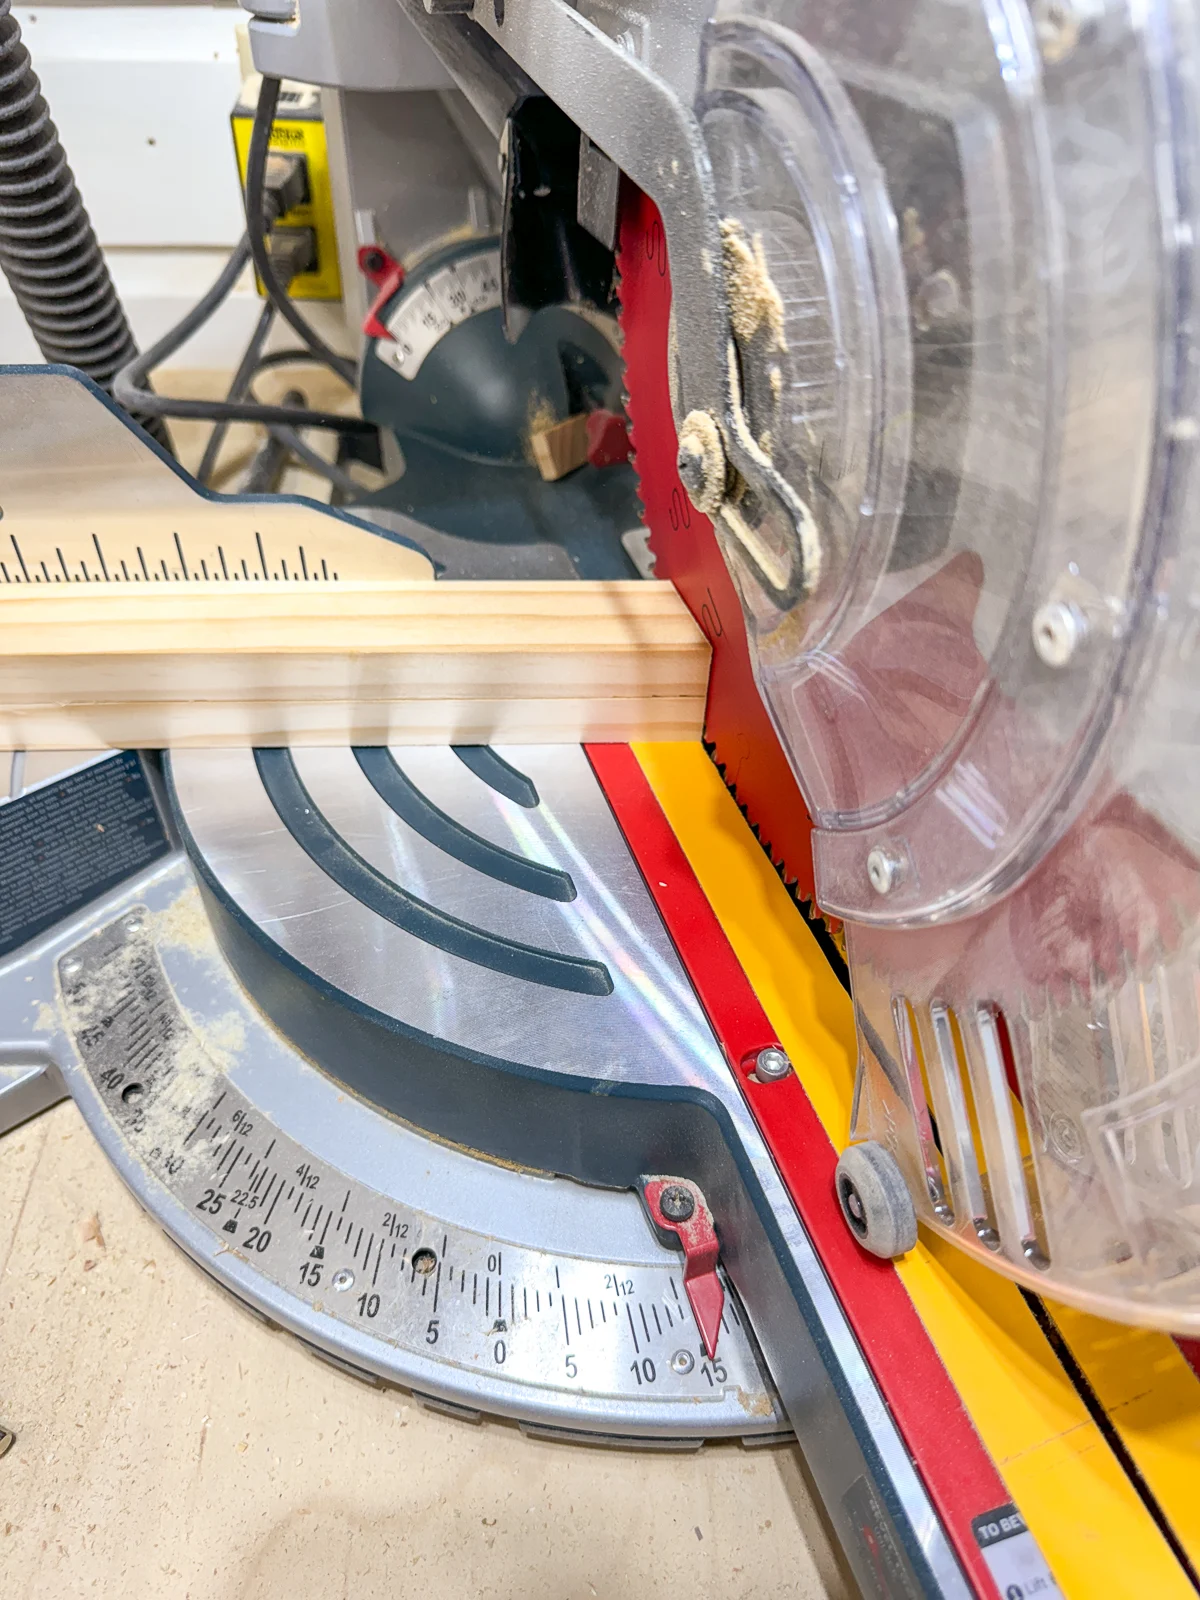
Cut the support brackets
These closet shelves aren't very wide, and won't be supporting much weight, so I decided to only install support brackets at the ends. If your shelves are wider, you should probably add extra bracing along the back edge.
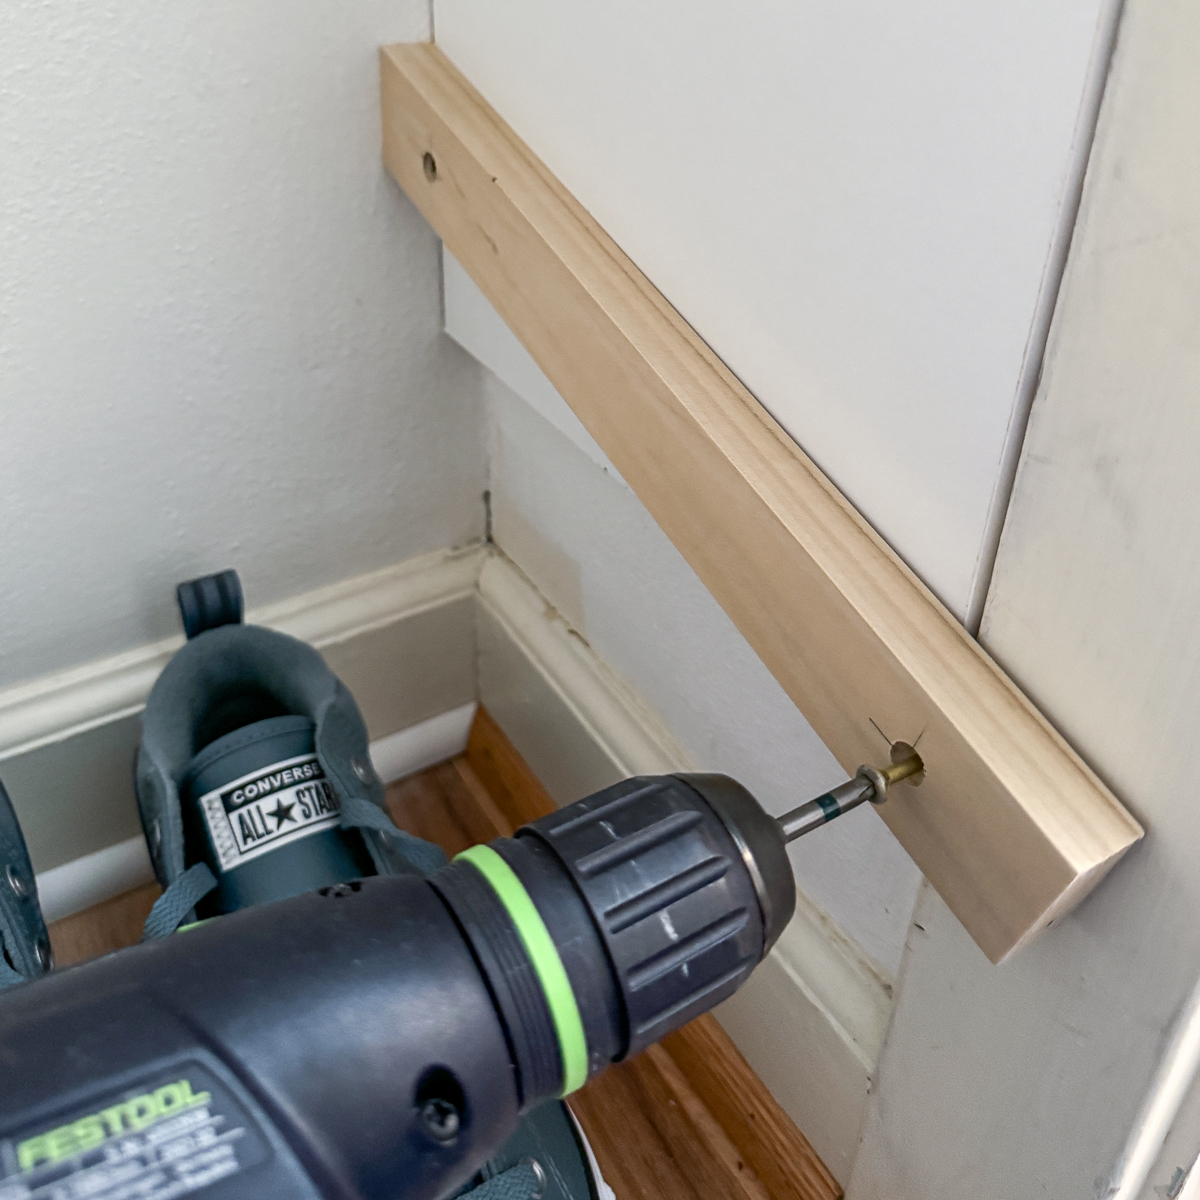
First, I cut a 15 degree angle on the ends of the 1x2 pieces. This side will go up against the wall.

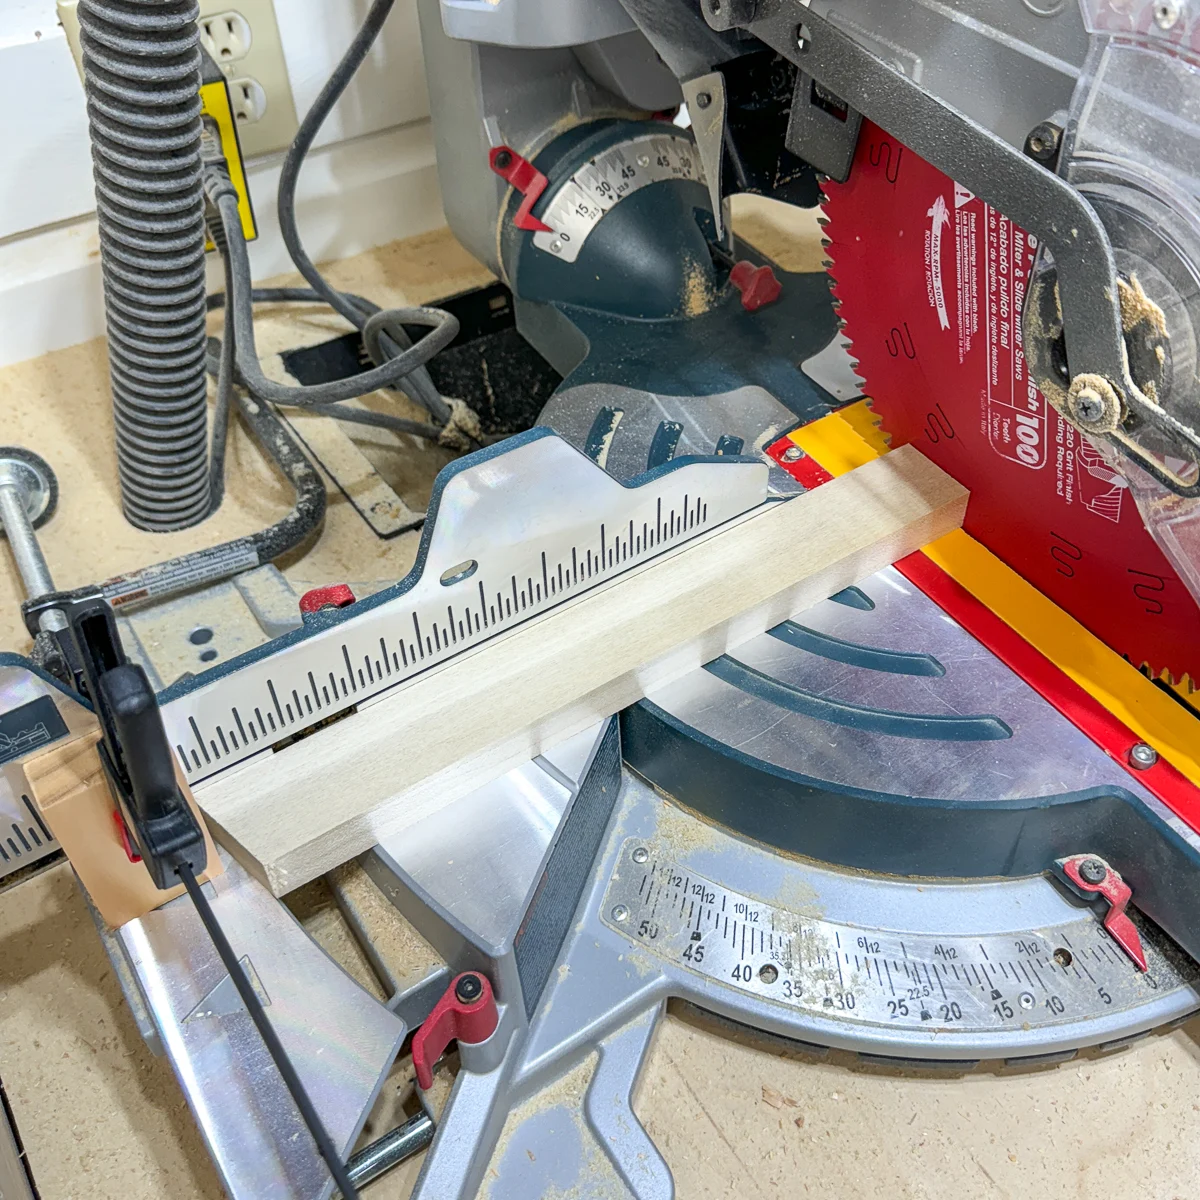
Then I set up a miter saw stop block to cut the other end at a 90 degree angle for the front edge. Make sure that the point is always facing in towards the fence and up against the block.

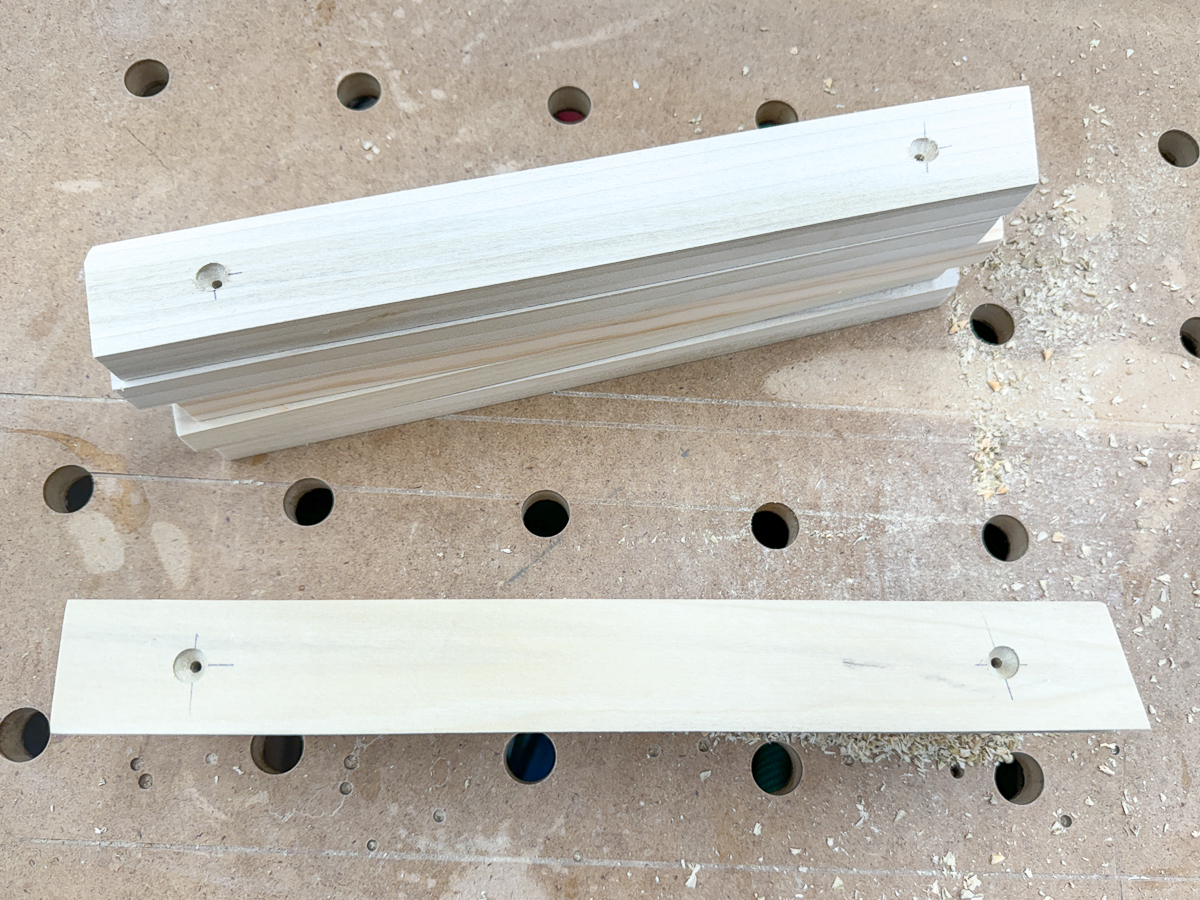
I used a stud finder to locate where the studs in the walls were located. Then I drilled countersink holes in the corresponding spots on the supports. This will make installing them much easier!
Install the shelf brackets and shelves
Put the angled end of the bracket up against the back wall at the desired height of the first shelf. I measured up 8" from the floor on either side, then screwed the brackets into place on both sides of the closet.

Slide the shelf on top of the brackets, and check that it's level. Since I measured up from the floor, and apparently our closet floor is slightly sloped, I had to add a shim under the shelf on the left side to straighten it out.
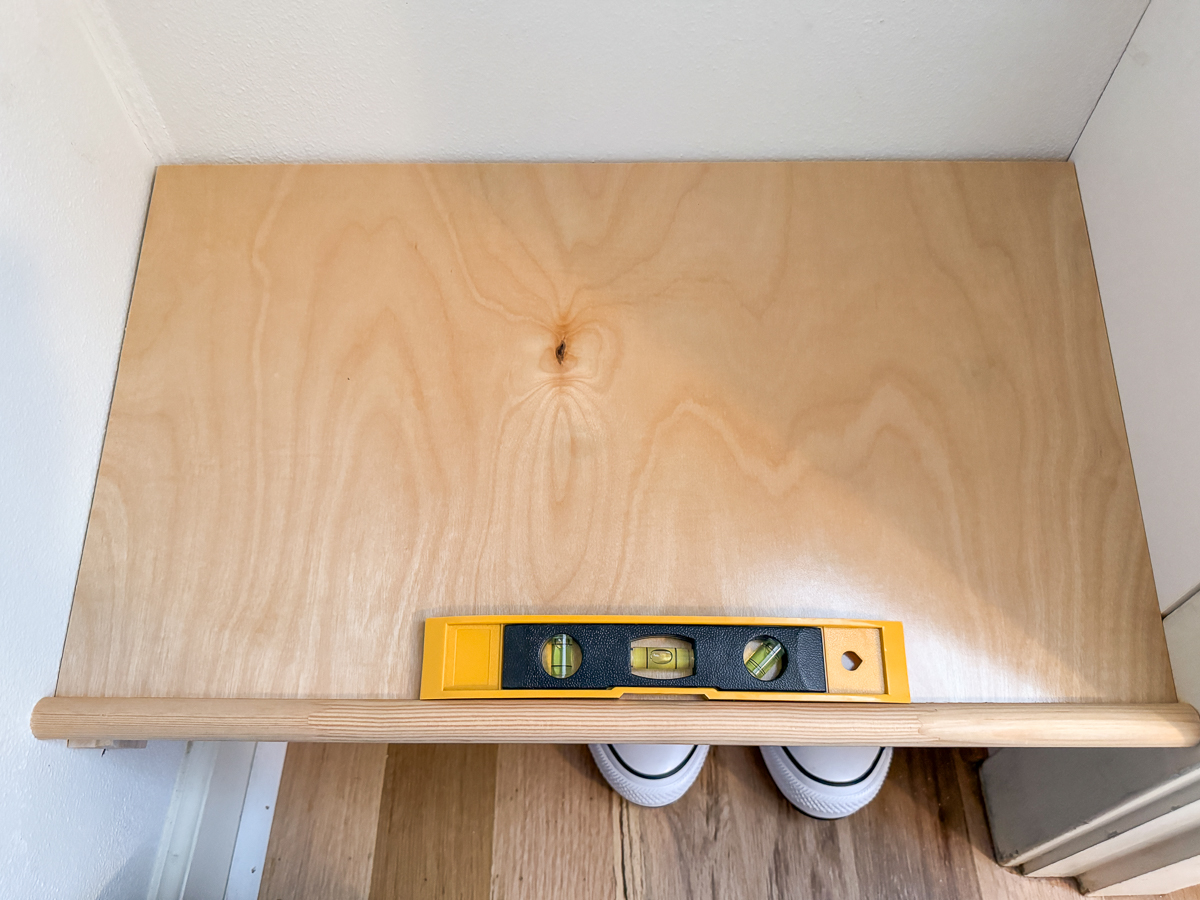

To prevent the shelf from sliding off the brackets, tack it into place with a few brad nails through the top.
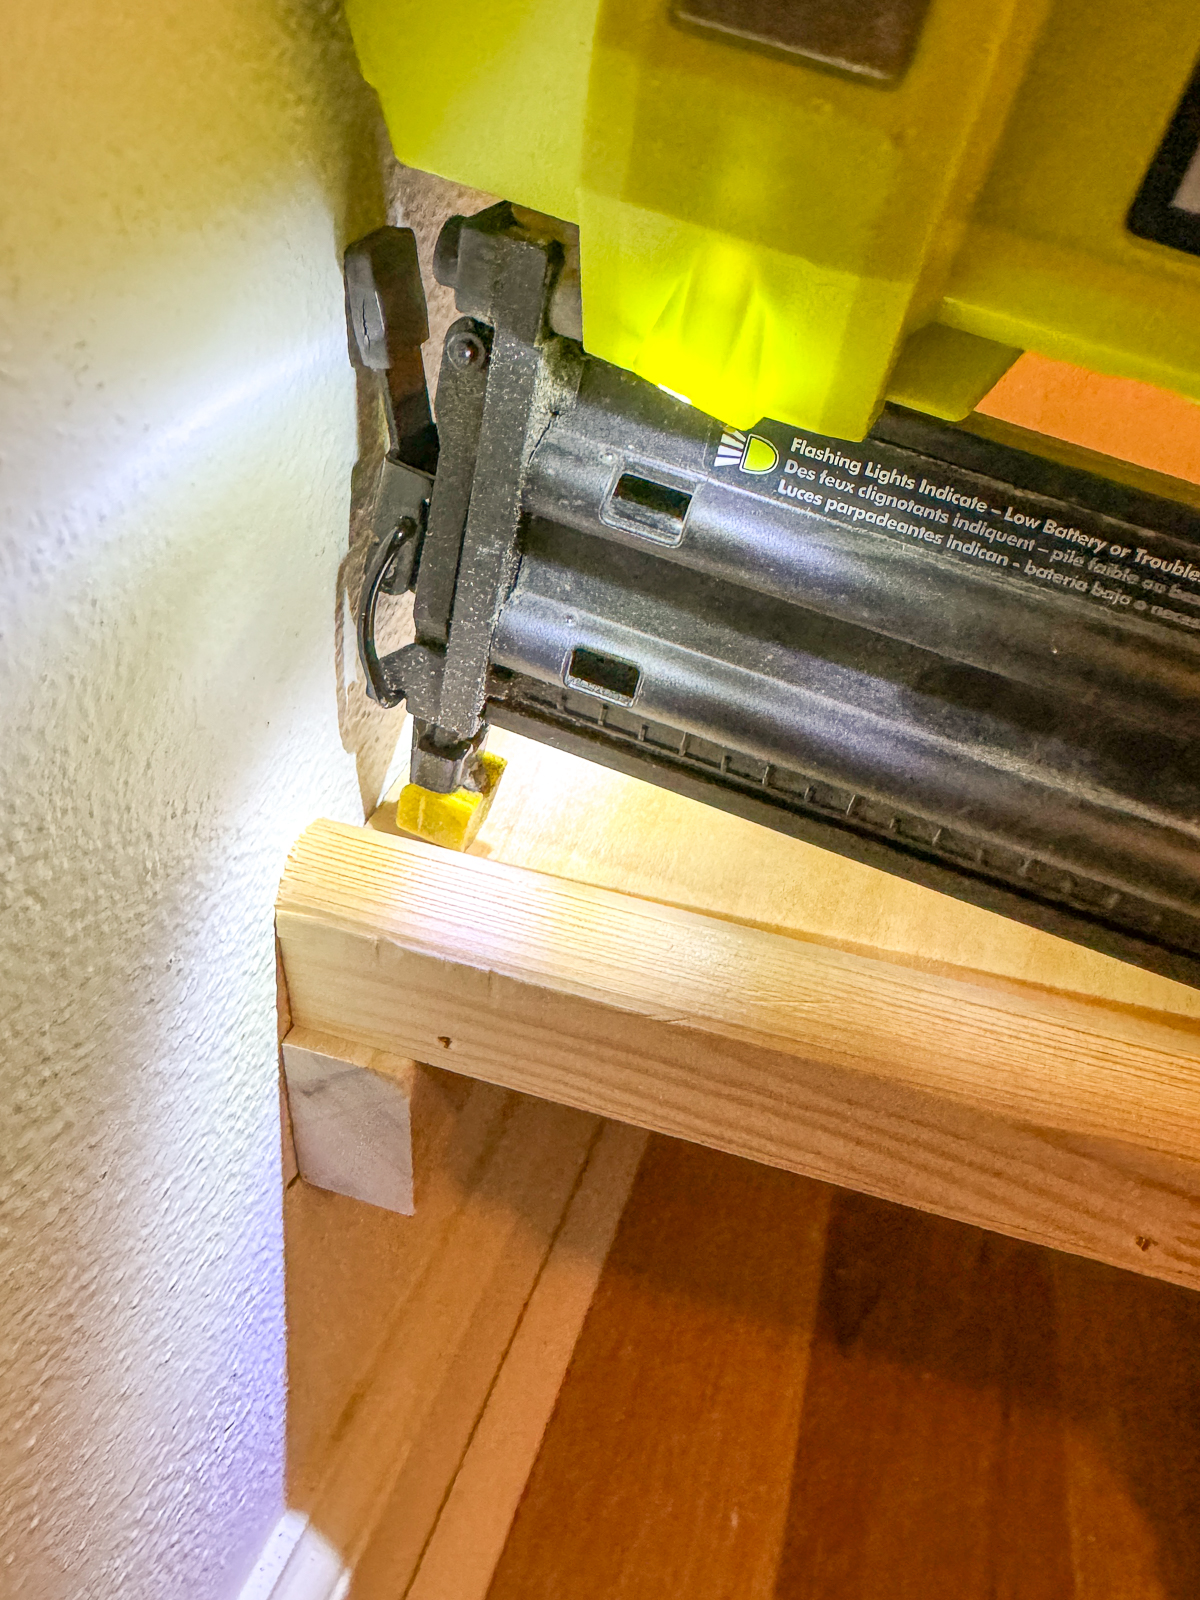
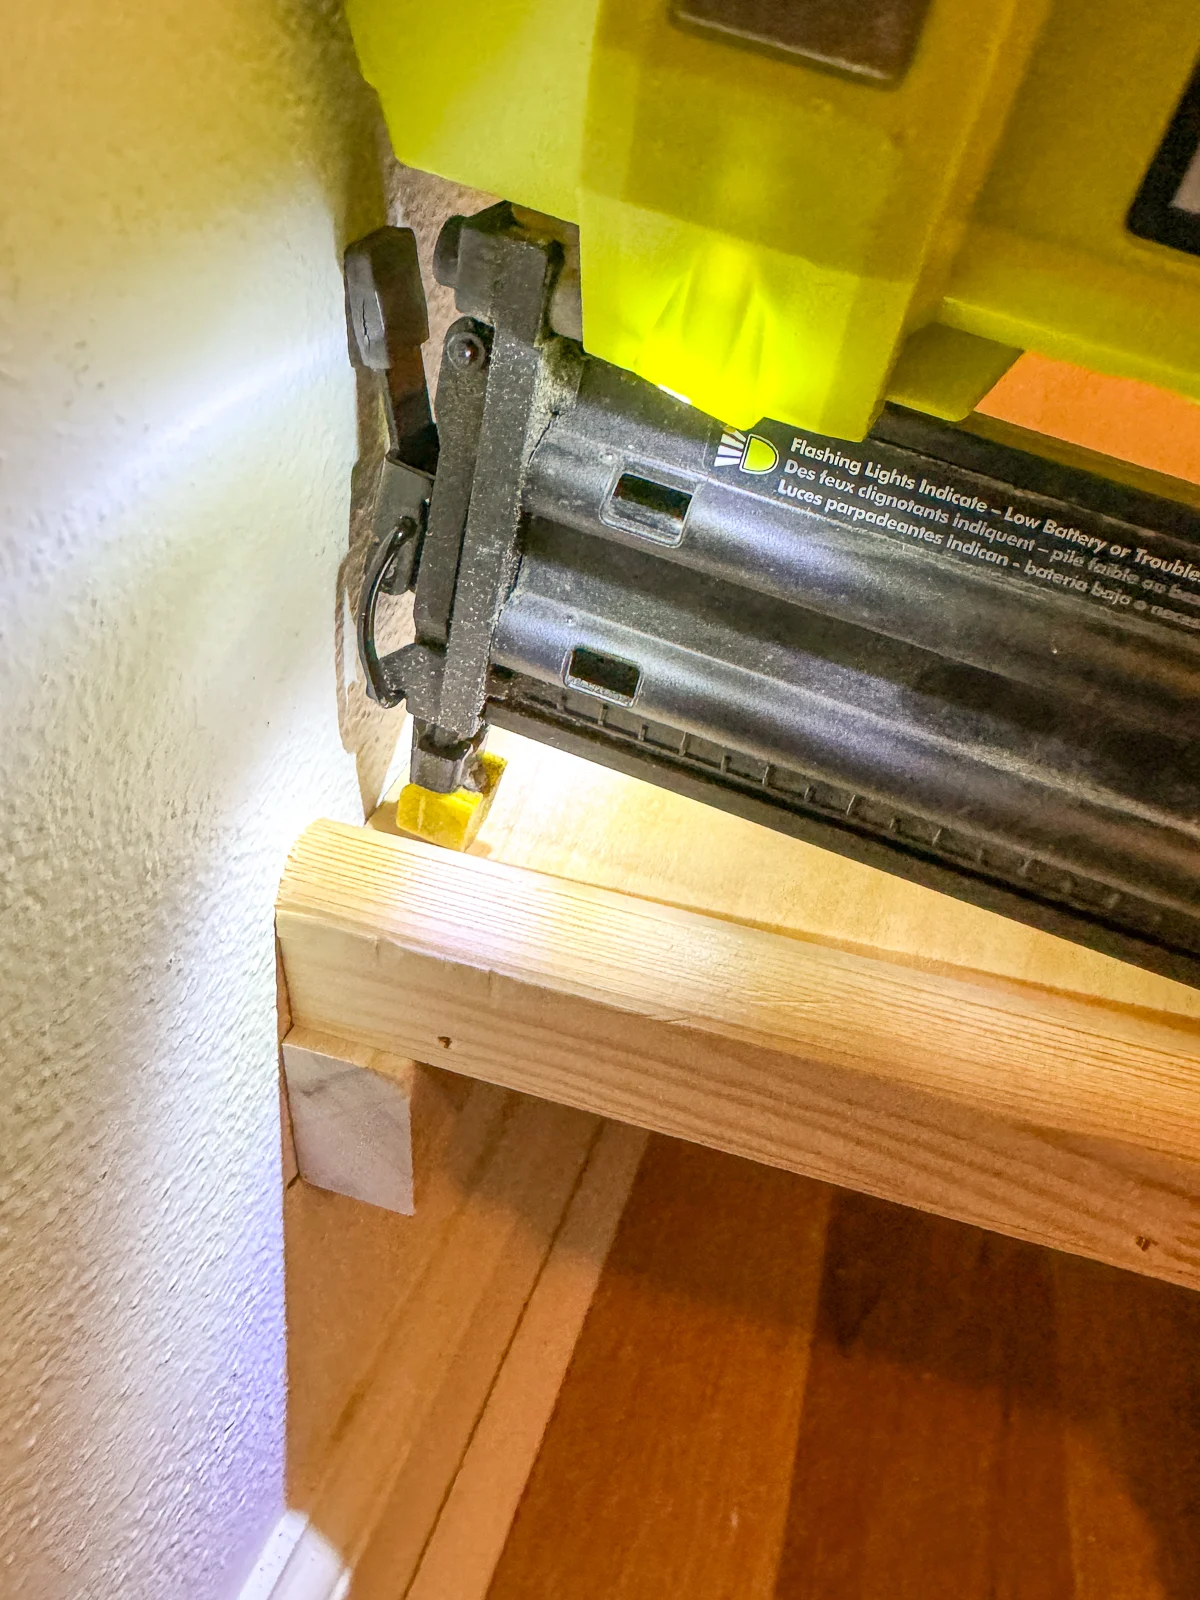
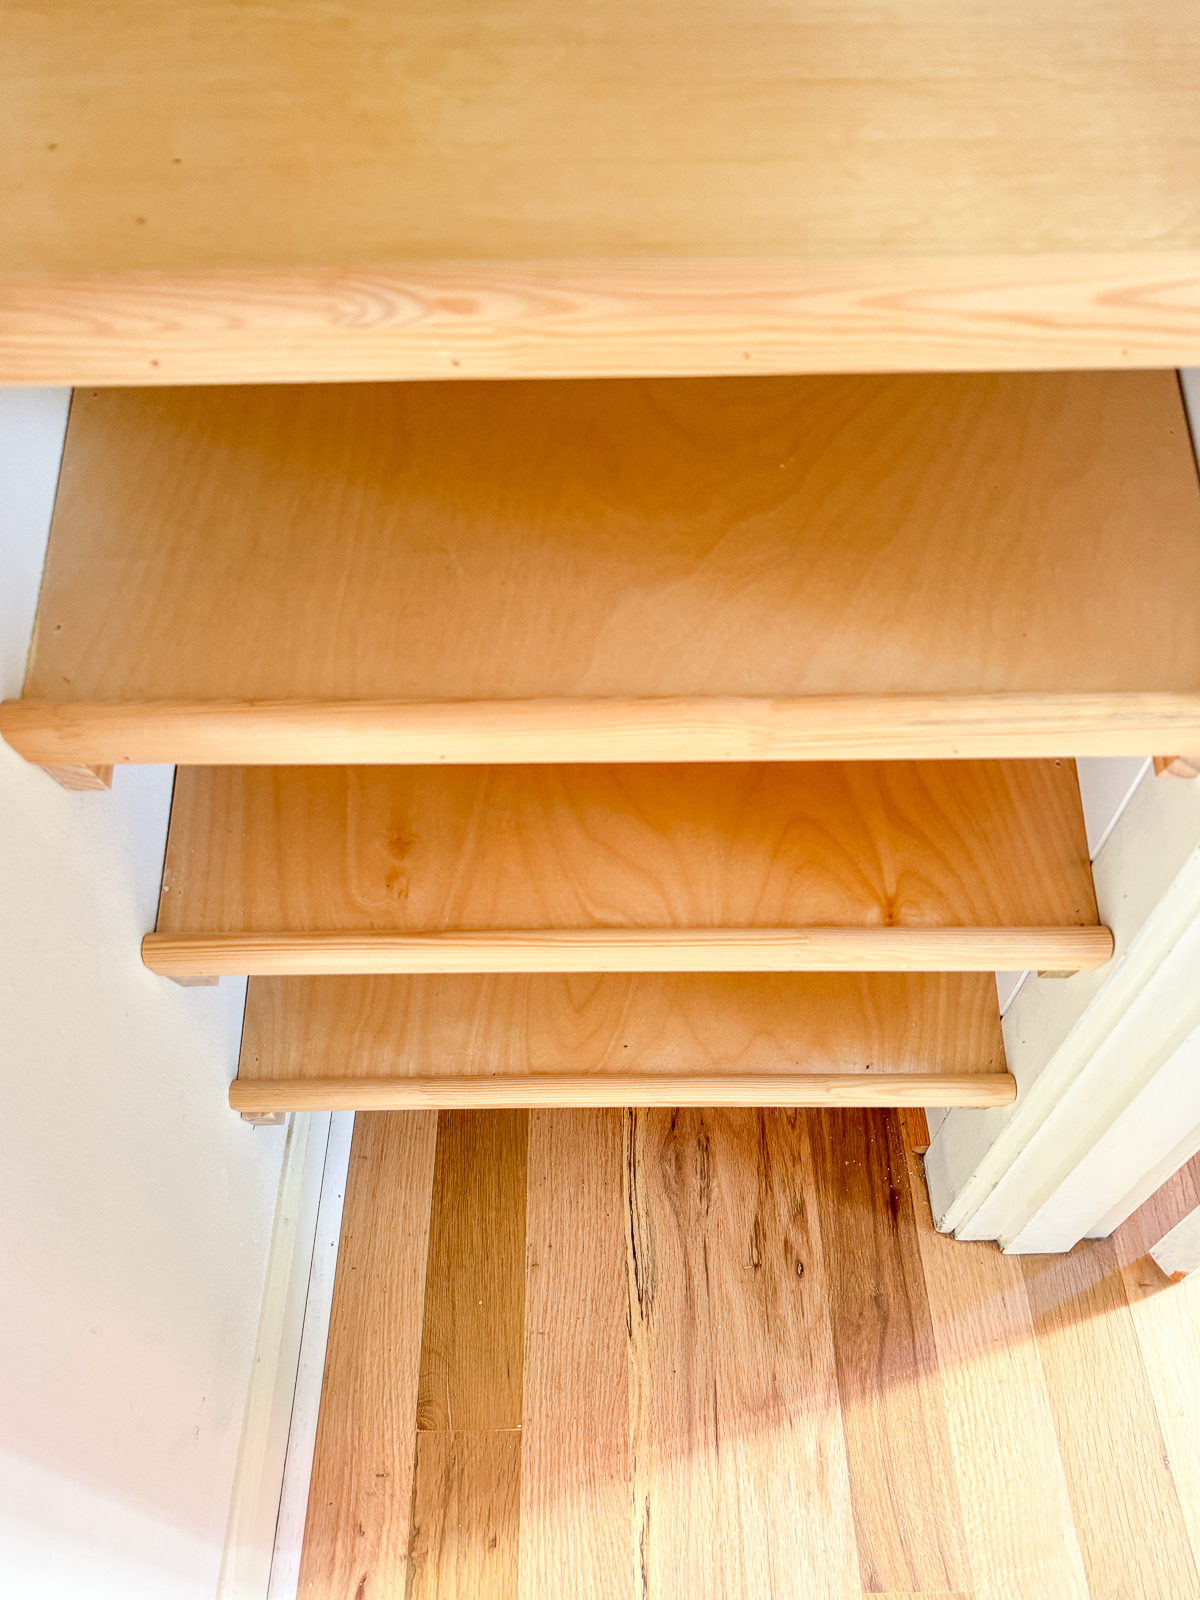
Each of the remaining shelves will be spaced 5" apart, so I cut a 5" wide piece of plywood to use as a spacer. Just place it on the end of the lower shelf, put a bracket on top and screw it into place! No more measuring!
The rest of the installation process went pretty quickly. I love how they turned out!

Load up your new closet shoe shelves!
After admiring the empty shelves for a moment...
it was time to load it up! I was pretty impressed by how many pairs of shoes I could fit! I managed to squeeze in even more by stacking pairs together rather than side by side. Now I can see all my Chucks at a glance!
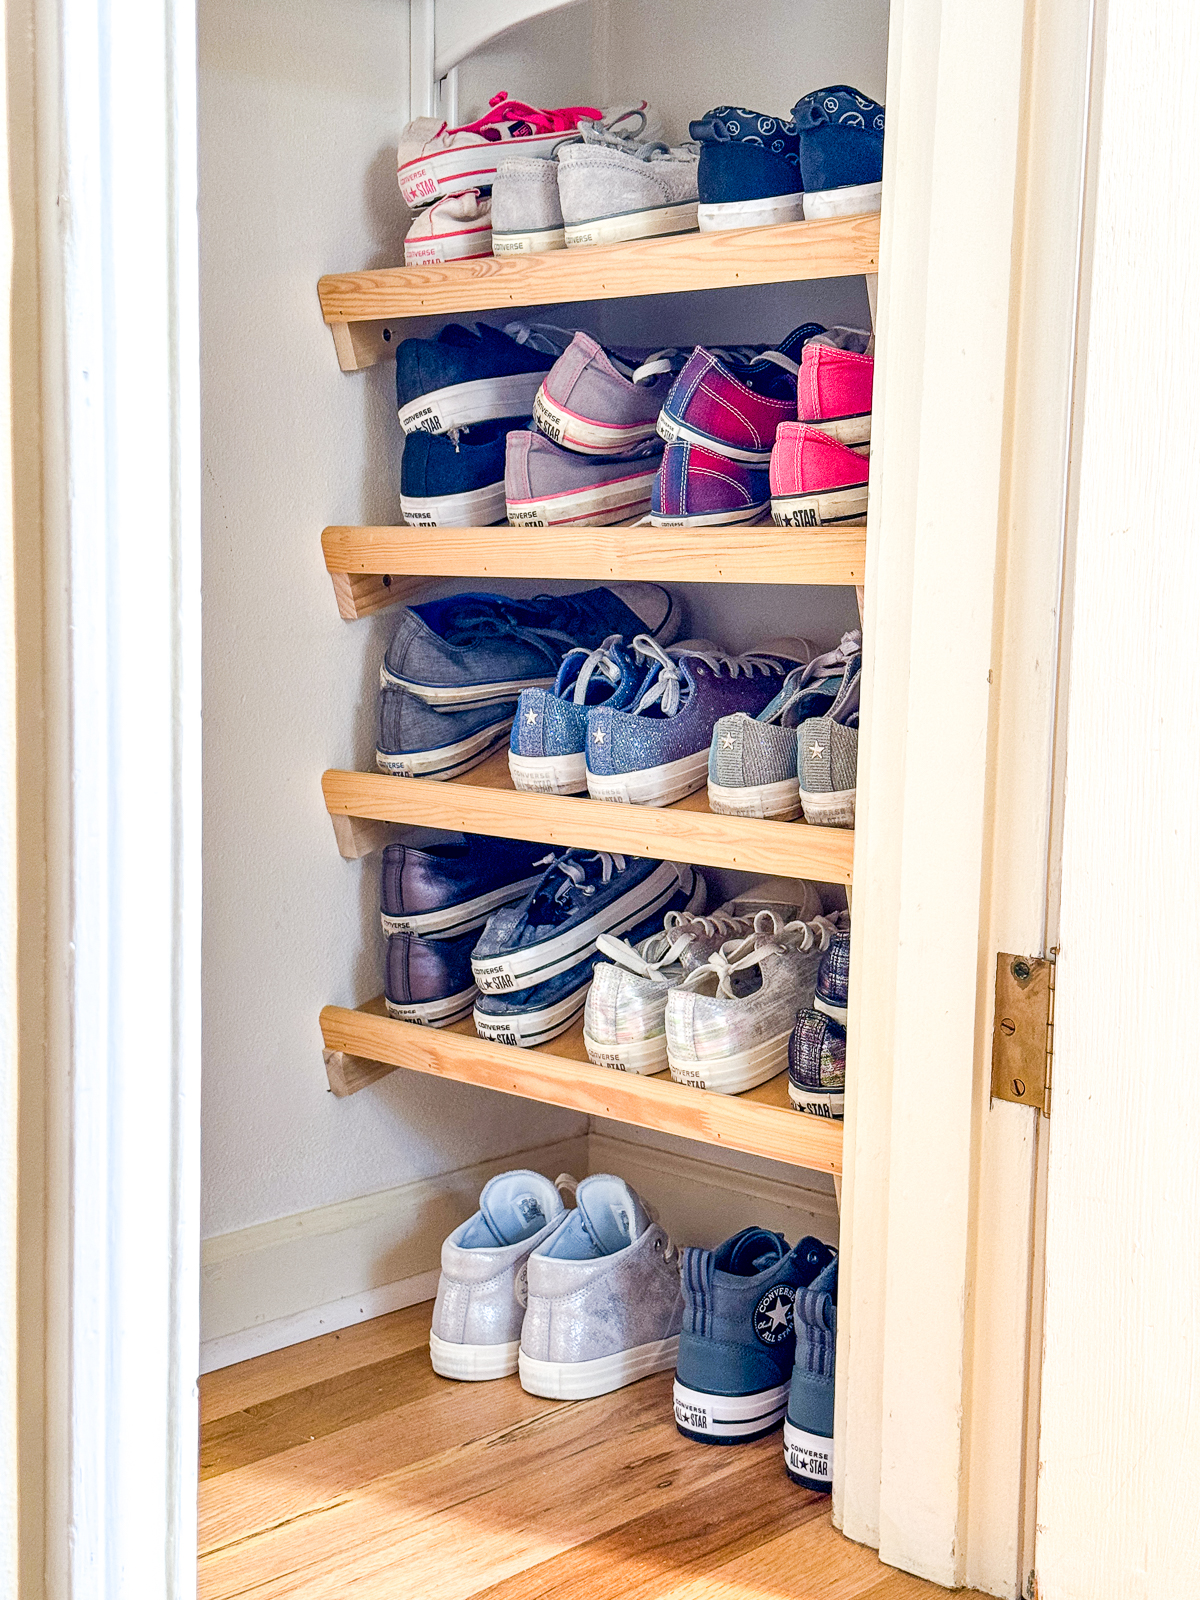
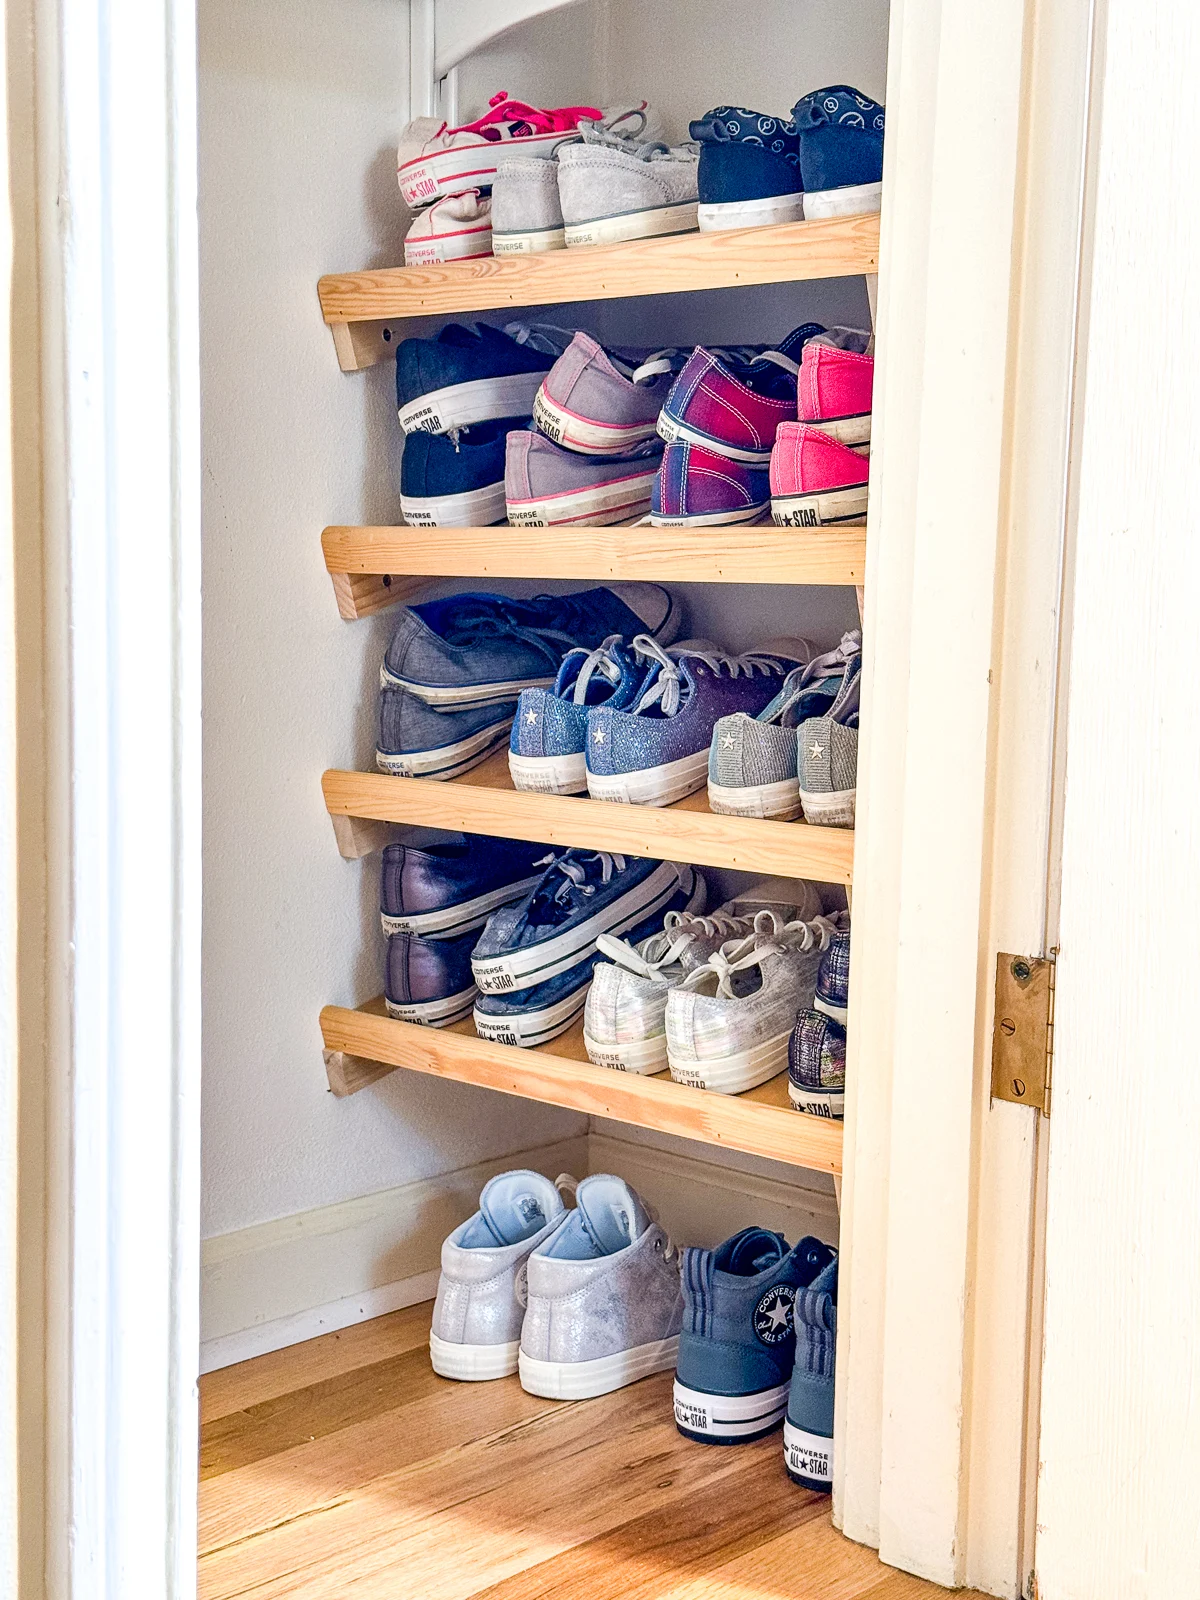
I dug up a couple extra scraps of plywood to quickly make two more shelves on the other side of the closet for boots and sandals. I kept these ones straight so I could stack multiple pairs of flip flops on top of each other without them sliding off.

It's so satisfying to open the closet door and see all my favorite sneakers on display!

Want more closet organization ideas? Check these out!