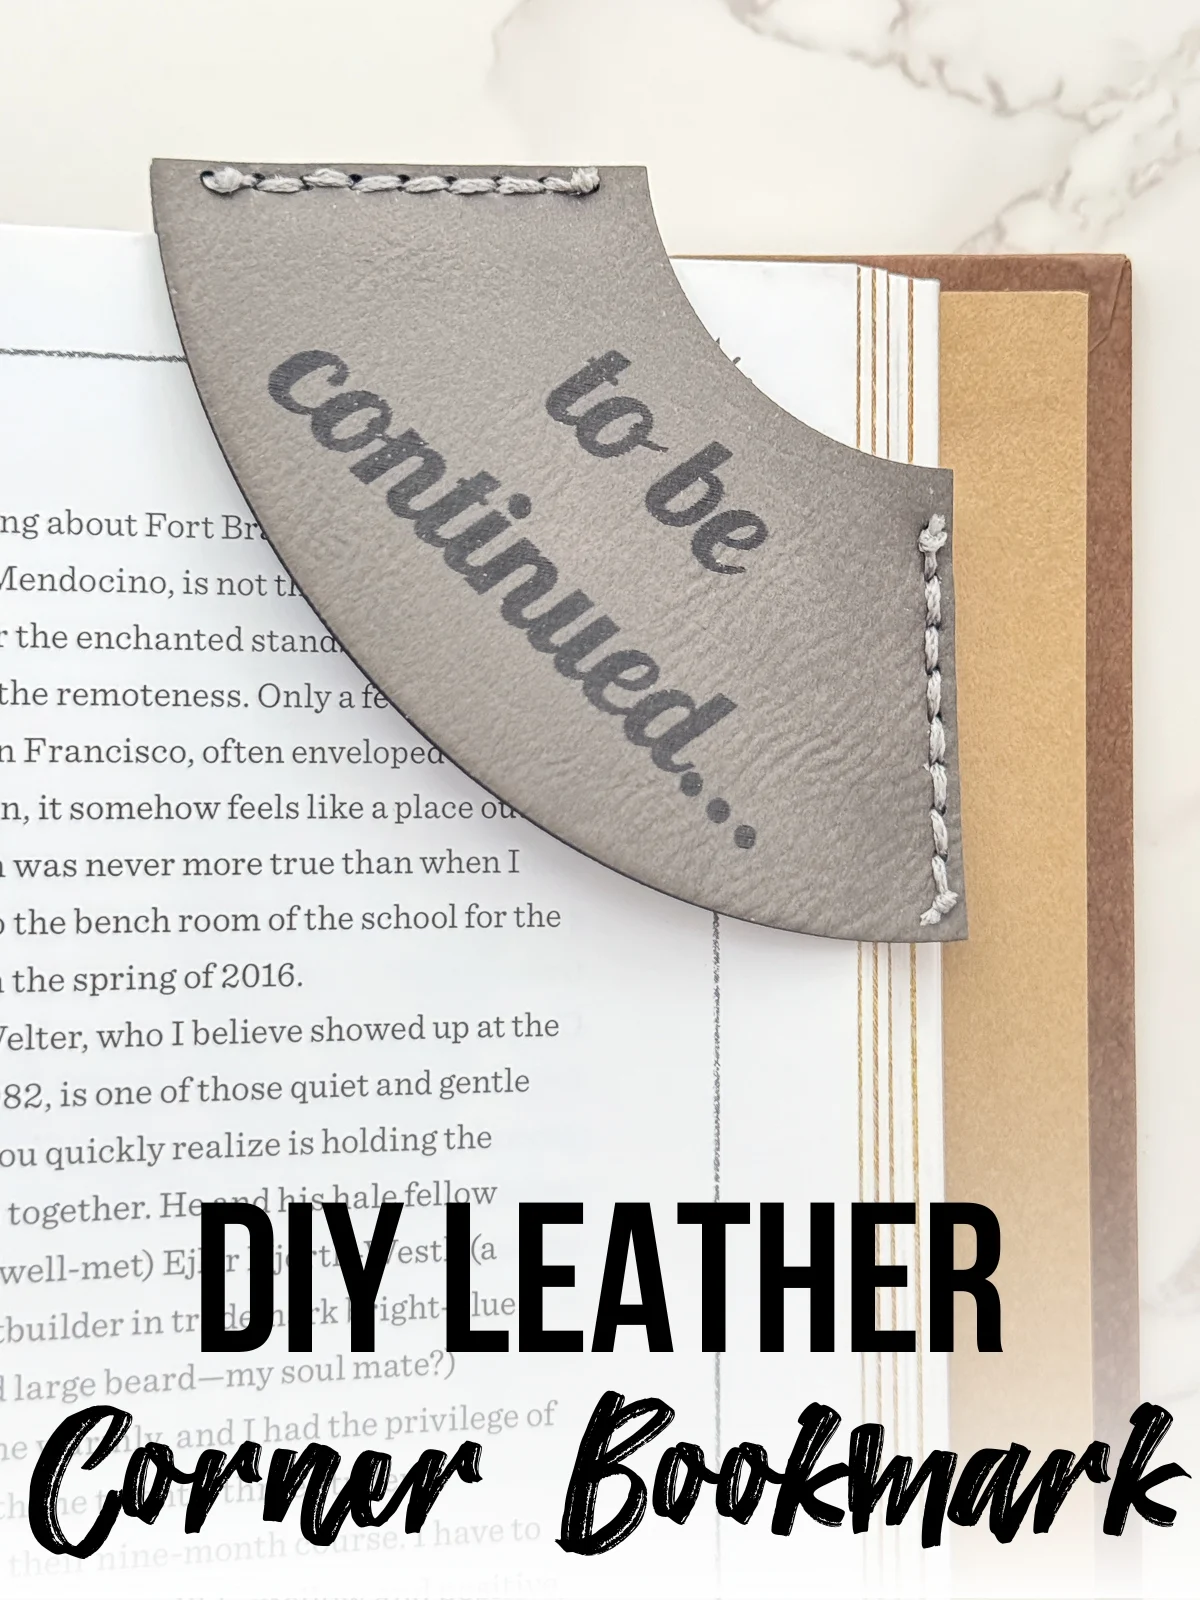
Learn how to create unique leather corner bookmarks with custom engraving using a laser, so you never lose your page in a book again!

This post contains affiliate links for your convenience. Purchases made through these links may earn me a small commission at no additional cost to you. Please visit my disclosures page for more information.
Looking for a quick and easy laser project that makes a great gift? Leather corner bookmarks can be personalized with custom engraving to suit any book lover! In this tutorial, I'll show you how I used the xTool M1 Ultra 20W laser to make them!
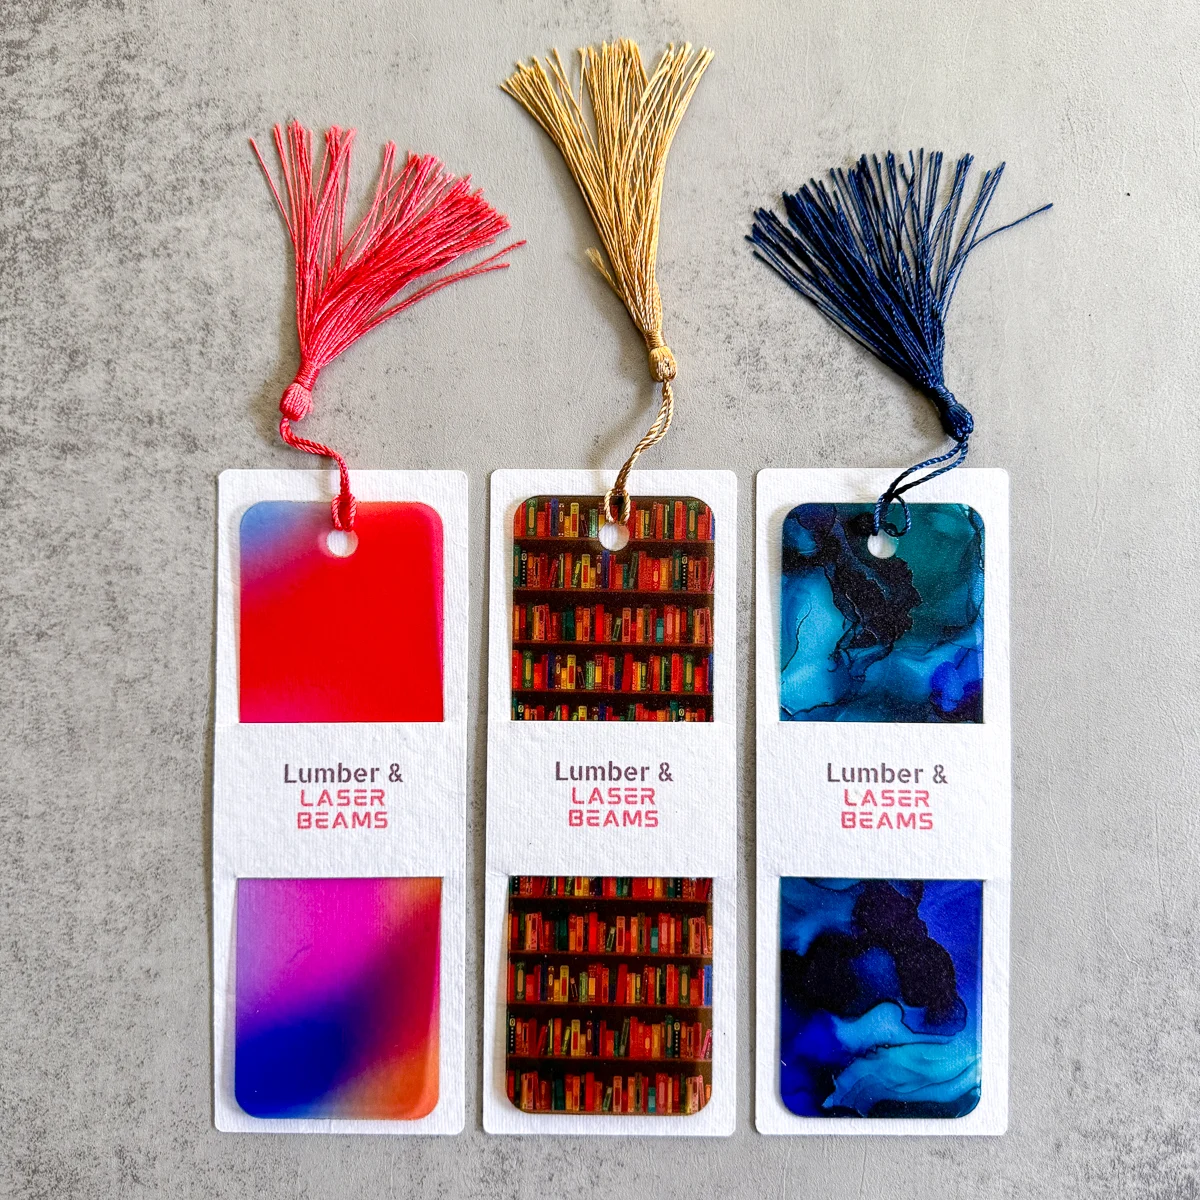
Want a thinner version? Check out these DIY acrylic bookmarks instead!

Don't have a laser, or looking to upgrade? Use the code VINETA100 for $100 off an xTool laser! Click here to check them out!
Materials
- Laser safe leather or leatherette
- I'm using leatherette from Houston Acrylic, which engraves a different color when the top layer is removed.
- Waxed thread
- Leather needles
- xTool M1 Ultra
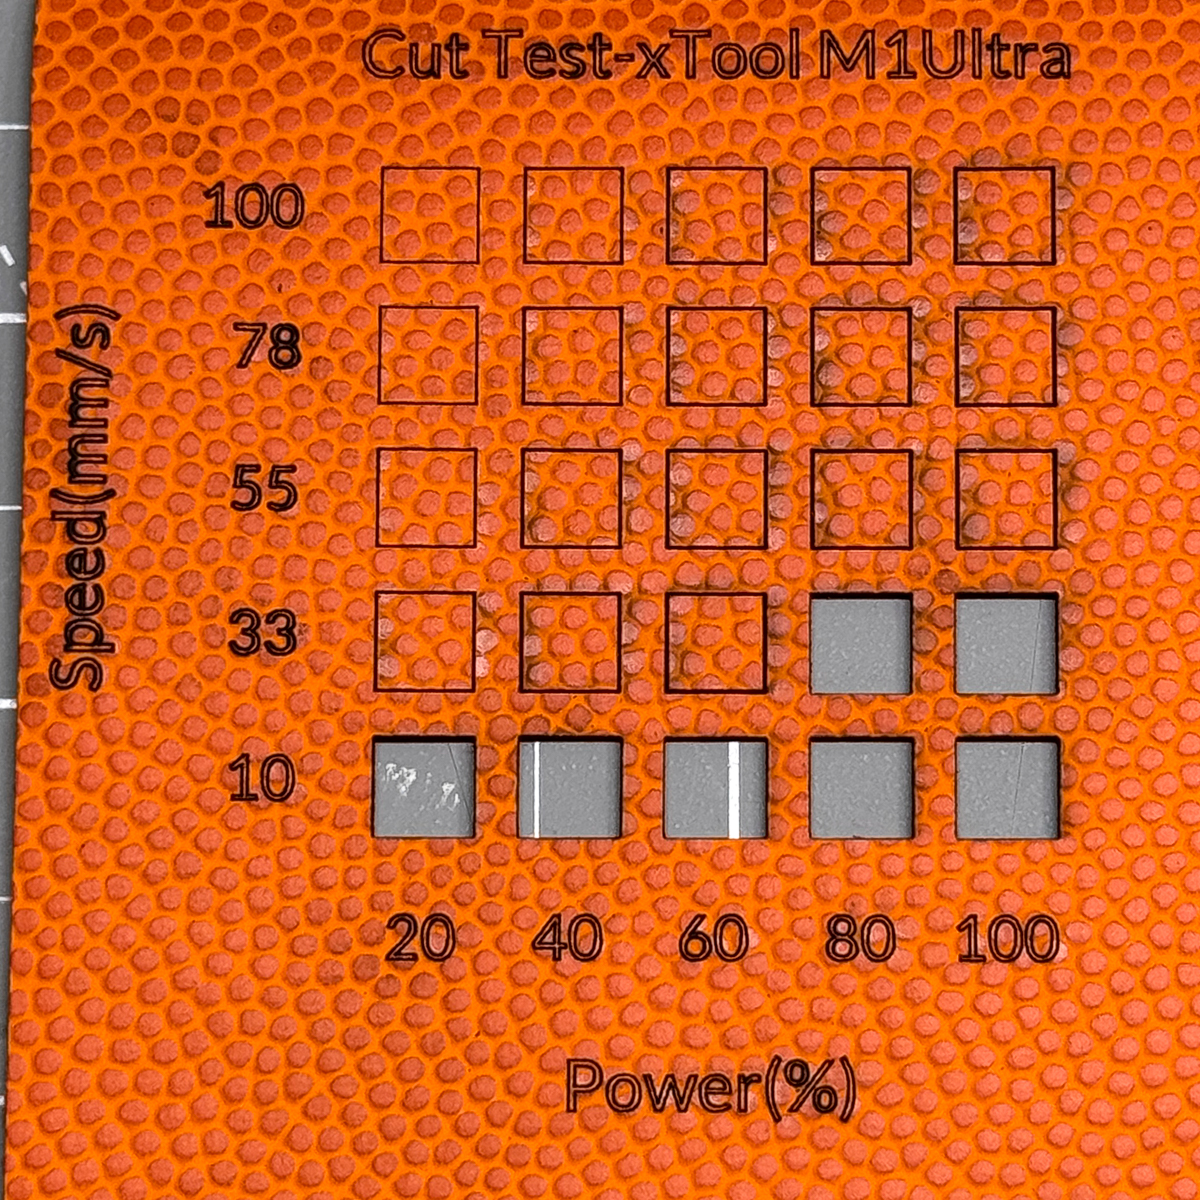
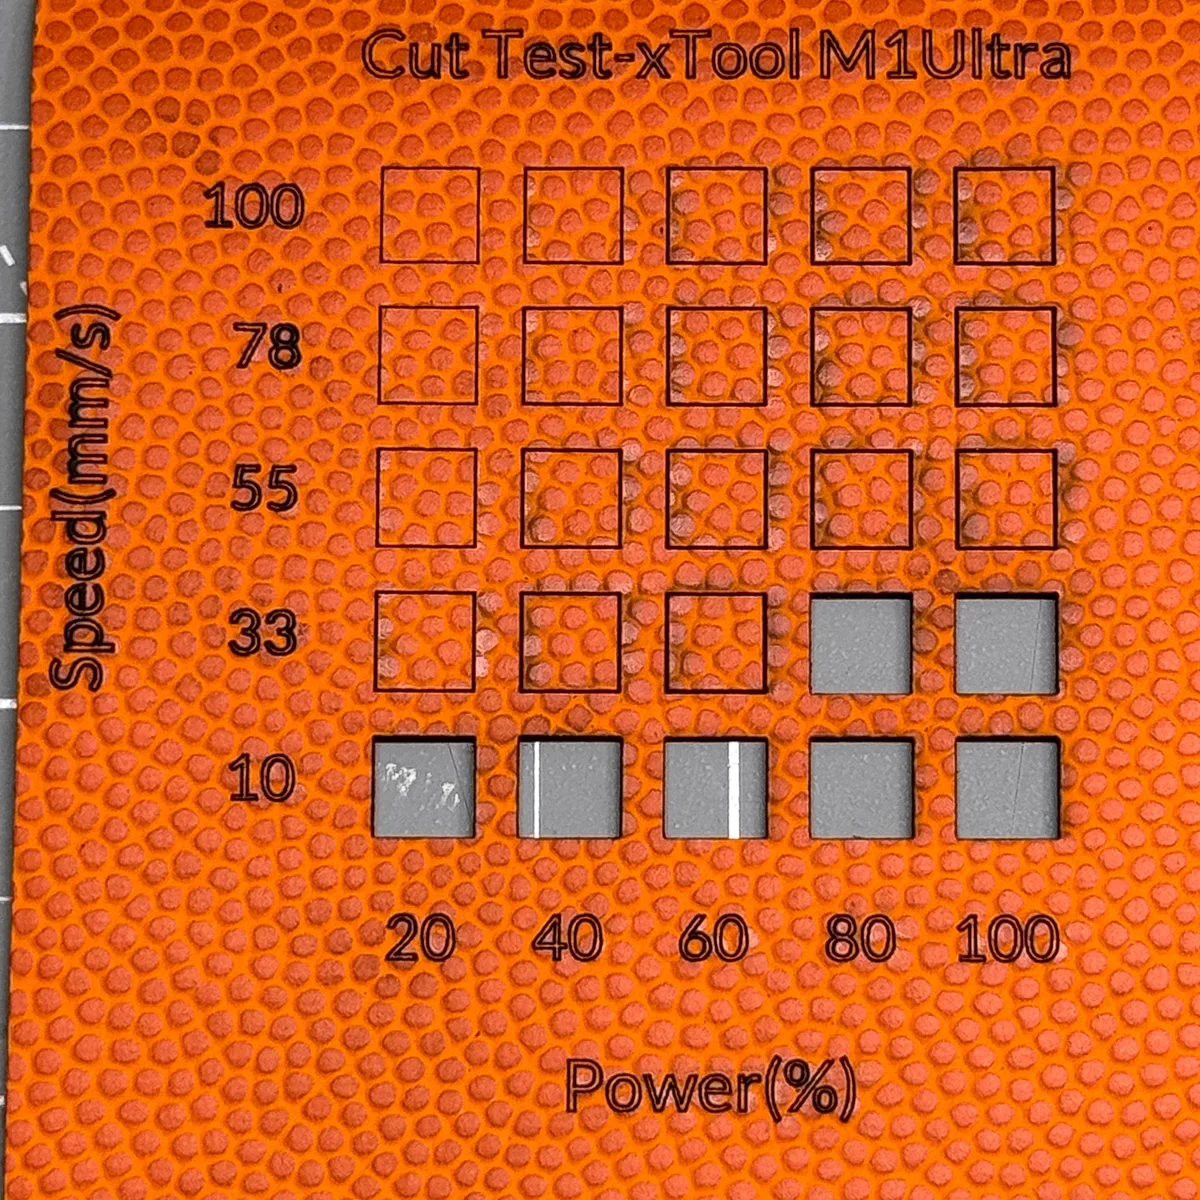
Run a test grid
I haven't cut or engraved leatherette on the M1 Ultra yet (although I used it to make these personalized tape measures with the P2). So I ran a test grid on a scrap piece to find the best settings for my 20W machine.


For the cut test, I'm looking for the cleanest edges at the fastest speed. The 80% power and 33mm/s speed had to be popped out by hand, so 100% power is the best bet.
Engraving leatherette is a little trickier. The goal is to expose the color just below the surface, not the black foam material in the center. You can see how the color changes as the power and speed increases.


400 mm/s at 55% power left a little bit of the orange top layer behind, while 70% power started showing black underneath. I ran another test for a smaller range in between, with a few slightly slower speeds.
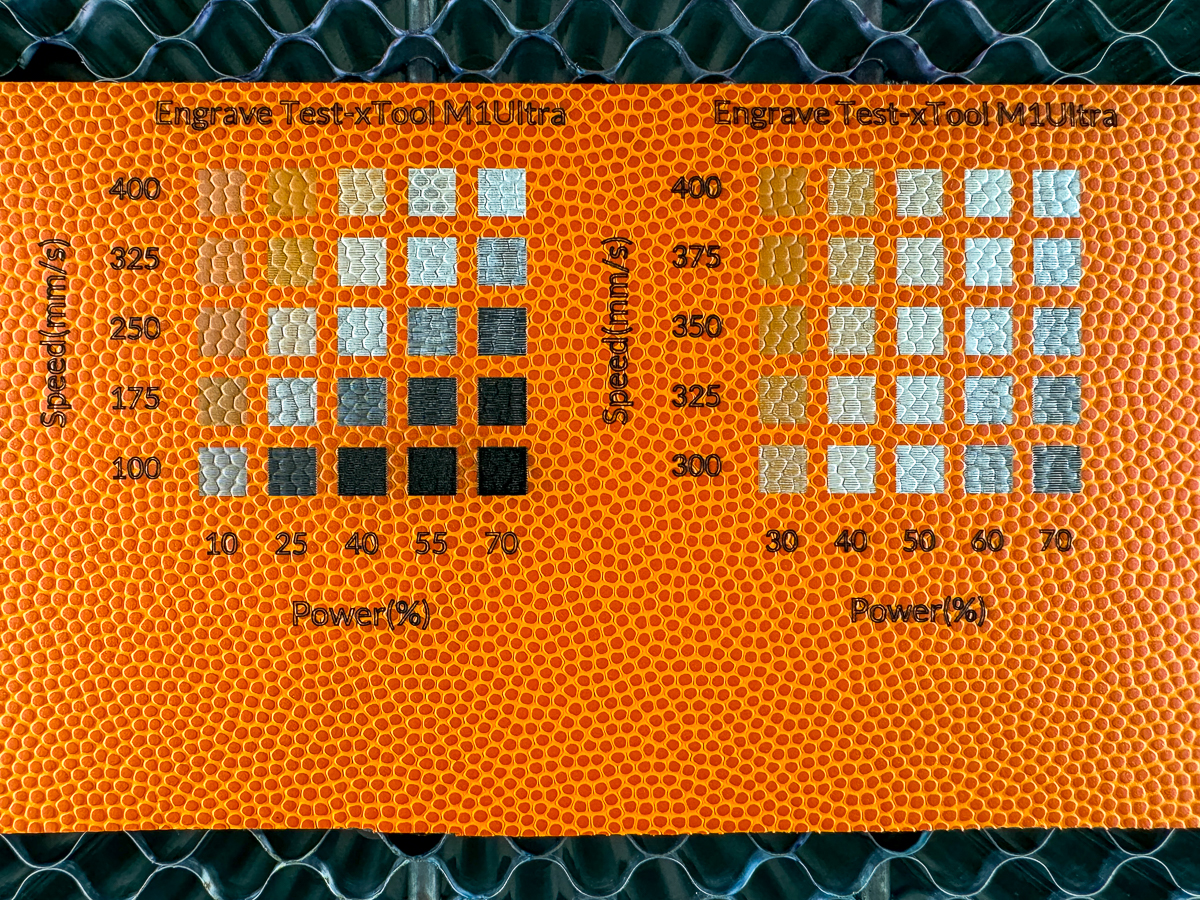
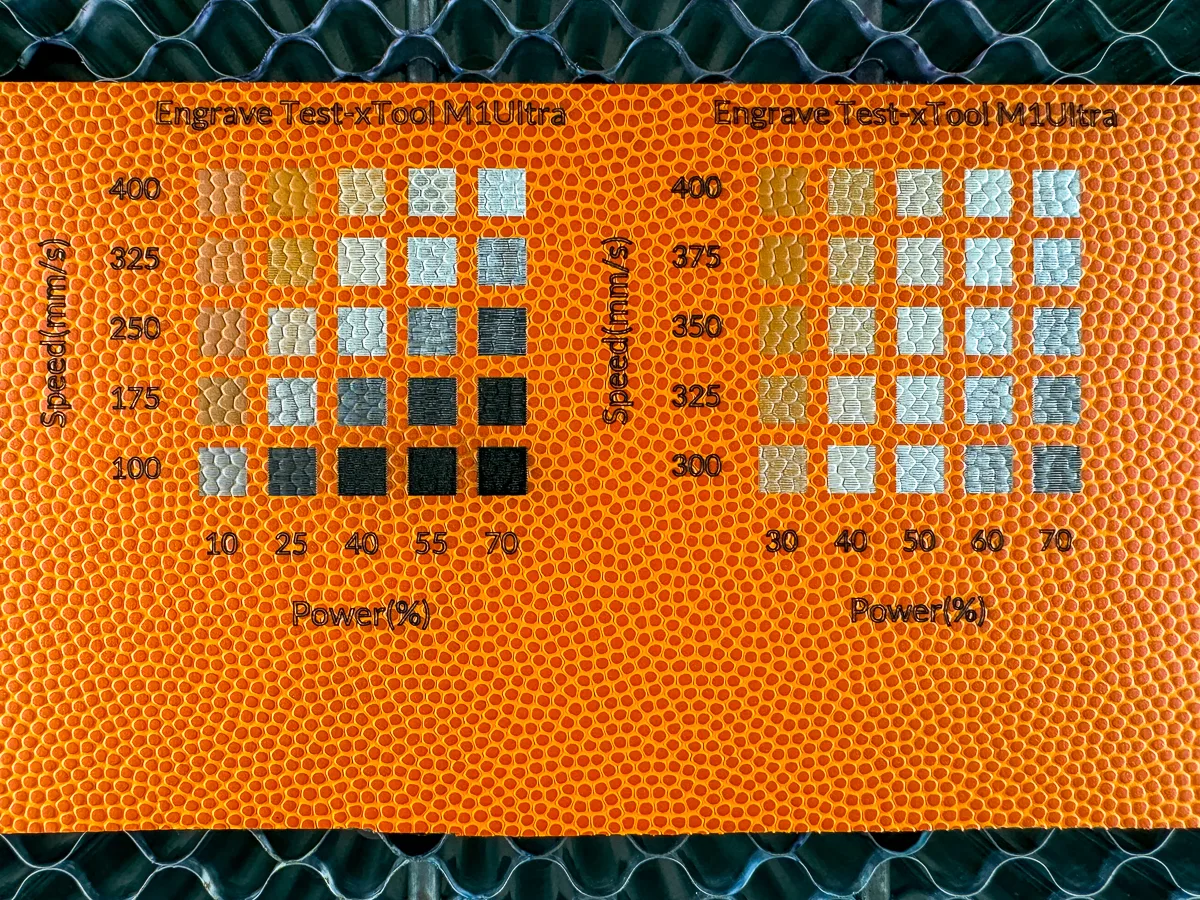
As I suspected, the best engrave settings are 400mm/s at 60% power, right in between the two from the previous test. It reveals the silver layer without any of the orange above or black below.
Create the SVG file
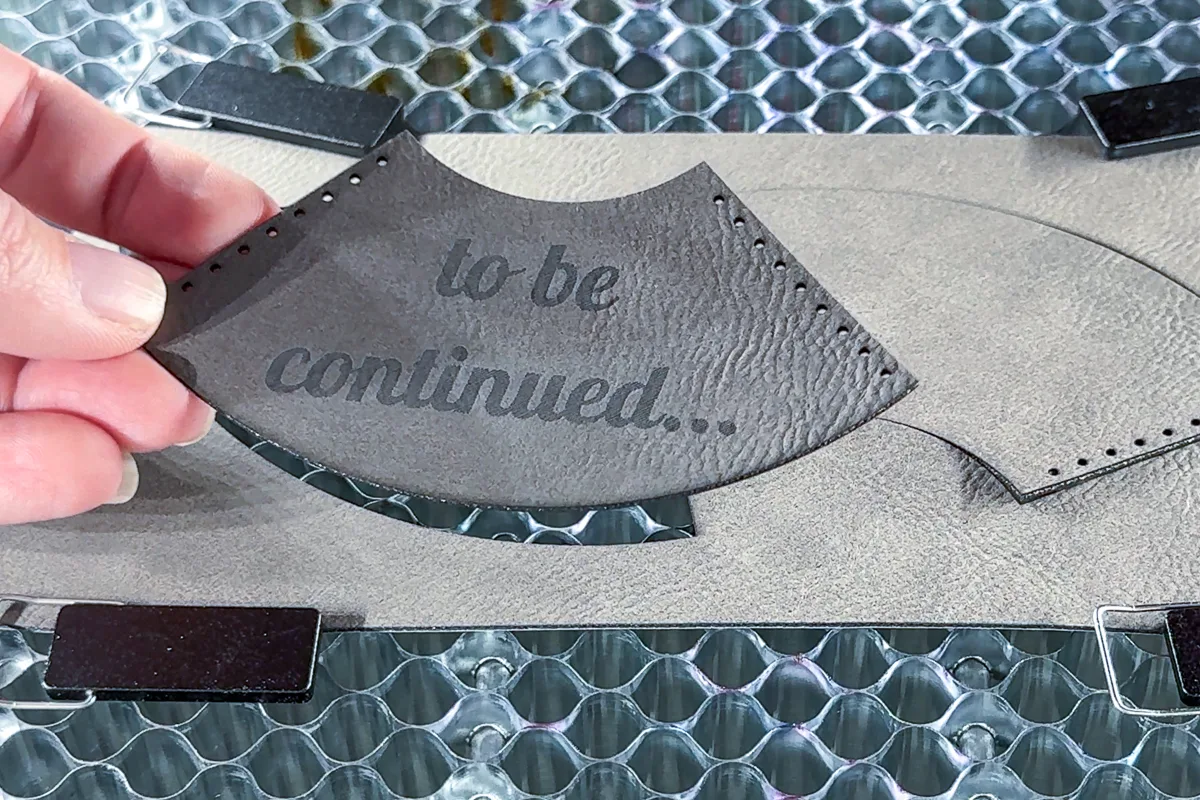
These corner bookmarks can be as simple as a triangle, or get fancy with intricate cutouts and engraving. You can also choose to keep the corner intact, or leave an opening so you don't damage the page.
Let's start off simple. First, make a square and two circles positioned at the corners. Then combine the shapes together.
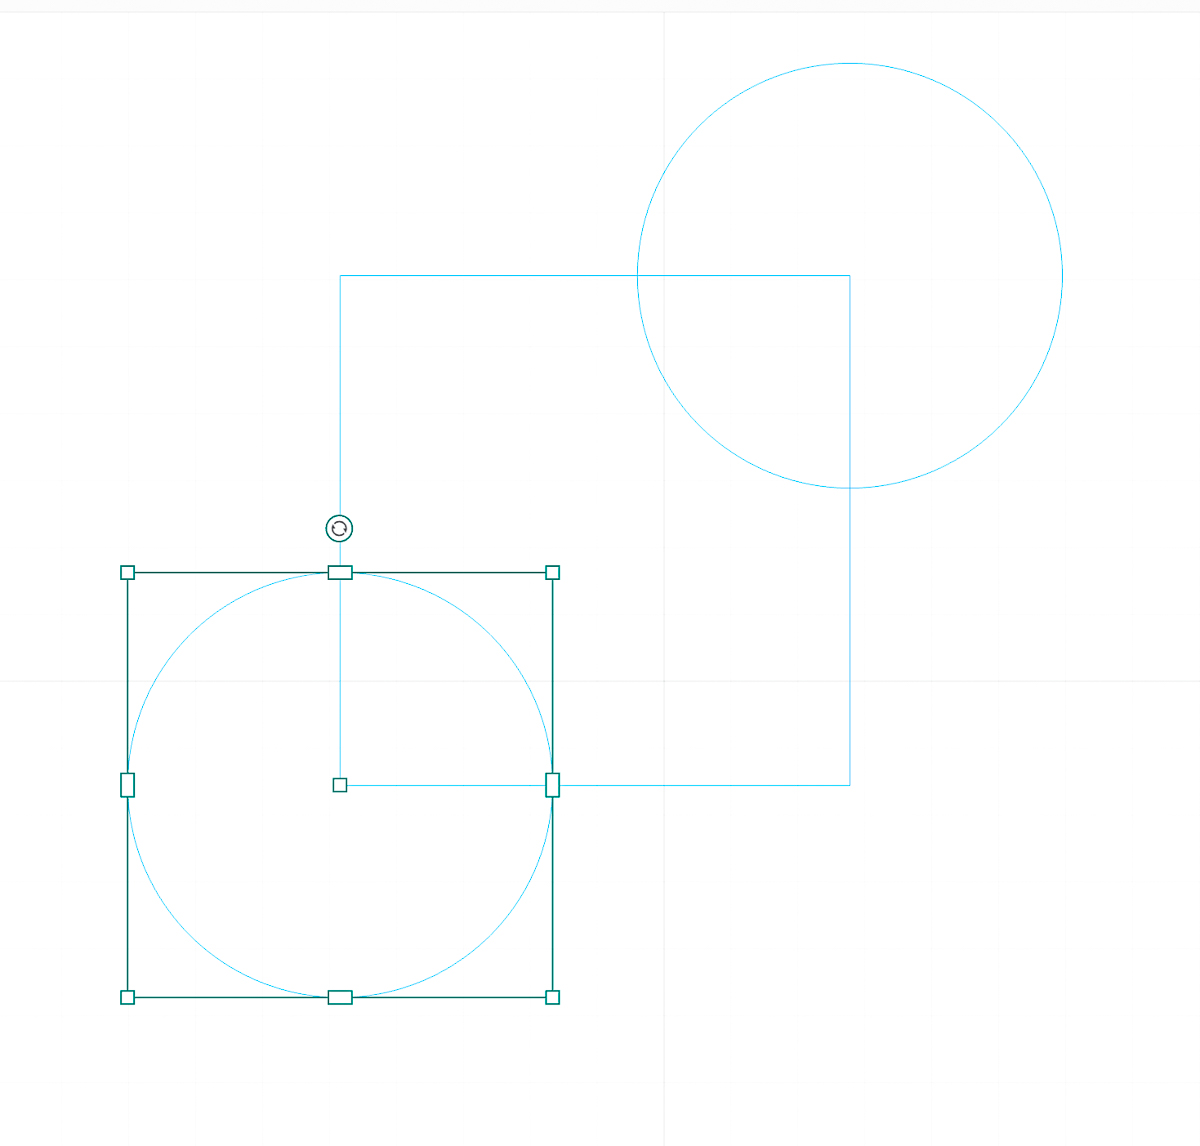

The resulting shape will allow the corner of the page to slip though so it doesn't crinkle up inside. It also removes some of the bulk from the opposing corner.
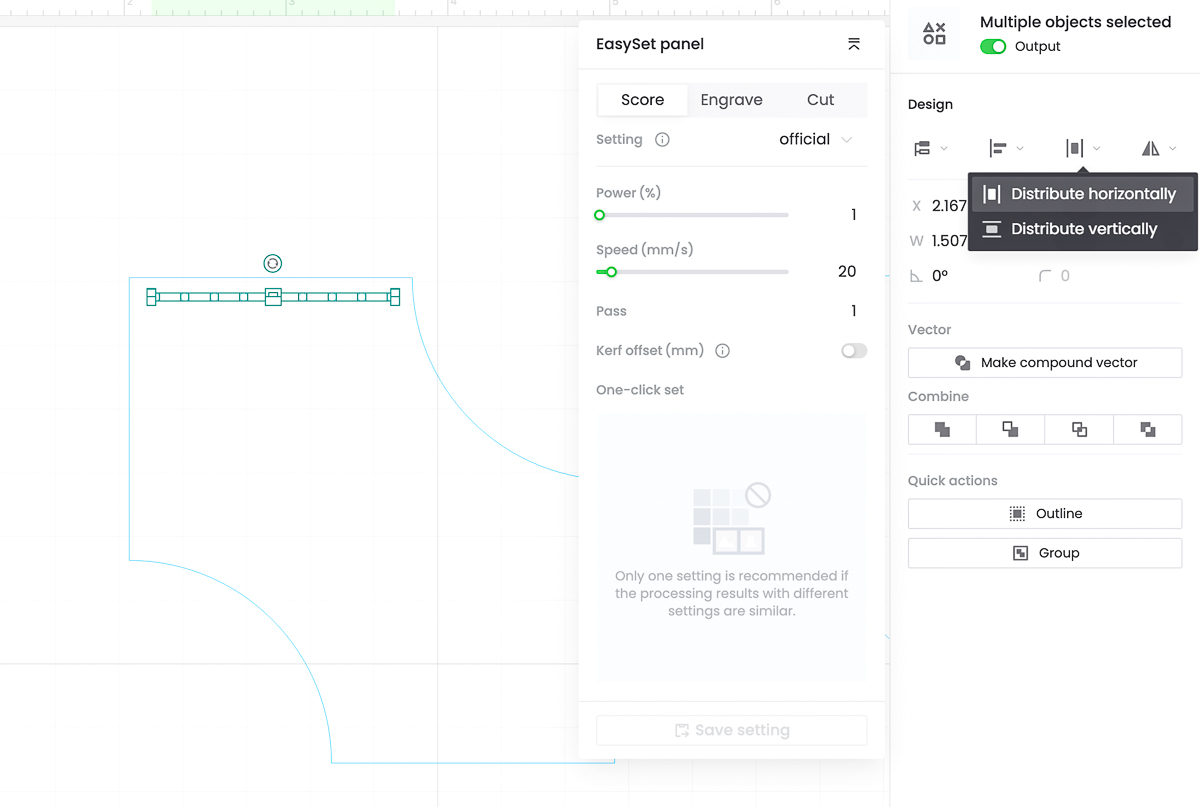
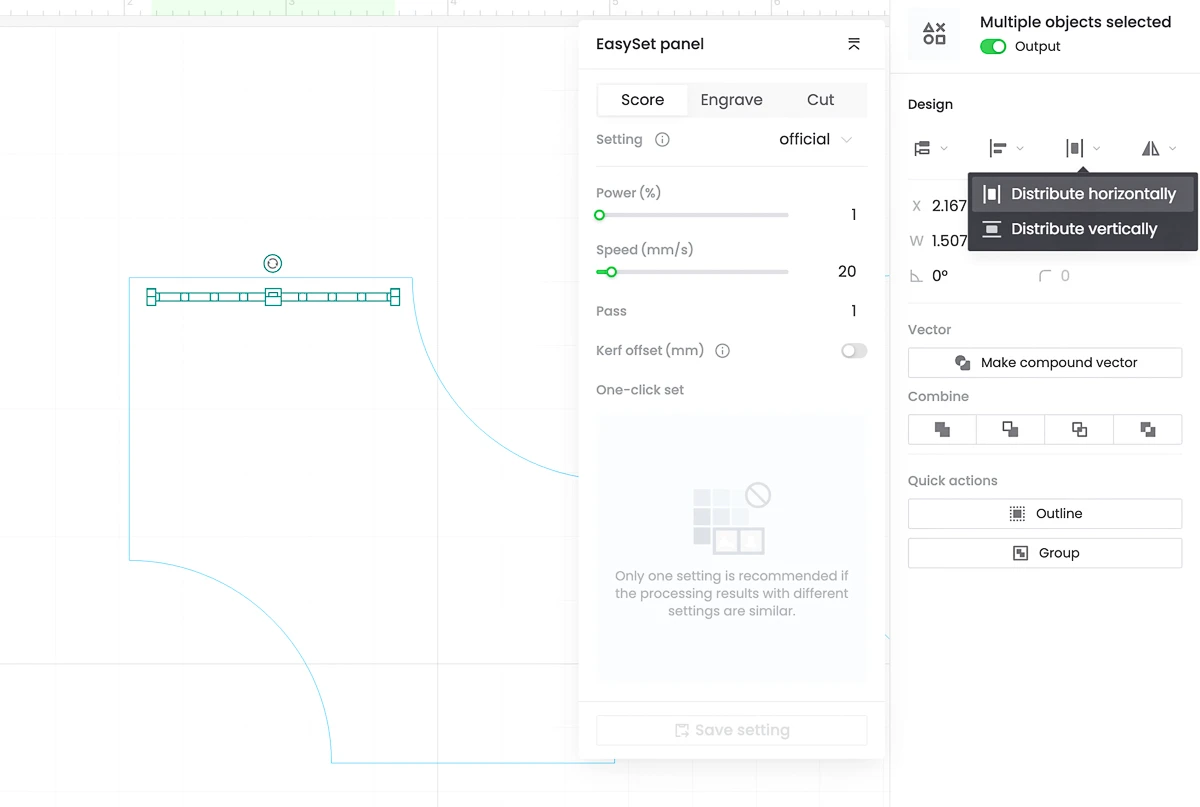
Next, create a line of small holes along the top and side to stitch the two halves of the bookmark together. Distribute the holes evenly horizontally to get even spacing. You could use double sided adhesive to just stick them together, but it may stick to the pages as well!
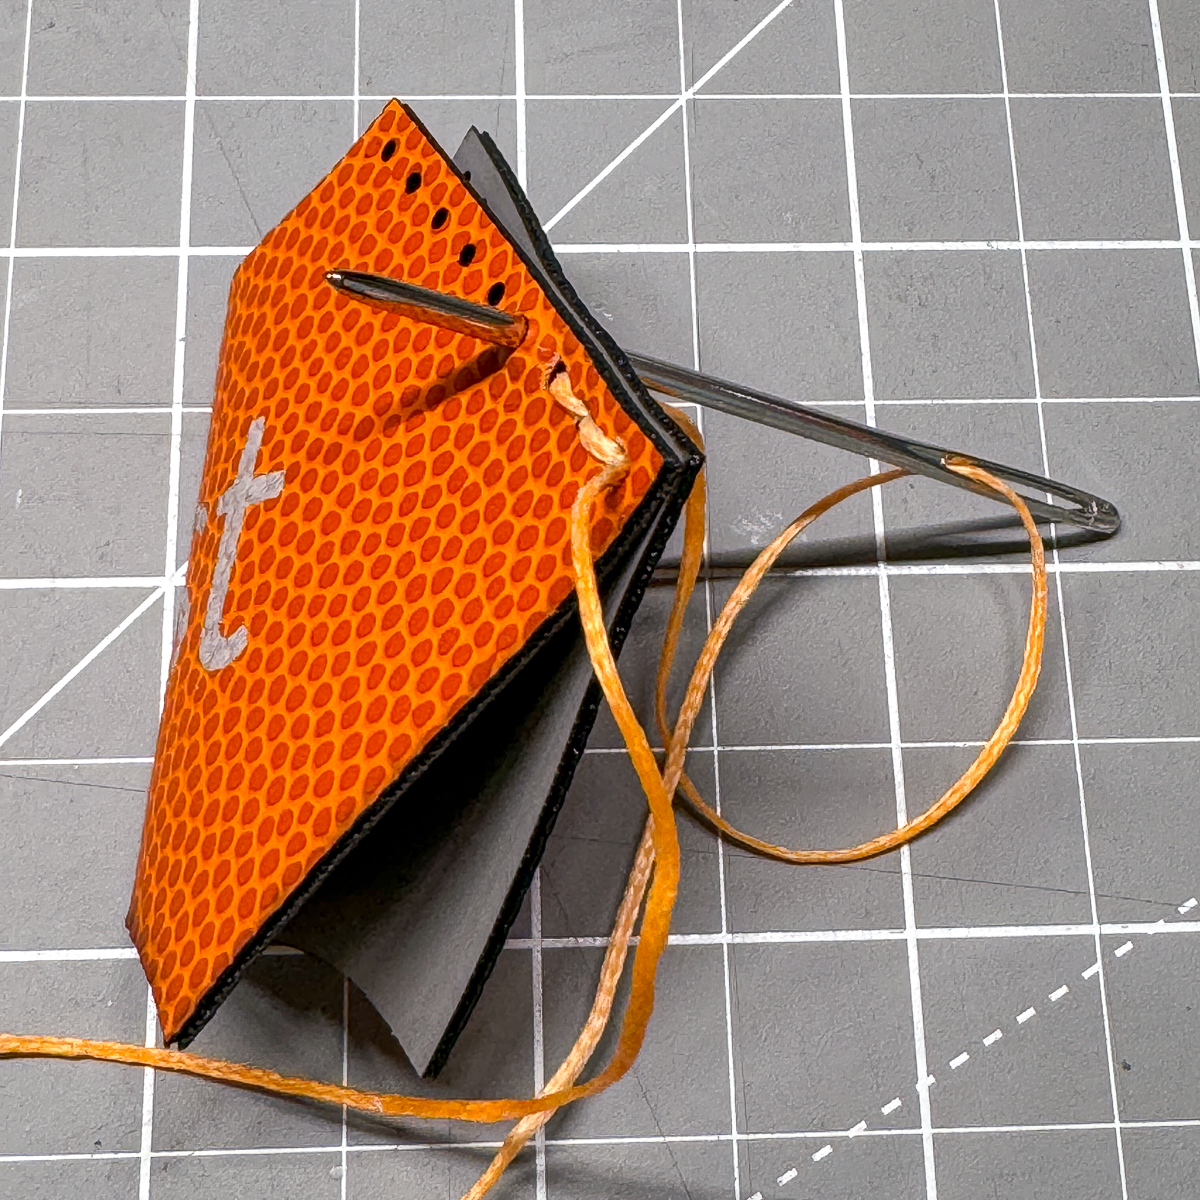
Finally, add your engraving. I decided to use the rest of the scrap leather to see if the holes were the right size for my needle and waxed thread, so I just wrote TEST across the front.
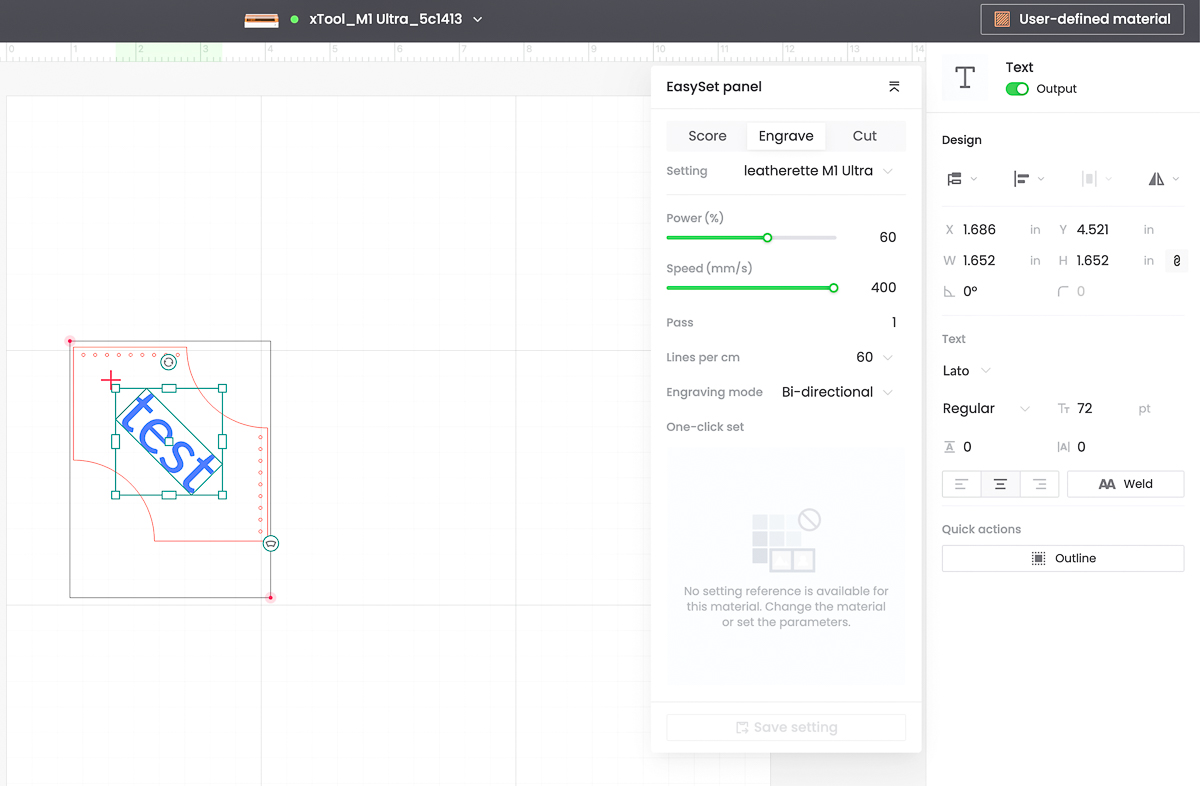
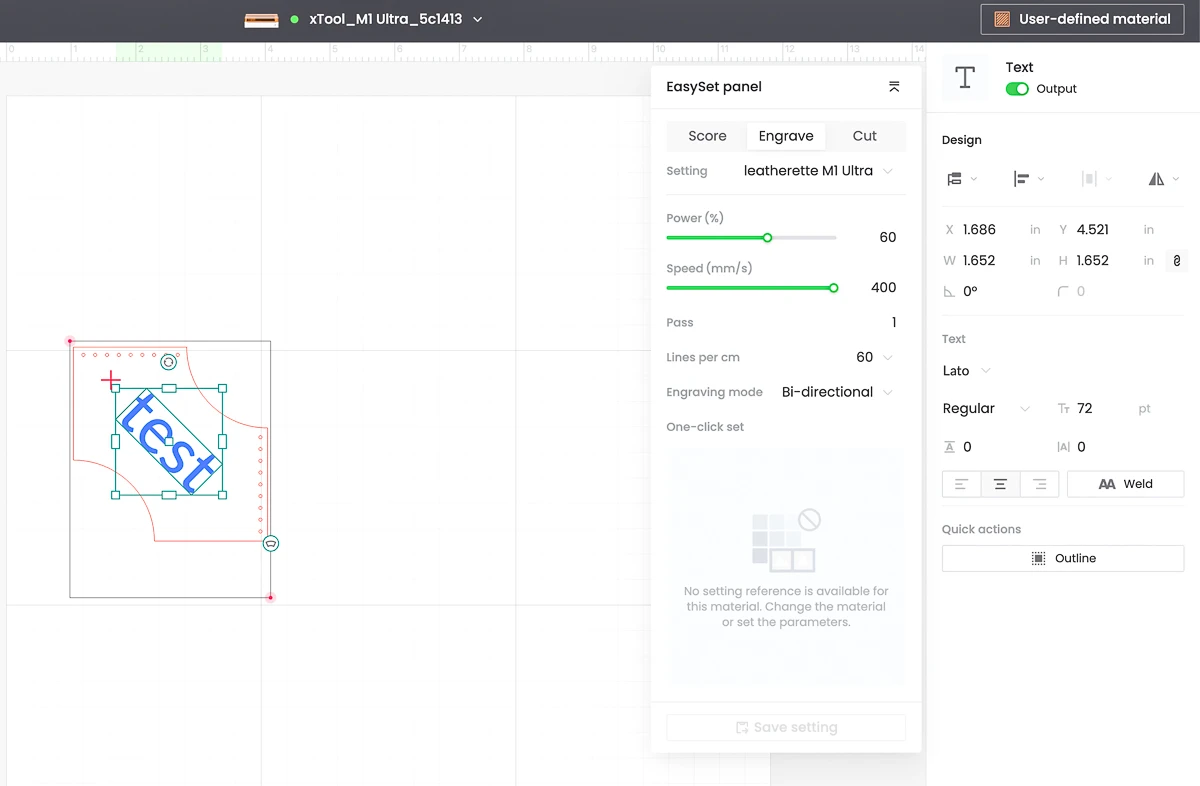
It looks like 0.05" circles were the perfect fit for this thick leather needle. The waxed thread stays put better than embroidery thread, so the stitching won't come unraveled with use.
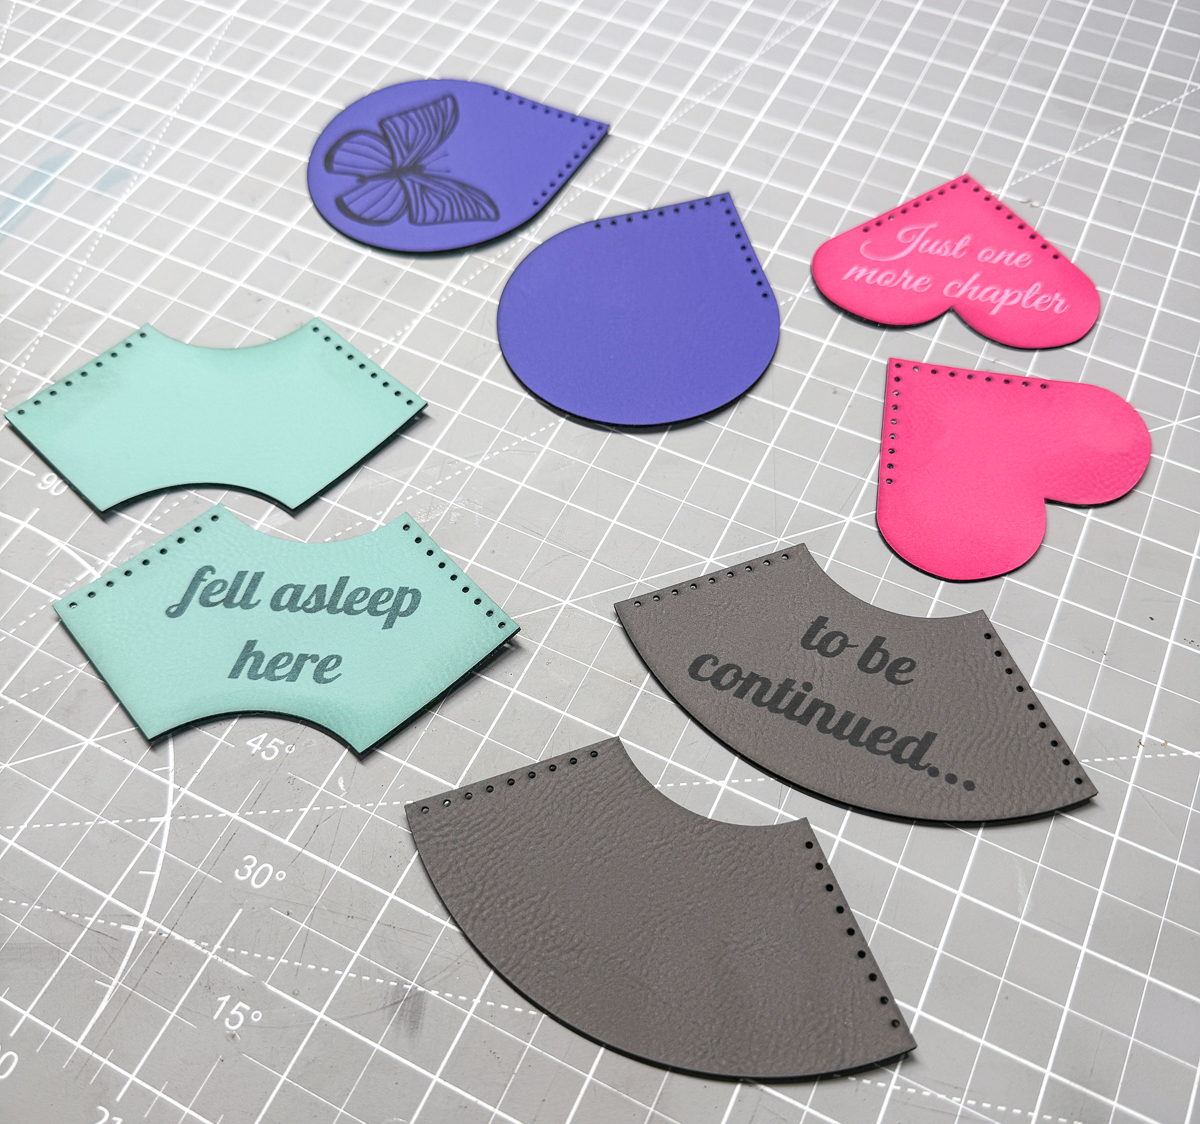
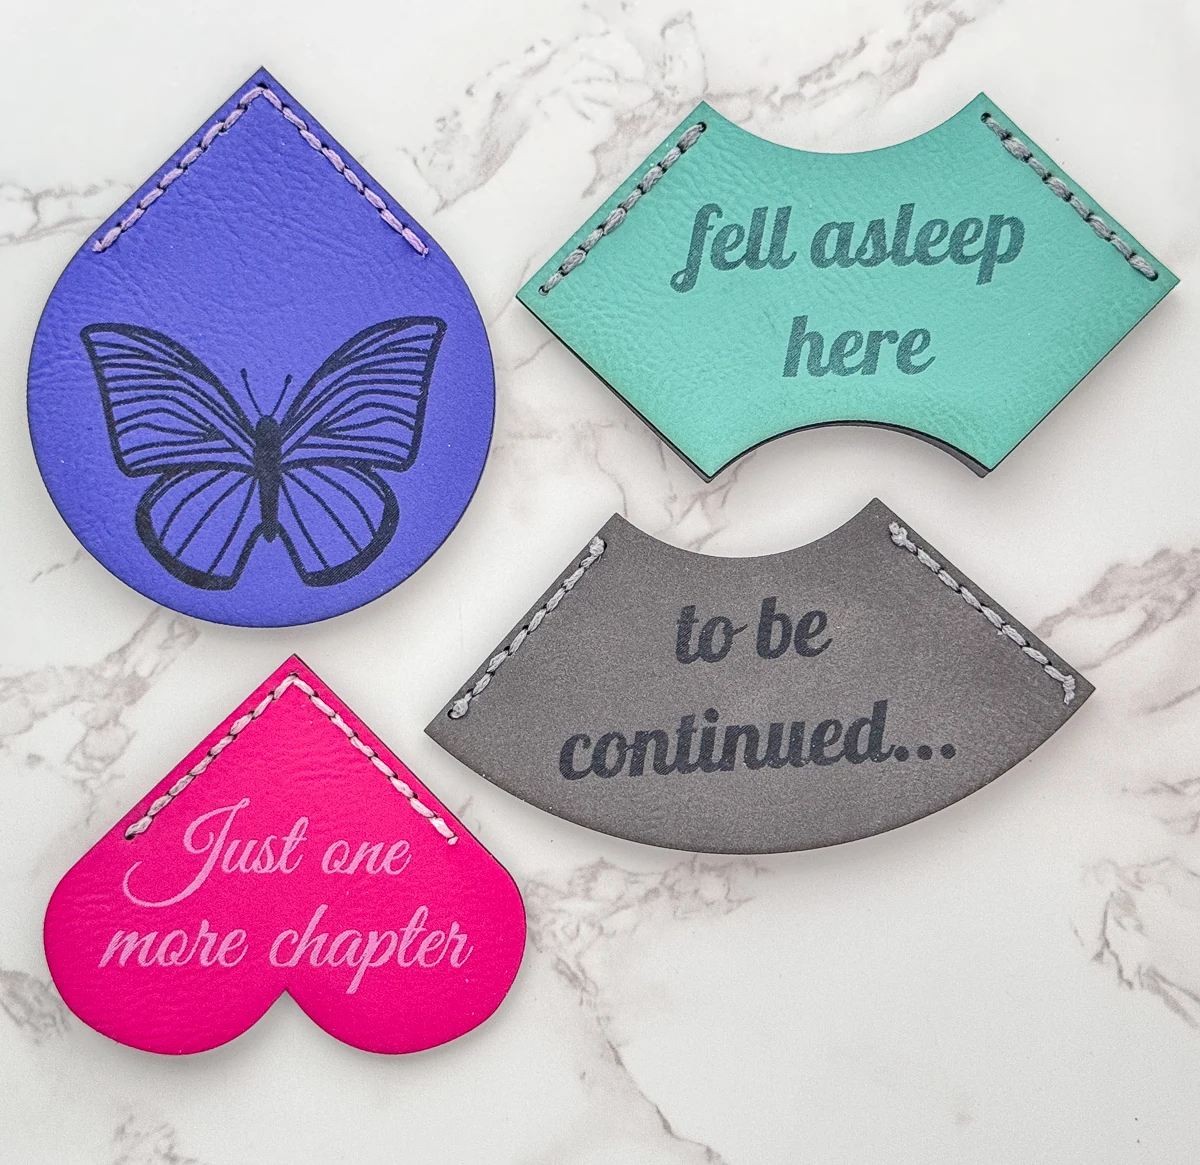
I made a few more designs, with and without the corner cut out. You'll need to duplicate and mirror the piece for the back, but it won't need to be engraved (unless you want to!)
Laser cut and engrave the leather
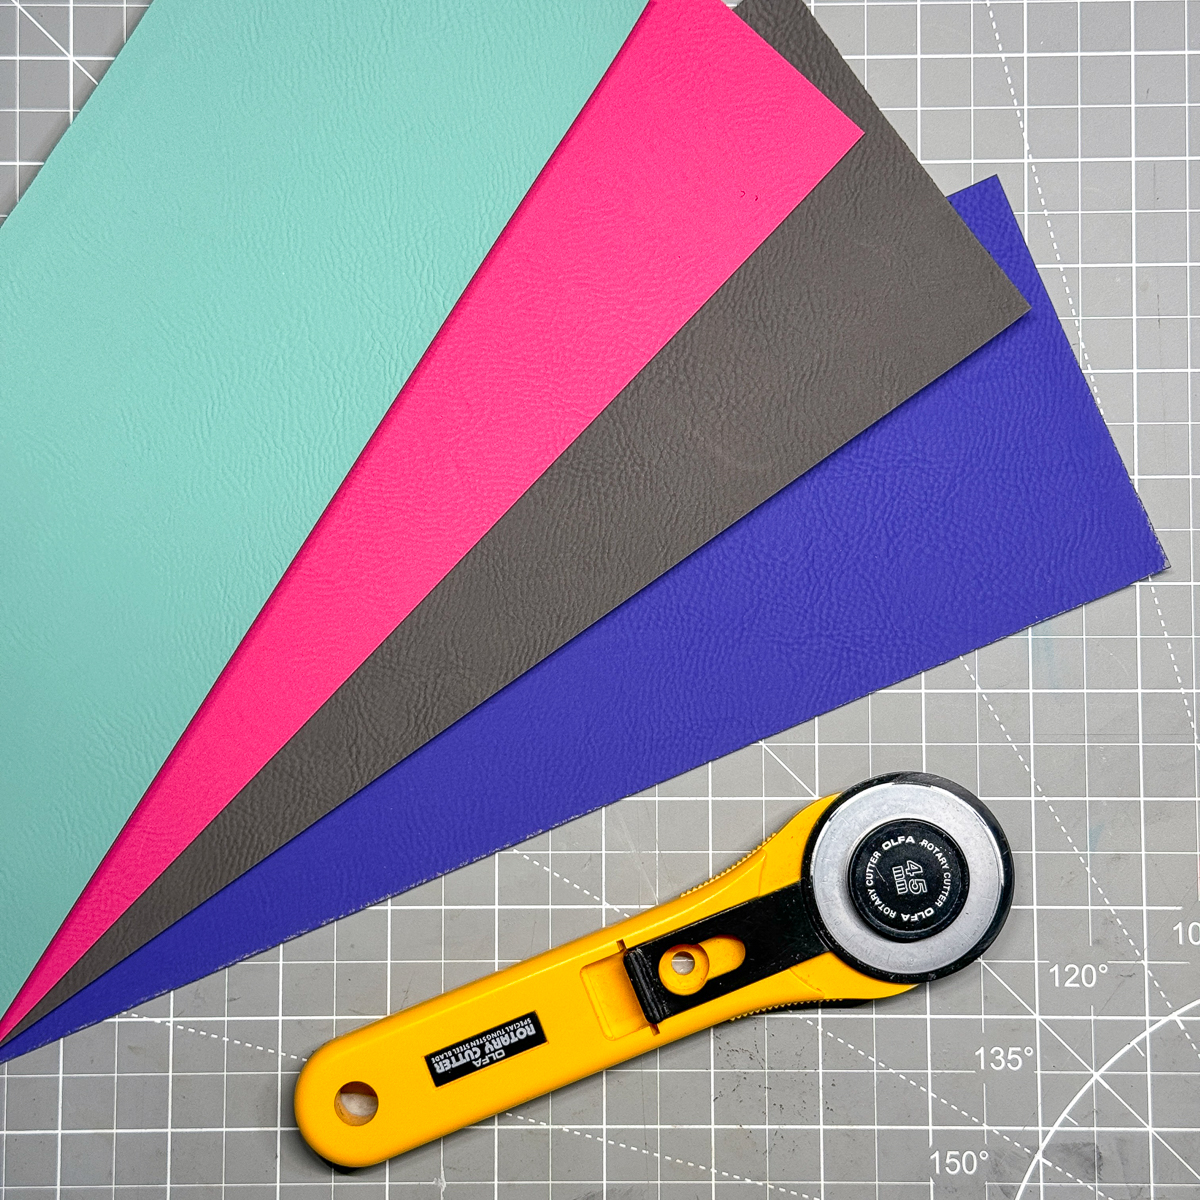
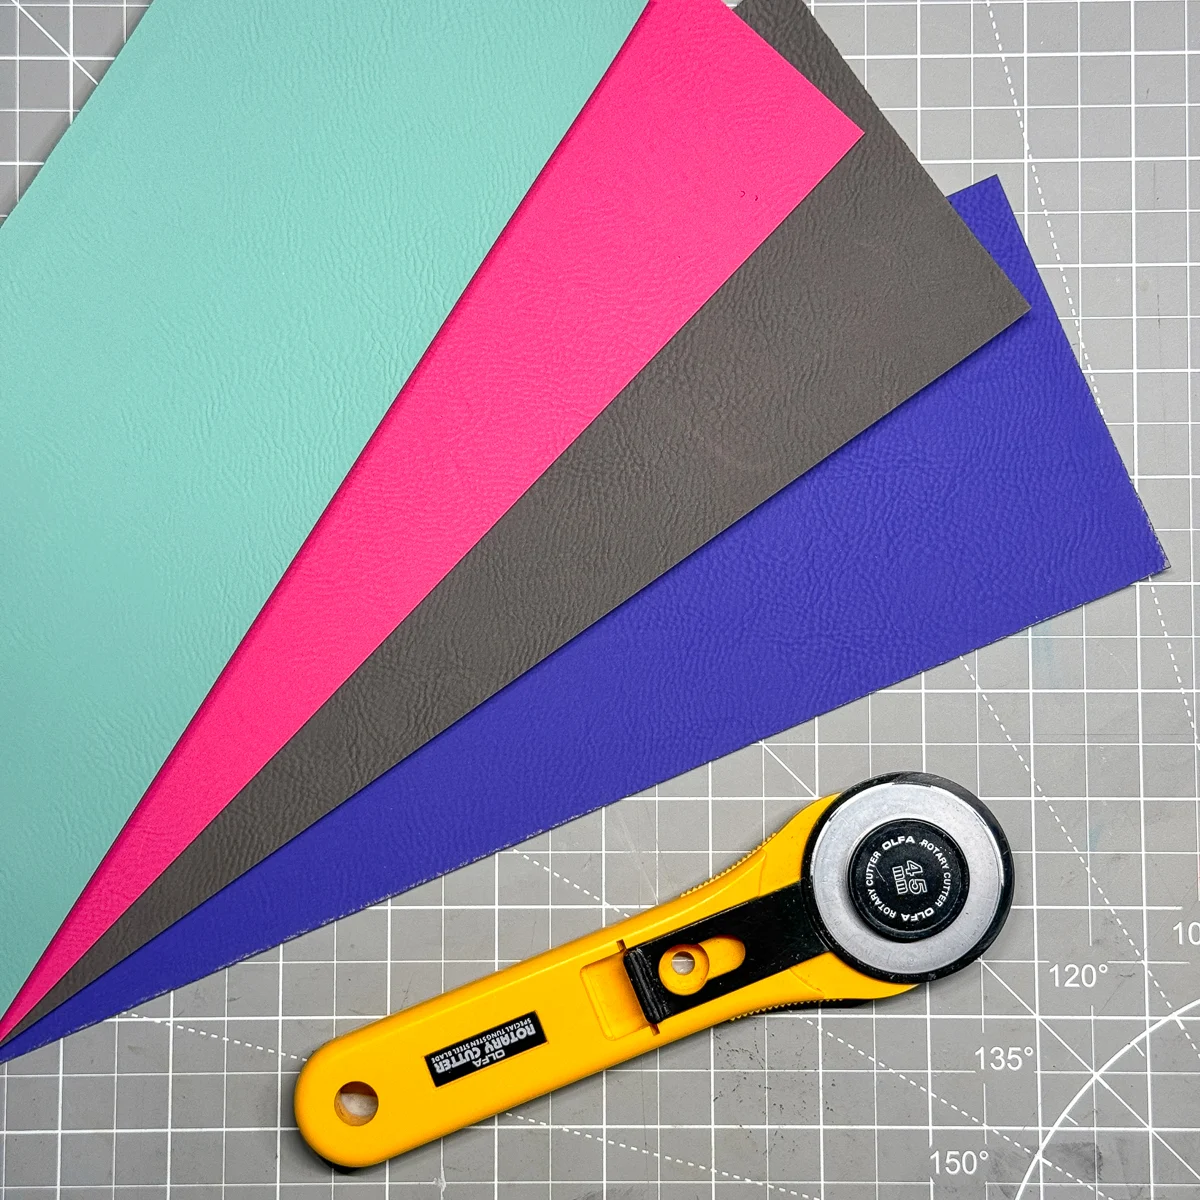
For the final bookmarks, I chose a few different colors of engraveable leather. These sheets are a little too big to fit in the xTool M1 Ultra, so I cut them down into 4" wide strips with a rotary cutter first.
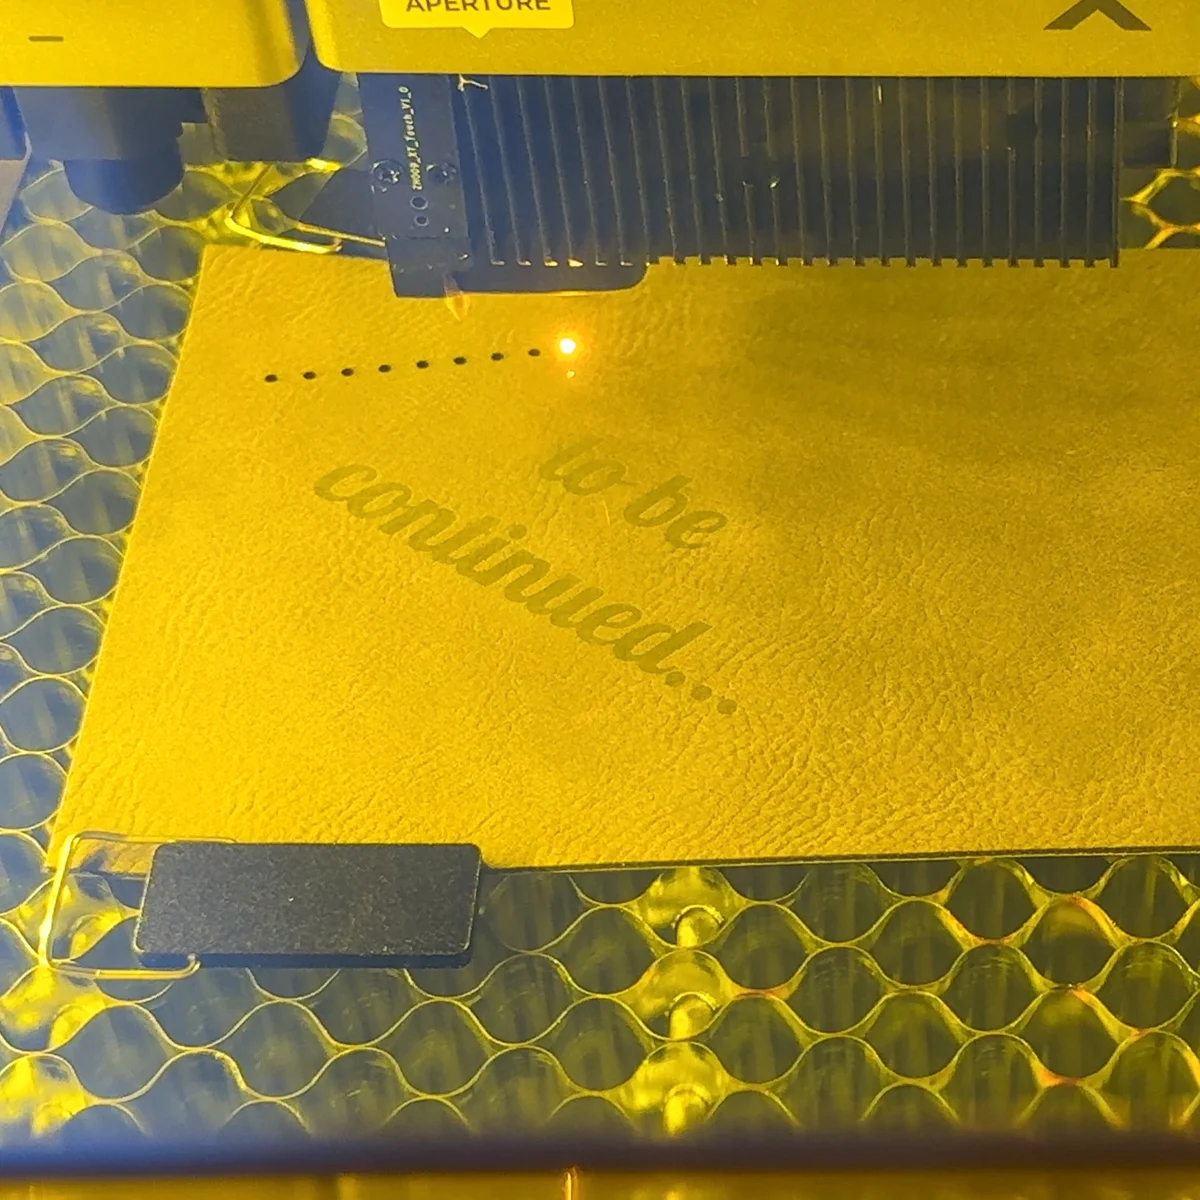
The edges of the leather have a tendency to curl up, so I used the magnetic hold downs to keep it flat. It's always fun to watch the laser do its thing!

Thanks to all that testing, the engraving and cuts came out perfectly without any char!

It didn't take long to cut and engrave all the pieces for four different corner bookmarks.

Stitch the front and back together
I bought a variety pack of waxed thread so I would have plenty of colors to choose from. It came with leather needles and finger protection as well.
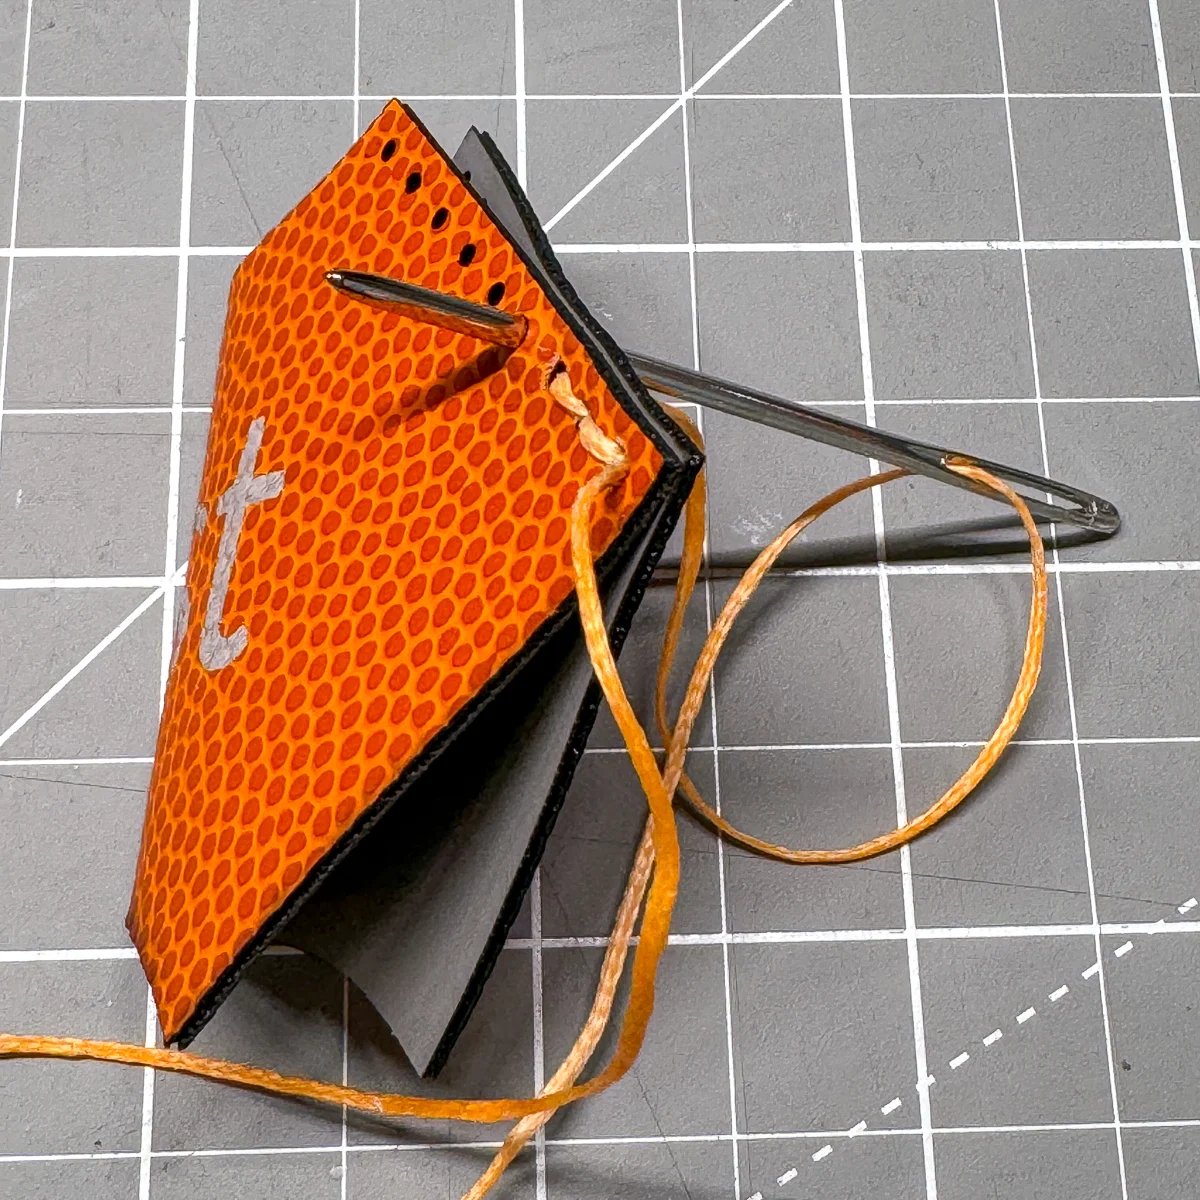
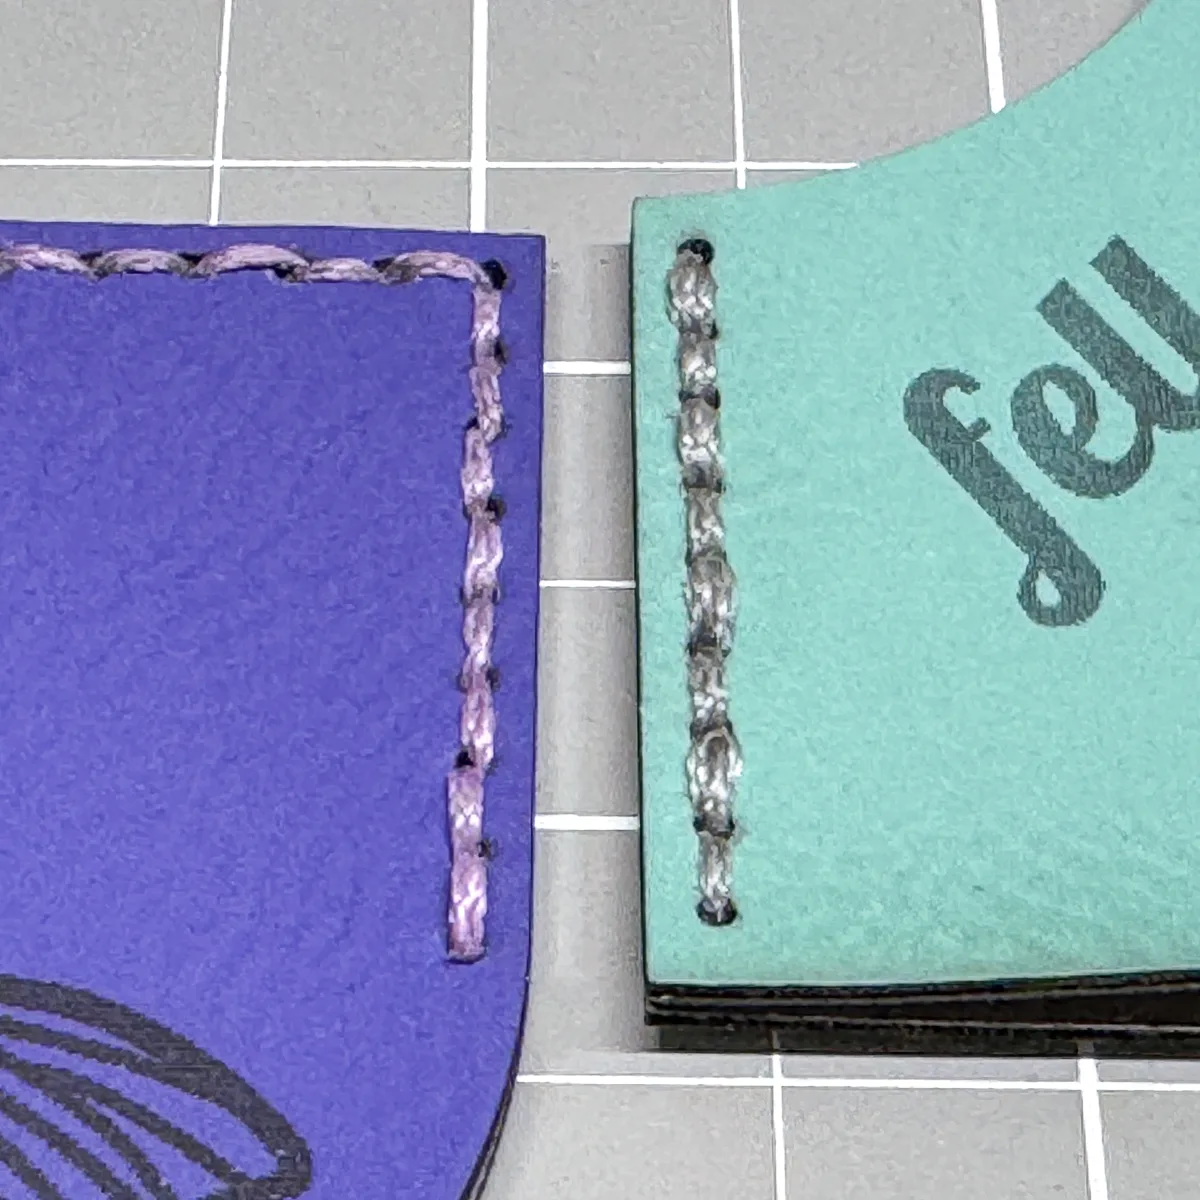
For the first bookmark, I just kinda made up the stitching method. It came out a little bulky, but it stayed in place!

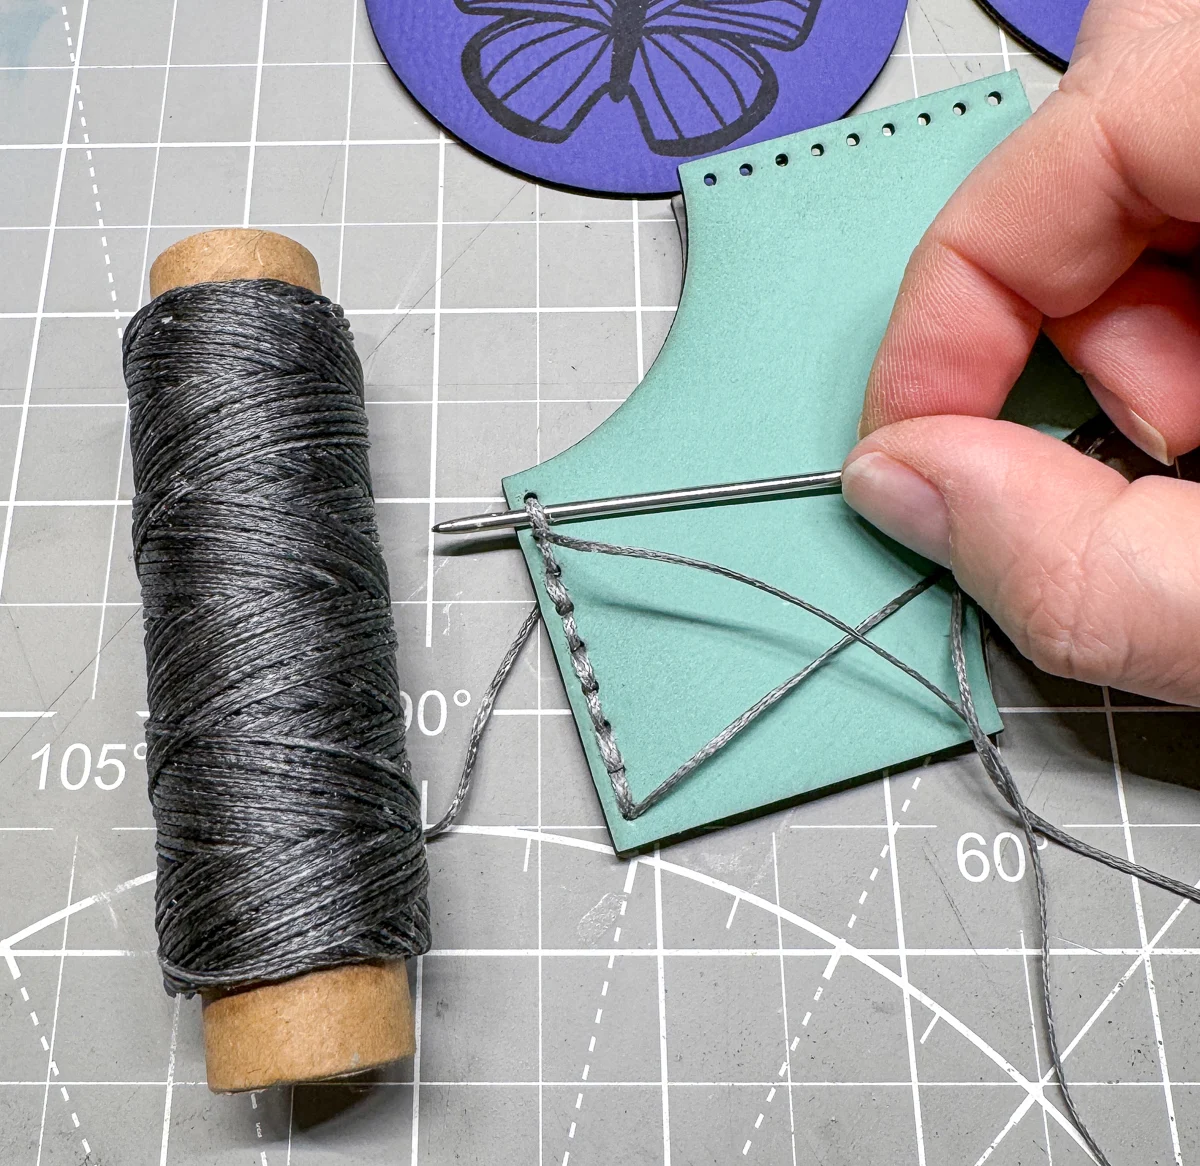
Then I looked up how to sew leather properly, and came across this tutorial for saddle stitching. This requires two needles and thread, but came out much cleaner.

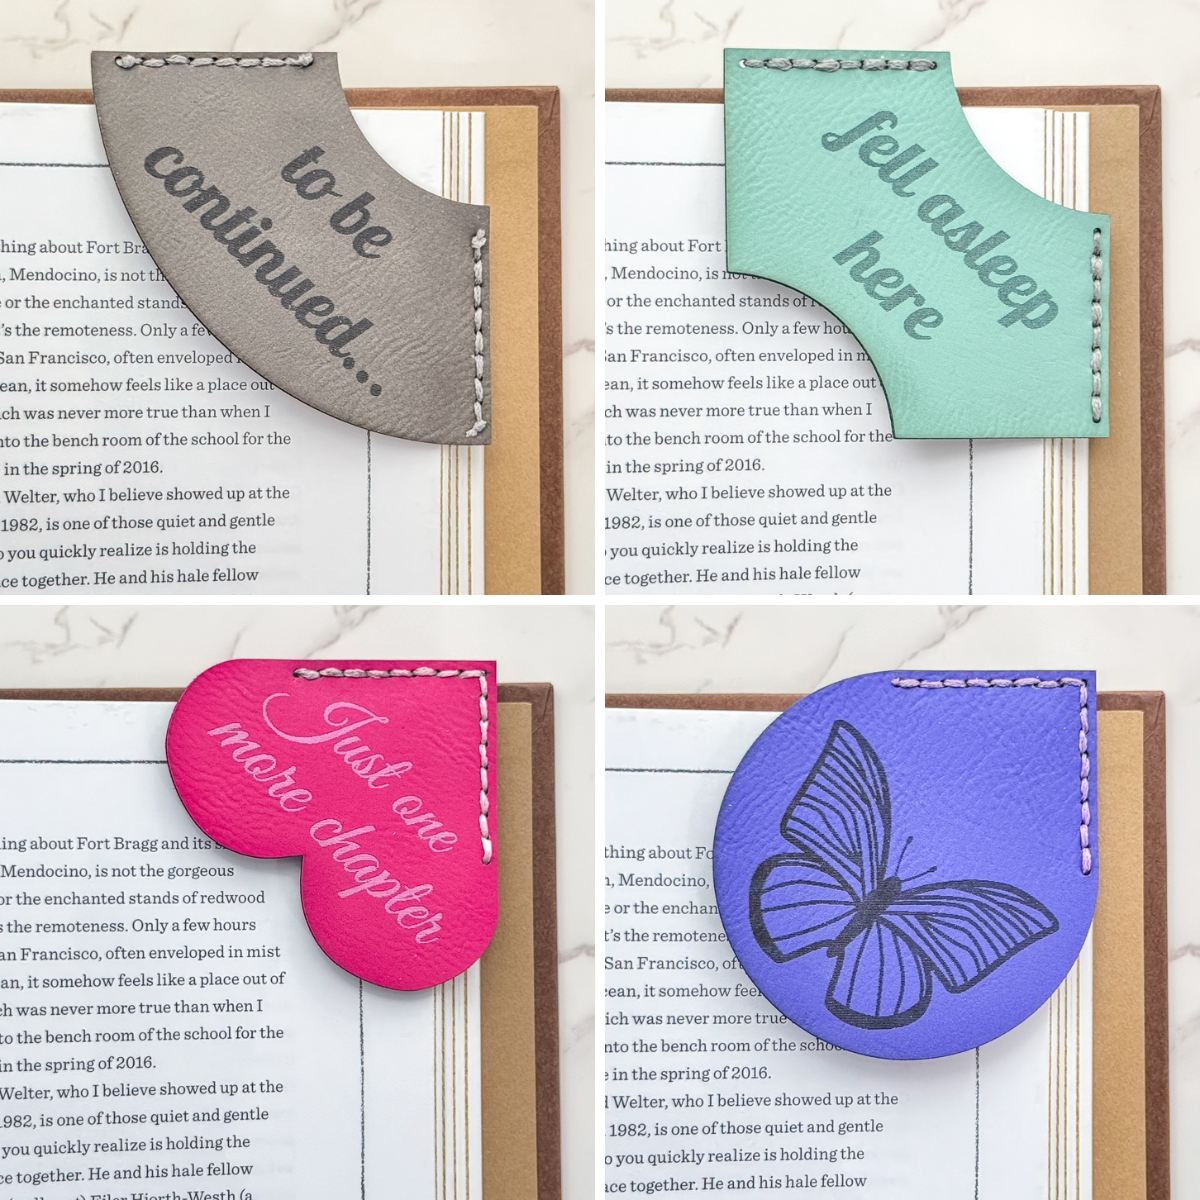
It didn't long to finish stitching all four leather bookmarks! I love how they all turned out!

I grabbed the first hardcover book I could find in the house and tested them all out. I think I prefer the ones with the corner cut out. Which one is your favorite?

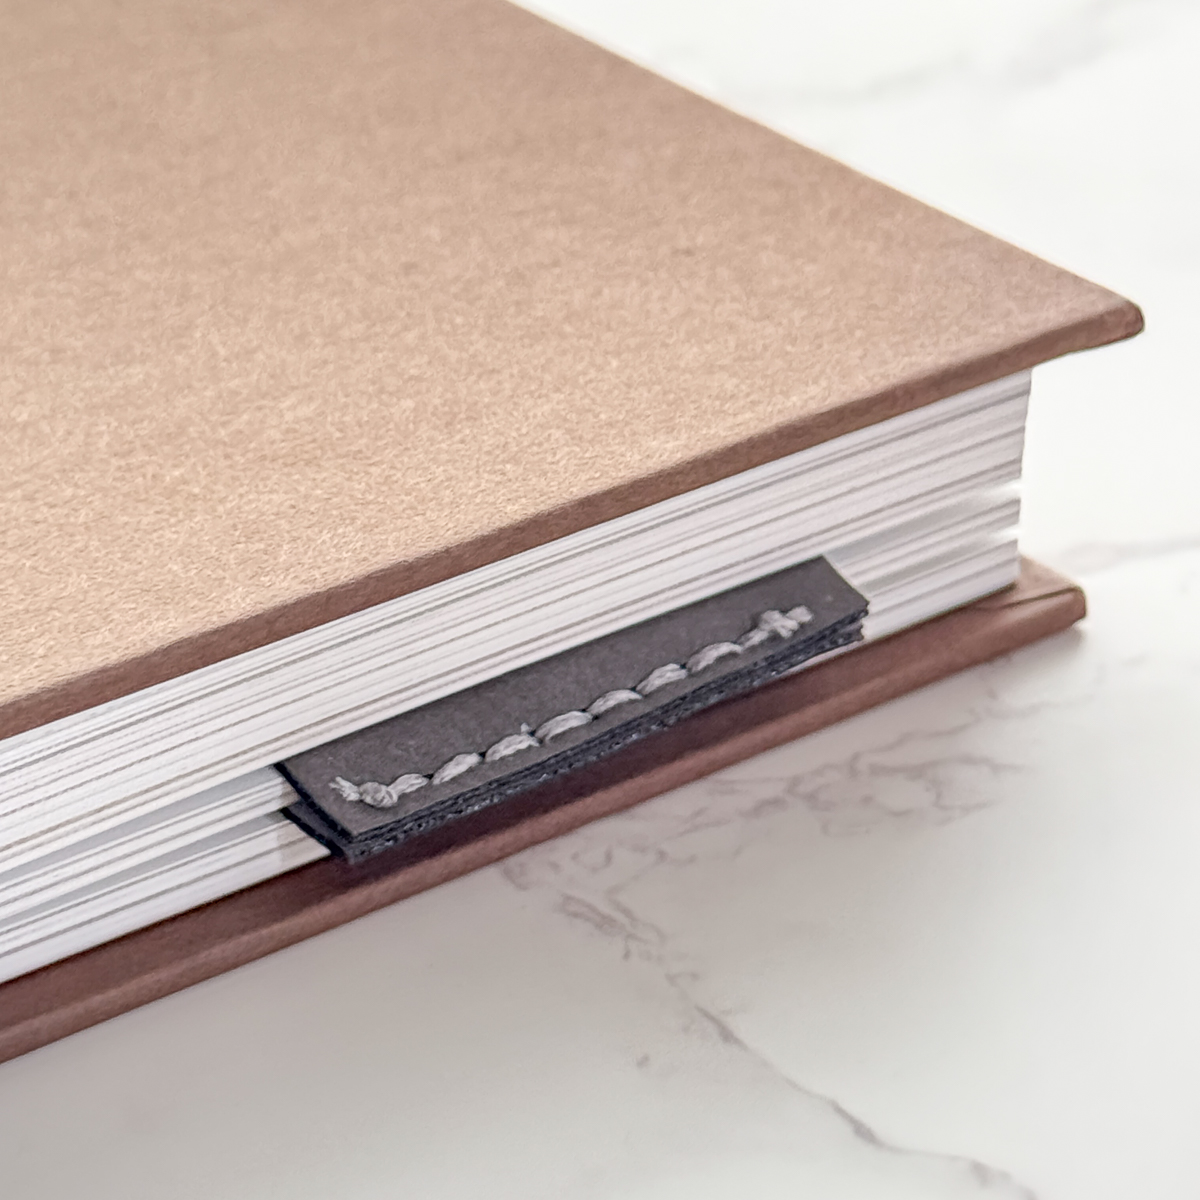
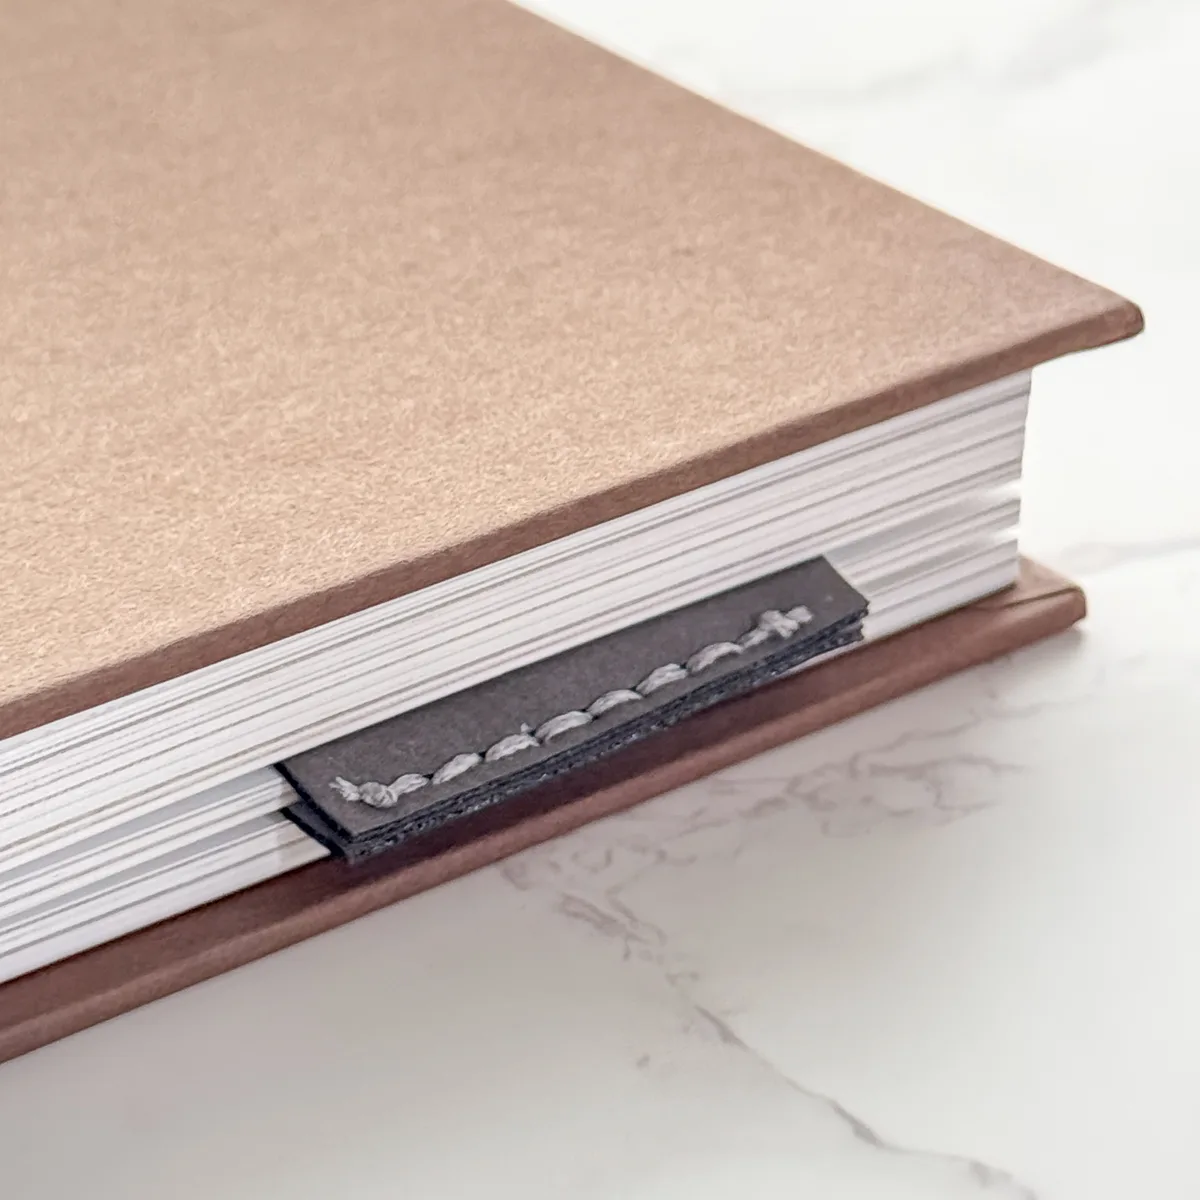
With the book closed, it's easy to spot where you left off. The thicker leather does bulge out the pages a bit, but it didn't seem to damage them at all.
I can think of so many different variations and styles of these simple bookmarks. Personalize them with an engraved name or picture to give as gifts, or add famous quotes and sell them at craft shows! So many possibilities!
Check out these other laser project ideas!