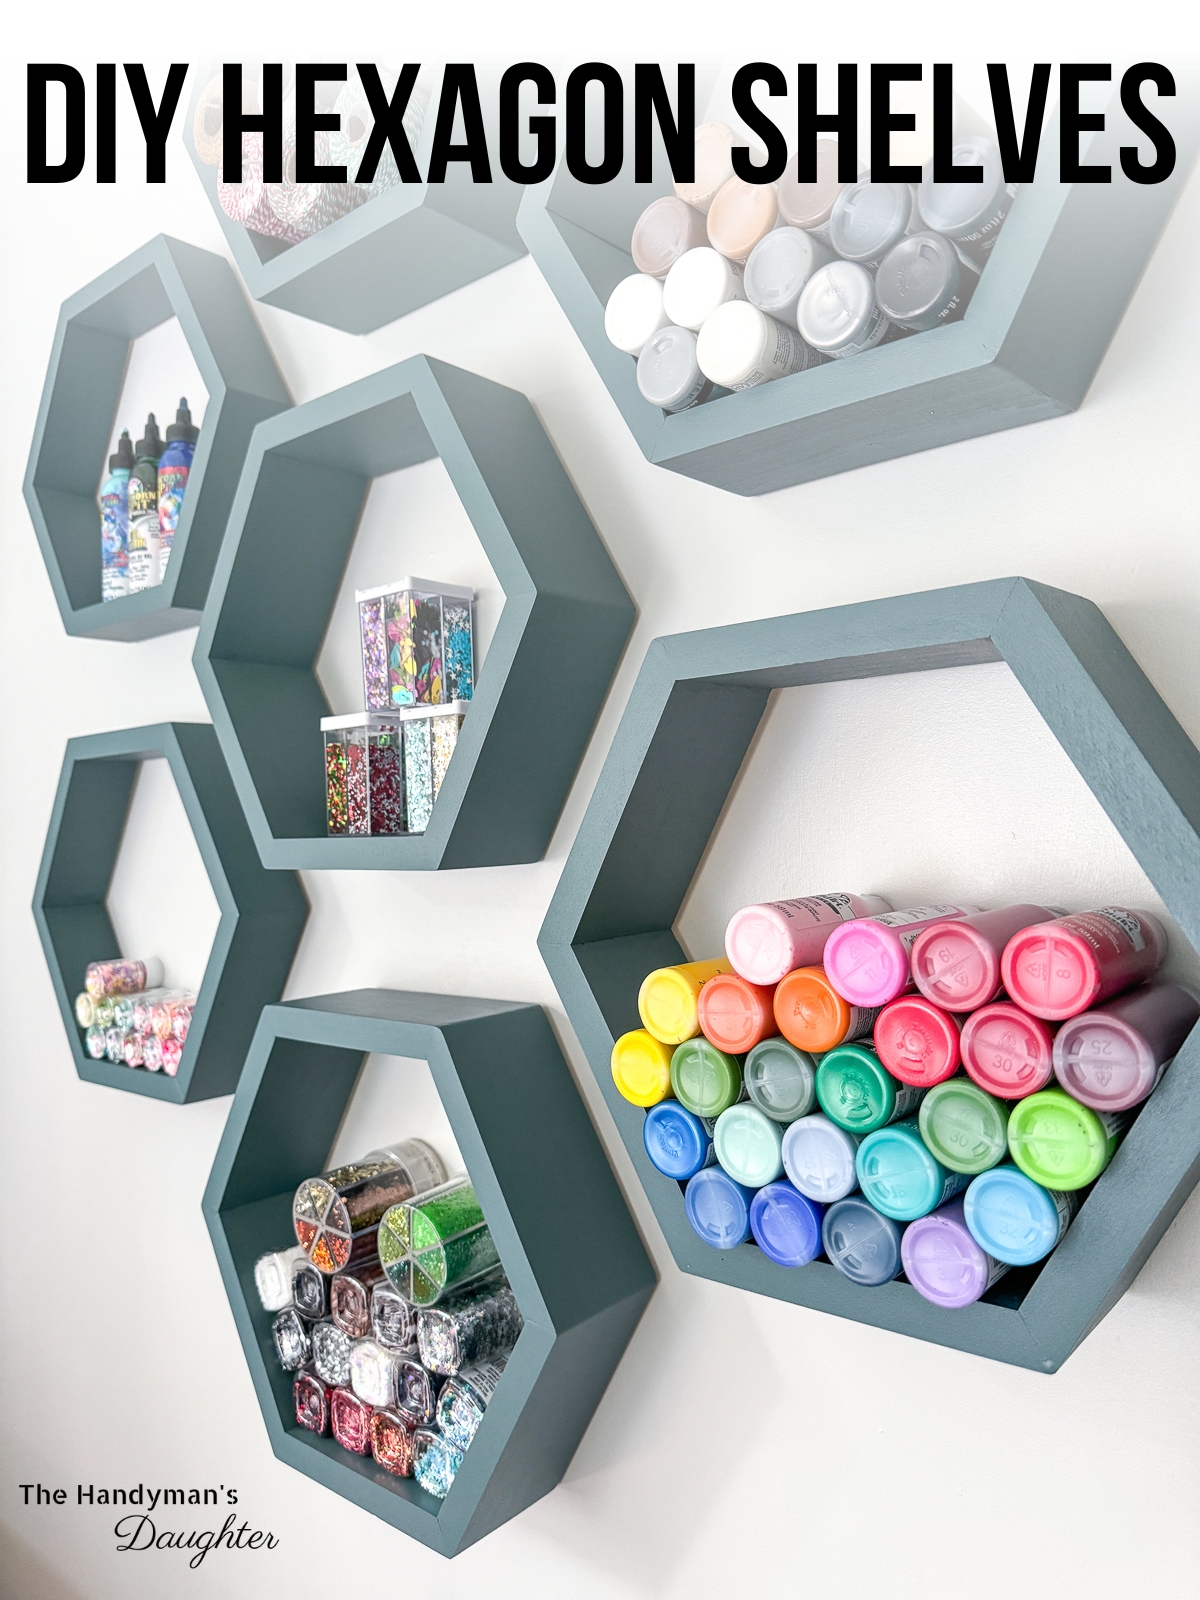
Create storage and style on your walls with these easy DIY hexagon floating shelves! All you need is a few boards and some wood glue!

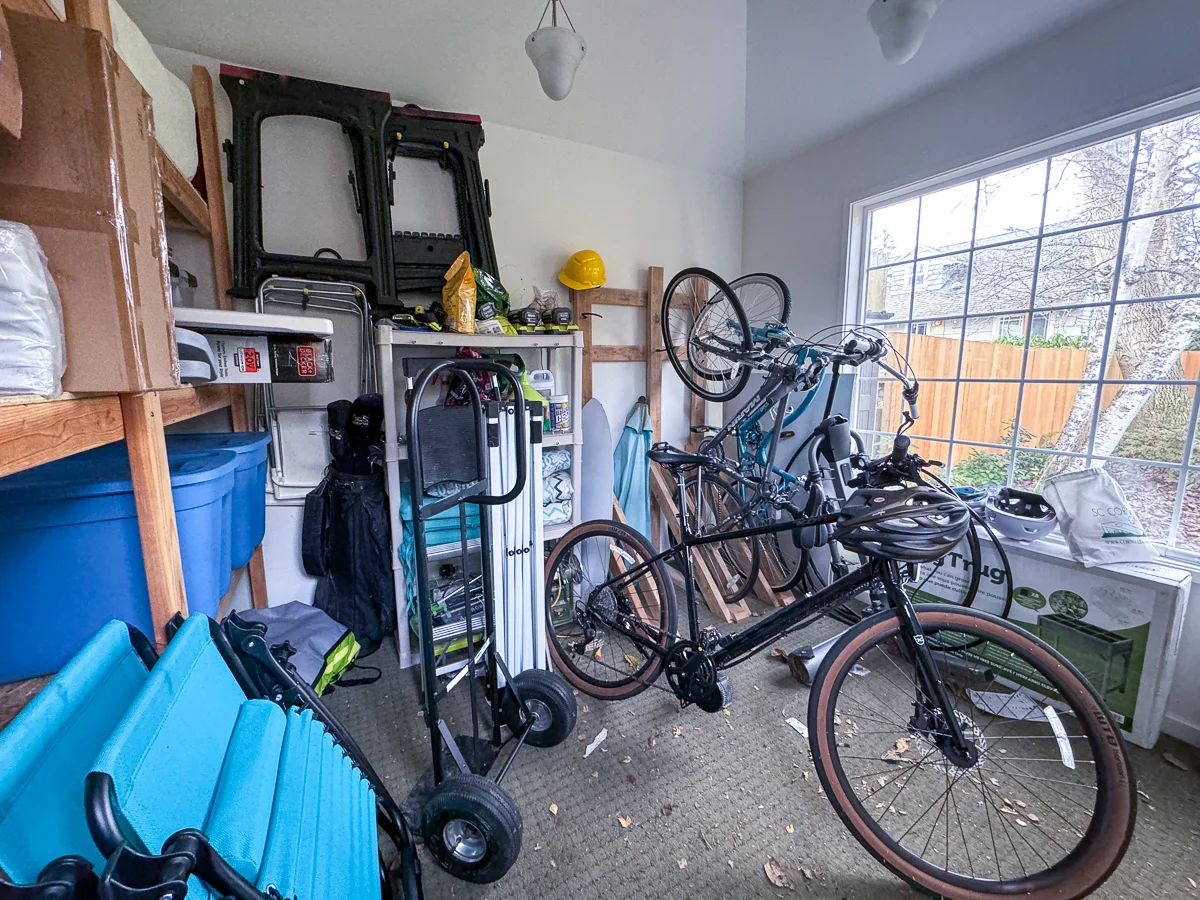
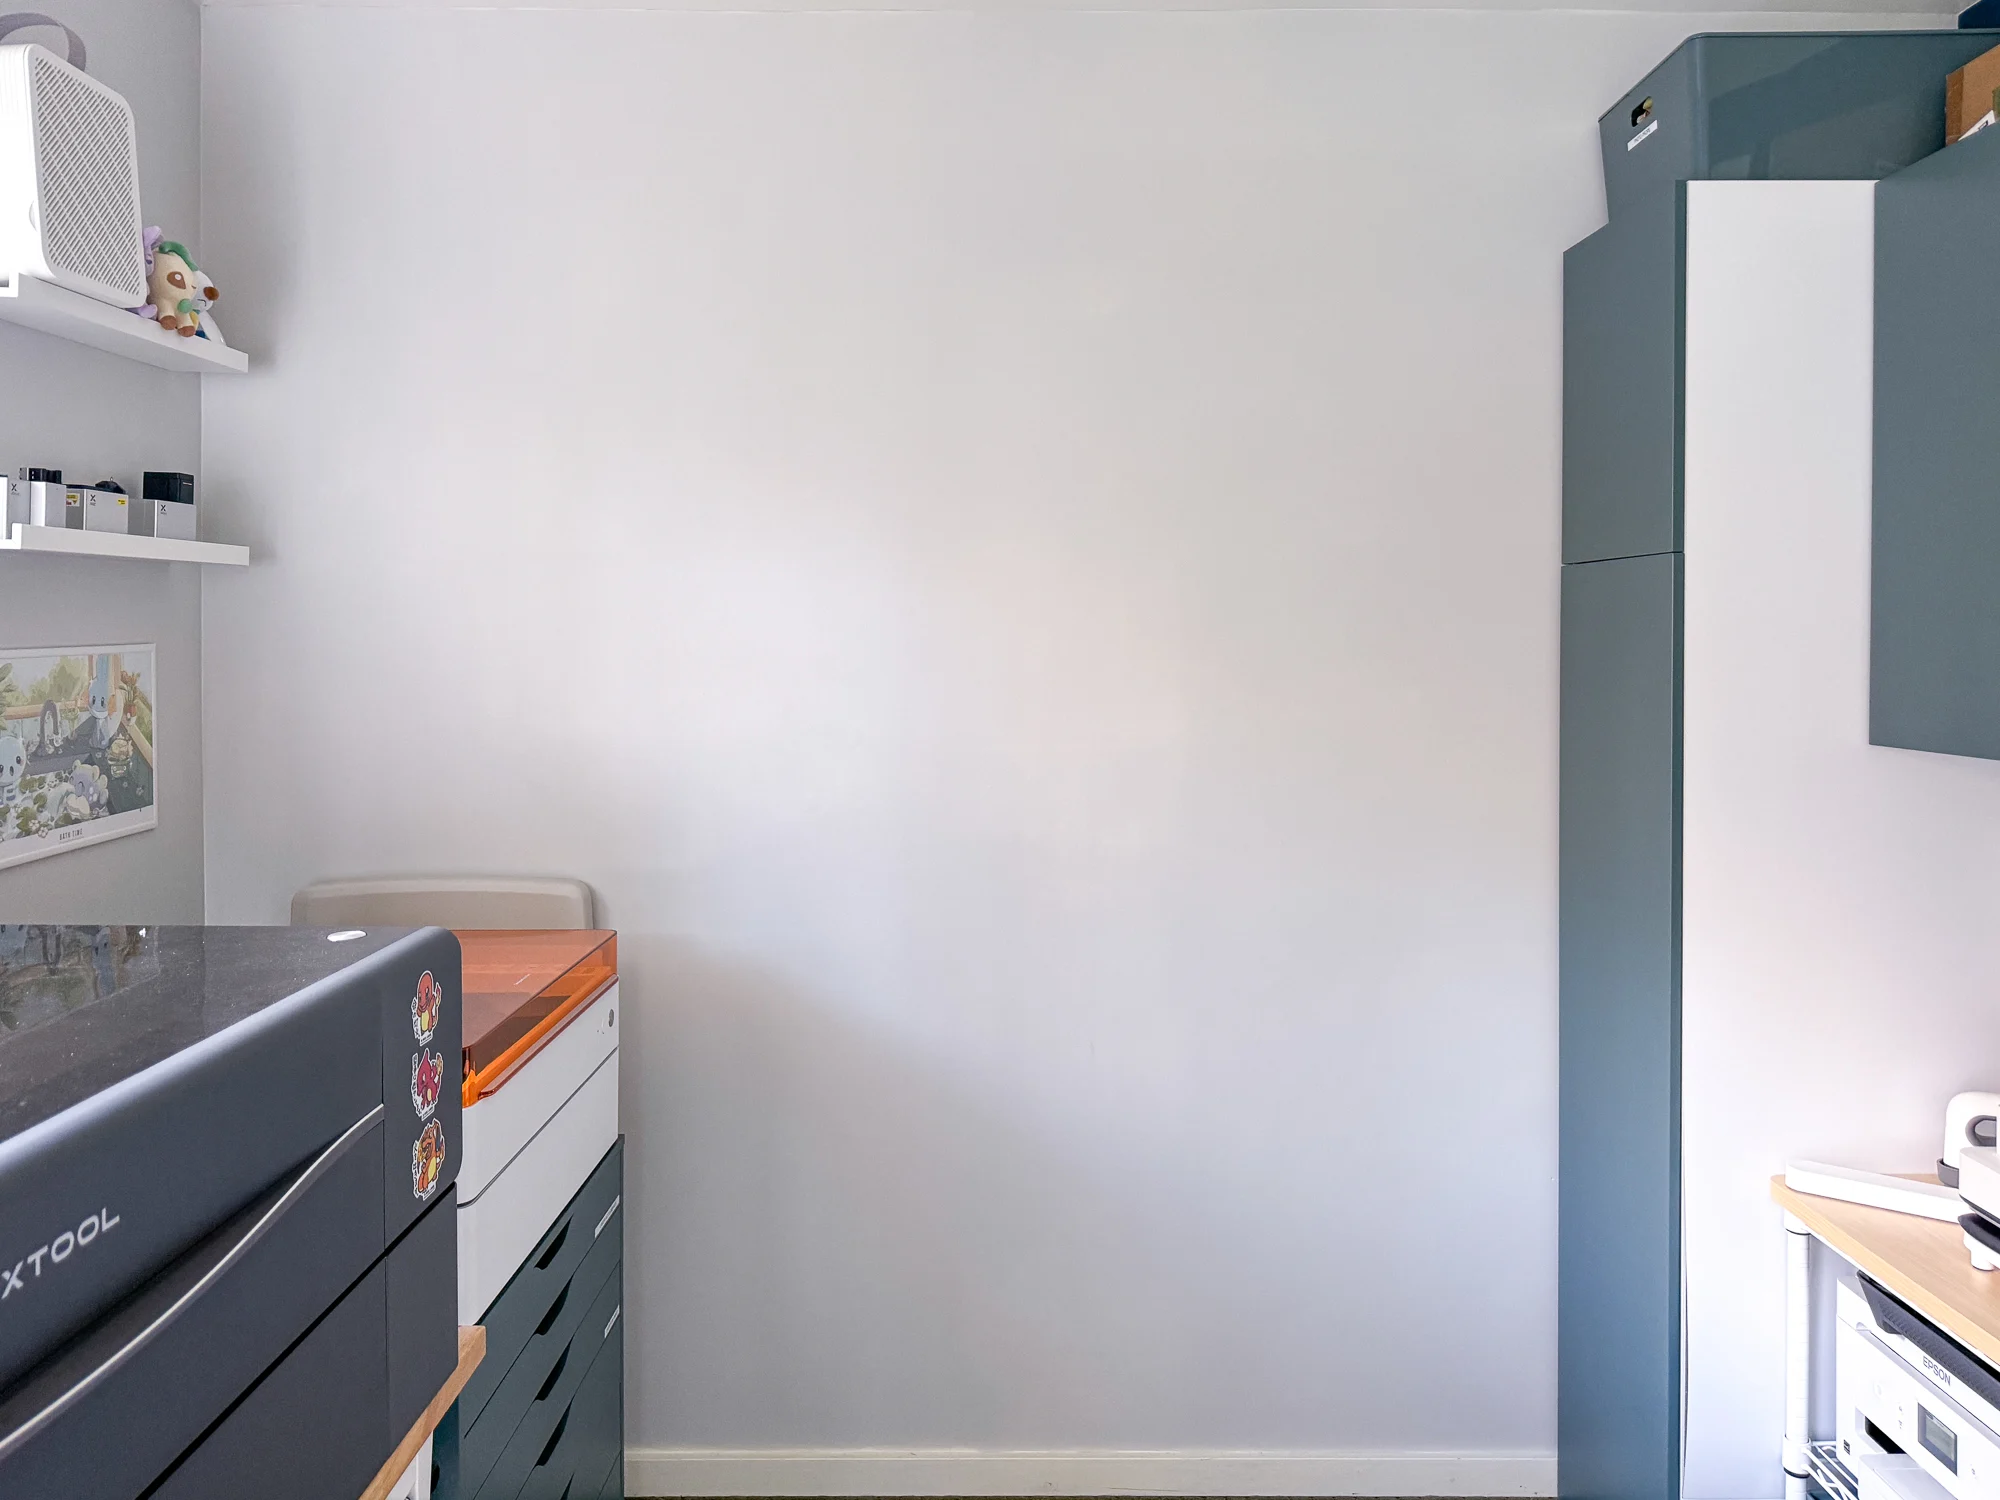
Over the past year, I've been slowly turning our backyard shed into an amazing craft room. It's come a long way, from this...

to this!

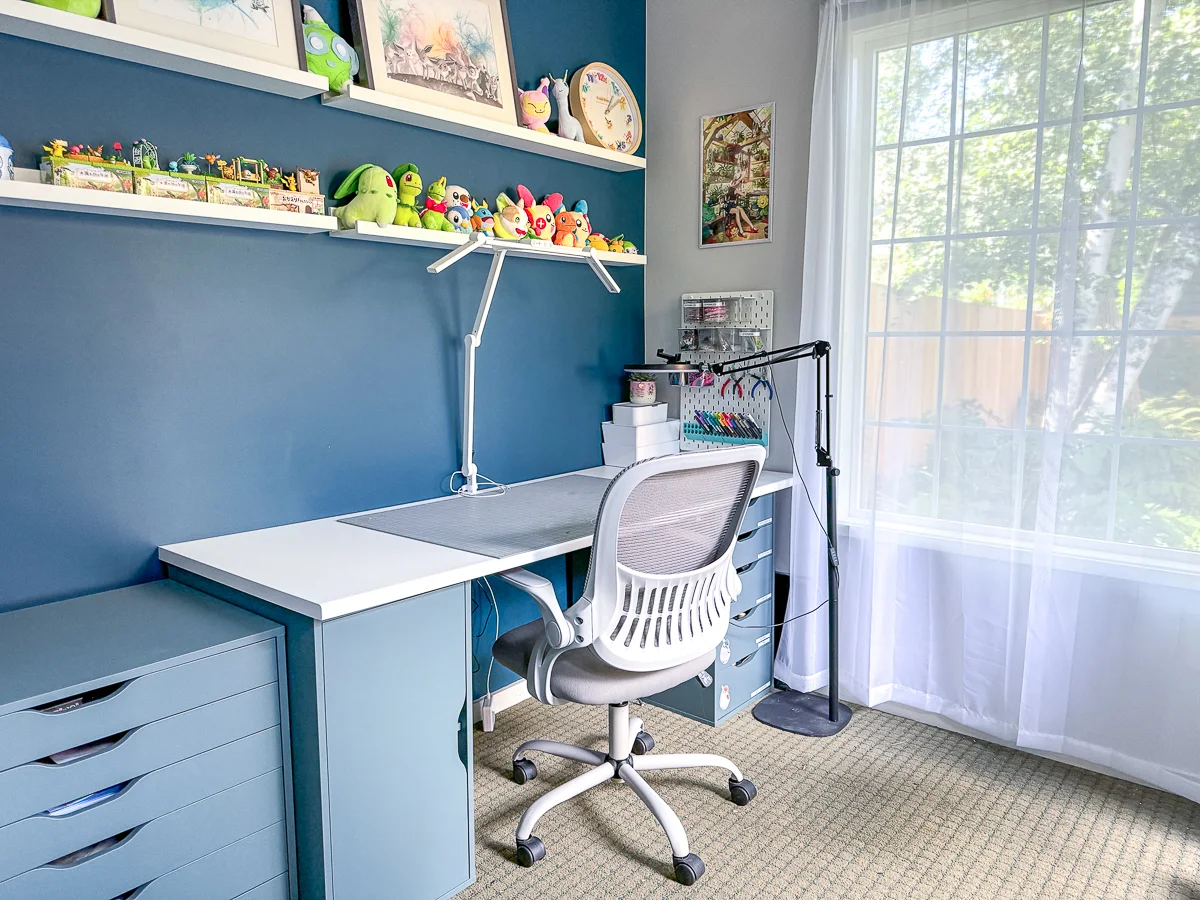
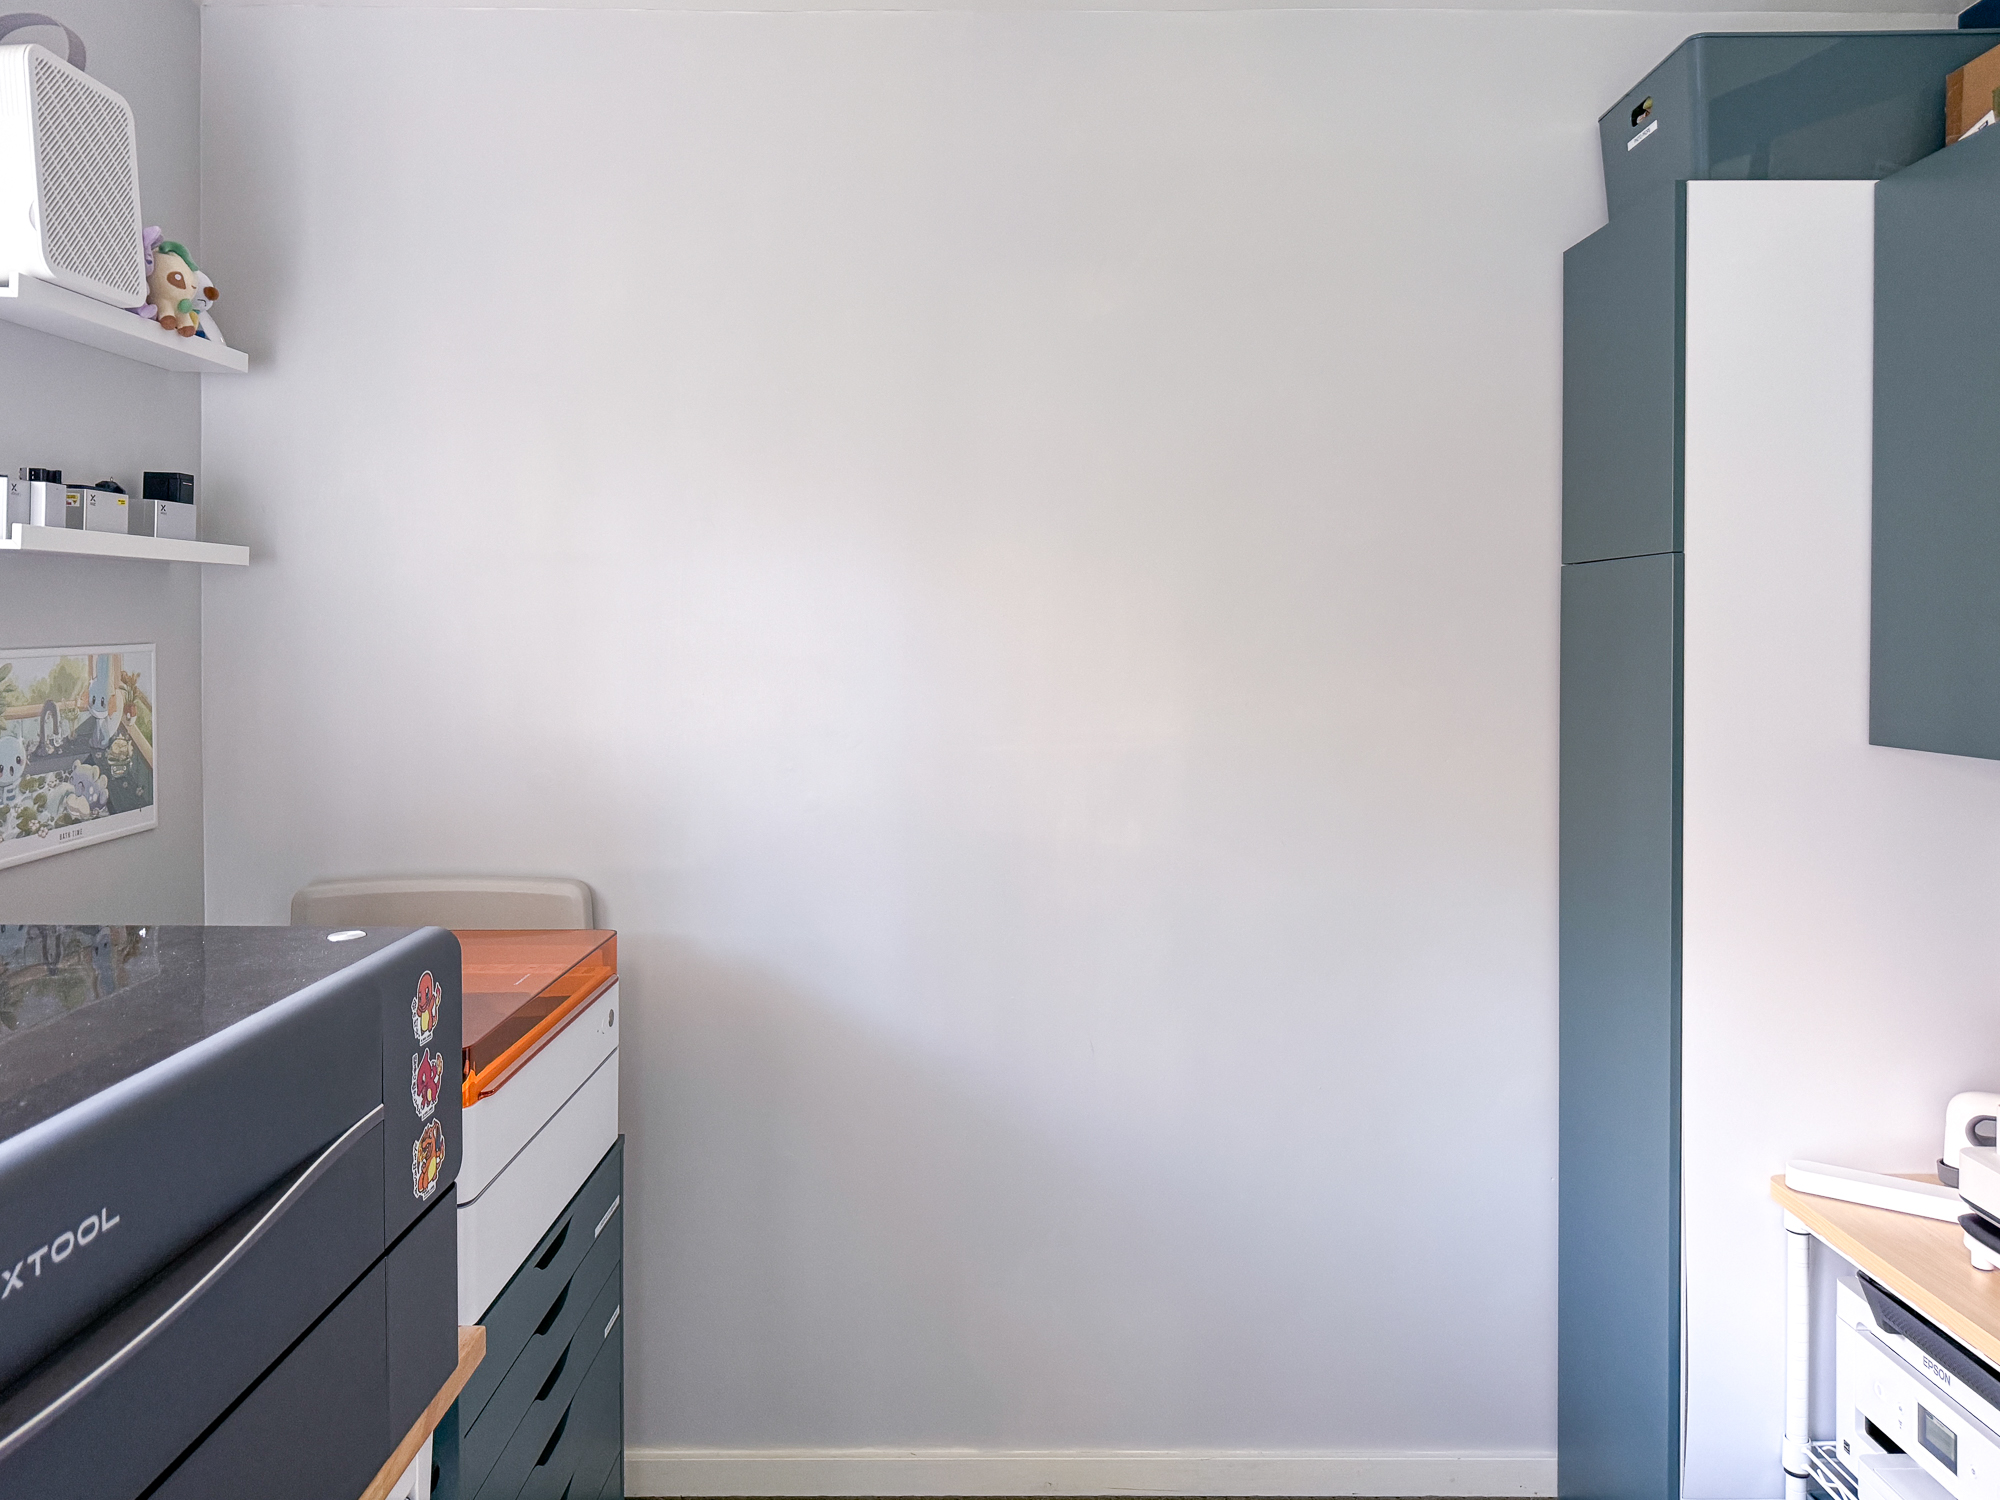
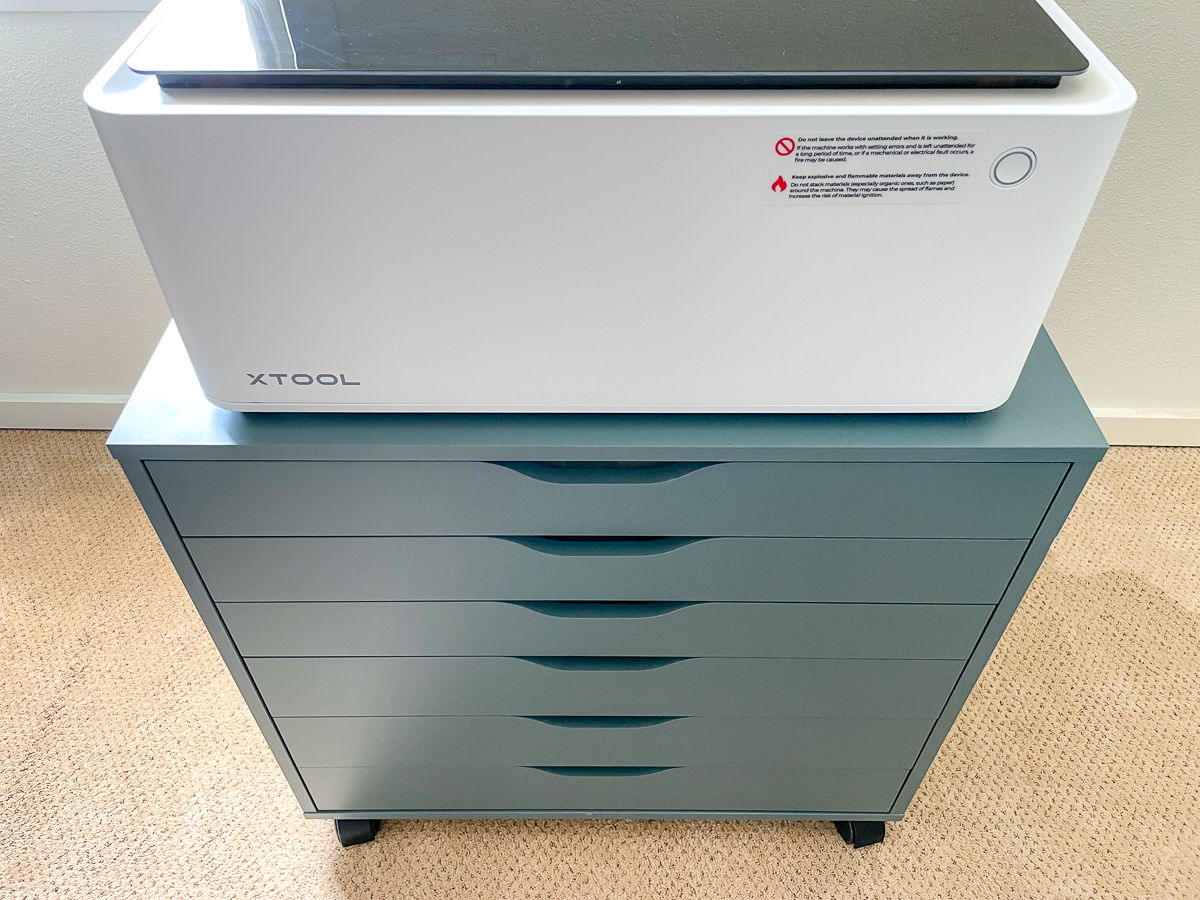
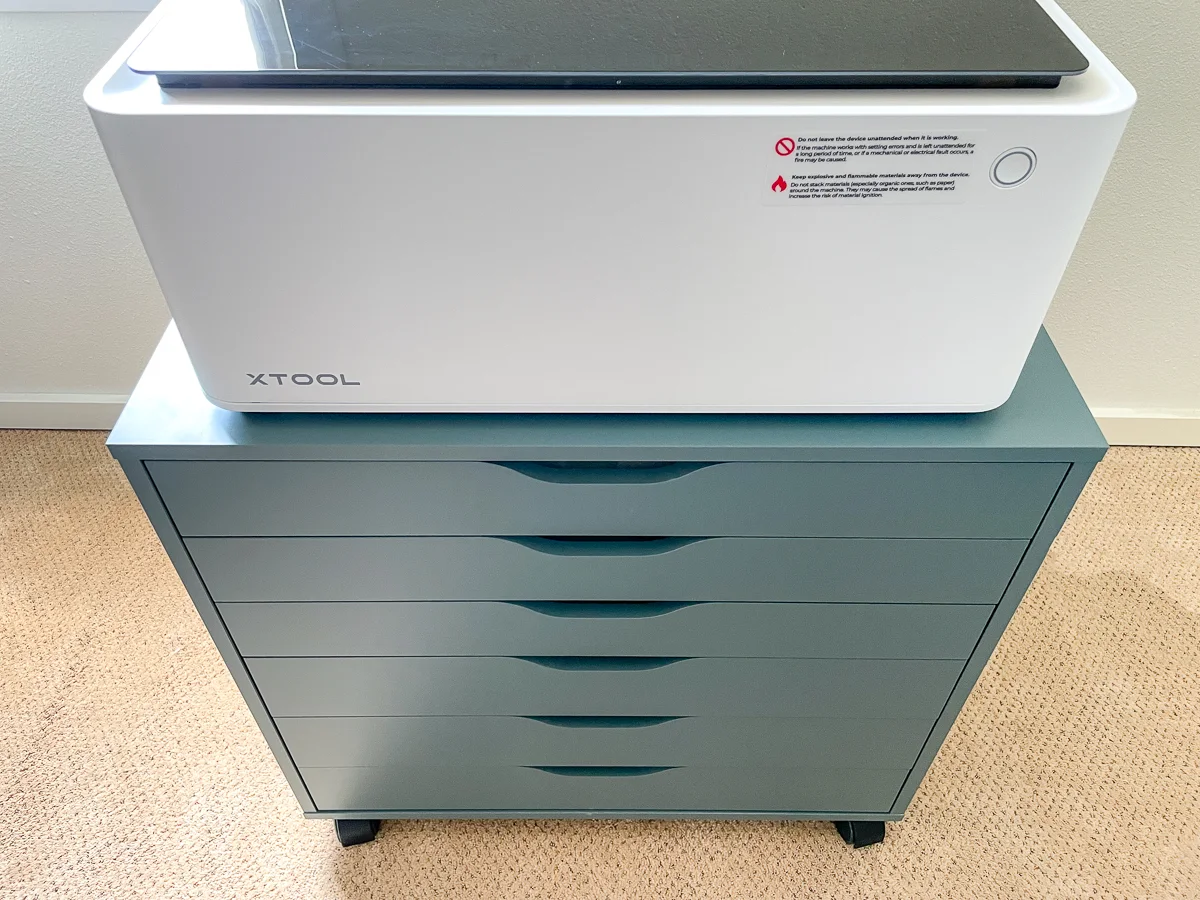
Now I spend hours every day in here, working on laser projects with my xTool P2 for my Etsy shop, Lumber & Laser Beams. But I wanted some more shallow shelving along this far wall, where I can store smaller supplies (and more Pokemon!)
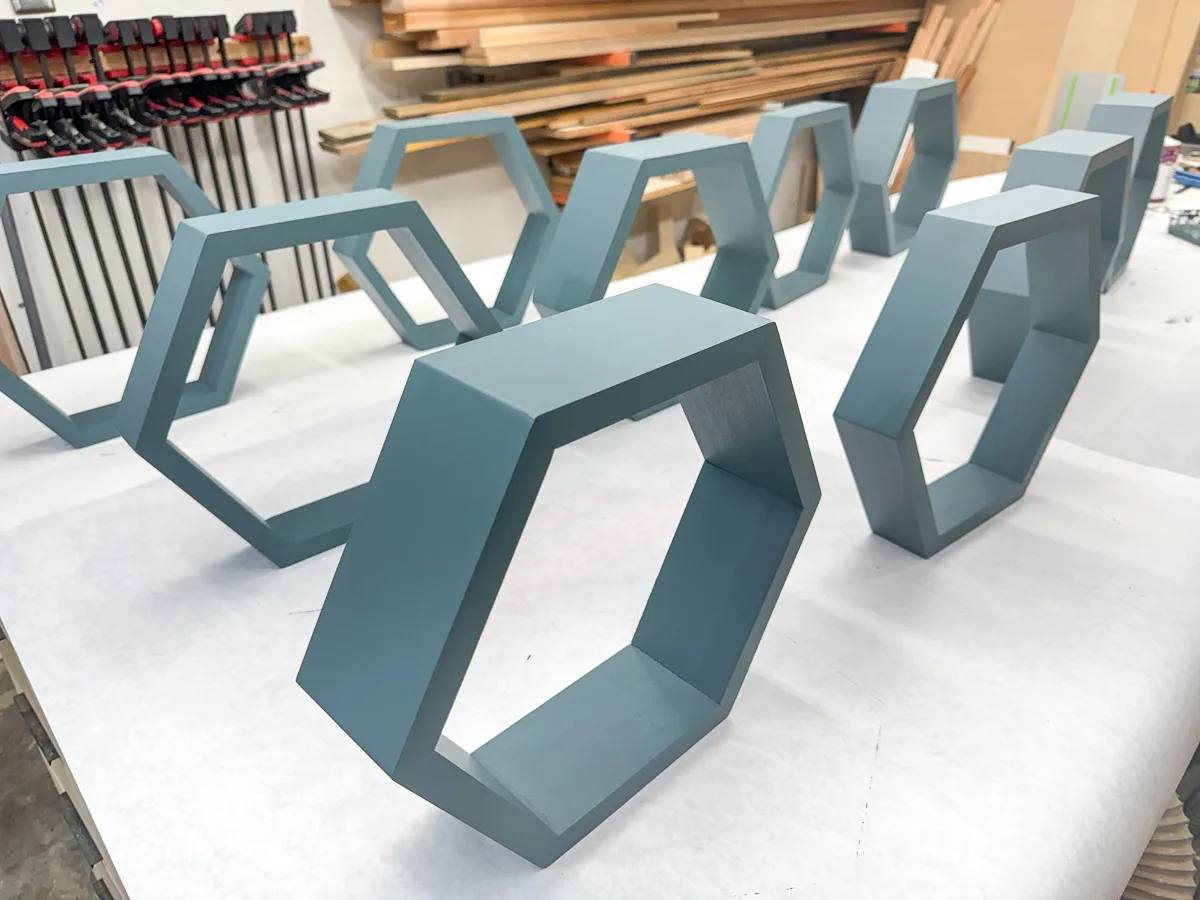
There were a bunch of poplar scraps left over from building my kitchen cabinet doors cluttering up the workshop. I decided to turn them into these simple DIY hexagon shelves to hang on the wall!

Here's how I made them!
This post contains affiliate links for your convenience. Purchases made through these links may earn me a small commission at no additional cost to you. Please visit my disclosures page for more information.
Materials
- One 1x4 or 1x6 board per hexagon
- The width of the board will determine the depth of the shelf.
- Wood glue
- Wide painter's tape
- Miter saw or table saw
- Brad or pin nailer (optional)
- Paint or stain
- Sawtooth hangers
- Adhesive cabinet door bumpers (optional)
Cut the board into six pieces
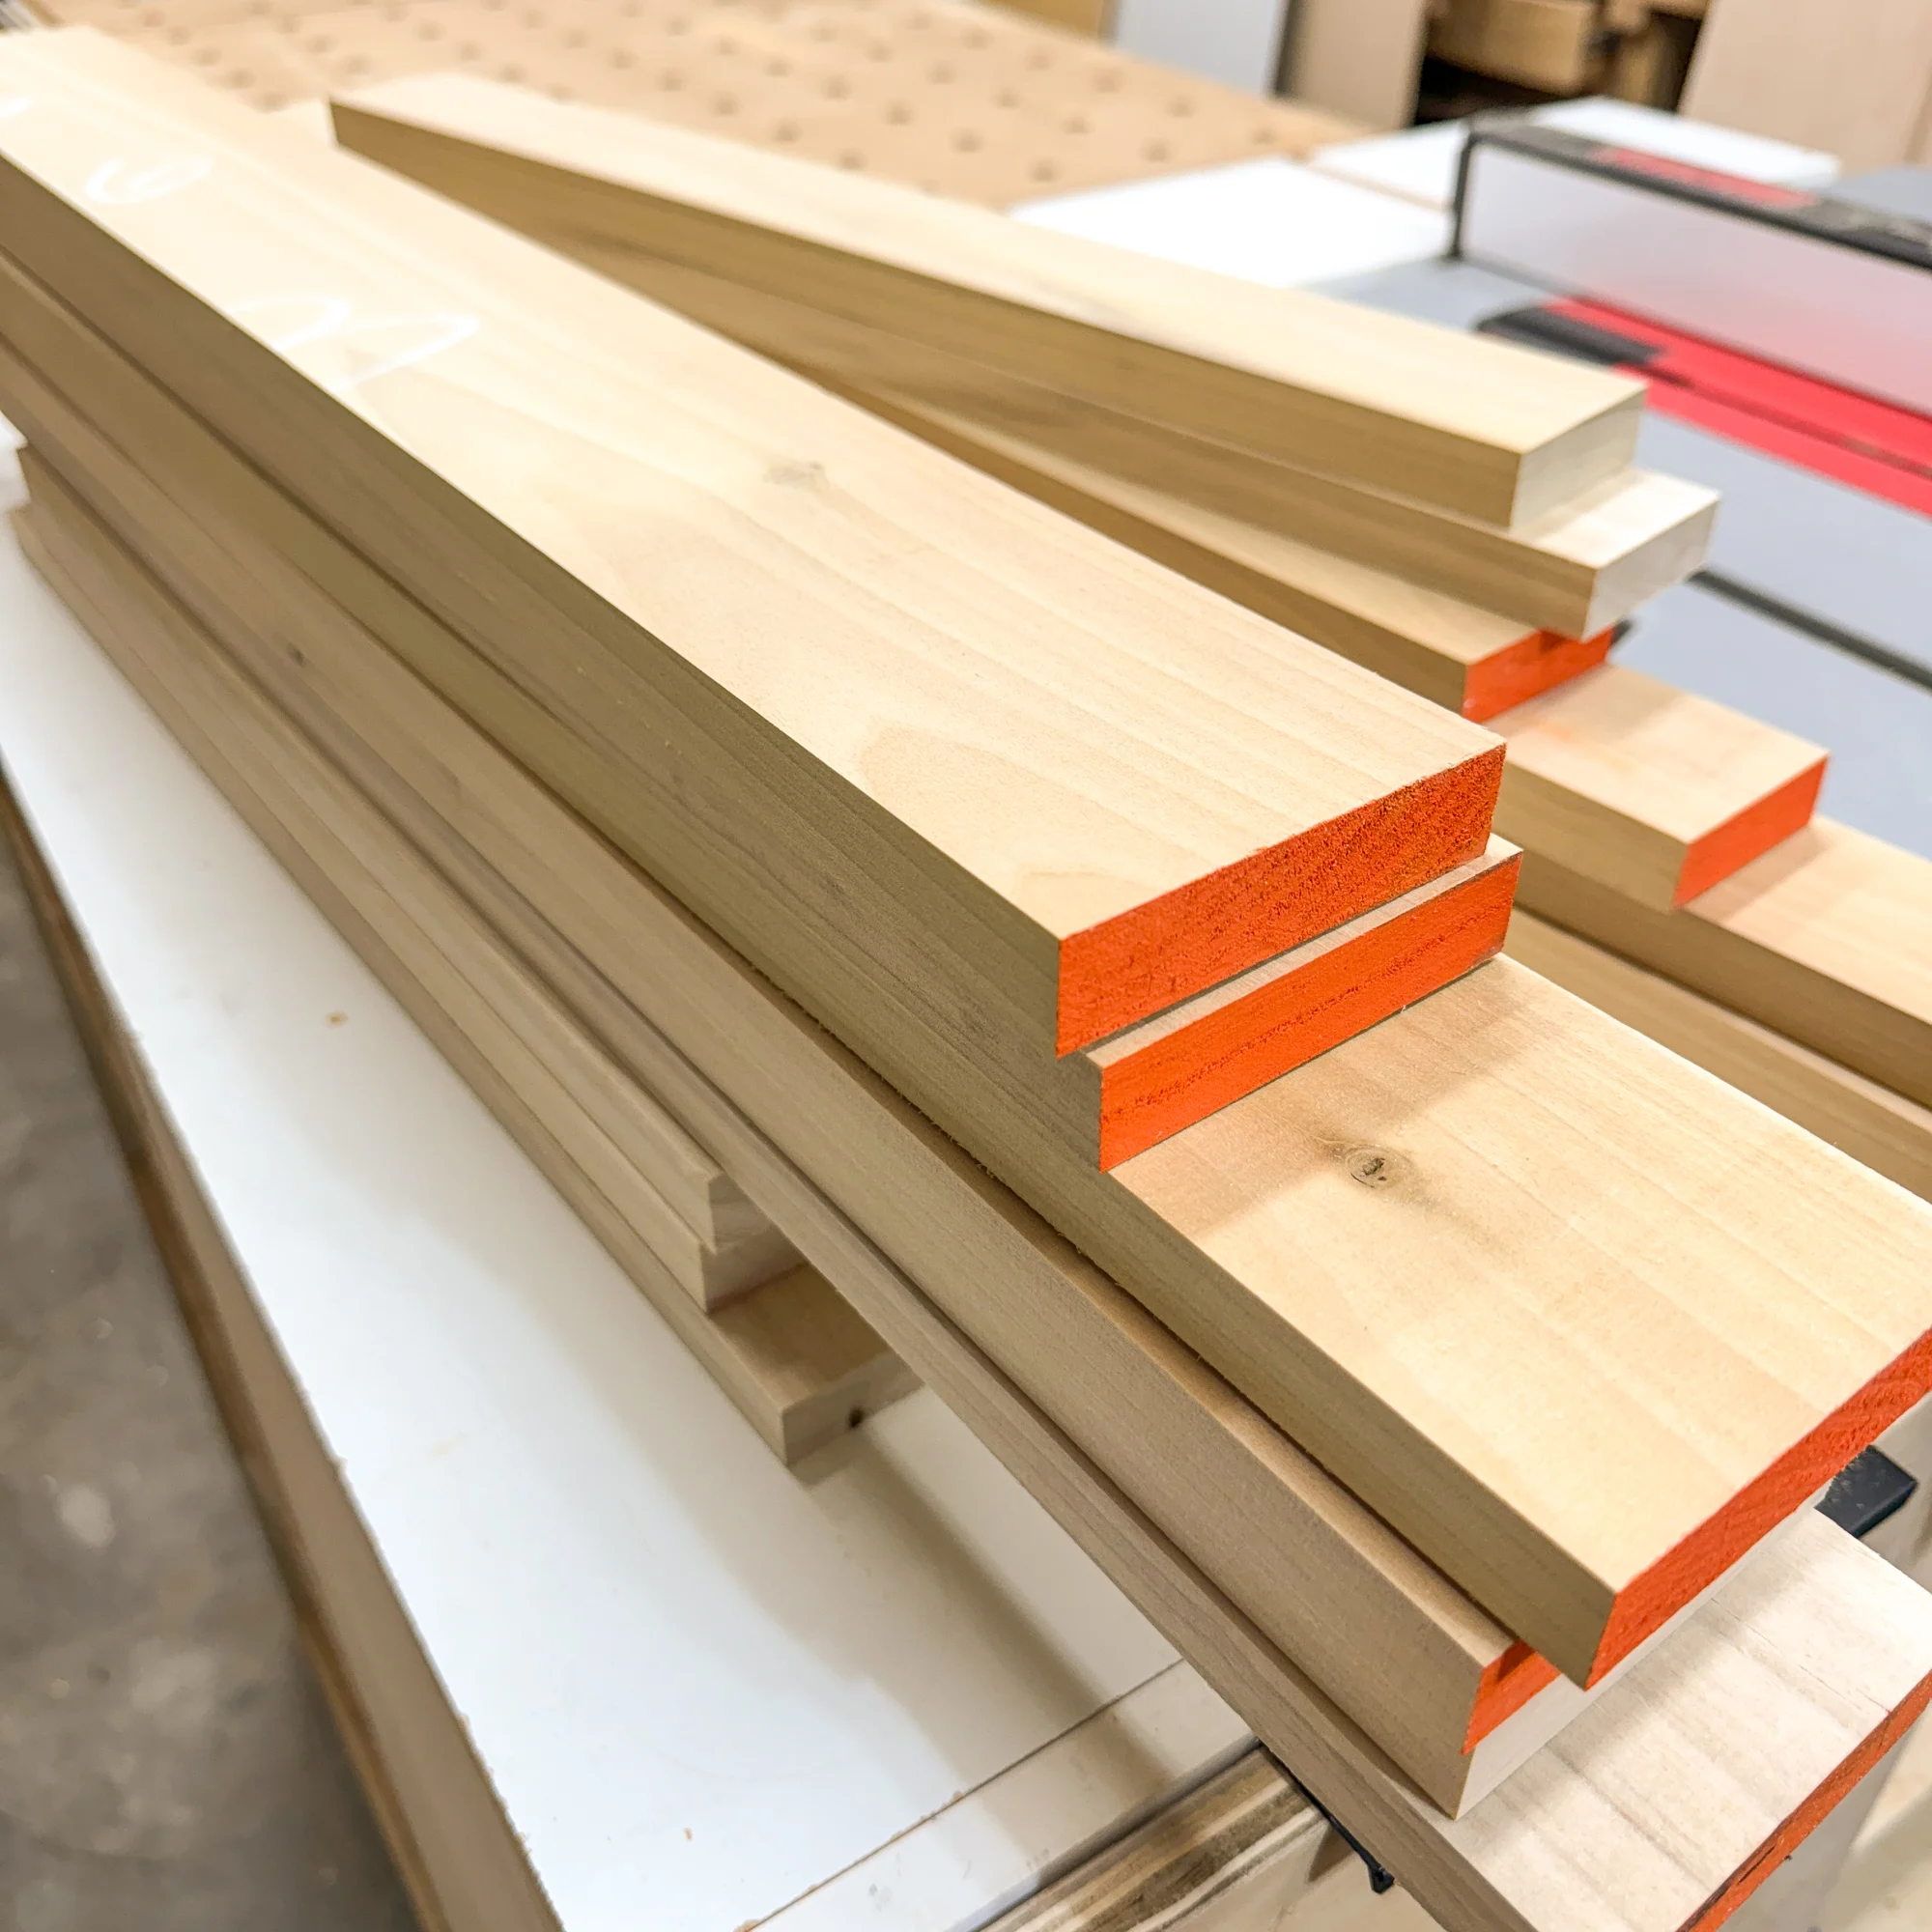
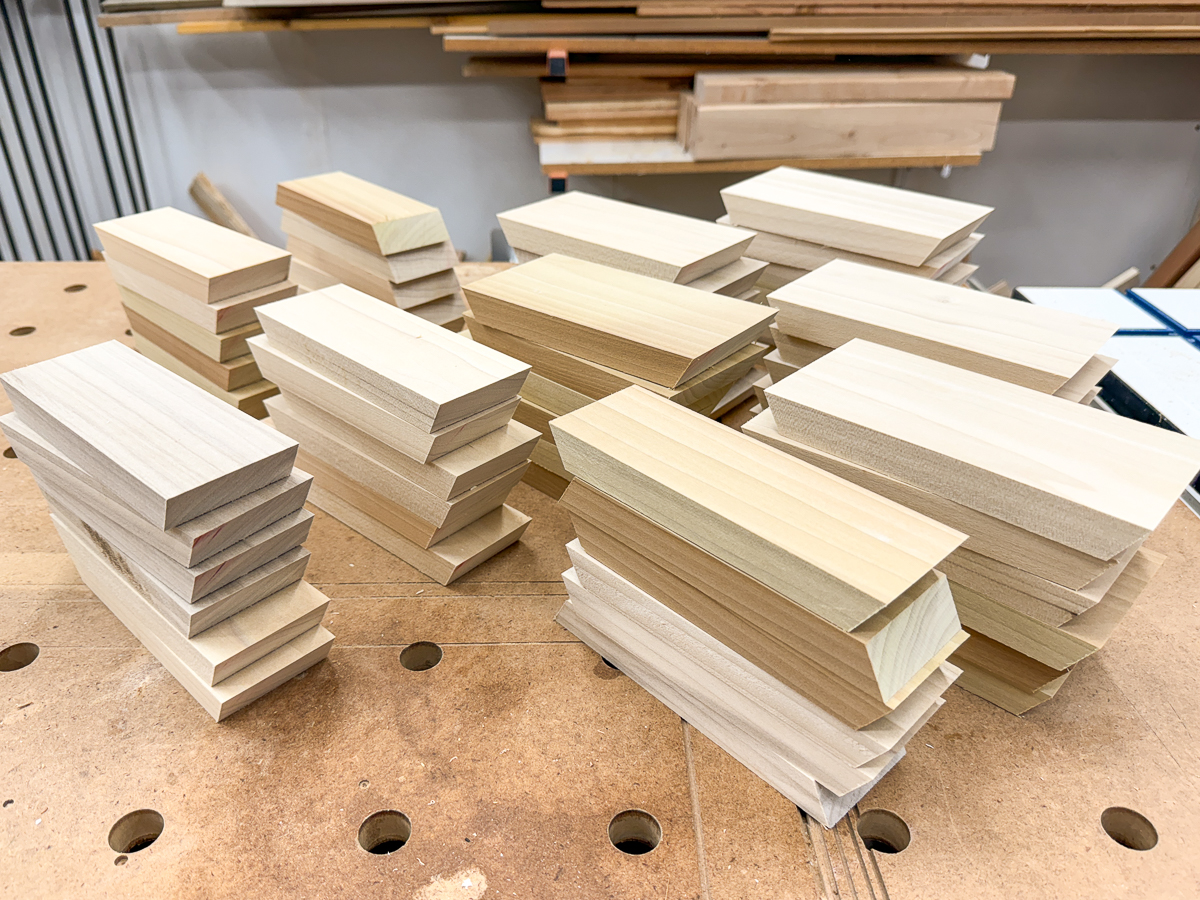
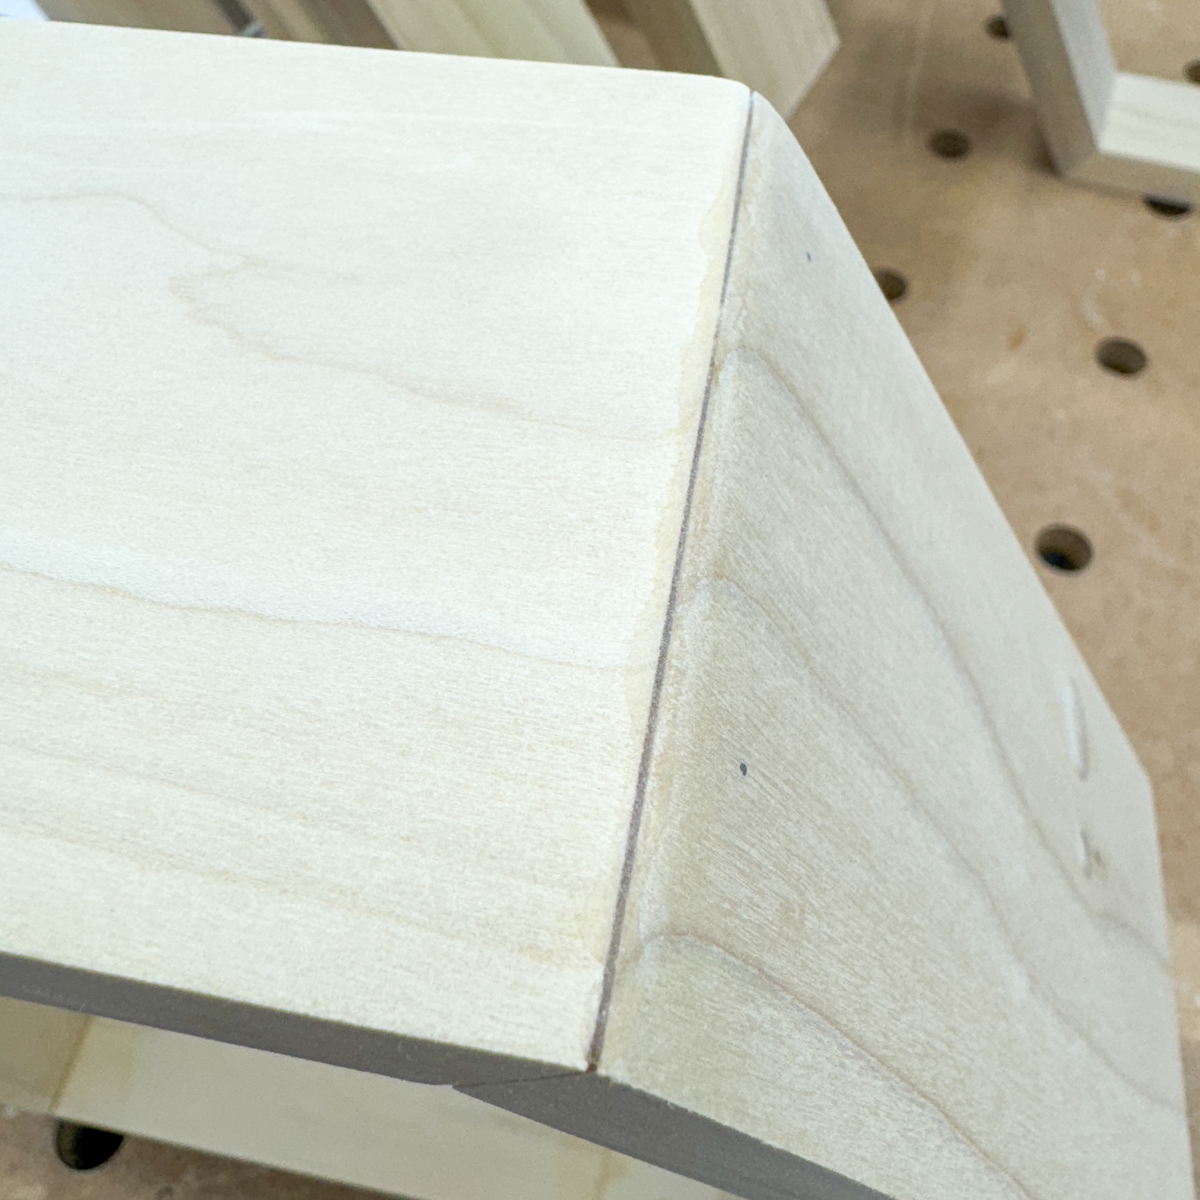
After taking a bunch of measurements in the space, I settled on 12" diameter hexagons. Each shelf will require six 6" long pieces cut at opposing 30 degree angles at both ends.
My boards are just over 5 ½" wide, so I ripped them into one set of 3 ¼" strips and another set of 2 ⅛" strips. If you buy 1x4 or 1x6 boards, your shelves will be deeper. I just wanted to use up all these scraps without anything left over!

The key to getting a perfect hexagon is to cut all six sides at identical lengths with identical angles on both ends. There are several different ways to do this.
You can cut them with a miter saw with the blade tilted to 30 degrees, also known as a bevel cut. You'll need a single or double bevel miter saw and some way to clamp the board down to keep your fingers safely away from the blade.

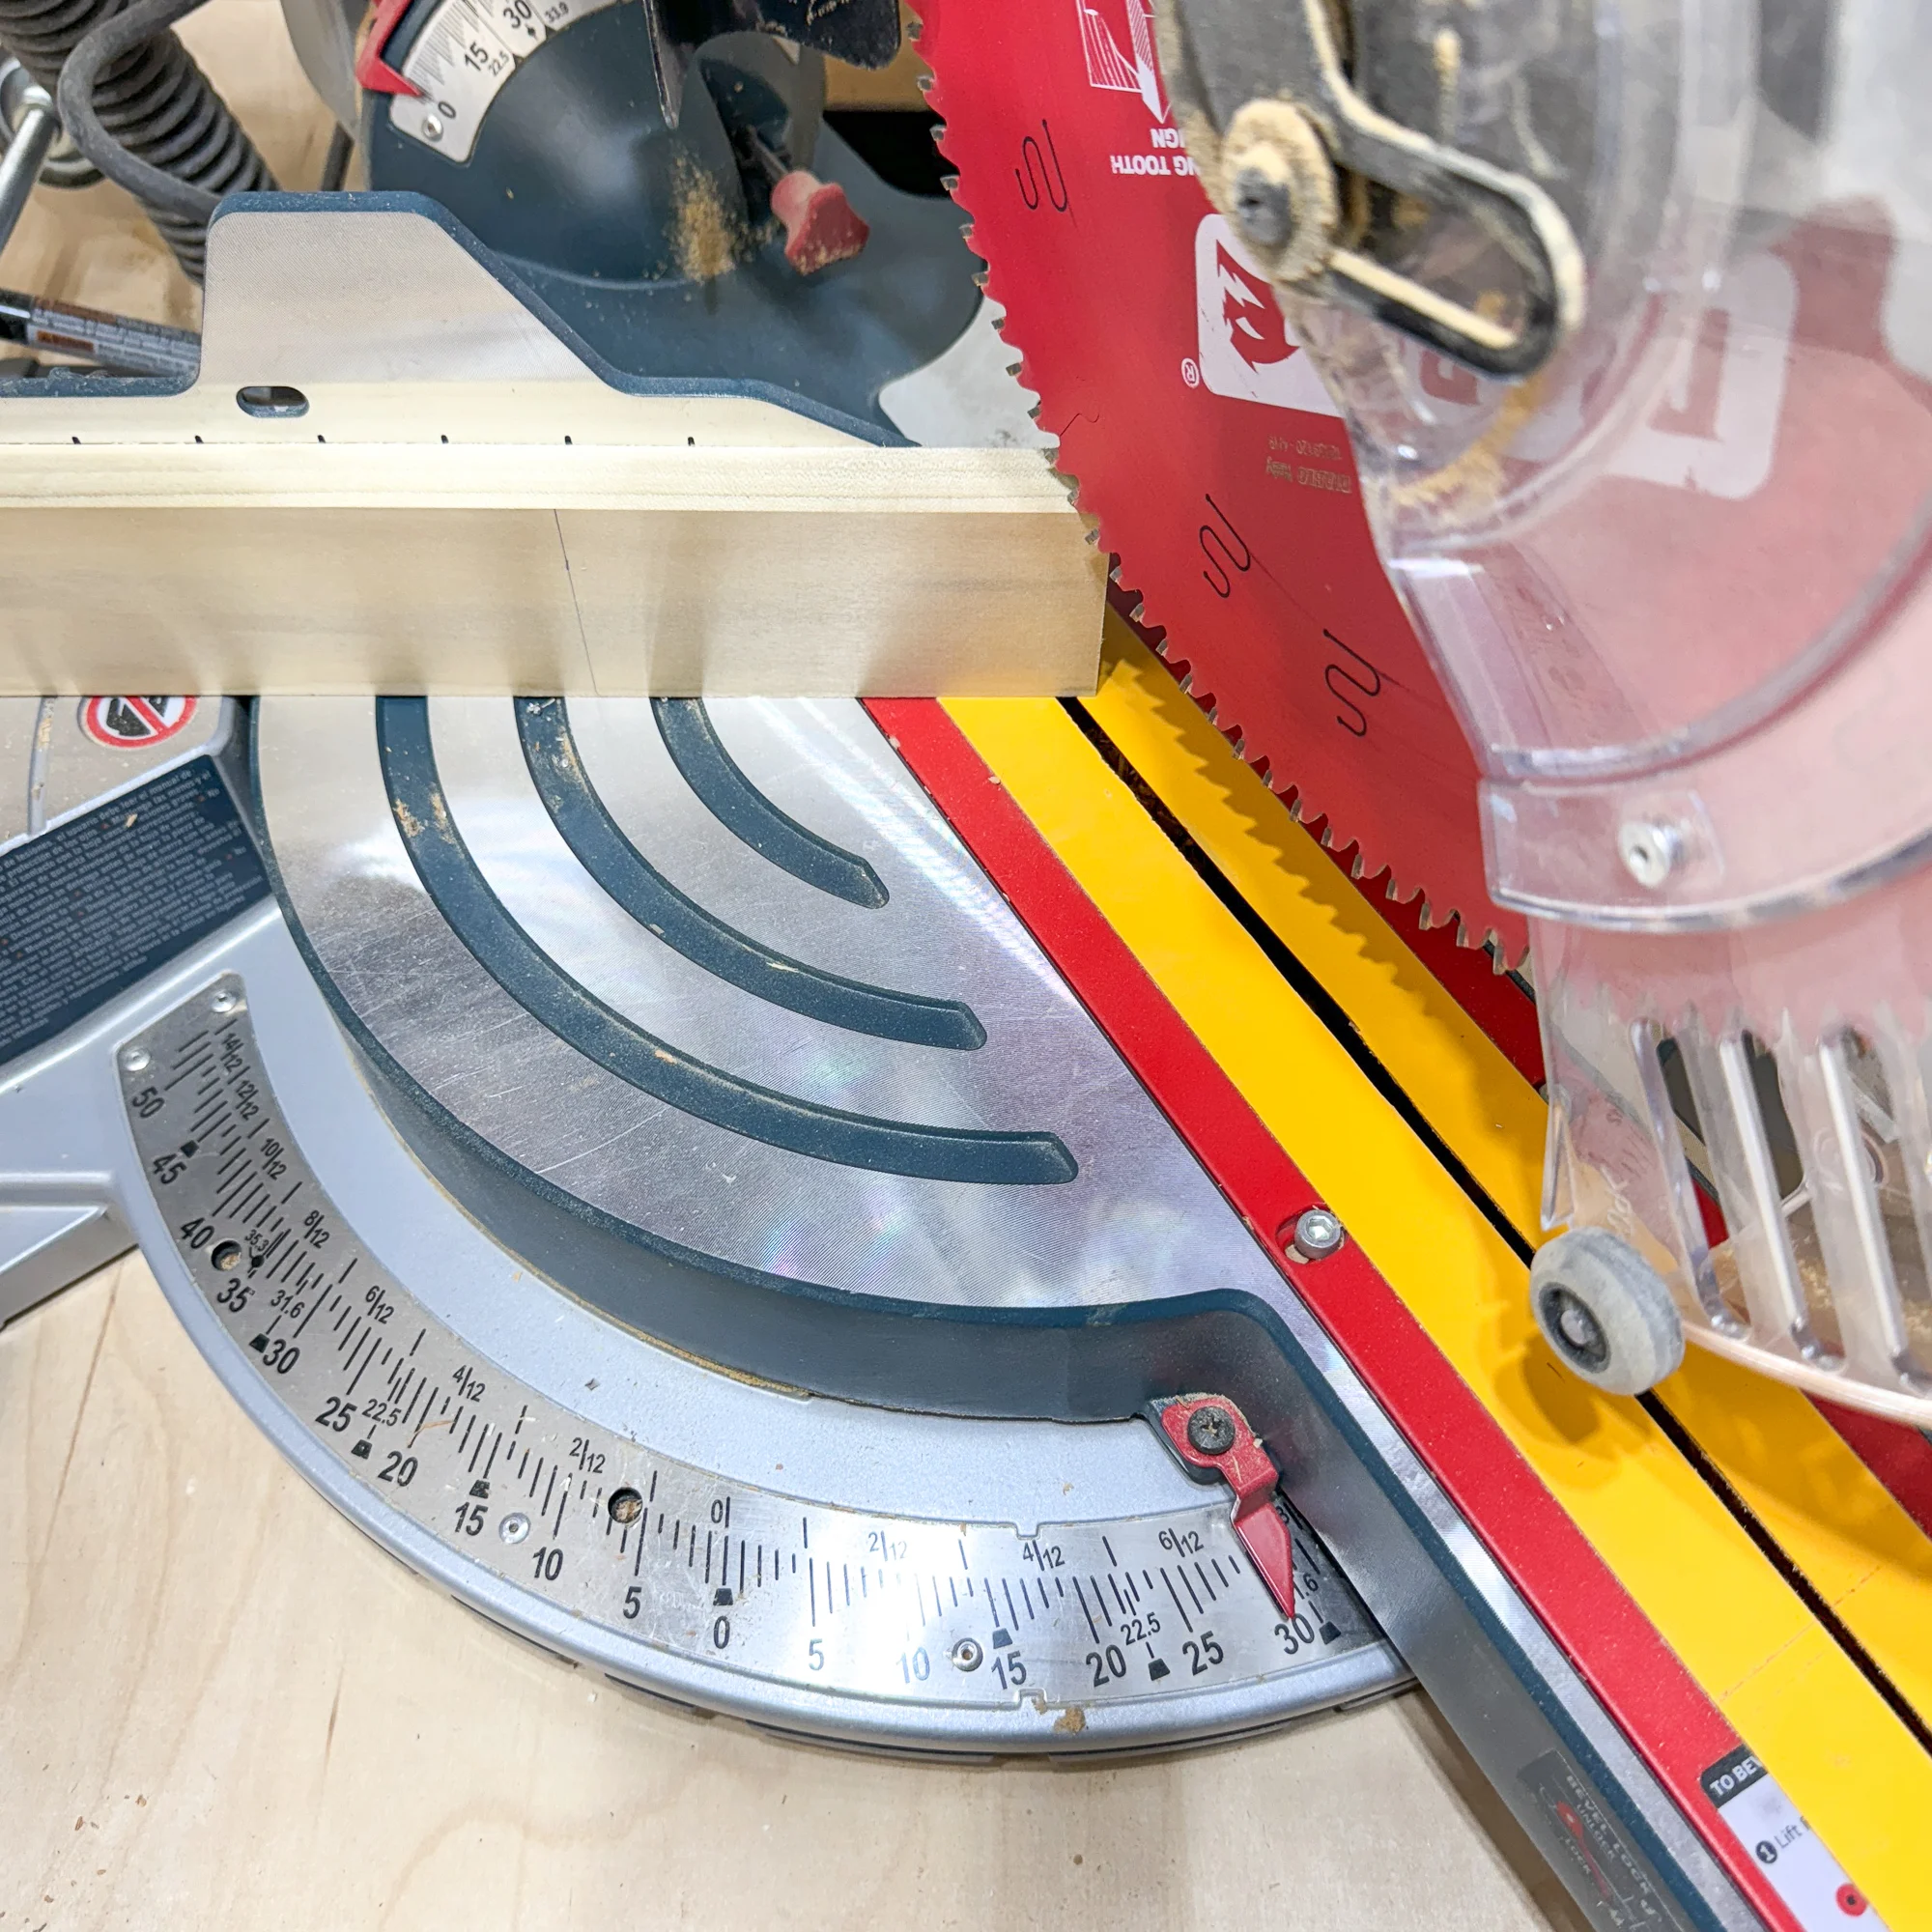
You can also position the board vertically on its side and position the blade at 30 degree miter cut. This will only work for 1x4 boards or smaller that will fit under the blade.

Finally, you can use a miter gauge and a table saw with the blade tilted to 30 degrees. The video below show you how to set it up safely for these kinds of cuts.
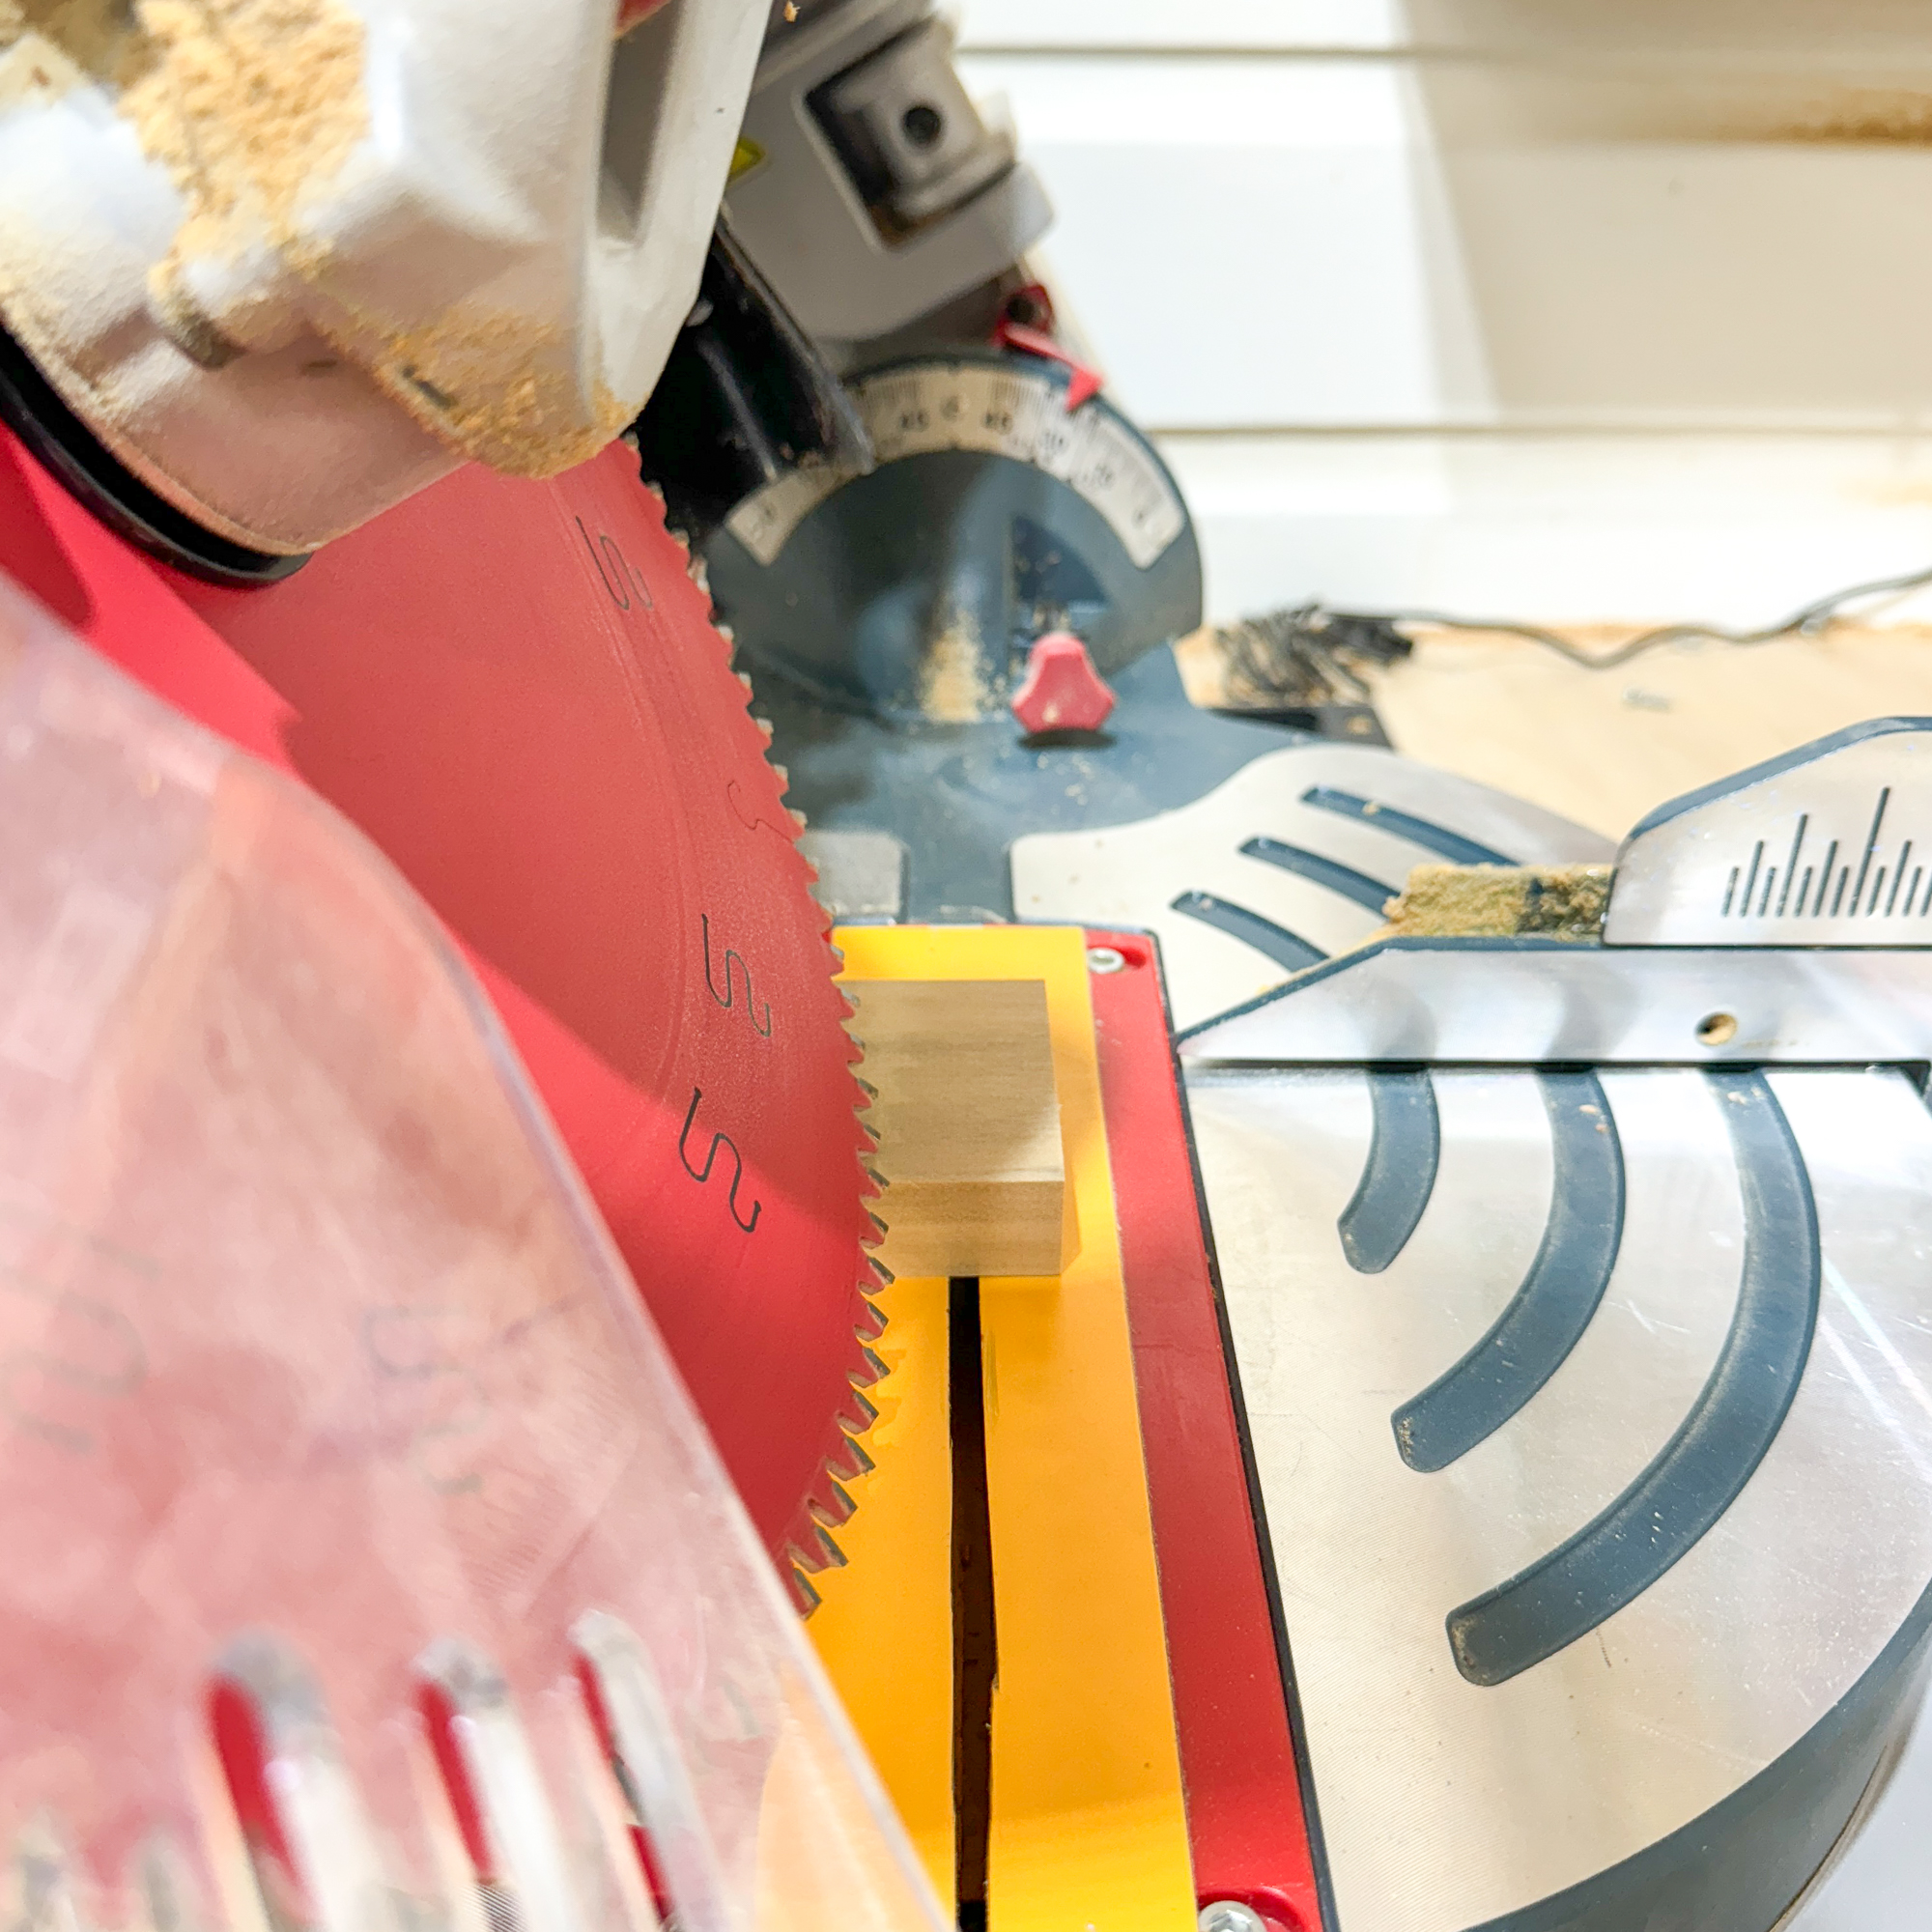
I'll be using the second option: the miter saw with the boards set vertically. Mainly because bevel cuts make me nervous, and because the miter gauge on my table saw isn't great. But this method was really quick and easy!
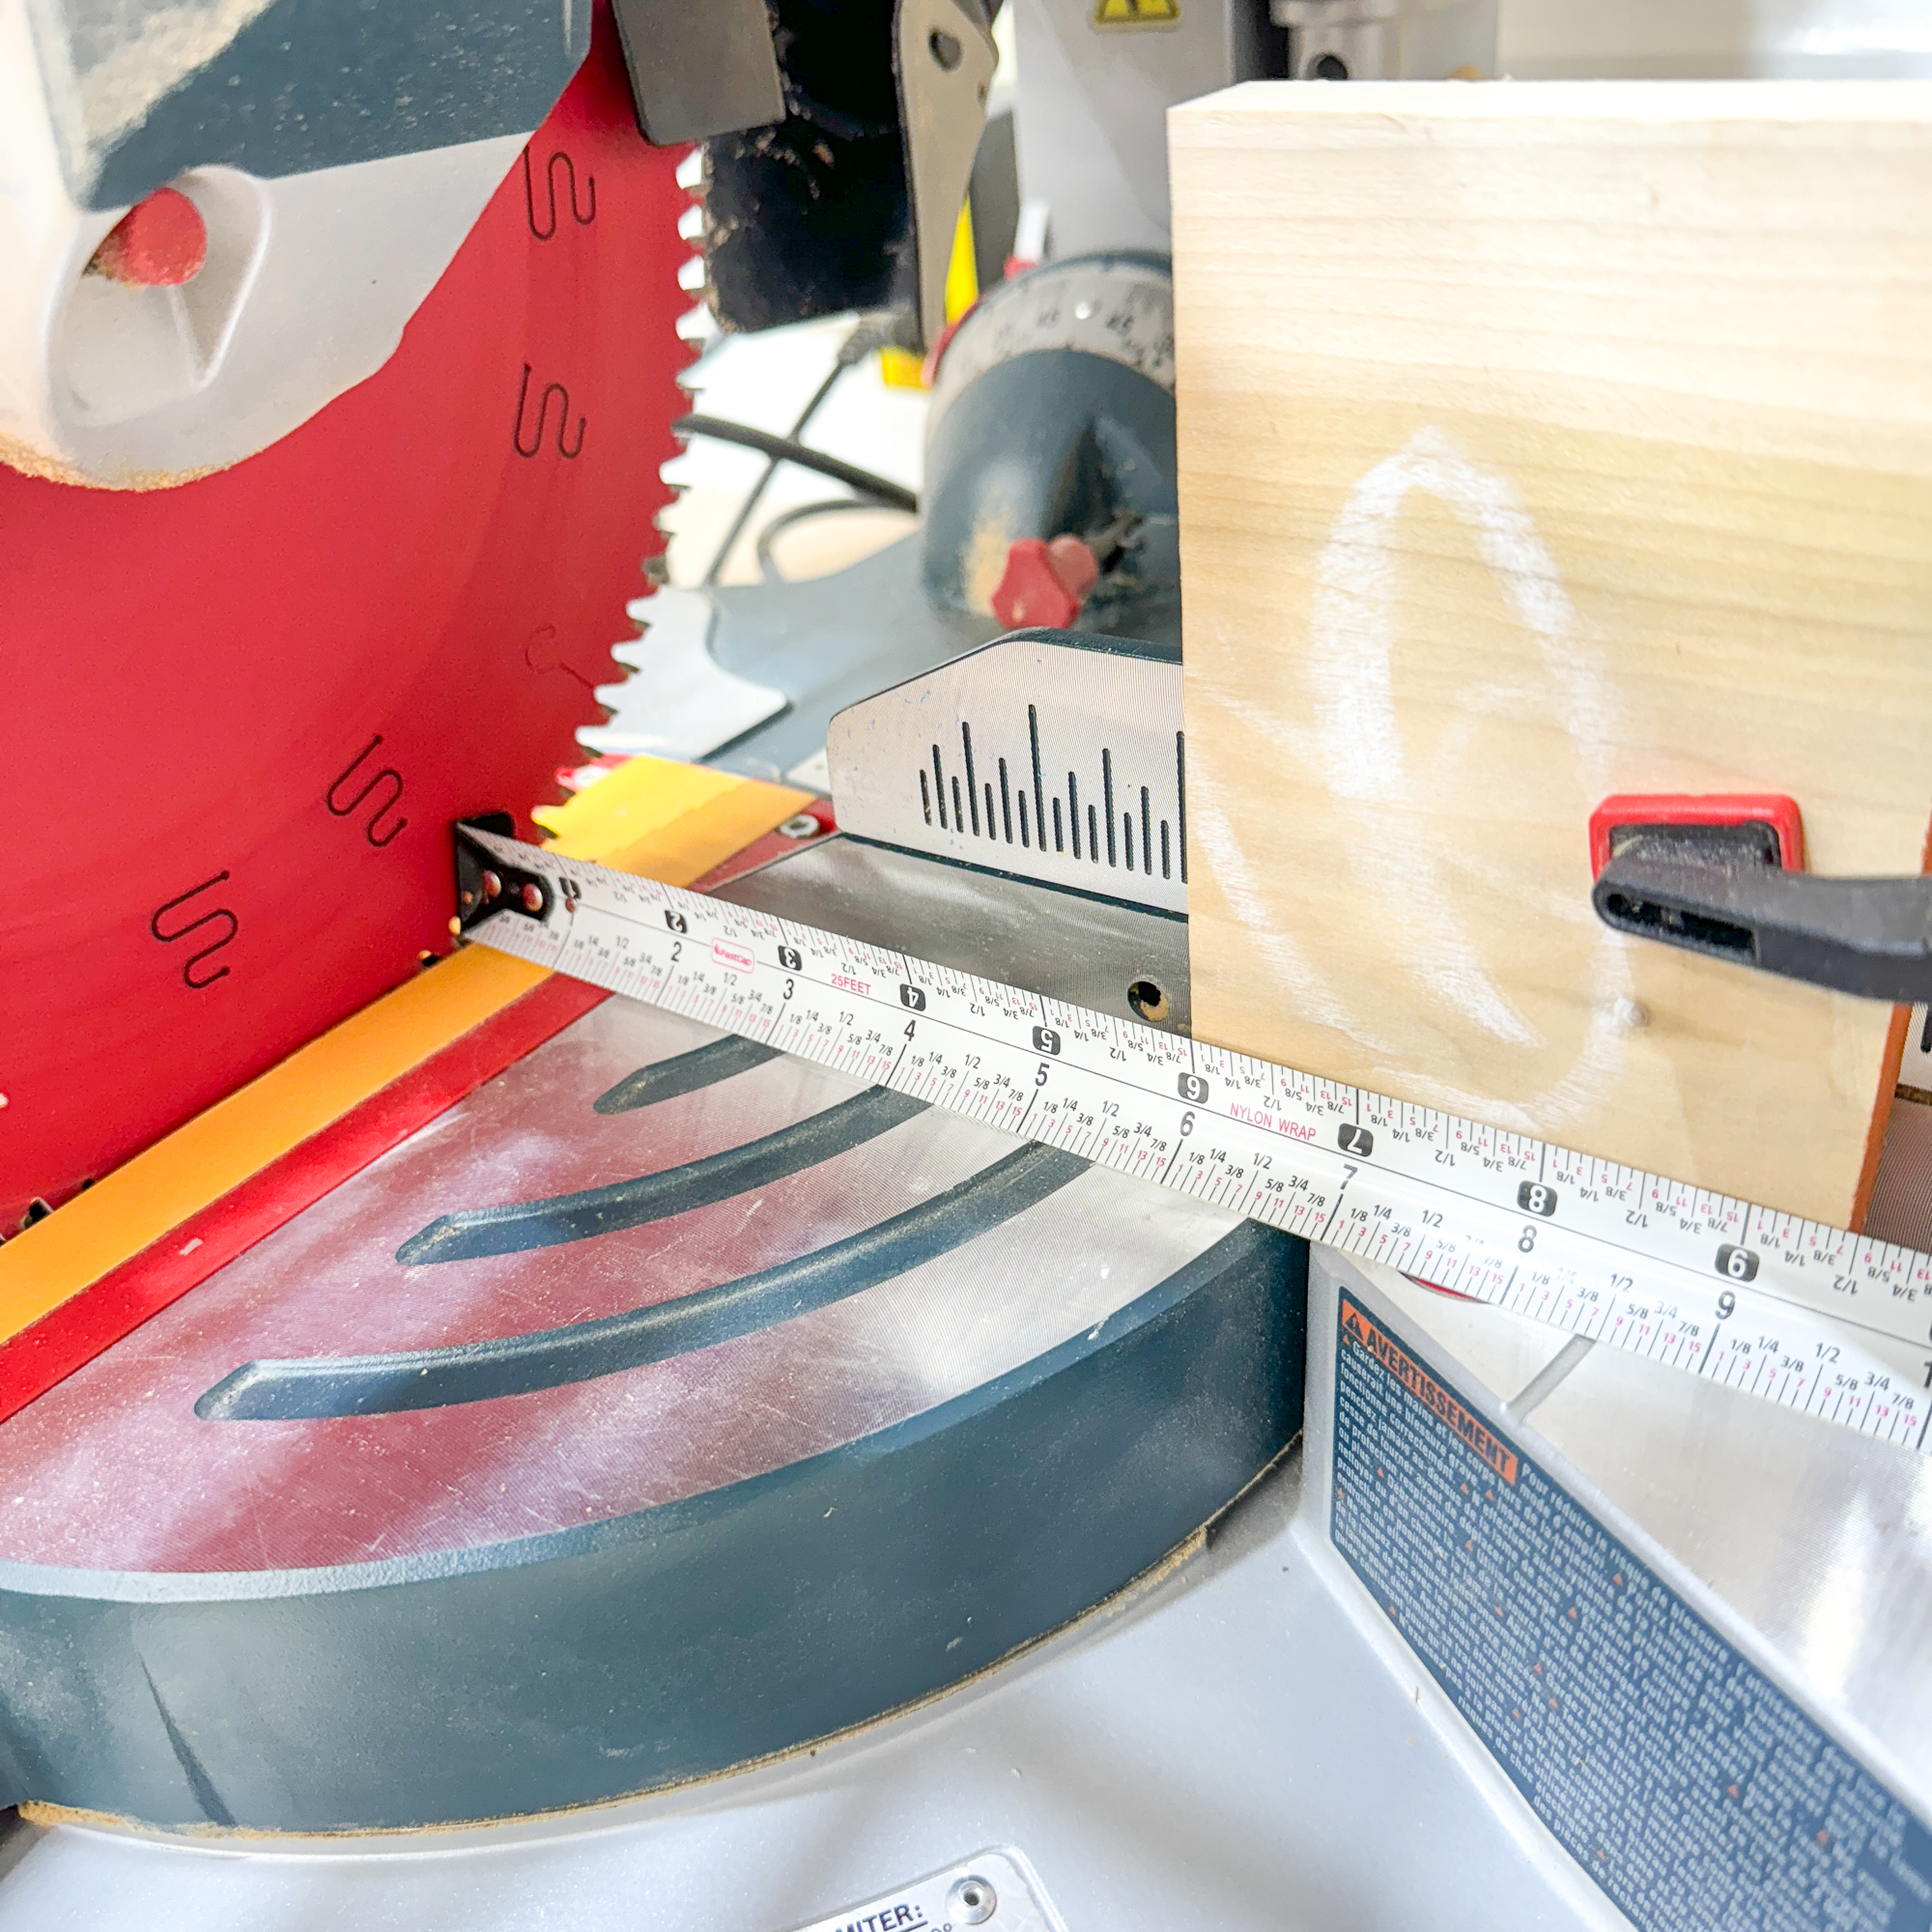
First, I set up a stop block six inches from the blade. Clamp it in place and don't move it until you've finished ALL of your cuts!

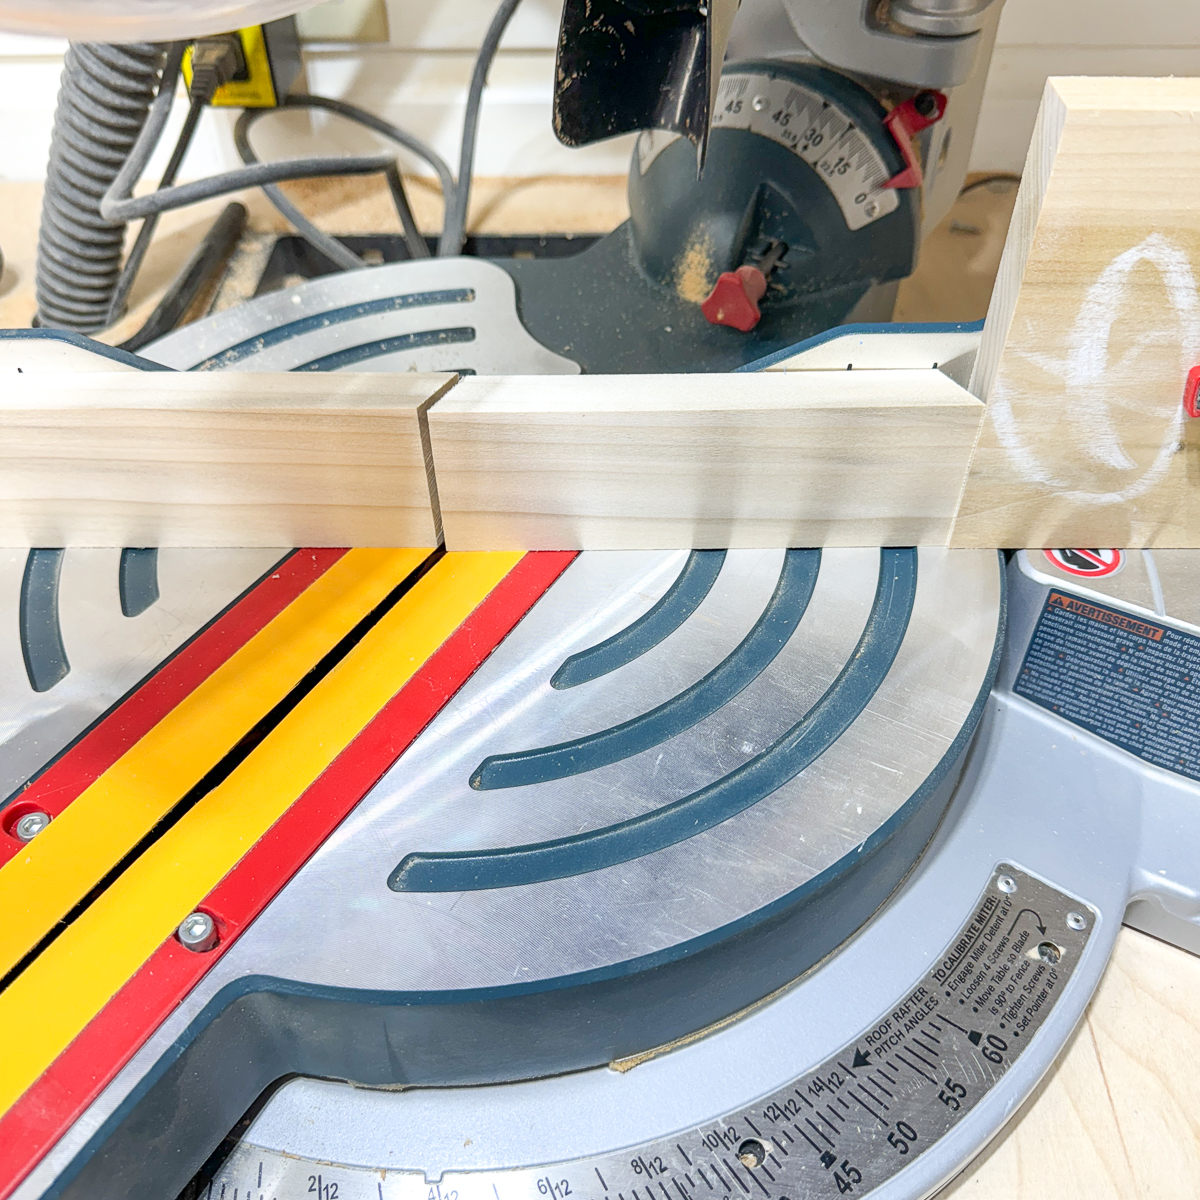
Set the saw to 30 degrees. Then place the board on its edge, and cut off the end.
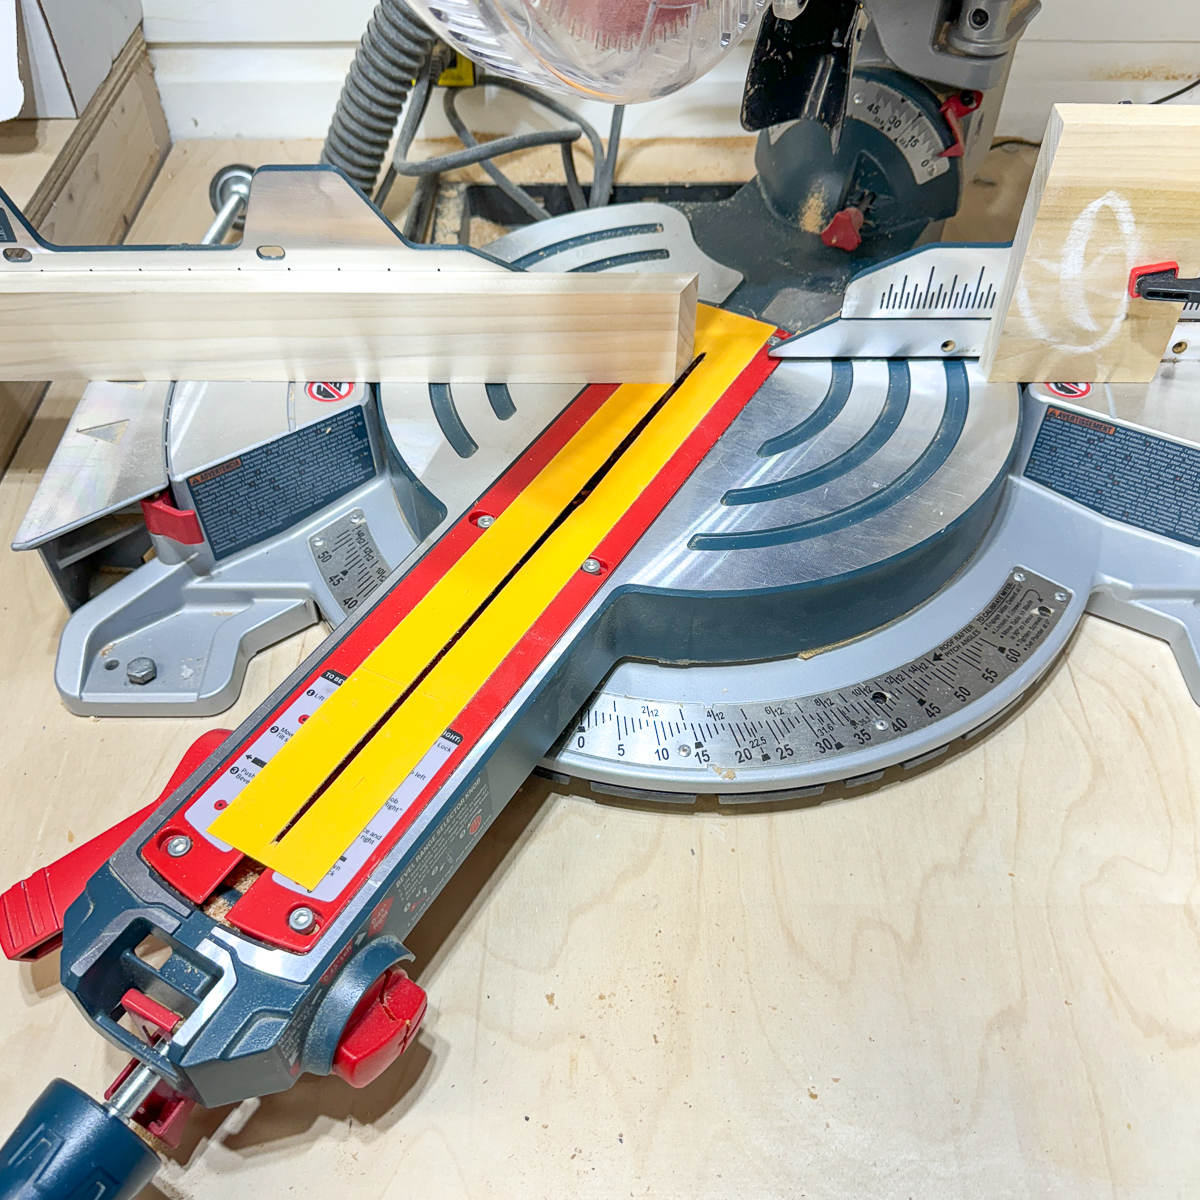

Now flip the board over to the opposite edge, so the point is facing away from the fence. Slide the point up to the stop block, then make the second cut. Repeat the process down the length of the board.

When you get to the end of the board, you won't be able to safely hold it in place during the cut. Clamp the board to the fence so you can make the cut hands-free.

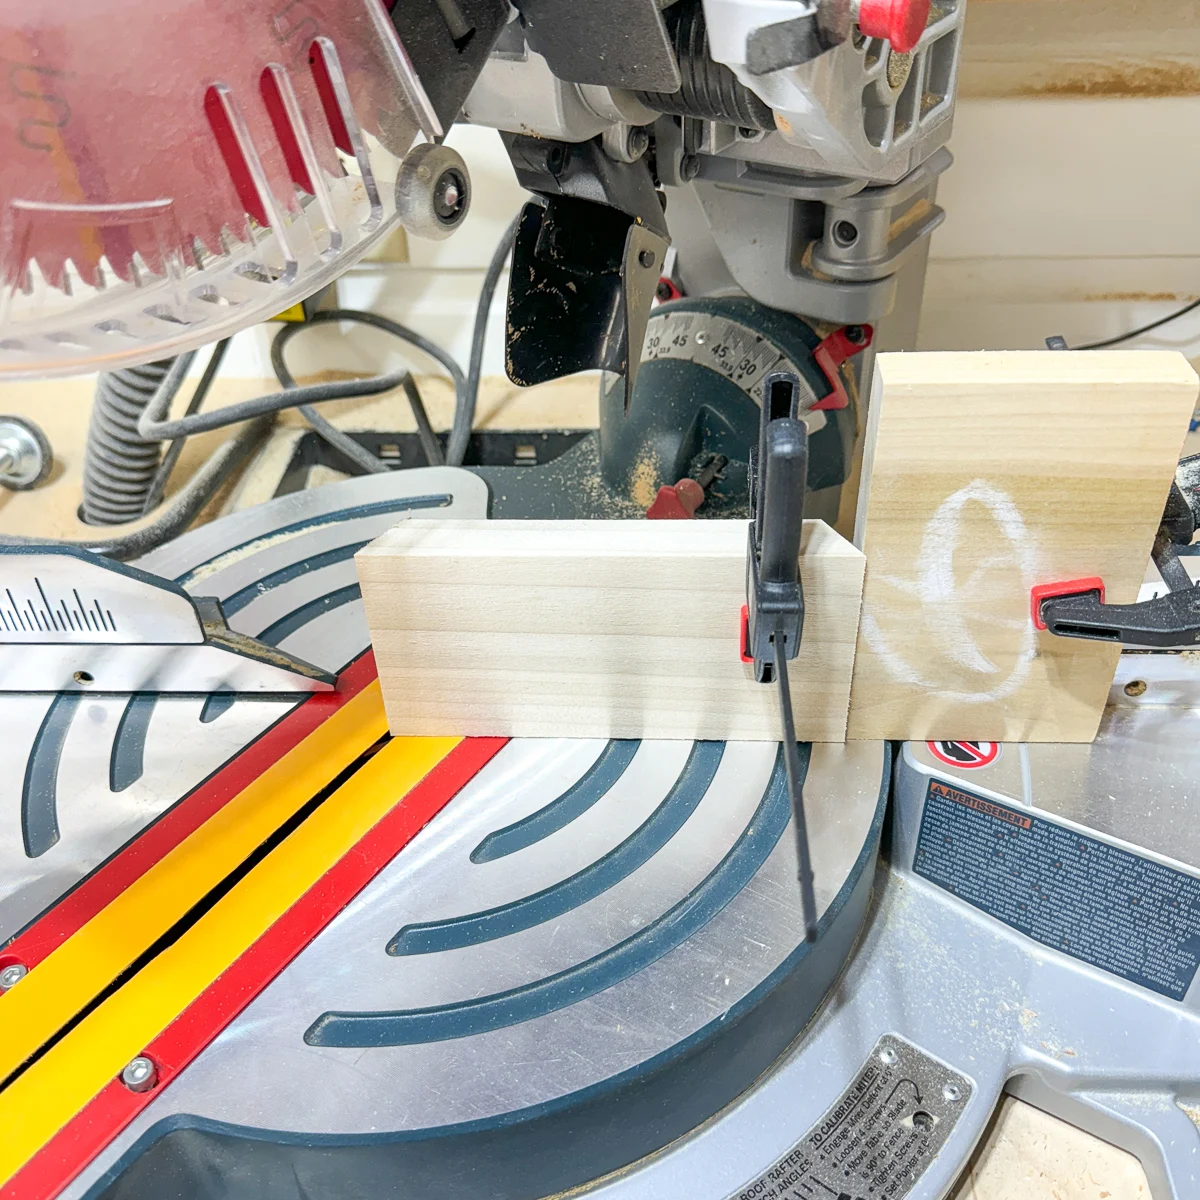
I ended up using the clamp for all my cuts to ensure that the board doesn't move and ruin the angle. Even with the extra step, it didn't take long to cut all 60 pieces!

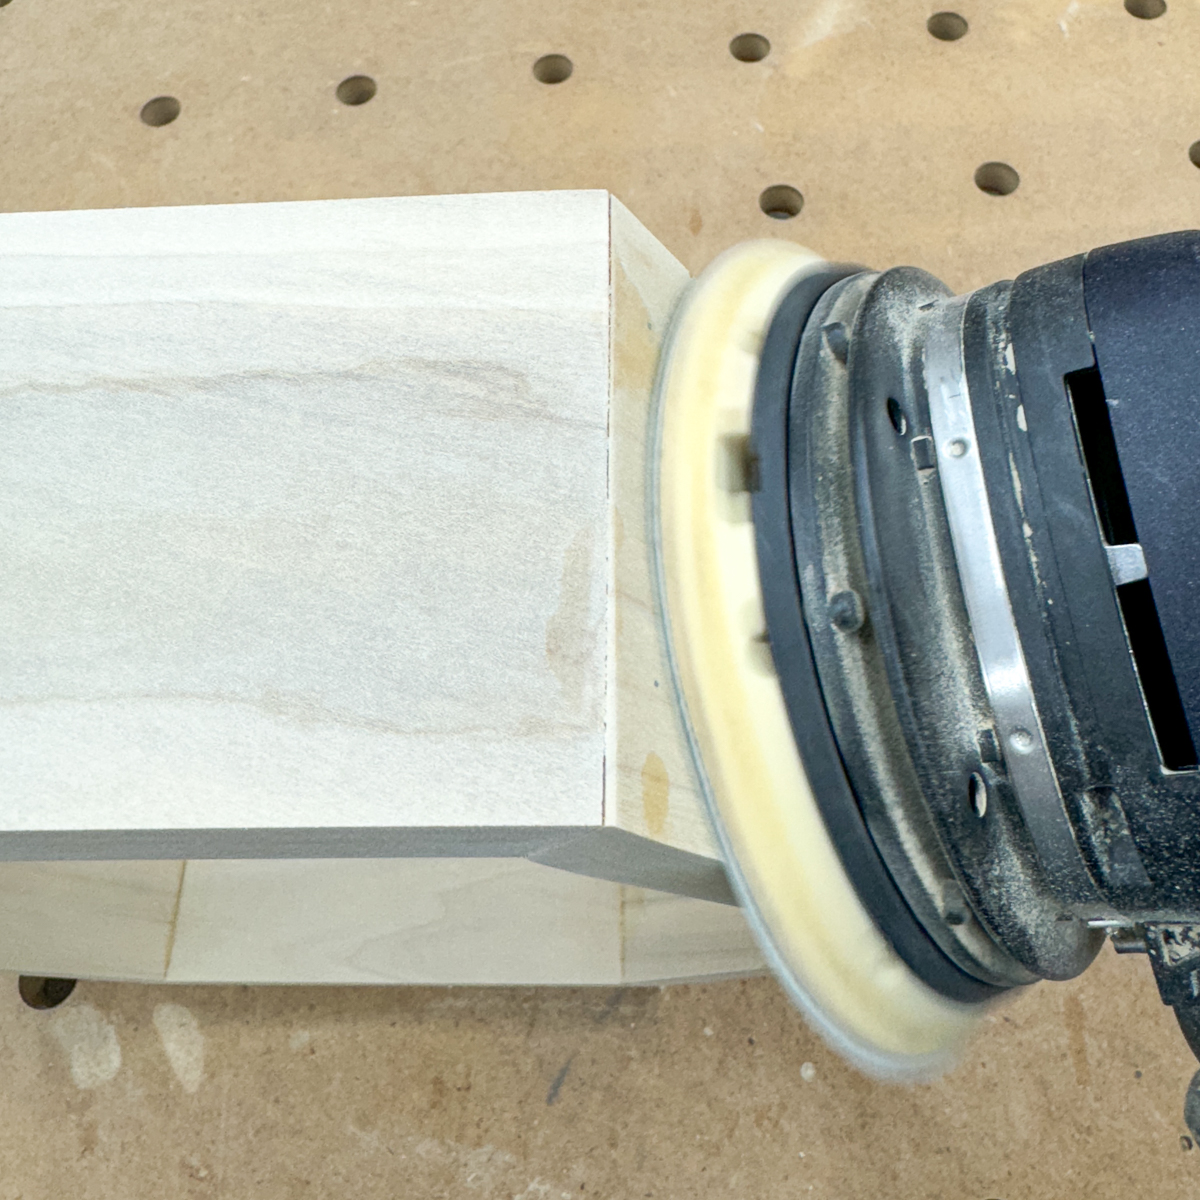
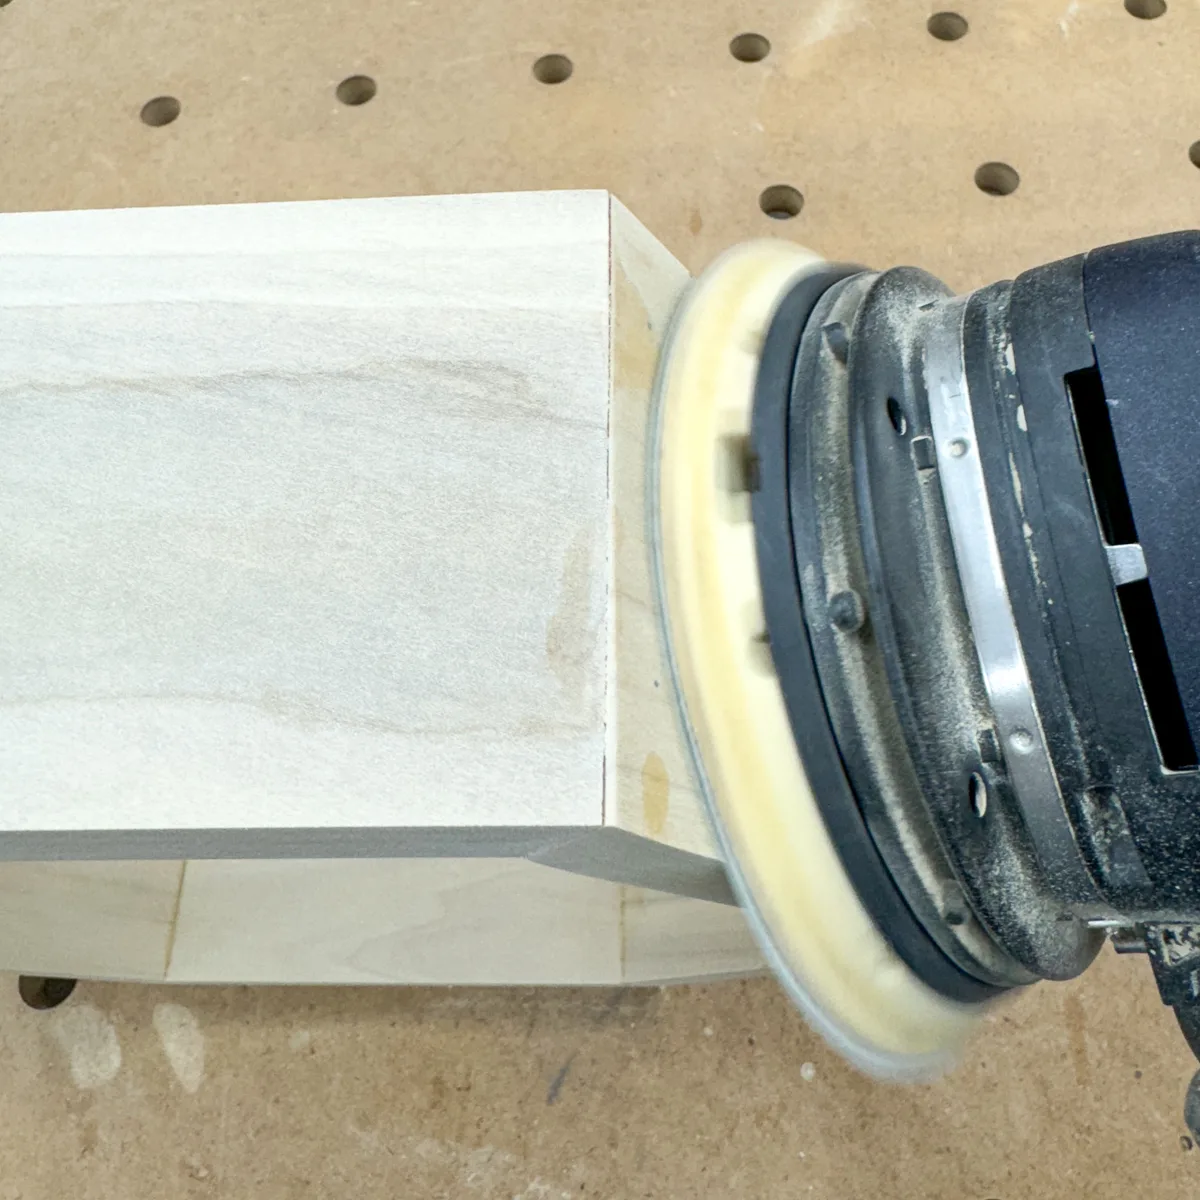
Sand and assemble the hexagons
It's much easier to sand all the pieces flat now, rather than when they're all assembled. Just be careful not to round over the angled ends!


All you need to put the hexagon shelves together is painter's tape and wood glue. You could use strap clamps to hold the sides together while the glue dries, but I didn't have 10 of them on hand for this project!
Lay out a strip of painter's tape with the sticky side up. Then line up six pieces end to end on top.
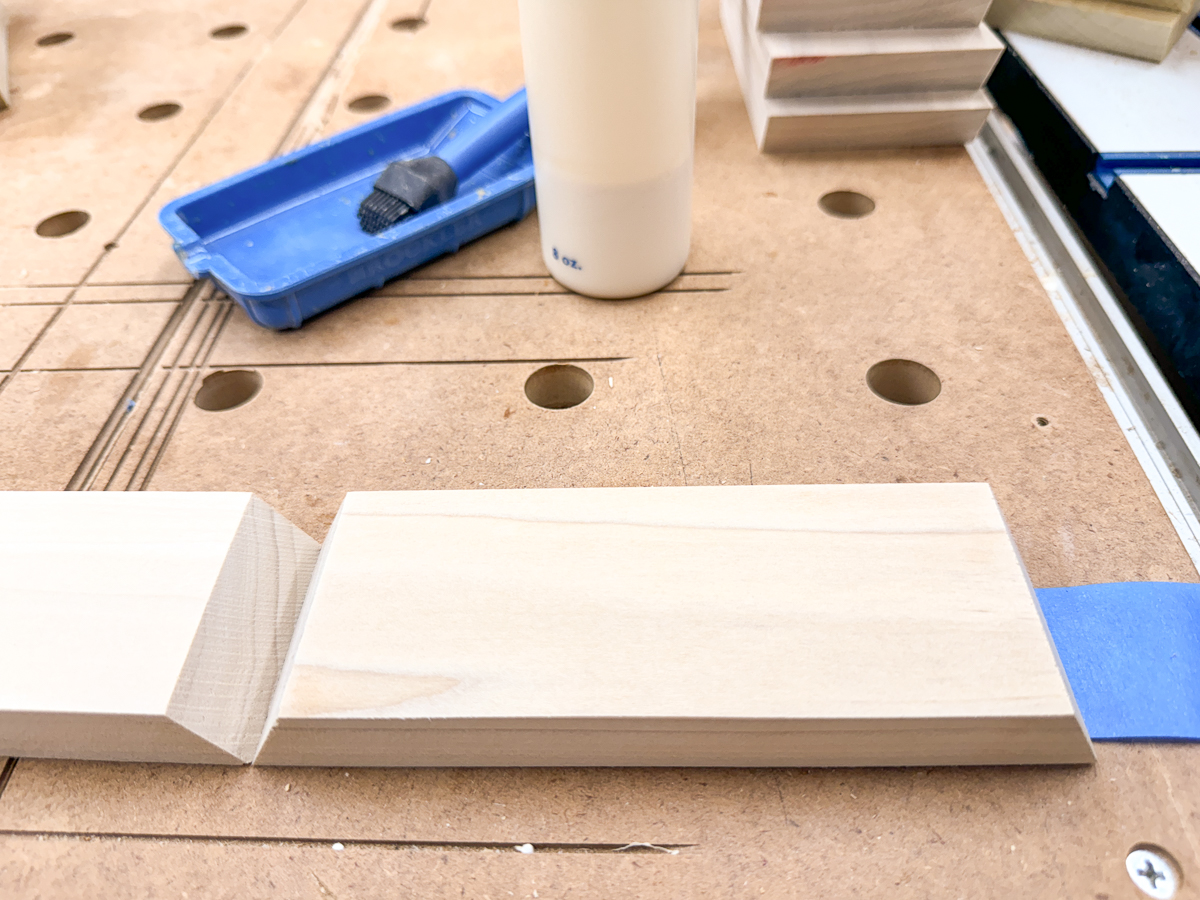
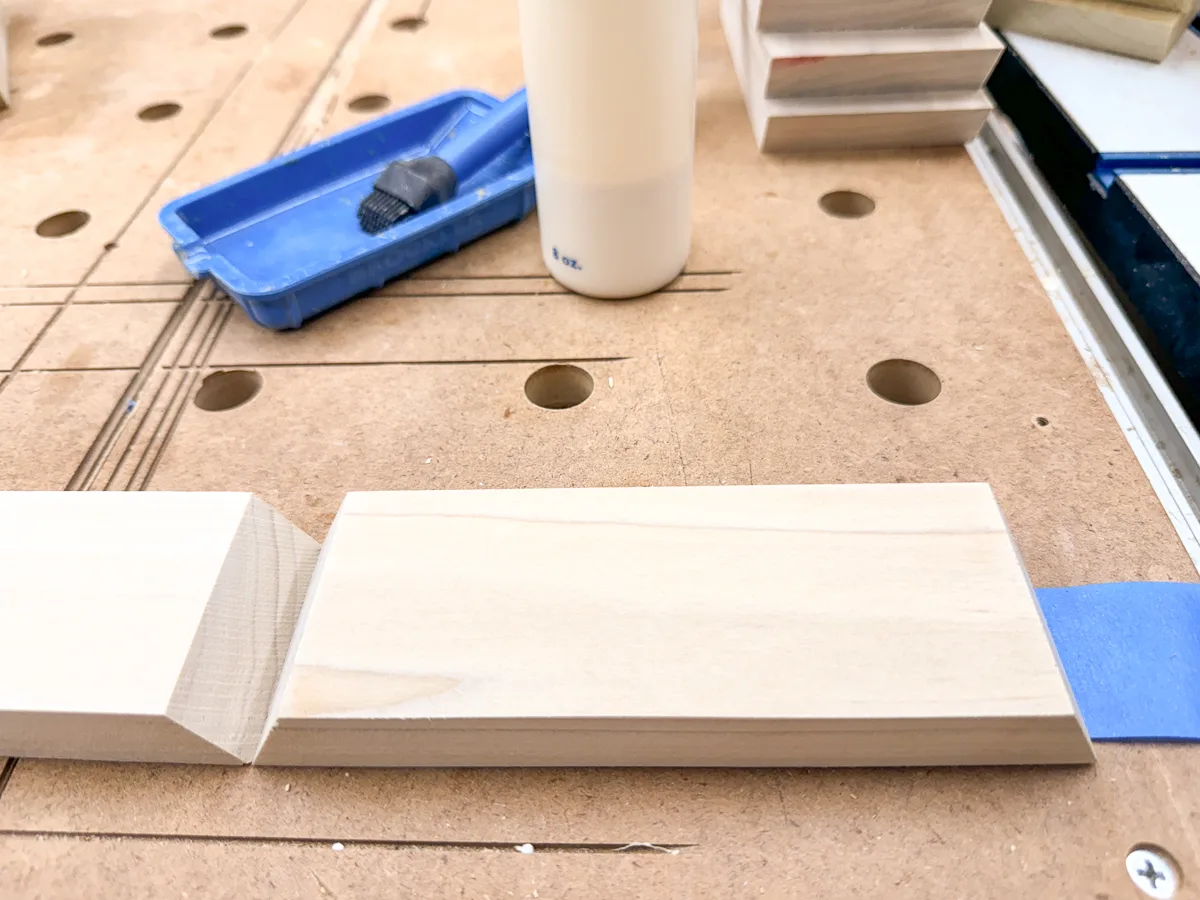
Spread wood glue on the cut ends of each piece, making sure to coat them thoroughly. A silicone glue brush helps to spread it evenly. End grain tends to soak up glue, so I went back over each joint again with more glue on the dry spots.

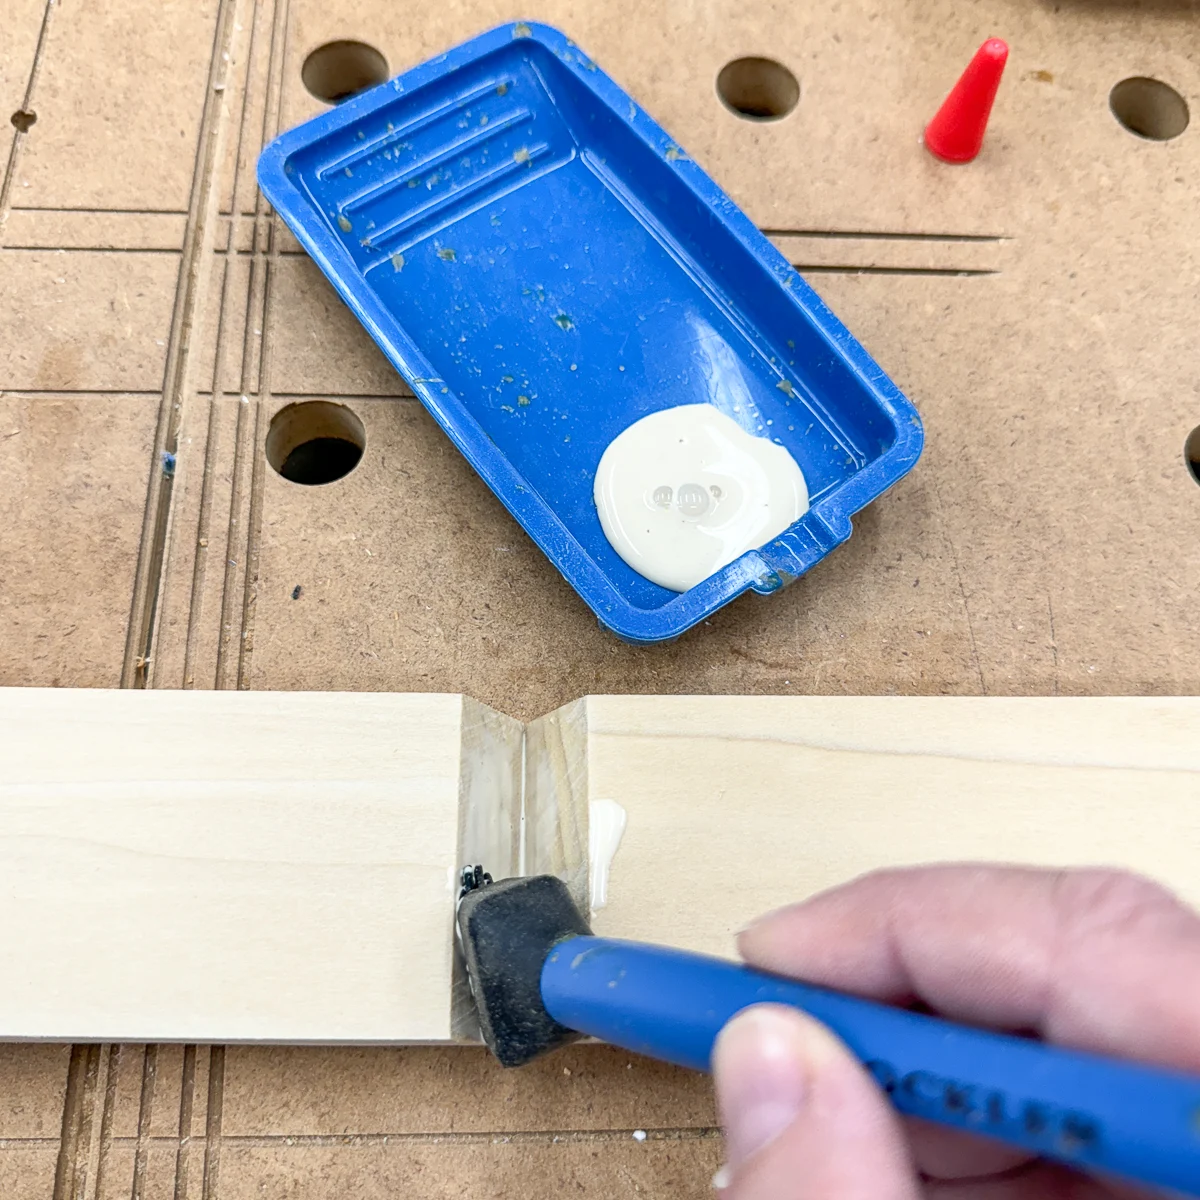
Grab the end of the tape and roll the hexagon together!
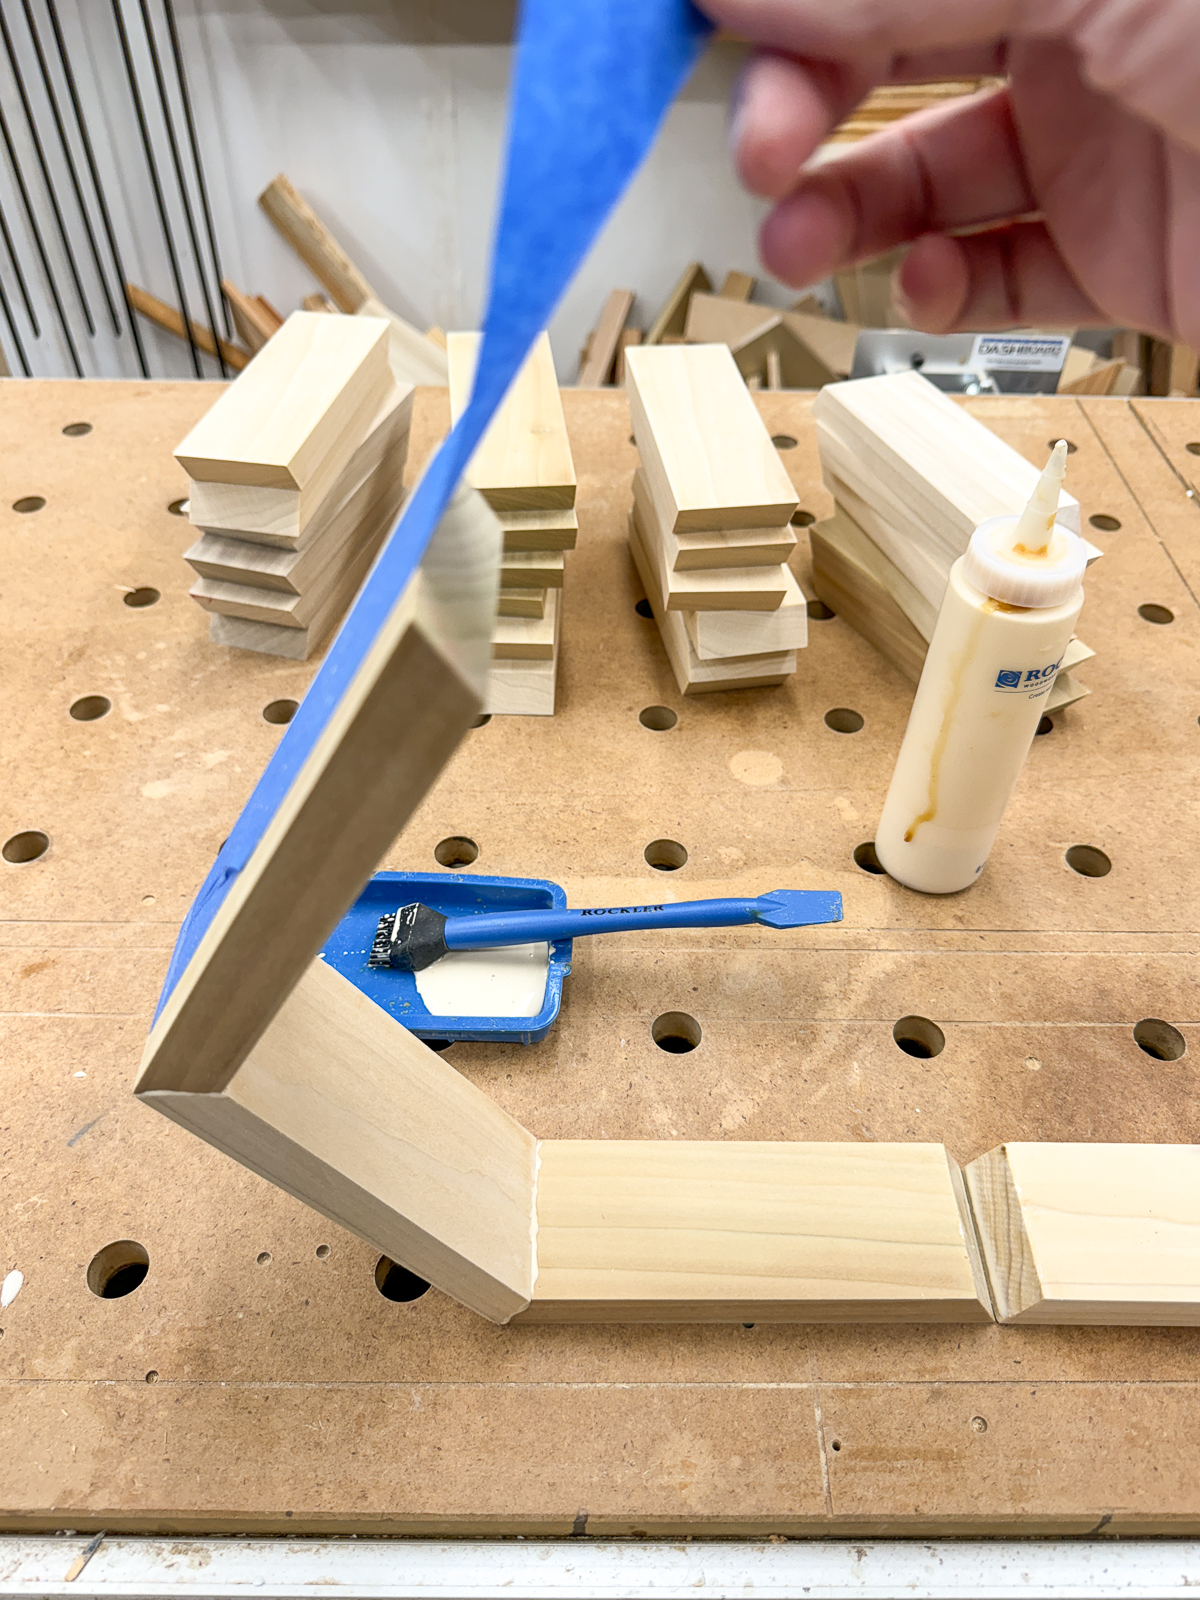

Make sure you have glue on the two ends, then pull the tape tight and stick them together. You can also add more tape to close up corners with gaps.

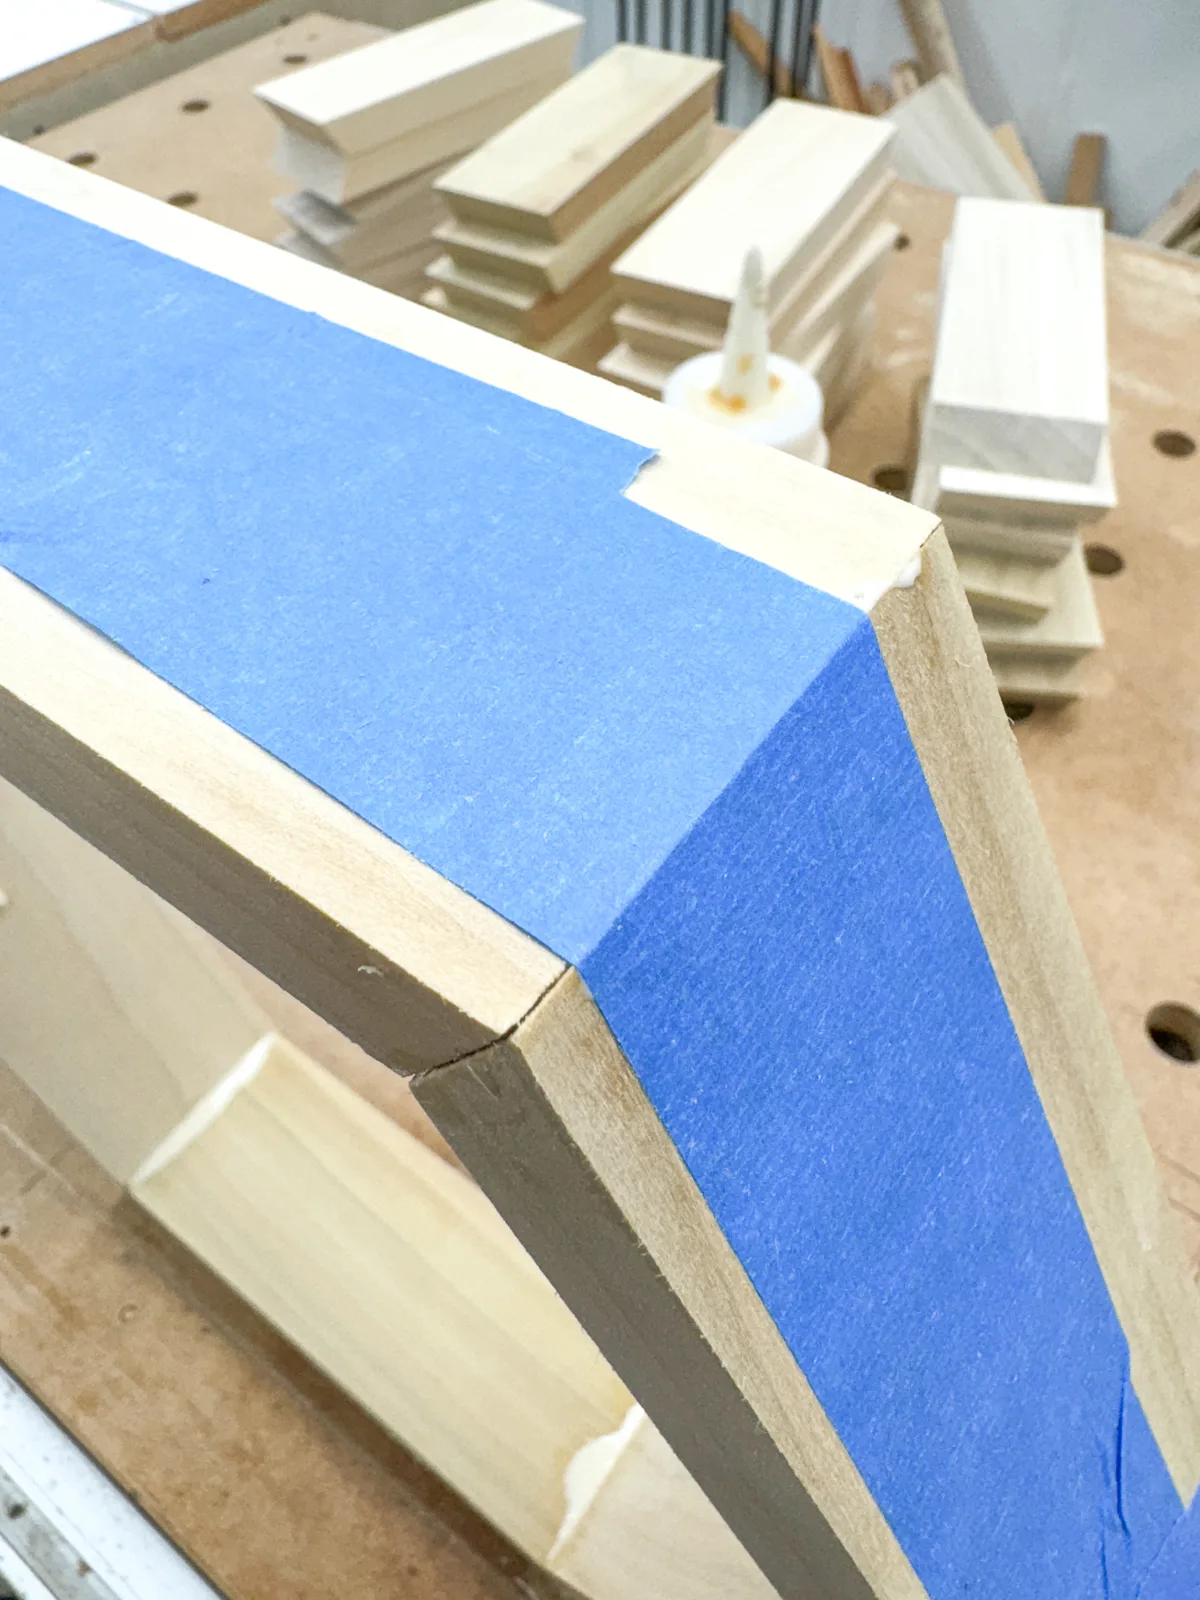
I used a pin nailer with 1" pin nails to hold each corner together as the glue dries, just for added insurance.

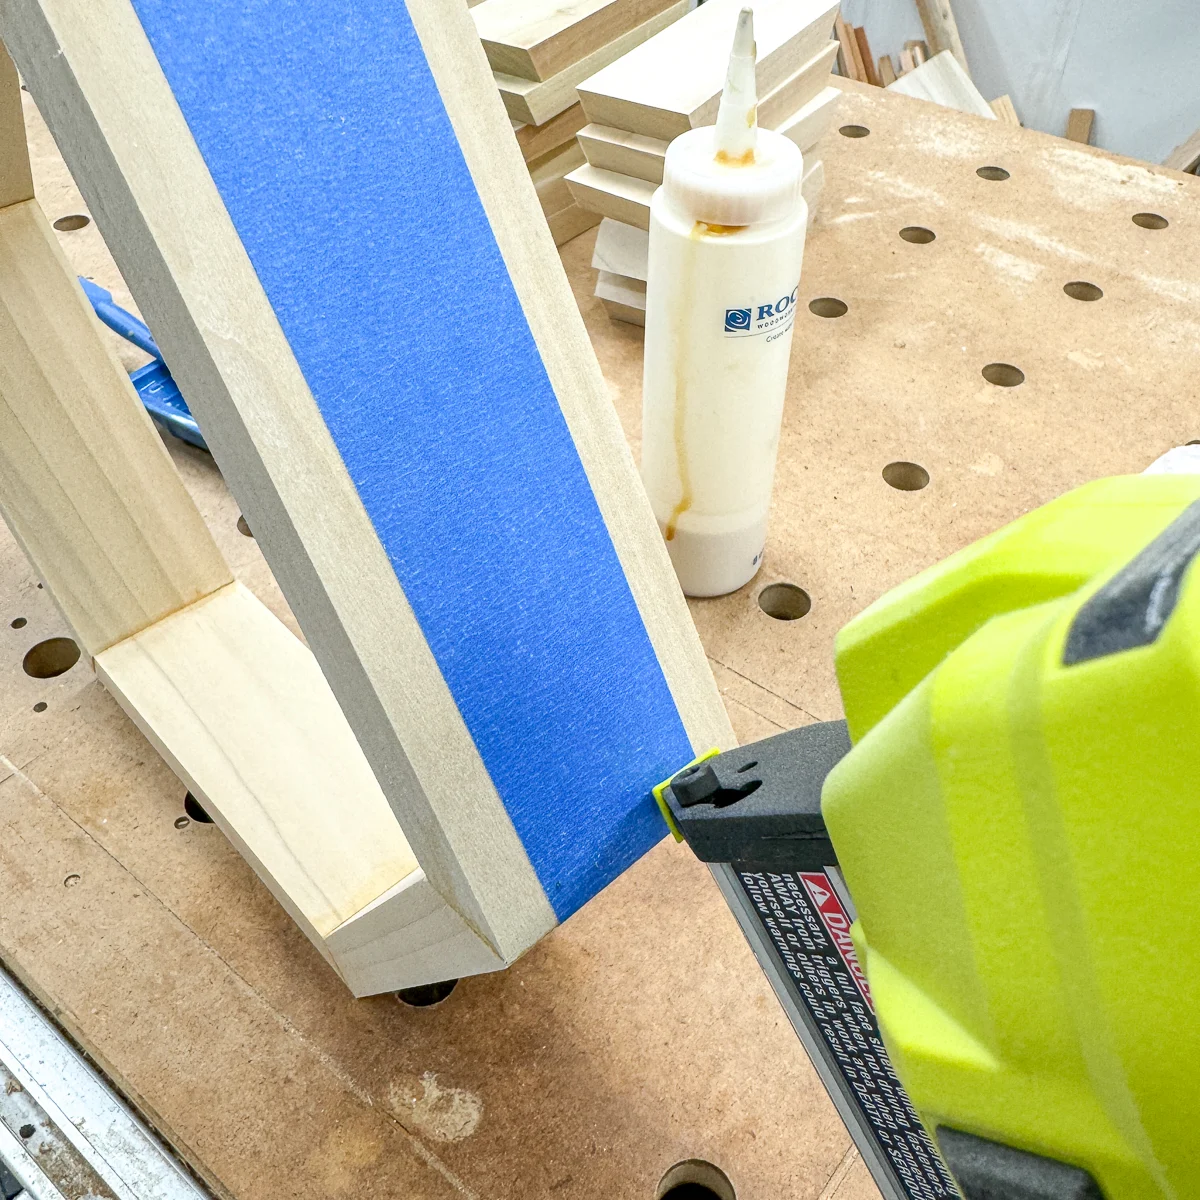
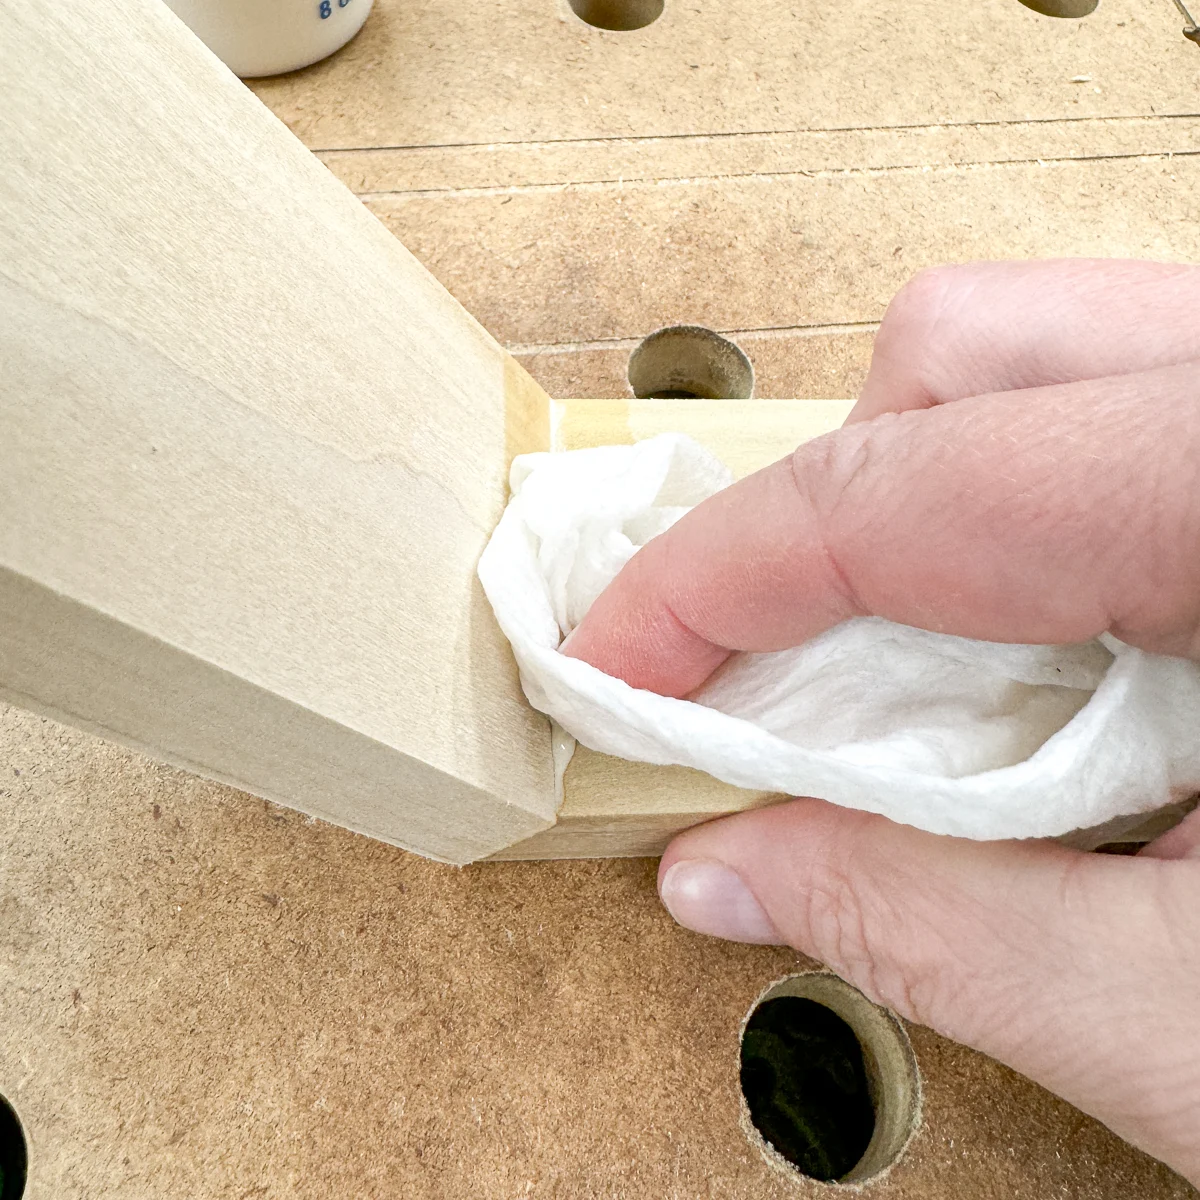
Finally, clean up any glue squeeze out with a damp paper towel and set the shelf aside to dry.

Sand (again) and repair any gaps
Once the glue dries, you can peel off the tape and check out how the corners turned out. Most of mine looked pretty good, but there were a few that separated. Ugh!


Luckily, this is a pretty easy fix! First, round over all the corners a bit with your sander. Start on the flat side, then quickly roll it over the corner to the other flat side. Try to keep the speed and pressure consistent on all the corners.
On the worst corners, you could still see a gap. You could use wood filler, but it takes a while to dry and can look a little crumbly. Instead, I'm using CA glue and activator to quickly seal the cracks!
Just fill the gap with the glue, then spray it with the activator. The glue will cure instantly!
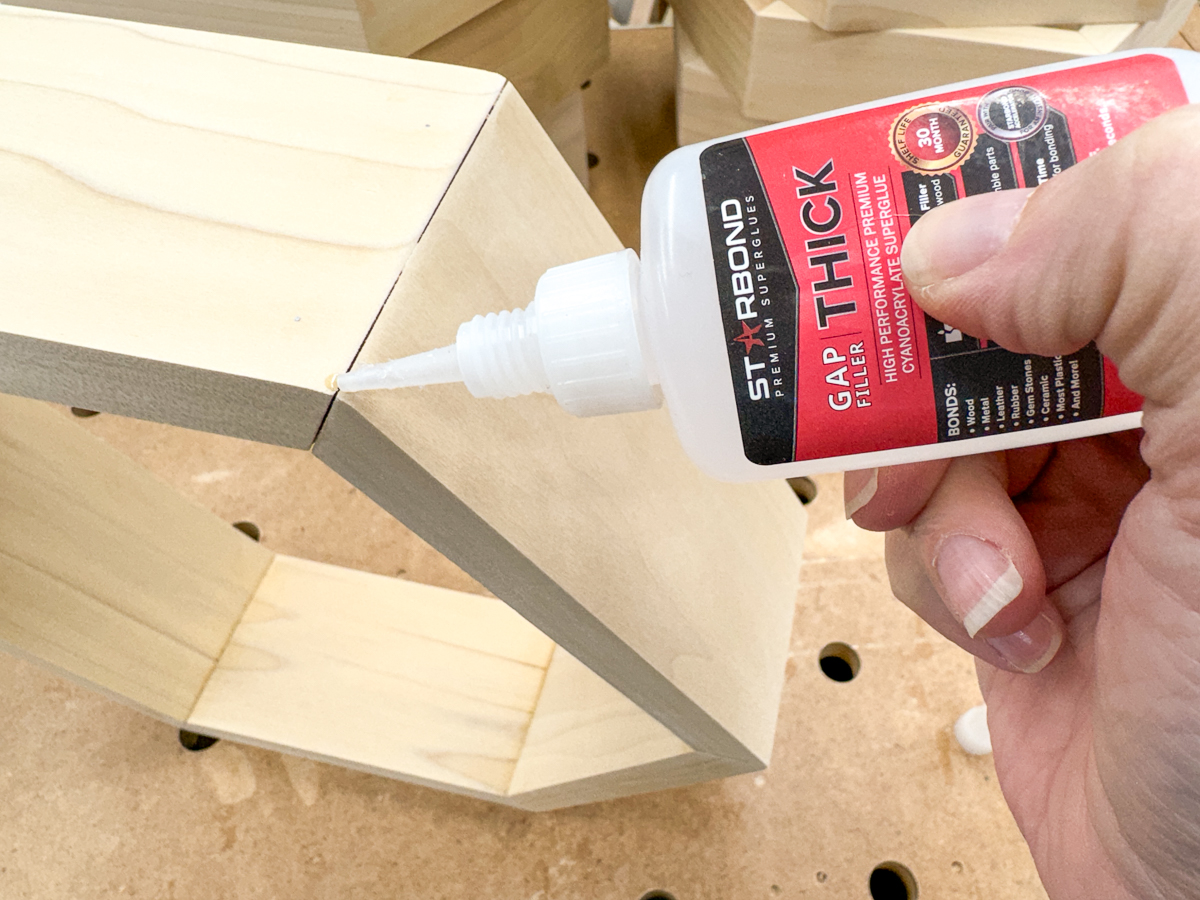

Then you can sand it smooth. While it looks like there's still a gap because the glue is clear, once it's painted it will disappear. I did this to both the outside and the front surfaces.

Paint or stain your floating shelves
You can leave your wood as is, or apply a clear coat if you want to preserve the natural color with a bit of protection added.
But I wanted these shelves to match the gray-turquoise IKEA Alex cabinets I already had in the space. I just brought one of the drawer fronts into Home Depot to have it color matched.
I found it easiest to use a brush on all the interior surfaces first. Just keep rotating the shelf to paint the bottom of each side.
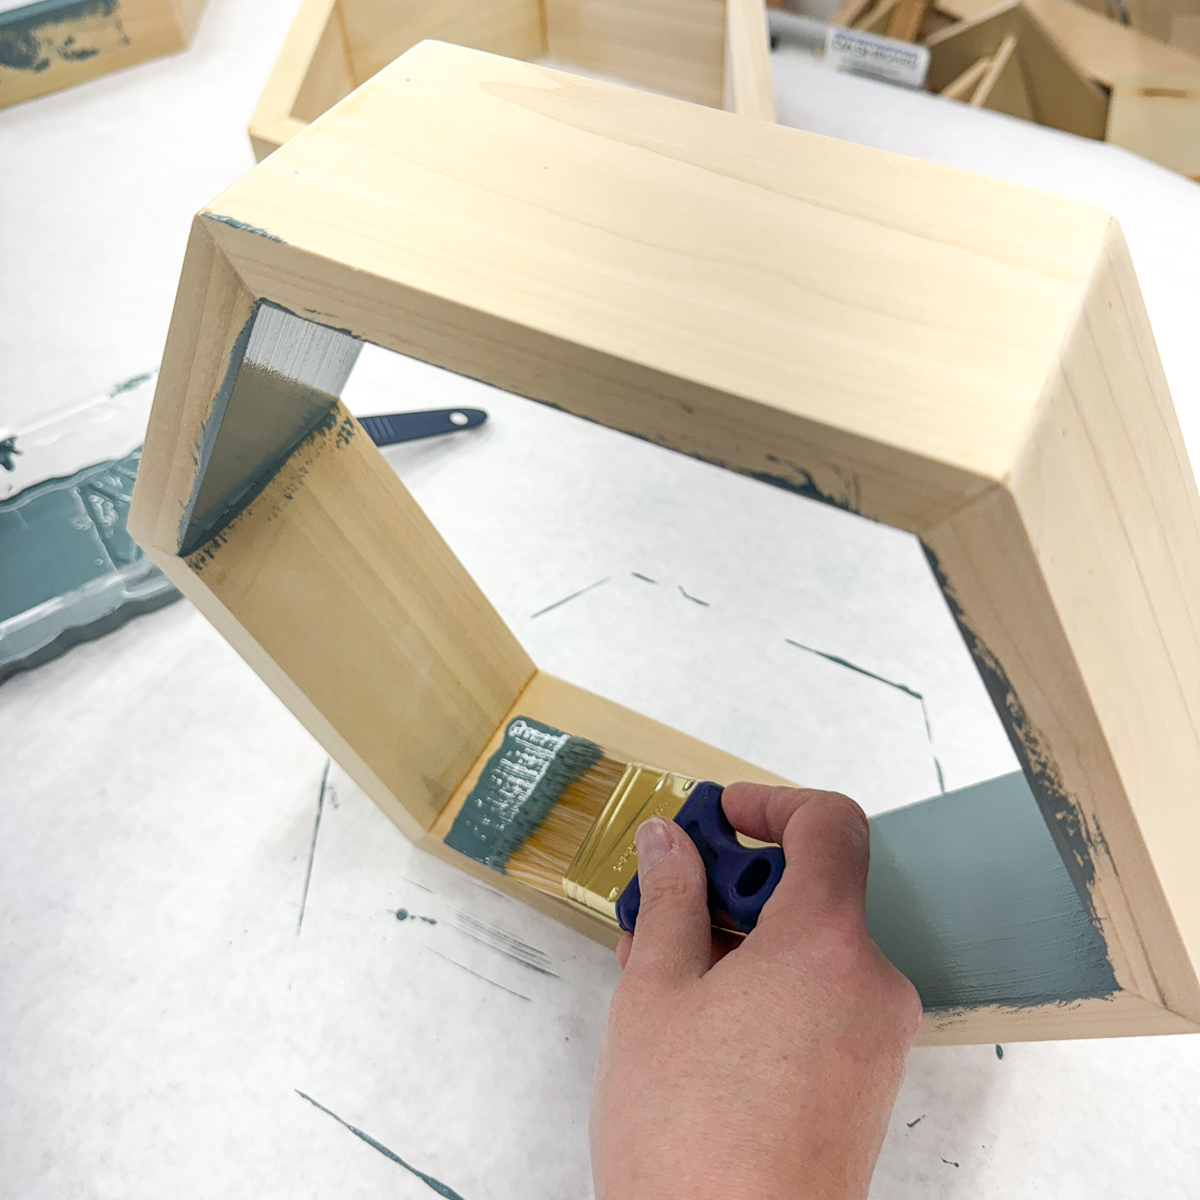
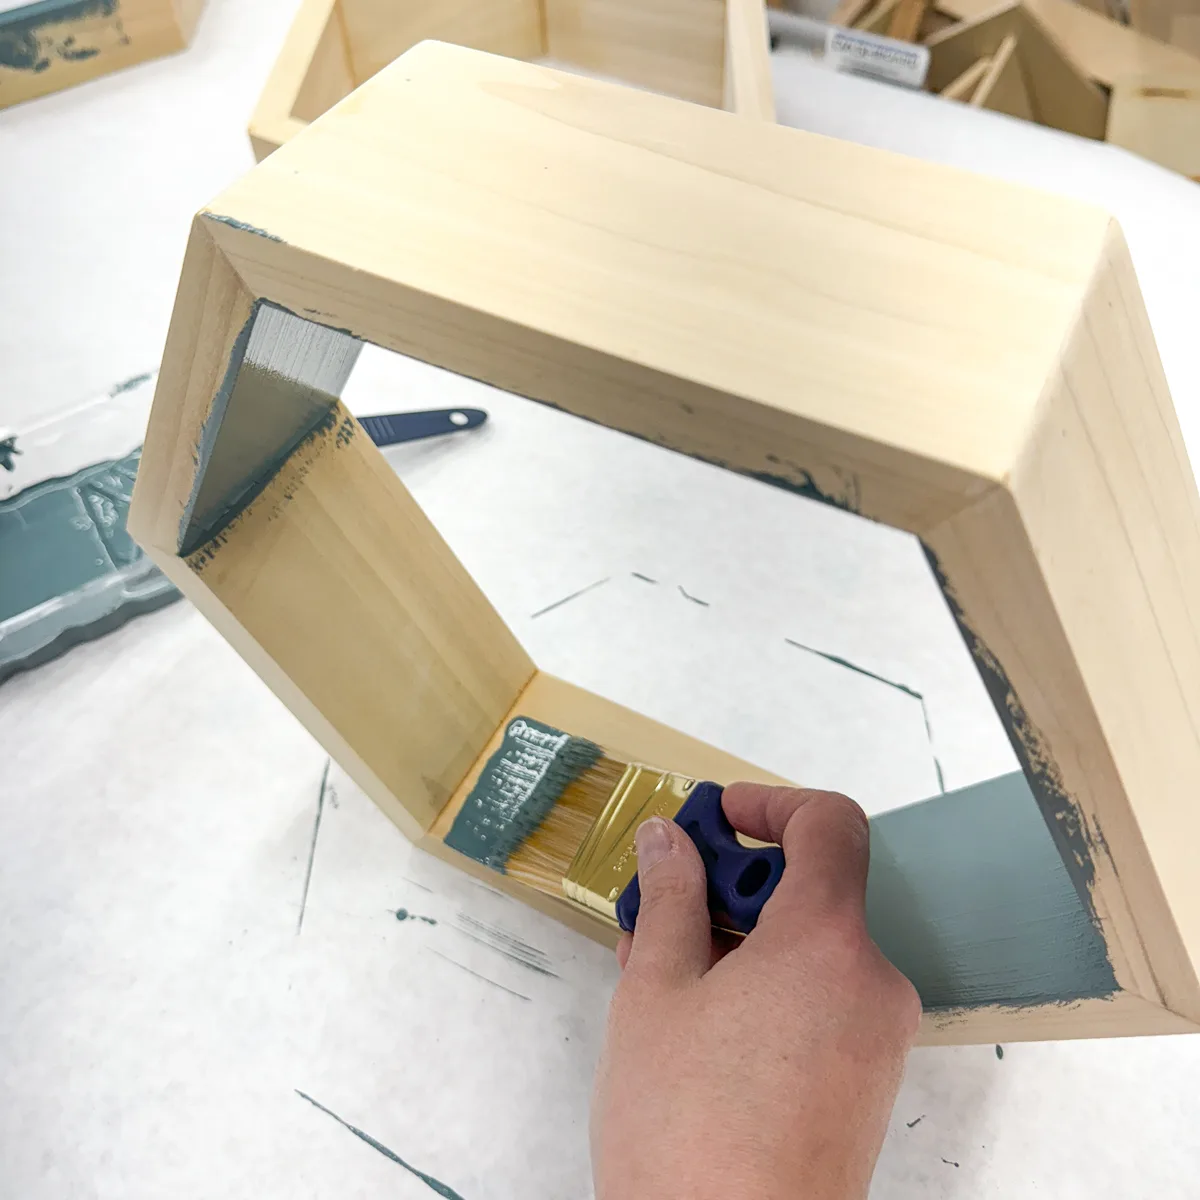
Then switched to a small roller for the front edge and outside.
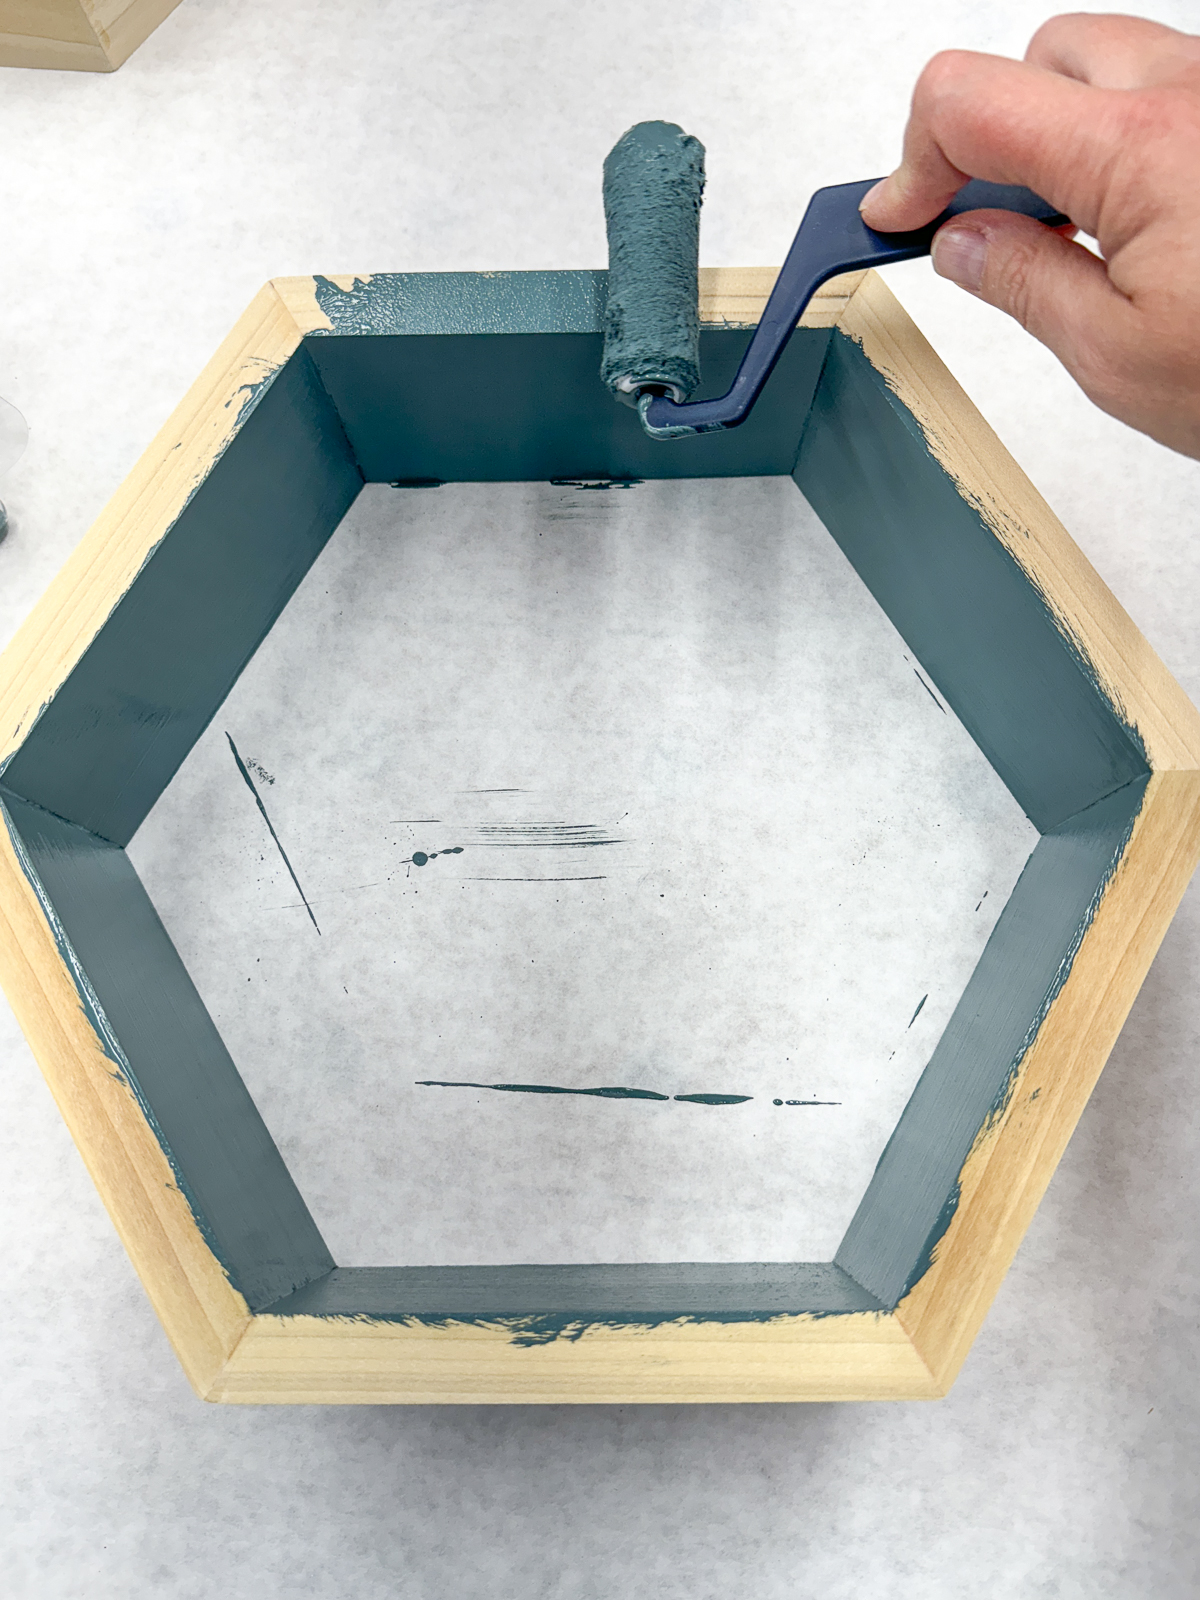
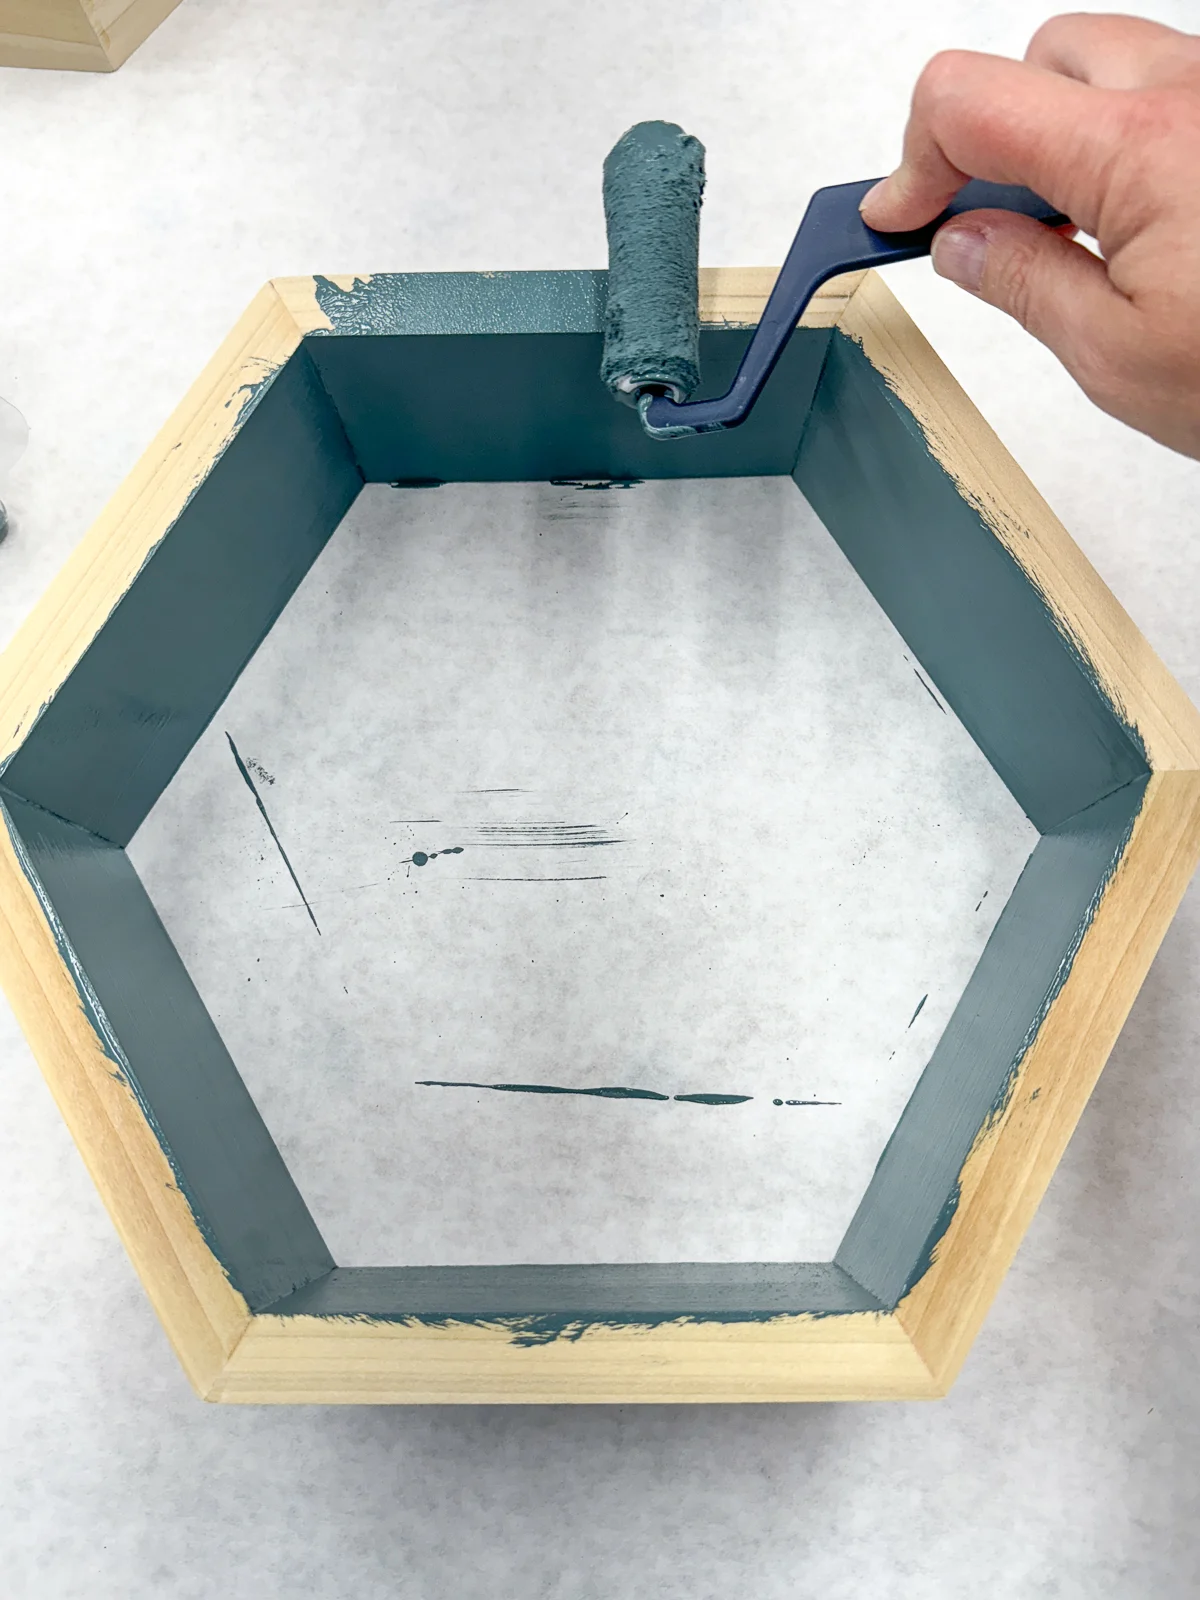
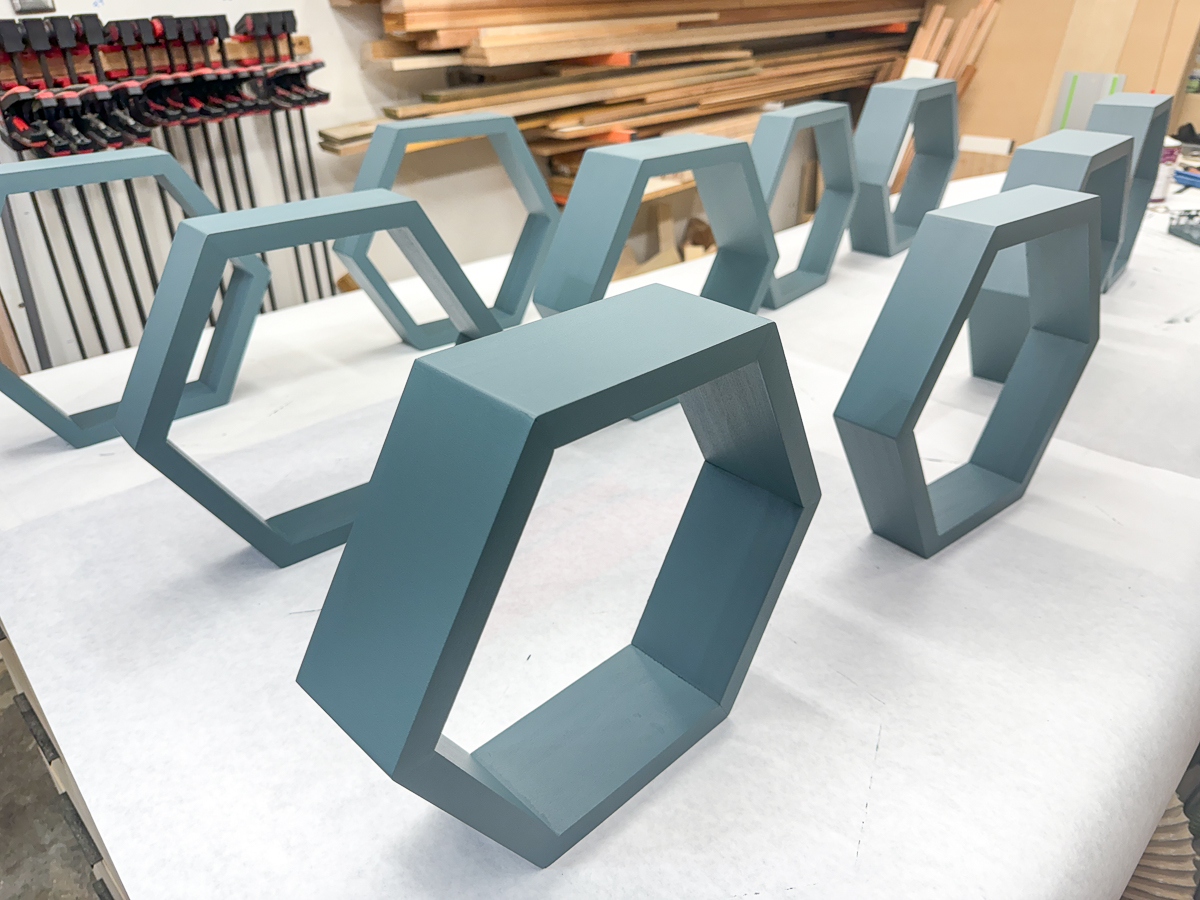
I applied two coats of paint over the course of a day and left them to dry overnight.
Install the hexagon shelves on the wall
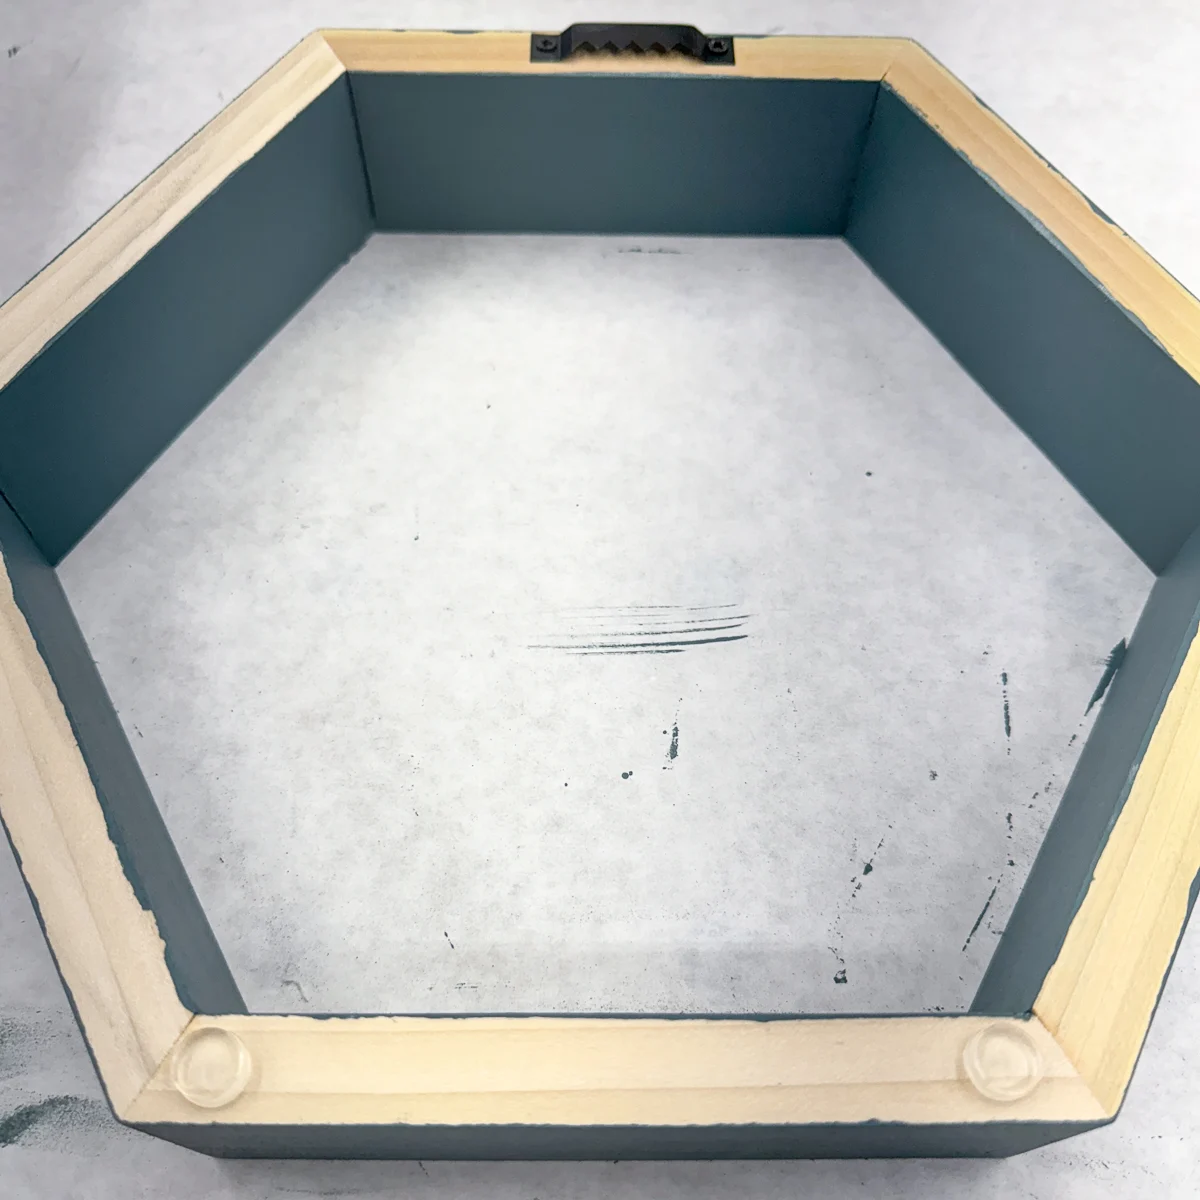
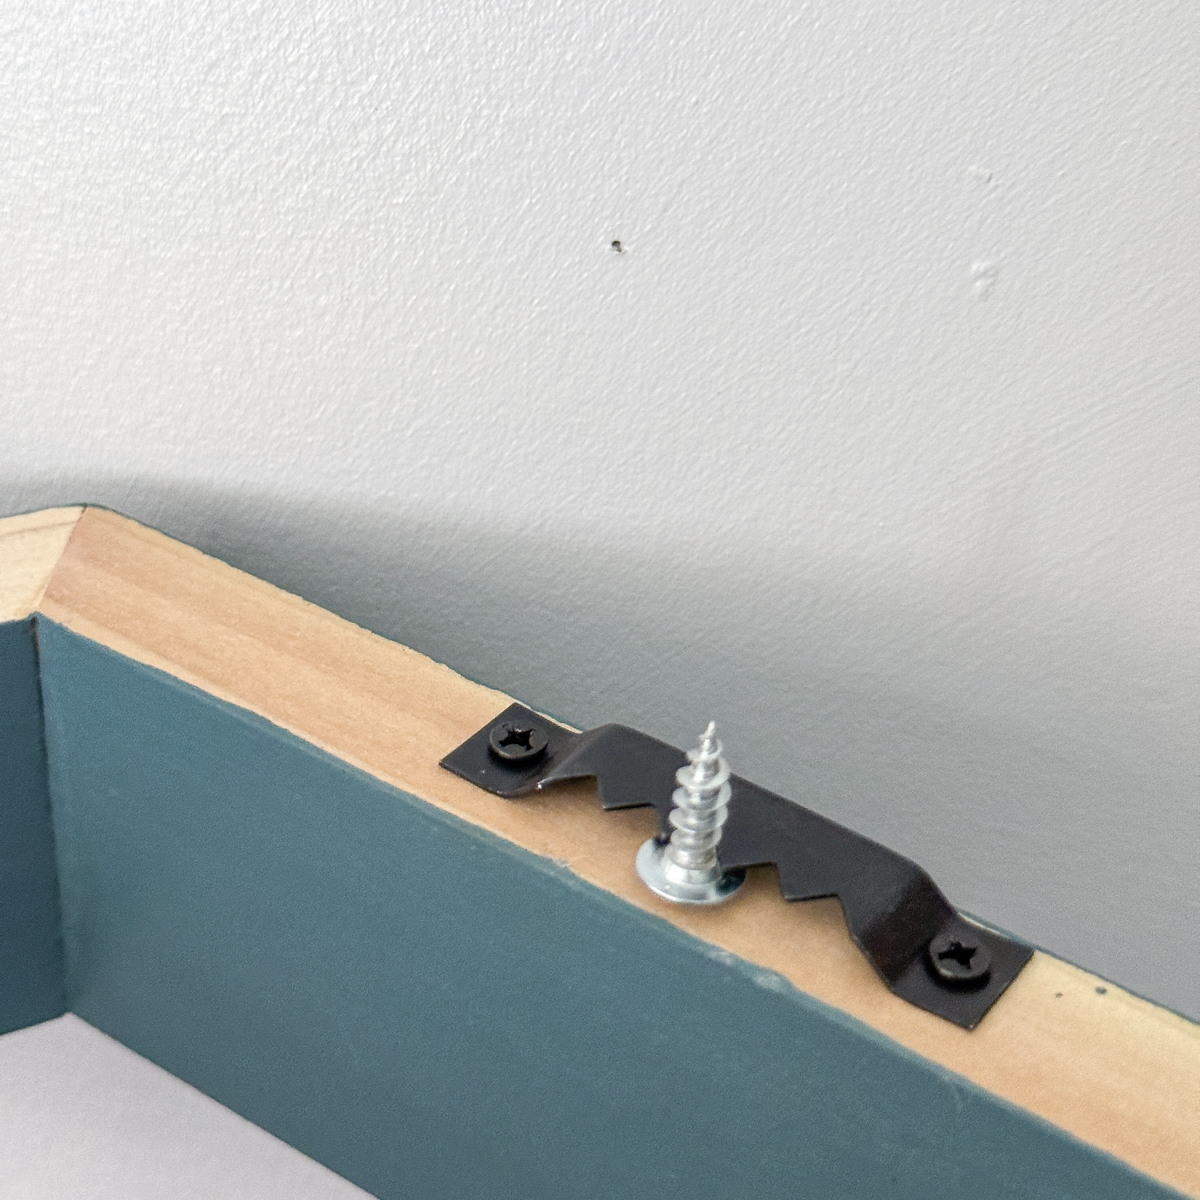
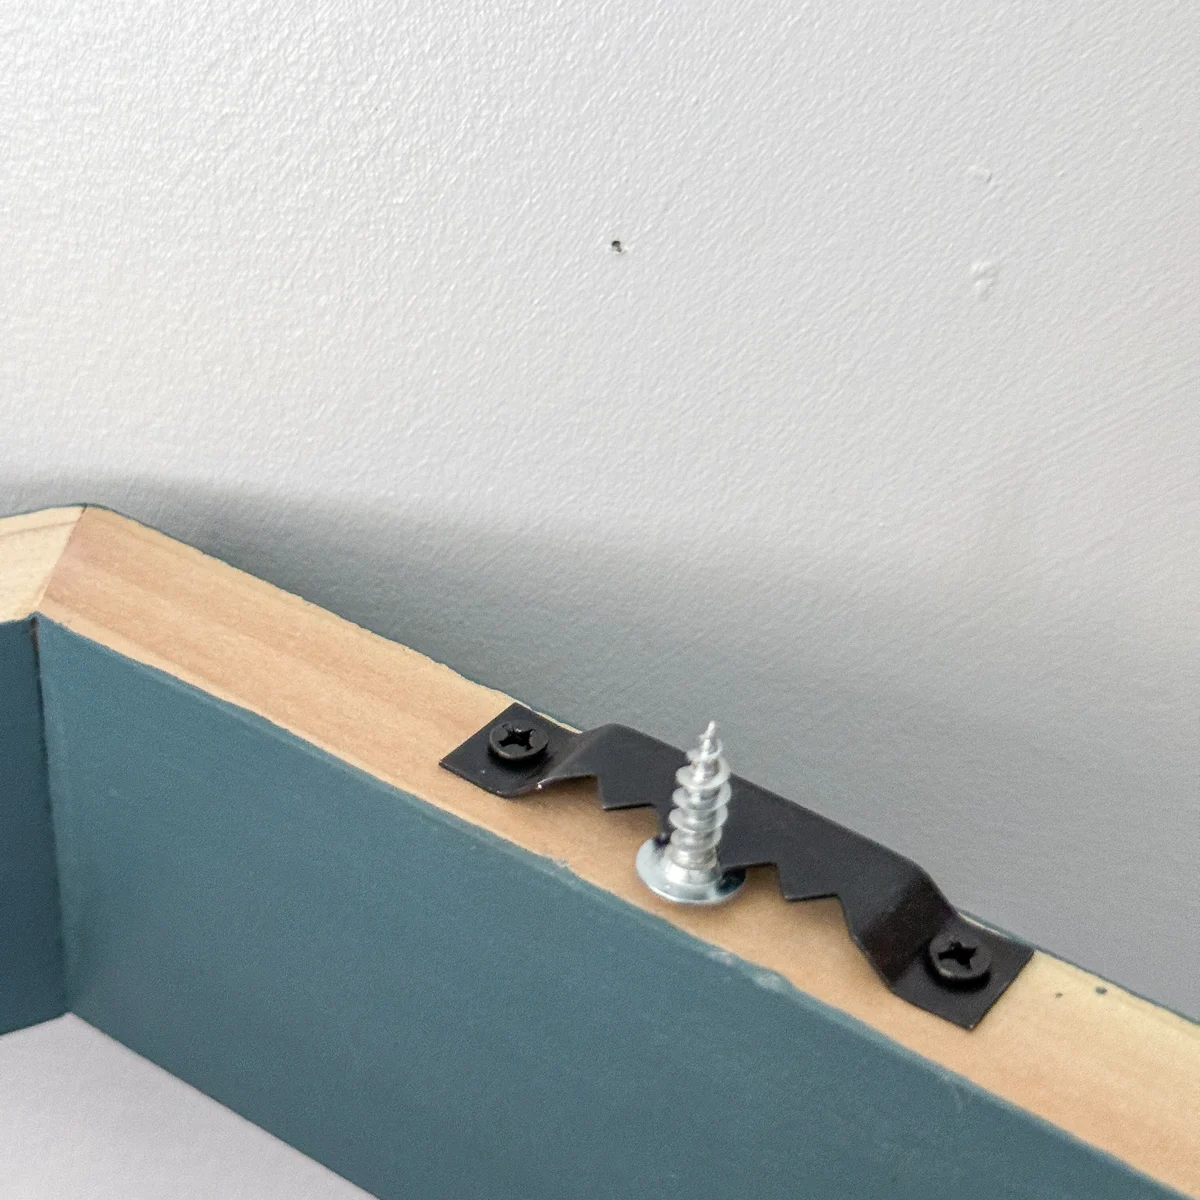
There are several ways to hang these shelves. I decided to use these sawtooth picture hangers, which screw onto the back. Place it towards the top of the shelf, so the screw will be hidden behind it.

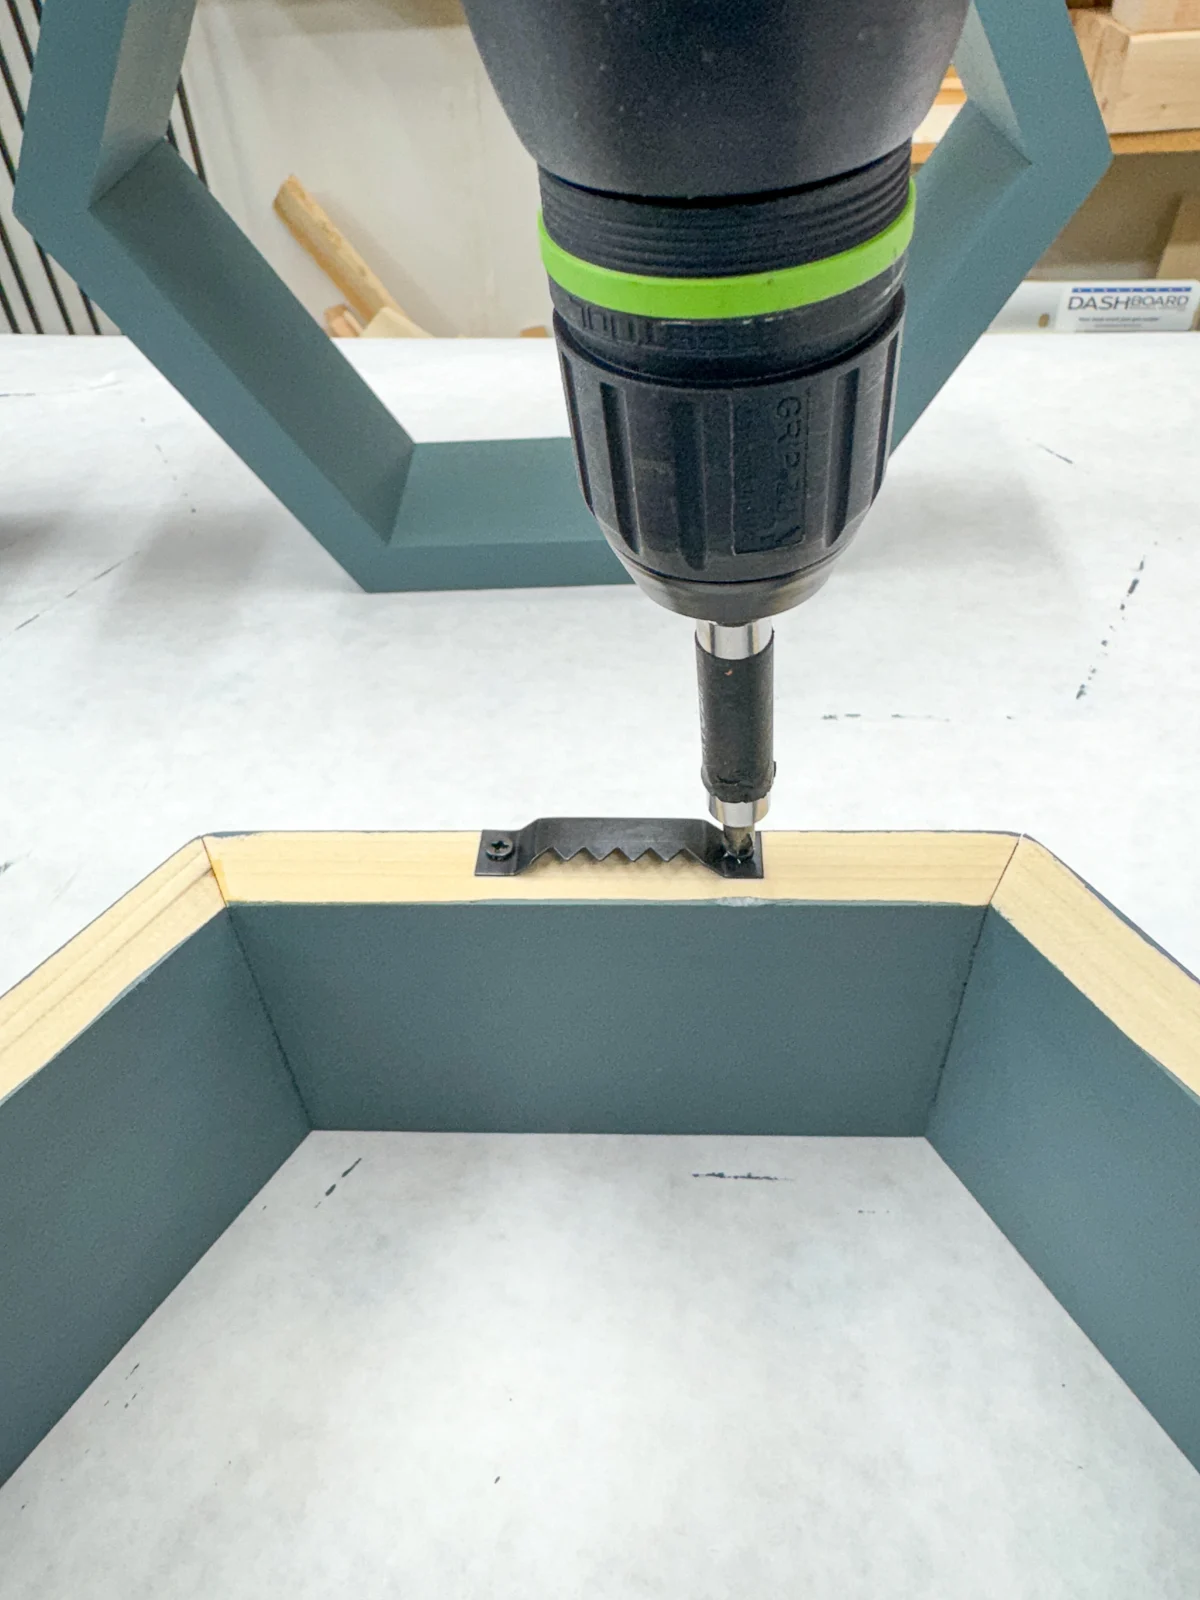
I added cabinet door bumpers to the bottom as well. This will prevent the shelf from tipping forward when it's hung on the wall.

To mark the position each shelf, I placed a small screw into the sawtooth hanger and pressed it into the wall. This gave me the exact location to install the hollow wall anchor.
Then I used a scrap piece of 1x4 as a spacer between the shelves.

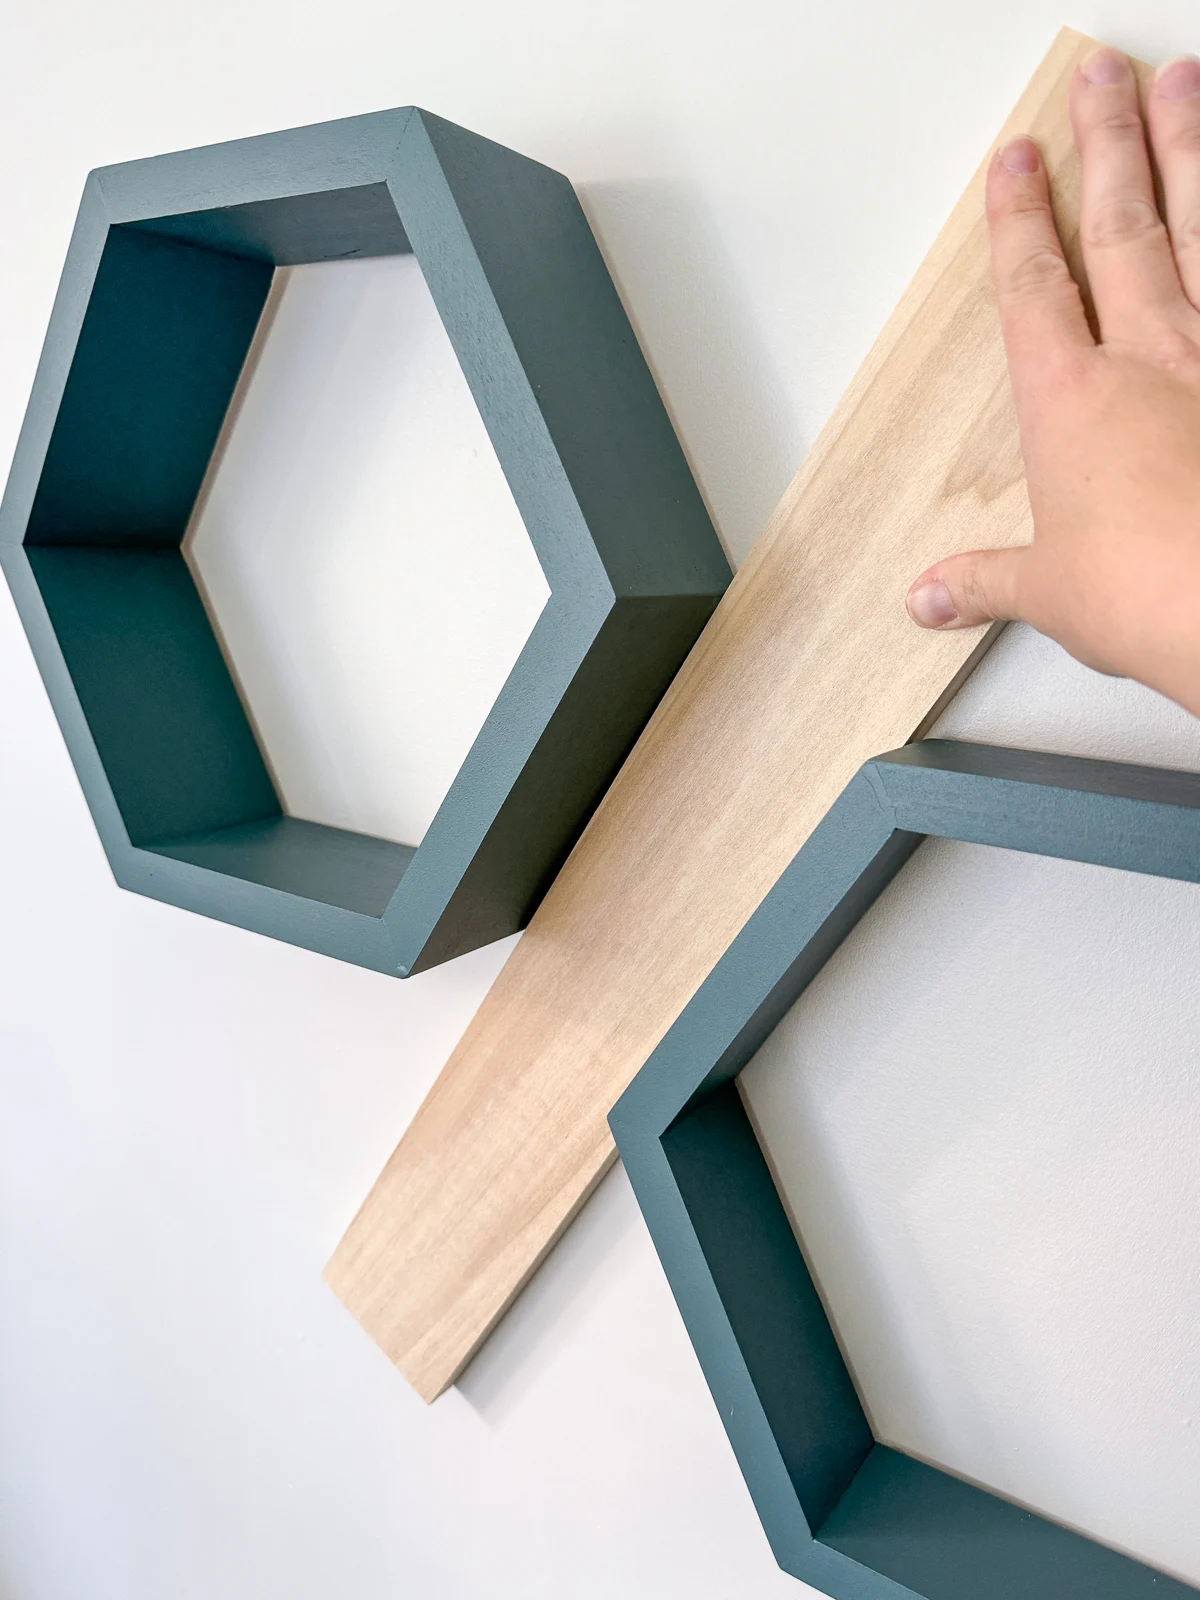
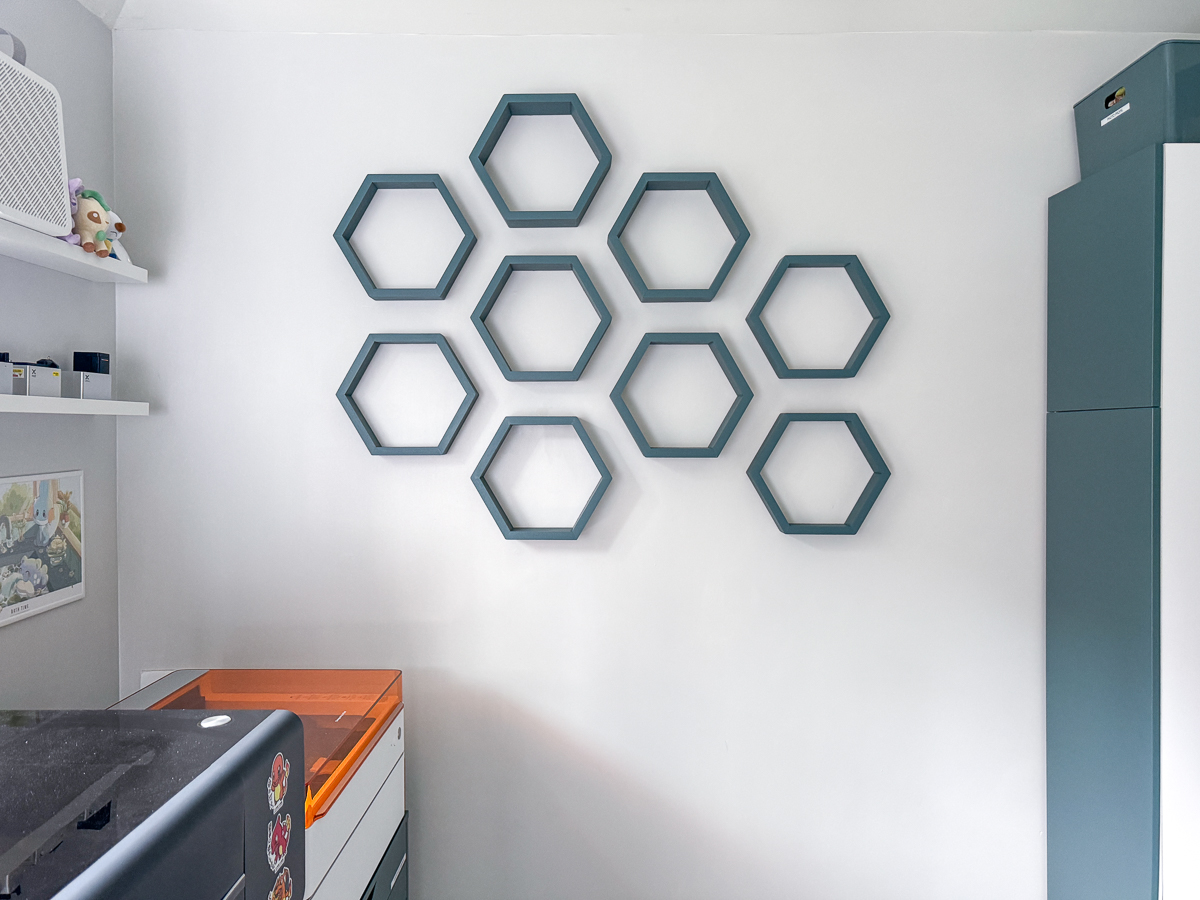
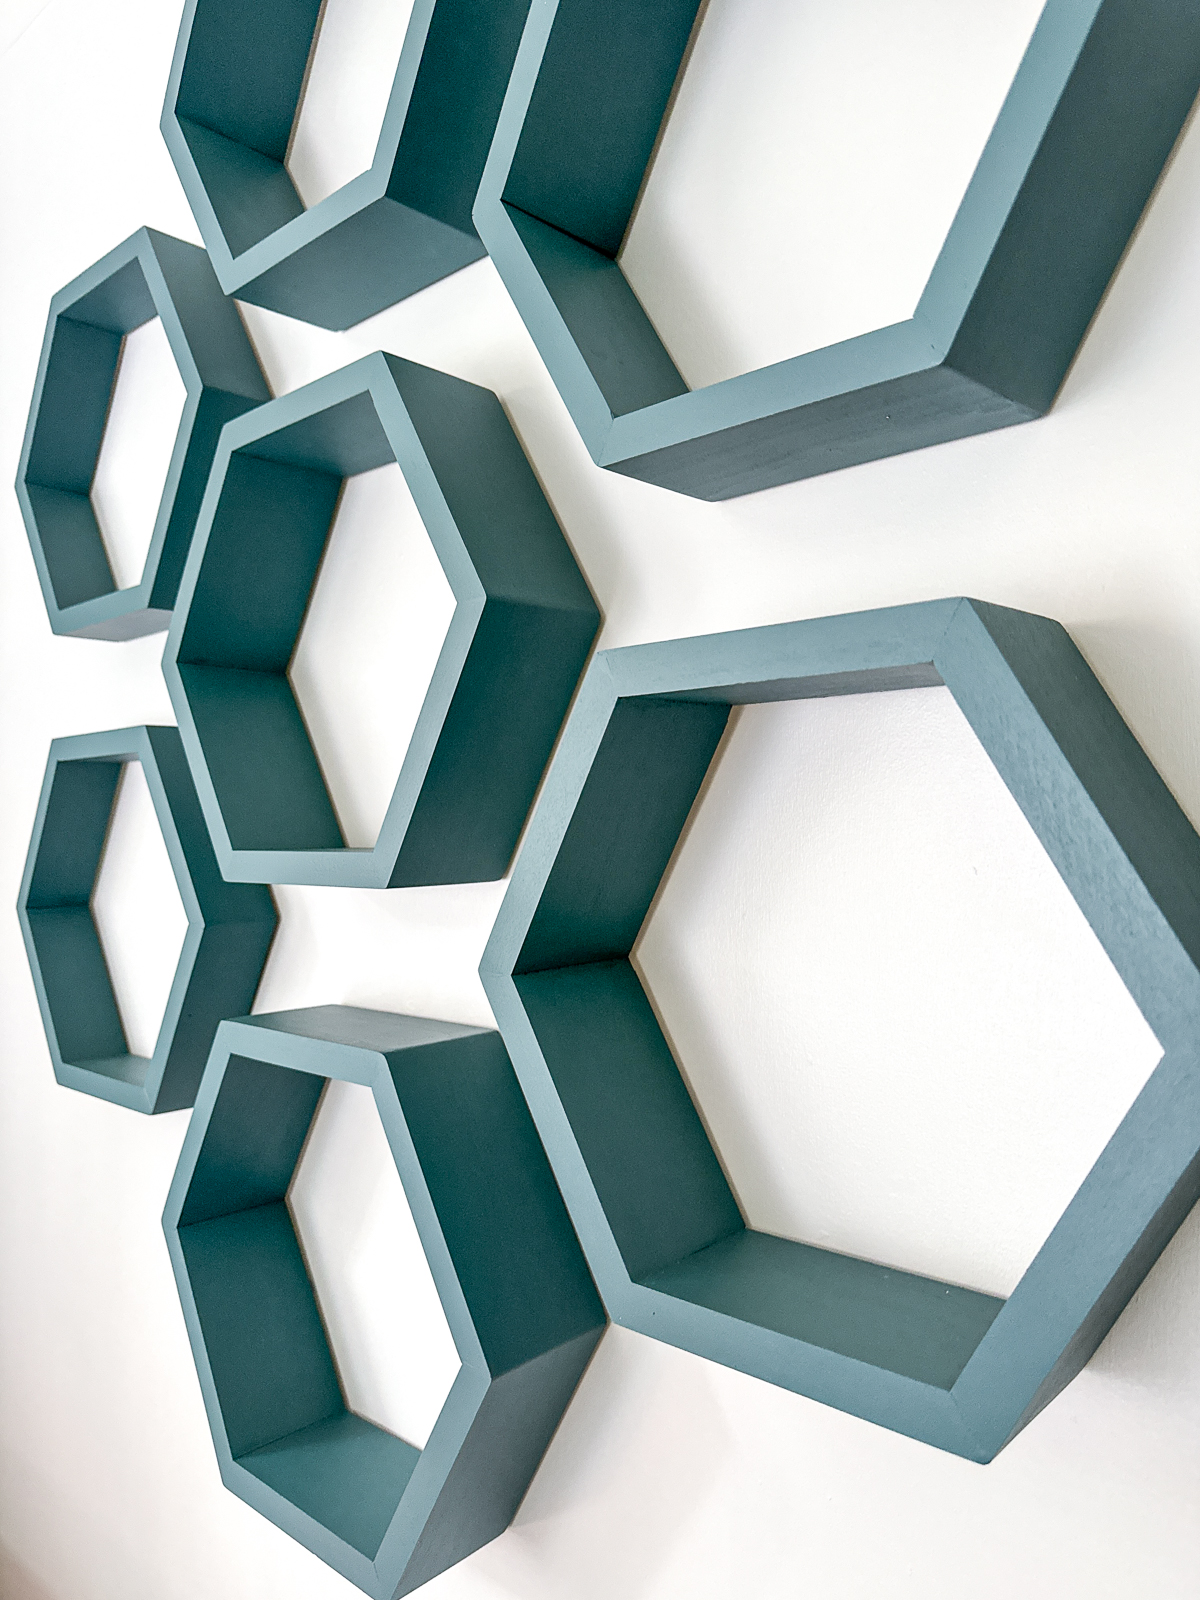
Soon, the entire wall of hexagon shelves was complete! I ended up using 9 of the 10 shelves because I liked the asymmetric look. But I'll hold onto the last one in case I change my mind (or need more storage space!)
I arranged all the deeper shelves in the middle to give me better access to the tall cabinet and xTool M1 Ultra on either side.

I couldn't wait to load these up with all my crafting supplies! It's so much easier to see what I have when they're displayed on the shelves instead of buried in a drawer.


These hexagon wall shelves were the perfect storage solution for this wall! The dark turquoise ties the two sides together, and the craft supplies add even more fun color!
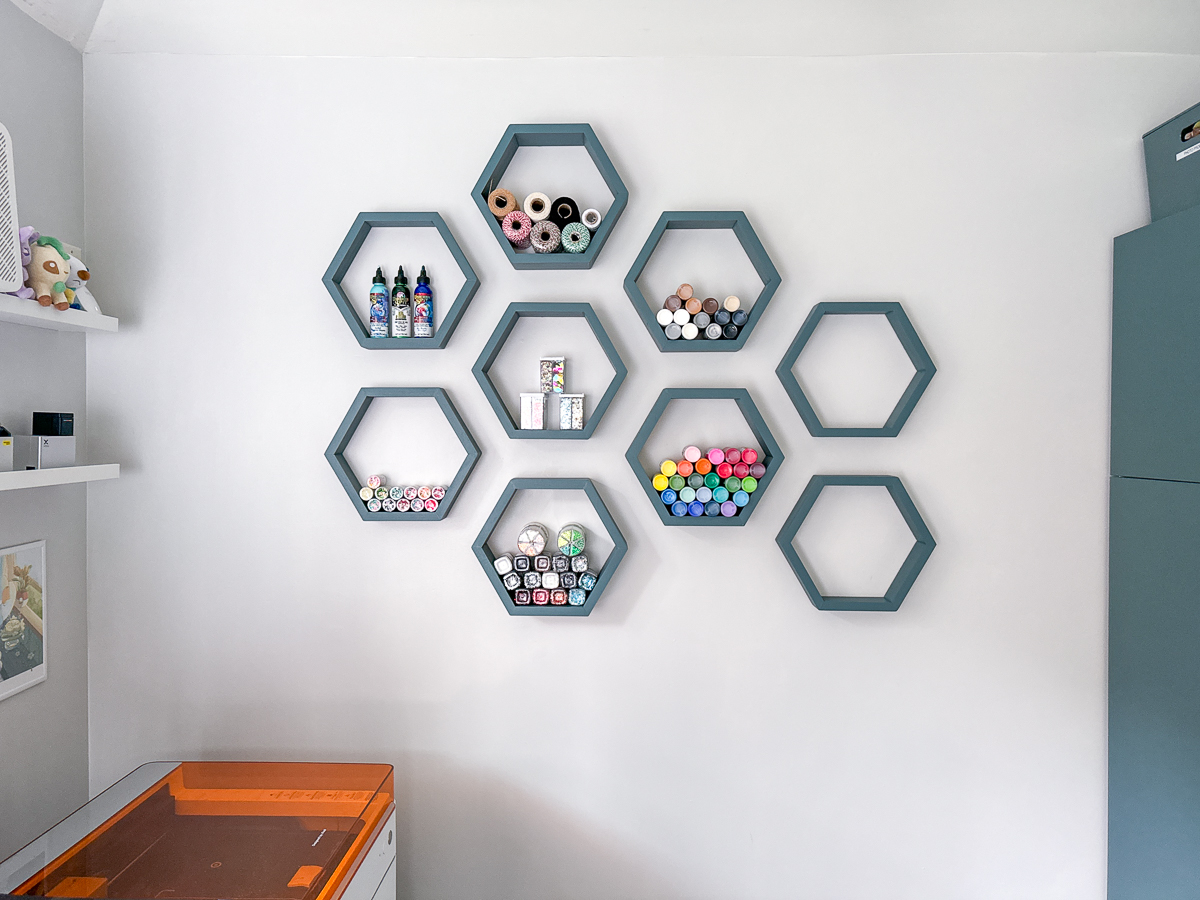

I emptied out a few drawers and still have plenty of storage space left. Time to go to the craft store!
Check out these other easy woodworking projects!
SR
Saturday 28th of September 2024
I am in awe, as usual! You work magic. These give the wall a lot of interest plus great storage!