Learn how to make flexible acrylic bookmarks with the xTool M1 Ultra! This easy laser project makes a great gift for book lovers!

This post is sponsored by xTool and contains affiliate links for your convenience. Purchases made through these links may earn me a small commission at no additional cost to you. Please visit my disclosures page for more information.
One of the things I love most about the xTool M1 is the ability to use both a laser and a blade in the same machine. My Silhouette machine has been gathering dust ever since I got this thing!
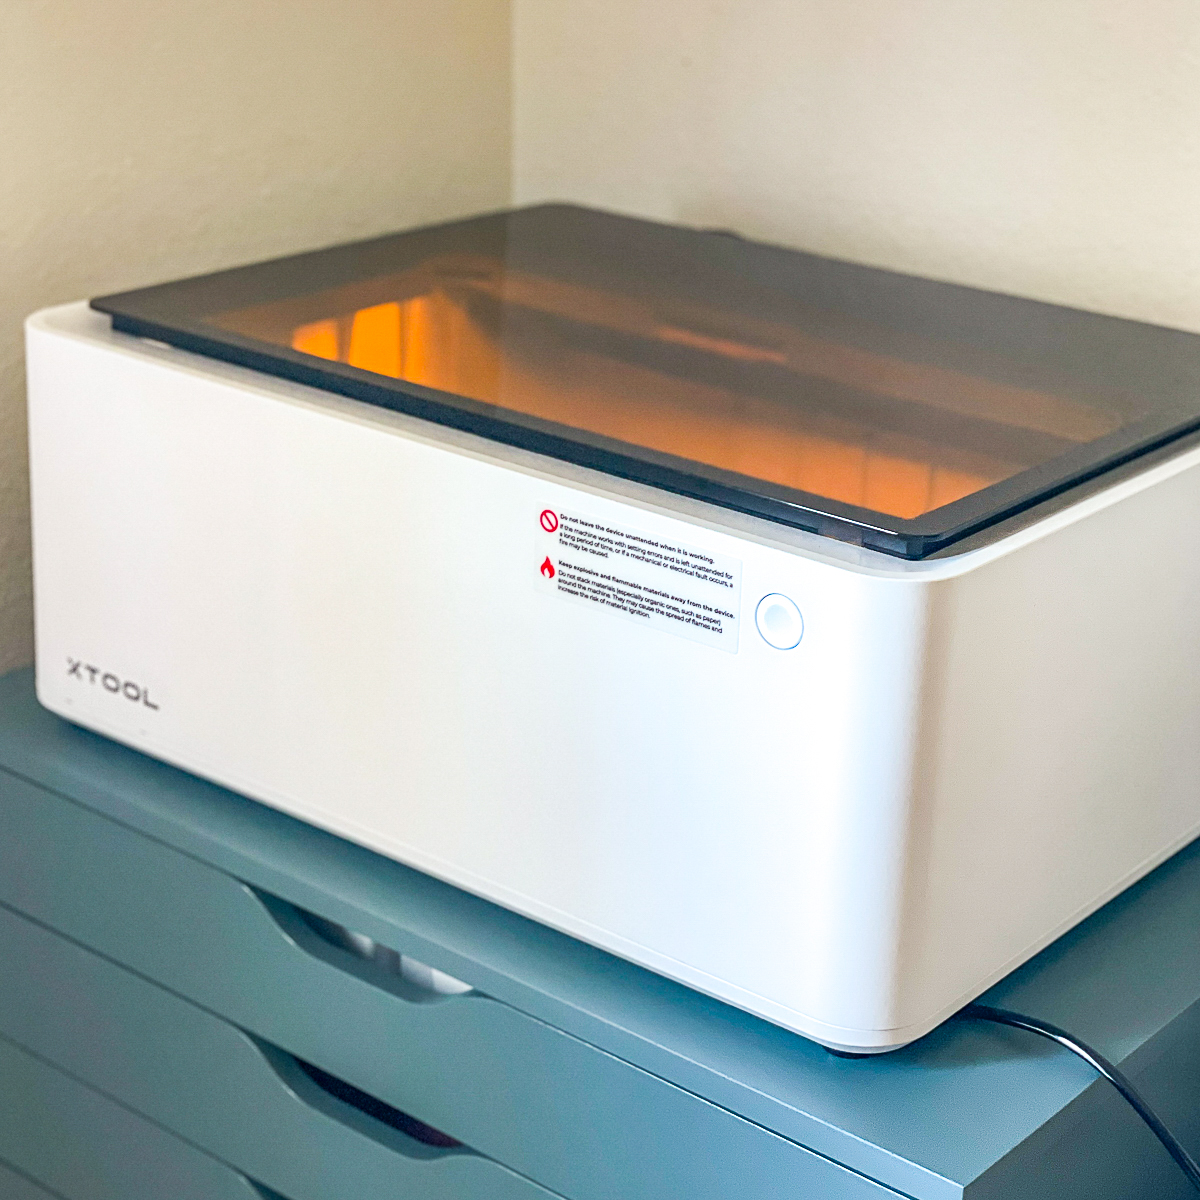

So when xTool offered to send me their latest version, the M1 Ultra, I jumped at the opportunity! It can cut materials with both a laser and a blade like the original version, but they've added even more tools in an easy-to-switch module system!
Now you can swap to pens, rotary blades, foil transfer tips and even an ink printer head! It's super easy to change modules, so you can leave your project in the machine to perform the next task.
Click here to check out all the xTool M1 Ultra packages and accessories! When you're ready to buy, don't forget to use the code VINETA100 to get $100 off!
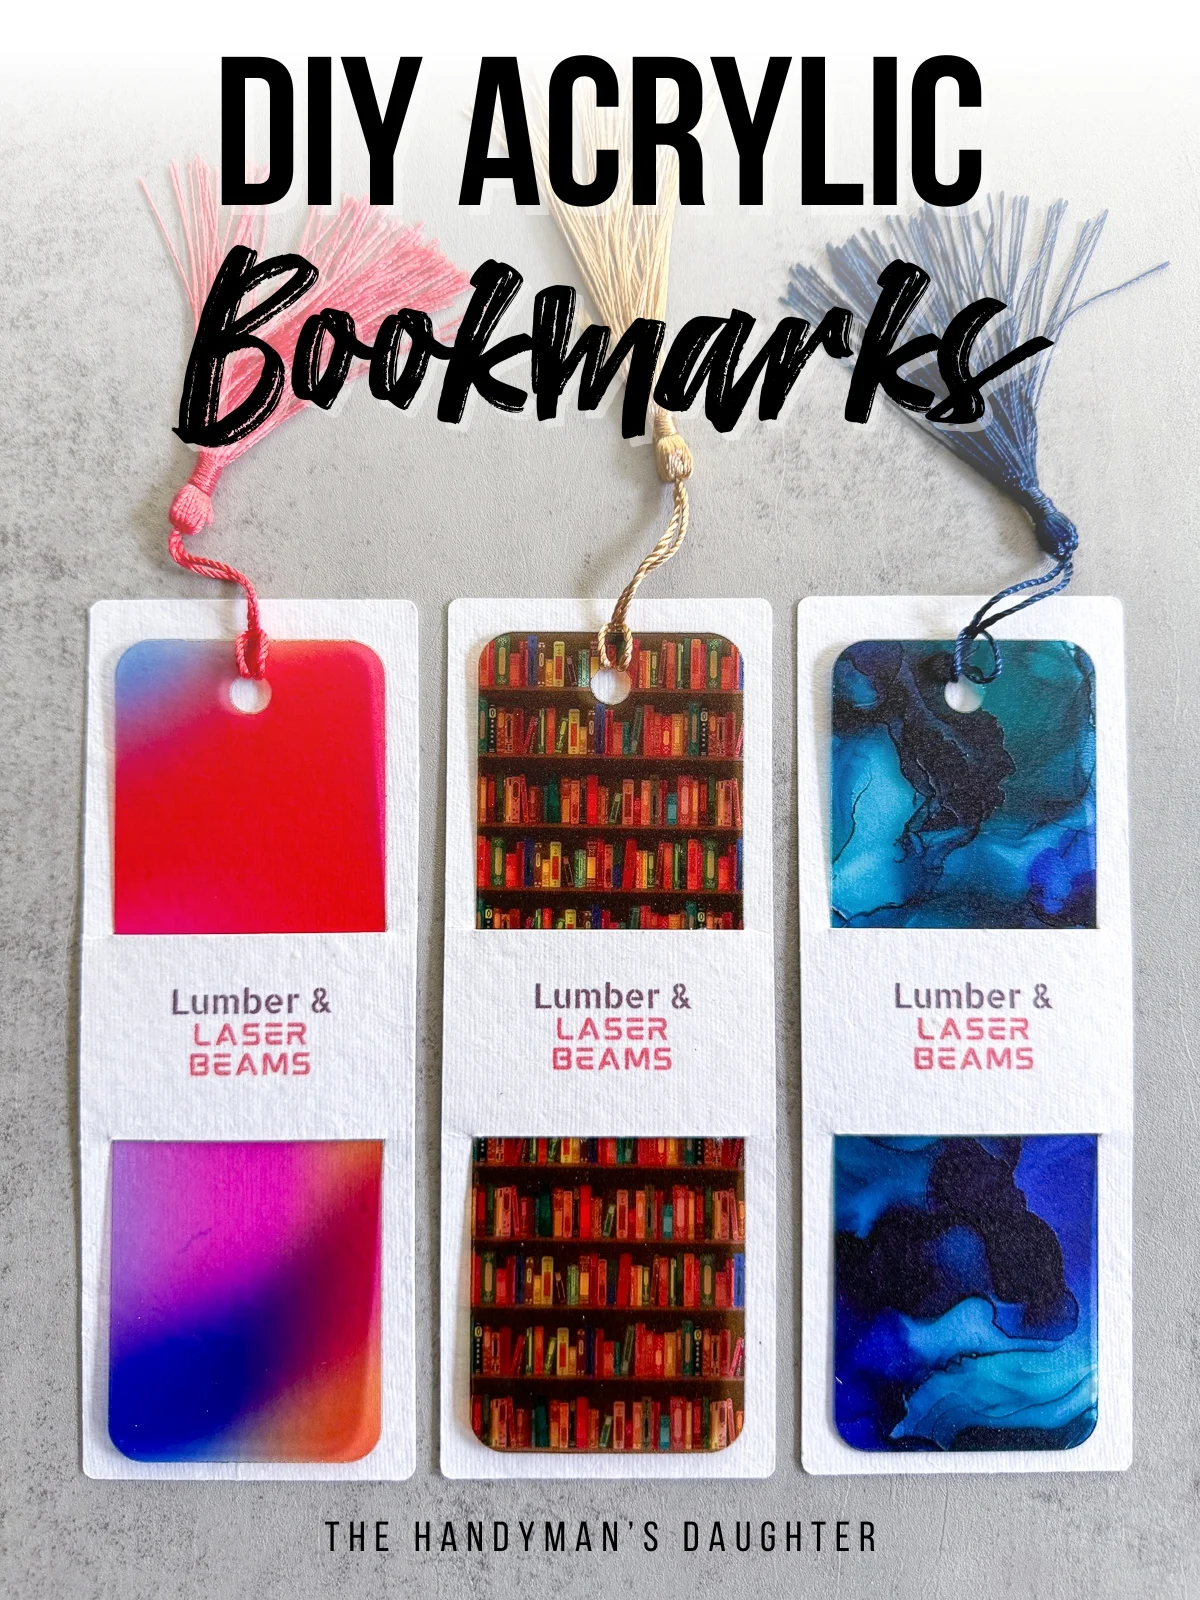
To put this machine to the test, I'm making one project that uses three different modules: flexible acrylic bookmarks!
I'll cut the acrylic with the laser first. Then I'll print the logo of my Etsy shop, Lumber & Laser Beams, with the inkjet module and cut the paper sleeves with the fine point blade. This simple packaging will take your product or gift to the next level without investing in multiple machines!
Let's get started!
Cut the acrylic with the laser module
The M1 Ultra is a diode laser, which can only cut through certain colors of acrylic. One thing it can't cut is transparent or clear materials, which can be kind of a bummer!
But I recently discovered this material called Flex, which is sold by Smokey Hill Designs. It's super thin, so it can be cut with a diode laser even if it's clear! The video below explains more about this awesome product.
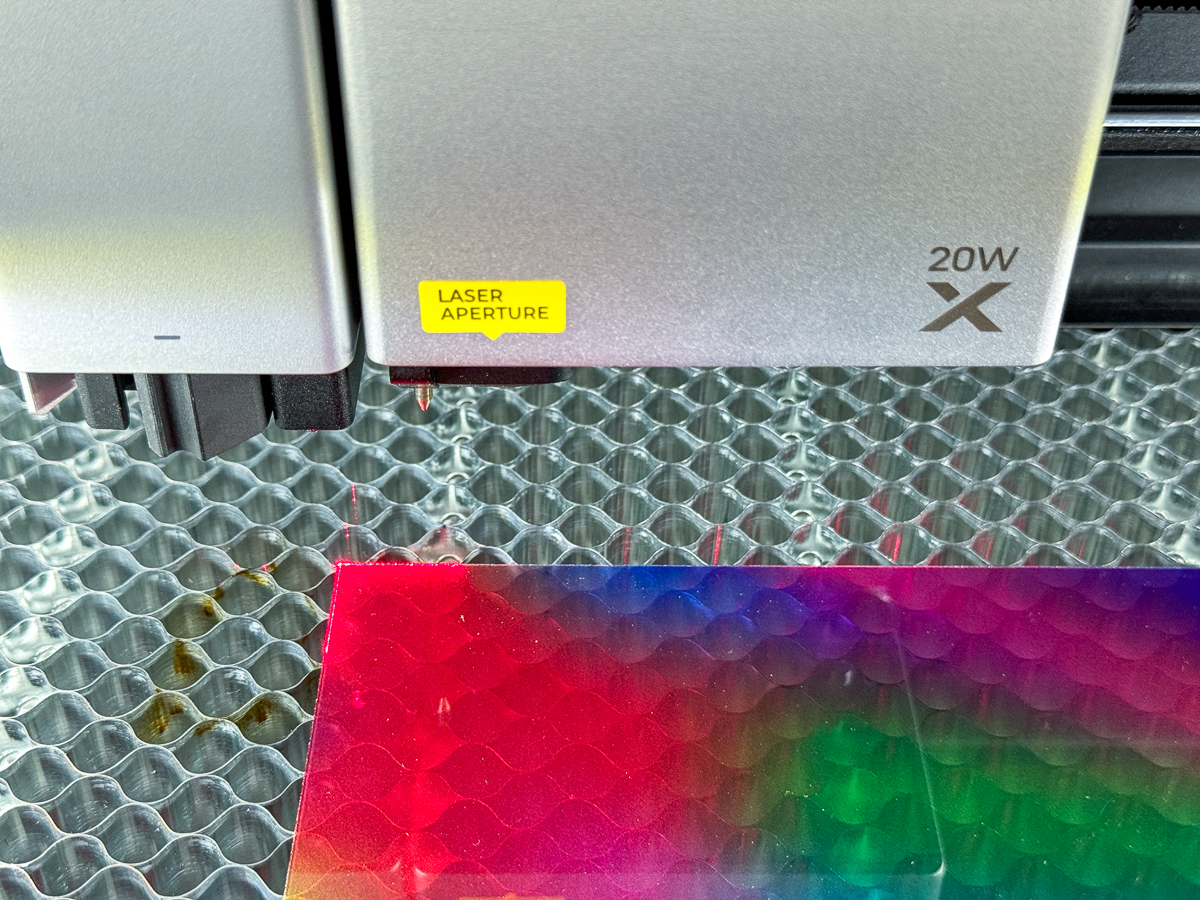
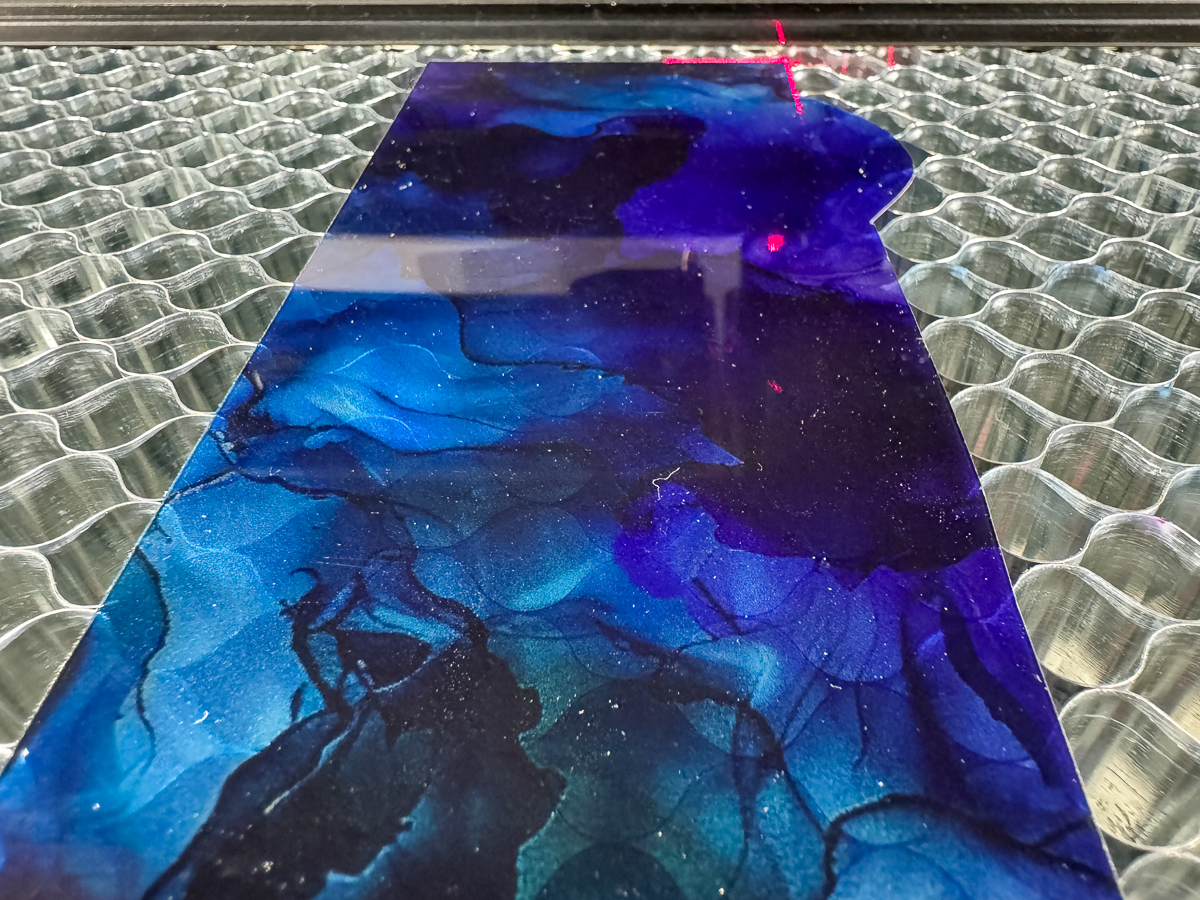
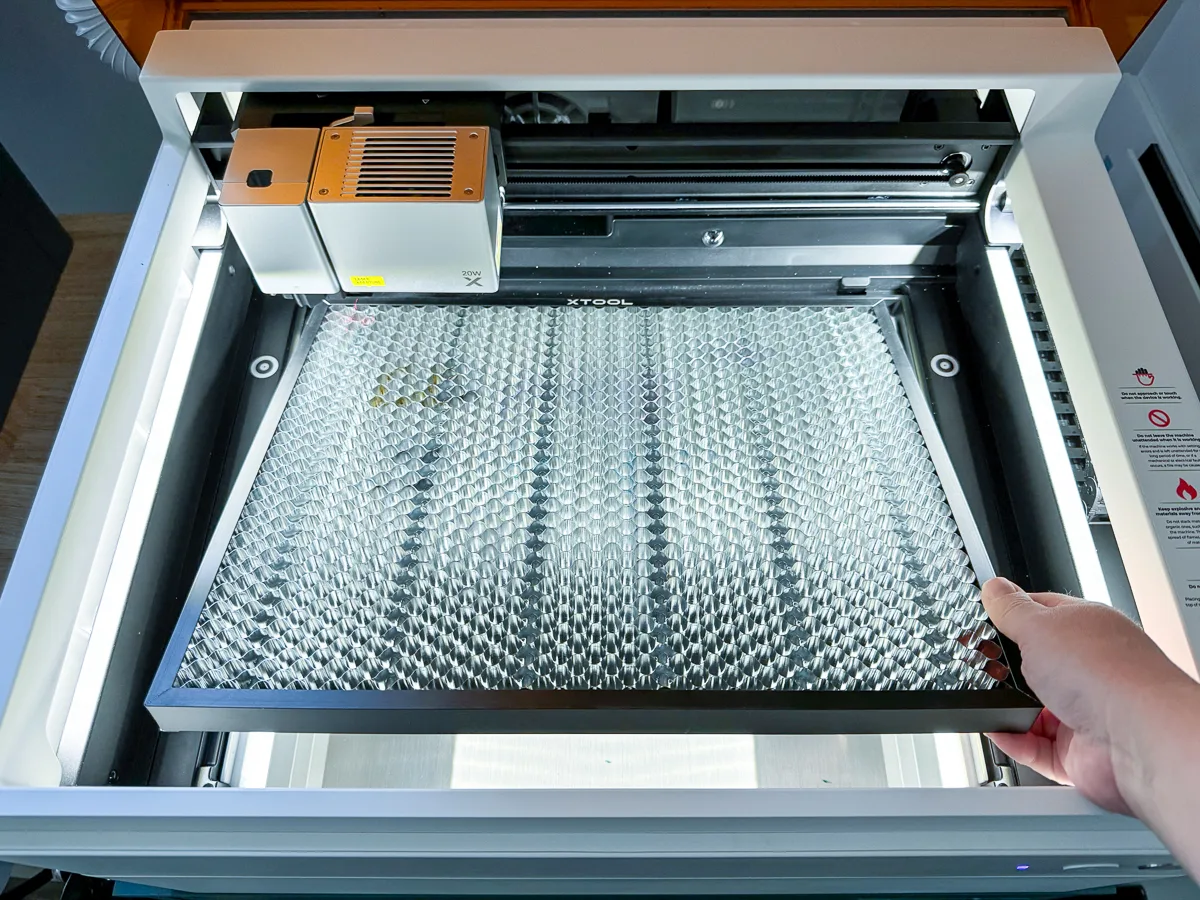
I had a bunch of scraps leftover from the suncatcher designs I made with my xTool P2 CO2 laser. I ran a test grid with the 20W diode laser module on the M1 Ultra to see how well it would cut.
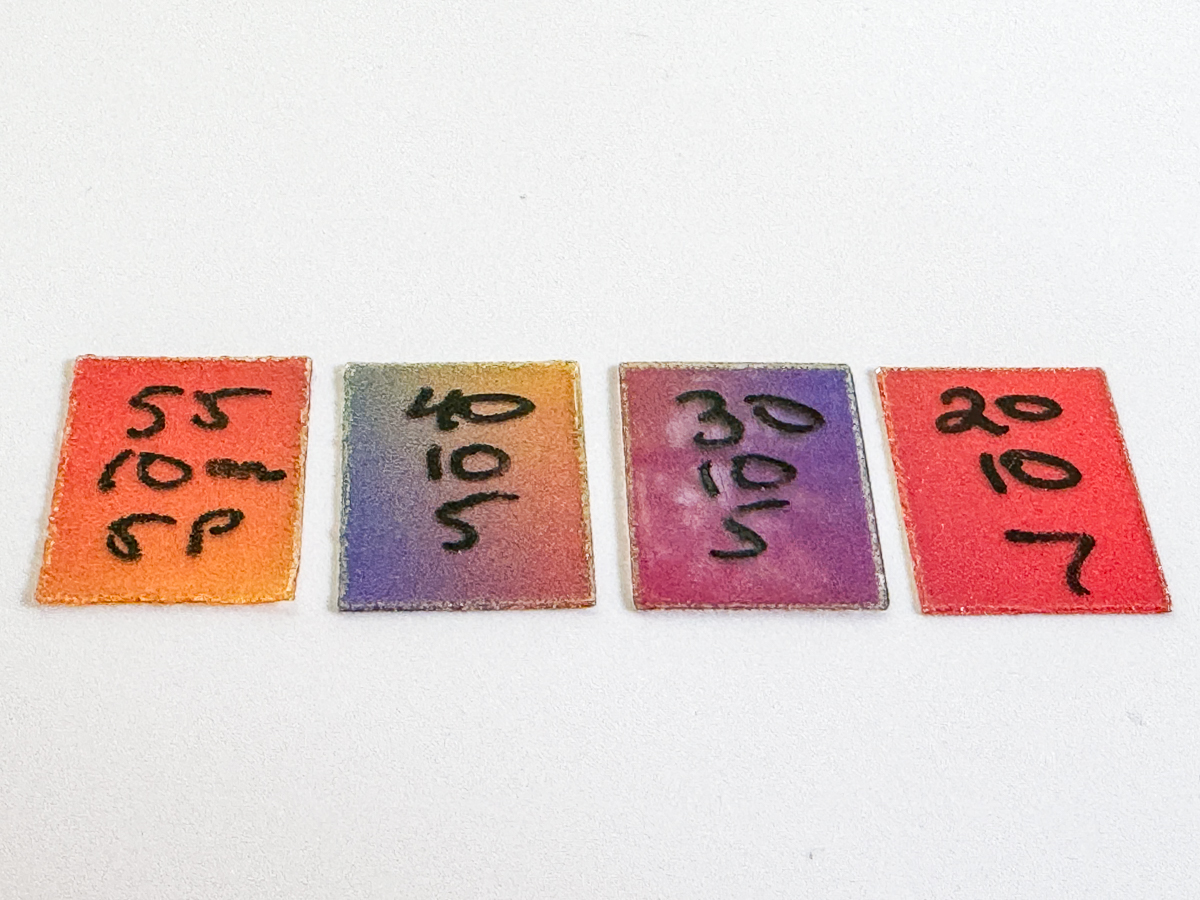
After running the first test, I could see that the high power/low speed settings melted too much around the edges. So I ran the file again, deleting those squares (and the labels on the sides) and increasing the number of passes of the rest. Don't move the material between passes. Just poke the squares to see if it cut through.
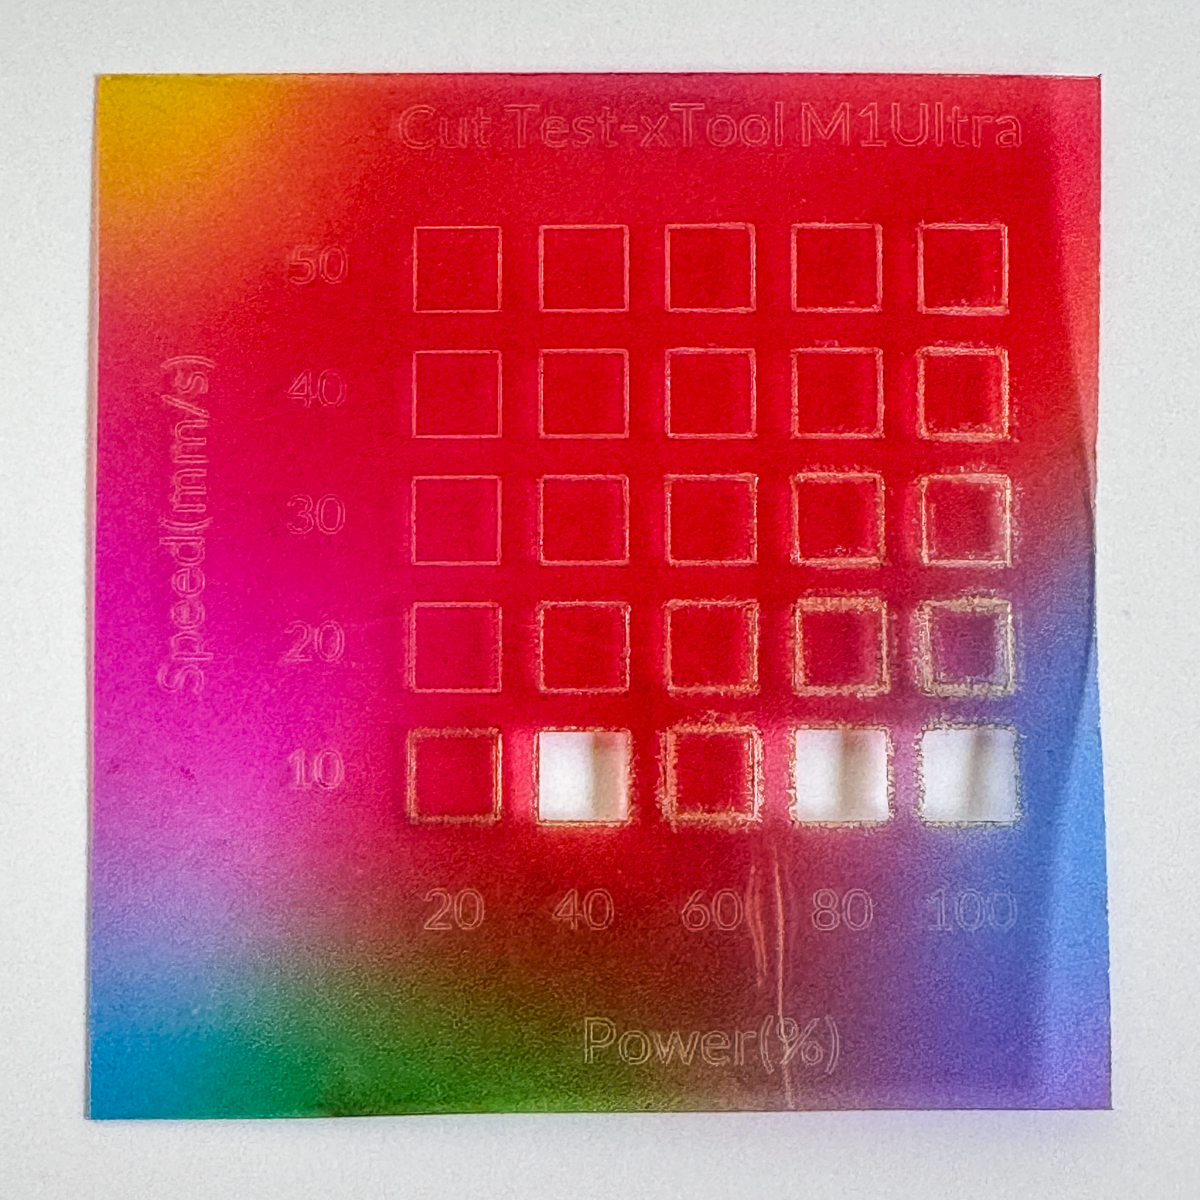

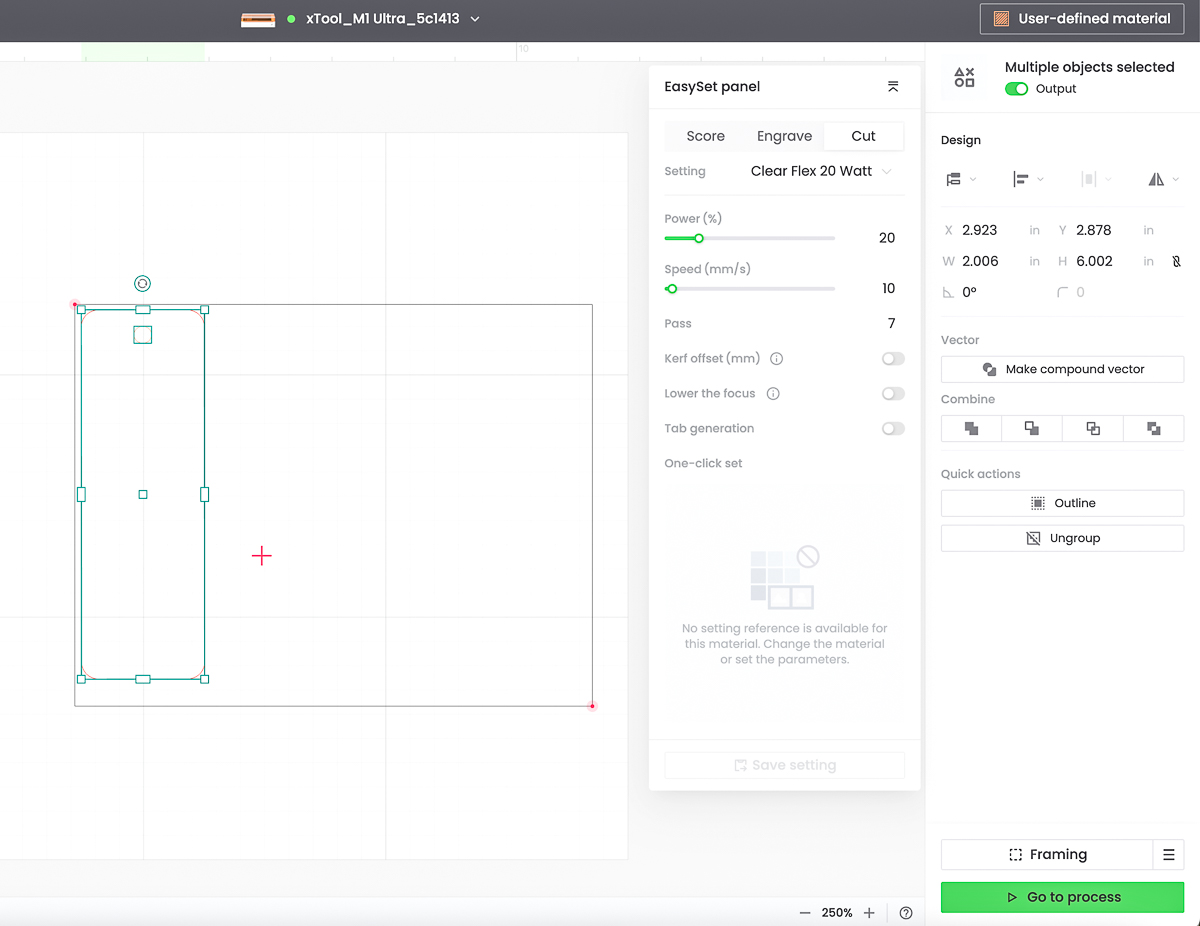
After a few more tries, I found the best settings for my machine. It looks like 20% power, 10mm/s speed and 7 passes will give me a clean cut without melting the edges too much.

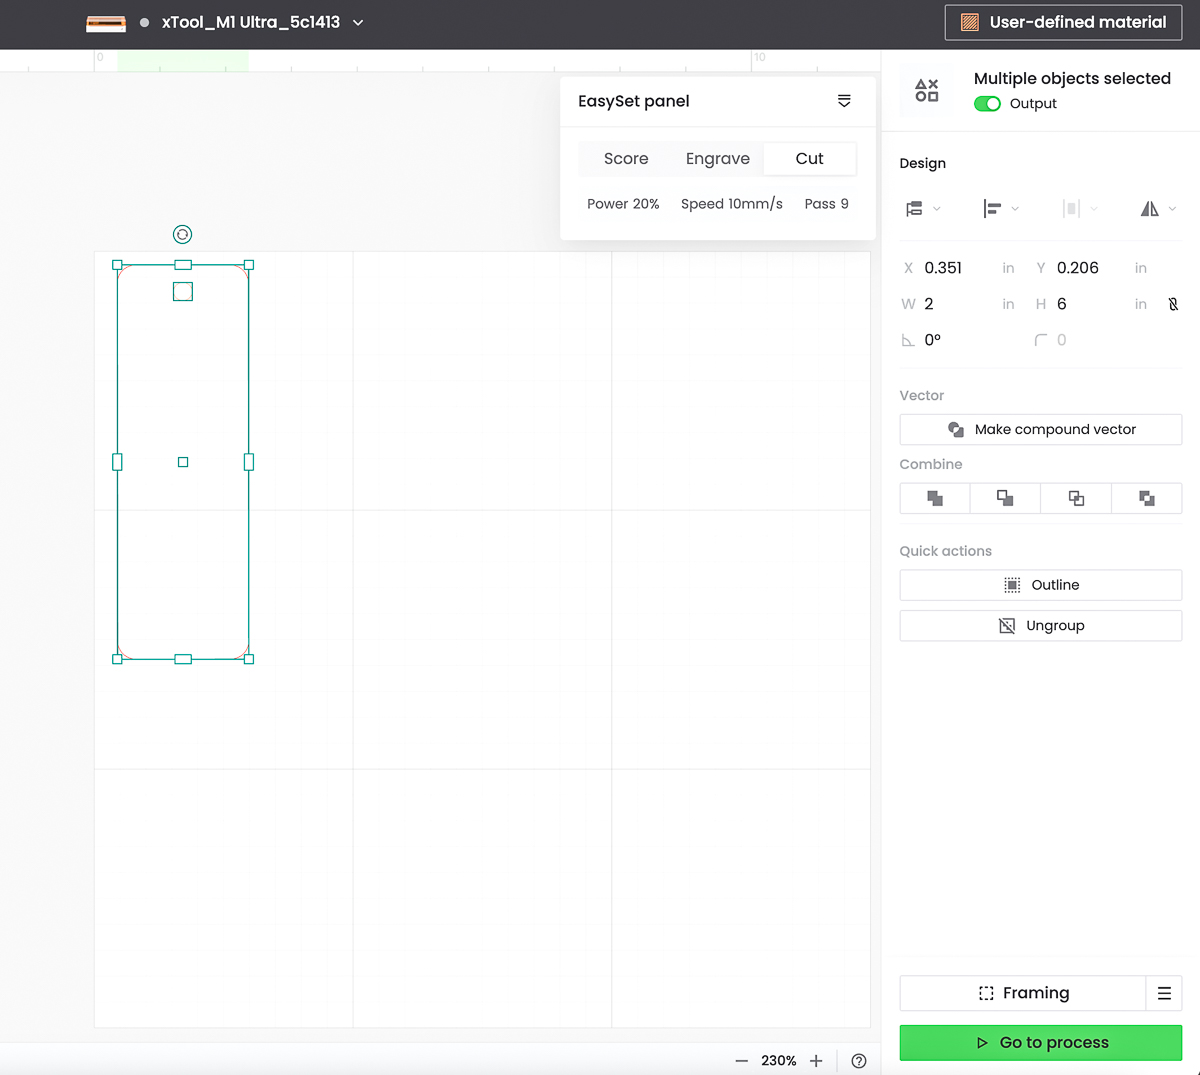
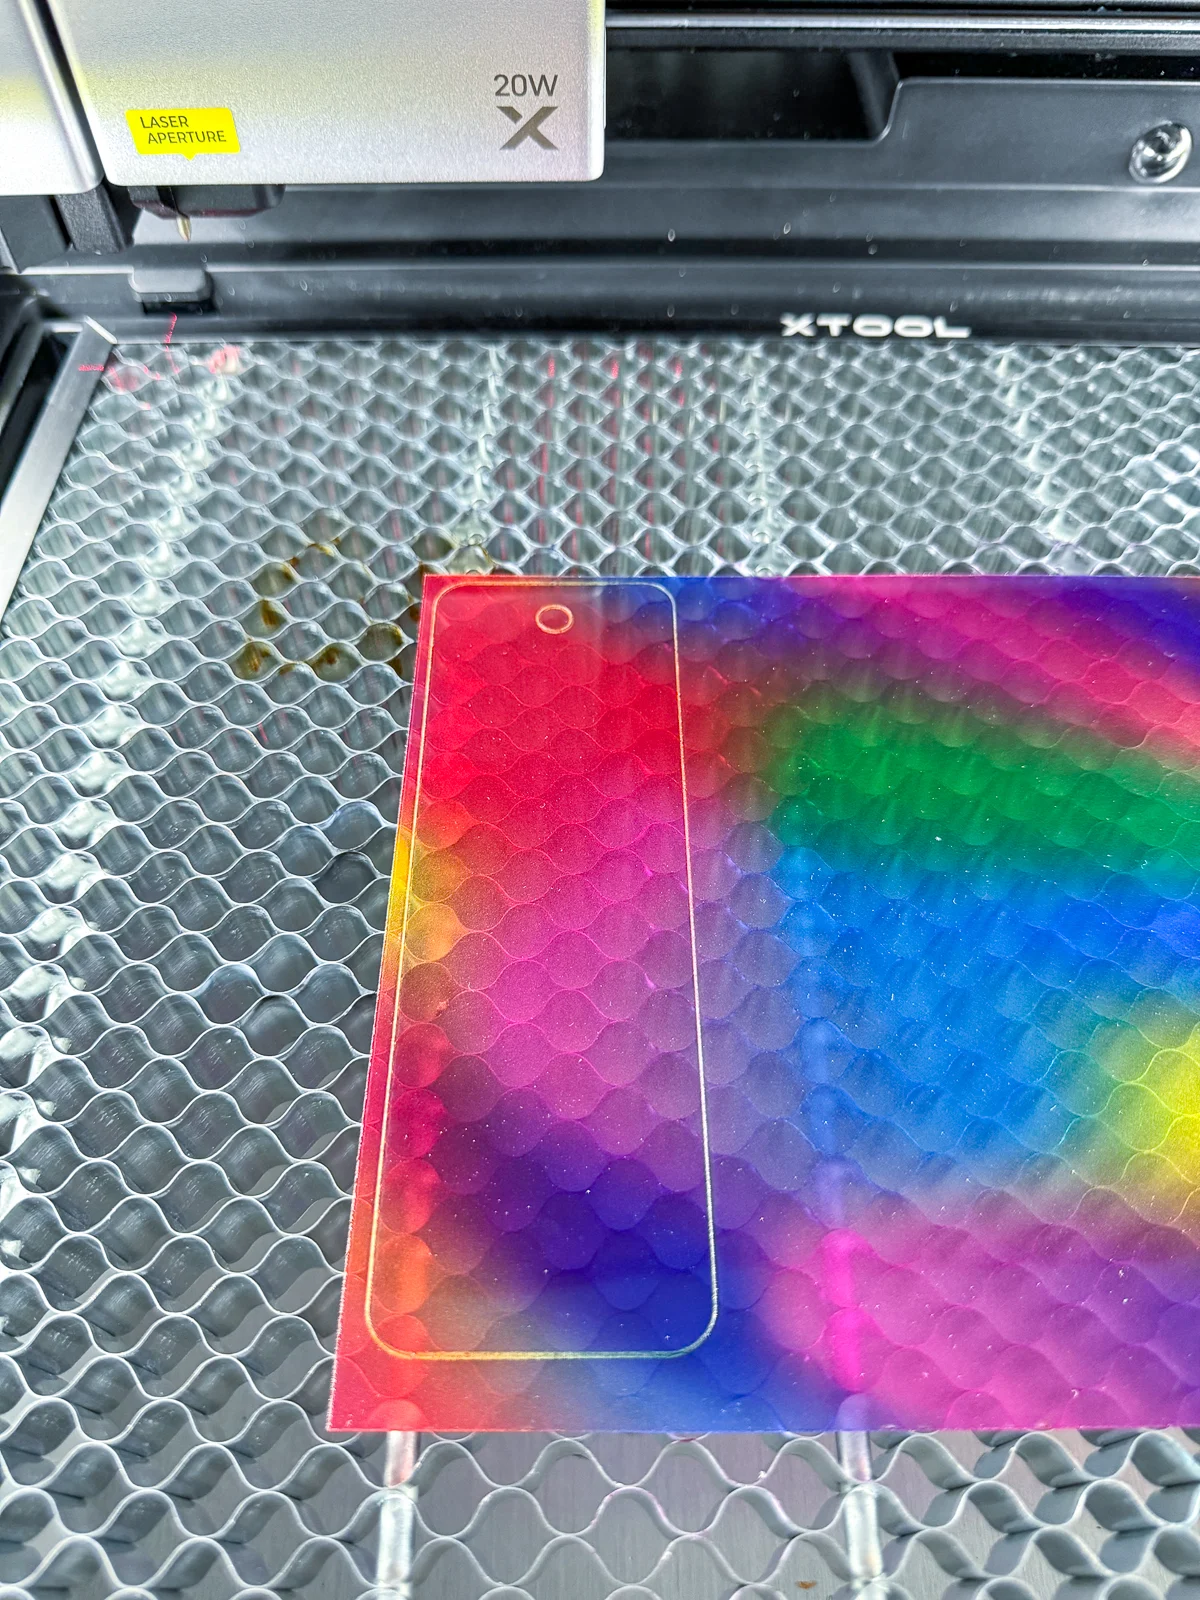
Now I can cut out my bookmarks! In xTool Creative Space, I made a 2"x6" rounded rectangle, then added a ¼" hole at the top.

I'm using acrylic scraps, so each piece is a different size and shape. The M1 Ultra uses pinpoint positioning rather than a camera to get the correct placement on your material.
Click here to check out all the xTool M1 Ultra packages and accessories! When you're ready to buy, don't forget to use the code VINETA100 to get $100 off!
To mark the area to be cut, line up the laser crosshairs with the upper left corner and press the button on the front of the machine. Then move it to the lower right corner and press the button again to create the rectangular working area.

One of the acrylic scraps had a curve cut into one side. The laser marks allowed me to avoid that spot and still get a full bookmark out of it.

Now you can move the bookmark outline anywhere within that rectangle on the screen to cut it out. Remember to change your cut settings to match the ones you liked from the test grid! I saved mine directly into xTool Creative Space so I can switch the settings in one click.

It took about 6 minutes to cut out each bookmark, because it had to do so many passes. You can try different combinations of higher power and slower speeds to decrease that time, but I wanted to avoid melted edges.

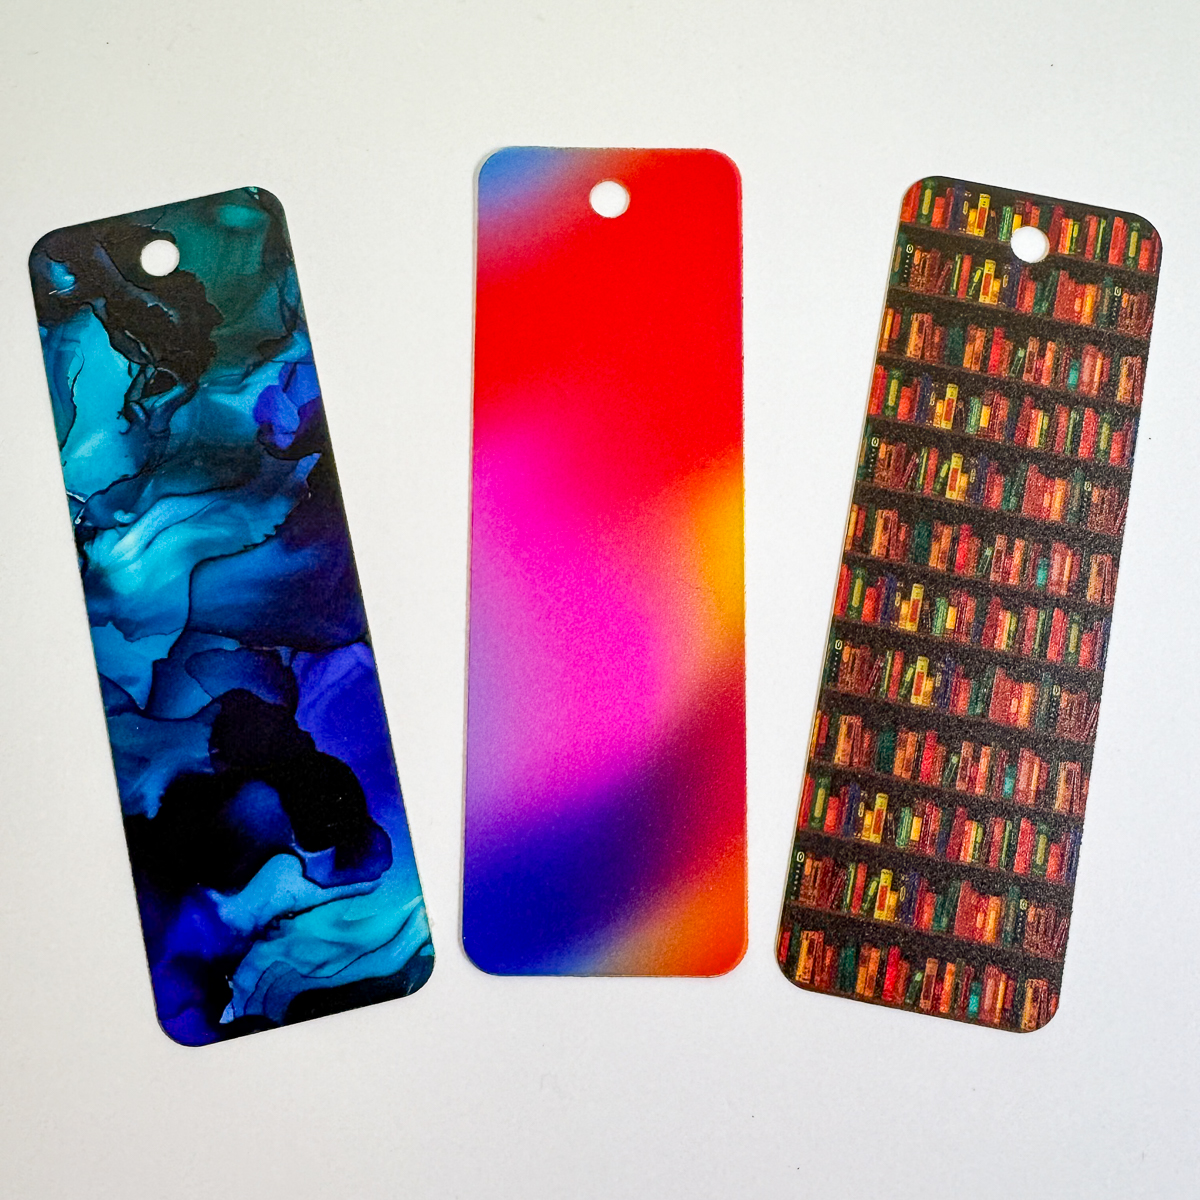
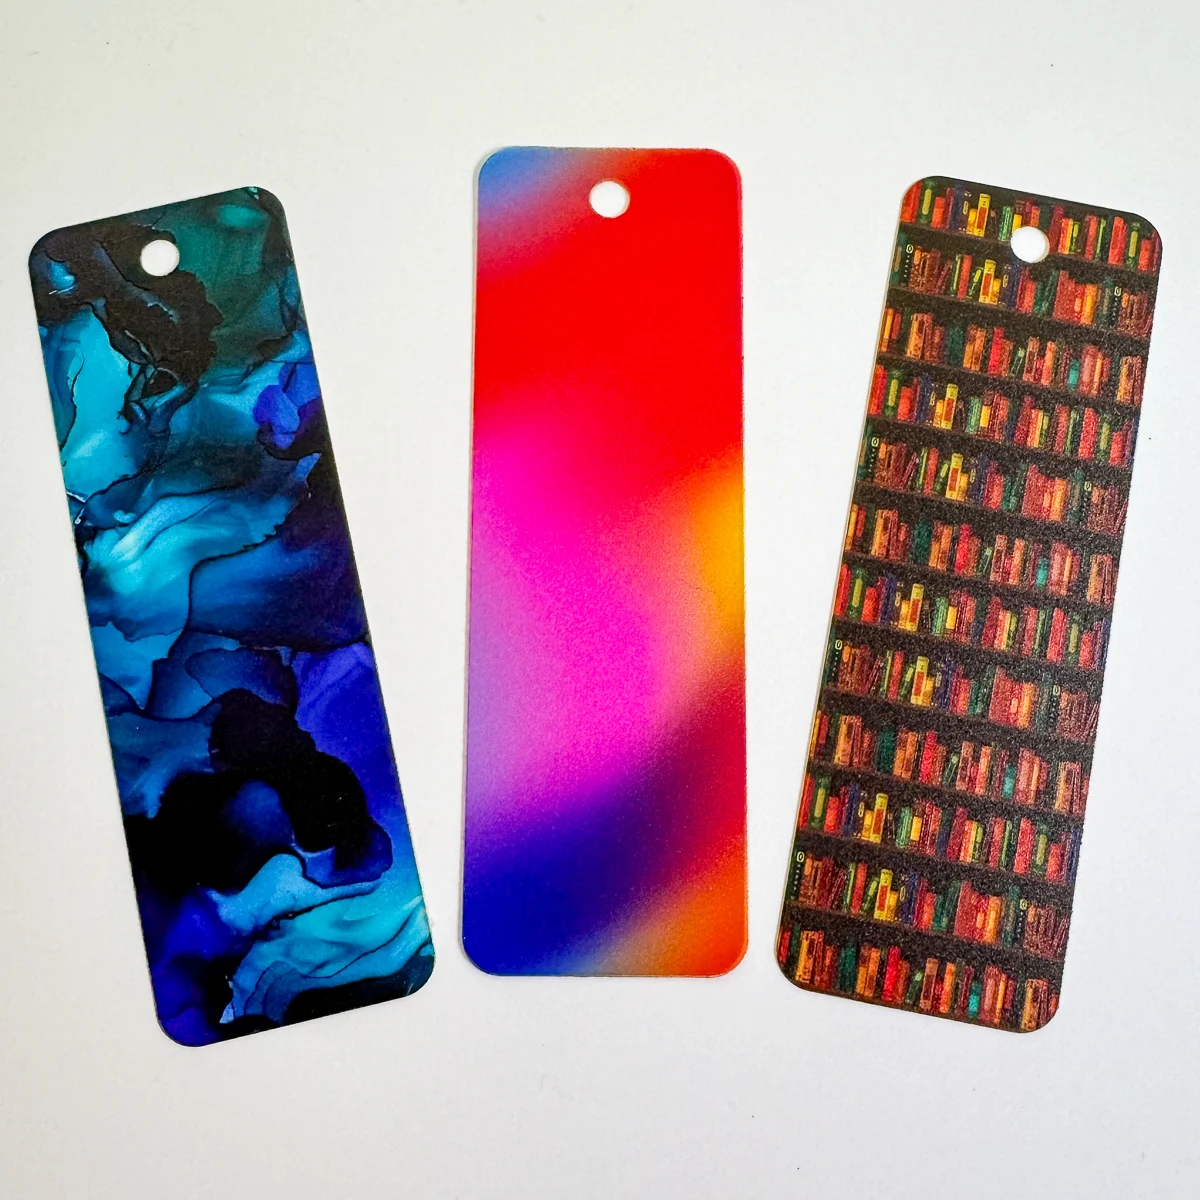
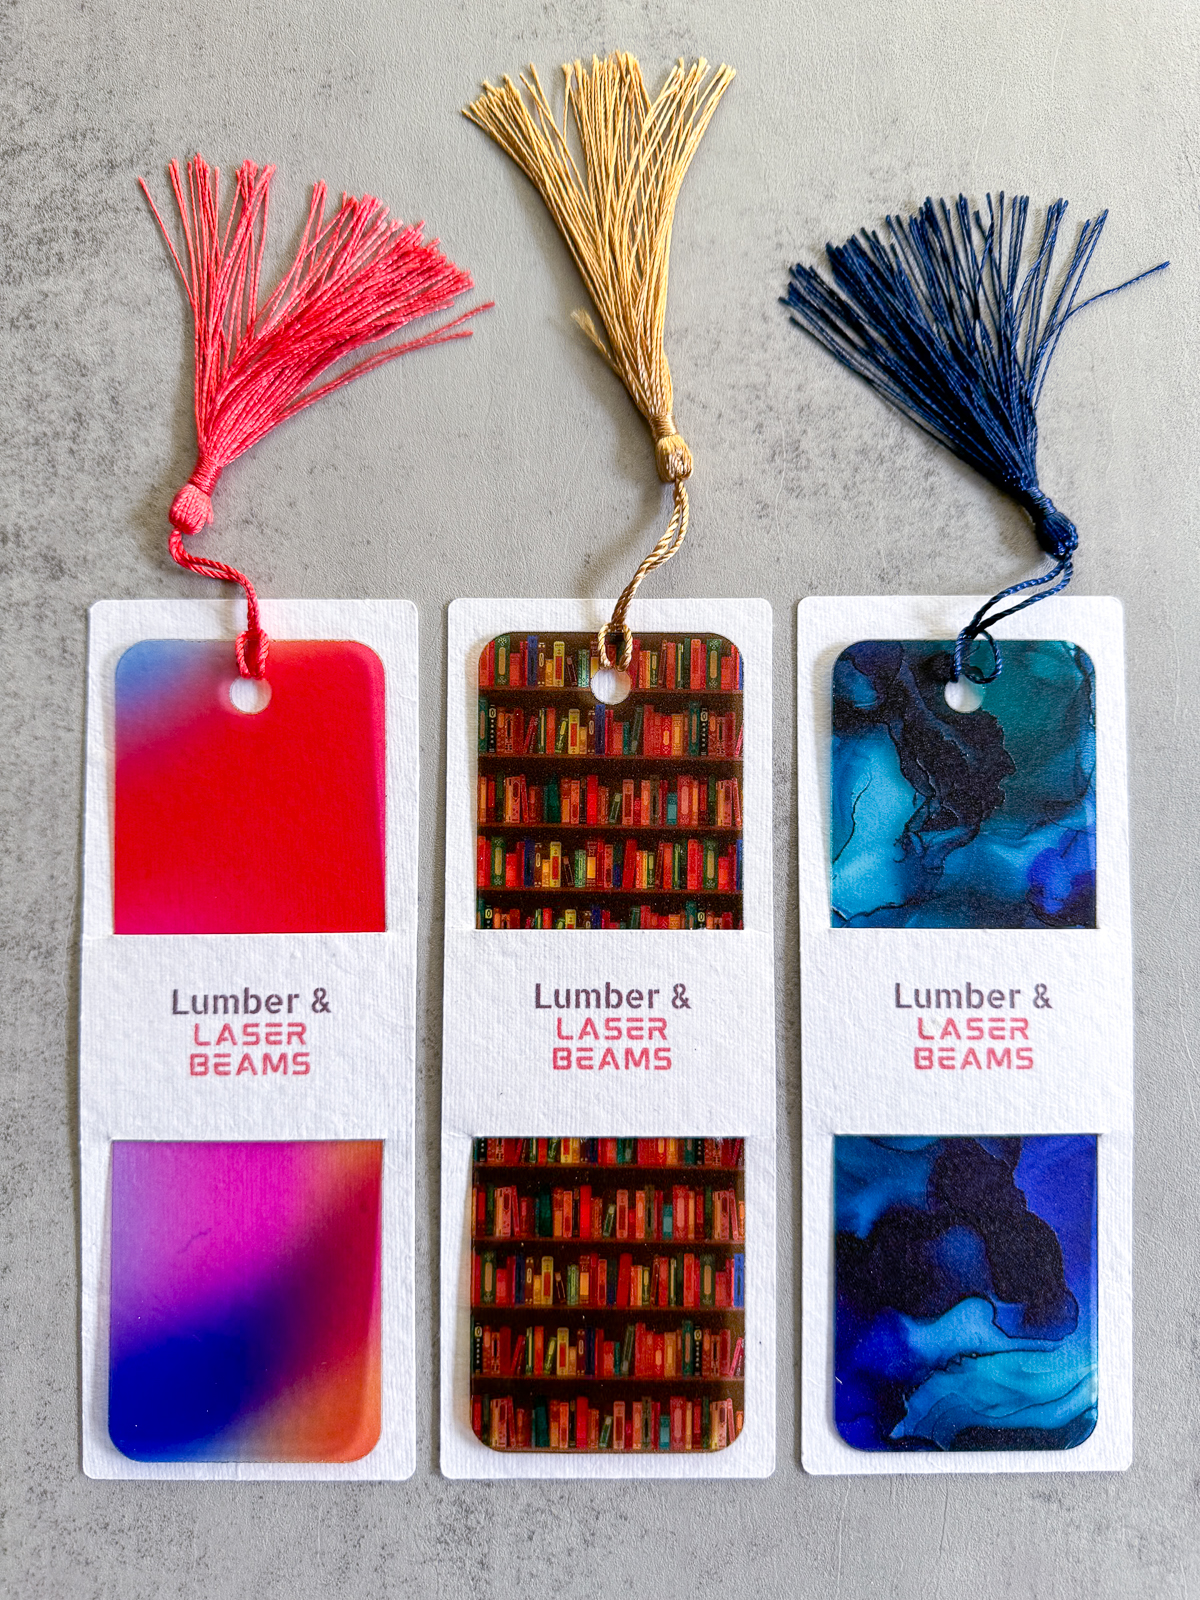
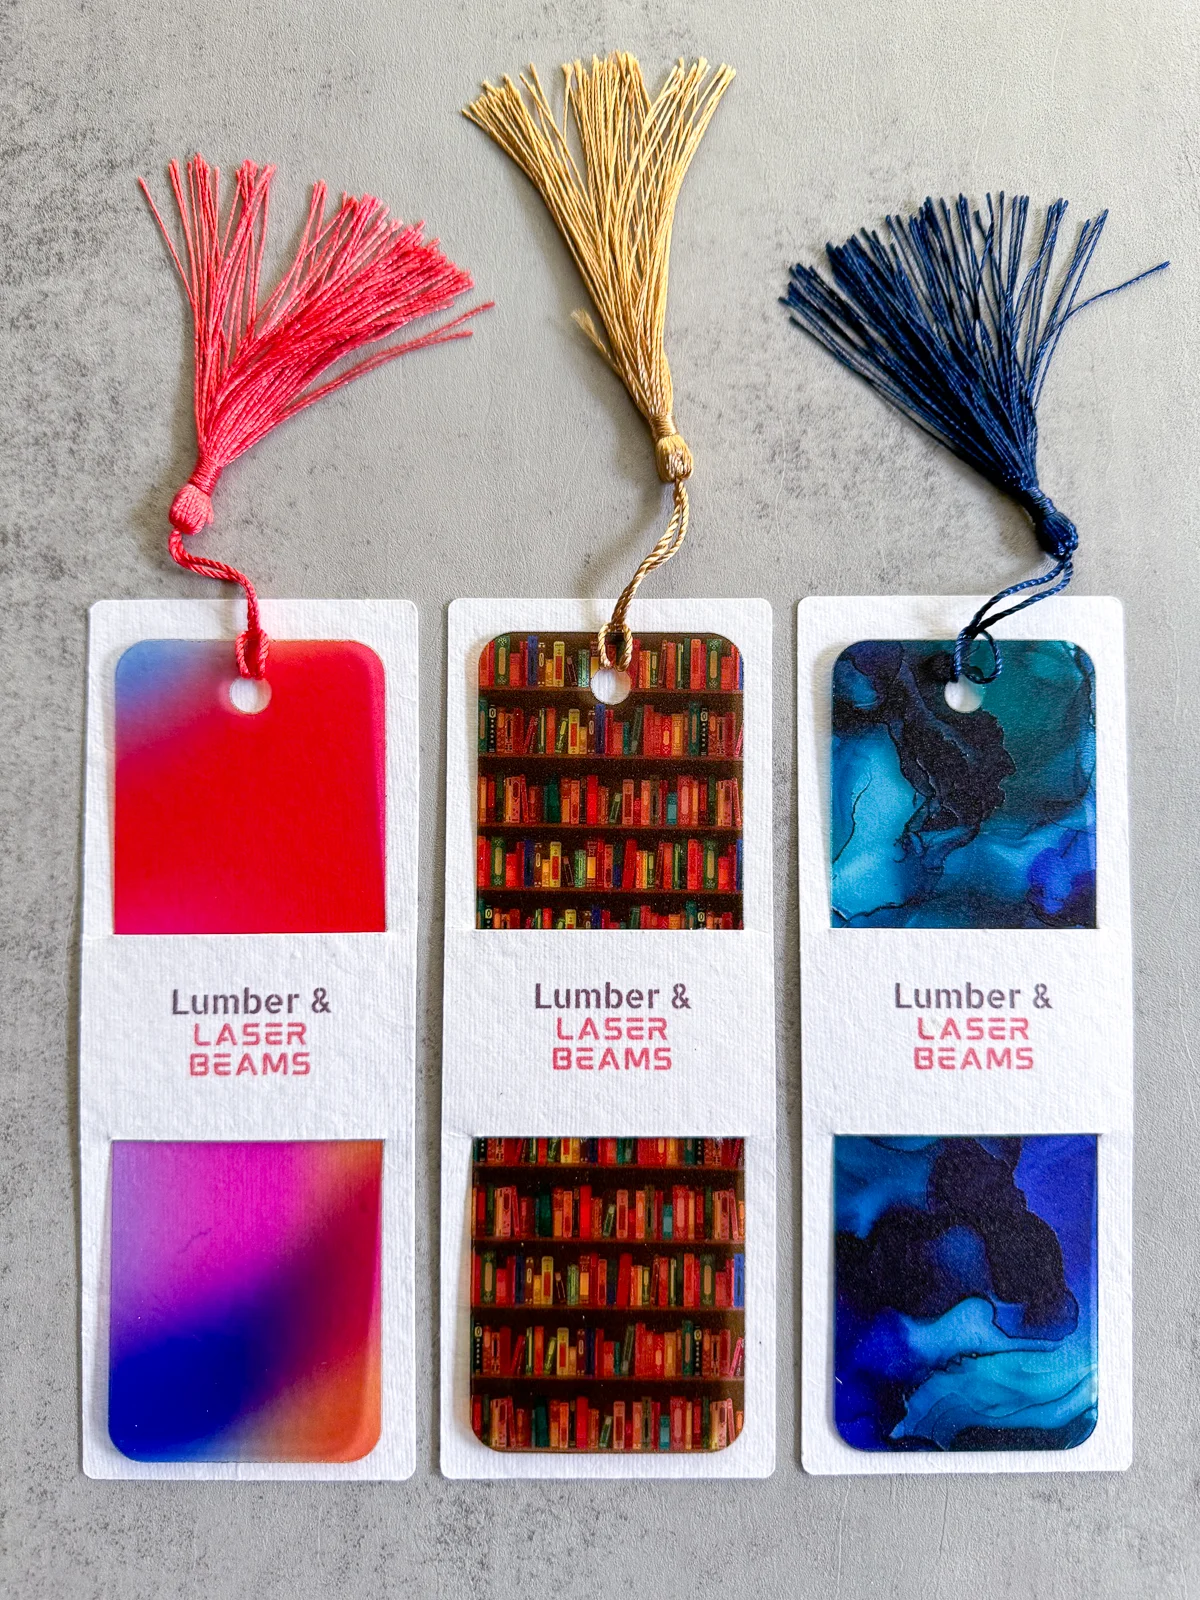
They came out great! My favorite one is the bookshelves pattern, but the other two are really pretty too.
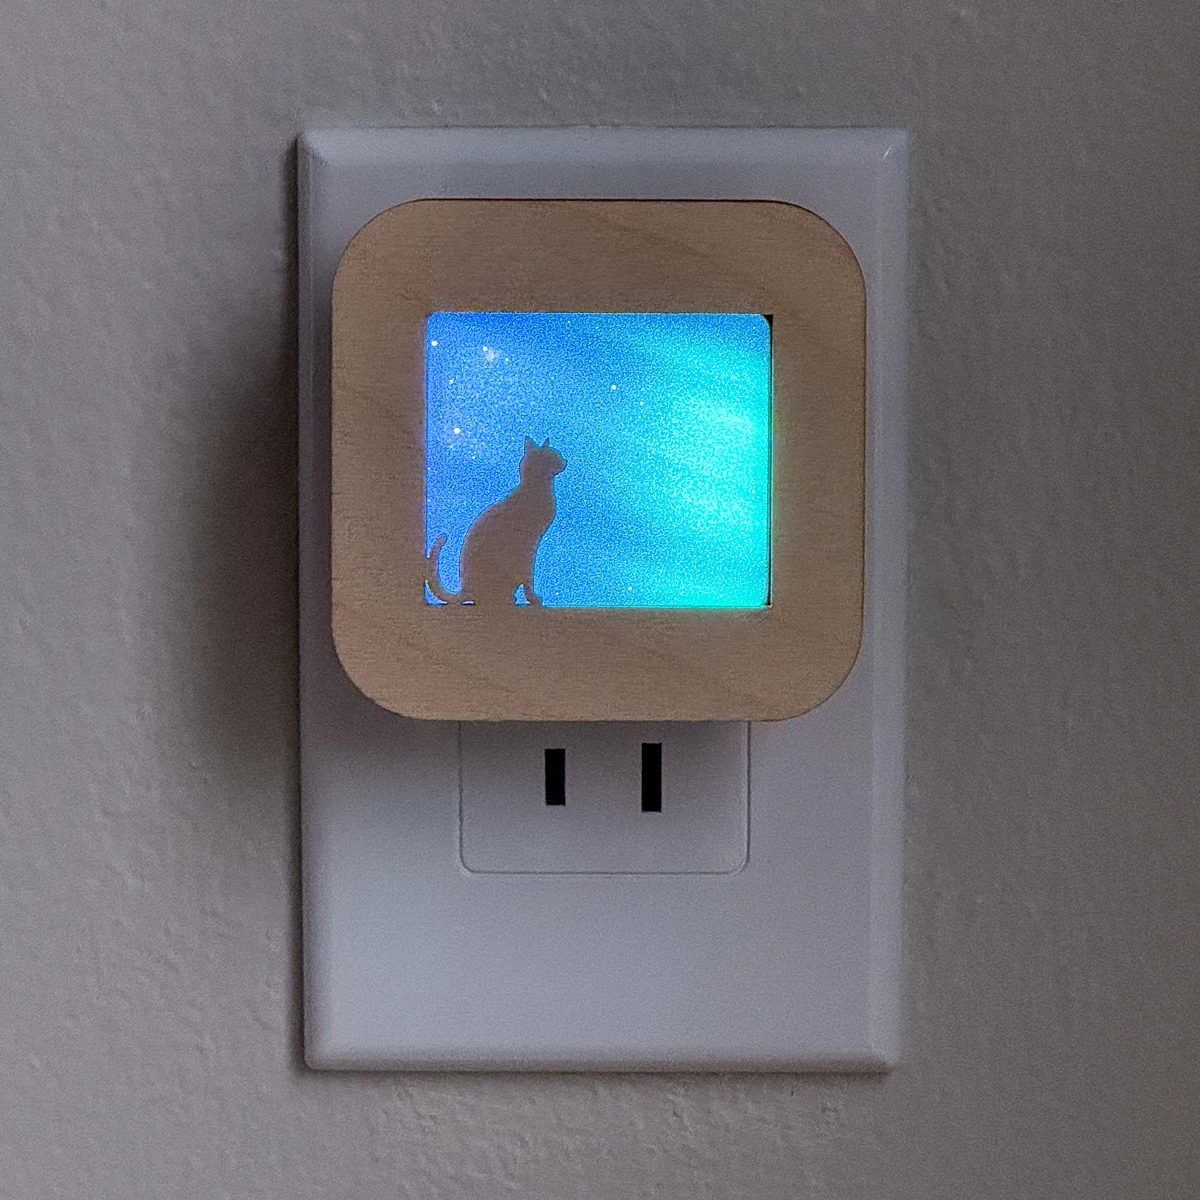
Want to make more stuff with this transparent flex material? Check out these DIY night lights!

Make the bookmark sleeve
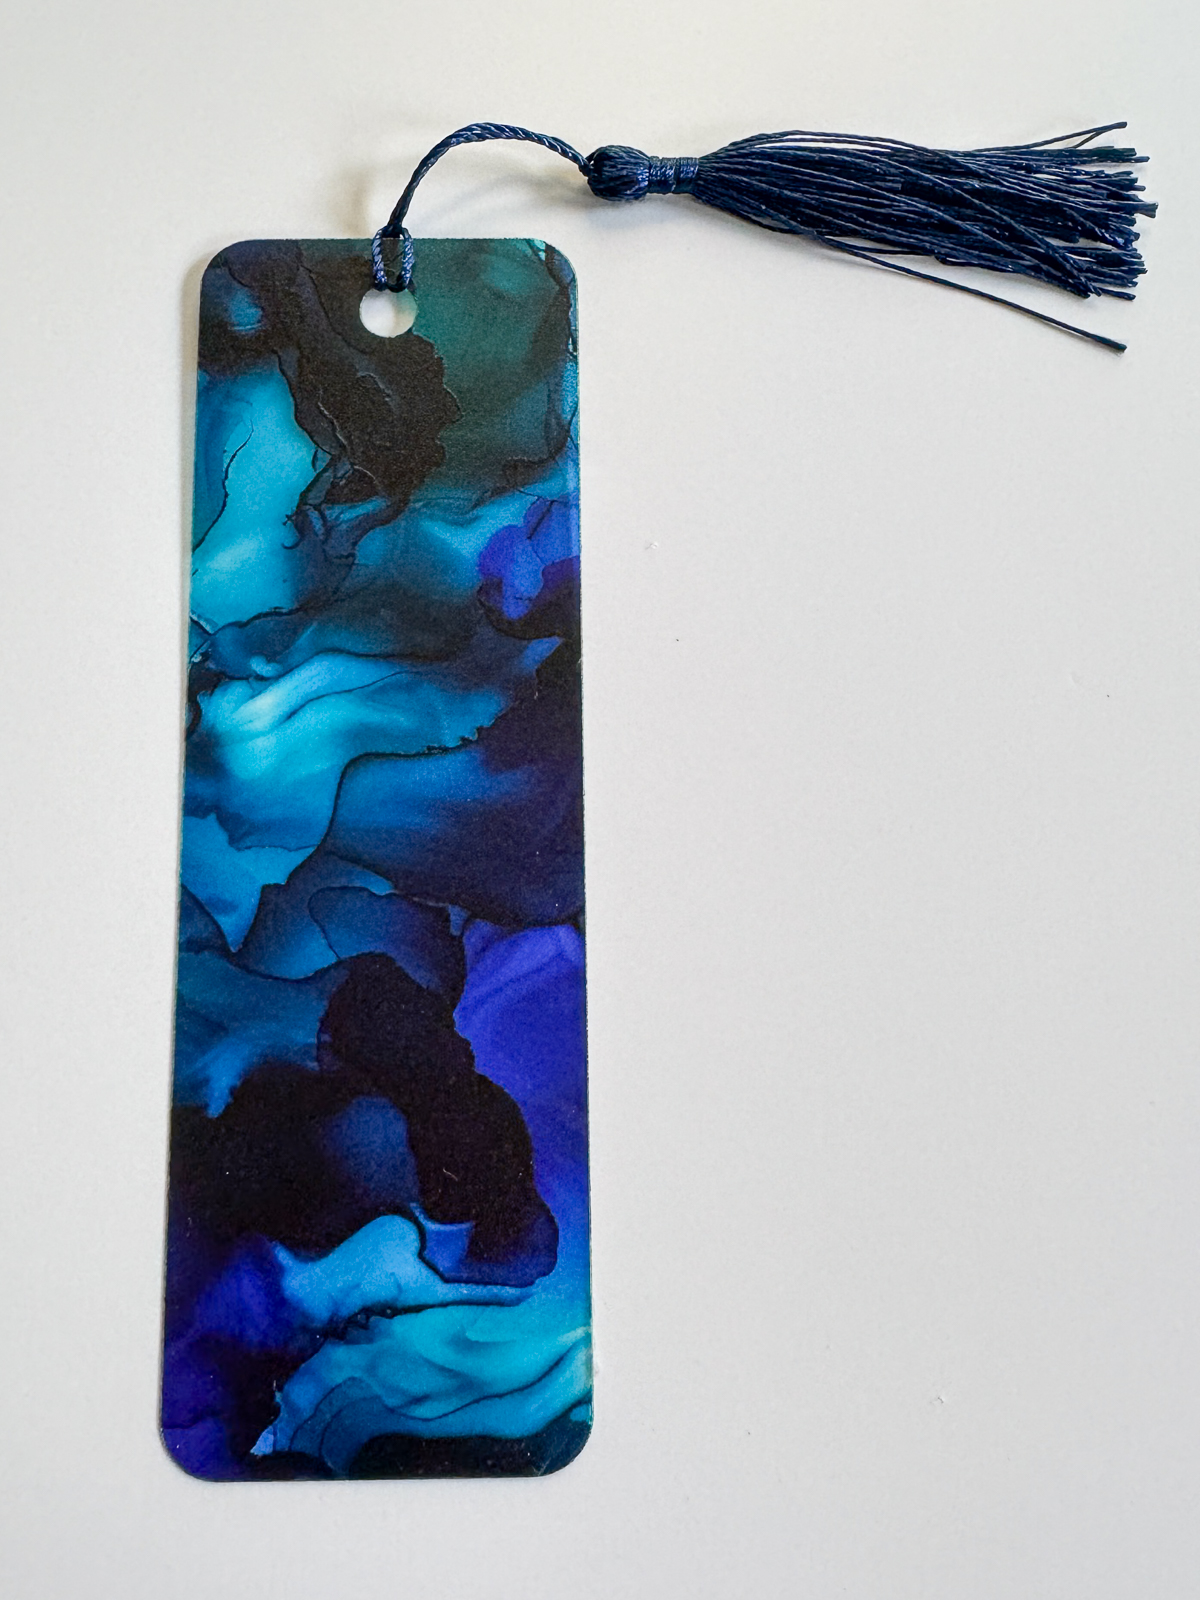
If you're making bookmarks for yourself, just add a tassel and you're done! I bought an assortment of tassels so I had plenty of colors to choose from. Just push the loop through the hole in the top of the bookmark and pull the tassel through it.

But if you want to give these as gifts, or sell them at a craft show, you might want to take it up a notch. You can print and cut a simple sleeve with the M1 Ultra to add a custom gift message or your brand logo.
Click here to check out all the xTool M1 Ultra packages and accessories! When you're ready to buy, don't forget to use the code VINETA100 to get $100 off!
First, switch the base from the honeycomb to the flat panel. The honeycomb comes with the riser base, and I highly recommend this upgrade! It's so much easier to use than the triangular prisms that come with the base model, and gives you cleaner cuts.

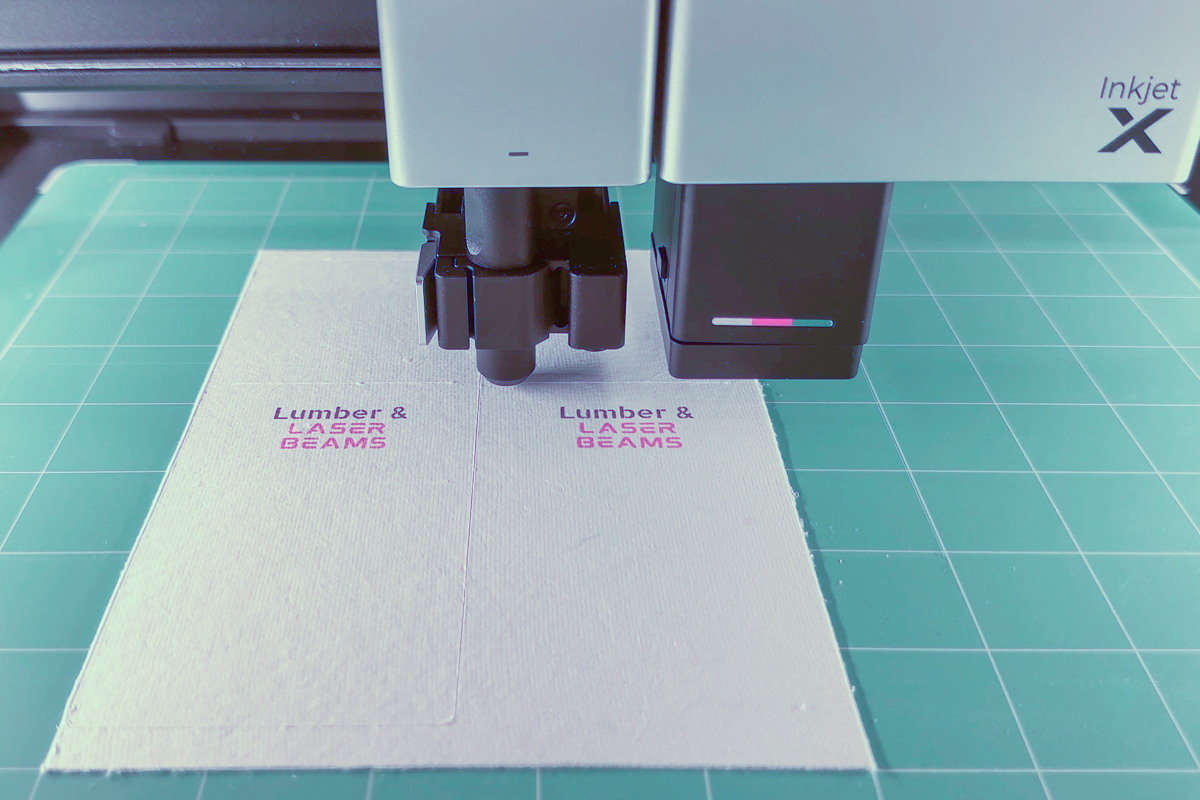
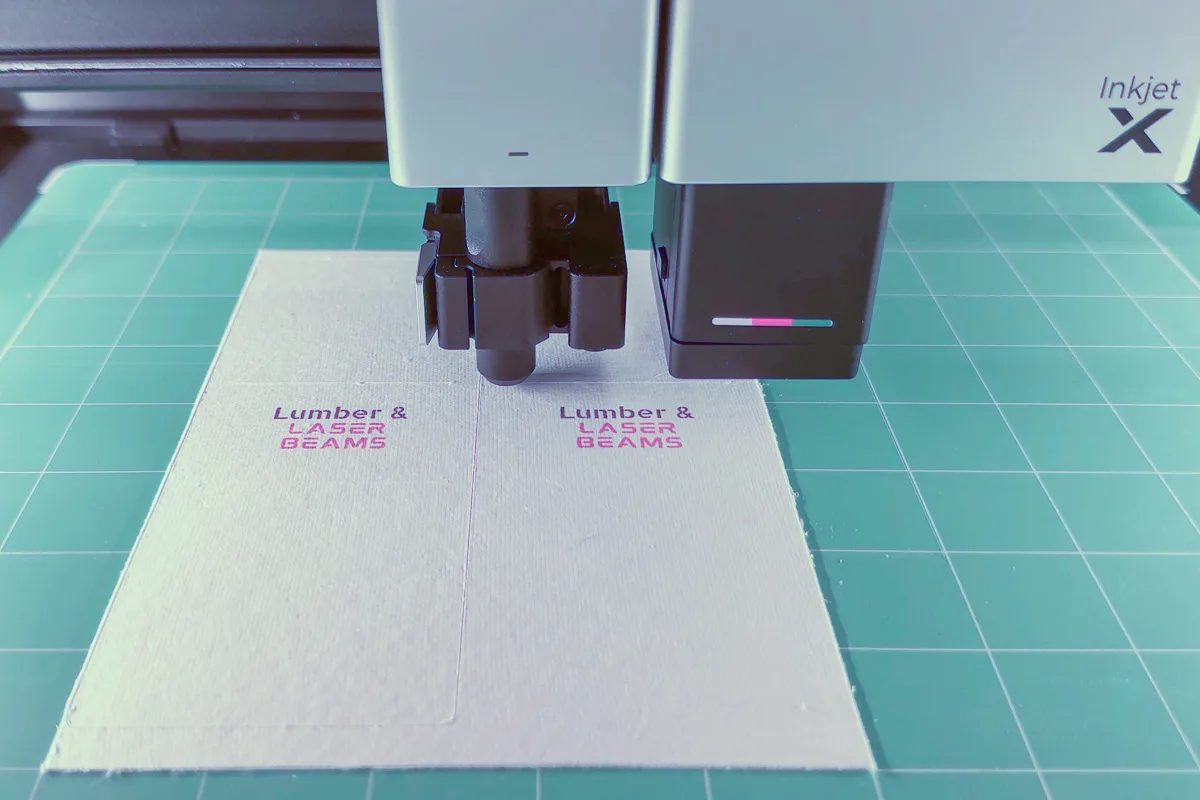
Then you swap out the laser module for the inkjet one. The fine point blade clicks into the holder in the main carriage. You'll also need to add the little platform in the corner for a pad of paper and the ink cover.
Finally, stick the mat to the bottom plate and add the paper. I tested it out with cheap cardstock first, then used heavy-weight watercolor paper that I had on hand for the final sleeves.
I made a quick video so you can see how easy this process is!
Mark the position of the paper the same way you did for the laser. Then you just remove the cover on the inkjet module and let it print!
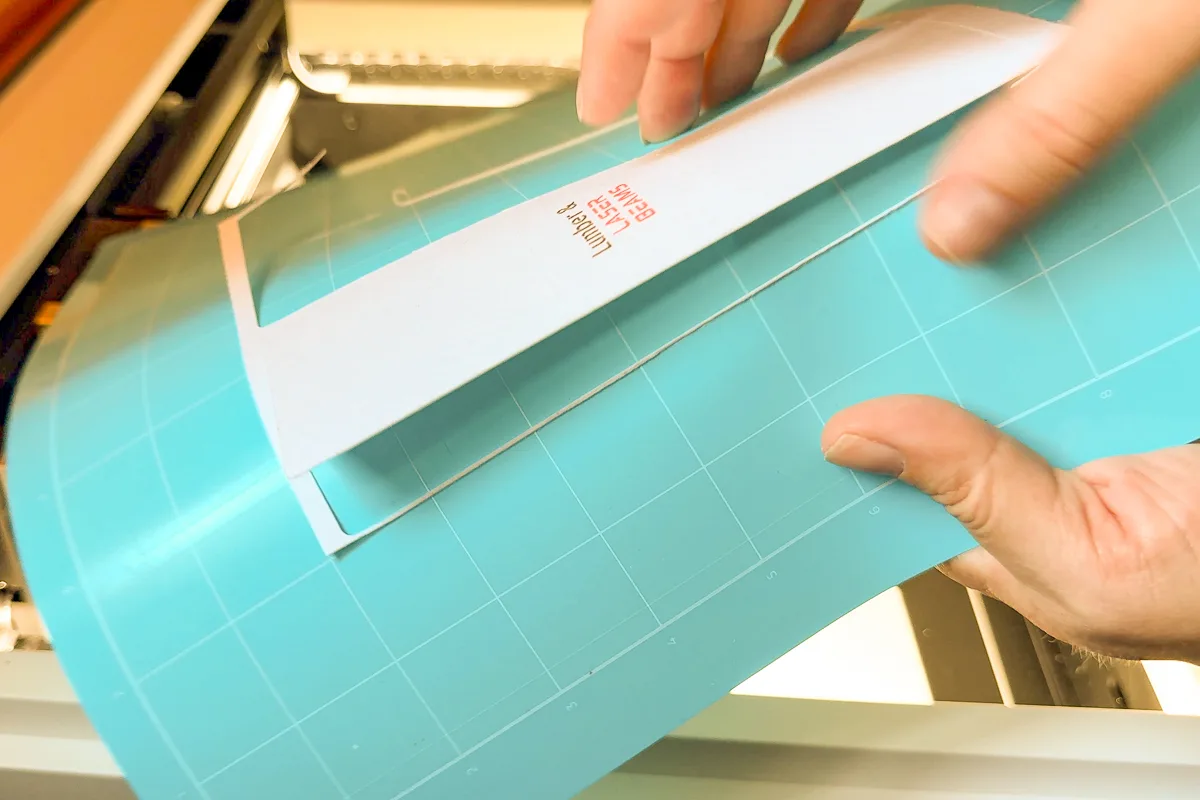
Leave everything in place and run the blade cut next. It automatically did two passes for a nice, clean cut.
Once it's done, take the mat out of the machine and bend it back to release the paper. Don't peel the paper off the mat from the corner, or it will curl (ask me how I know!)

Add the final touches
Now your acrylic bookmarks are ready to be assembled! Add the tassel to the hole, then carefully weave the bookmark into the sleeve. This flex material is so thin, I was able to fit the 2" wide bookmark through the 2" wide slots without ripping the sides.
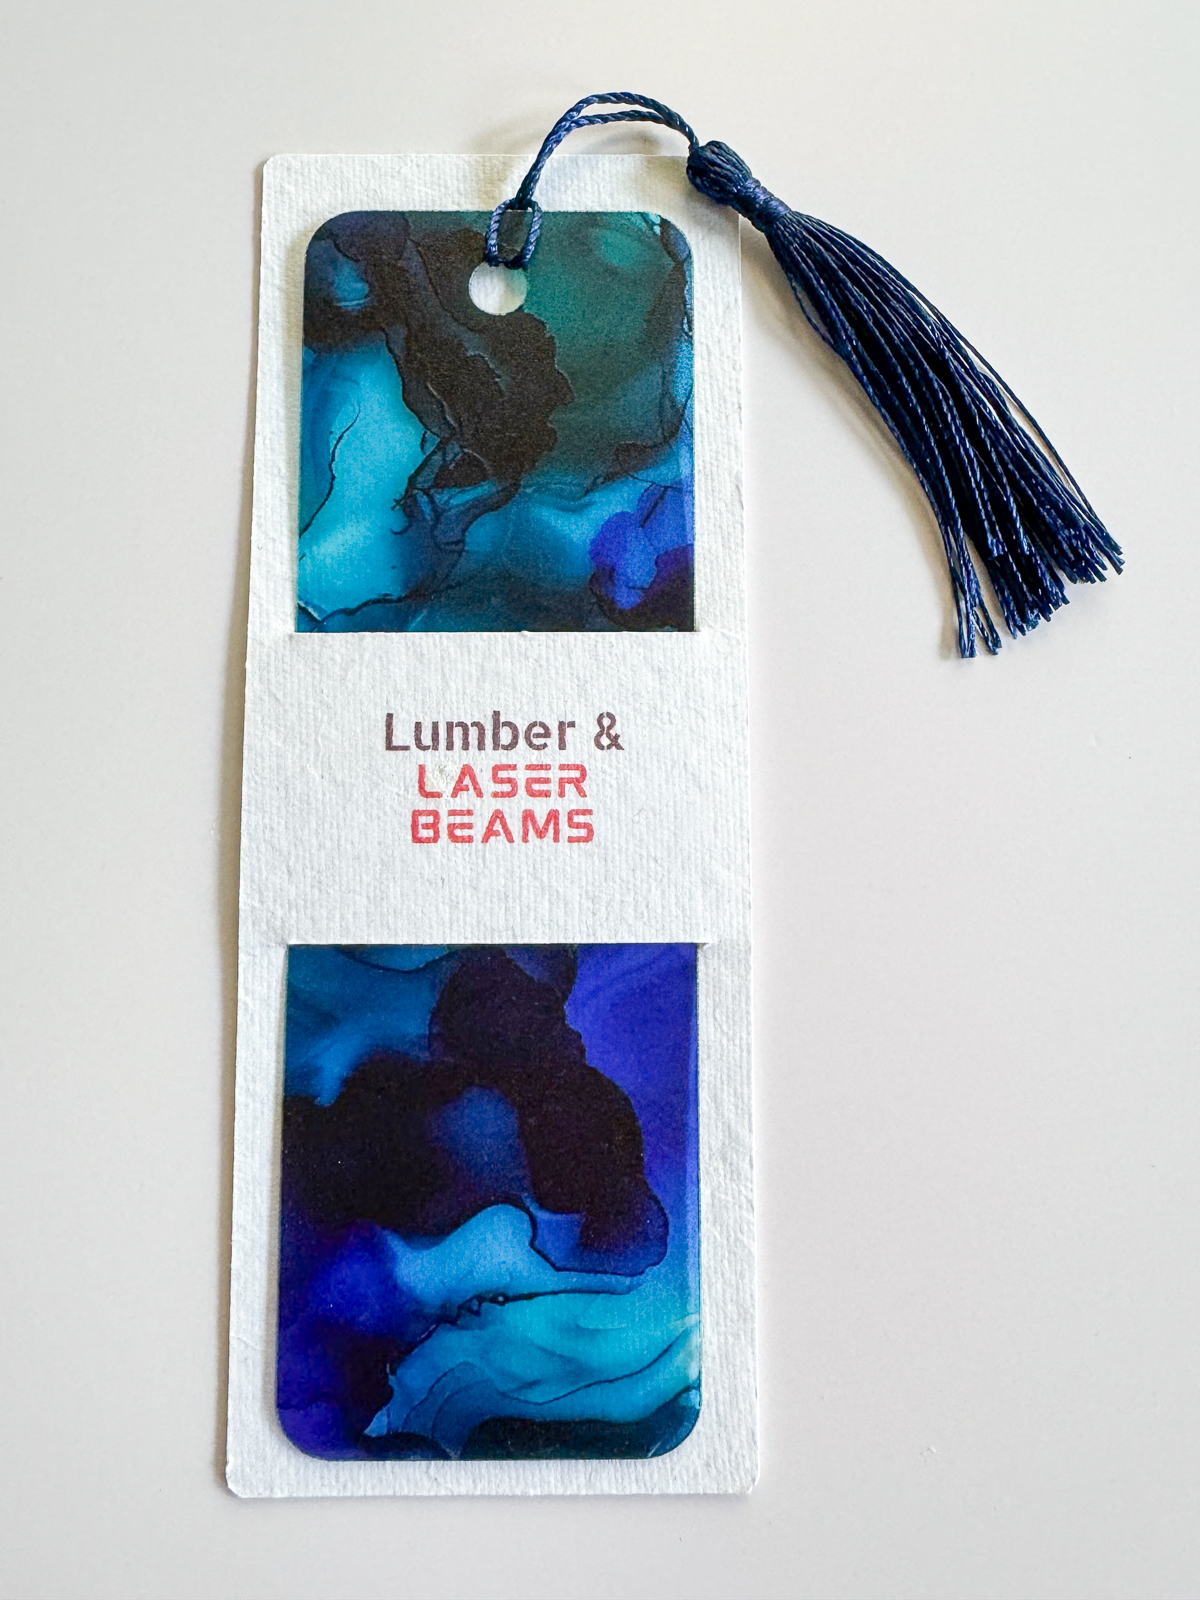

I just love how these turned out! This would make a great product to sell at a craft show or local bookstore.
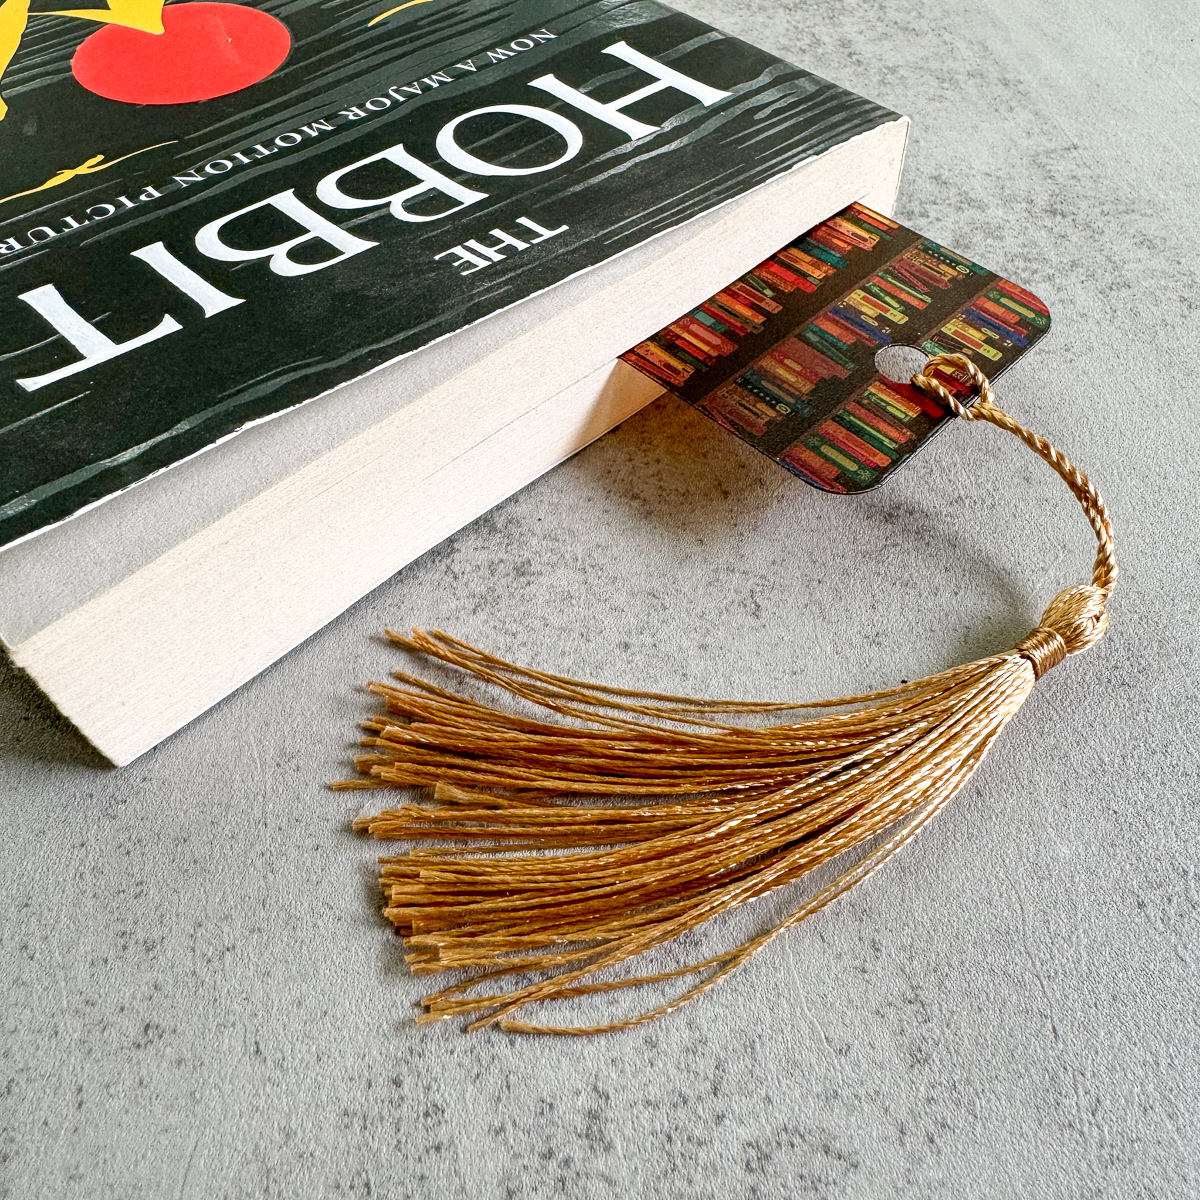
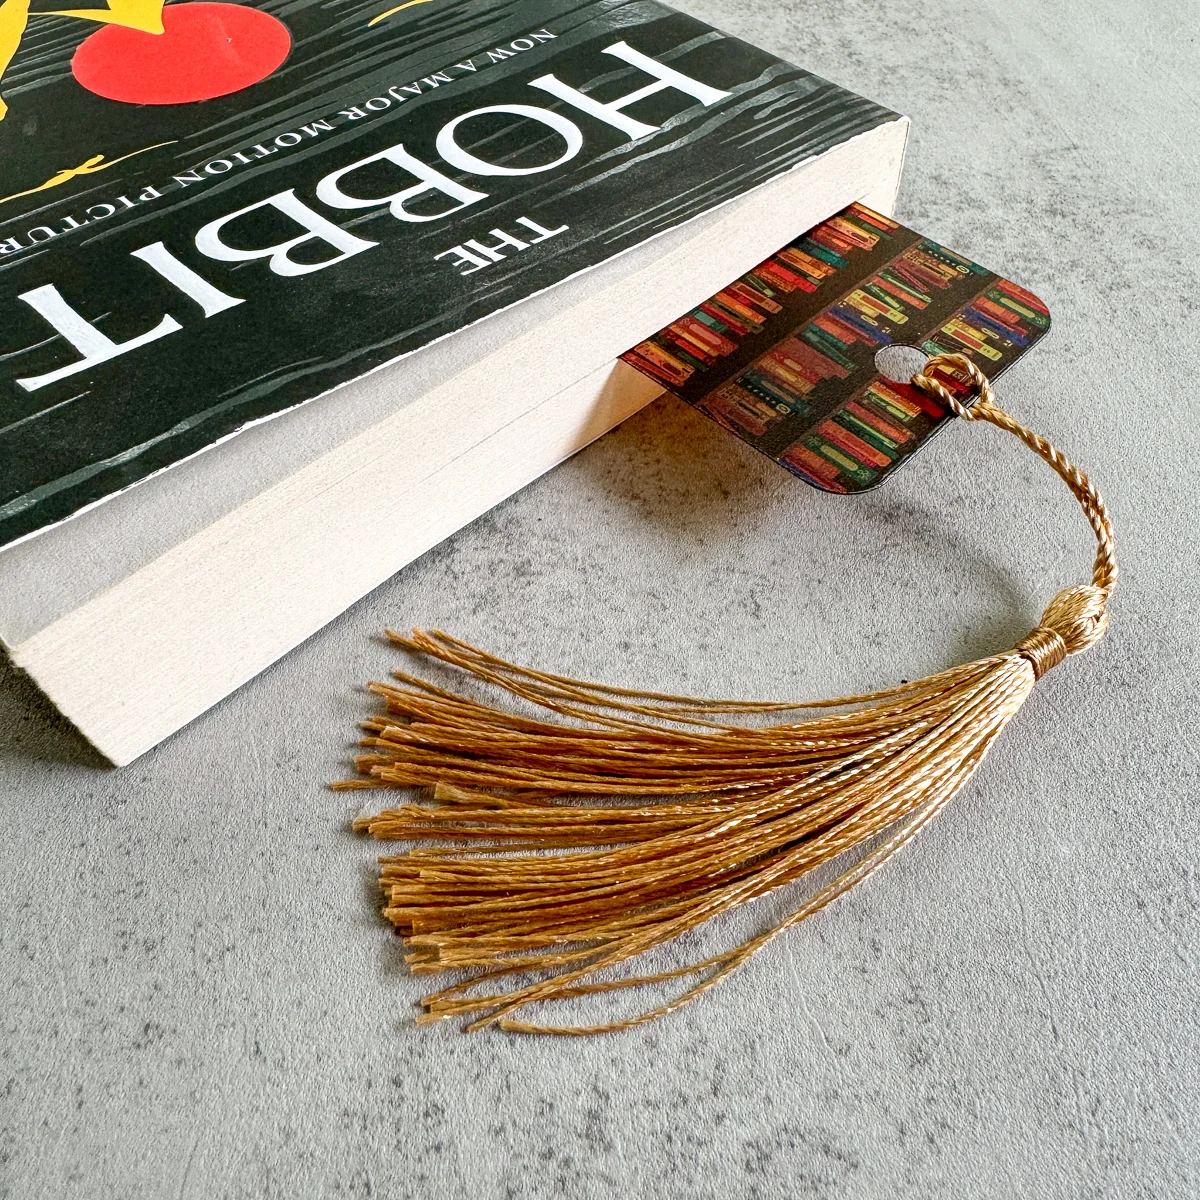
The thin, flexible acrylic doesn't bulge out the pages of a book, so you can leave the bookmark in place without damage.
Best of all, this entire project can be completed on one machine in just a few minutes! If you're tight on space, the xTool M1 Ultra is the perfect crafting machine for you! Don't forget to use the code VINETA100 to get $100 off your laser purchase!
Check out these other laser project ideas!
james
Saturday 11th of January 2025
how did you get the bookshelf pattern on the bookmark?
Vineta Jackson
Tuesday 14th of January 2025
I bought thin acrylic with the pattern already printed on it. You can find it at Smokey Hill Designs here.