No stud finder? No problem! Learn how to find a stud without a stud finder to quickly and safely hang items on the wall.
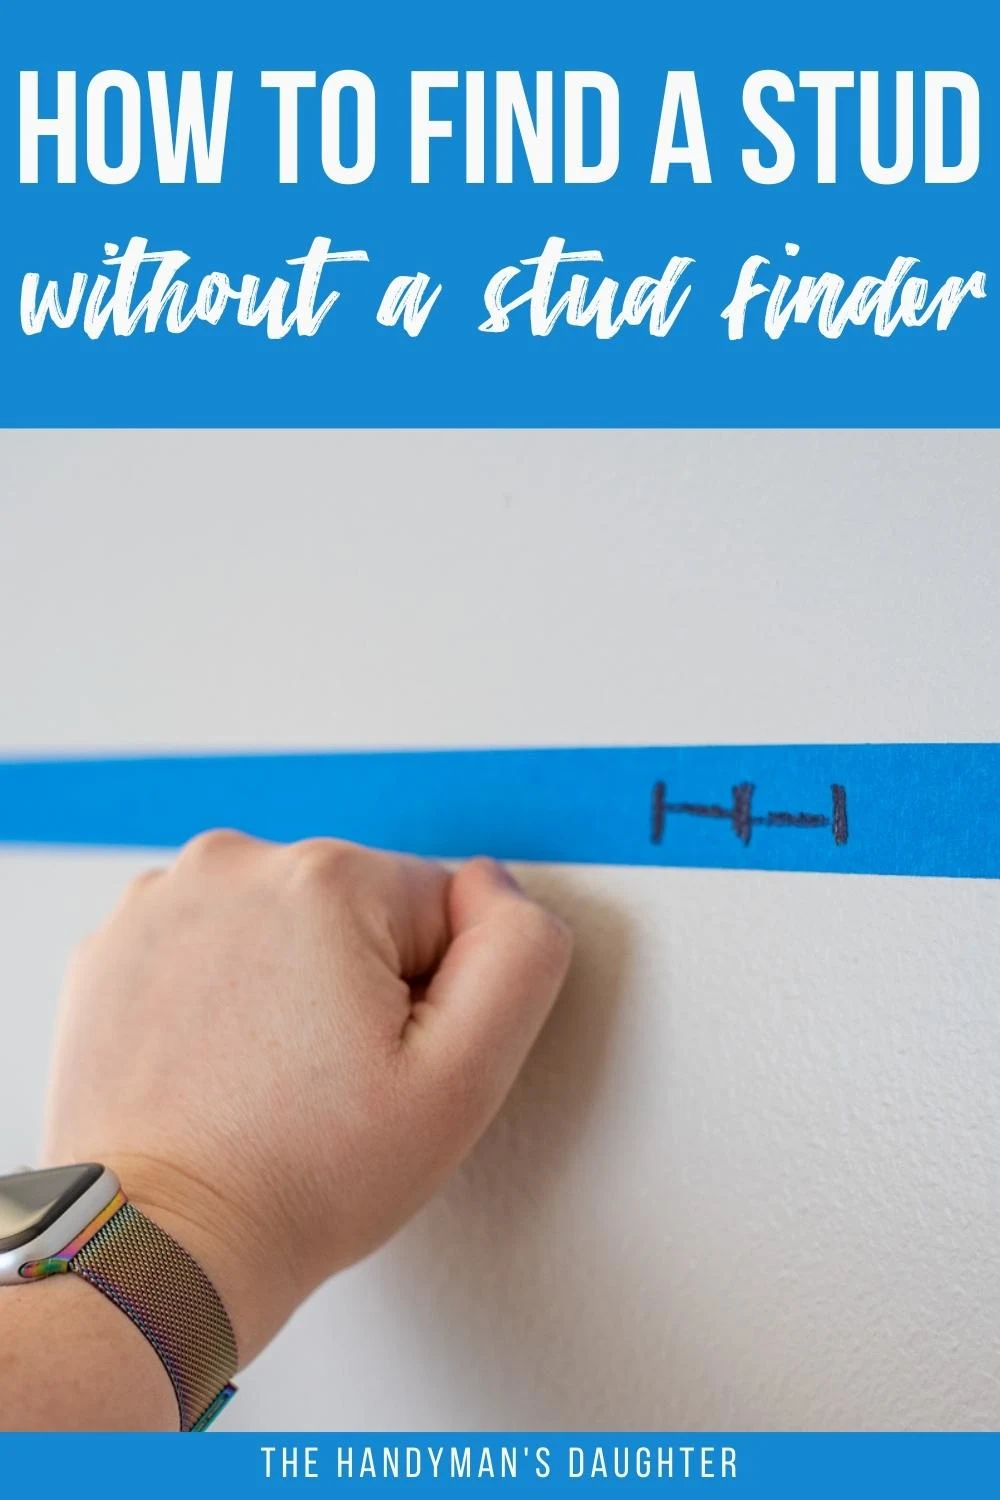
While an electronic stud finder can be very convenient, it's not always necessary for locating wall studs. Plus, stud finders are not always accurate! You can learn more about how to use a stud finder properly here.
If you're having trouble finding a stud, even with a stud finder, it's best to double check with one of these other methods. This is especially important when hanging heavy items like a TV, or when safety is a concern, like when I built my son's climbing wall.

Need to repair a hole from a screw that missed the stud? Here's a quick guide for how to patch drywall holes so no one will ever know!
This post contains affiliate links for your convenience. Purchases made through these links may earn me a small commission at no additional cost to you. Please visit my disclosures page for more information.
What is a Stud?
Wooden studs are used for wall construction in most buildings. They're typically made from 2x4 lumber, with the 1 ½" wide stud side facing into the room. The standard spacing between studs is 16 inches on center, meaning that the distance between the center of one stud is 16 inches from the center of the adjacent studs.
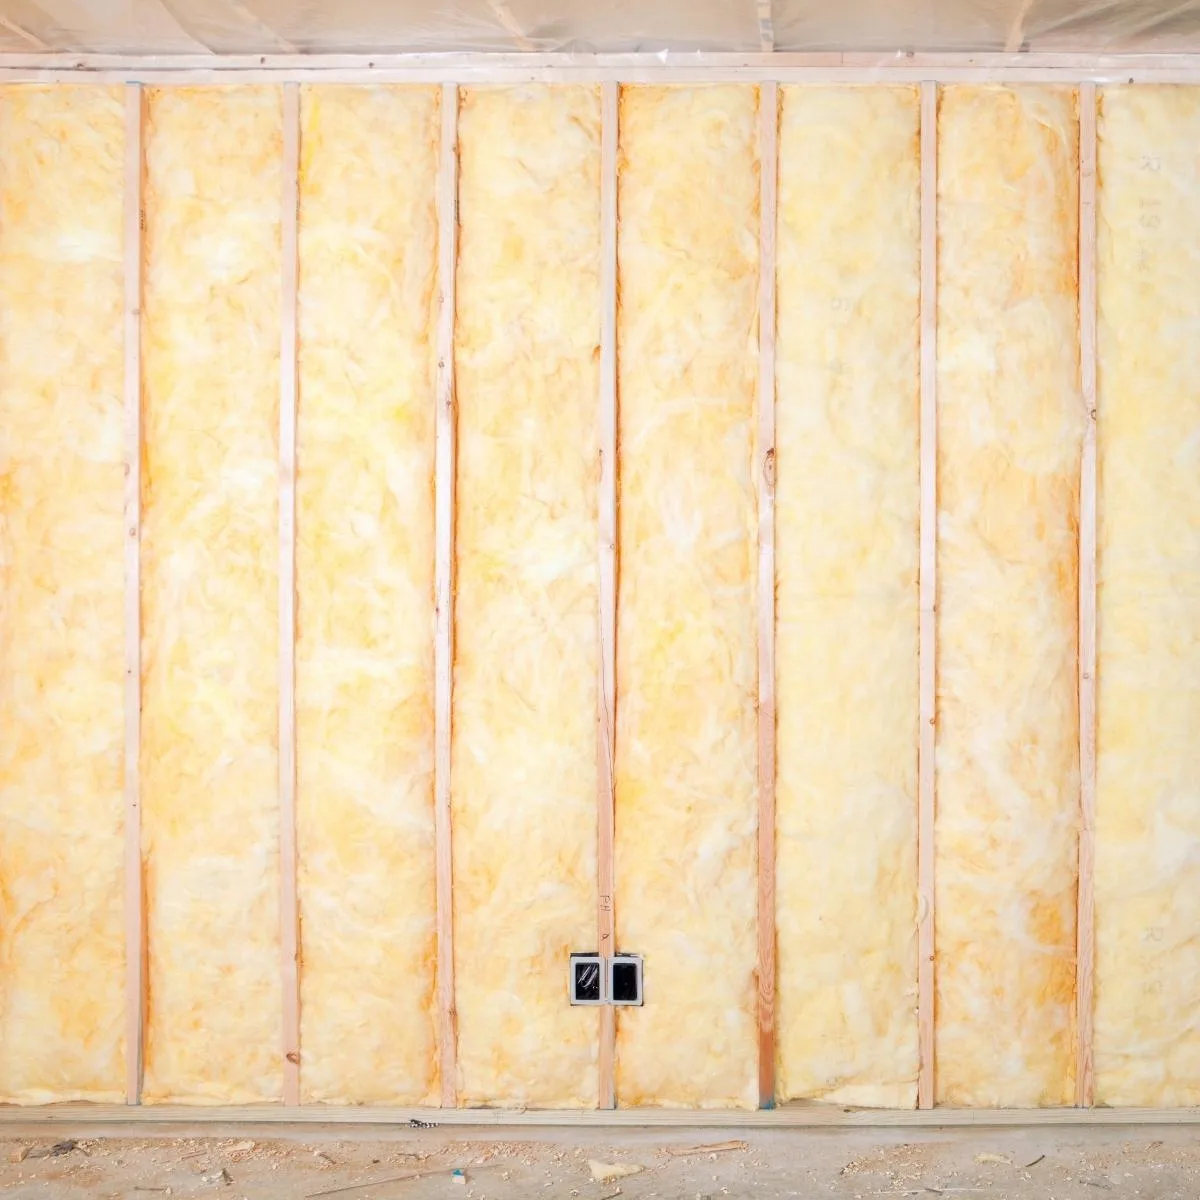
Your ceiling and floor have similar boards called joists, which can also be located with a stud finder or one of these other methods. If you're installing a ceiling hook or light fixture, you should always try to hit a joist if possible.
One of the biggest challenges when trying to find a wall stud is when there is shorter stud spacing than expected. This is especially common near doorways and windows, when the span between studs is more than 16" but less than 32".
If you can't find a stud where you need it, you'll need to use a hollow wall anchor to support the drywall. You can find a variety of different styles, depending on how much weight you need to hold.
Finding a Stud With a Drill Bit or Nail
The most reliable way to locate wall studs is by drilling into it. You'll want to do this in conjunction with one of the other methods below, so you don't end up with a bunch of holes in the wall! The knock test or electrical box trick will get you close, but it's always best to be sure.
Insert a small drill bit into the chuck of your drill, or use a hammer and a small nail. Make sure the bit or nail is longer than the thickness of the drywall, which can be anywhere between ⅜" and ¾".
If the drill bit or nail encounters resistance or gets stuck, you've hit the stud. If it suddenly slides into the wall and is easy to pull out, you've gone through the drywall and hit air! Move over a few inches and try again.
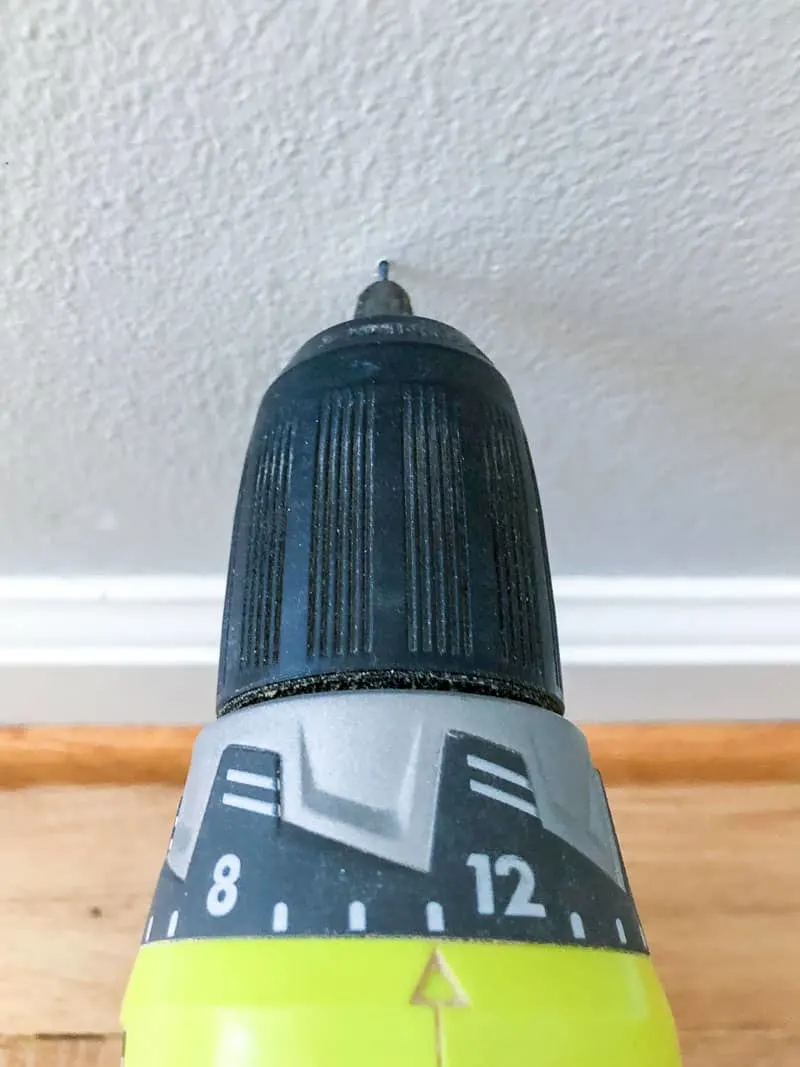
If you're hesitant to put an unnecessary hole in the wall at eye level, test down by the baseboards instead. Even if you didn't patch it up, the tiny imperfection wouldn't be noticeable from a distance.
Finding a Stud by Knocking
The knocking trick is an age-old method for pinpointing a stud location. Put your ear close to the wall and start tapping on the wall. As you do, move steadily to the side and continue to knock.
If you are not over a stud, knocking will create a hollow sound and have a bit of an echo. Once you reach a stud, you'll notice a solid sound instead.
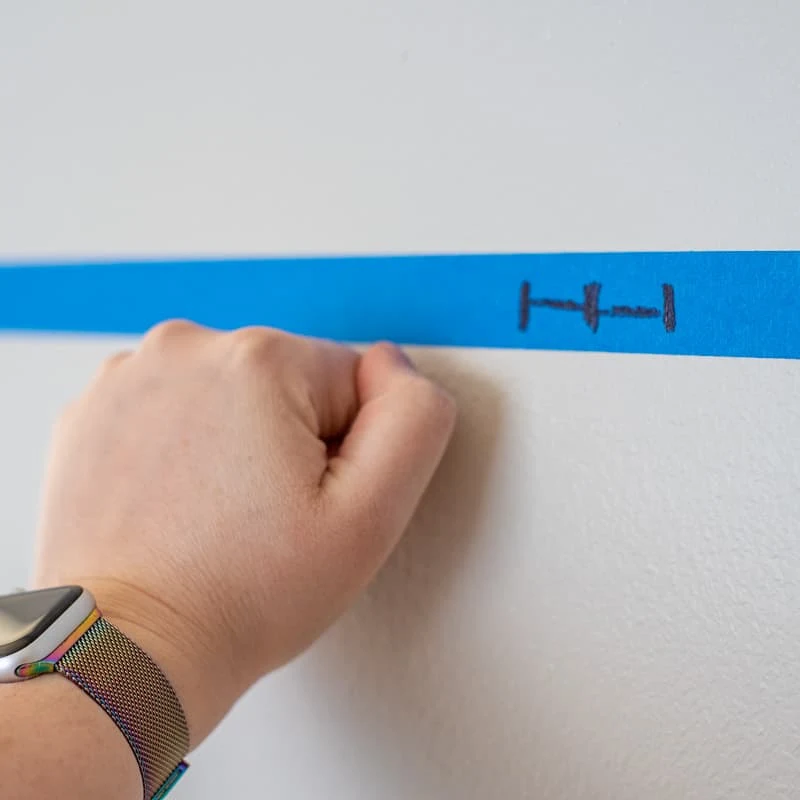
Once the sound begins to deaden, keep going a little bit until it starts to echo again, then go back in the opposite direction. Moving back and forth like this will allow you to pinpoint the place where your knock had the dullest sound and give you a more accurate idea of where the stud is.
I prefer to mark the location on a piece of painter's tape, so it's easier to visualize the stud spacing. When you're done, you don't have to erase or paint over your markings!
Finding a Stud with a Flashlight
It might sound a little bizarre at first, but this method can be quite effective. Simply turn down the lights in the room you are working in, then hold a flashlight at a sharp angle to the wall.
Slowly move the flashlight up and down, keeping the beam parallel to the wall's surface, and you will start to see small bumps or indentations. These dots are usually imperfections in the wall's finish where the nails or screws are holding the drywall to the studs. Check with a magnet to be sure!
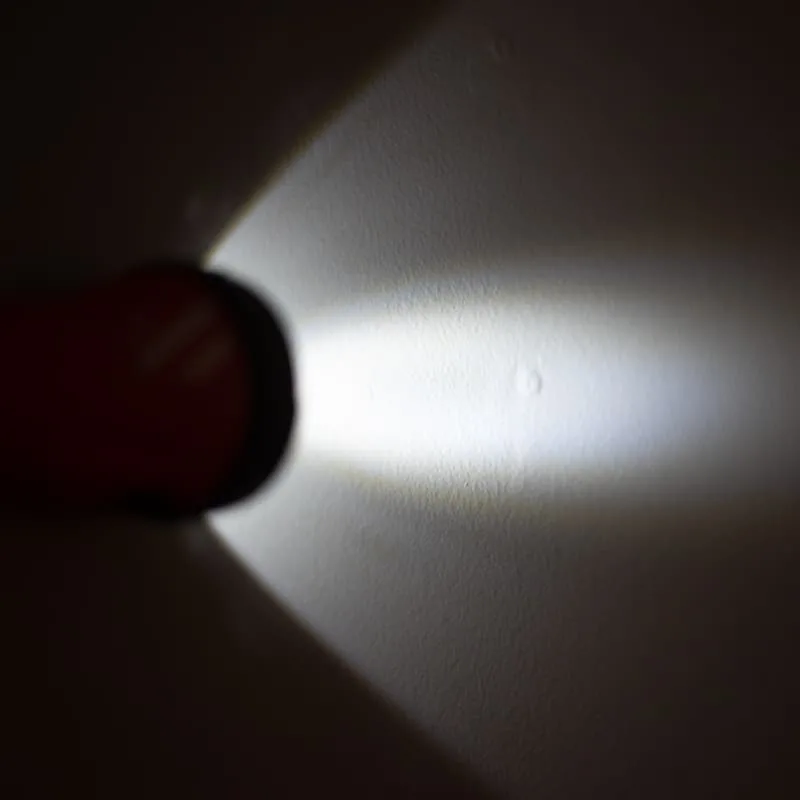
This technique might not work well if the wall you are working on is very new, or has been recently refinished since imperfections will be less evident. Also, if you have heavy texture on your walls, it will be more difficult to spot these bumps.
Finding a Stud with a Magnet
This process is essentially the same as using a magnetic stud detector, but instead of using a fancy device, you are just using the magnet itself. You will need a relatively strong magnet, such as rare earth magnets, for this method.
Slide the magnet back and forth methodically along the wall, so you don't miss any spots. You are looking for the fasteners that are holding the drywall to the studs. As you slide along, feel for the magnet sticking to the wall.
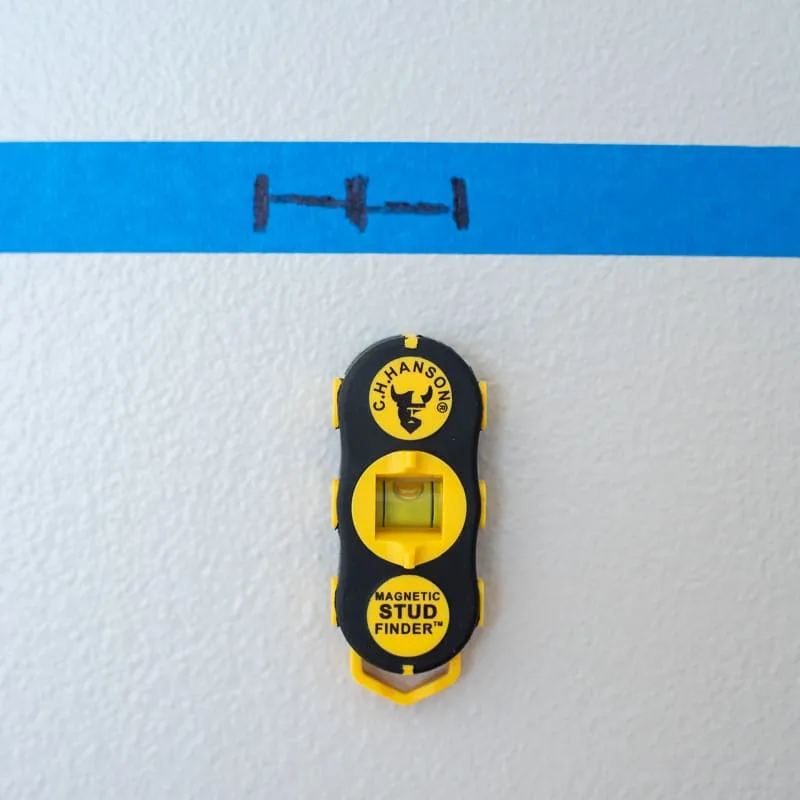
In the photo above, you can see the metal screws are off to the side of the stud instead of down the center. This indicates that two sheets of drywall meet at this stud. Always check to see if there's another screw nearby, and attach your heavy item to the wall between them.
Finding a Stud from an Electrical Box
As I mentioned before, studs are usually spaced 16 inches on center. Using this information, you can find the general location of where studs in a wall will be with nothing but a measuring tape.
To do this, start at an outlet or light switch. These are places where a stud is guaranteed to be. Measure from any of these objects out 16 inches, mark your place, then use the knocking test to locate studs.
Note: Most electrical boxes will be screwed to the side of a stud. The box could be on either side, so check to see which one you should measure from. Try removing the plate and see if you can spot the 2x4 on the outside of the box. Sometimes the hole in the drywall is a bit larger than the electrical box, allowing you to peek inside the walls.
One benefit of an electronic stud finder is that it correctly alerted me to the presence of electrical wires in the area, so I didn't accidentally drill into them.
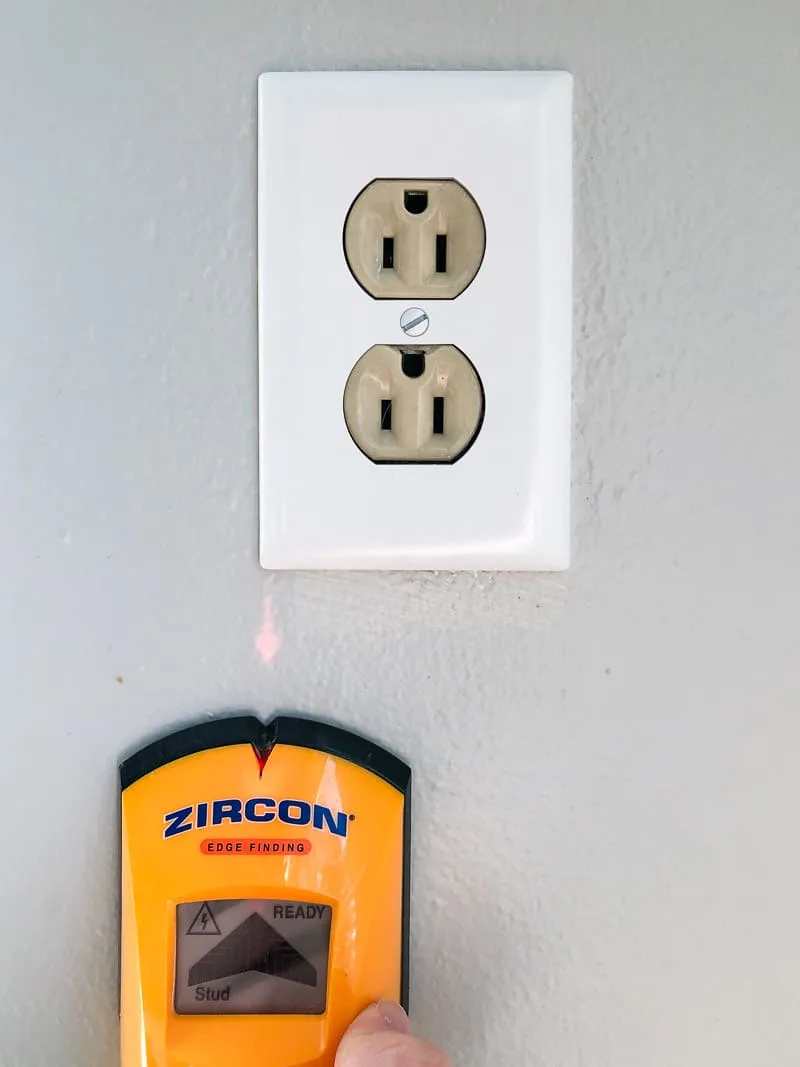
Each of these techniques will give you a solid idea of where a stud is, but the only way to be 100% sure is to poke a hole and check. This is especially important when the item you are hanging could result in injury if it were to fall on someone. Safety first!
Check out these other home improvement tutorials!

