Keep all your nailing tools together with this compact DIY nail gun organizer! It includes a drawer underneath for nail storage too!
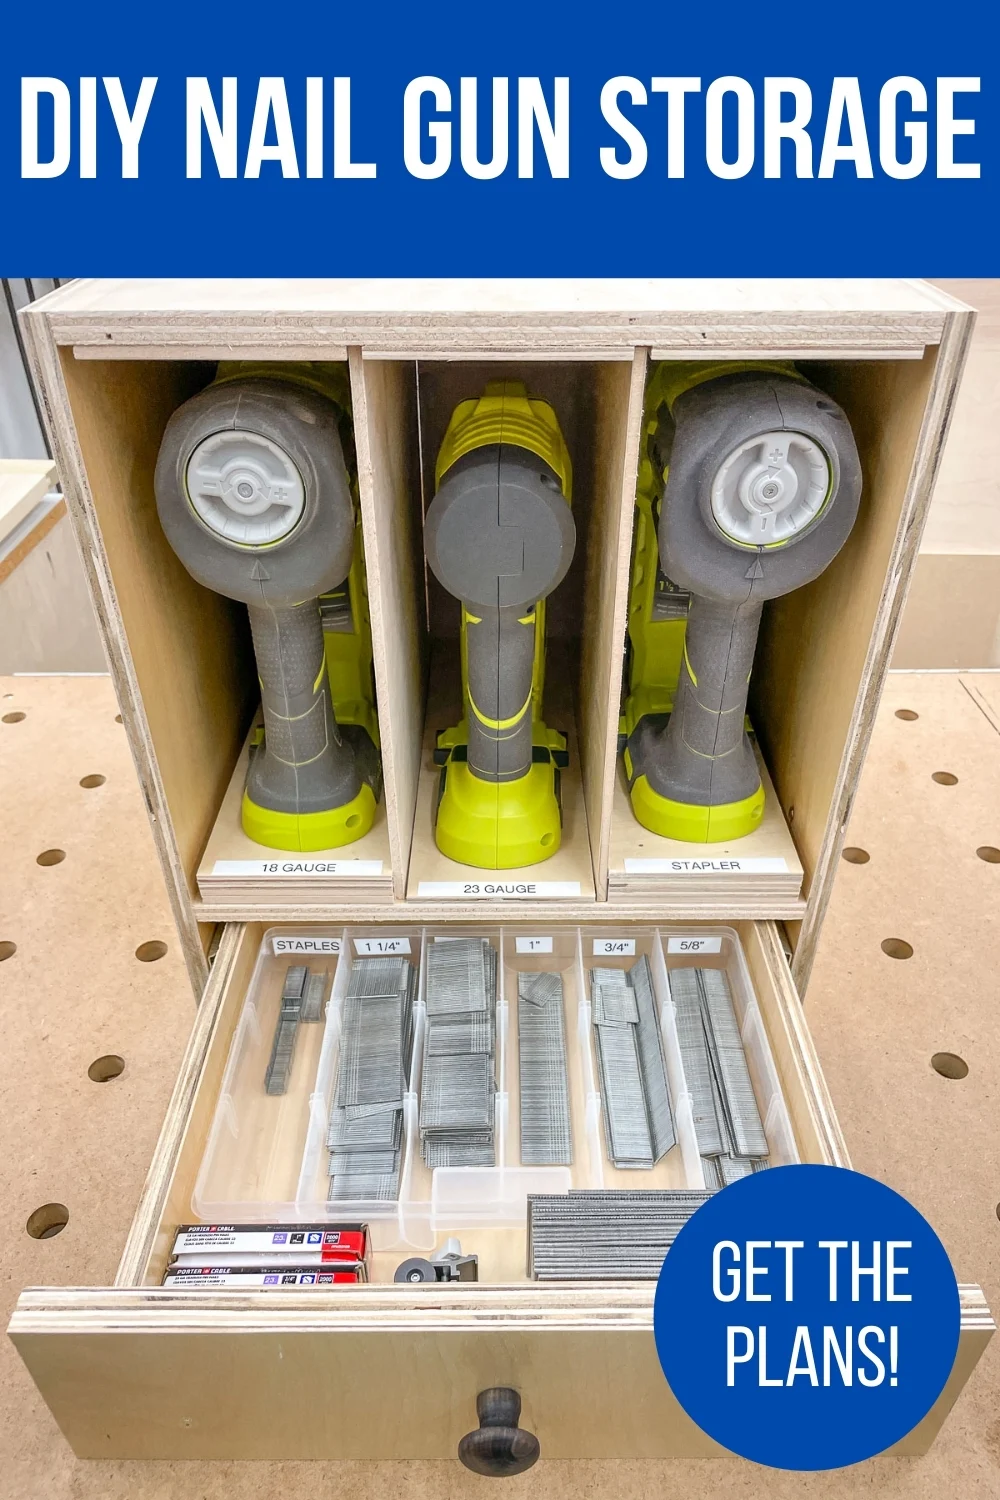
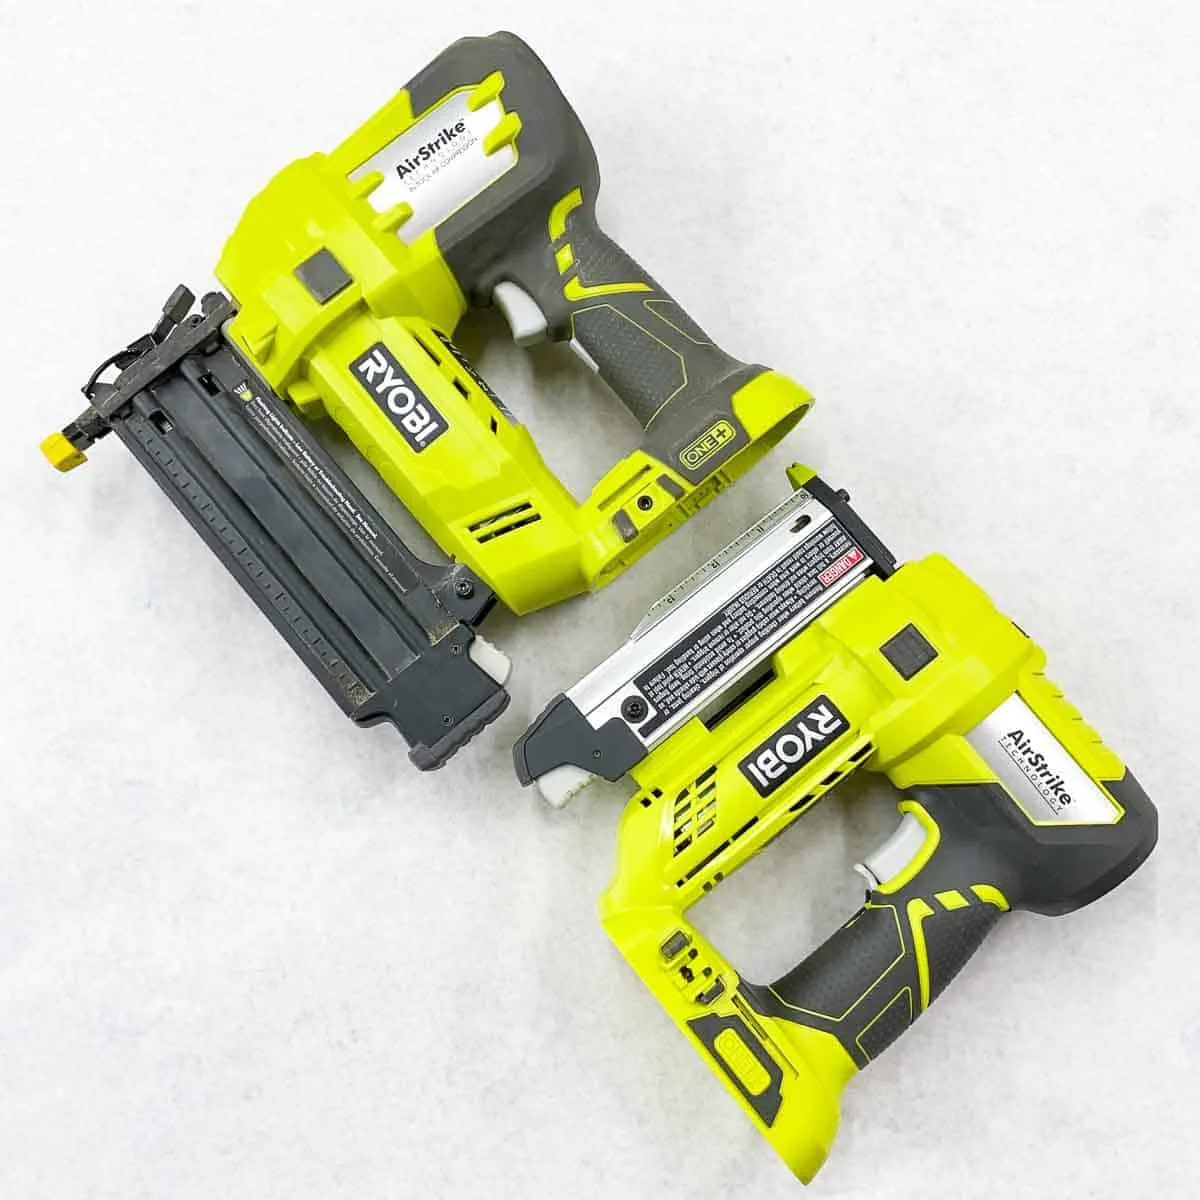
Brad nailers, pin nailers and staplers are essential in the workshop. The problem is that they all look the same and the nails are everywhere!
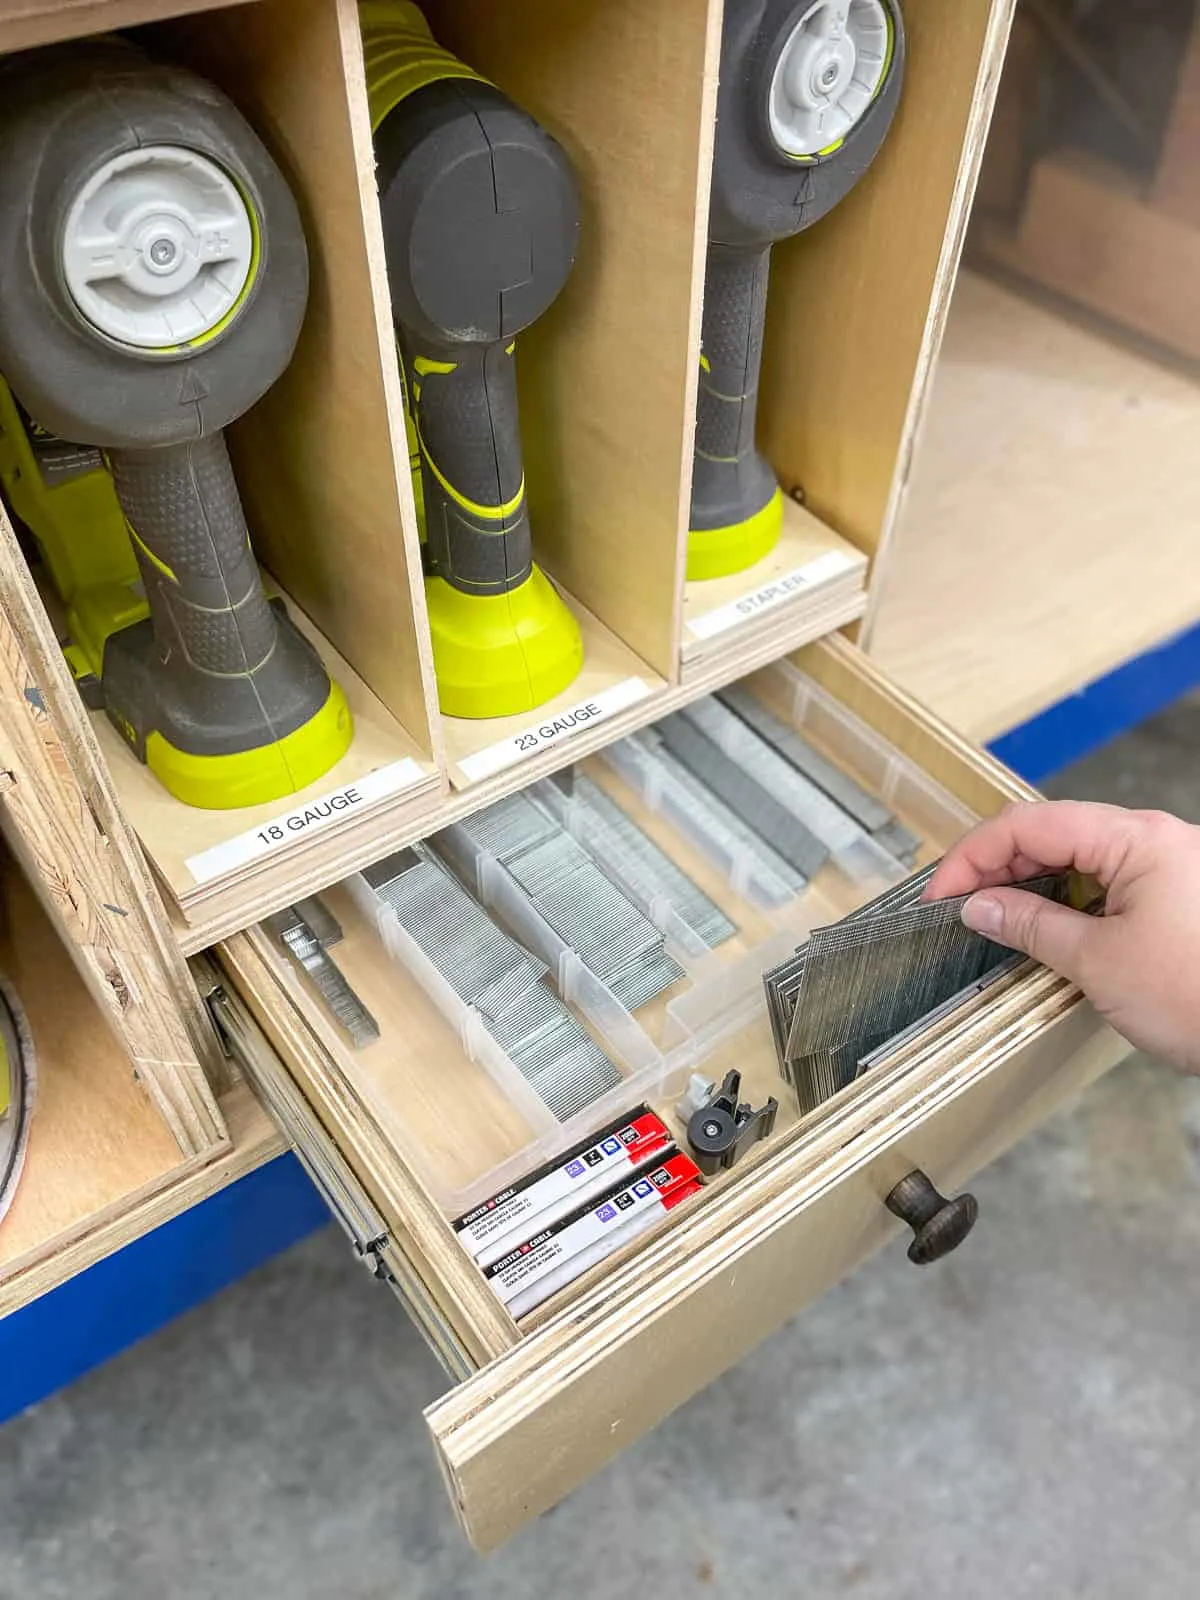
This DIY nail gun organizer solves this problem by keeping all of your tools in one place with clear labels to make it easier to grab the right one. It also has a drawer underneath to keep your nails sorted by length and size.
Why do I have so many different nailers? Check out my side-by-side comparison of brad nailers vs pin nailers, and brad nailers vs finish nailers to find out!
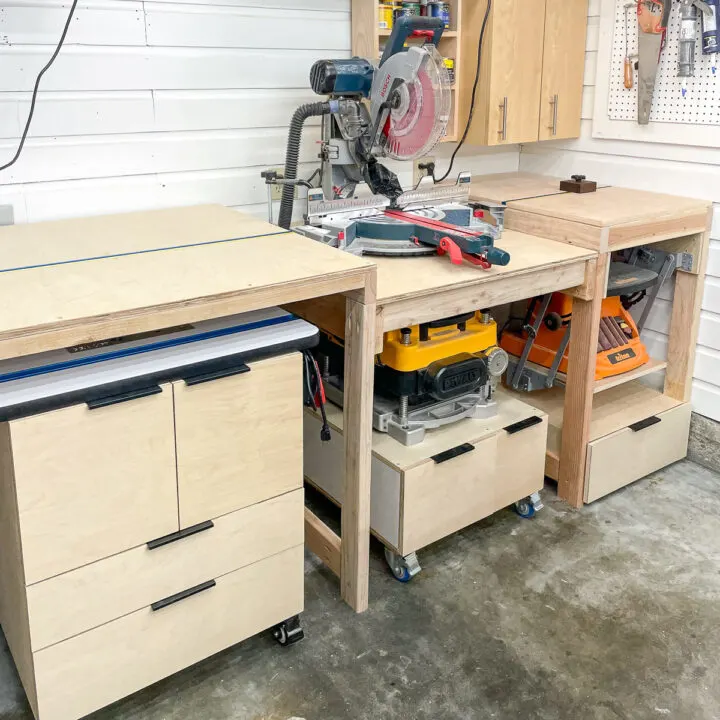
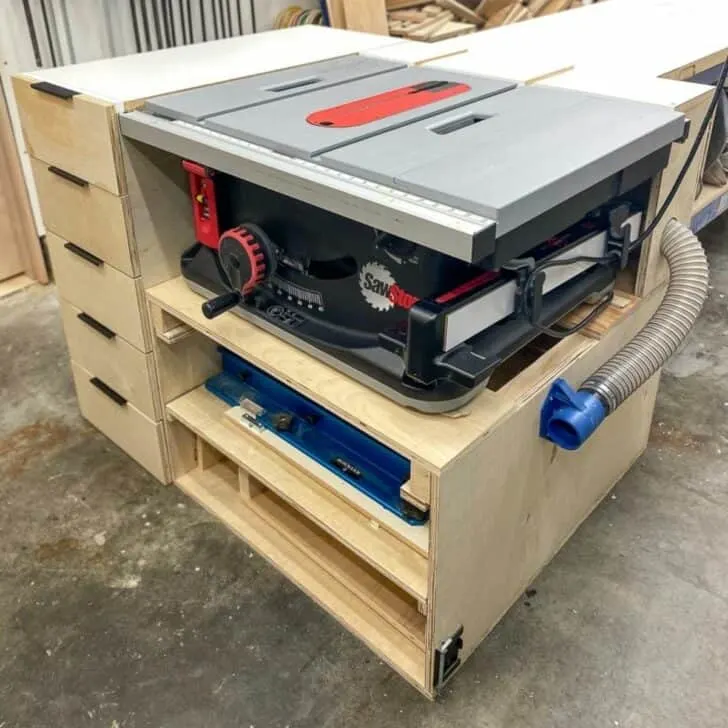
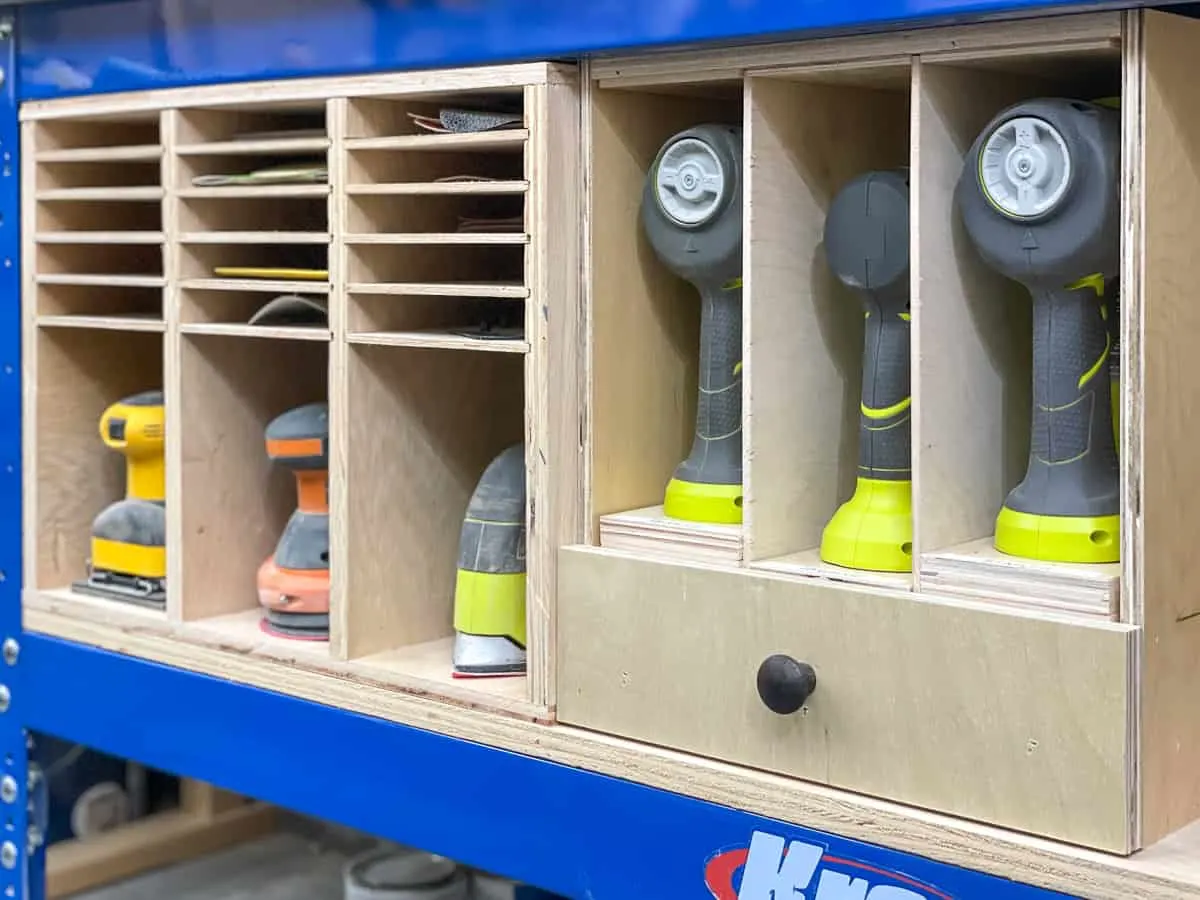
This organizer fits perfectly on the shelf of my Kreg workbench next to my sander and sandpaper storage, so it's out of the way until I need it! You could also attach a French cleat to the back of the box to hang it anywhere on the wall.
Here's how to make your own nail gun storage box!
This post contains affiliate links for your convenience. Purchases made through these links may earn me a small commission at no additional cost to you. Please visit my disclosures page for more information.
Materials
- Quarter sheet (24” x 48”) of ½” plywood
- Quarter sheet (24” x 48”) of ¼” plywood
- 10” drawer slides
- Drawer knob
- Plastic organizer with dividers
- ¾” brad nails
- ⅝" brad nails
- Wood glue
How to make a nail gun organizer
Download the woodworking plans
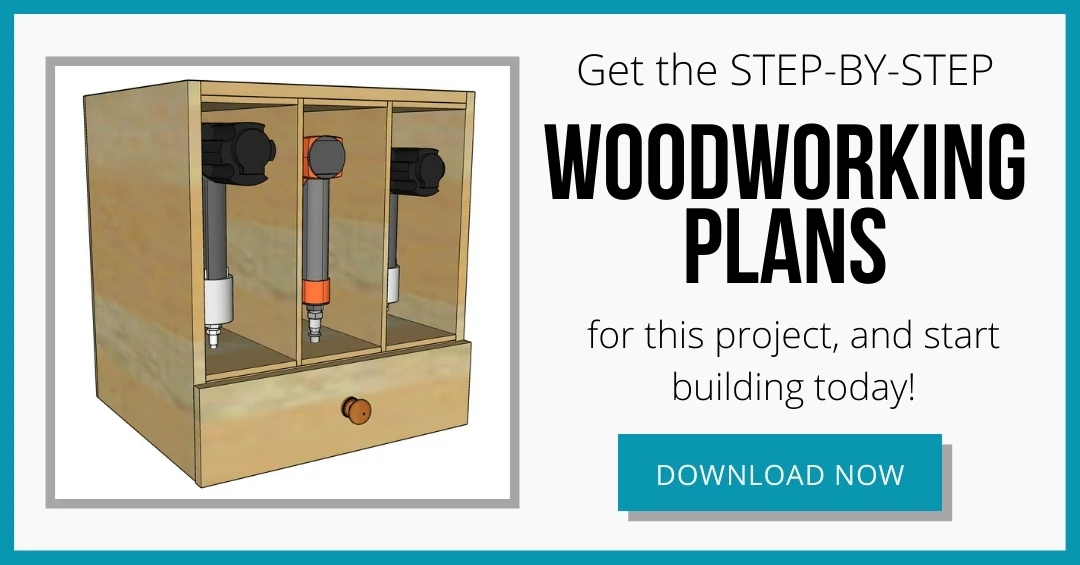
Before you begin, download the woodworking plans for this nail gun storage by clicking the box below. These printable plans include a plywood cut diagram, 3D models of each step, and detailed instructions in a checklist format so you can keep track of your progress!
Take some measurements
Start by measuring the organizer for the drawer, as well as all your nailers. I built the drawer to the width of the plastic organizer, knowing that three nailers would fit easily above it.
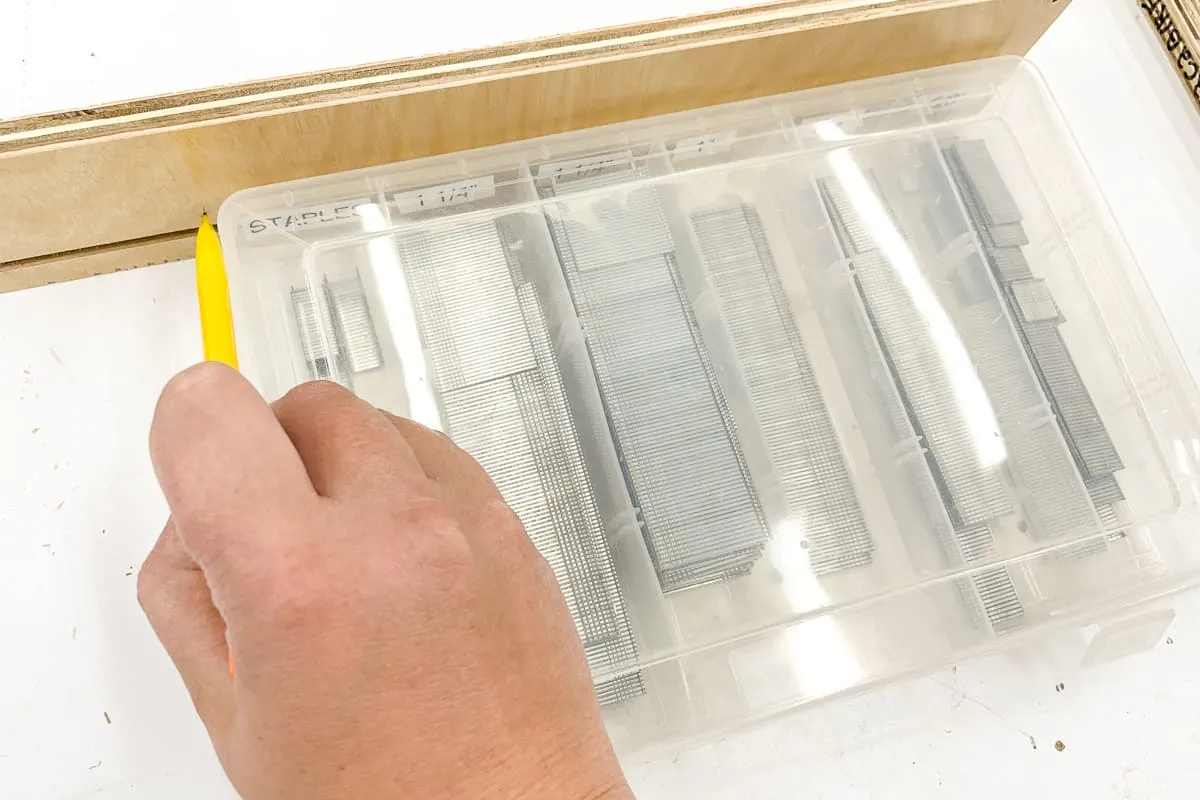
I had a bunch of leftover pieces from building drawers for my kitchen remodel that already had a groove cut for the bottom, so I reused those. In fact, all the plywood I used was scrap, so it was basically a free project!
Assemble the drawer
I already had 10" drawer slides on hand, so I cut the drawer sides to that depth. I nailed the back to the sides, then checked the fit of the nail box.
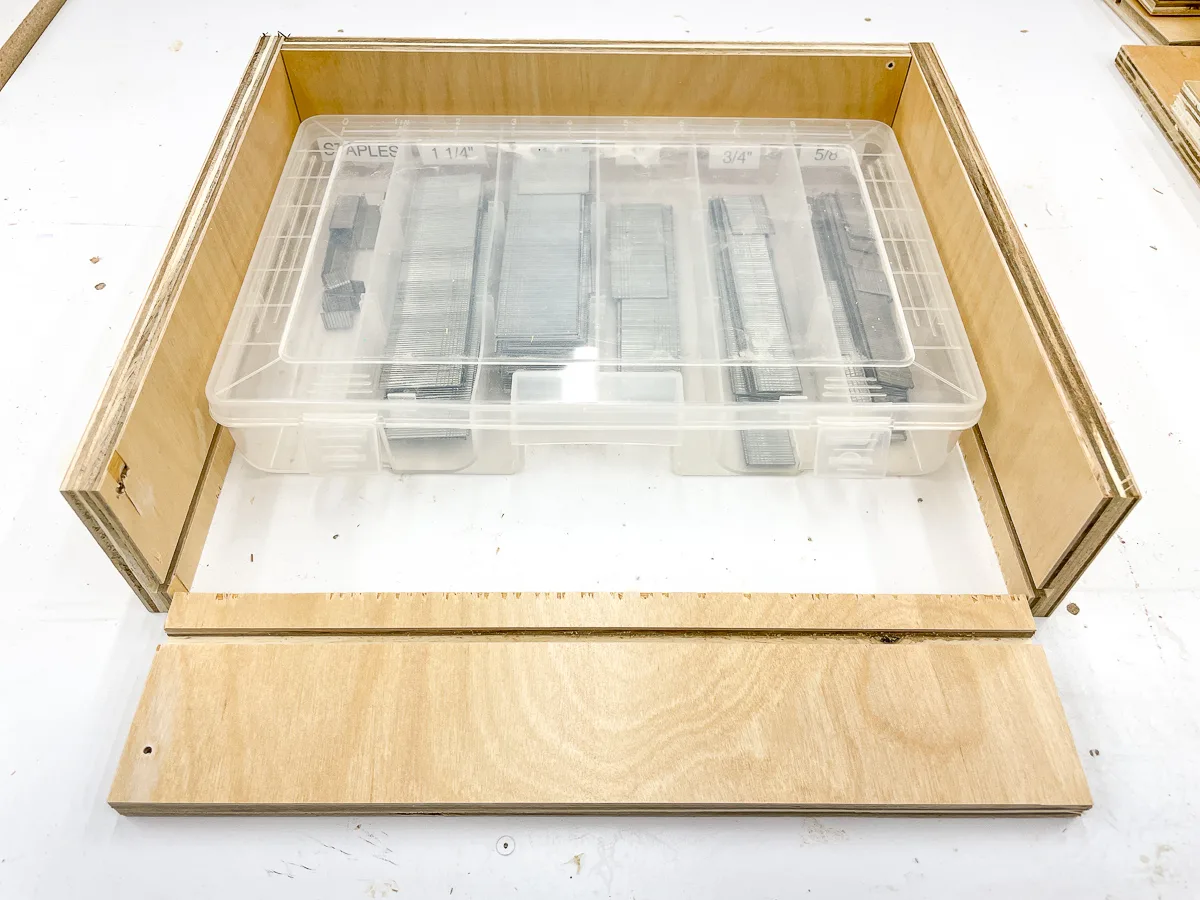
Then I slid the bottom in place and tacked the front on with brad nails.
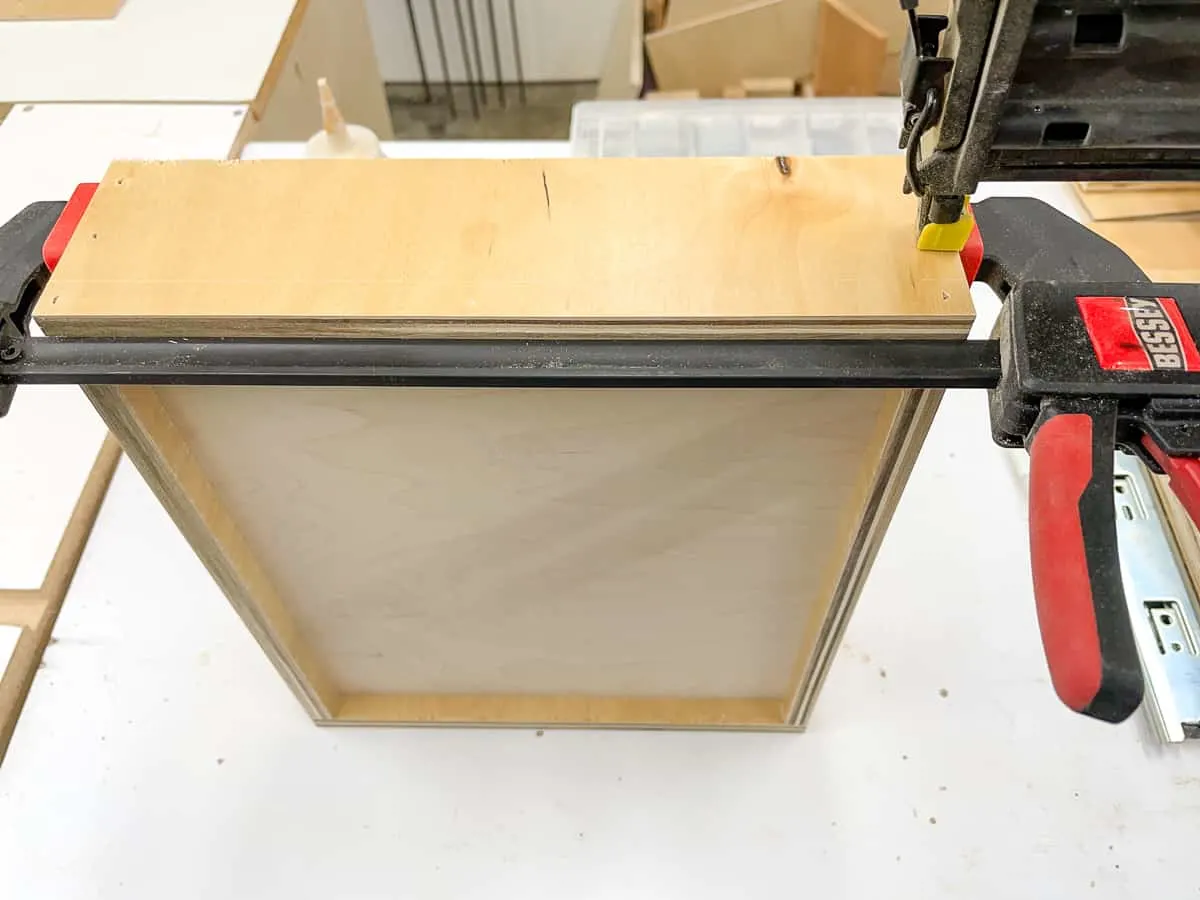
Assemble the bottom of the storage box
Since I'm trying to use up my scrap plywood, I dug around in my lumber cart for a piece that would fit my largest nailer. This one turned out to be the perfect size for the sides of the storage box!
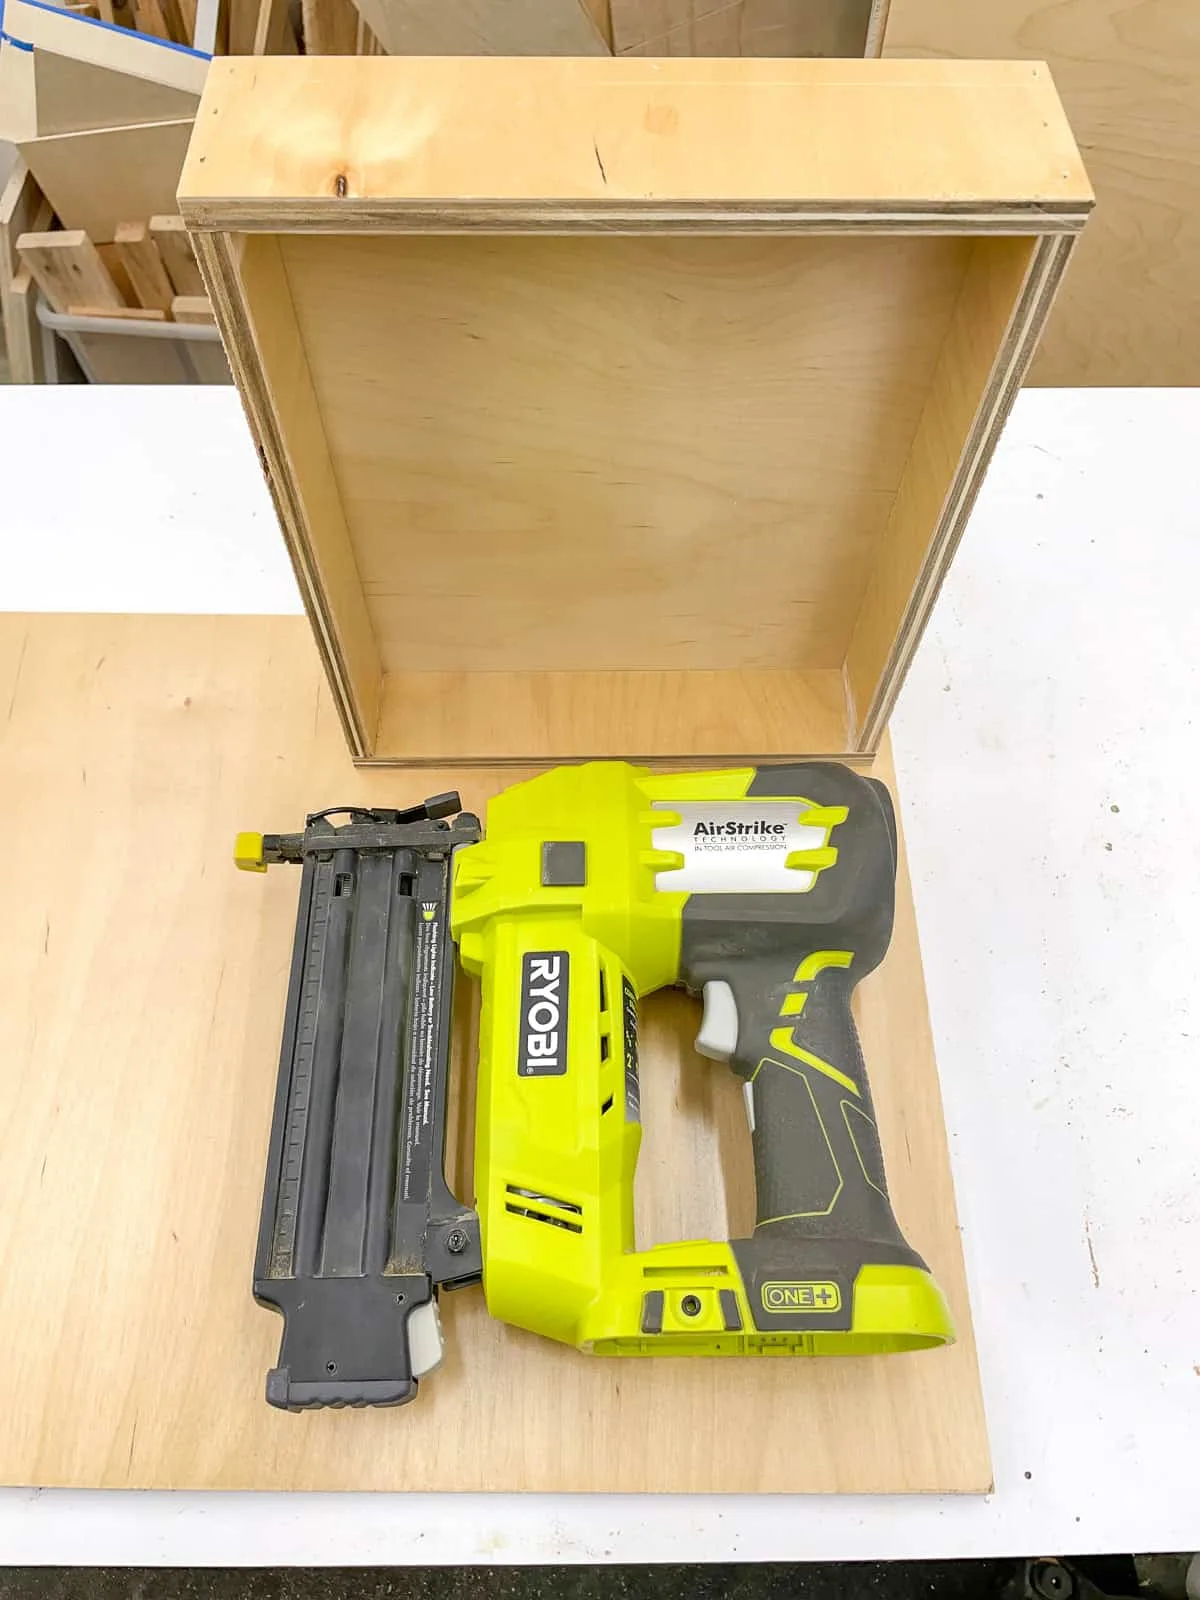
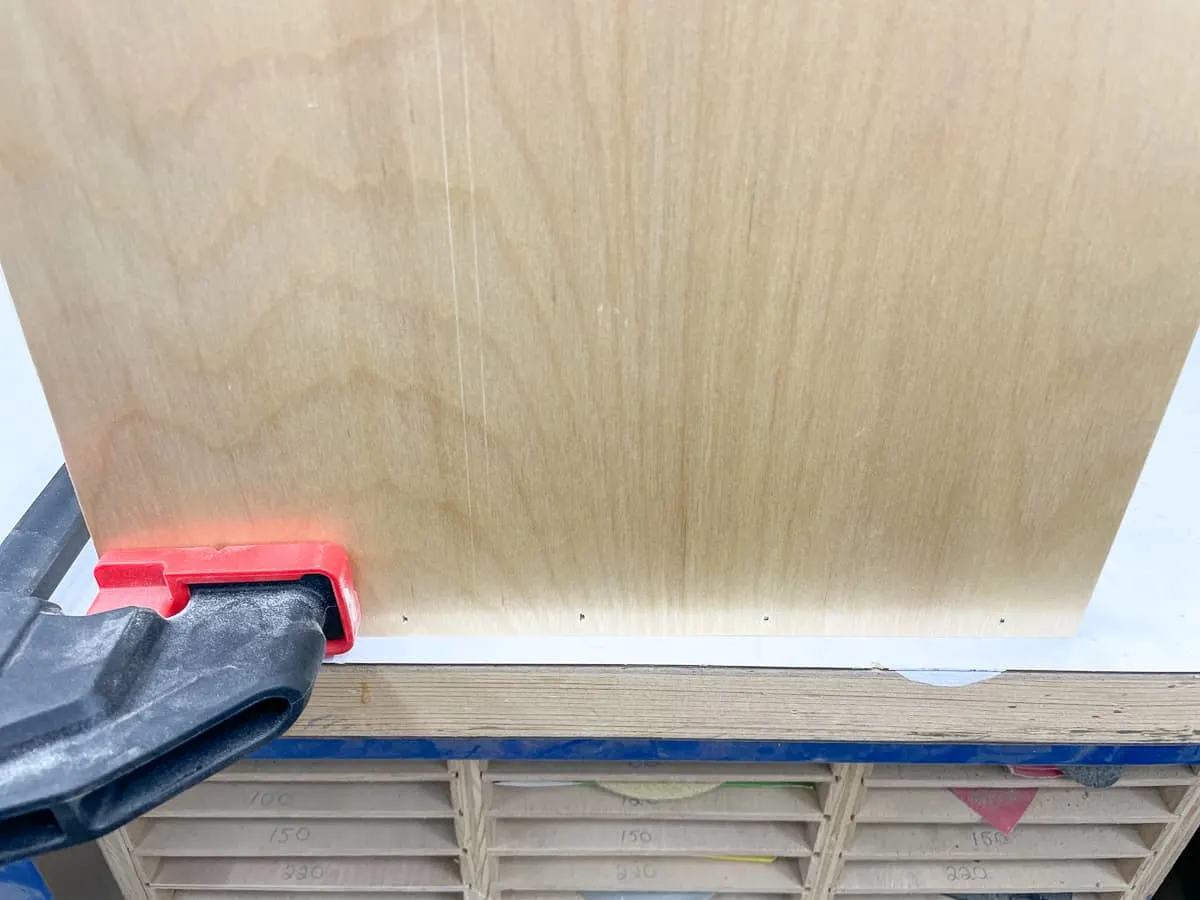
Attach the sides to the bottom with wood glue and brad nails.
Install the drawer
It's much easier to install the drawer slides now, while the inside of the box is empty. I used another scrap of ¼" plywood as a spacer to raise the drawer slides off the bottom while I screwed them into place.
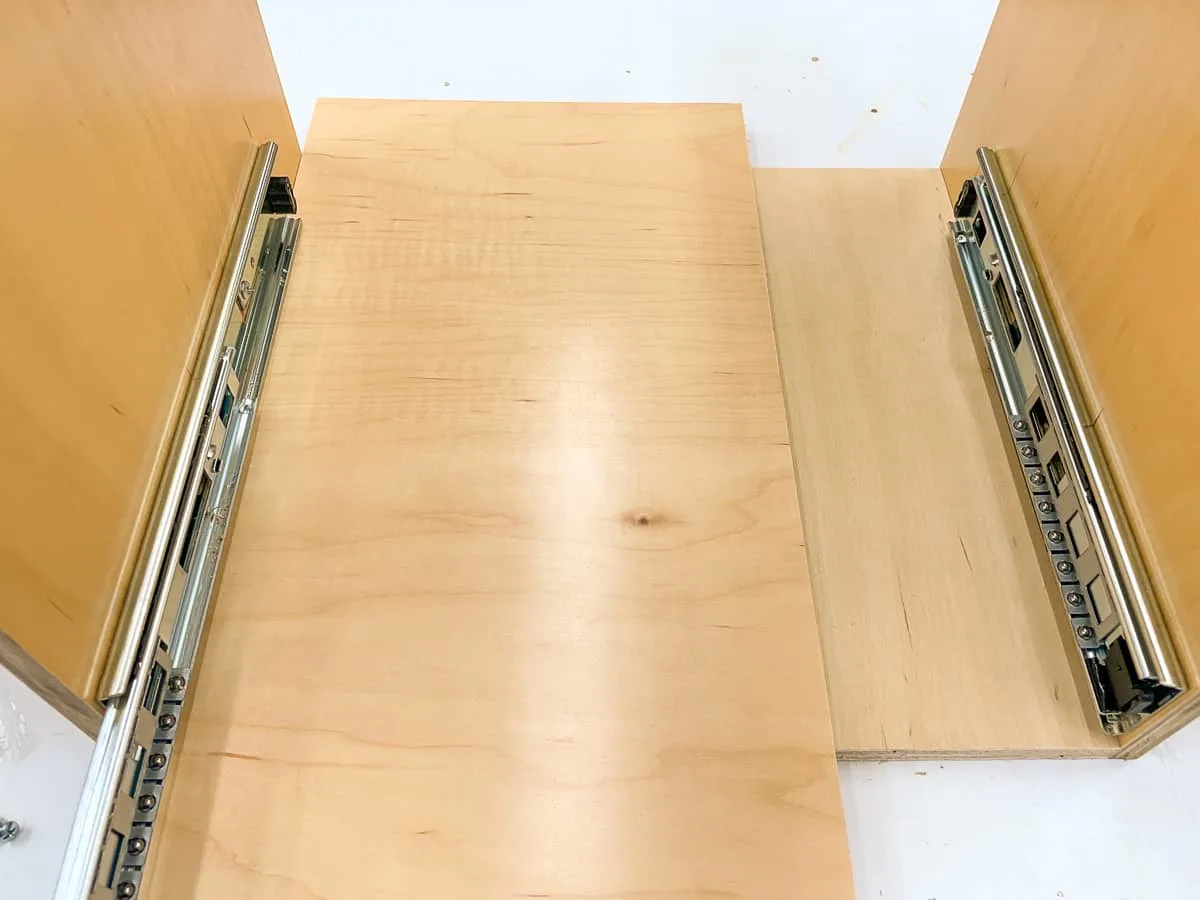
Place the drawer box inside, on top of the spacer. Then pull the drawer and slides out until you can access the screw holes, and attach the slides to the box.
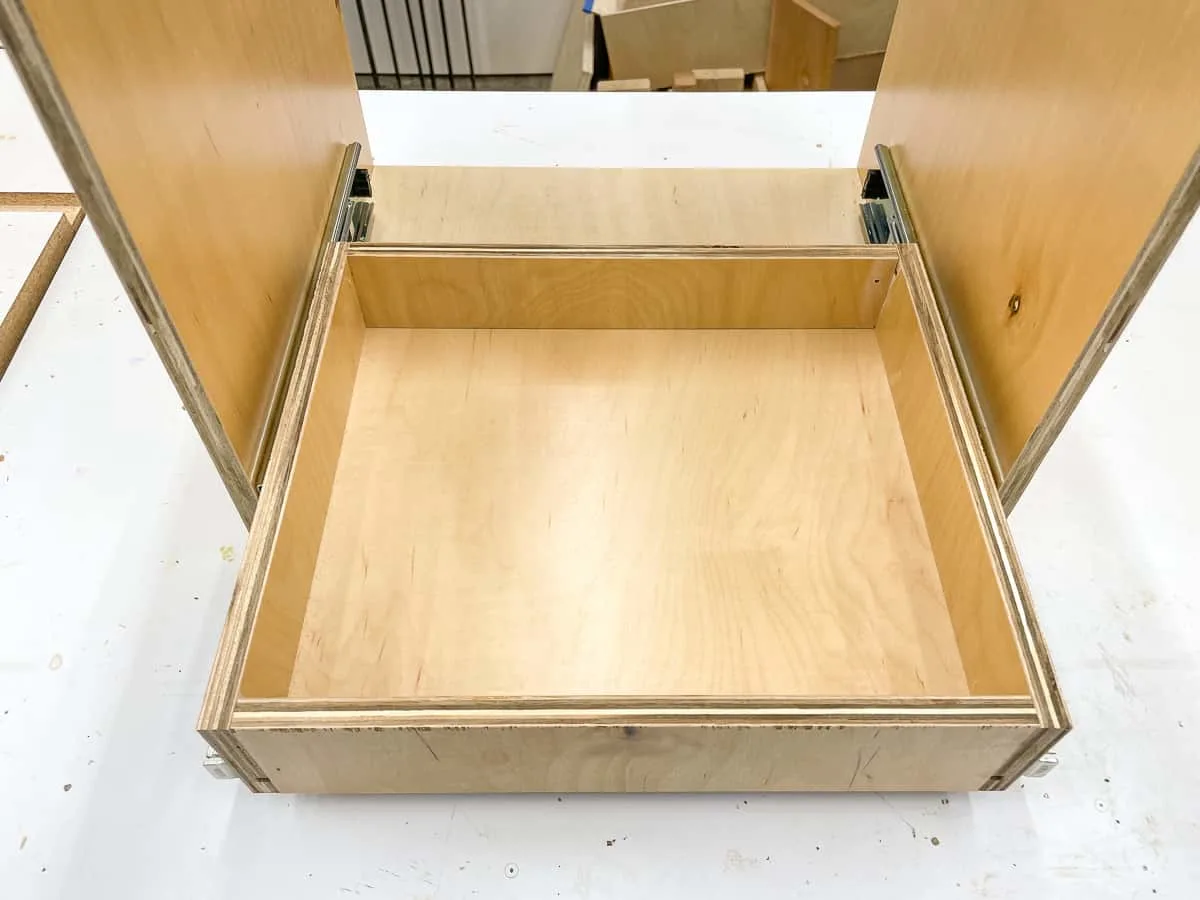
Place the plywood spacer on top of the drawer, then place the shelf on top. Measure the height of the shelf, and mark that height on the outside of the storage box. Then nail the shelf in place through the sides below your mark.
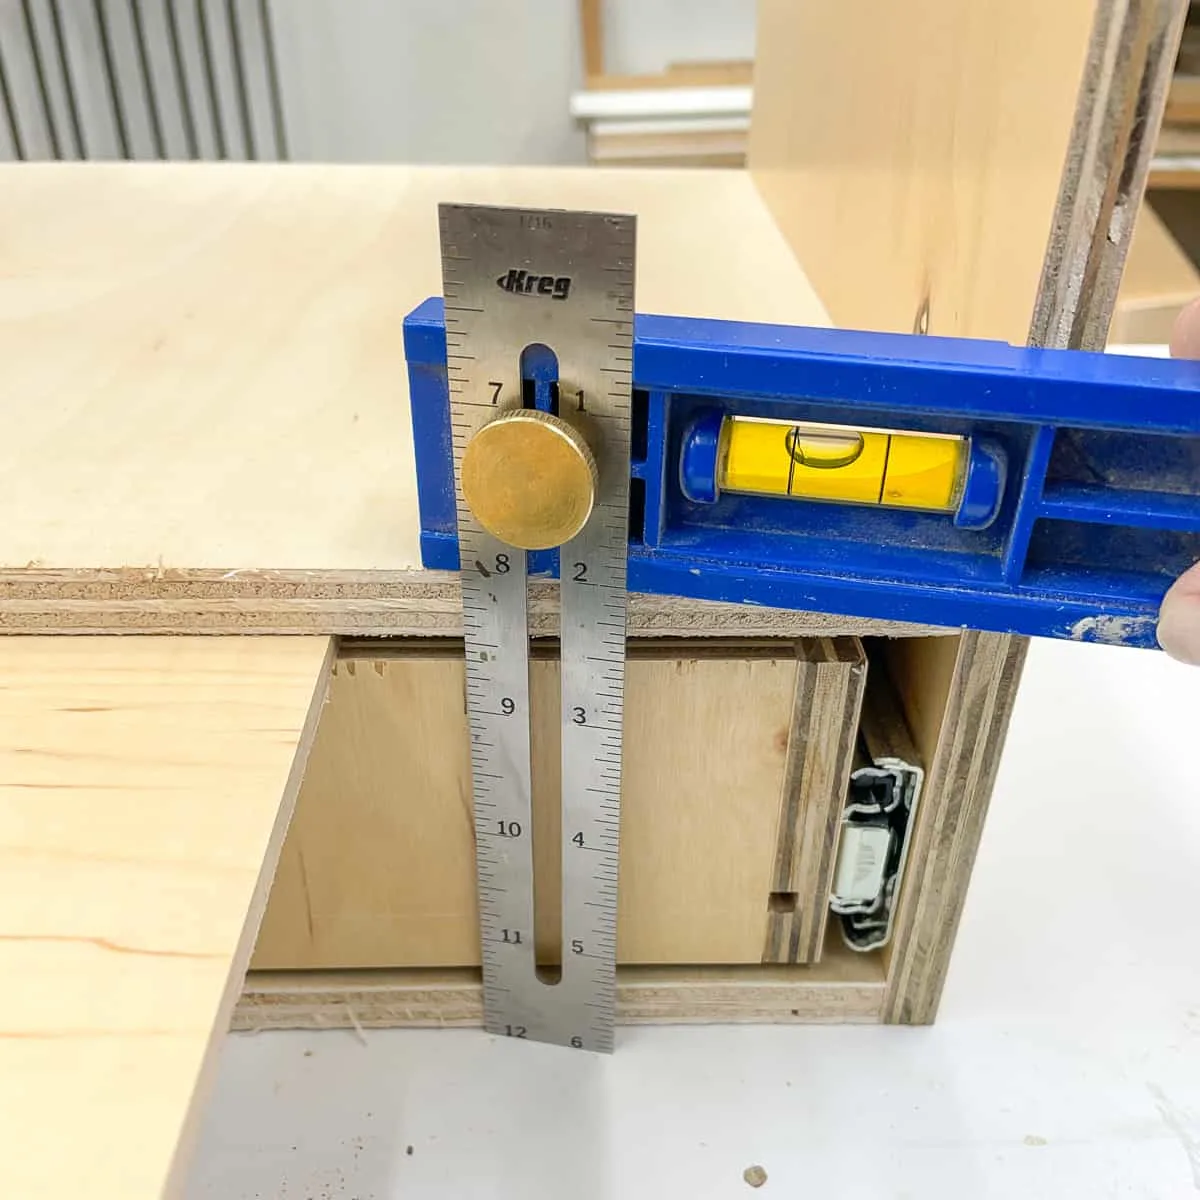
Create grooves for the dividers
Instead of cutting grooves into the plywood for the dividers, I decided to build them up instead. This used up more of those awkward thin plywood scraps and kept the strength of the plywood shelf.

Each nailer has its own custom platform, so it stays level inside the box. Otherwise, they had a tendency to tip backwards.
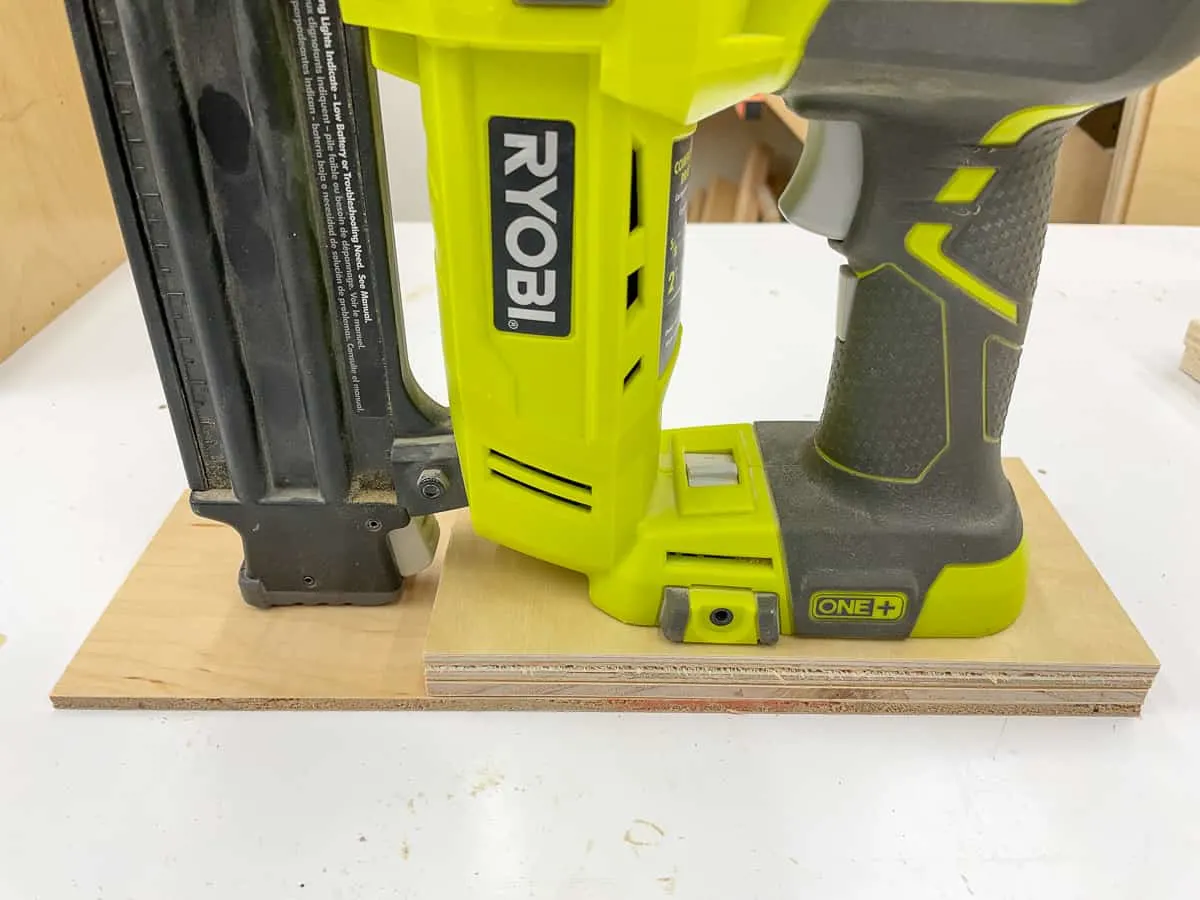
Once the platform is the right height, nail it down to the shelf. I used a scrap of ¼" plywood as a spacer between the platforms for the dividers.
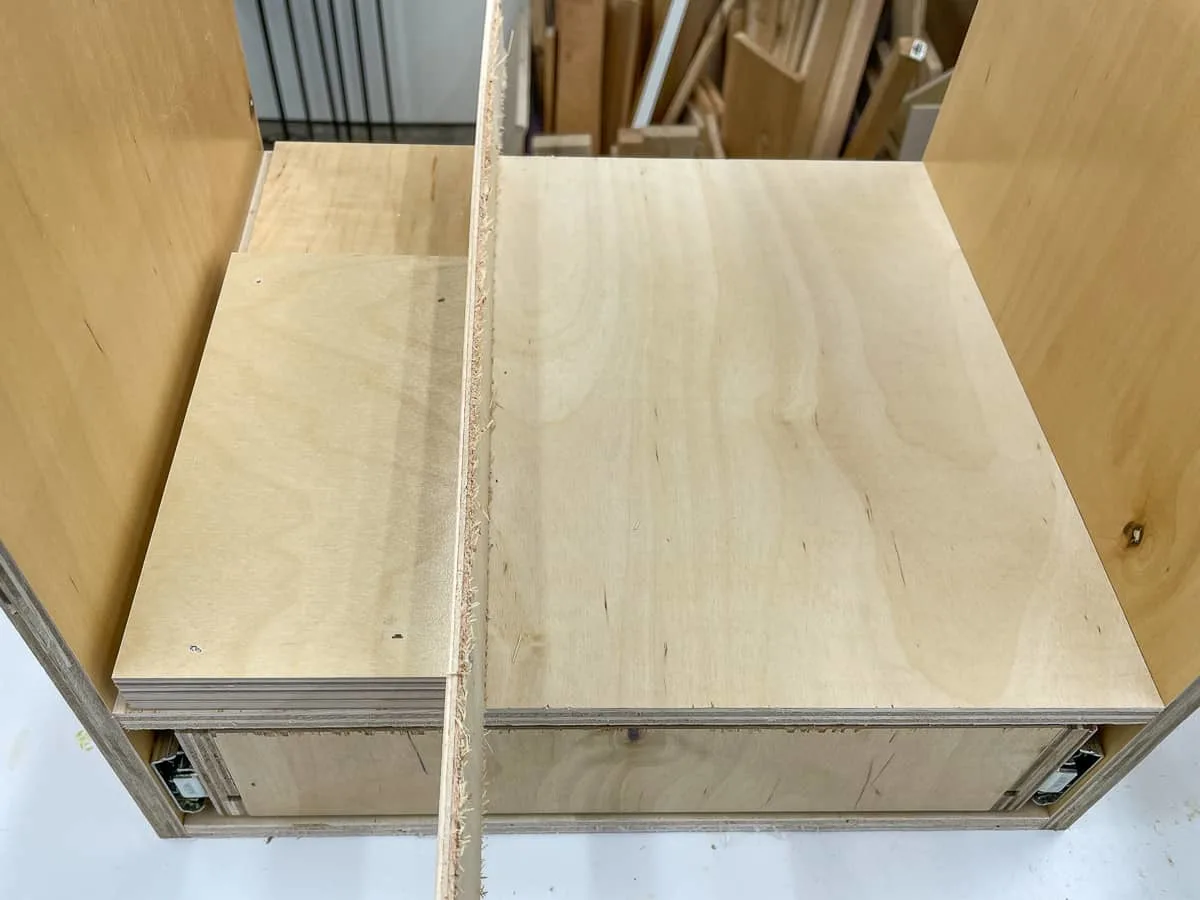
Repeat the process for the top of the box, but you only need one layer of plywood for each section. Then attach the top to the sides with brad nails.
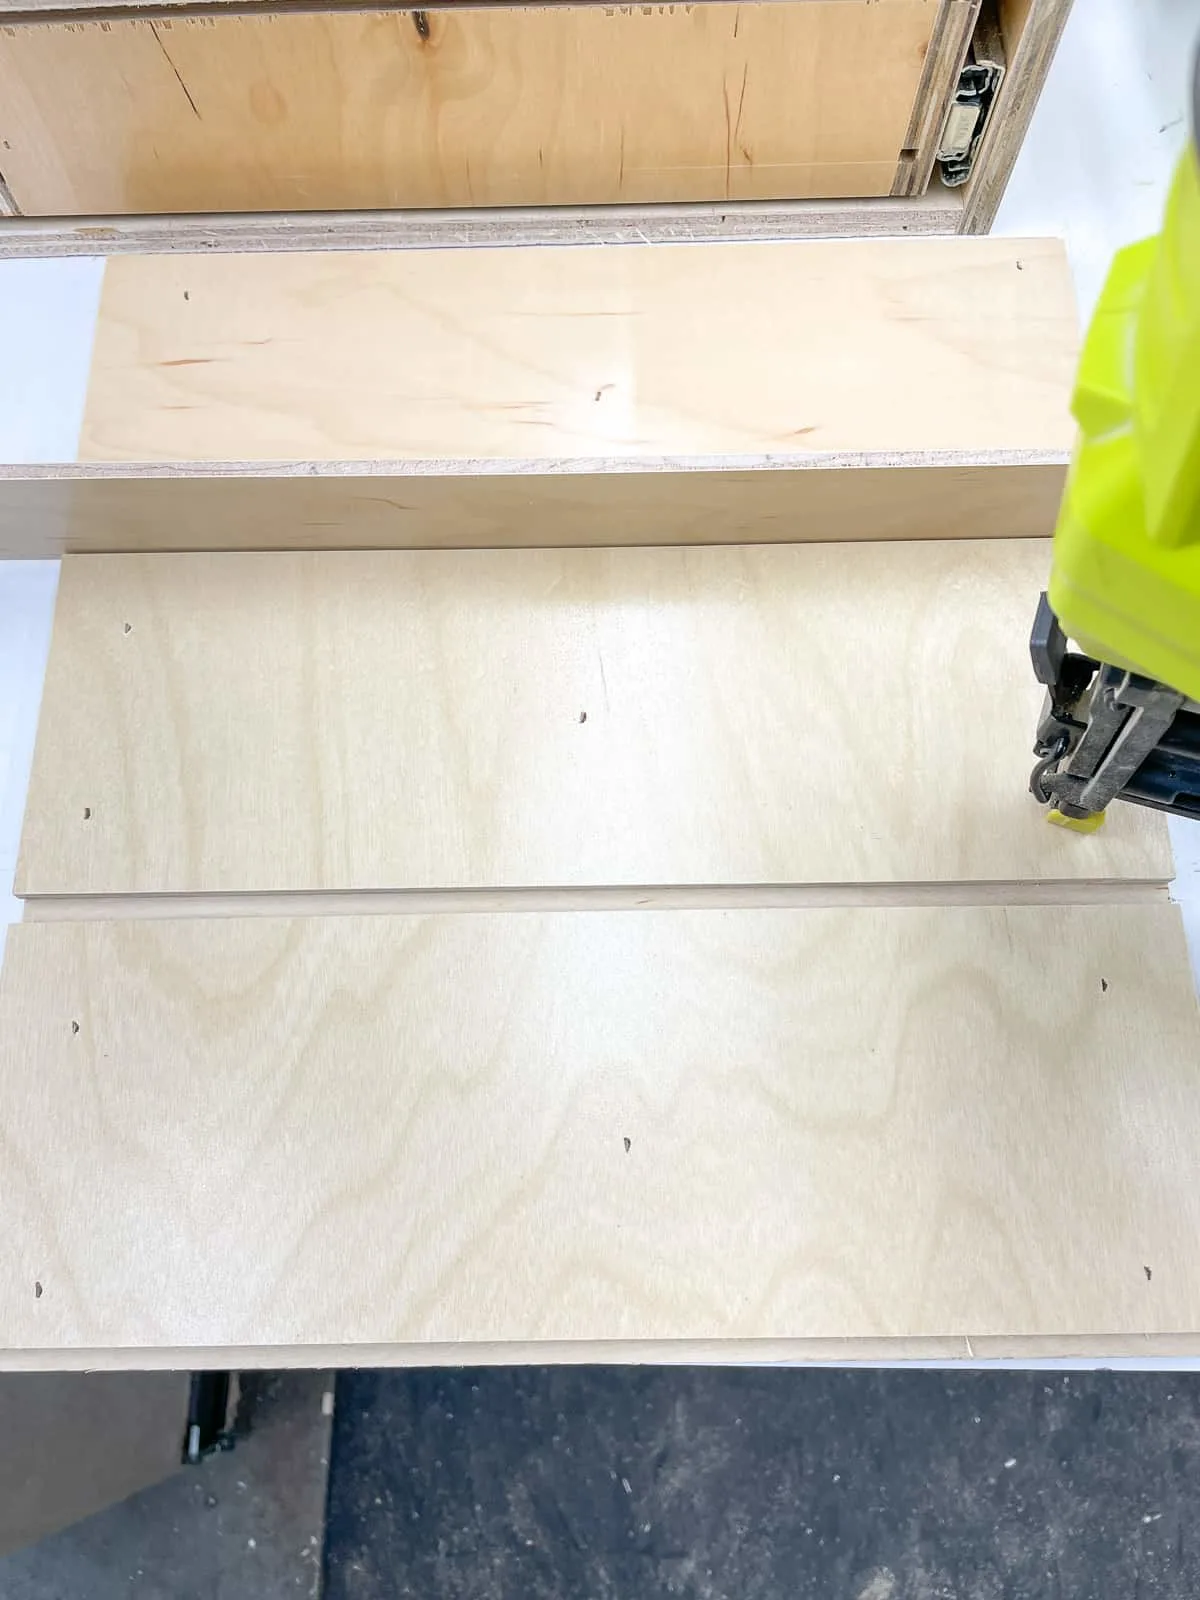
Now cut the dividers to fit inside the grooves and slide them into place!
Attach the back and drawer front
Since the back won't be seen, I pieced it together from two different scraps. Just mark the height of the box and cut it to fit.
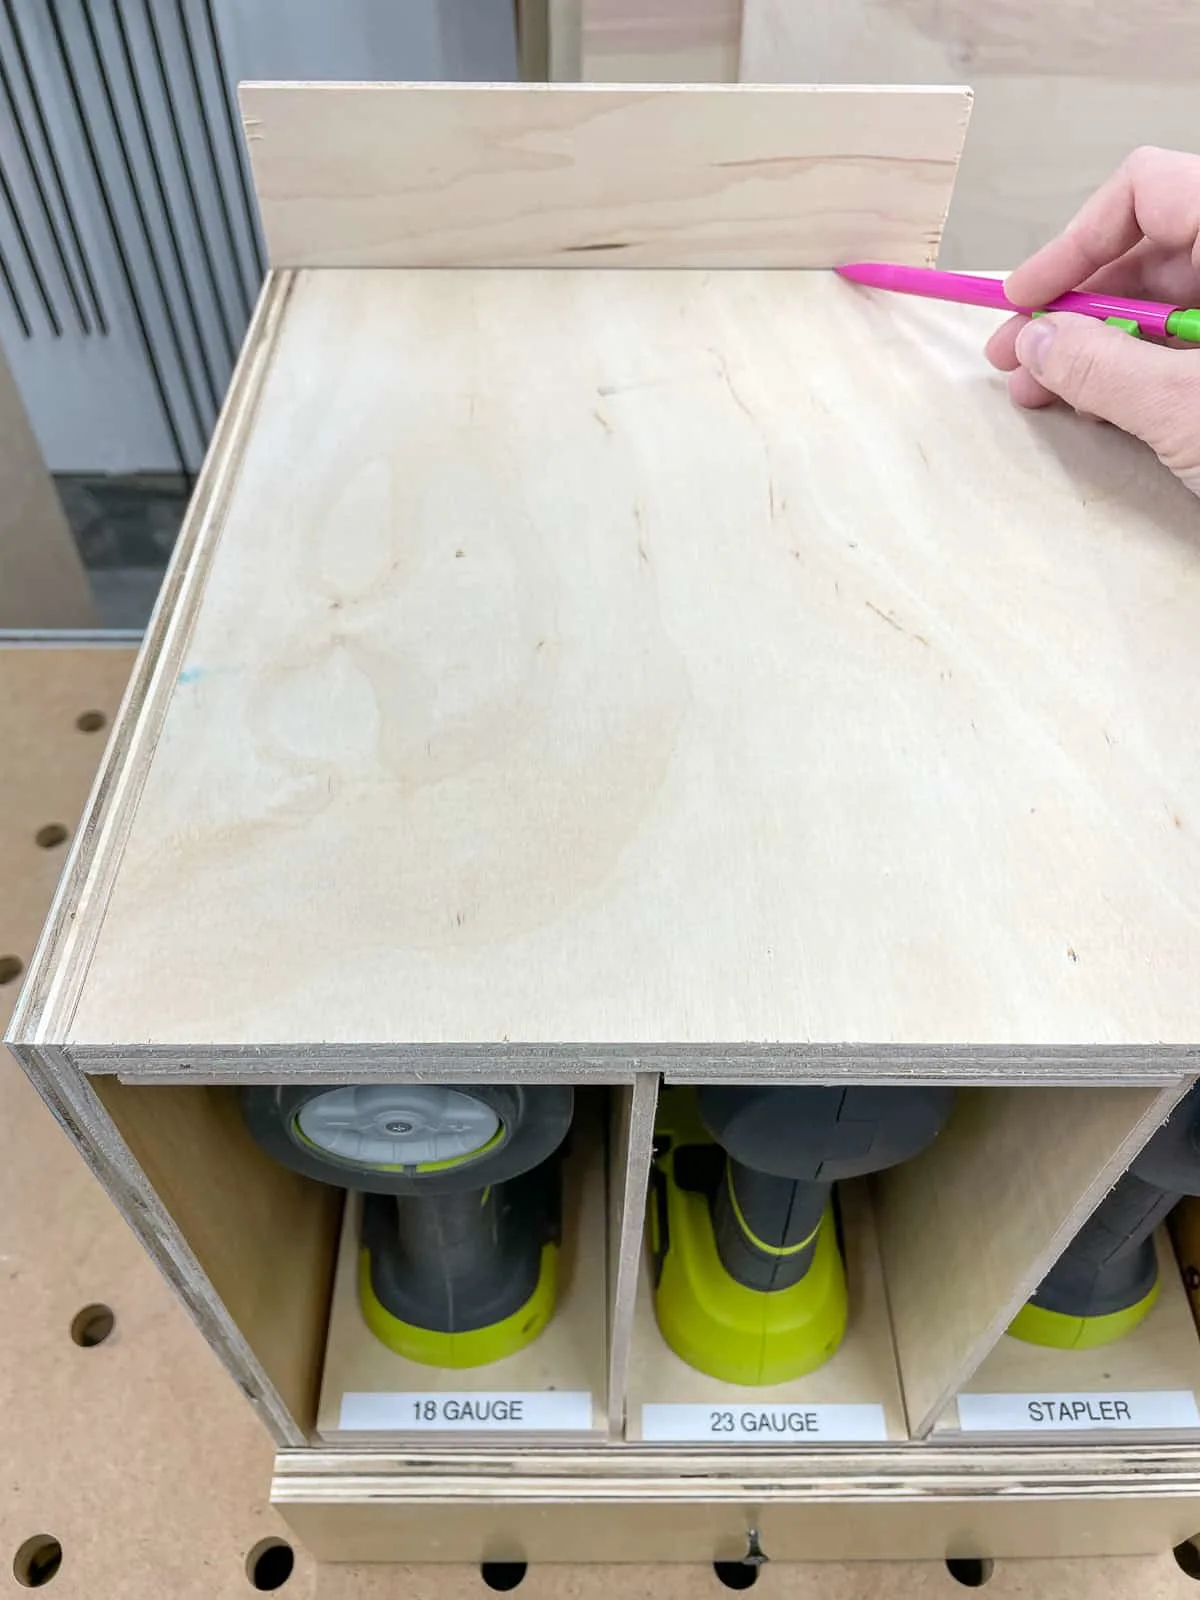
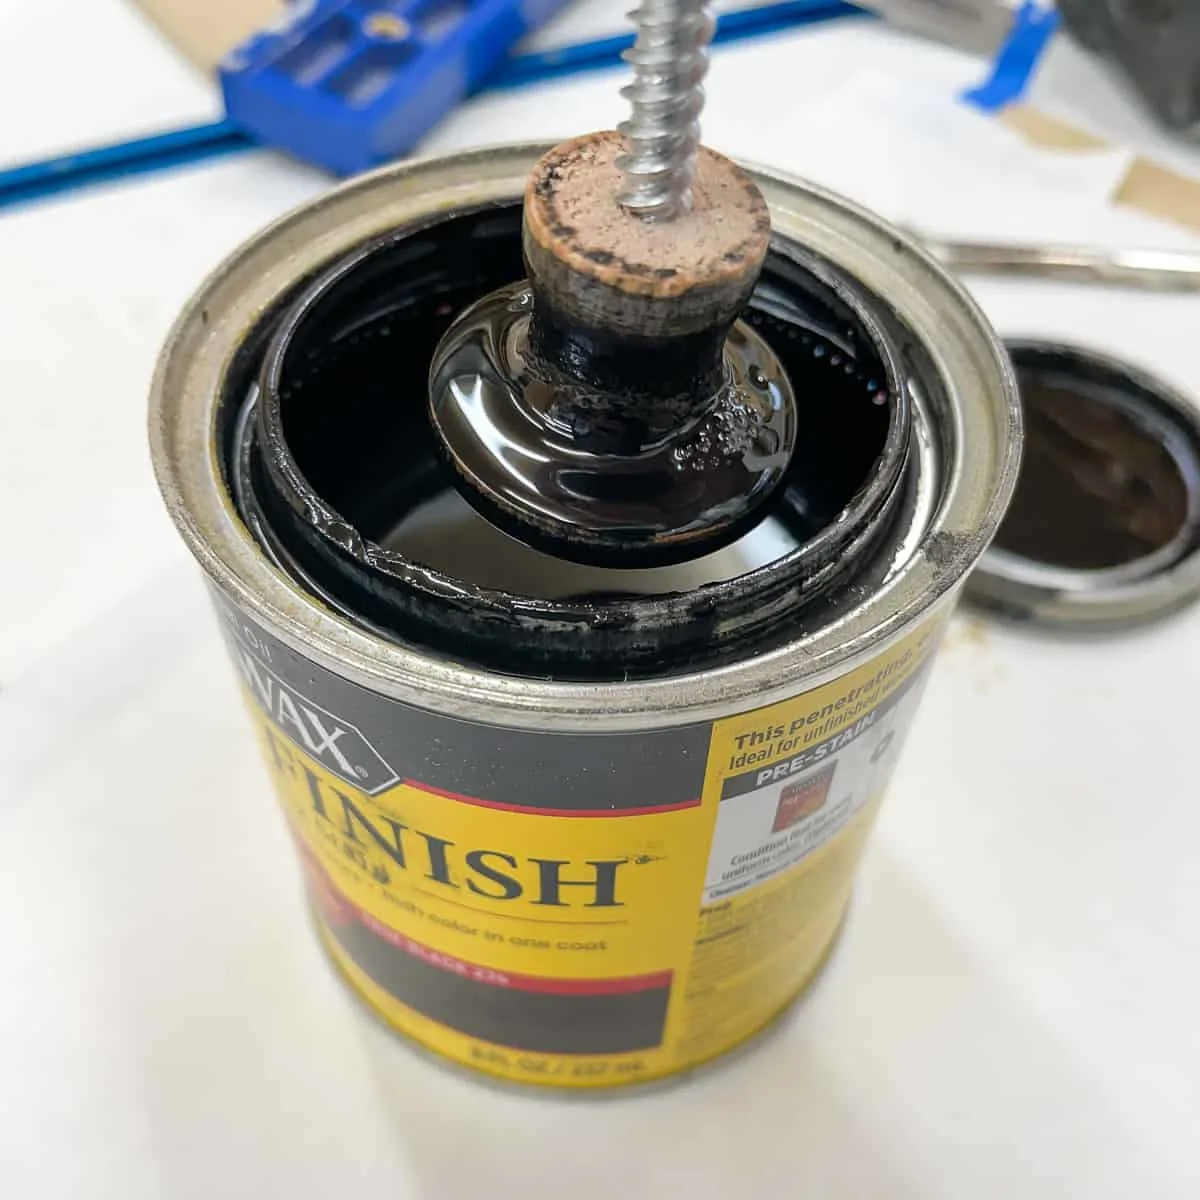
I used a screw to hold the drawer front in place while I attached it from the inside. Then I dug out an old wooden drawer knob to use for the front. I just dipped it in black wood stain to give it a bit of contrast before screwing it in place.
Load up your new nail gun organizer!
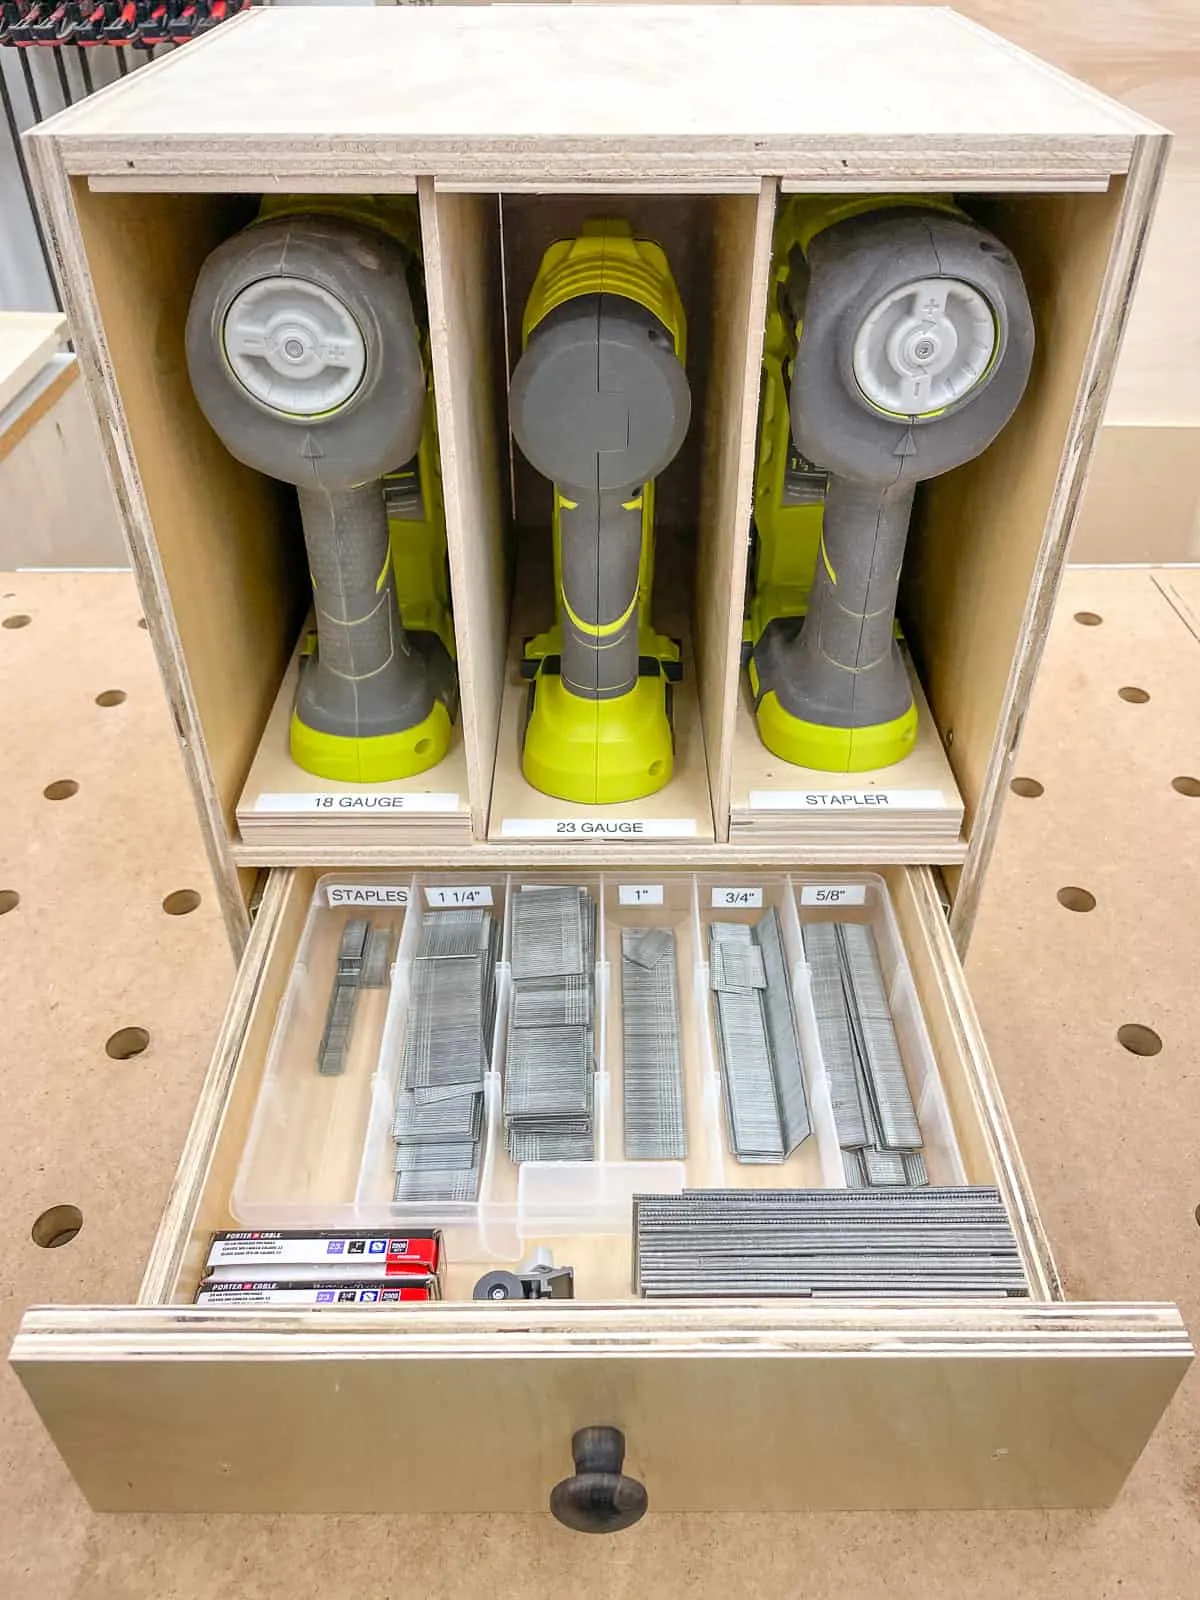
I love having all my nailers and nails neatly sorted and labeled! All the Ryobi Airstrike nailers look the same, so the labels will hopefully prevent me from grabbing the wrong one.
There's plenty of space in the drawer to sort all the brad nails by size, plus room for a couple of boxes of pin nails in front.
It fits perfectly under my Kreg workbench next to the sander and sandpaper storage. I have enough room to add another, so I may reconfigure my old cordless drill storage rack to fit down here!
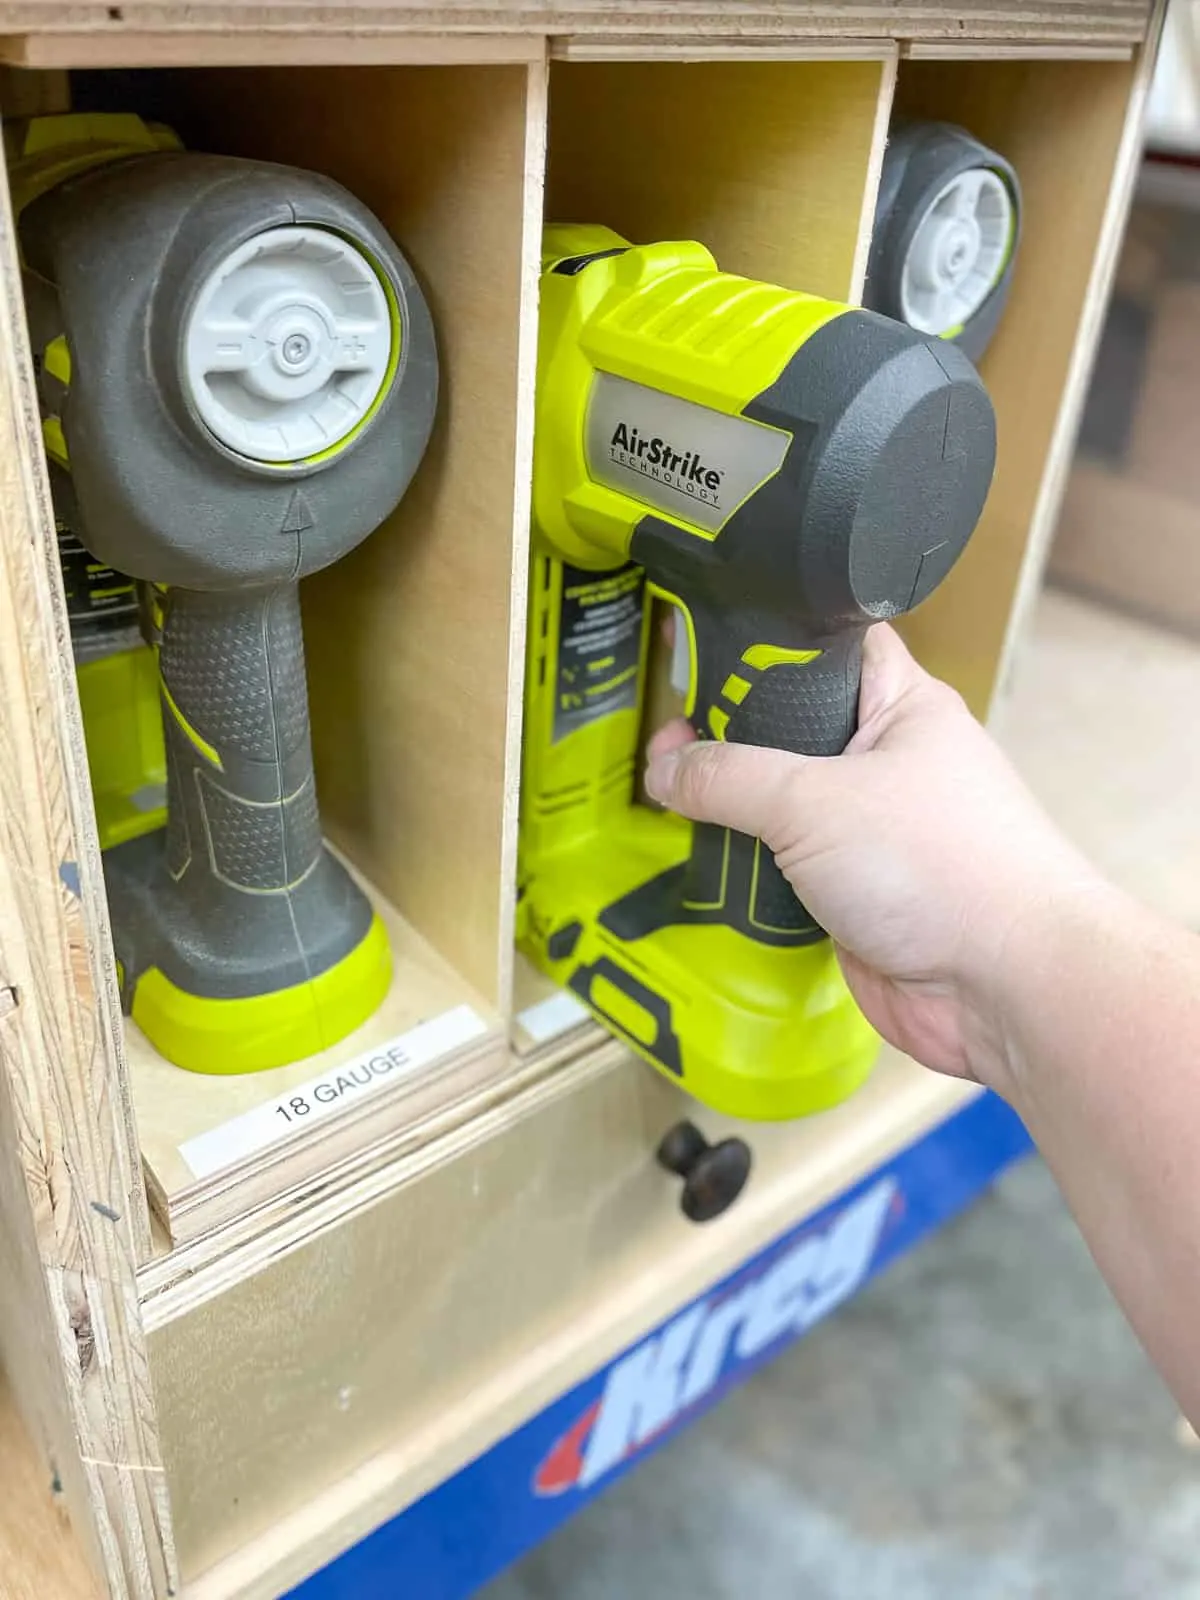
Now I can just grab a tool whenever I need it instead of hunting around the workshop for the last place I left it!
Having all the nails neatly organized also helps me see when I'm running low. I didn't realize how many 2" brad nails I had laying around until I put them all in one place!
Hopefully this nailer storage will help you get organized in your own workshop! Don't forget to download the woodworking plans to make your own by clicking the box below!


