Nothing says summer like watermelon! These giant wooden watermelon slices will give your home a fun pop, and are easy to make with scrap wood.
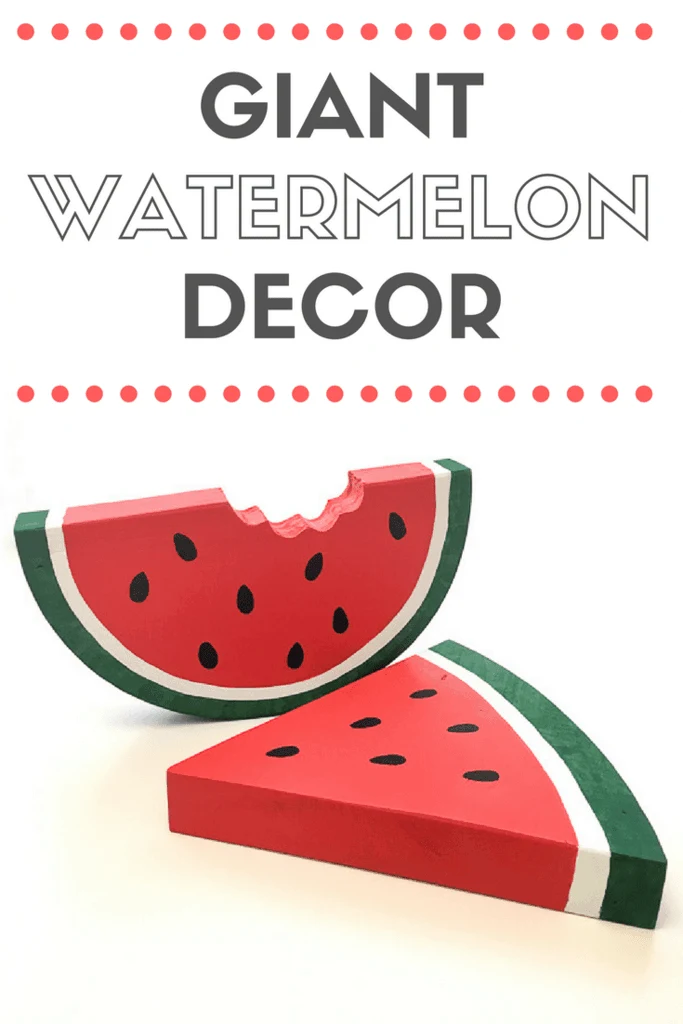
One of my favorite ways to use up chunky wood scraps is to create oversize seasonal decorations. So far, I've made huge Conversation Hearts for Valentine's Day...
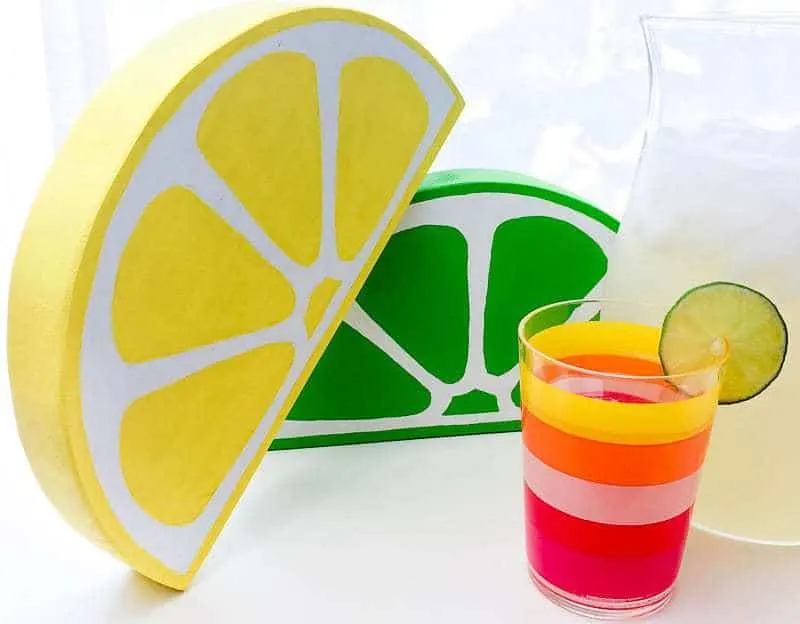
and enormous lemon and lime slices perfect for a lemonade stand or drink station.
Now I'm going to add some DIY watermelon decor to the collection!
This post contains affiliate links for your convenience. Purchases made through these links may earn me a small commission at no additional cost to you. Please visit my disclosures page for more information.
Materials Needed
- 2 x 12 wood scraps (at least 12" x 9")
- Jigsaw
- Sandpaper
- Tack cloth
- Craft brushes
- Acrylic craft paint
- I used white, black, hunter green and apple red.
- Dremel or drill with sanding drum attachment (optional)
How to Make Wooden Watermelon Slices
Cut the wood to a manageable size
I started by digging through my scrap pile for those oddly shaped, wide pieces of lumber. I used 2x12 pieces, but you could cut down a 1x10, 2x10 or even plywood for this project. Each piece should be at least 9"x12".

Sand down the faces of your piece, and try to find a section with minimal knots.
Cut or draw a template
You can draw out these simple watermelon slices yourself, but since my drawing ability is limited to stick figures, I had my Silhouette machine cut a stencil for me. Simple designs work best when making these oversize pieces, so I chose this watermelon cut file. Love the bite taken out of the half-circle slice!

Enlarge all the pieces so they'll fit on your wood scrap. Make sure all the curves stay in proportion to each other by keeping them aligned on your screen.

Cut the design out of cheap cardstock, and trace each piece onto your board. You could also replicate this design freehand if you don't have a cutting machine like this one.
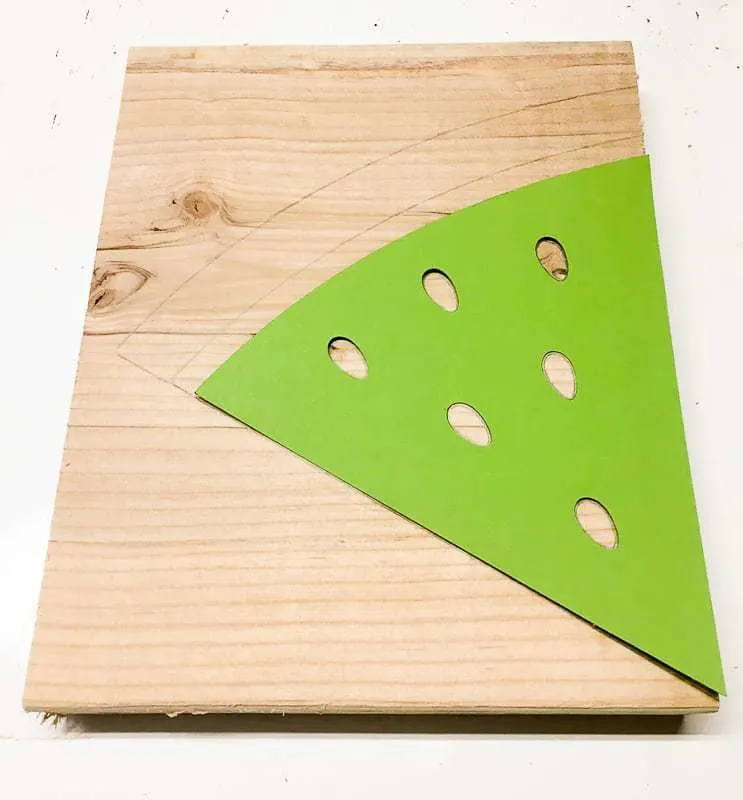
Cut out the wooden watermelon slices
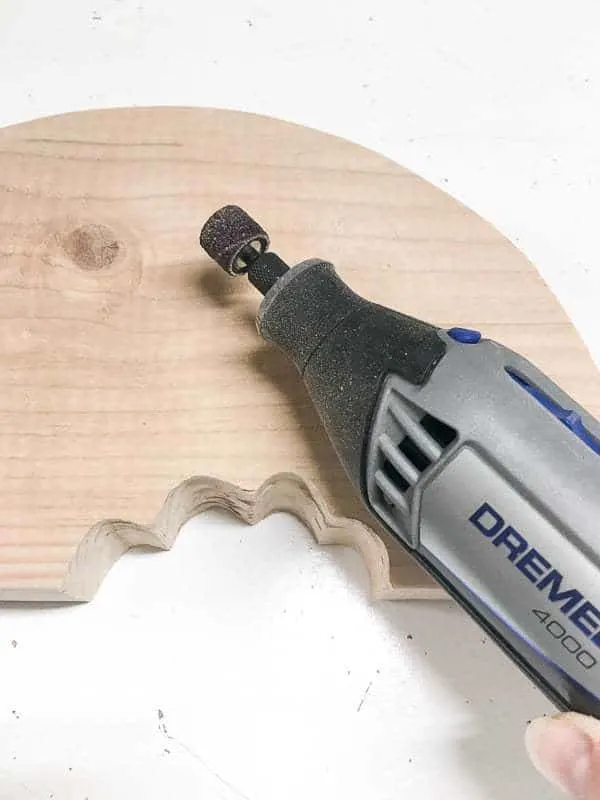
Cut the outside edge of each shape out with your jigsaw. Sand down the sides and round over the sharp edges. I used my Dremel with a sanding drum attachment to get into those bite marks.
Paint the watermelon slice
Now, we paint! To give the green rind a mottled appearance, I used random, short strokes and only used one coat of paint. That let some of the light wood color show through to resemble the yellow parts of the watermelon.
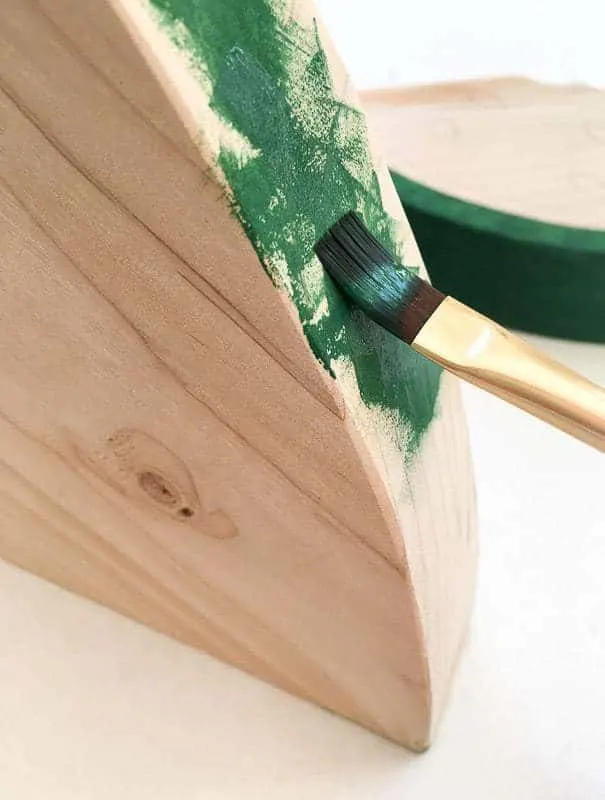
Let each color dry before starting the next to avoid color blending. I thought about letting the green and red to bleed into the white like a real watermelon, but decided to go with a crisp line instead.
Finally, paint in the black seeds with a small craft brush.
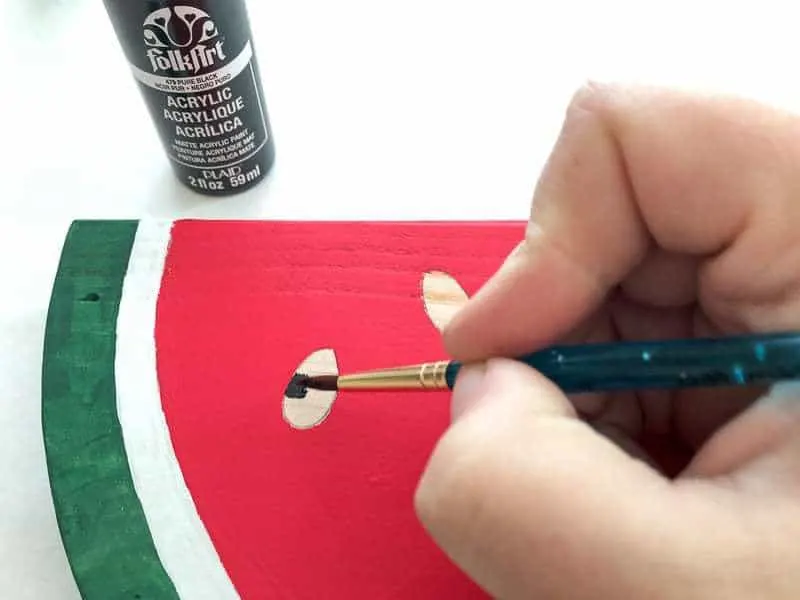
Once the paint is dry, they're ready to display!
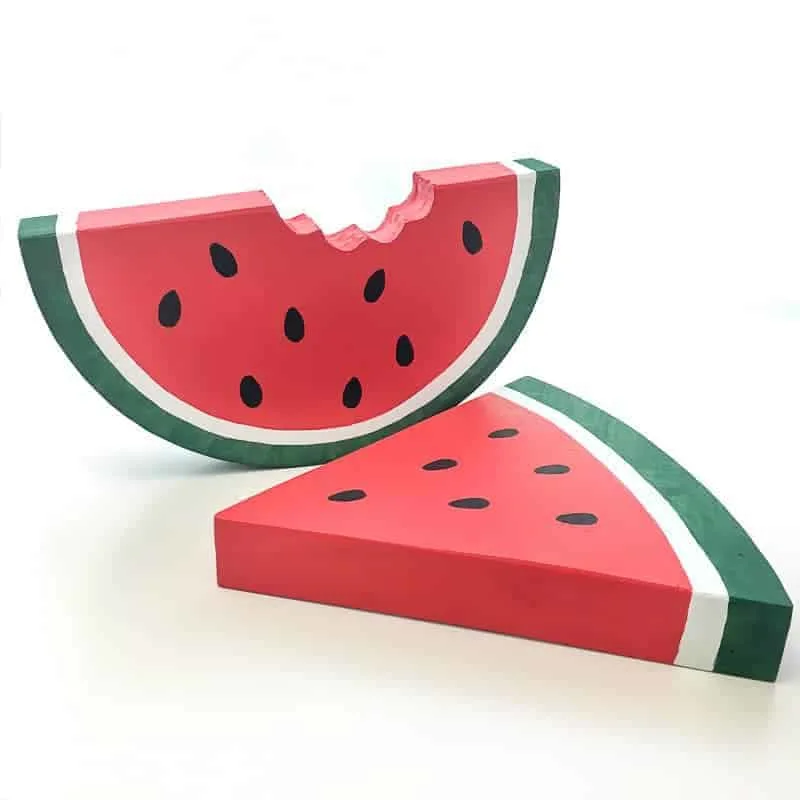
These watermelon slices fit comfortably on my narrow fireplace mantel, and pair perfectly with the lemon and lime already on display.
What other fun shapes should I make with these chunky wood scraps? I'm already thinking of a maple leaf design for fall!
Check out these other DIY decor ideas!





Jann Olson
Monday 13th of August 2018
Very cute! I have watermelon décor out in my kitchen right now. I have a couple of watermelon wedges. We cut them from trees, so the are more rustic. Thanks for sharing with SYC. hugs, Jann
Kristen
Friday 10th of August 2018
These look so cool! Wishing I had the materials and tools to make one myself right now.
Debrashoppeno5
Wednesday 8th of August 2018
These are so adorable.
Victoria @DazzleWhileFrazzled
Monday 6th of August 2018
Very fun and perfect as summery home decor!
Flo
Saturday 26th of May 2018
I love your watermelon designs, Can't wait to sea your maple leaves etc.
I love to do things such as this, and am just getting started. I have very little in tools, so I'll probably have difficulty doing some things but I'm going to try. Thanks for getting me going.