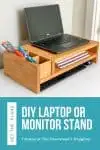
Build this DIY monitor stand for your desk to raise the screen up to eye level! It even has storage for pens, notebooks, keyboard and mouse!
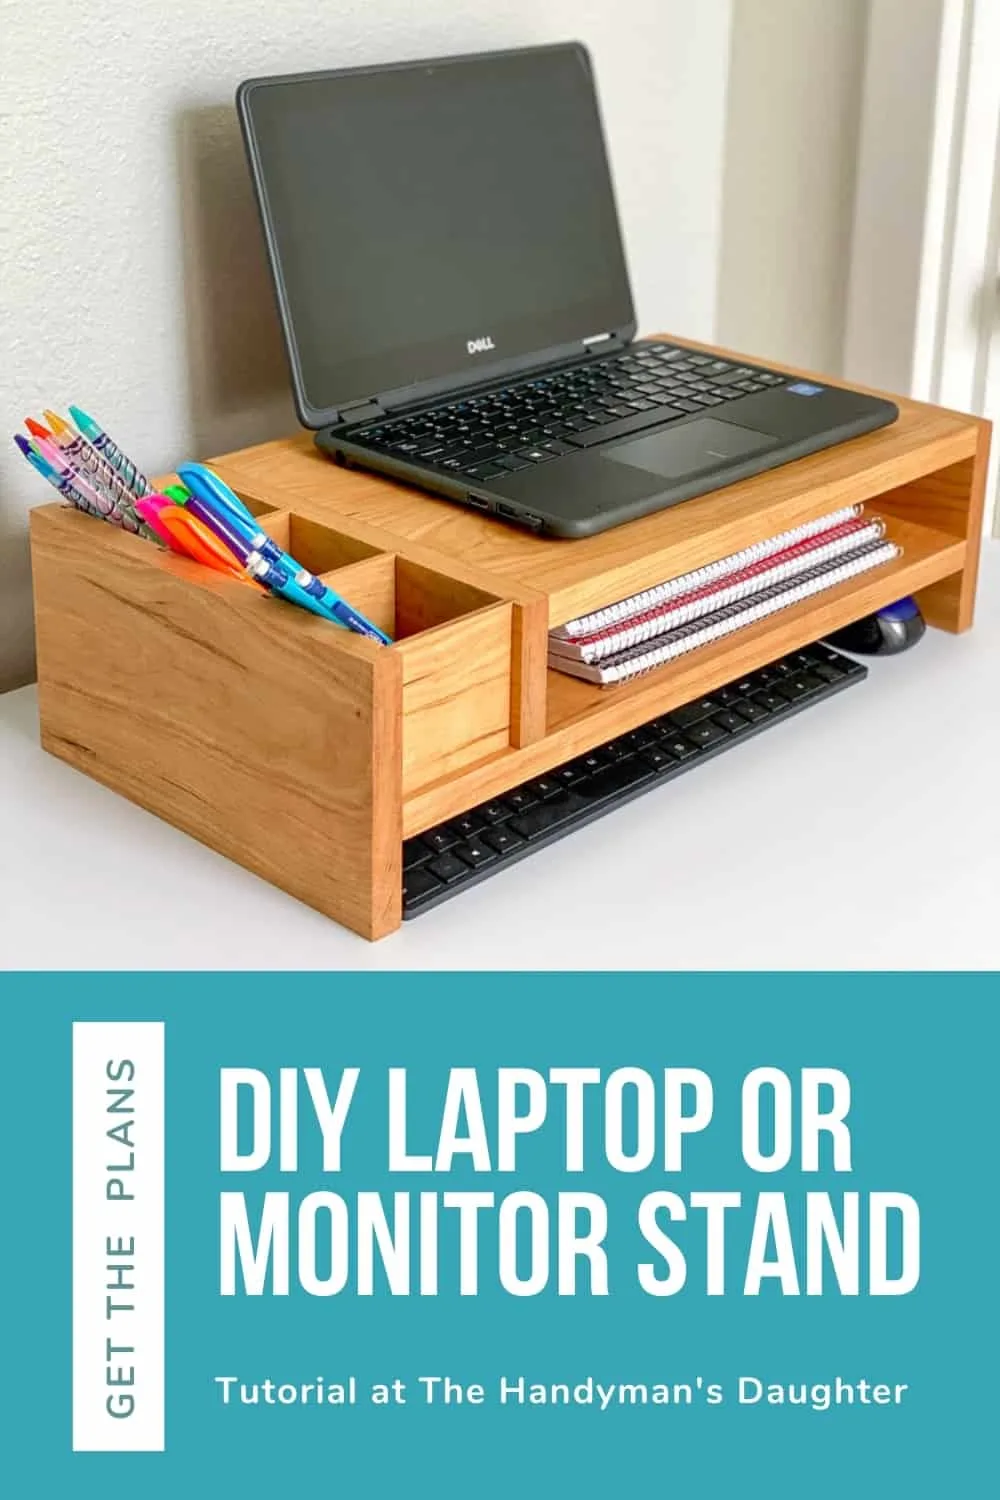
Tired of looking down at your monitor while sitting at your desk? Or maybe you prefer to use an external keyboard for your laptop and want to get the screen up higher? This DIY monitor stand is just what you need!
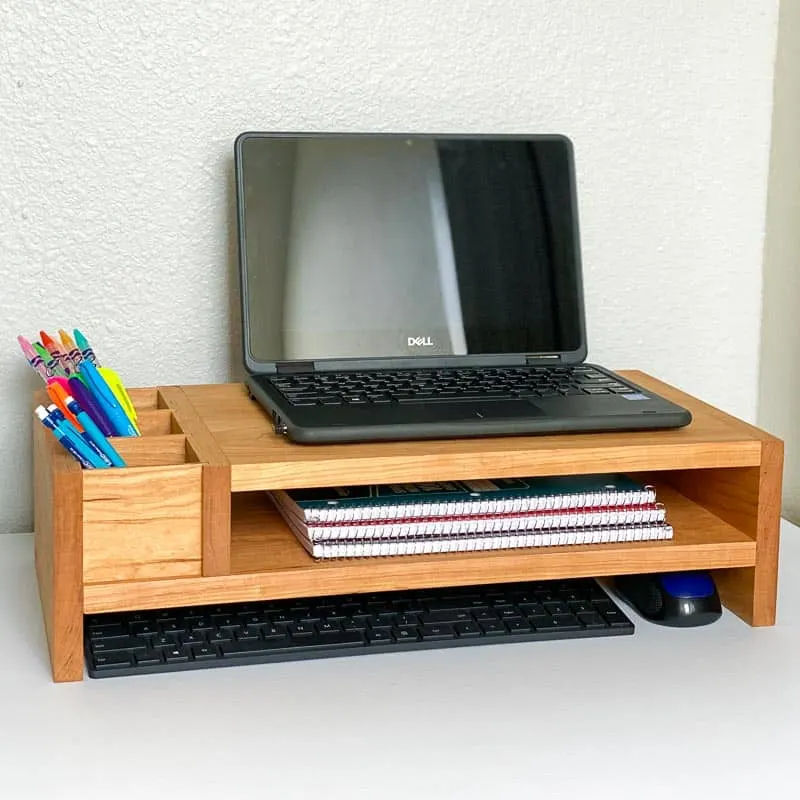
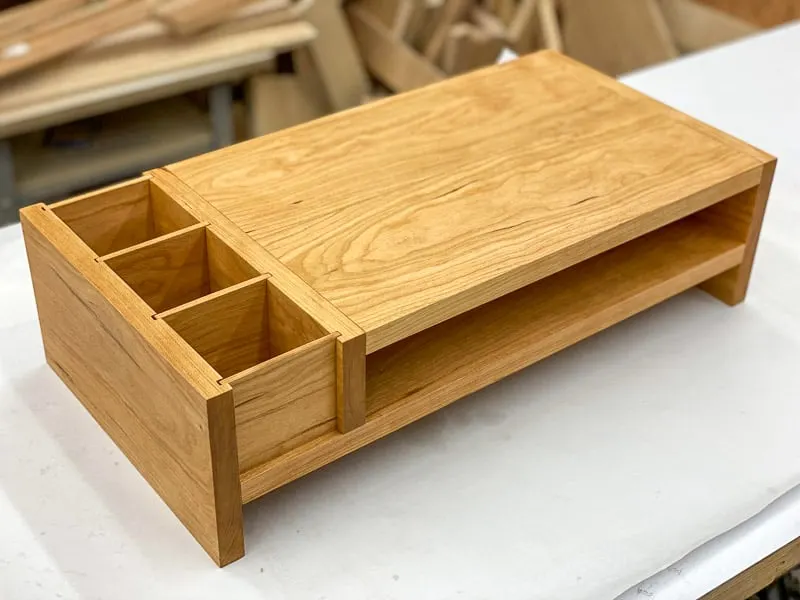
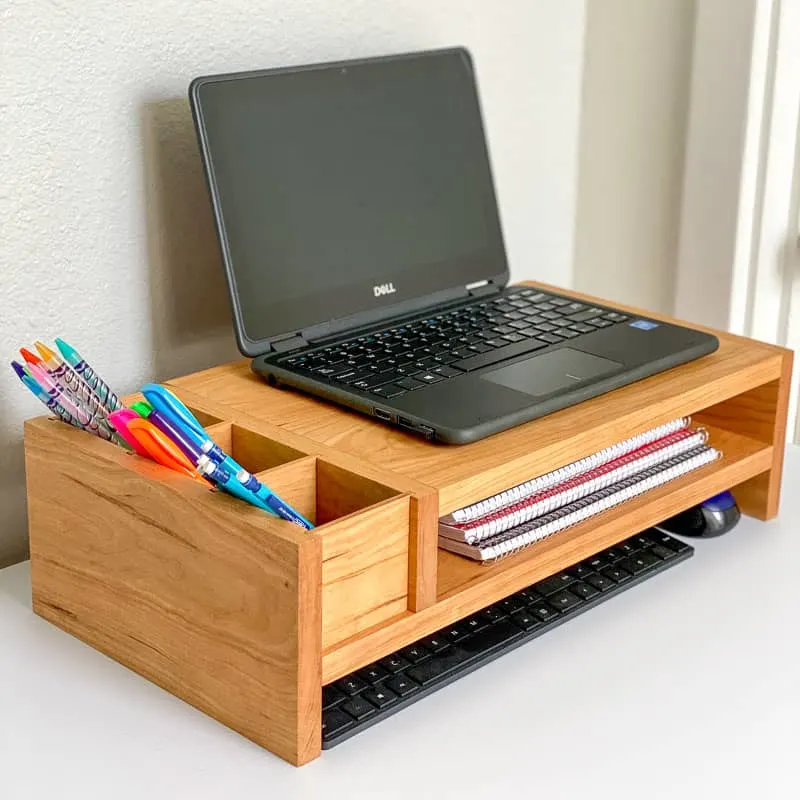
This simple stand will raise the screen of your laptop or monitor to bring it up to eye level for a better camera angle and a more comfortable viewing position. The dividers on the side are perfect for storing pens, pencils and highlighters, and the shelf holds a planner or notebooks.
When you're done for the day, slide your keyboard and mouse underneath to keep your desk neat and tidy!
Not quite what you're looking for? Check out this list of other smart DIY laptop stand ideas for more inspiration!
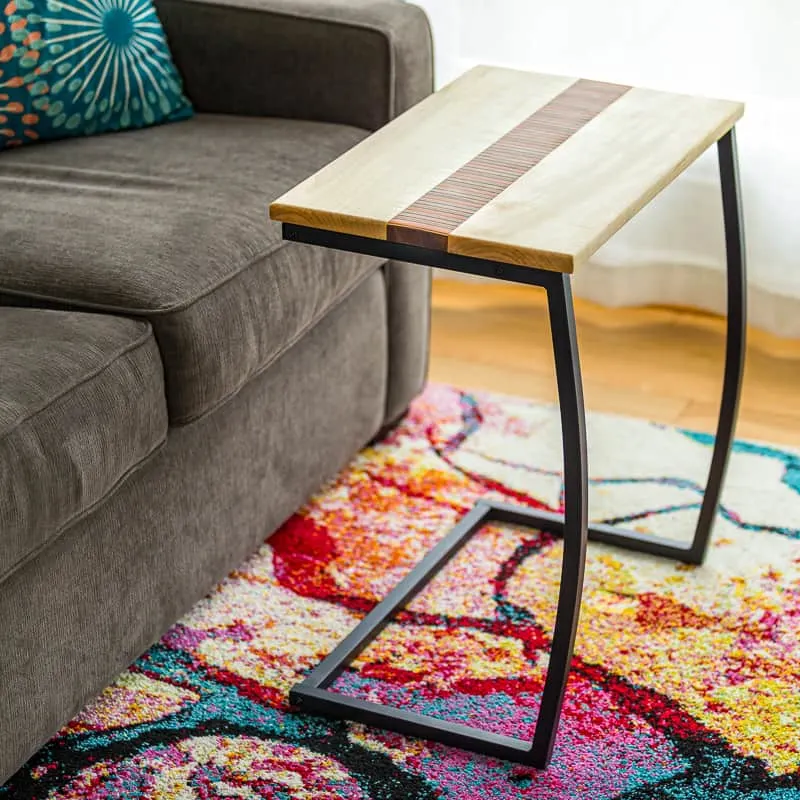
If you're working from home from the couch, you should check out the other laptop stand I made for myself. It uses a store-bought metal base, and you can customize the top with any kind of wood!
Download the woodworking plans
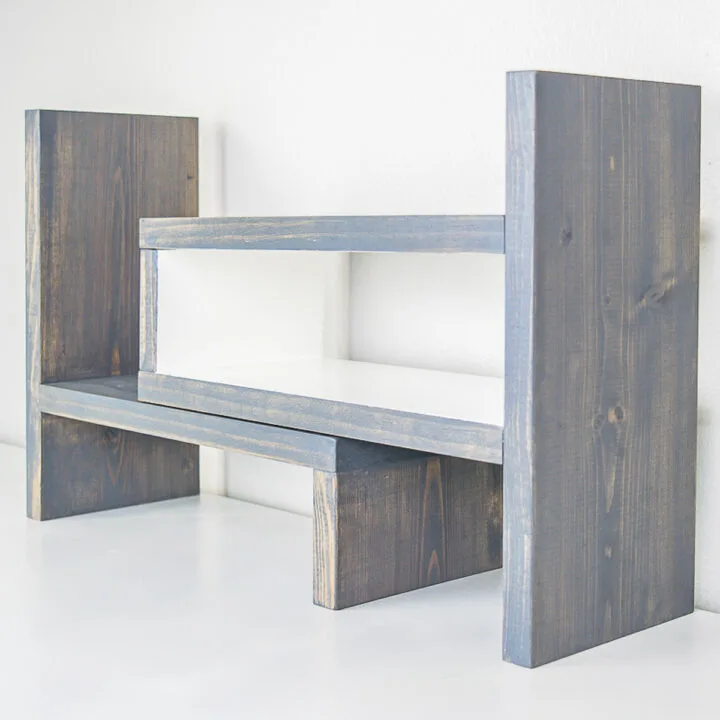
I created two different versions of this monitor stand in the plans, depending on your skill level and intended use. The beginner version (shown below) has shelves underneath to store an external keyboard and mouse, but skips the dividers for pens and other office supplies.
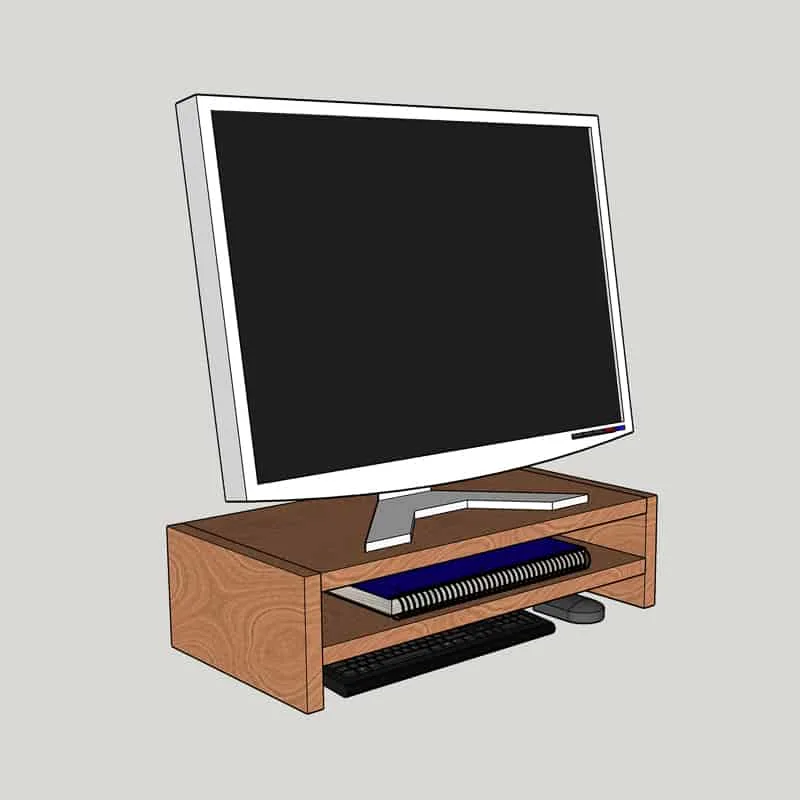
Download the plans for both versions by clicking the box below, and let's get building!

This post contains affiliate links for your convenience. Purchases made through these links may earn me a small commission at no additional cost to you. Please visit my disclosures page for more information.
Materials needed for DIY monitor riser
- Two 1x6 boards
- If you don’t have a band saw, you’ll also need a ¼” thick board or plywood for the dividers.
- Wood glue
- Pocket hole jig
- You can use dados and rabbets instead if you want to get extra fancy!
- 1 ¼” pocket hole screws
- 24” clamps
- Square
- Drill
- Table saw
- I also include instructions for a simple version that doesn't require a table saw in the woodworking plans!
- Sanding sticks (optional, but helpful!)
How to make a monitor stand
Cut the wood pieces
I've had these two cherry boards in my lumber rack for at least a year, just waiting for a project like this! One board was significantly darker than the other, so I made sure to cut the top pieces from one board and the bottom pieces from the other to keep the color consistent.
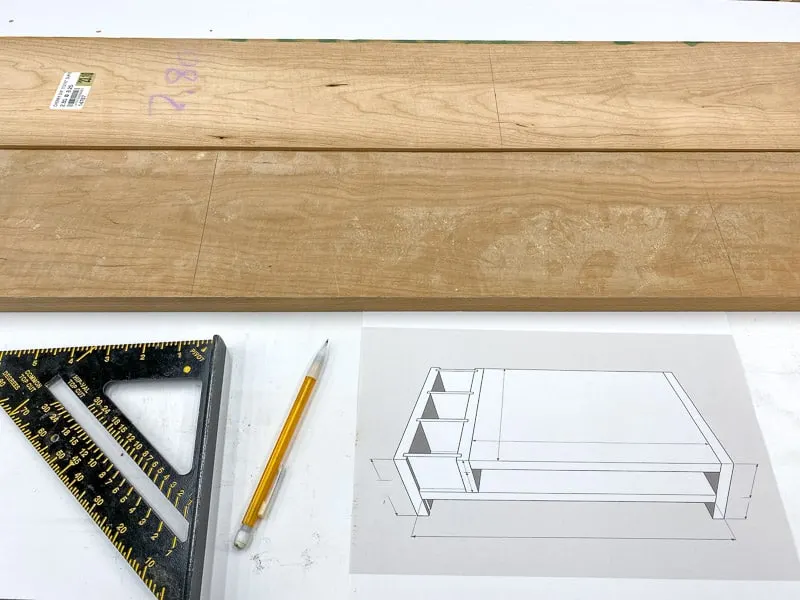
Skip this next section if you bought flat, square boards at the store! I realize that most people don't have a jointer and planer, and you certainly don't need them to complete this project.
One of my boards wasn't completely flat, so after cutting it to rough length at the miter saw, I sent each piece through the jointer to create one flat face and one flat edge.
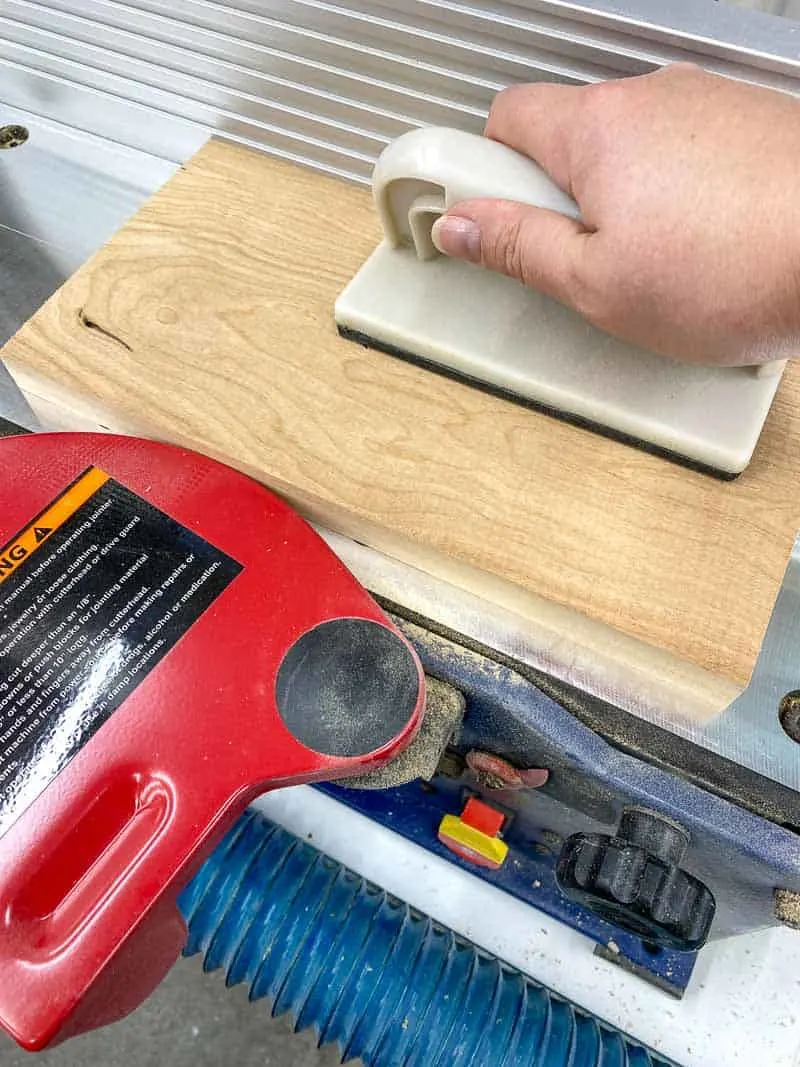
Once I had one perfect 90 degree corner, I squared up the other side at the table saw.
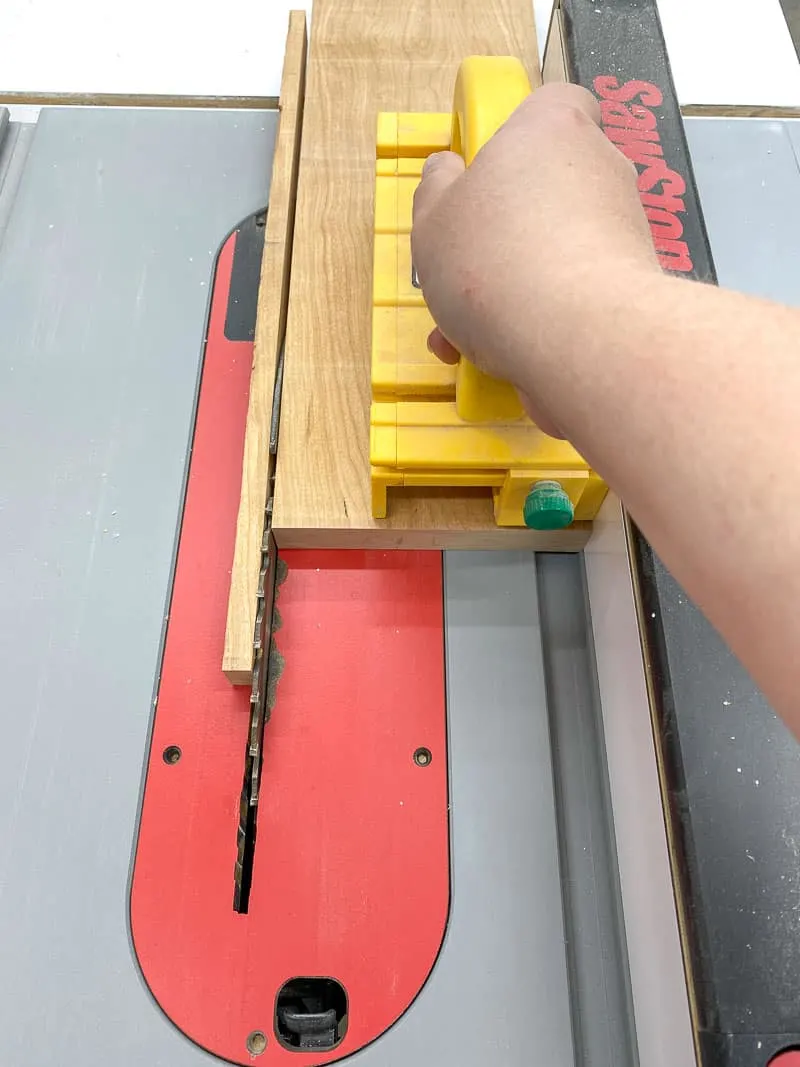
Finally, all the pieces got a ride in the thickness planer to flatten the last face and bring them down to their final dimensions.
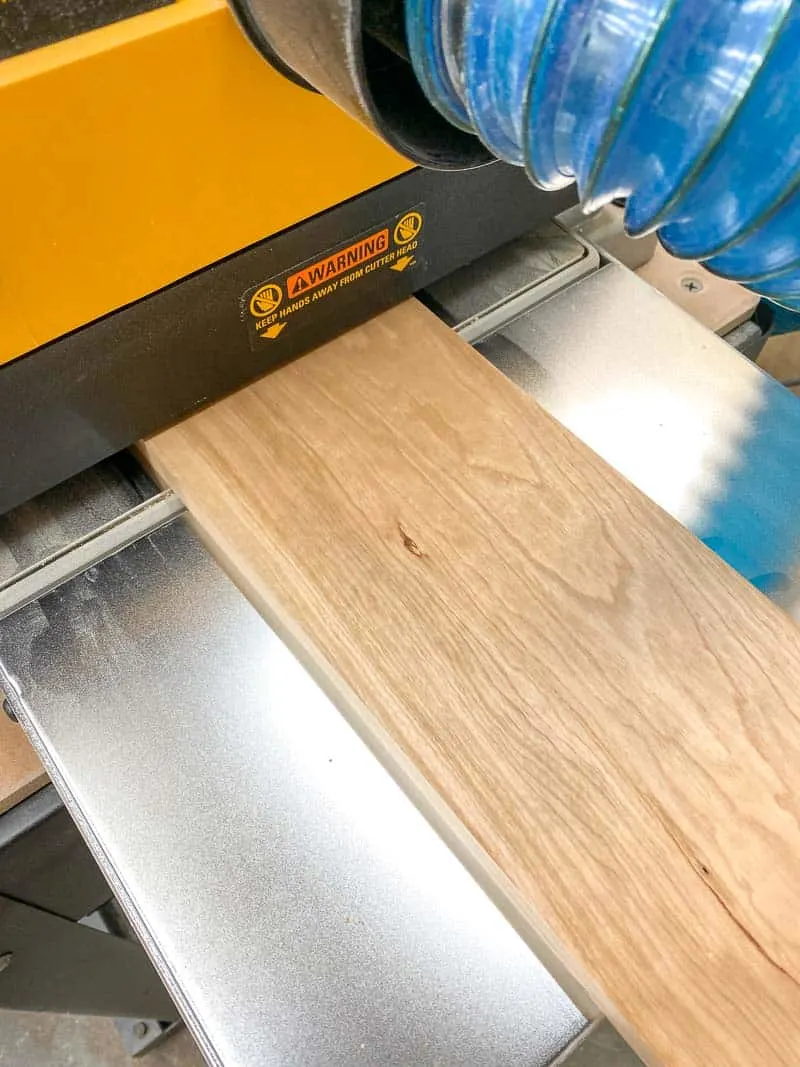
This may seem like a lot of work, but it took less than an hour and saved me a TON of sanding later on. Now all the parts are ready to be put together!
Glue up the panels
The top and shelf are made from two boards that are glued together along one long edge. Play around with the pieces to see which grain pattern you like best before starting the glue up. You want the seam to virtually disappear and look like one solid board.

Apply wood glue along one edge of a board, then spread it evenly across the surface with your finger or a glue brush. Don't leave it as a squiggle of glue, or you won't have enough coverage to join the boards together properly!
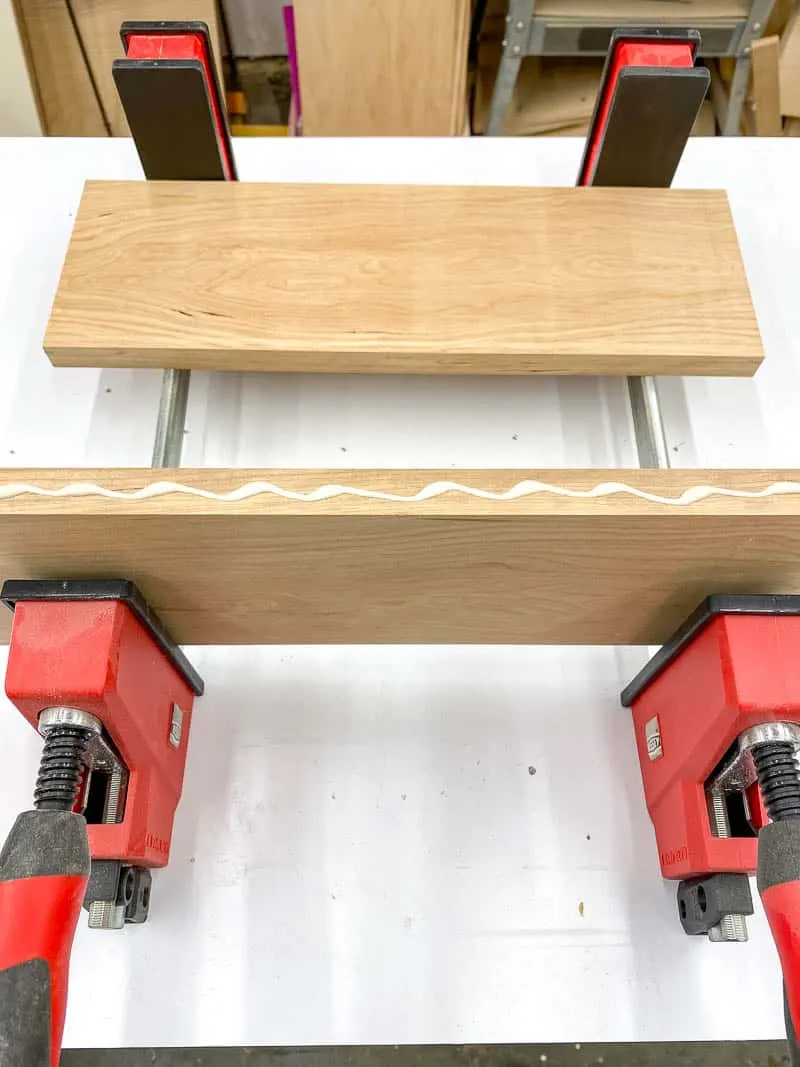
Lay the boards flat against the bars of the clamps, then slowly tighten them until you see a bead of glue squeeze out. I recommend cleaning up the glue now, so you don't have a mess to sand down later!
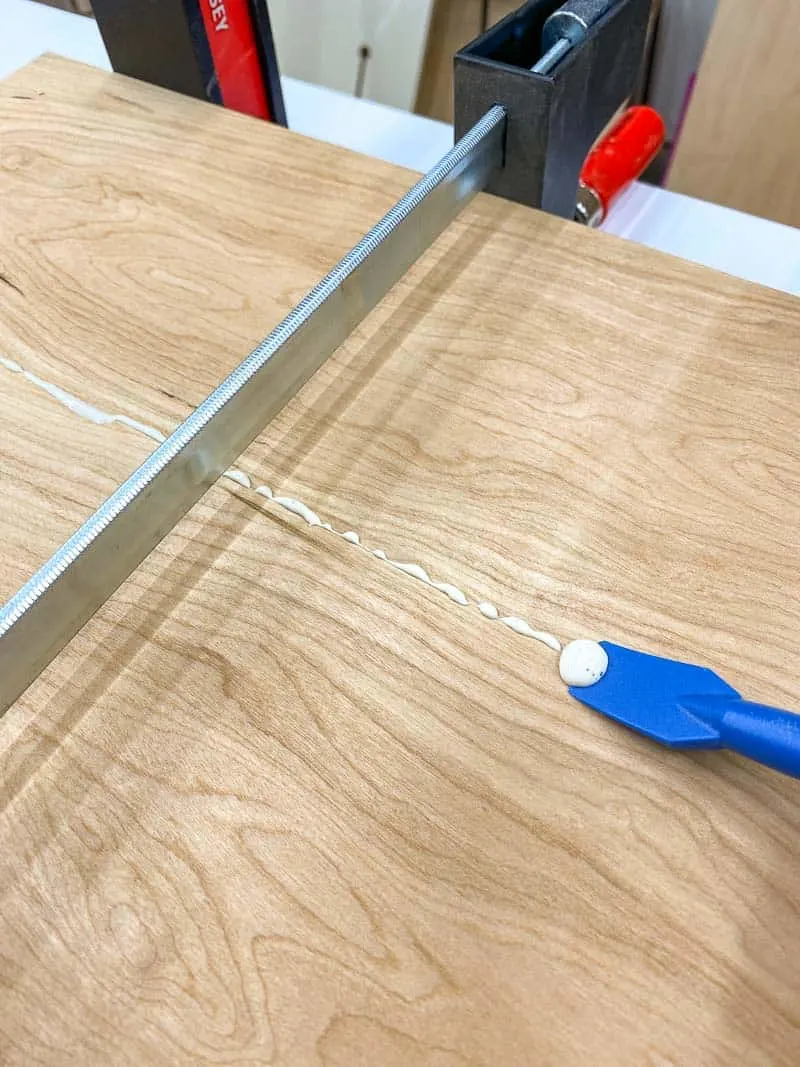
Allow the glue to dry for at least a few hours in the clamps.
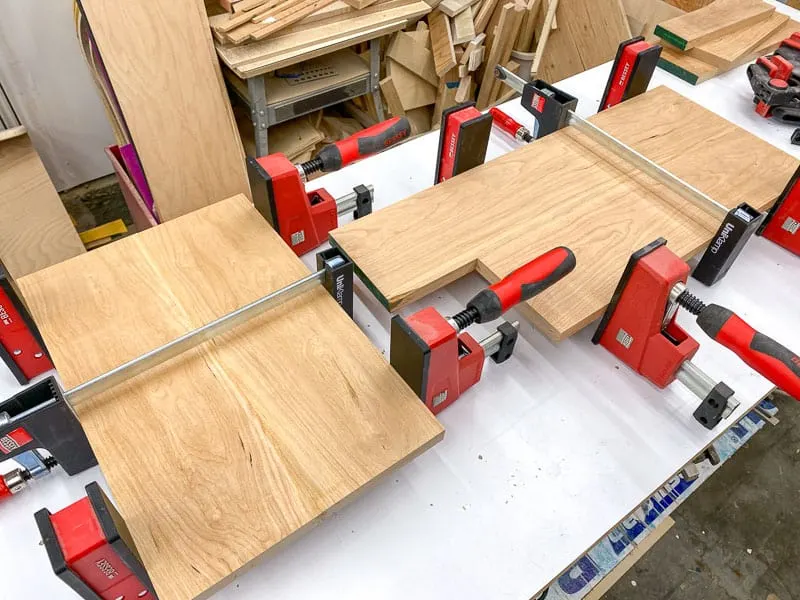
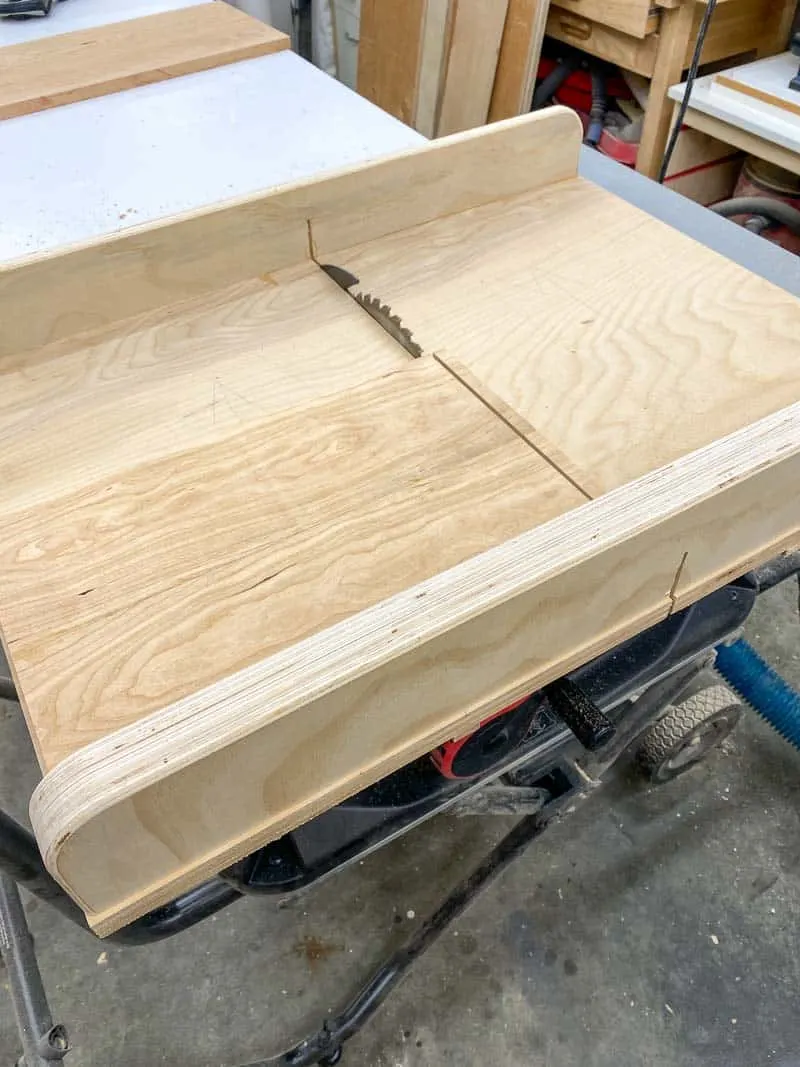
Finally, cut them to the final length. I used my crosscut sled at the table saw for this step, but you can use a miter saw or circular saw.
Cut grooves for dividers
The beginner version of the plans skips this step if you don't want the pencil holder section, or if you don't have a router or table saw to cut the grooves.

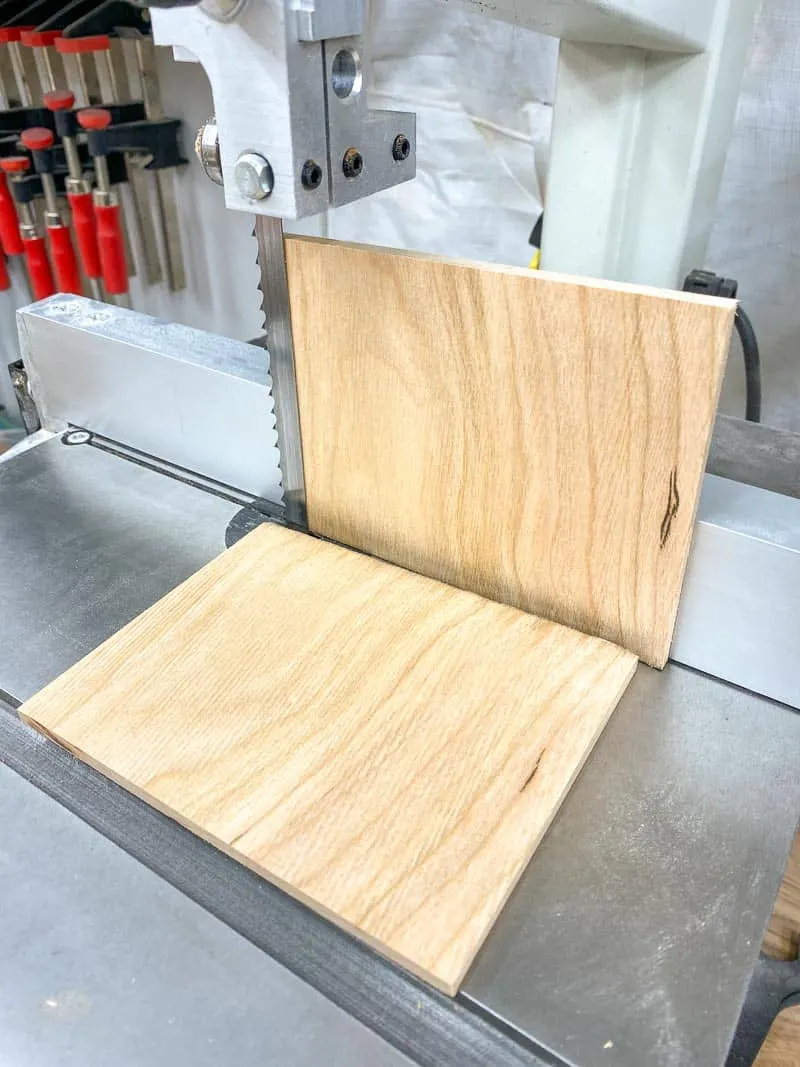
While the panel glue up was drying, I cut four ¼" thick pieces from the scraps at the band saw. You can also just buy ¼" material in a matching or contrasting wood.
This design has sliding dividers that sit vertically on one side of the monitor riser for pencils and pens. I've made grooves like these before on my sandpaper storage shelf and plastic container drawer organizer, but this time it's a little trickier.
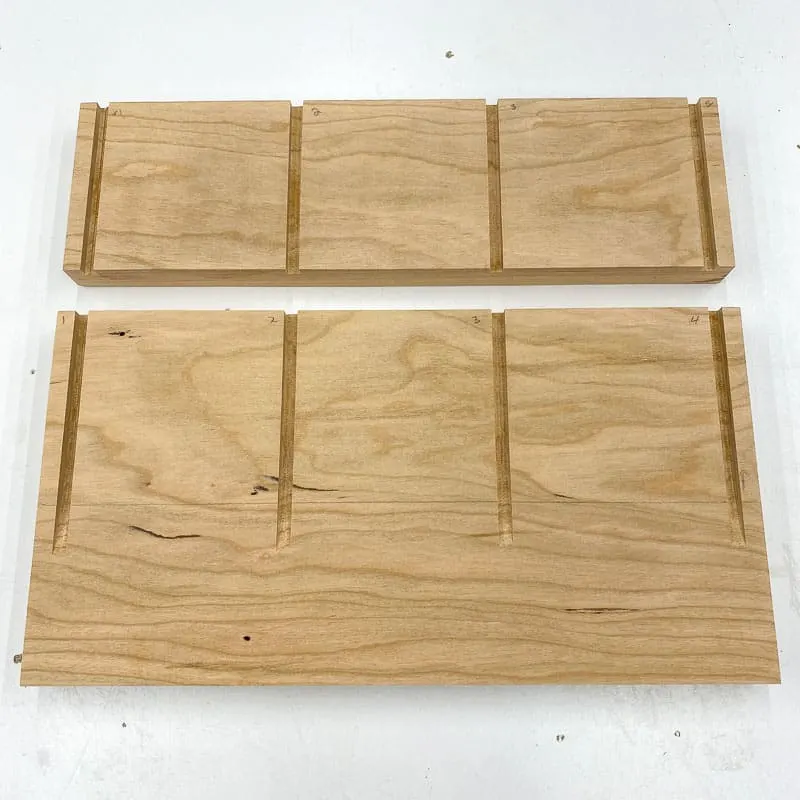
The short side has grooves that extend the entire width of the board. But the longer side is also the "leg" of the laptop stand, and I didn't want the grooves to be visible at the bottom.
I did some research on stopped grooves and dados, which usually involves a router table. Mine isn't set up right now (you can see the router table I made later here), so this video shows you how to make them properly.
I decided to use my table saw instead. The only problem was that the blade will leave a curved cut at the end. I did a few test cuts to see how far I needed to push the crosscut sled to get the right length. Basically, I needed the groove to be full depth at the first pencil line, but it couldn't go past the second pencil line.
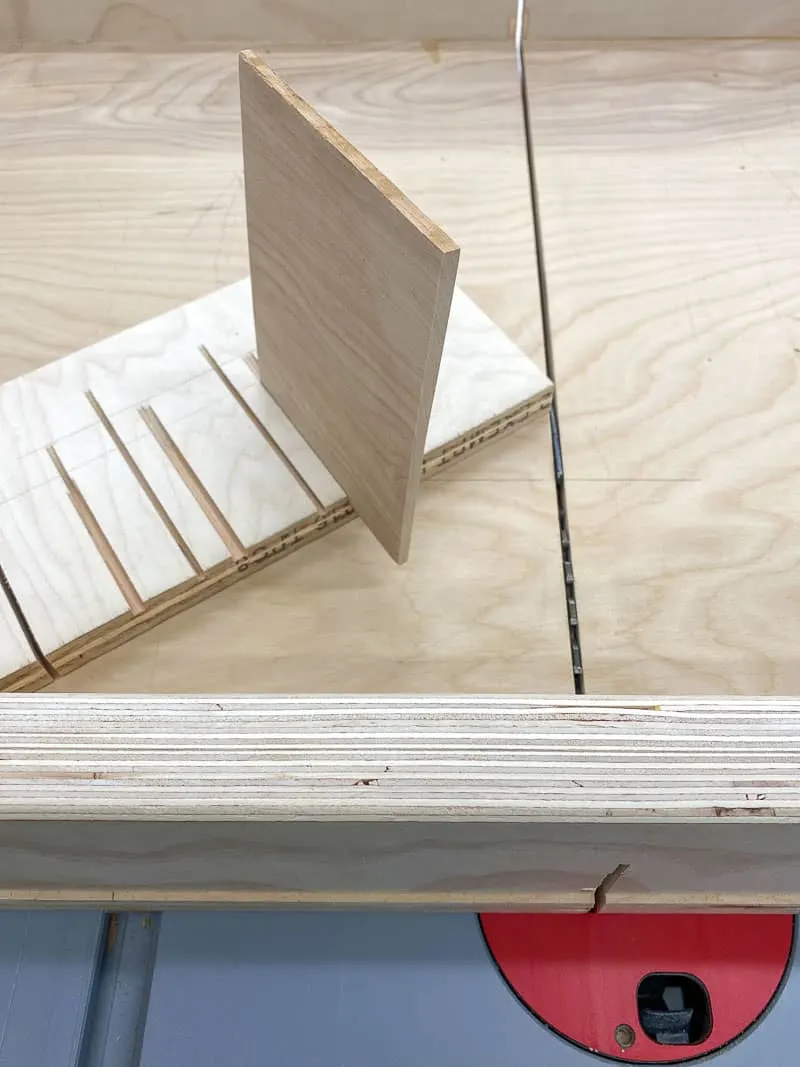
Once I found the right setting, I marked the spot where I needed to stop with painter's tape on the table saw. Then I set a stop block on the sled and cut identical grooves on both boards.
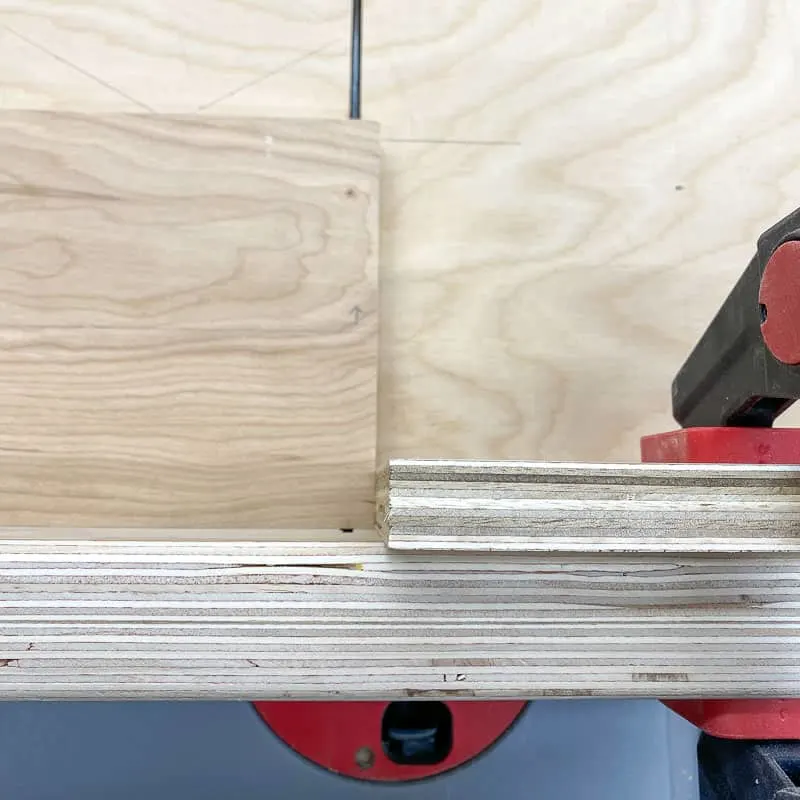
It's not pretty, but it worked! The pencil line is where the shelf will meet the side. The curved part at the end of the grooves will be completely hidden behind the ¾" thick shelf.
Assemble the riser
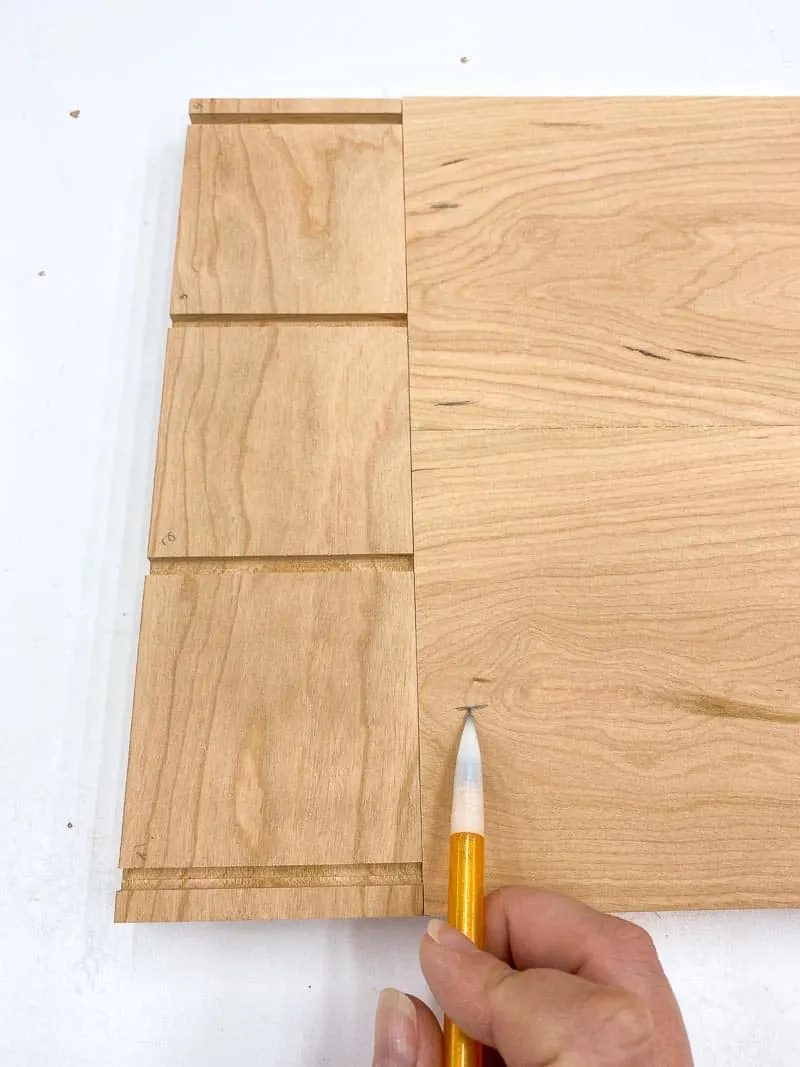
Mark the position of the pocket holes, dowels, dominoes, or whatever you're using to join these pieces together. Make sure you don't make your holes near the grooves!

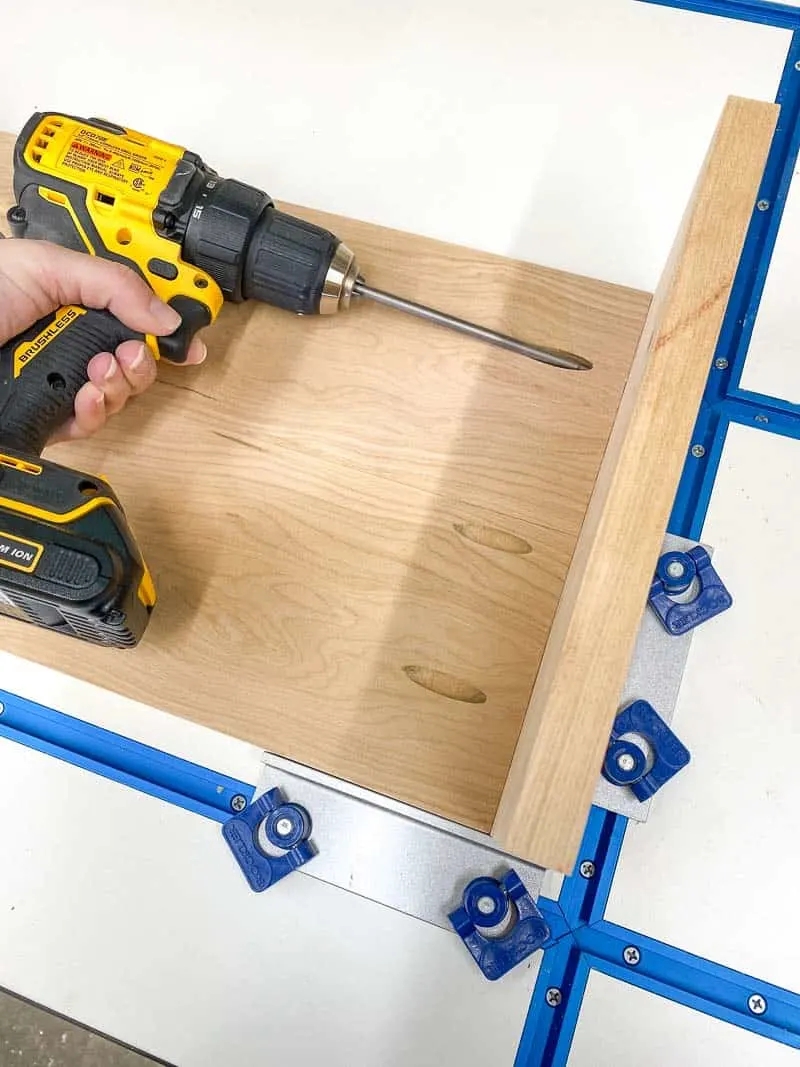
Apply wood glue to one end of the top panel, then attach it to the side piece with 1 ¼" pocket hole screws. Attach the shorter grooved side the same way, with the grooves facing out. My t-track table workbench is great for pocket hole assembly like this!
Add wood glue to the short grooved side, then place the shelf on top. It helps to cut a spacer to hold the other end of the shelf level while you drive in the screws. You can also use brad nails or countersunk screws to attach the shelf to the short end, but it'll hold fine once the glue dries.
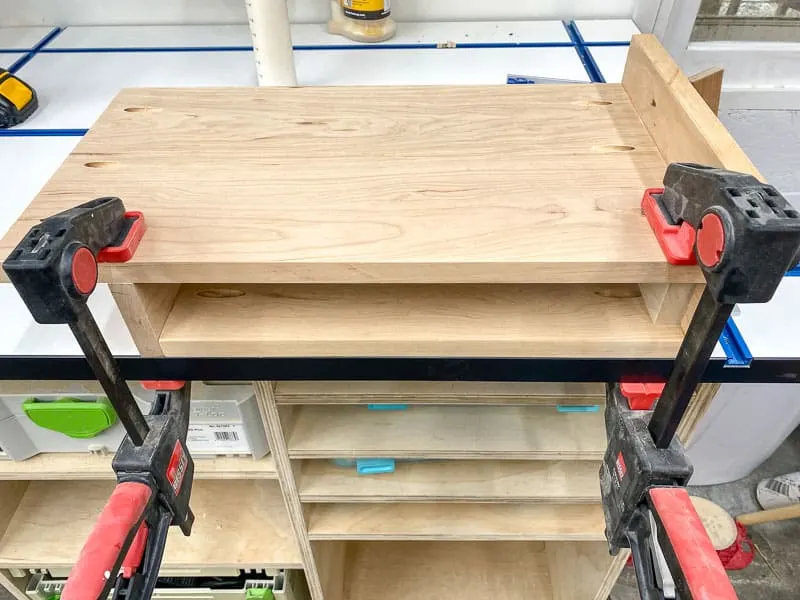
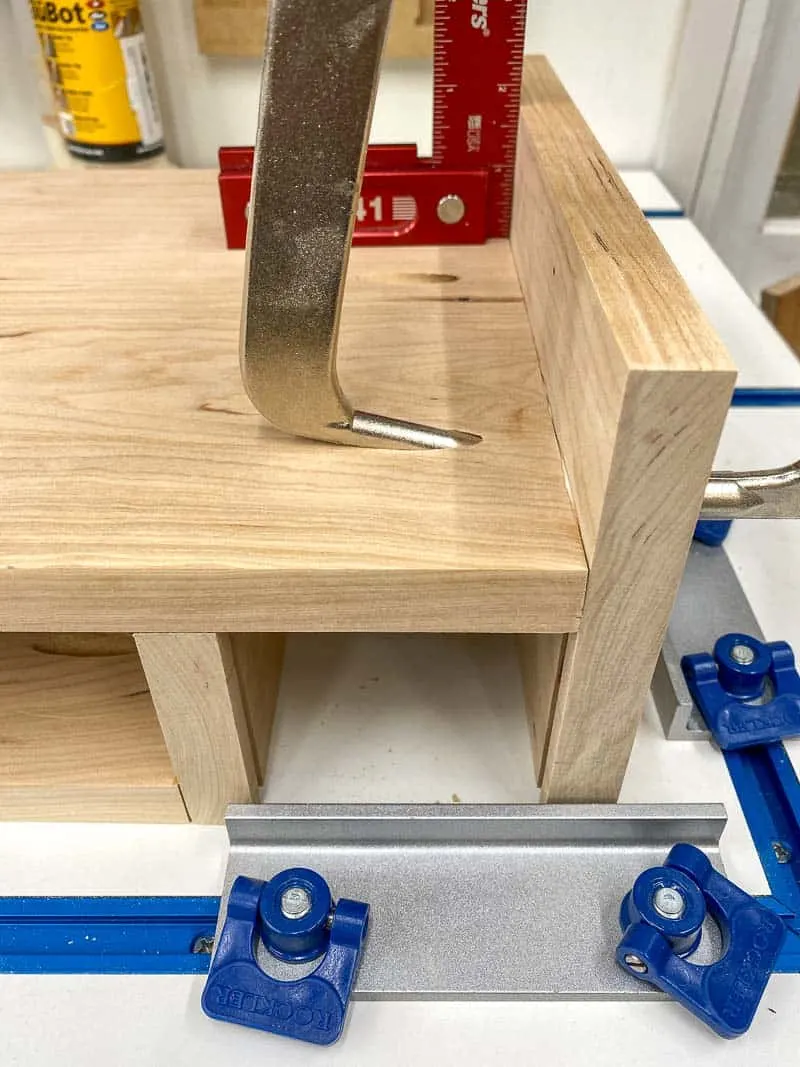
Finally, attach the other grooved side. Make sure everything stays square so the dividers can slide in smoothly.
Sand and finish
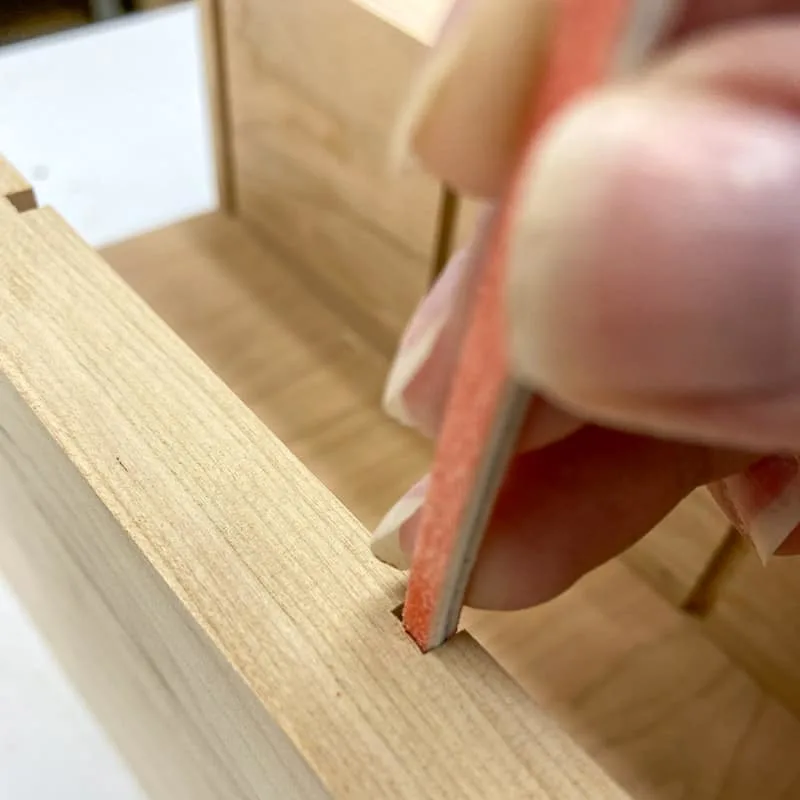
Sand everything up to 220 grit once the glue dries. The grooves are a little tricky to sand. I found these sanding sticks work great for getting a perfect fit for each of the dividers while keeping the square shape of the slot.
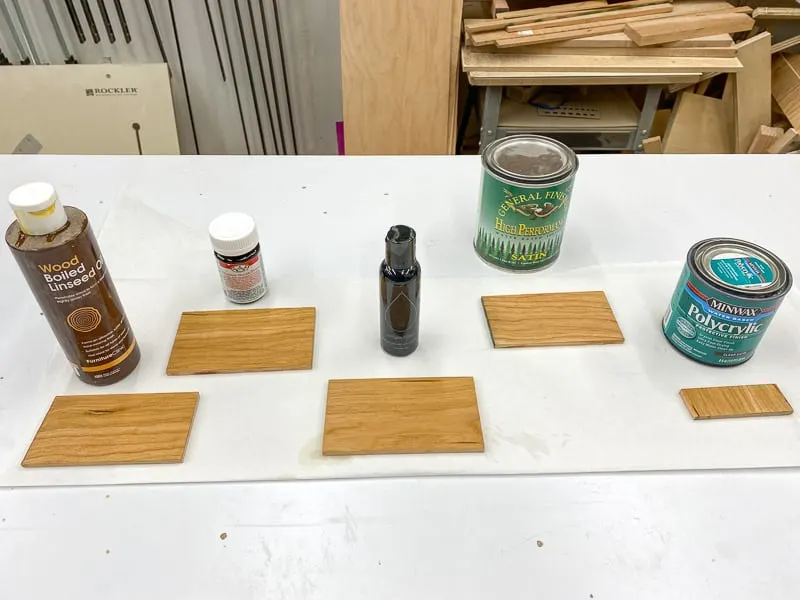
I've never worked with cherry before, so I tested a bunch of different finishes on scrap wood first. Turns out, they all look pretty much the same! 🙂
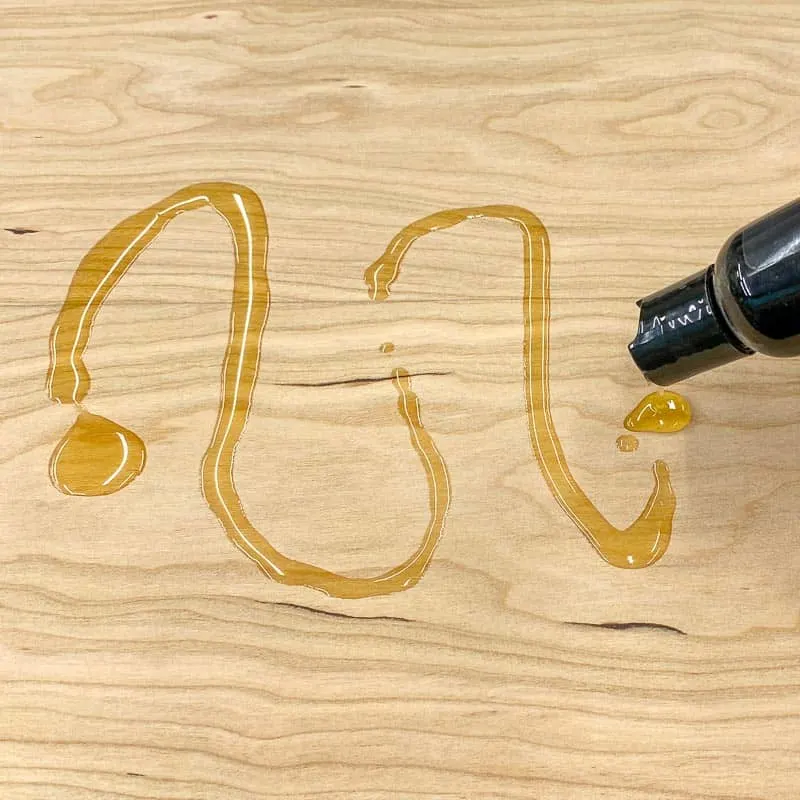
I decided to go with Simple Finish, because I only had a small bottle of it that I couldn't use on anything bigger than this. Plus, it really is simple! Just wipe on three coats, 15-20 minutes apart, then wipe off the excess.
After seeing the finished piece, I told my dad I'm never working with pine again! 🙂 After all the painted projects I've been making lately, it was refreshing to just let the natural beauty of the wood shine.
My son was so happy with the final result (and so was I!) It fits his laptop perfectly, and has plenty of space for an external keyboard and mouse, plus notebooks for all his classes.
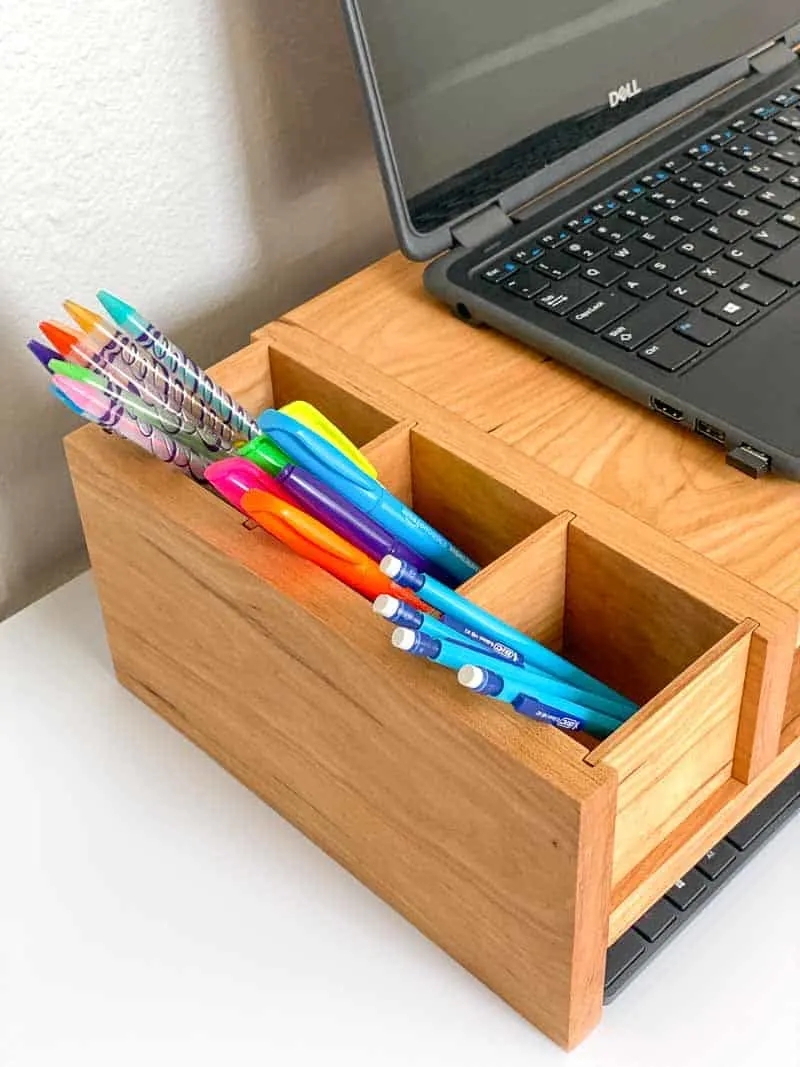
No more searching for pencils or highlighters! The dividers can also be removed to store larger items.
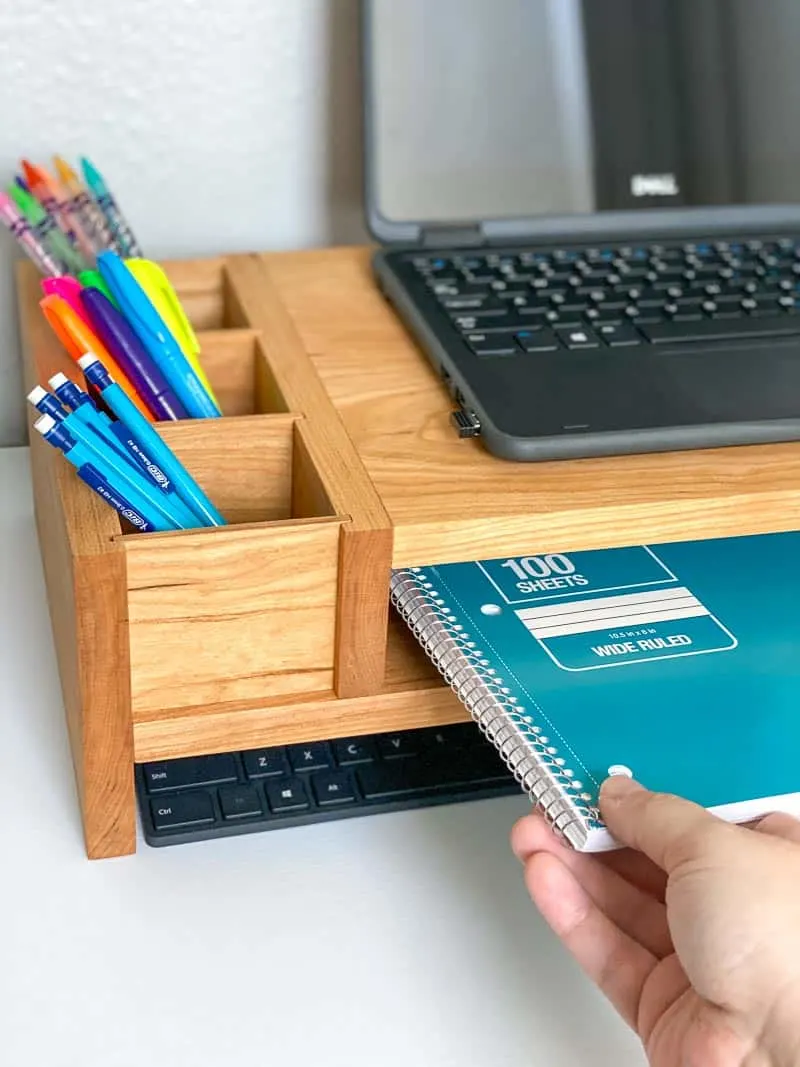
These short shelves make it hard to collect clutter! There's enough room for notebooks and his planner, and nothing else, so it doesn't get filled with junk.
If you need a wider stand to fit a larger monitor, just increase the length of your boards. It's a pretty easy to customize it to fit your needs!

Check out these other home office projects!

