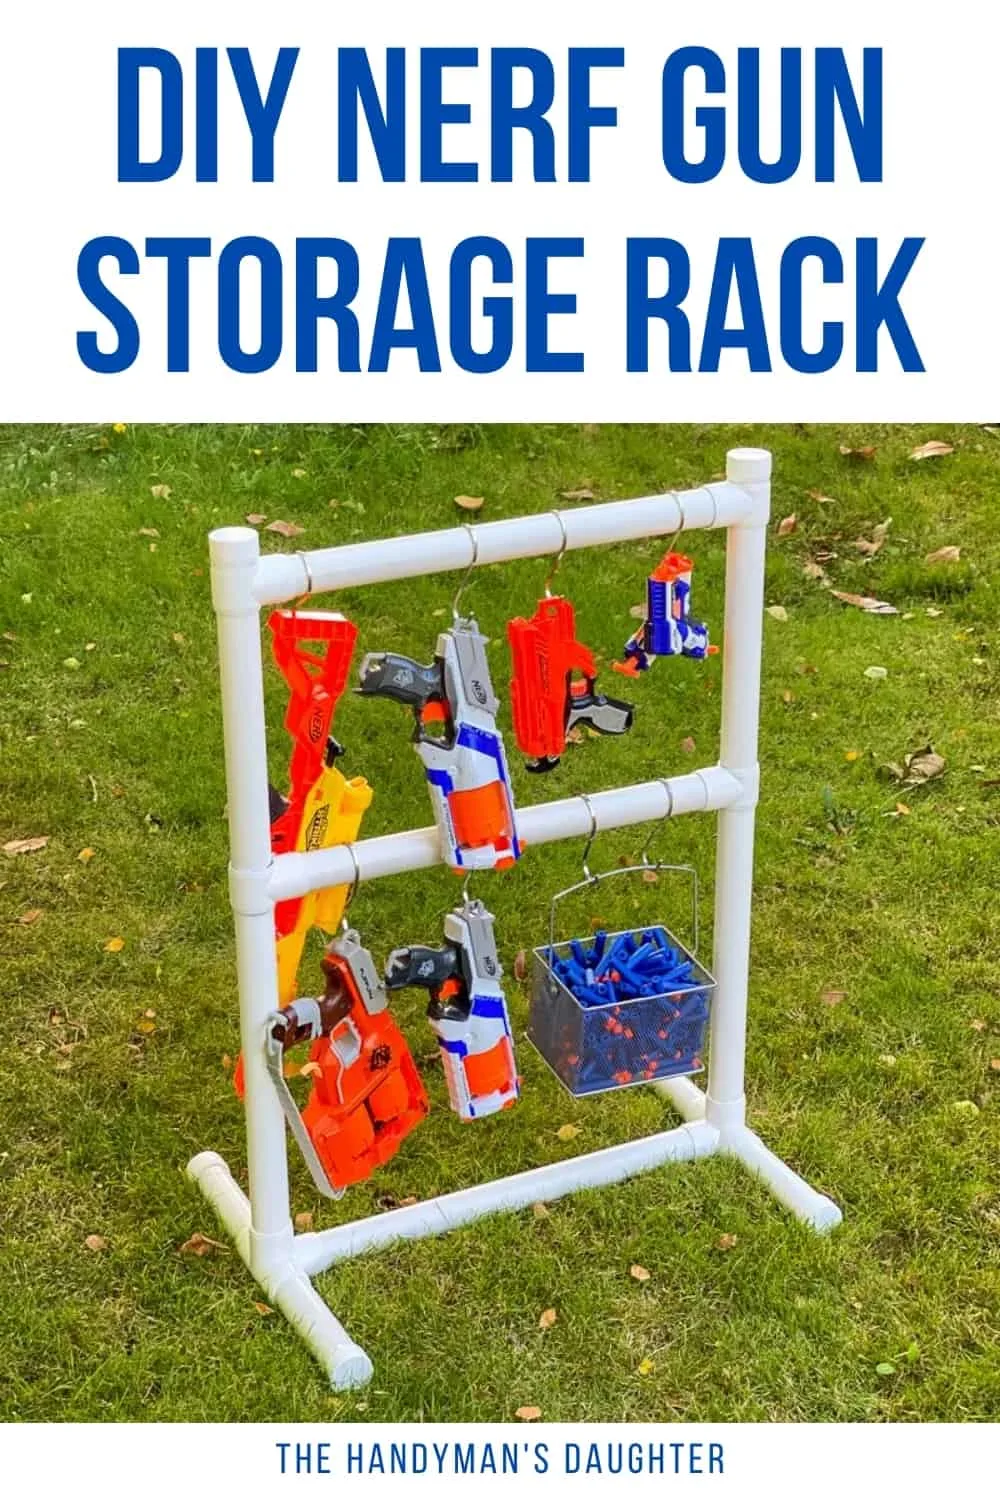
Tired of Nerf toys cluttering up the backyard? Make this easy DIY Nerf gun storage rack out of PVC pipe to hang them all in one place!
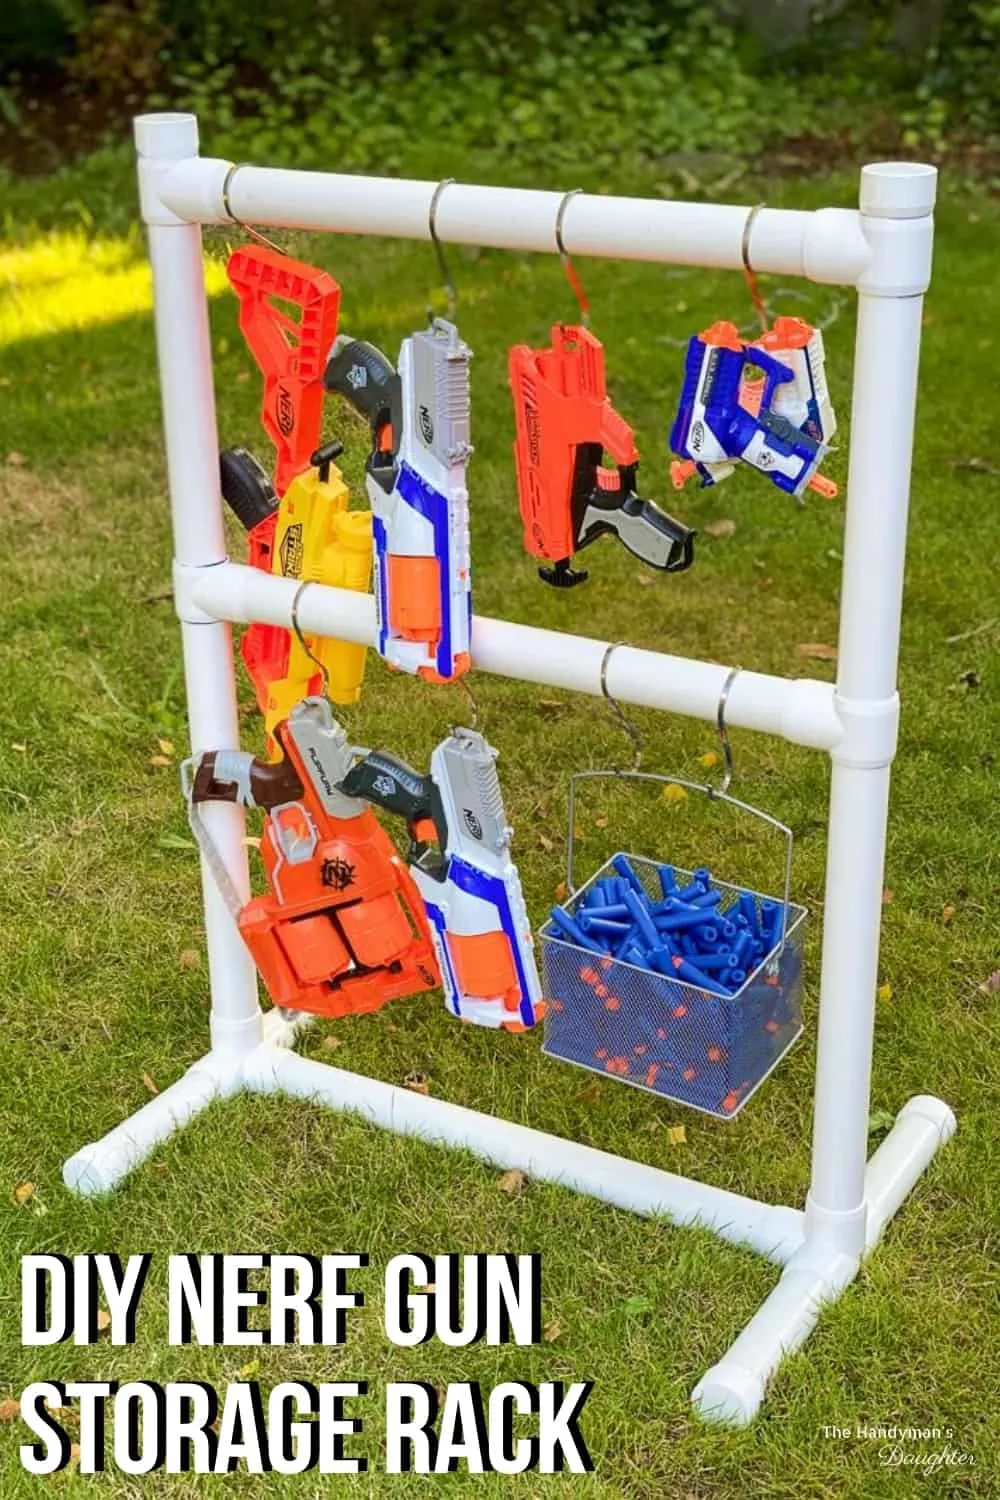
My son and his friends love having Nerf battles in the neighborhood park, and we've collected quite the armory over the years! Despite my best efforts to keep them contained in various outdoor storage benches and boxes, they still end up all over the yard!
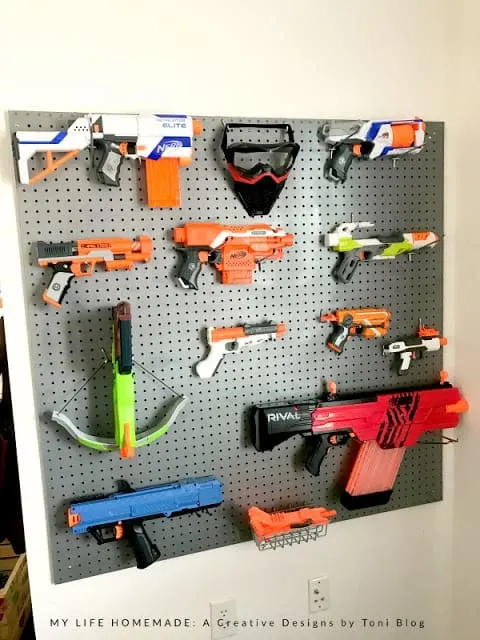
He needed something that was easy to grab and go, but just as easy to put away at the end of the day. I thought about a pegboard system like this one, but I knew he would never take the time to find the right spot and we would end up with a bunch of empty hooks!
We also discovered that storing the Nerf guns flat outdoors allows them to collect water inside, rusting the springs and rendering them useless. So I needed to make a rack for hanging all the toys upright, so the rainwater can drain out.
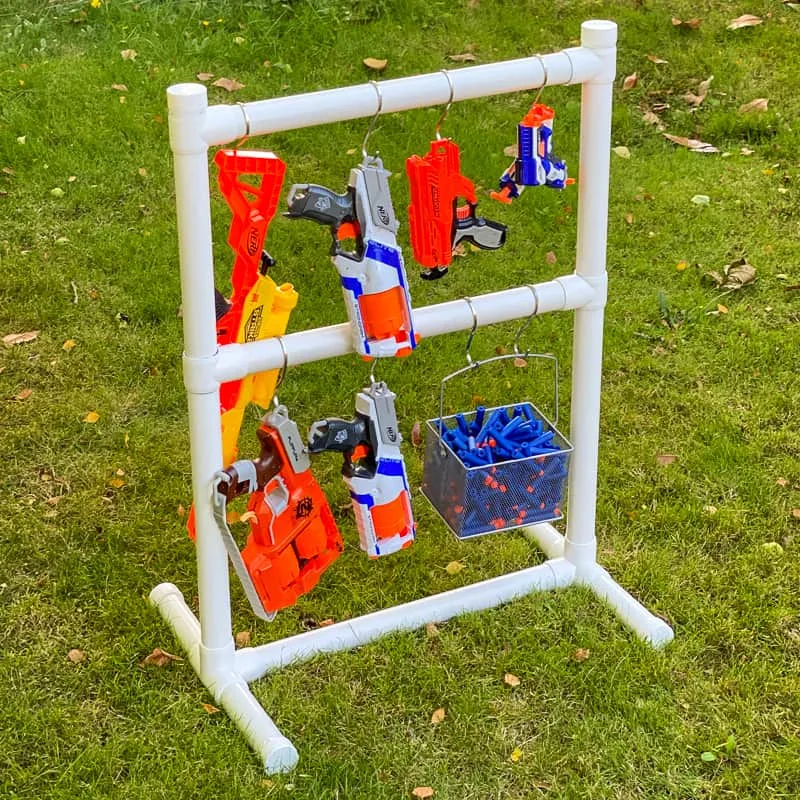
After pondering all these problems for WAY too long, I decided to make this Nerf storage rack out of PVC pipe with hooks to hang all the toys. It's waterproof, easy to move around the yard, and just takes a second to hook each blaster on the rack.
Here's how to make one yourself!
This post contains affiliate links for your convenience. Purchases made through these links may earn me a small commission at no additional cost to you. Please visit my disclosures page for more information.
Materials needed for nerf gun storage rack
- Two 1 ½" PVC 4-way tees
- Two 1 ½" PVC 3-way tees
- Two 1 ½" PVC elbows
- Four 1 ½" PVC end caps
- 15 feet of 1 ½" PVC pipe
- PVC pipe cutter or miter box
- PVC primer and cement (optional, but helps keep everything together)
- Large S hooks
- Mesh wire baskets for darts
How to Make a Nerf Gun Storage Rack
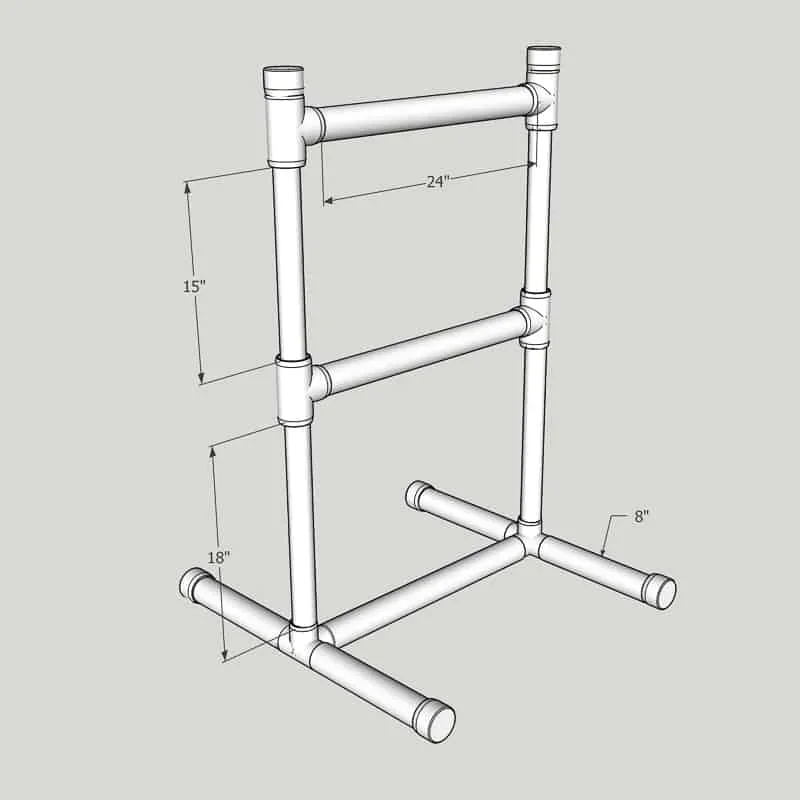
I drew up a quick drawing in SketchUp to make it easier to figure out which pieces go where. You can change the dimensions to make it bigger or smaller to suit your needs.
Take some measurements
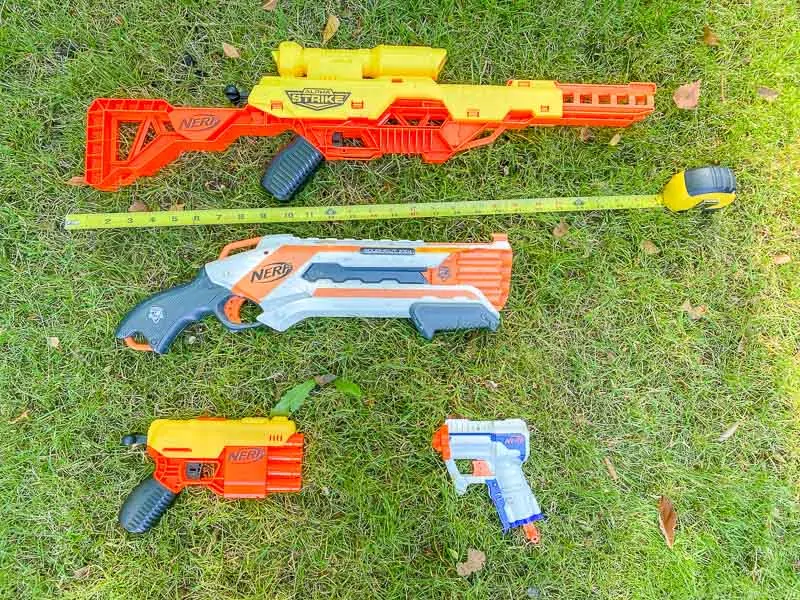
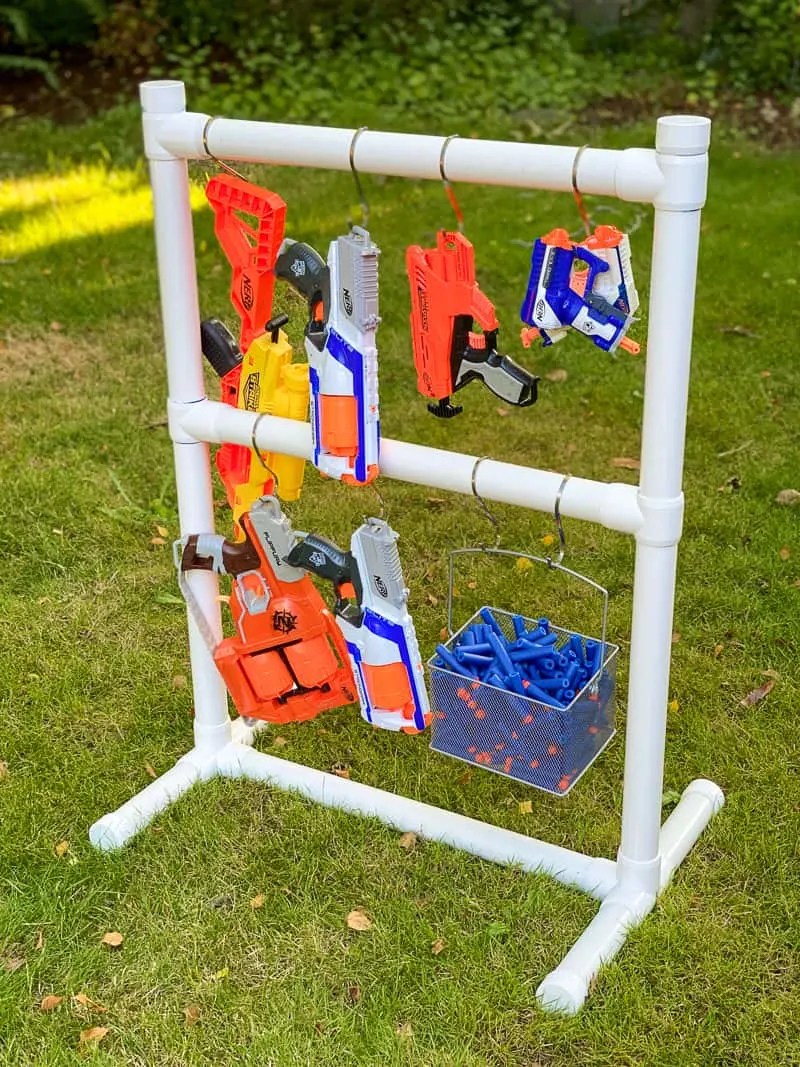
Start by measuring a few types of blasters in your collection. We have some that are over two foot long, and others are much smaller. I decided to create two different levels, with the bigger ones hanging from the bottom rung to help weigh down the rack. That really long one will hang from the top.
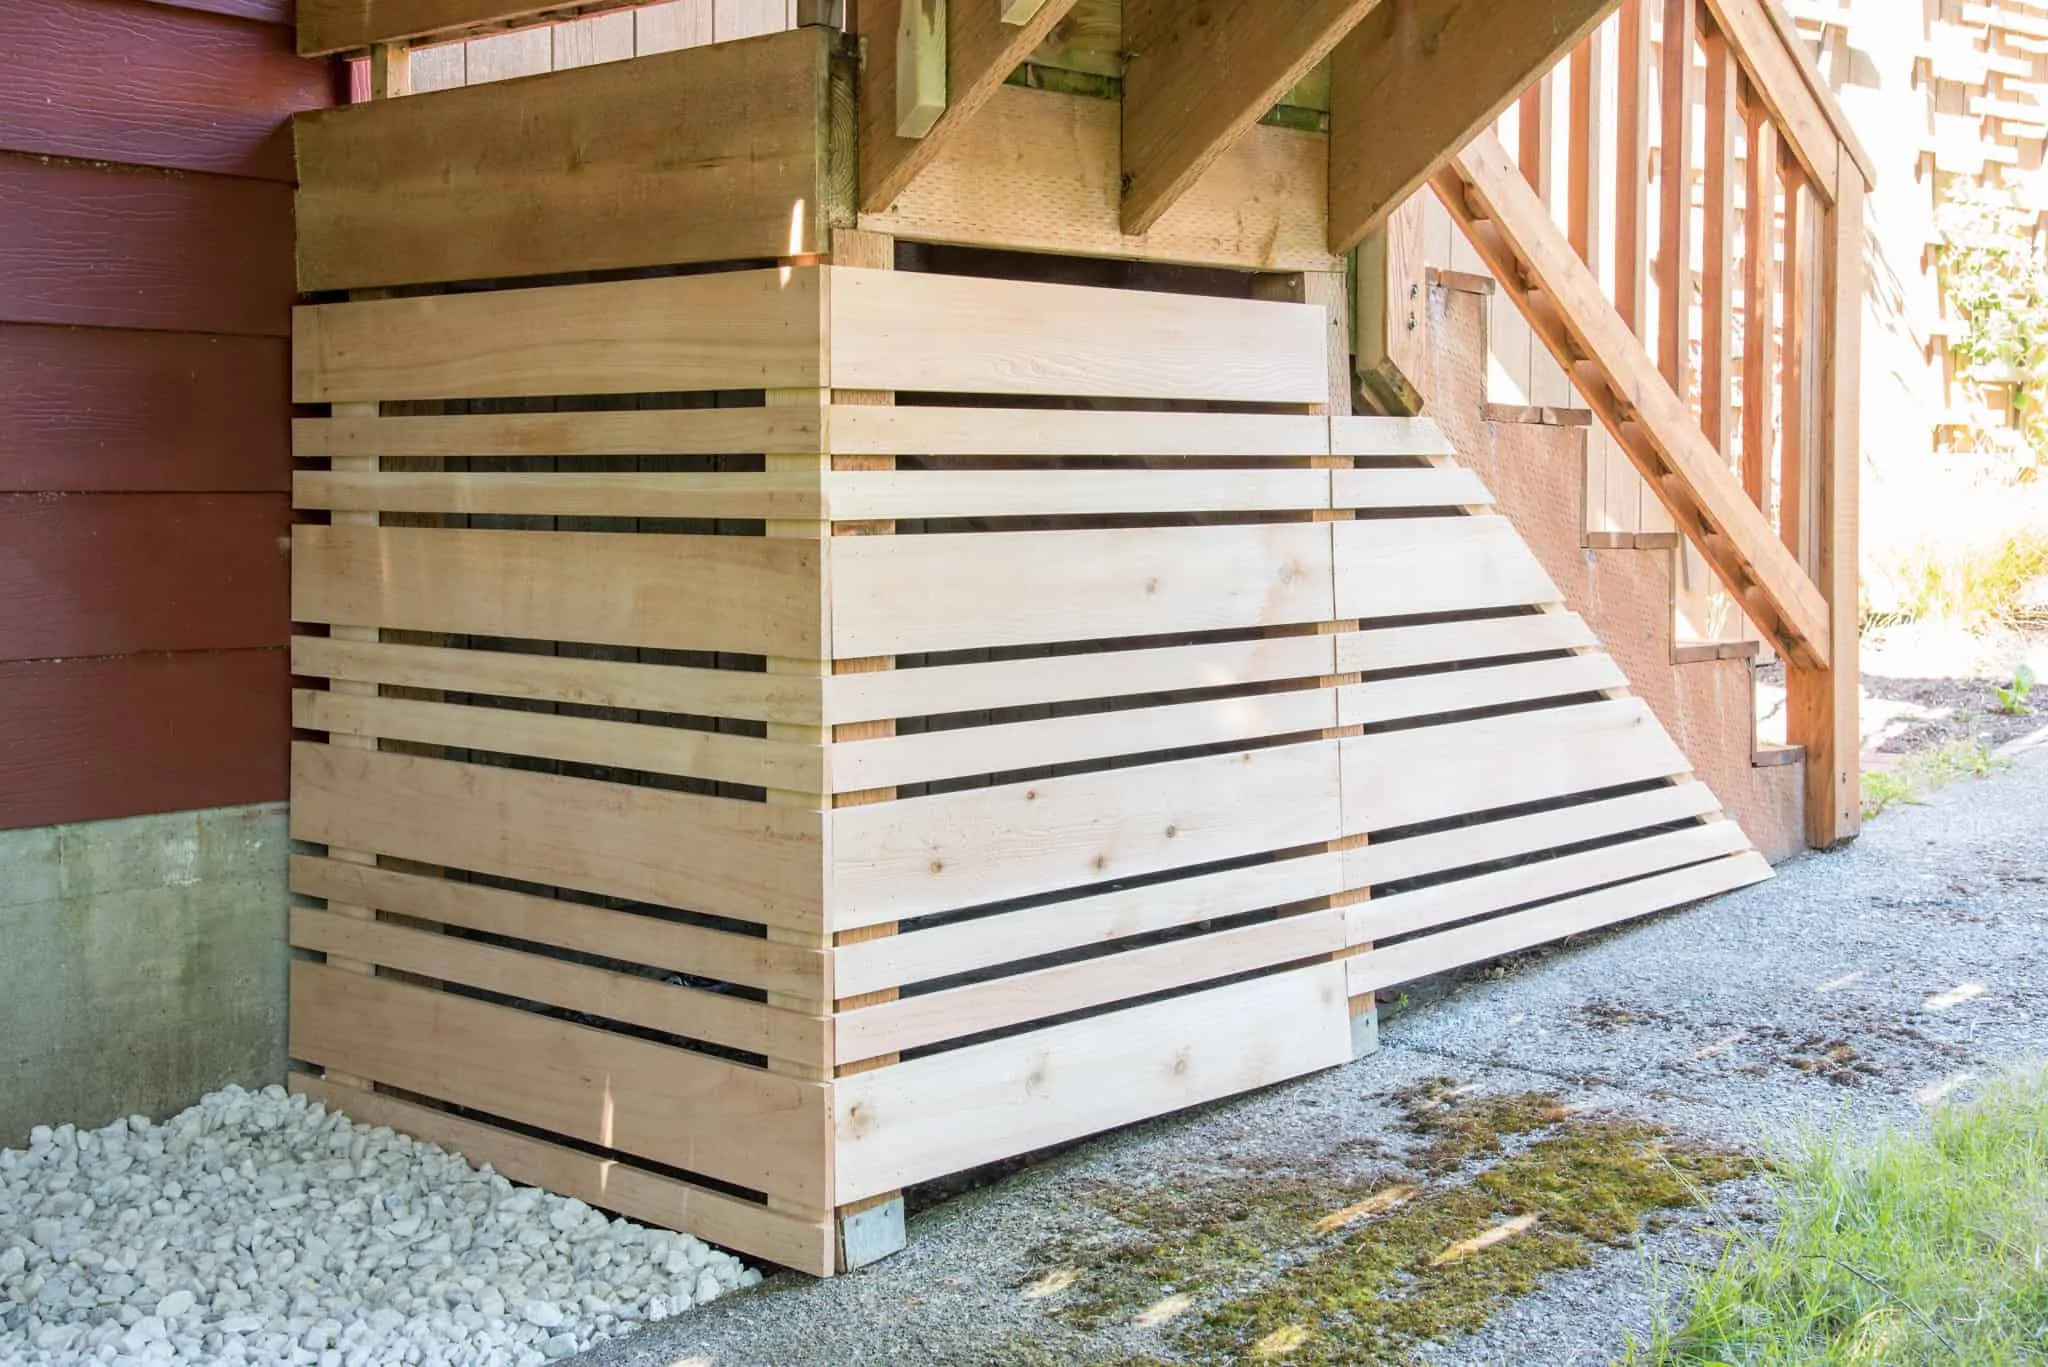
I also measured the area in the backyard where I wanted to store the rack when the battle is over. It will live in this spot in front of the removable fence panel during the summer, and will hide inside that storage area during the winter.
With these measurements jotted down, I came up with a design that fit both the height and width I needed!
Cut the PVC pipe to size
Cut the three 24" horizontal bars first. I used a miter box and a hand saw to quickly cut them down to size. You read all about how to use a miter box in this post!
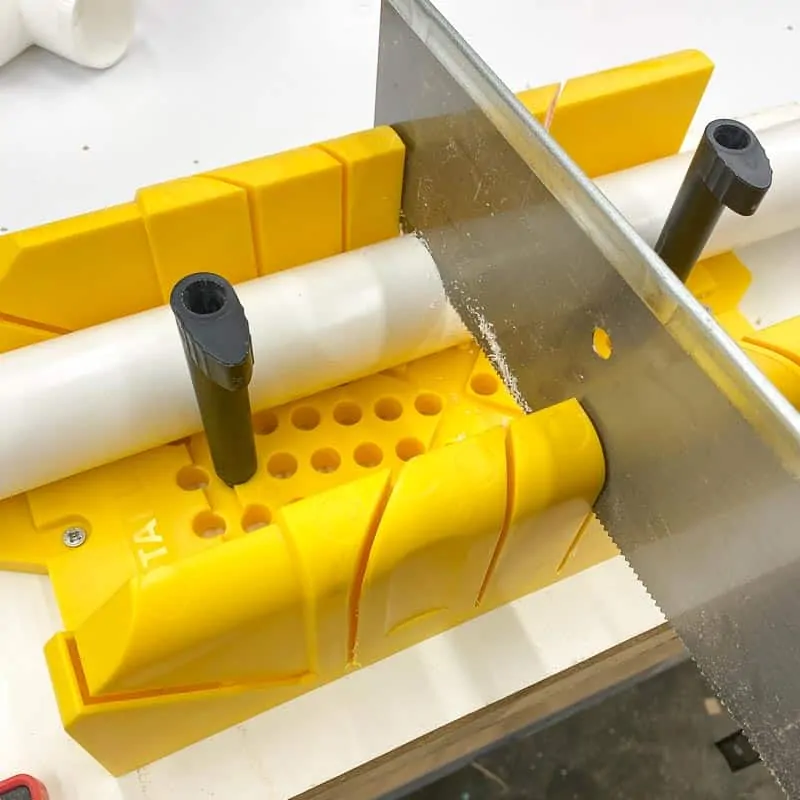
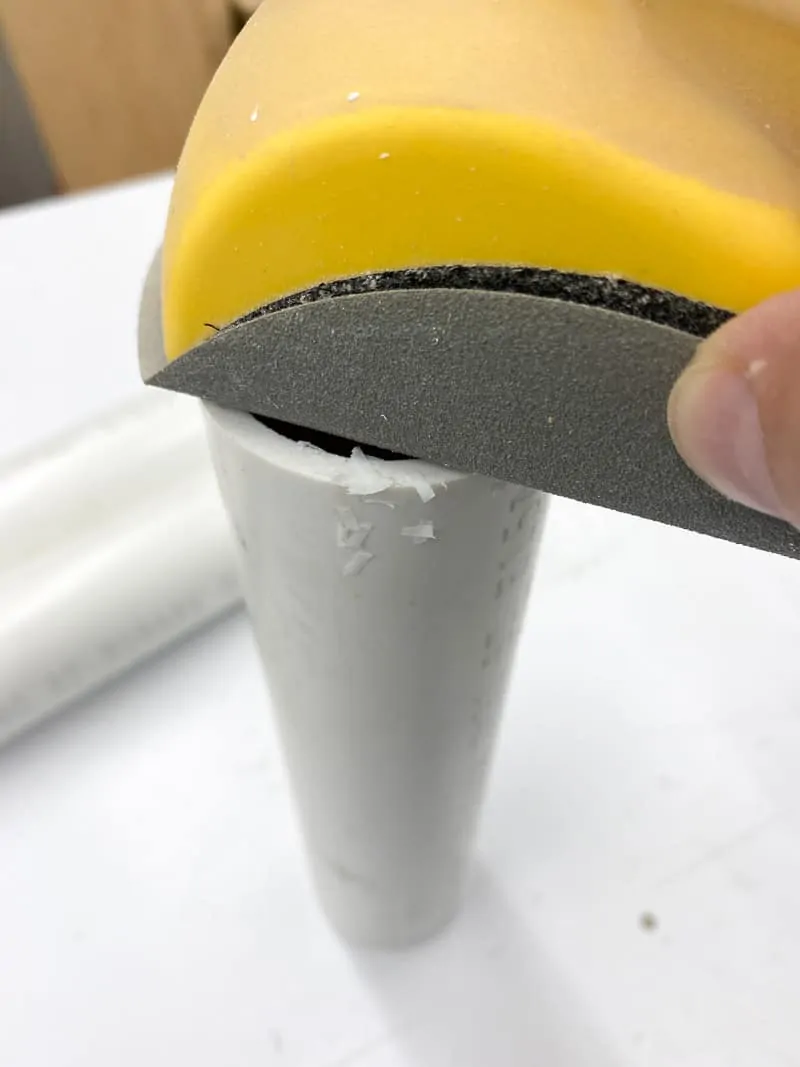
You'll also need four 8" pieces for the base, two 18" pieces for the middle section, and two 15" pieces for the top section. Give each cut a quick sanding to remove any jagged edges.
Assemble the base
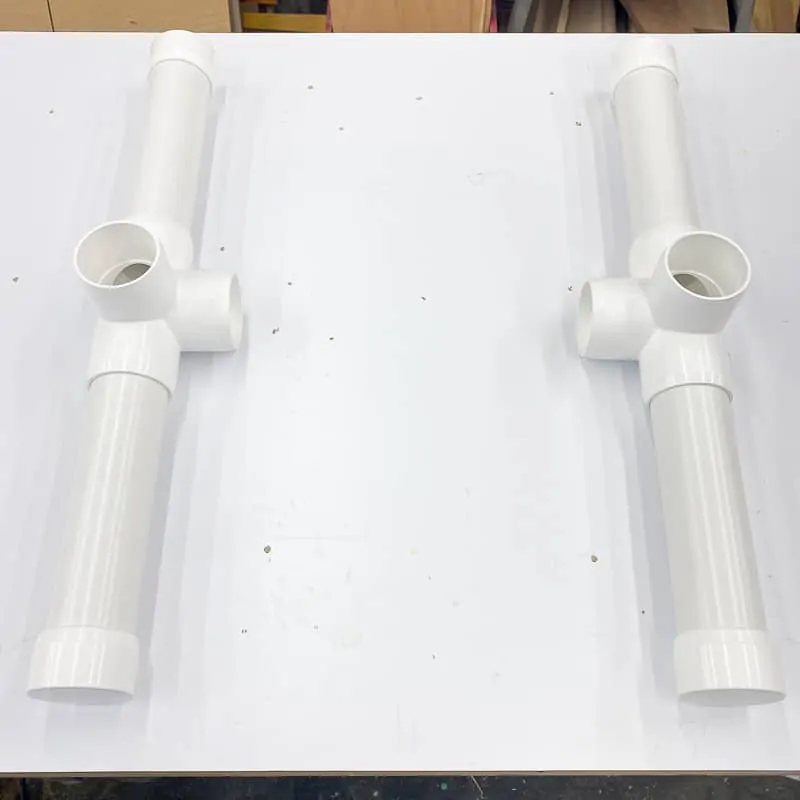
Stick two of the short base pieces into one of the four way connectors, then attach an end cap to each end. Then repeat for the other side, but mirror the orientation of the openings as shown below. I didn't use PVC cement on this part because they fit together pretty snug.
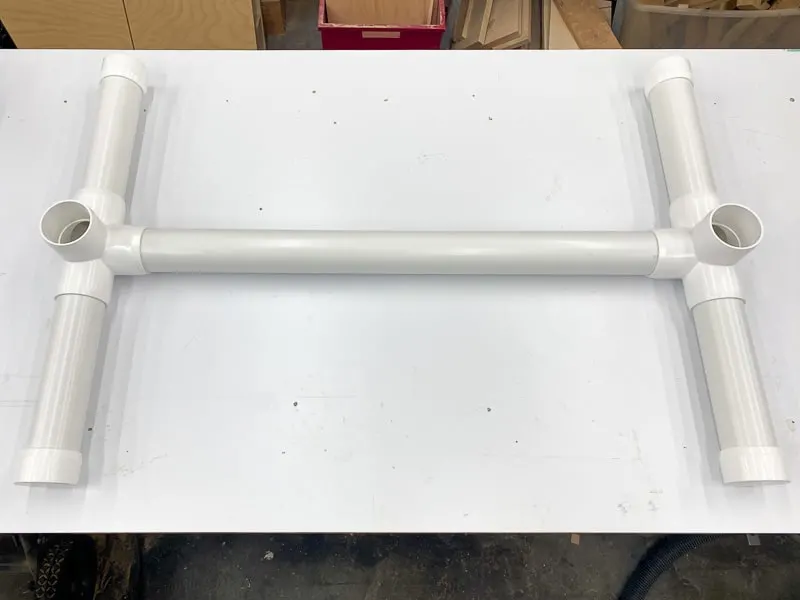
Then connect the two "feet" with a 24" pipe to complete the base.
Assemble the Sides
At this point, I realized I had bought the wrong type of 3-way connectors! These ones slide loosely over the pipe and allow the joint to pivot, instead of holding the parts rigid. It's nothing a little PVC cement won't fix, but if you don't want to make a mess like I did, buy these ones instead!
Attach the 15" and 18" pieces to the vertical part of the T connector like this.
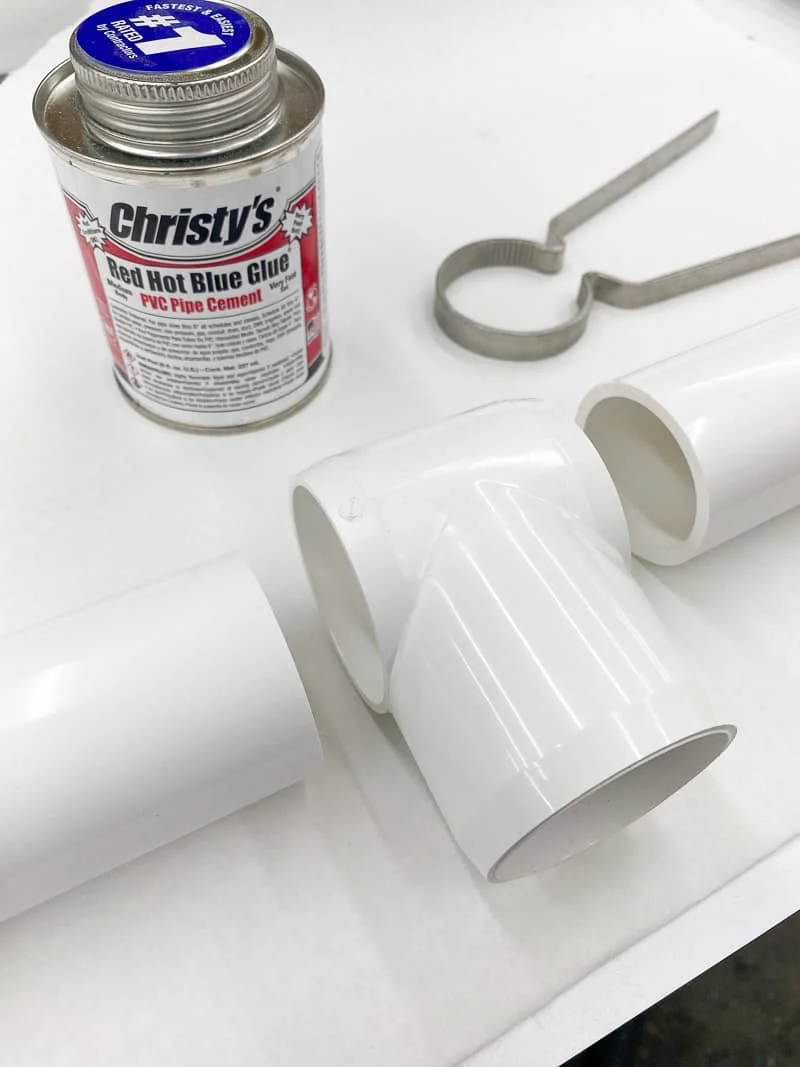
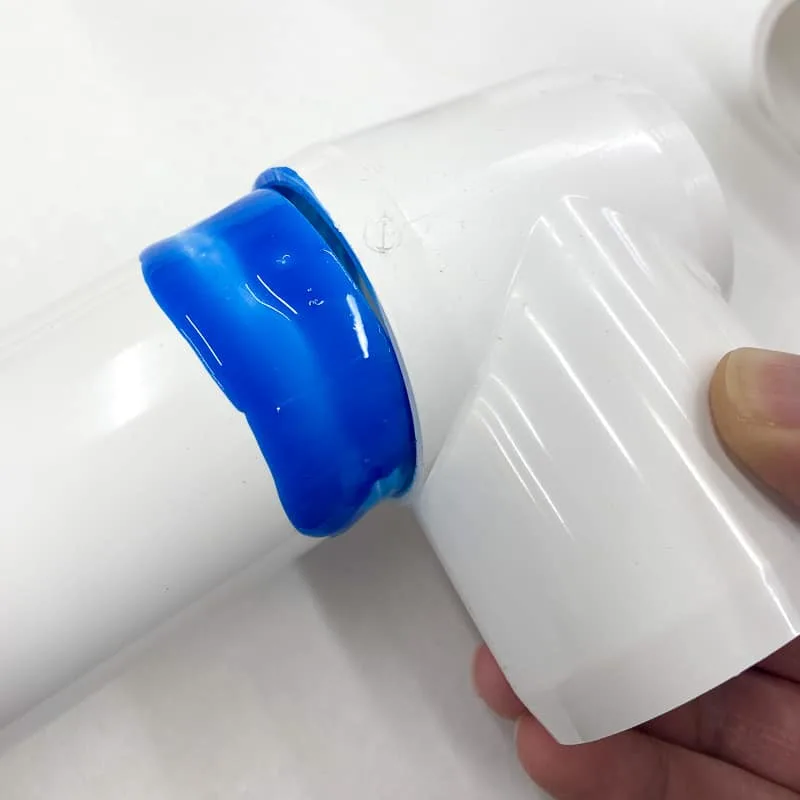
I applied PVC cement to the outside of the pipe and the inside of the connector, then held them together for 30 seconds while it set up. It turned out to be WAY too much cement, but you can clean up any excess with acetone or nail polish remover.
Once you have the two sides completed, stick them into the base with the open ends of the T connectors facing inward, then attach the middle horizontal bar. The assembled rack was getting too tall for my workbench, so I took it out to the backyard at this point.
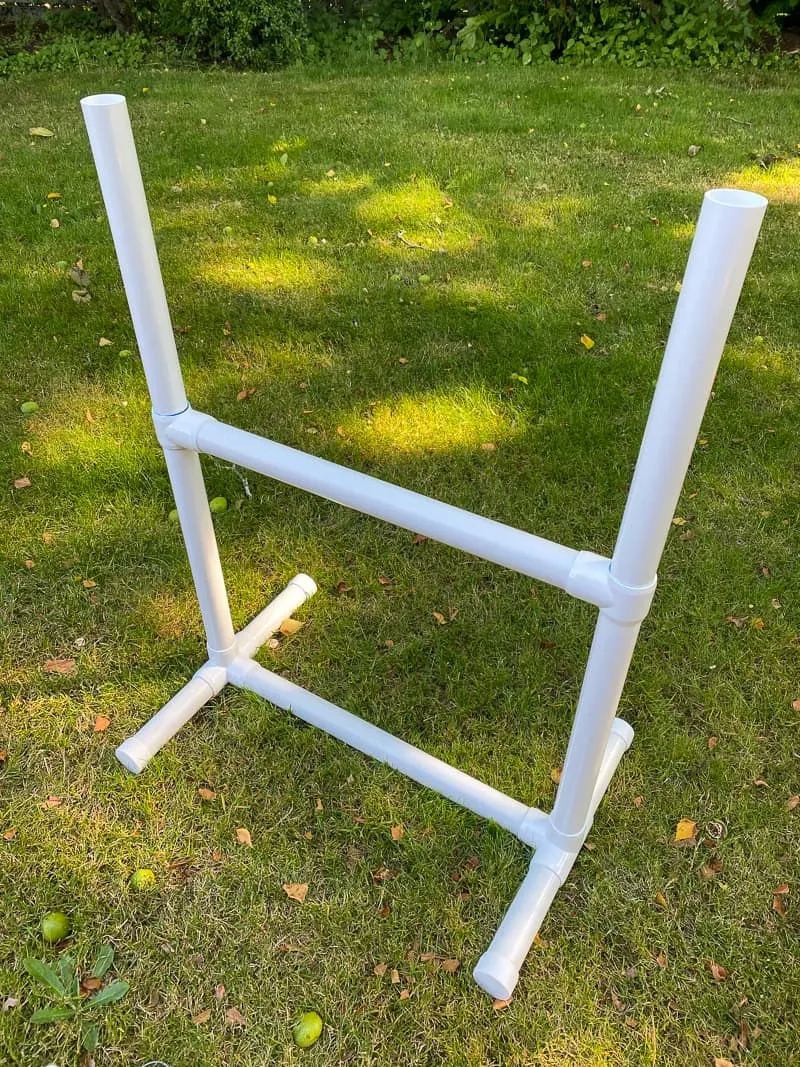
(Random side note: See all the little green pods in the lawn? Those are walnuts! Usually the squirrels have gobbled them up by now, but they seem to be slacking off this year...)
Attach the Top
Those 3-way connectors I bought came in a set of four, so I used the remaining two for the top of the rack. I'd recommend using an elbow connector instead, though. I had to add an end cap to the top to prevent water from getting in.
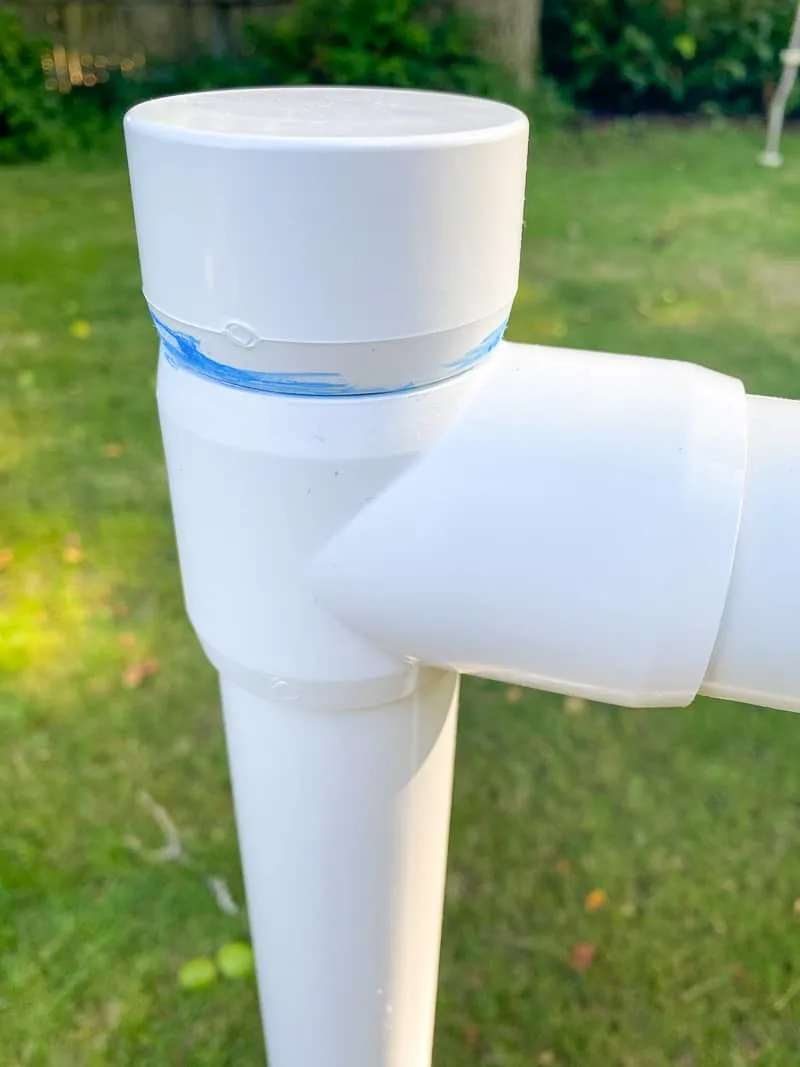
Luckily, it all came together and ended up really sturdy!
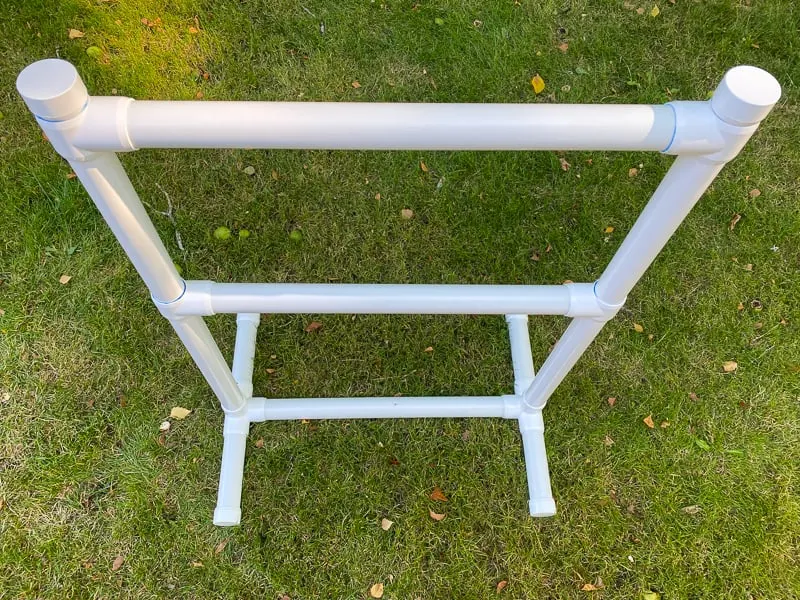
You can see a bit of the blue glue in some of the joints. Nothing a little paint can't fix! Get all my tips and tricks for painting PVC to get a nice, even finish and add a fun pop of color.
Add Large S Hooks
These S hooks are a little too small for the 1 ½" diameter pipe, but it was easy enough to stretch one side to fit. I may end up adding a dab of hot glue to the spot where the hook meets the PVC to hold them in place better, but it seems to be working out ok for now!
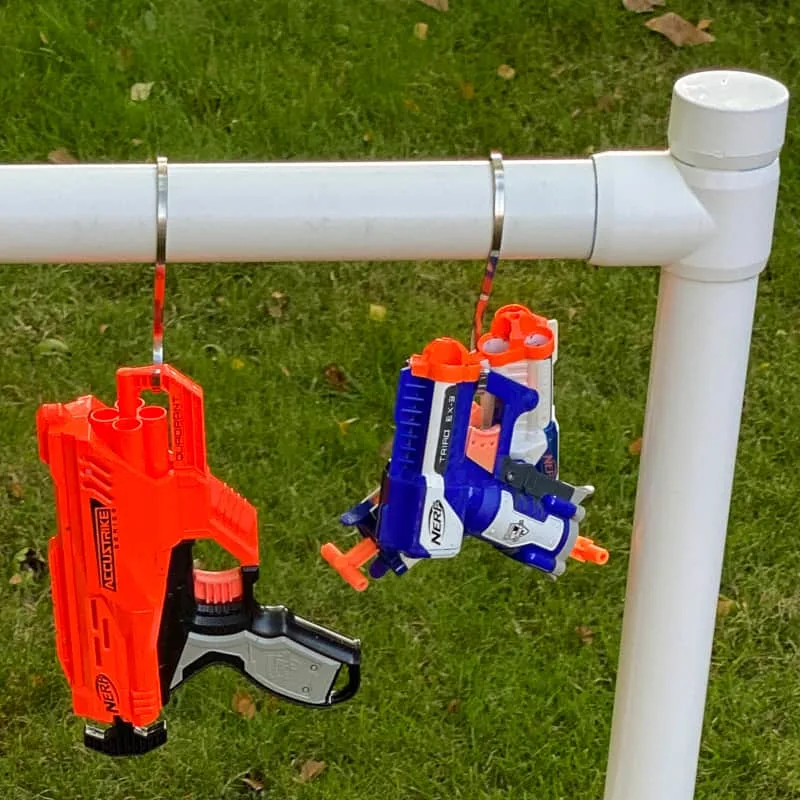
Load up your new Nerf gun storage rack!
I didn't realize quite how many Nerf blasters my son has until I started loading them up!
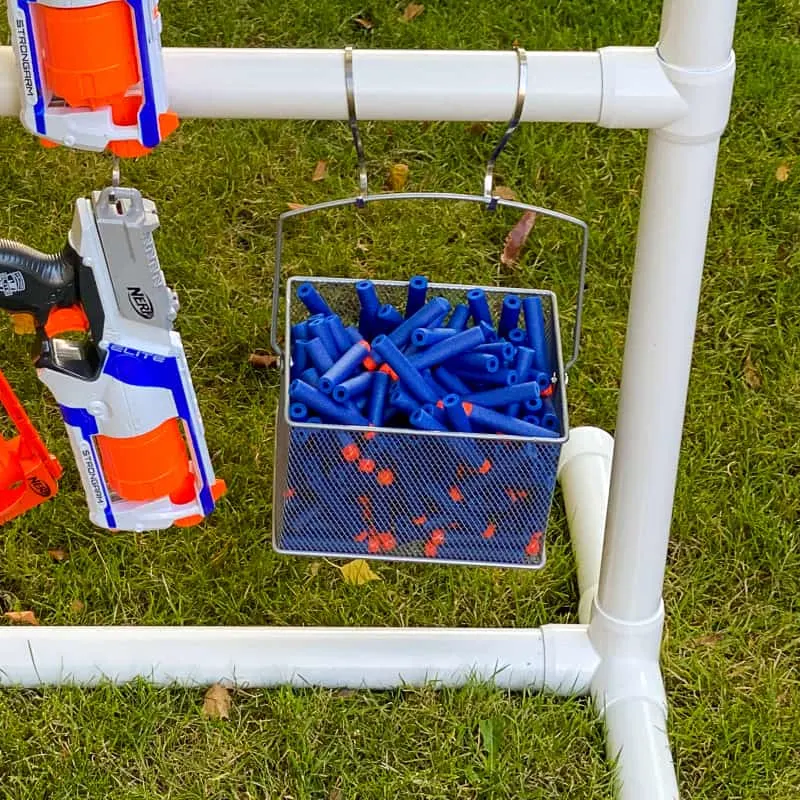
Don't forget the darts! We buy them in bulk, and I added this mesh basket to hold them all.
Now he's ready for the next neighborhood battle, and I can have my yard back! 🙂
Check out these other toy storage ideas!
