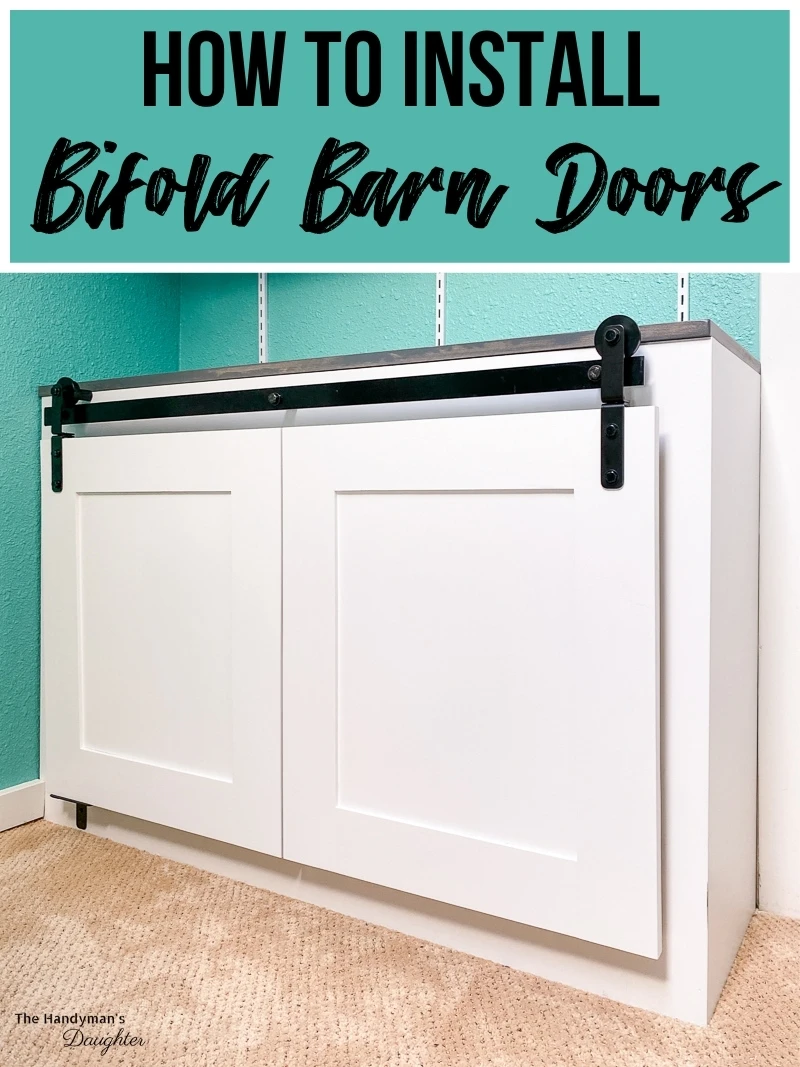
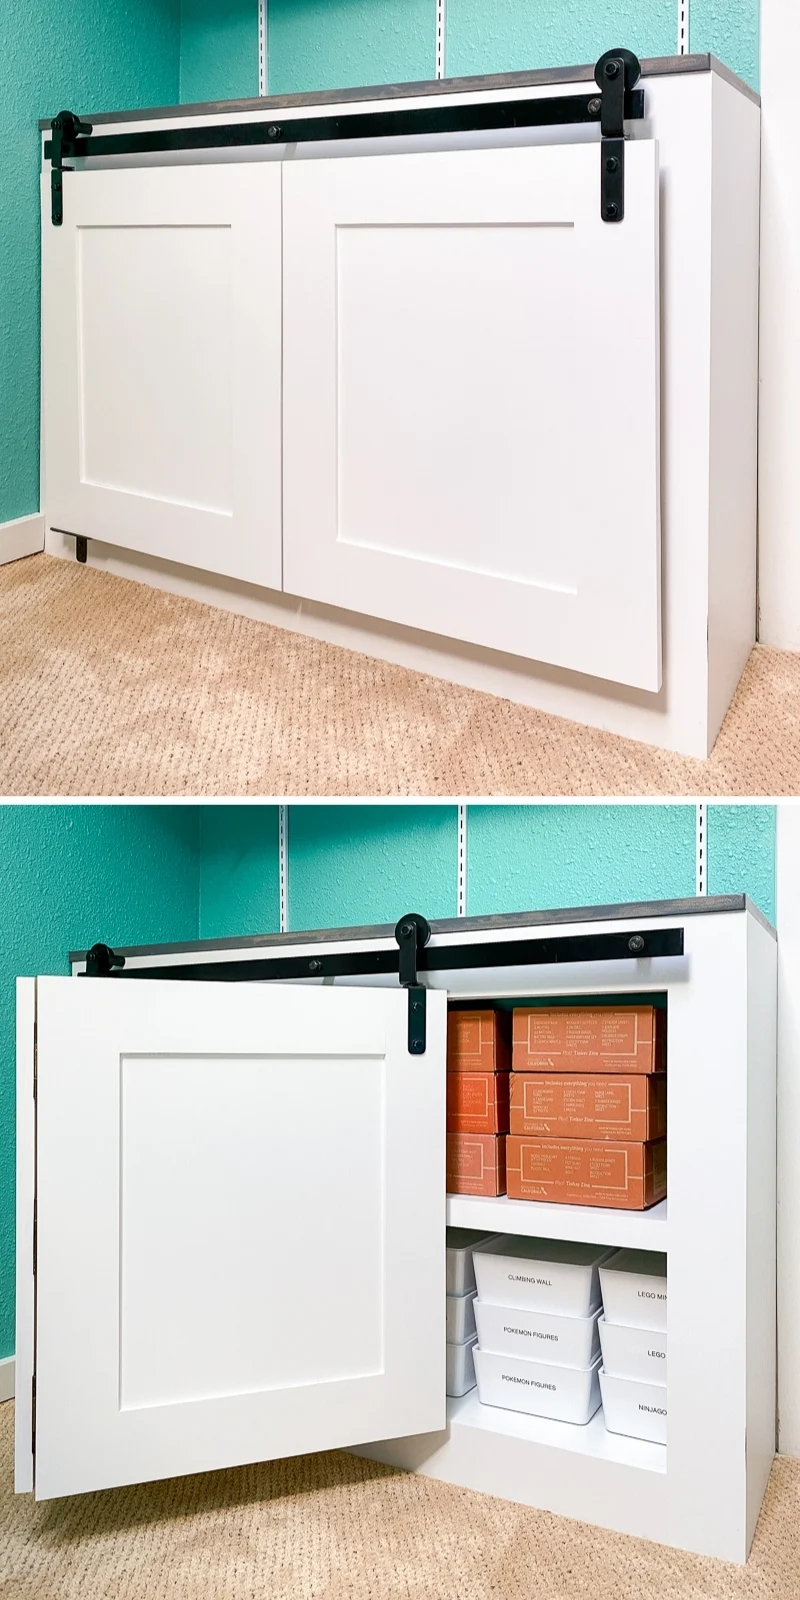
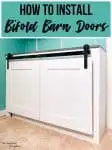
Don't have the space for a full swing cabinet door? Install this folding barn door hardware to create DIY bifold cabinet doors!
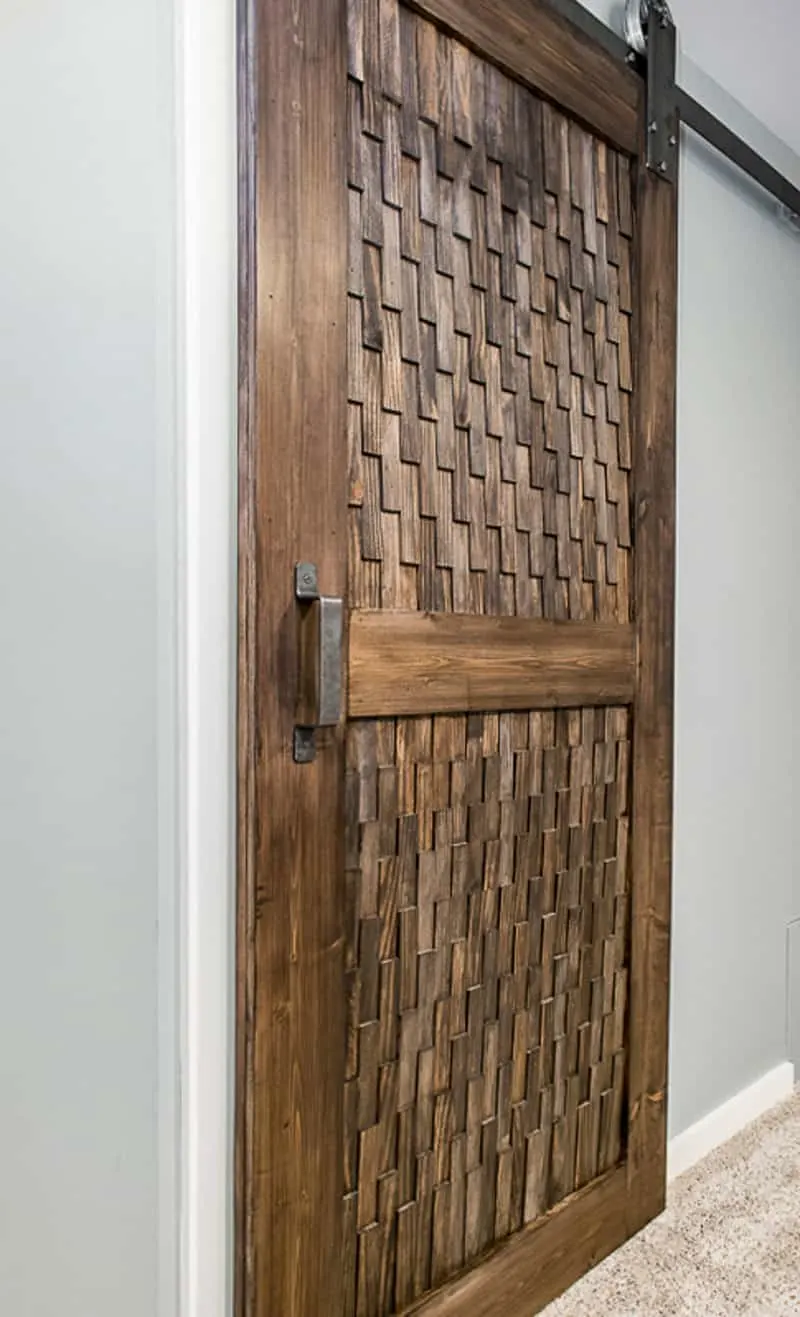
I love the look of rolling barn doors, but it requires a LOT of empty space beside the opening. You can see what I mean in this photo of the DIY barn door I built a few years ago. The metal bar at the top extends to the right so you can roll the door out of the way.
I recently built a cabinet in my son's room, and I didn't want traditional doors that open outward. The bedroom door swings into that space, and I didn't want them to collide when my son inevitably forgets to close the cabinet door.
This post is sponsored by Osborne Wood and contains affiliate links for your convenience. Purchases made through these links may earn me a small commission at no additional cost to you. You can read more about how this site earns money on my disclosures page.
Most barn door cabinets I found online leave one side exposed. If you have kids, you know that you want to hide away all that junk behind closed doors!
Then I discovered this folding barn door hardware from Osborne Wood! It gives you the same look as a barn door, but it folds like a bifold door! They were kind enough to send me a set of their hardware to try out on my new cabinet, although it appears that they are no longer selling this model.
This bifold barn door hardware can be used for a closet, cabinet or even to hide away that wall-mounted tv! Here's how to make and install your own!
Materials needed for bifold cabinet doors
- Bifold doors
- I made my own cabinet doors out of poplar 1x4's and ½" plywood, but you can skip that part if you already have doors.
- Barnfold hardware
- Drill and drill bits
- Socket wrench set
- Level
- Measuring tape
How to make bifold cabinet doors
I made a quick video on how to install the folding barn door hardware. You can check it out below!
Measure your opening
It's really important that your doors cover the entire opening when they're joined together in the middle. Normally, there would be a space between two separate doors on this type of cabinet. So if you're buying pre-made doors, make sure they're wide enough to span across both openings with a little extra on each side.
Build doors to fit over opening (optional)
I built the cabinet first, then the doors. You can learn more about how all the cabinet parts go together in the diagrams provided in this article. If you want to update your existing cabinet doors, check out this list of DIY cabinet door ideas for inspiration!
First, I assembled the frame for the outside of the doors with 1x4 poplar and pocket hole screws. Double check your measurements against these frames to make sure they're wide enough to cover the entire opening when they're side by side.
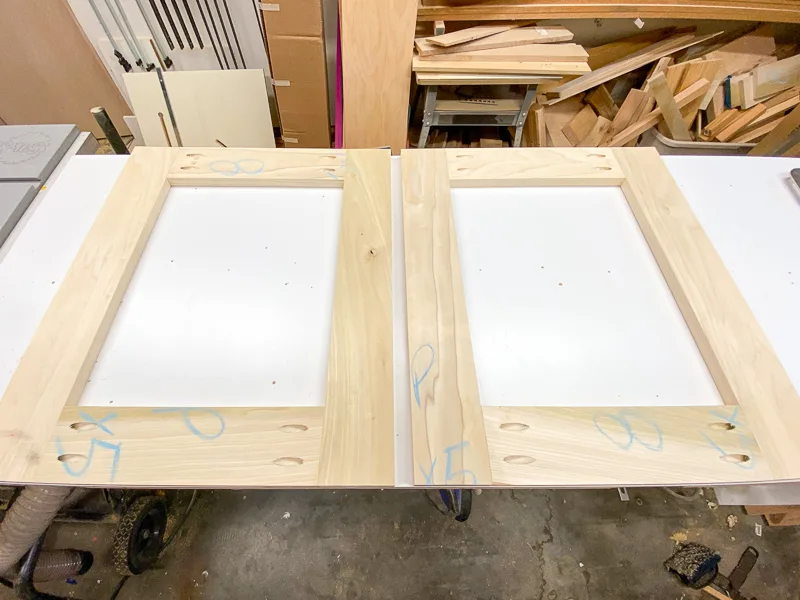
Then cut the middle panel out of ½" plywood to fit within each frame. This panel will be recessed slightly from the front, and flush with the back.
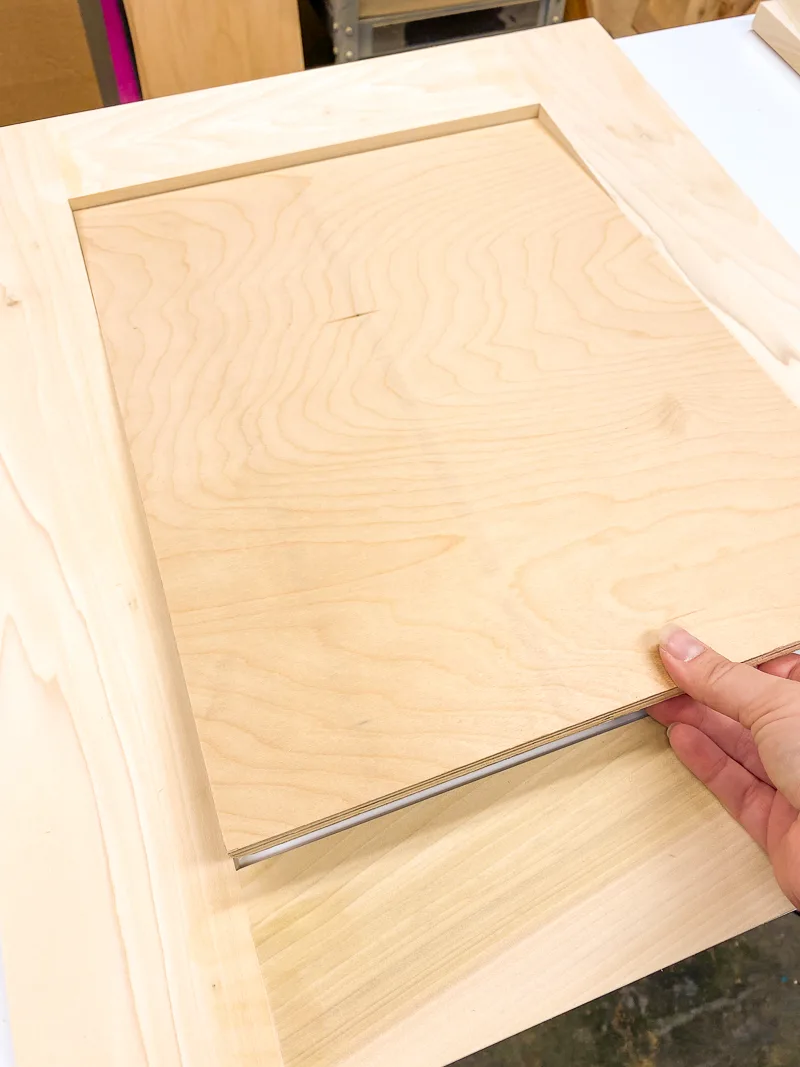
Drill pocket holes around the perimeter of the middle panels. Then attach the panel to the frame with pocket hole screws. I created spacers out of leftover plywood that held the panel flush with the back while I screwed it into place.
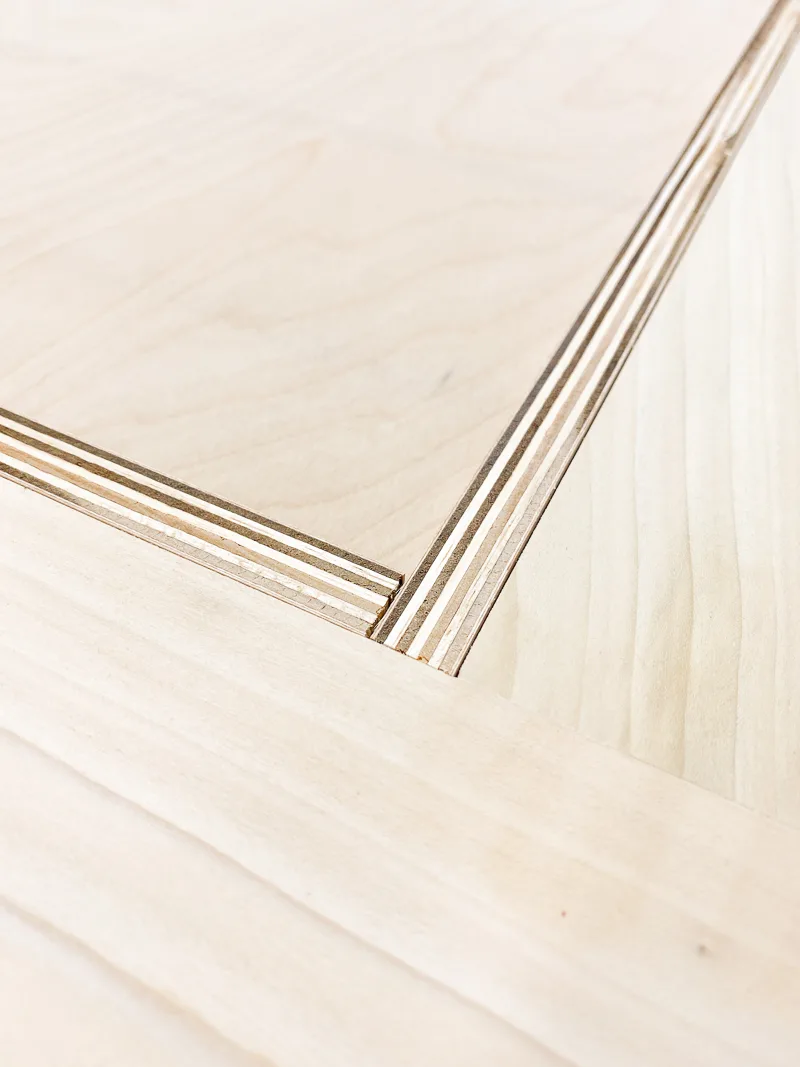
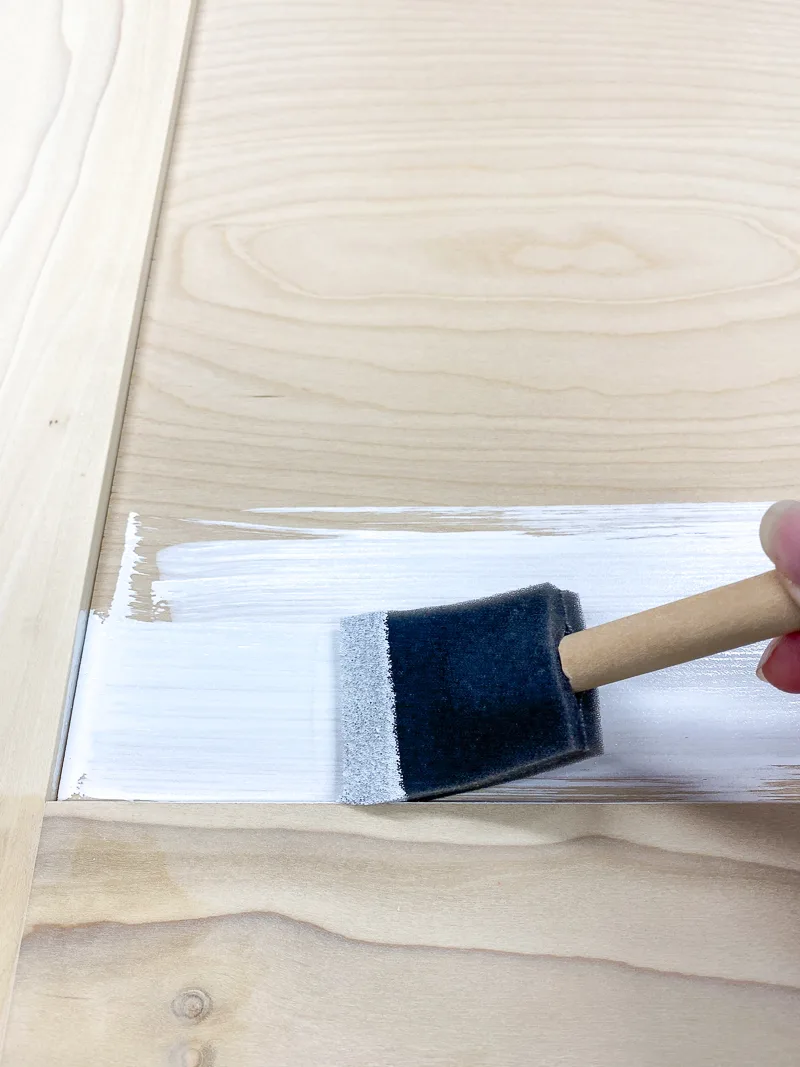
Fill any gaps in the frame with wood putty, then prime and paint the doors. I should have filled the pocket holes and painted the backs as well, but I originally thought you wouldn't be able to see them. Oops!
Attach the hinges
Flip the doors over so the backs are facing up. Space the doors ⅛" apart with the tops and bottoms even.
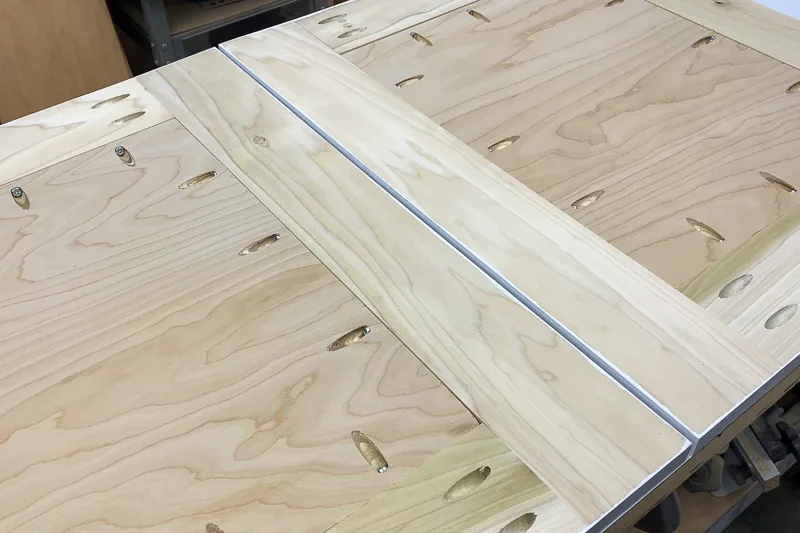
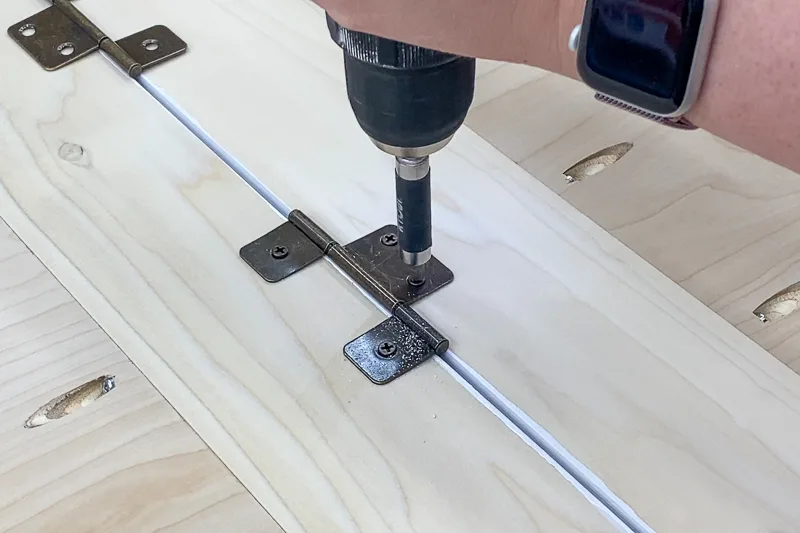
Attach the non-mortise hinges to both doors.
Attach the Rollers
The rollers attach to the fronts of the doors, 1 ¼" from the outside edge. I used my Kreg Multi-Mark tool to get the proper placement first, then marked the holes. Make sure the pivoting roller can move freely above the top of the door!
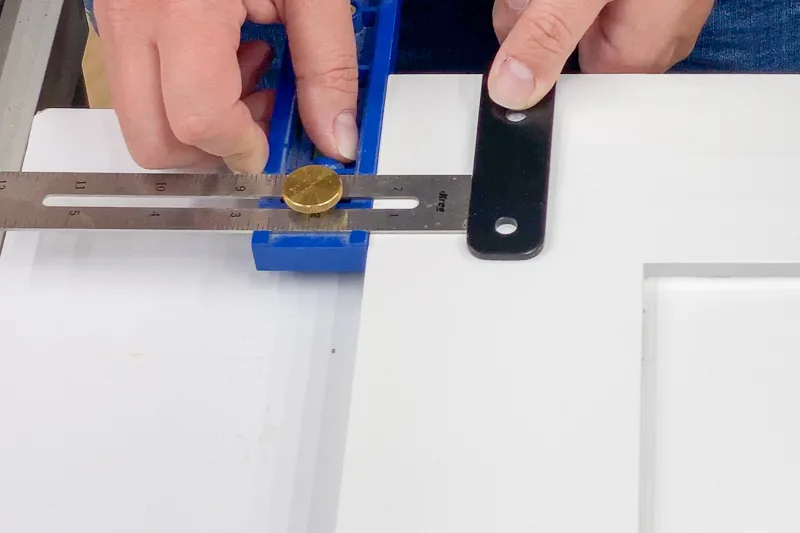
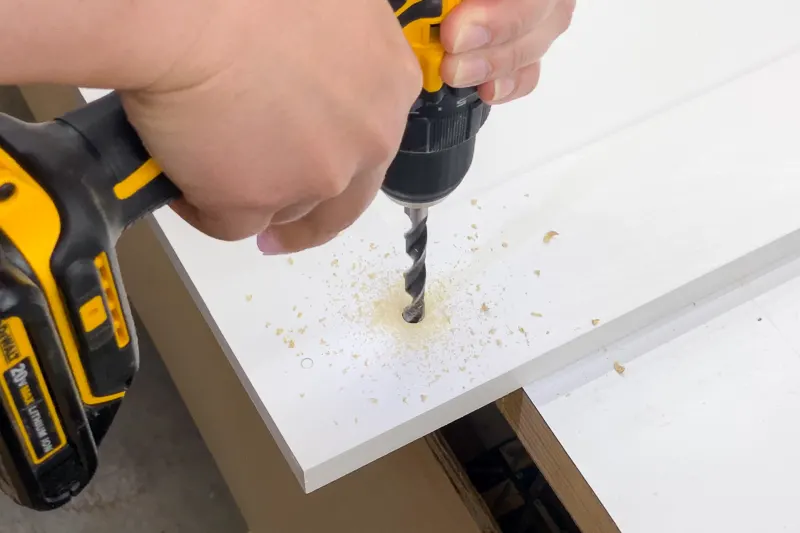
Use a ⅜" drill bit to drill the holes all the way through the door at the marks.
Place the roller hardware over the holes, then drop in the bolts.
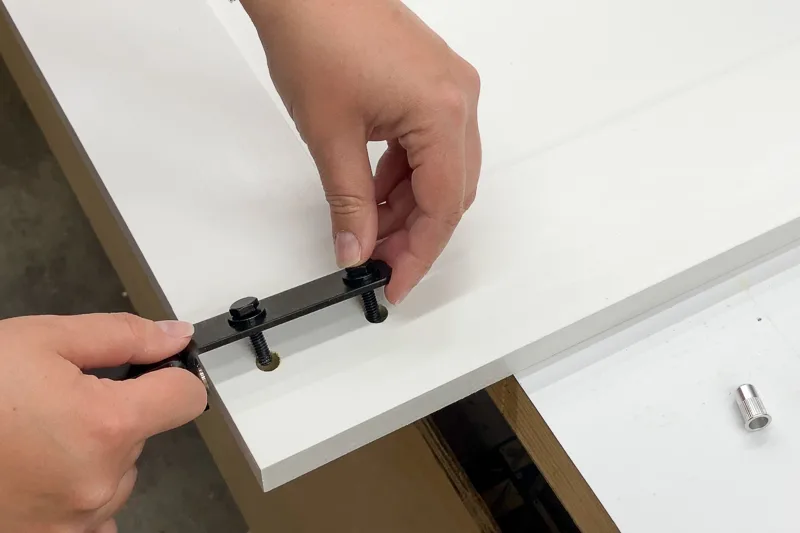
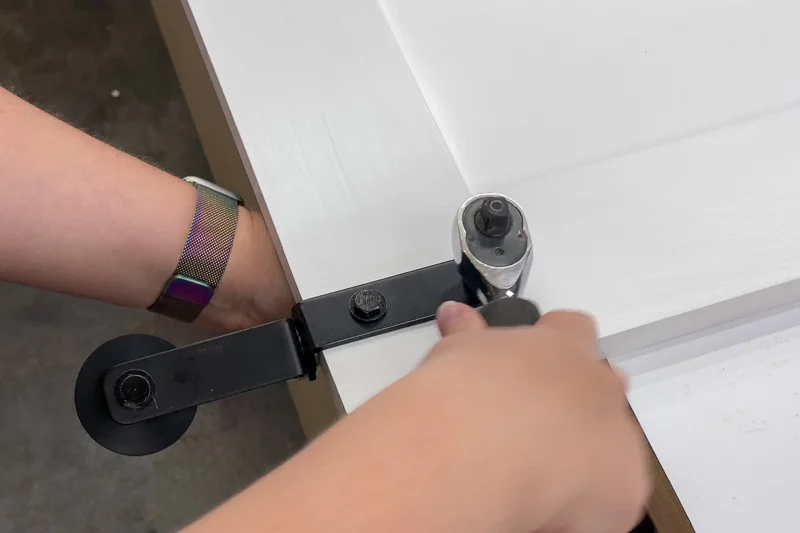
Screw the silver nuts to the underside of the bolts, then use a socket wrench to tighten the bolts. The silver nuts should get pulled up into the hole in the door until they're flush with the back.
Attach the Bottom Bracket
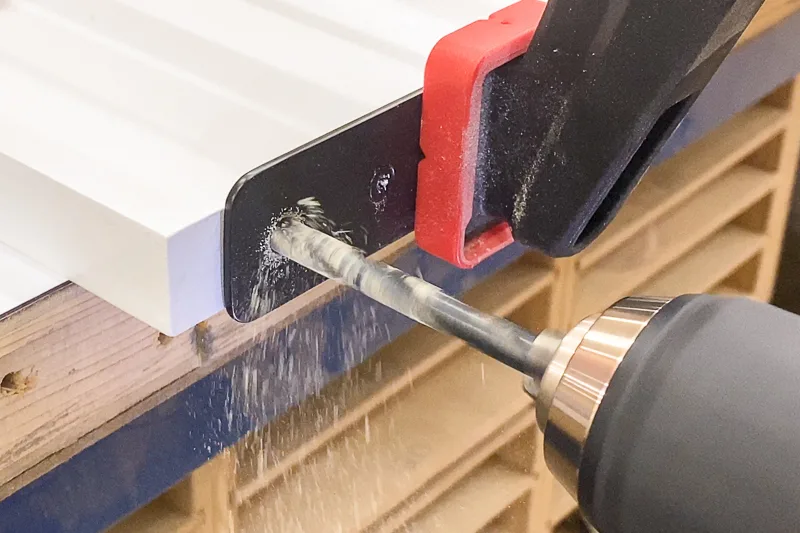
These bifold barn doors pivot on a pin on the bottom corner of the door. Attach the bottom bracket for the pin with the larger hole positioned 1" from the end. Drill a ½" deep hole through the larger opening in the bracket into the frame of the door.
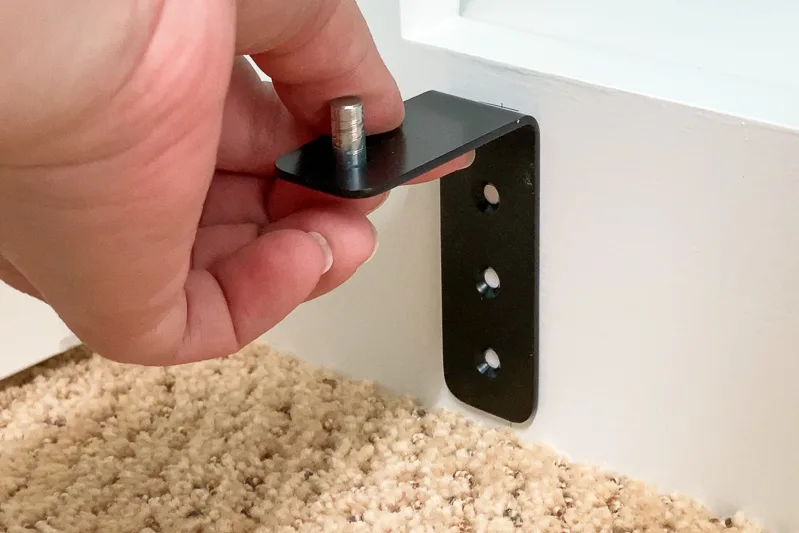
On the cabinet, attach the L shaped bracket with the pin for the hole in the bottom of the door. I had to install mine upside down because the doors weren't tall enough to cover the opening if the bracket was lower. There's also a flat bracket that can be mounted to the floor if you're making full size doors.
Install the Rail
Place the door with the bracket onto the pivot pin. Then level the other side of the doors (I used a stack of books).
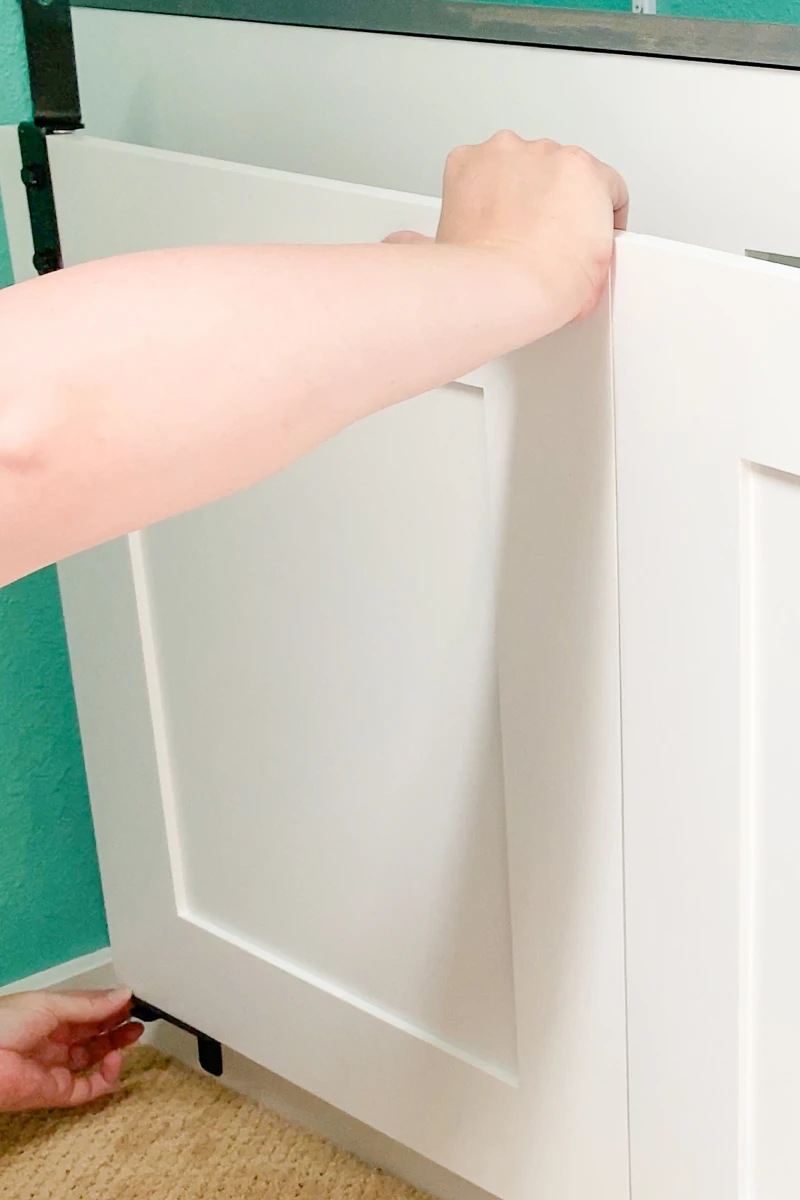
Mark the top of the door on the cabinet.
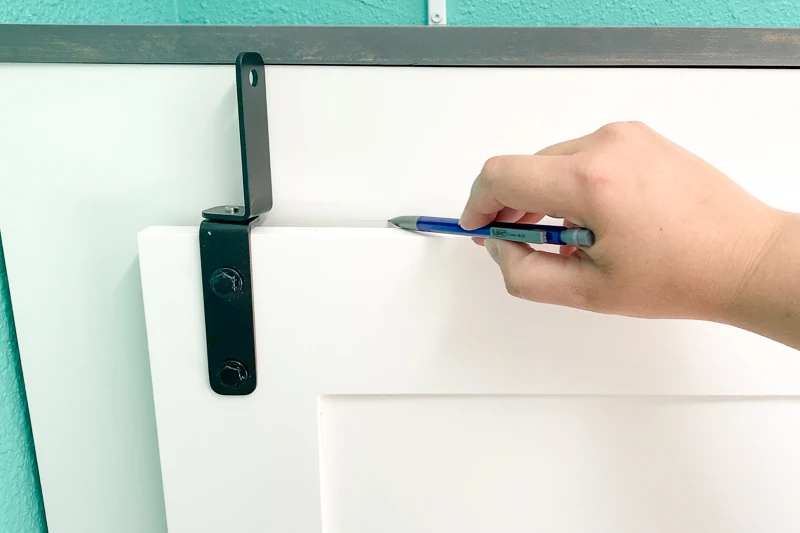
Then measure up 2 ¼" and make another mark. Line up the rail so that the top is even with the top mark, then level it and mark the holes.
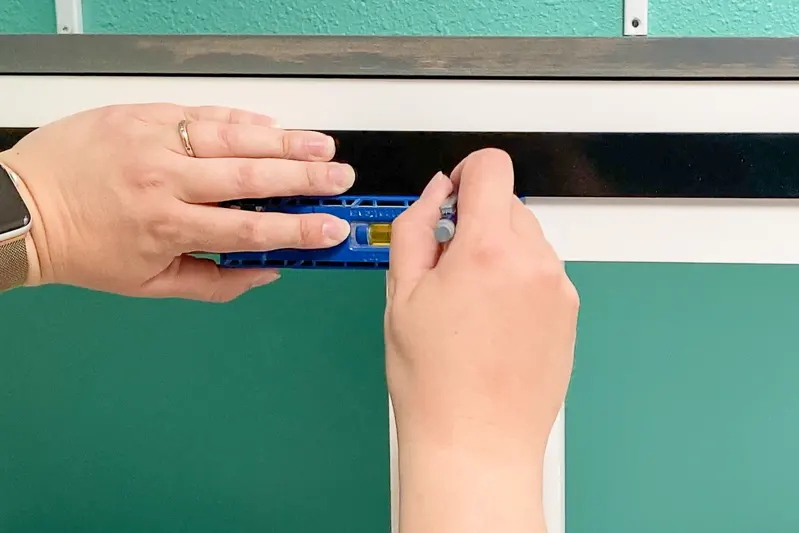
Drill pilot holes at each spot, then attach the rail with the spacers behind it. A socket wrench makes this much easier!
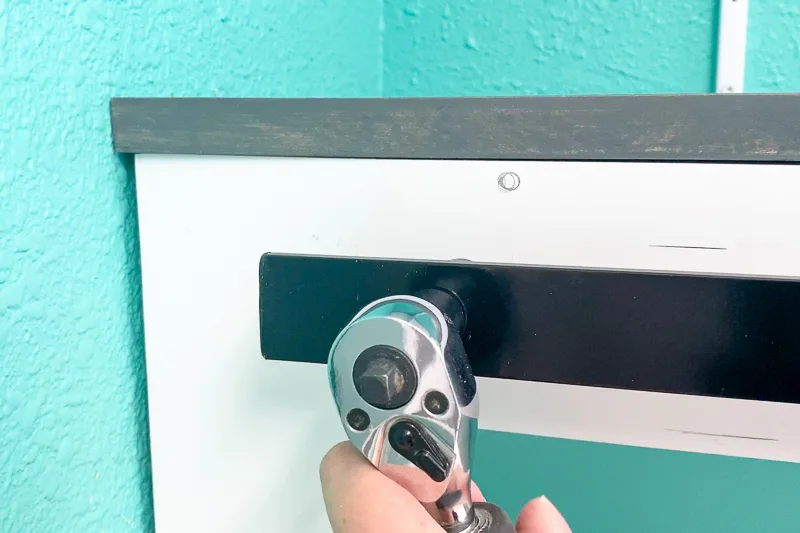
Attach the folding barn doors
Place the door back on the pin, and hook the wheel onto the rail. Mark the hole for the stationary wheel on the cabinet through the top hole of the hardware. You can see that mark in the photo above.
Install the stationary wheel the same way as the rail. I wish I had a little bit more room at the top of the cabinet so it didn't push against the top, but it worked out ok. Test to make sure the door moves correctly before you tighten the bolt.
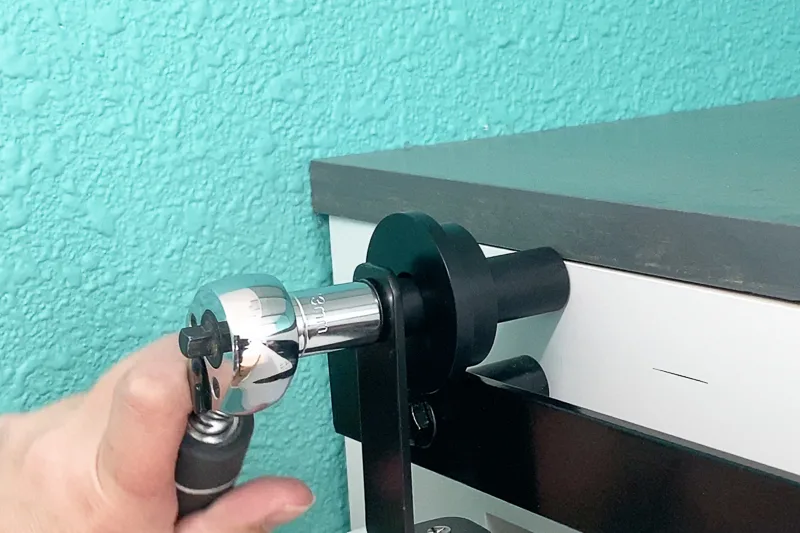
I was originally planning to add a knob or handle, but the top of the door is just as easy to use.
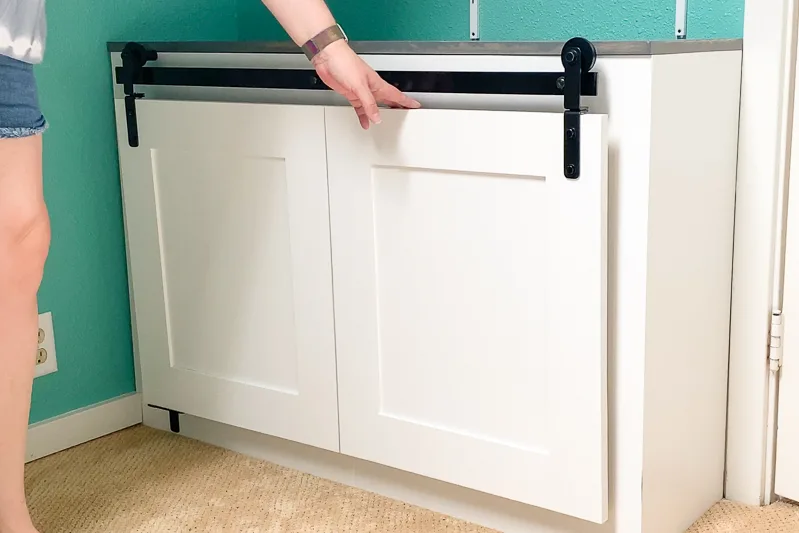
Two Ways to Open Bifold Barn Doors
Unlike regular barn doors, these folding barn doors can open two different ways! You can just roll them open like you normally would . . .
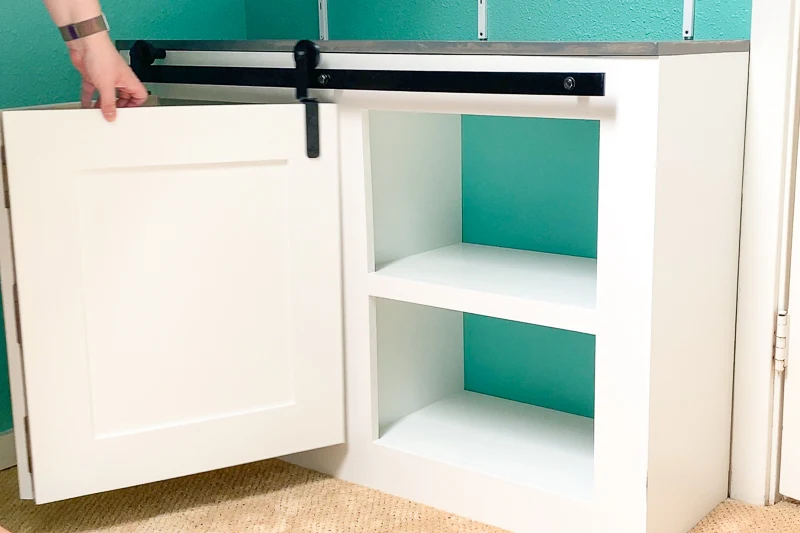
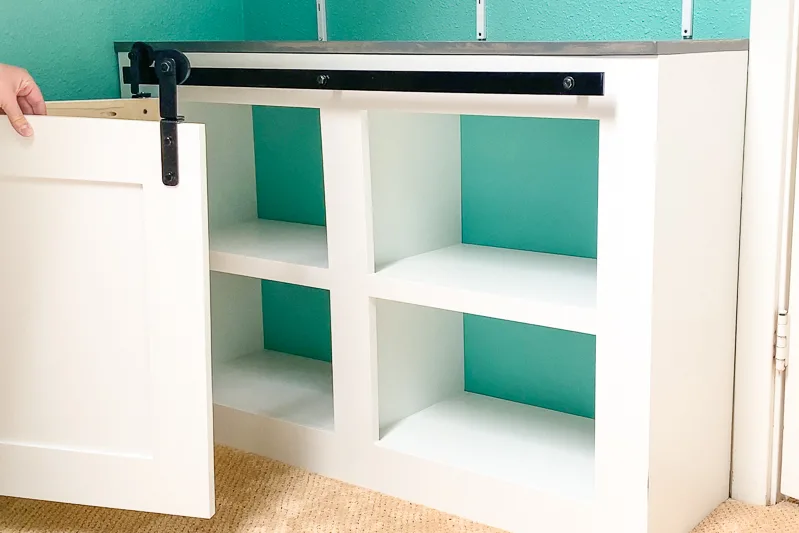
Or you can remove the door from the track altogether and open it wide! If you've ever struggled with regular bifold doors that block part of your closet opening, you'll know how nice this feature is! 🙂
This cabinet will be perfect for all of my son's clutter! I bought a bunch of bins from IKEA for his Lego instruction booklets and other junk, and went to town labeling everything. I'm sure this organization won't last long, but a mom can dream, right?
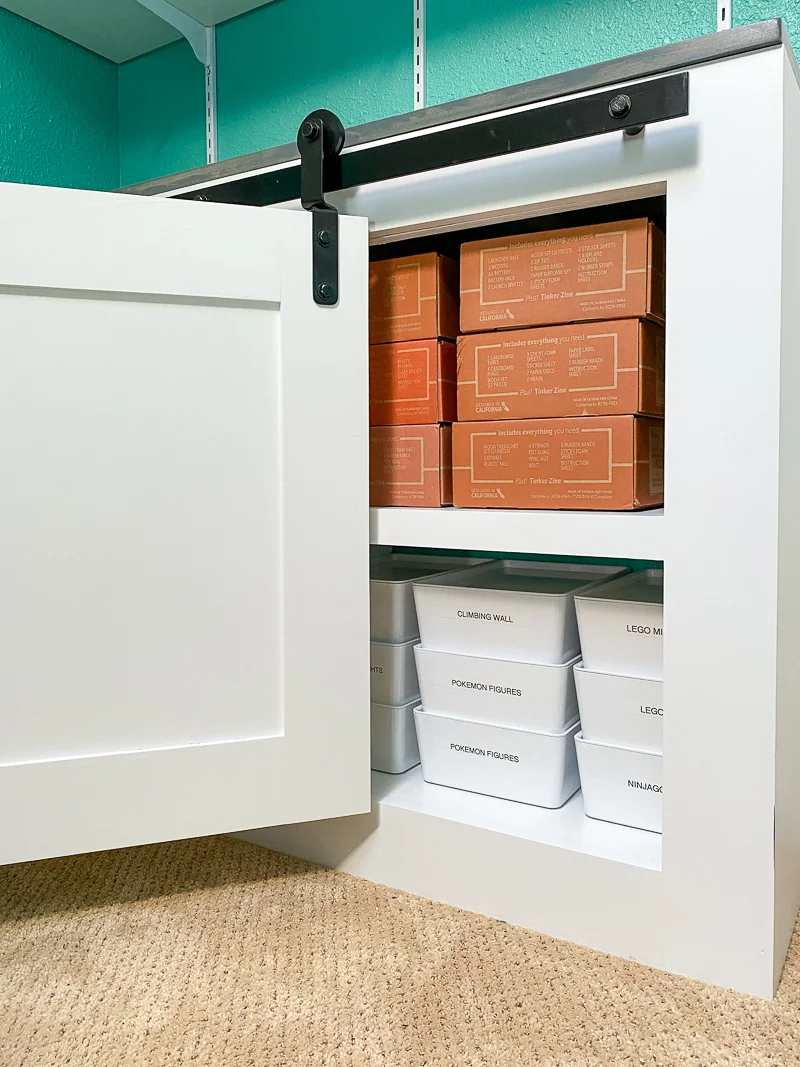
This room has changed a lot in the last few months! We lost a lot of storage space when the climbing wall was installed (it was totally worth it, though!), and I've been trying to come up with ways to add some back. Between the adjustable shelving above and the cabinet below, hopefully my son can start to corral all the clutter and we can make the room more functional!

Katie Alamitos
Wednesday 11th of November 2020
I love your barn door project. Having sliding doors (barn doors) gives the room a unique look.. I have an upstairs laundry room closet that has the old louvered bifold doors, you inspired me to put the project on my wish list. Thanks for sharing!
Stacie Robertson
Wednesday 22nd of July 2020
Is there a gap between the door and cabinet when closed? I am considering this for an attic access opening door.
Vineta
Thursday 23rd of July 2020
Yes, there's a small gap at the top and bottom. All barn doors need to have gaps to prevent the door from rubbing on the frame when it opens and closes.