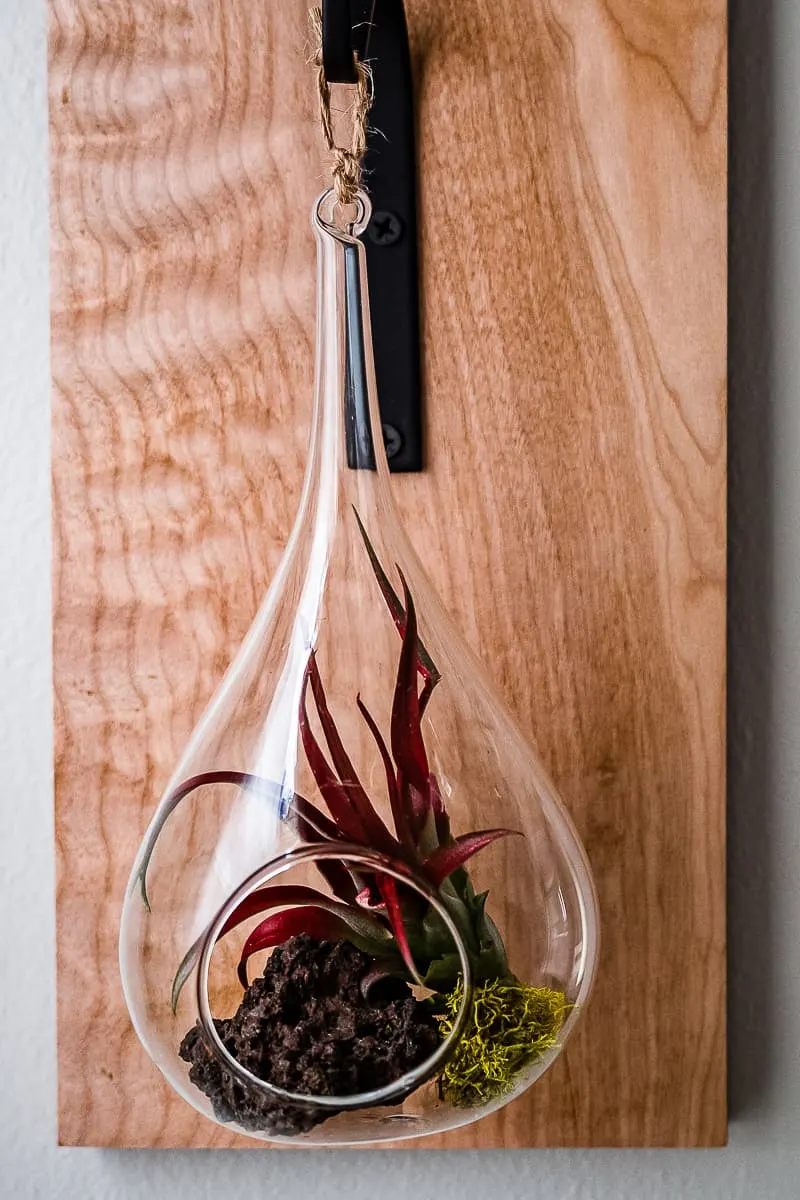
This gorgeous hanging air plant holder is a simple DIY project you can make in minutes! It's a great way to display air plants on the wall!
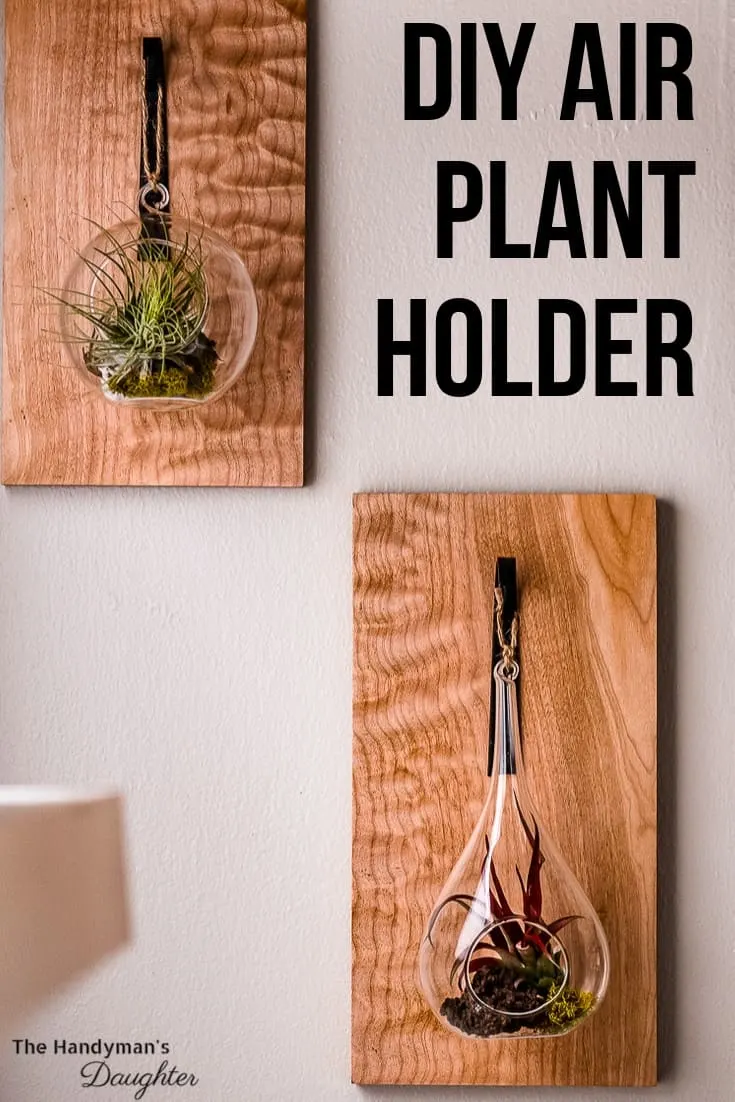
It's official . . . I'm a crazy plant lady! I've run out of space on the windowsill for all my indoor plants, so this air plant holder mounts on the wall instead. This simple project combines two of my favorite things: air plants and gorgeous wood grain!
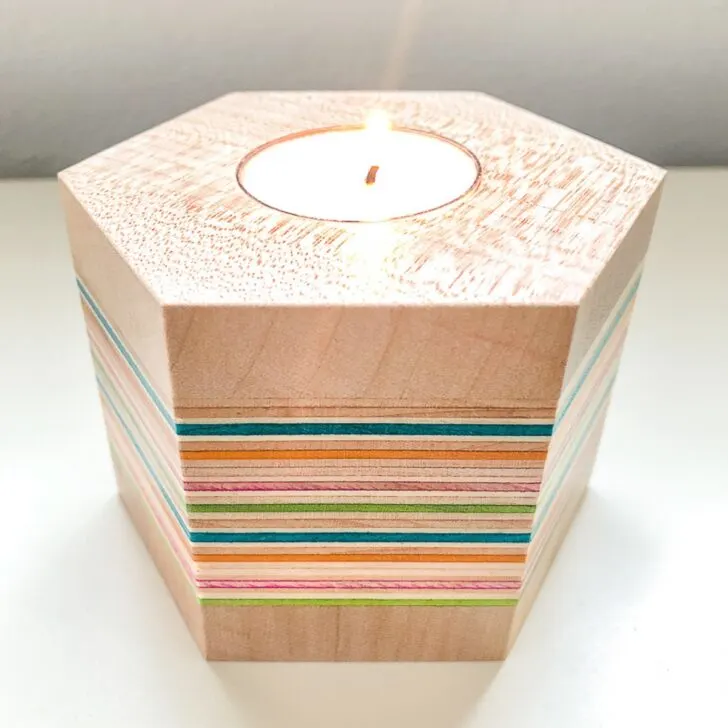
Want to display that air plant on your windowsill or desk instead? Check out this colorful DIY air plant holder made from recycled skateboards!
This post contains affiliate links for your convenience. Purchases made through these links may earn me a small commission at no additional cost to you. Please visit my disclosures page for more information.
Earlier this year, I built this beautiful nightstand for our guest room. I'm totally in love with the curly maple wood grain, but I never get to see it since it's hidden away upstairs!
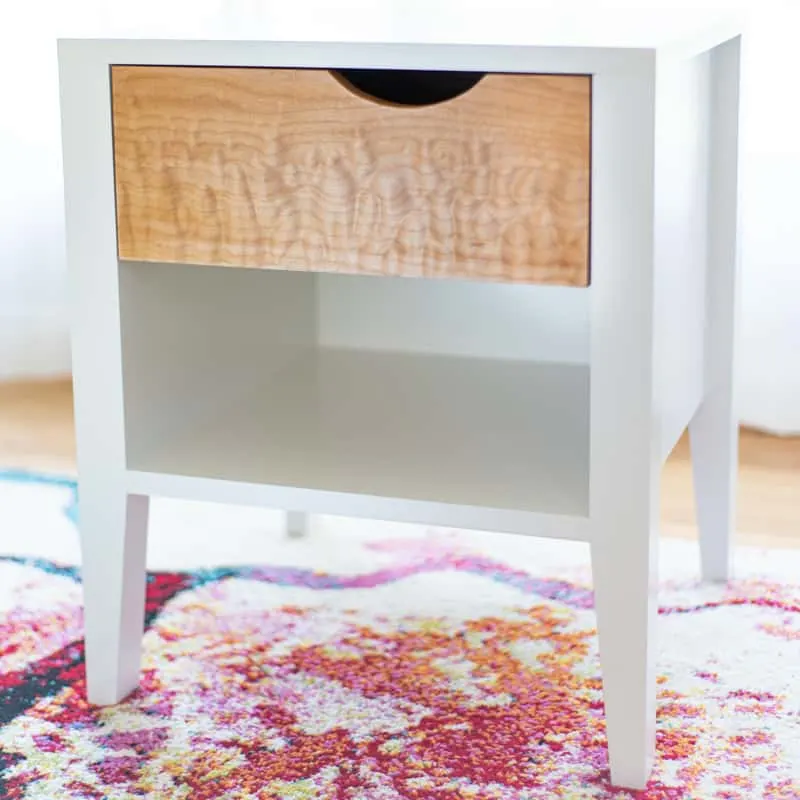
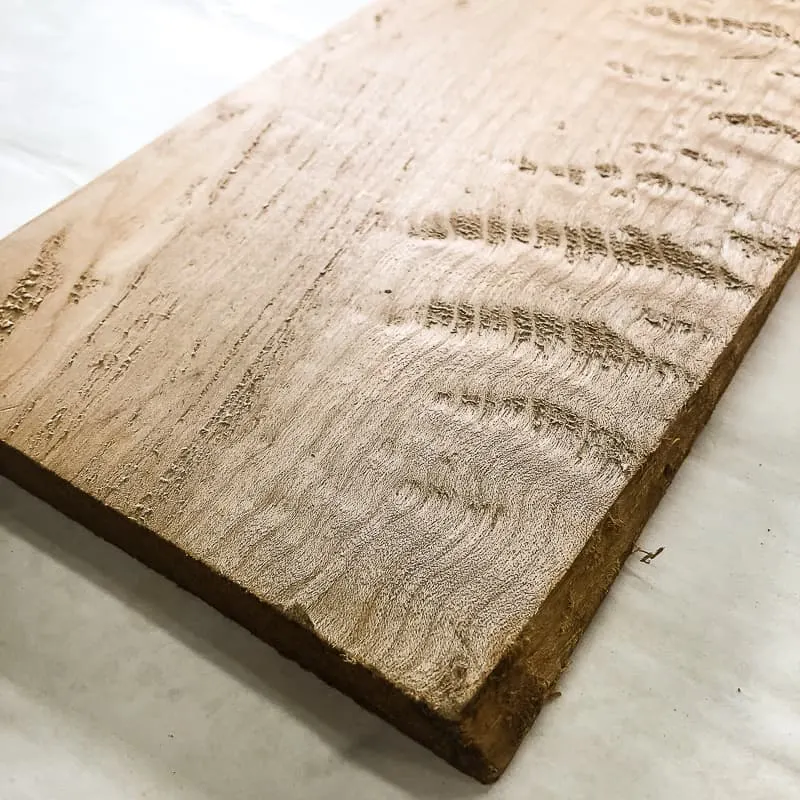
The drawer front was cut from a thicker board of curly maple, and I was left with a thin, tapered piece that wasn't good for a full woodworking project. But it turned out to be the perfect backing for this hanging air plant holder!
Check out this list of 15 creative air plant holder ideas for more inspiration!
Materials Needed for DIY Air Plant Holder
- Scrap wood about 6" wide and long enough to fit behind the hook and terrarium
- Wood finish
- If you water your air plants with a spray bottle, apply a waterproof finish to the wood so it doesn't get ruined over time.
- Small plant hanger hooks
- Hanging glass terrarium
- Picture hanging mounting strips
- Air plants
- Dried moss, rocks, driftwood, etc.
How to Make an Air Plant Holder
Cut the Wood to Size
Position the hook and the terrarium on the board, then mark the length you need with a pencil.
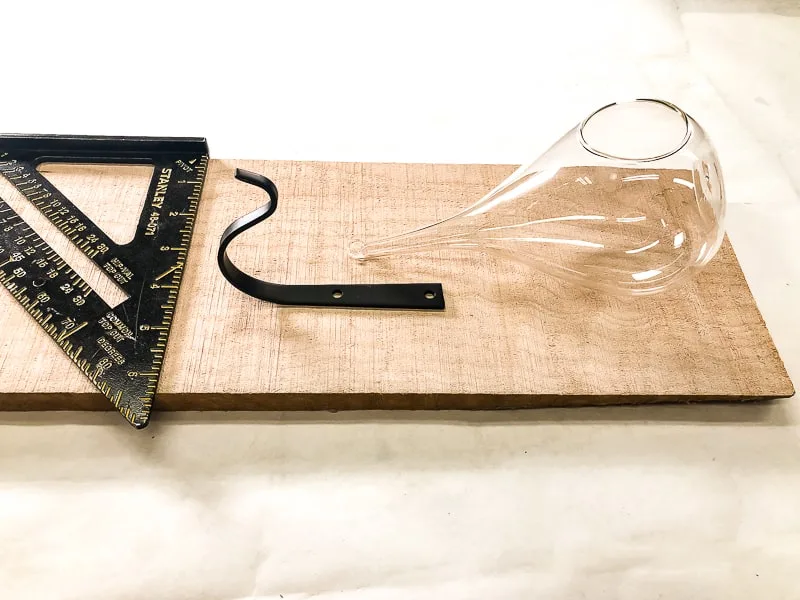
You can use a miter saw, circular saw or even a hand saw in a miter box to cut the board down to size.
The piece I was working with was pretty short, but I managed to get two air plant holders out of it! The longer one is for the teardrop shaped terrarium, and the shorter board will be for the round one.
Sand and Finish the Board
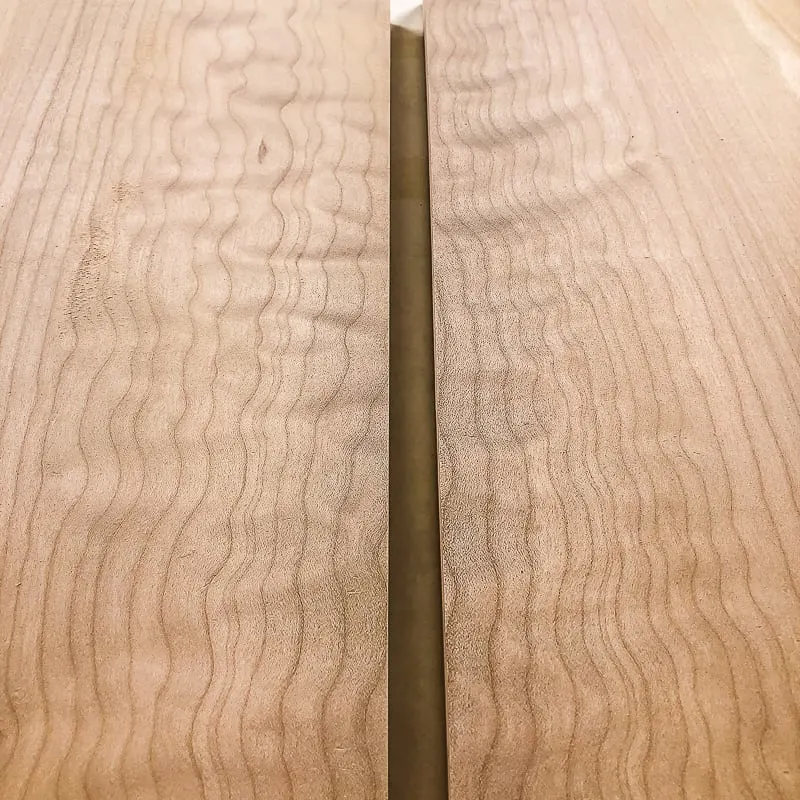
The face of the curly maple boards was a little rough, but a quick sanding smoothed it out. I also trimmed off that raw edge with the table saw.
I mixed wood dye with dewaxed shellac to really make that cool grain pop. It creates a 3D effect that looks like the wood is wavy when it's actually perfectly smooth!
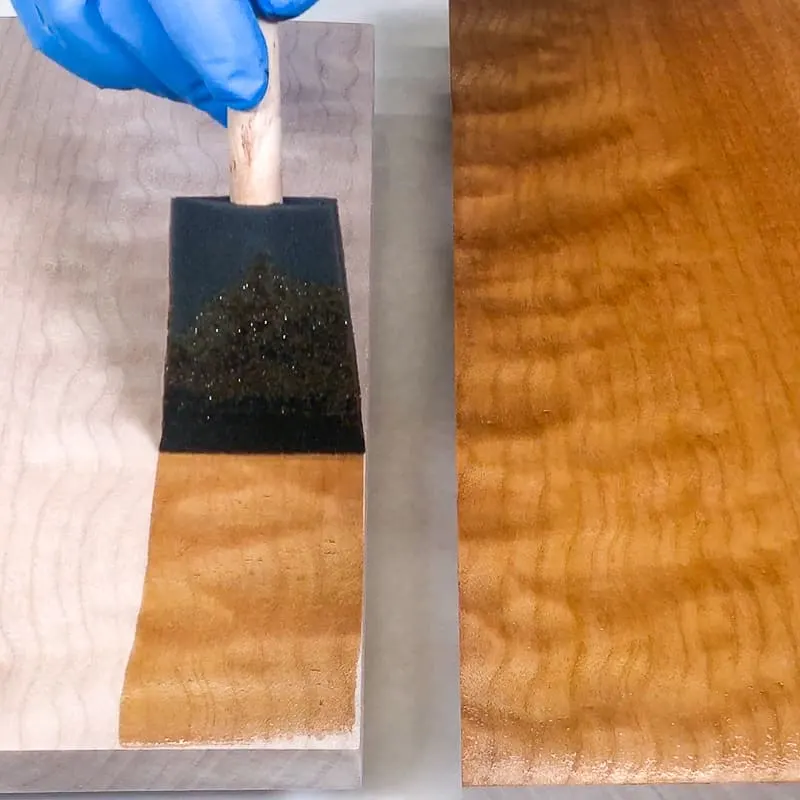
Once that dried, I lightly sanded it to remove the dye from the face while leaving it in the grain pattern. Then I finished it with General Finishes High Performance Top Coat to protect it from sun and water damage.
Screw Hook to Board
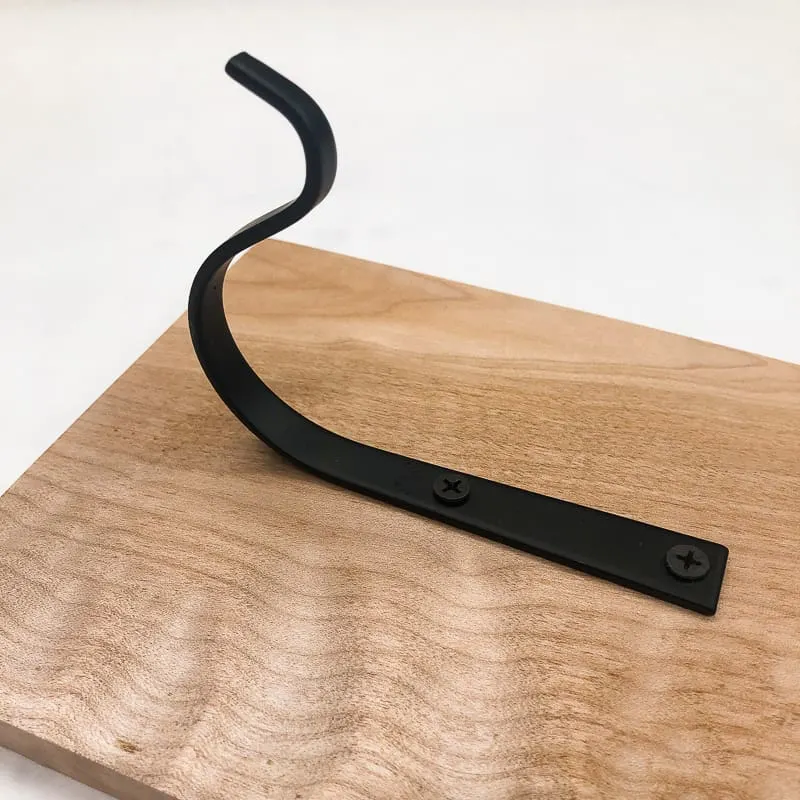
Use a ruler to make sure the hook is centered on the board. Mark the holes with a pencil (so you don't have to measure again in case it shifts), then screw the hook into place.
Attach Mounting Strips to the Back
I LOVE these mounting strips for light items! They have Velcro on one side to hold the two halves together, and it's surprisingly hard to get them apart! I used them to mount my son's Lego minifigure display case on the wall, and it's still up after lots of playing.
Just click the two halves together, then peel the backing off one and stick it on.
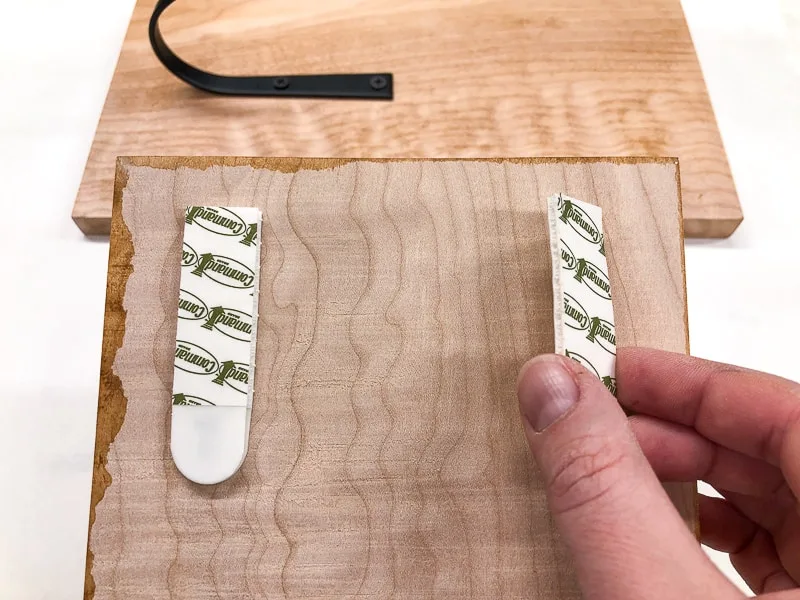
When you're ready to hang your air plant holder on the wall, just peel off the other backing and stick it in place!
Add Air Plants to the Terrarium
Gather up a few natural elements to create a miniature garden inside the terrarium. I found a bag of leftover driftwood from this DIY driftwood Christmas tree ornament I made last year, and a few pieces of dried moss from my kokedama project.
Then I raided my son's rock collection for a piece of lava rock from Hawaii and an interesting white one from a local beach.
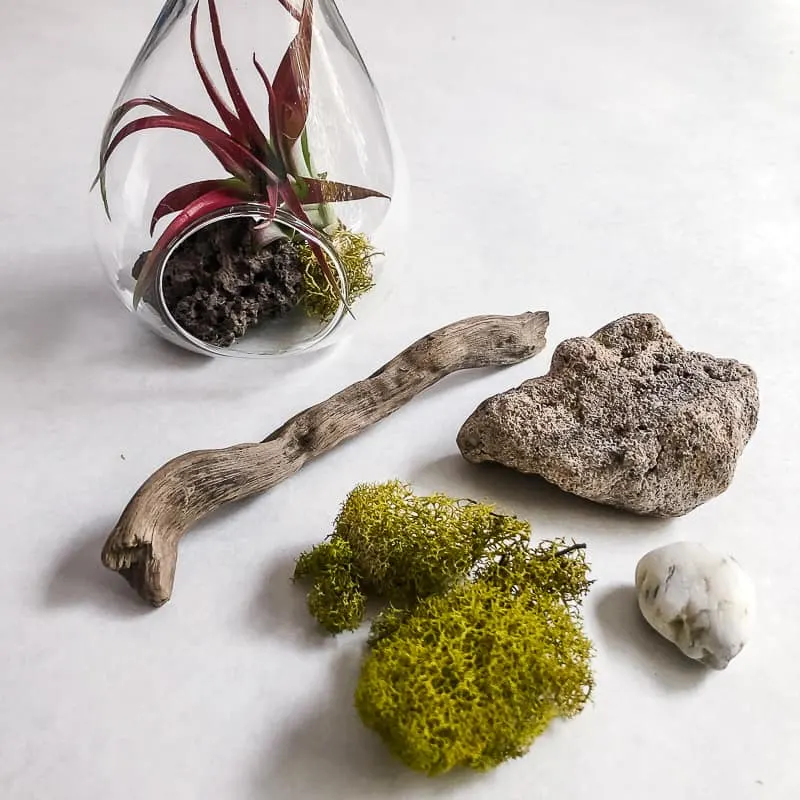
You could also use small decorative pebbles or colored sand to lay in the bottom of the terrarium. Or just leave it bare and let the air plants be the star!
Don't bury the air plants too deep into the terrarium. They like to be soaked in a bowl of water every once in a while, so place them where it's easy to get them out.
Mount the Air Plant Holder on the Wall
Once you have your miniature garden the way you want, tie a string through the top to hang it. Adjust it if necessary to make the globe hang at the height you want.
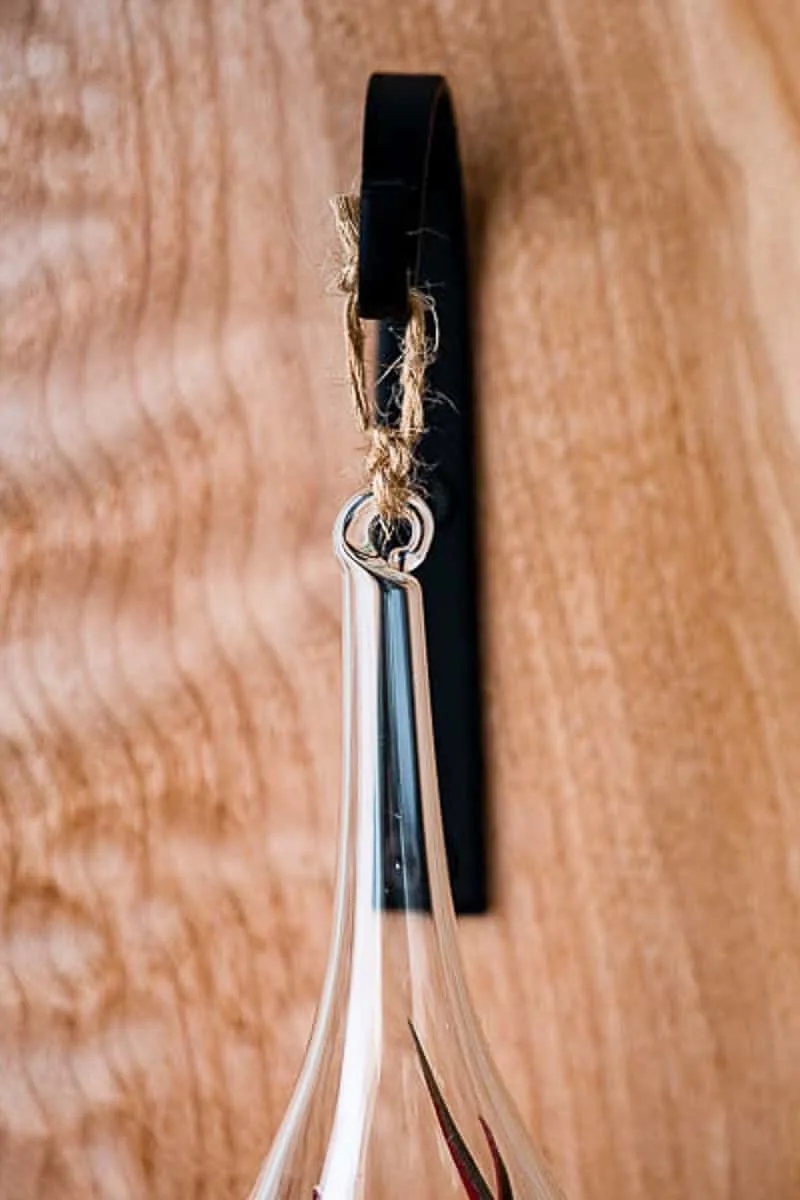
Peel off the mounting strip backing and press it firmly onto the wall for 30 seconds. Then hang your air plant holder on the hook!
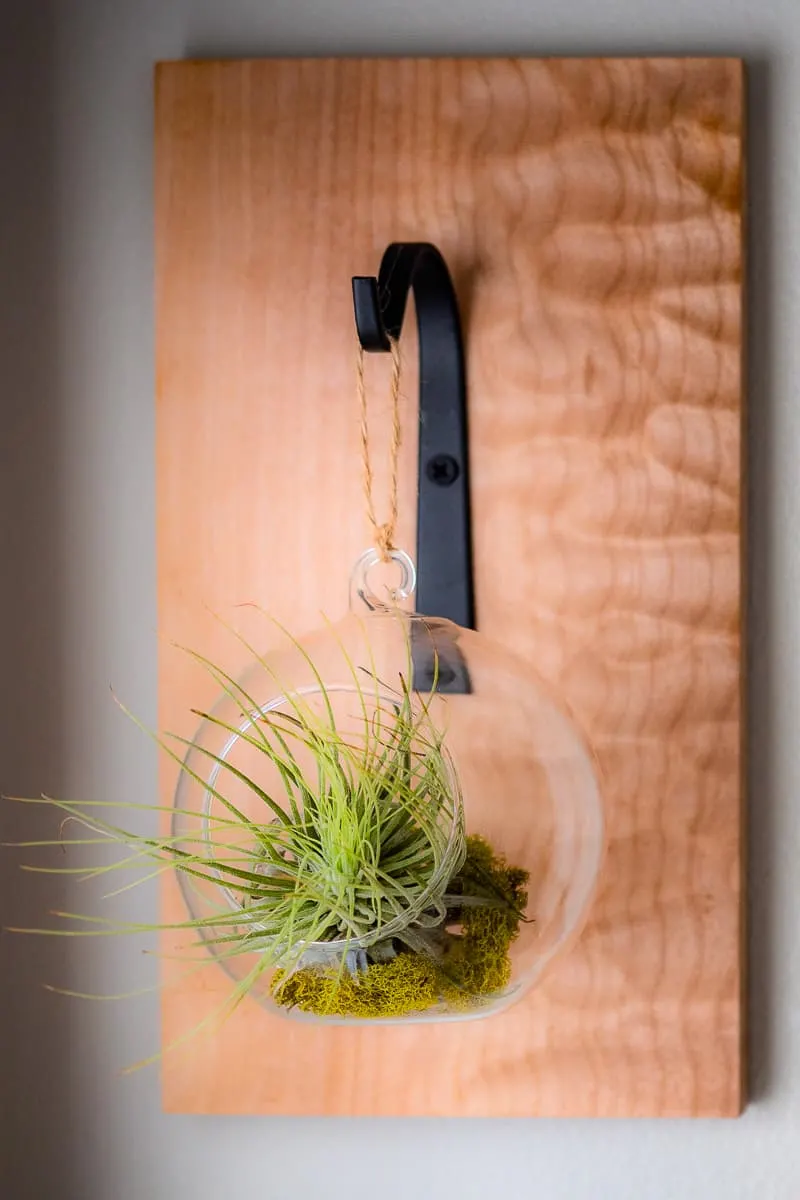
I love the combination of the beautiful wood and the gorgeous air plants! That wood grain really pops in the sunlight!
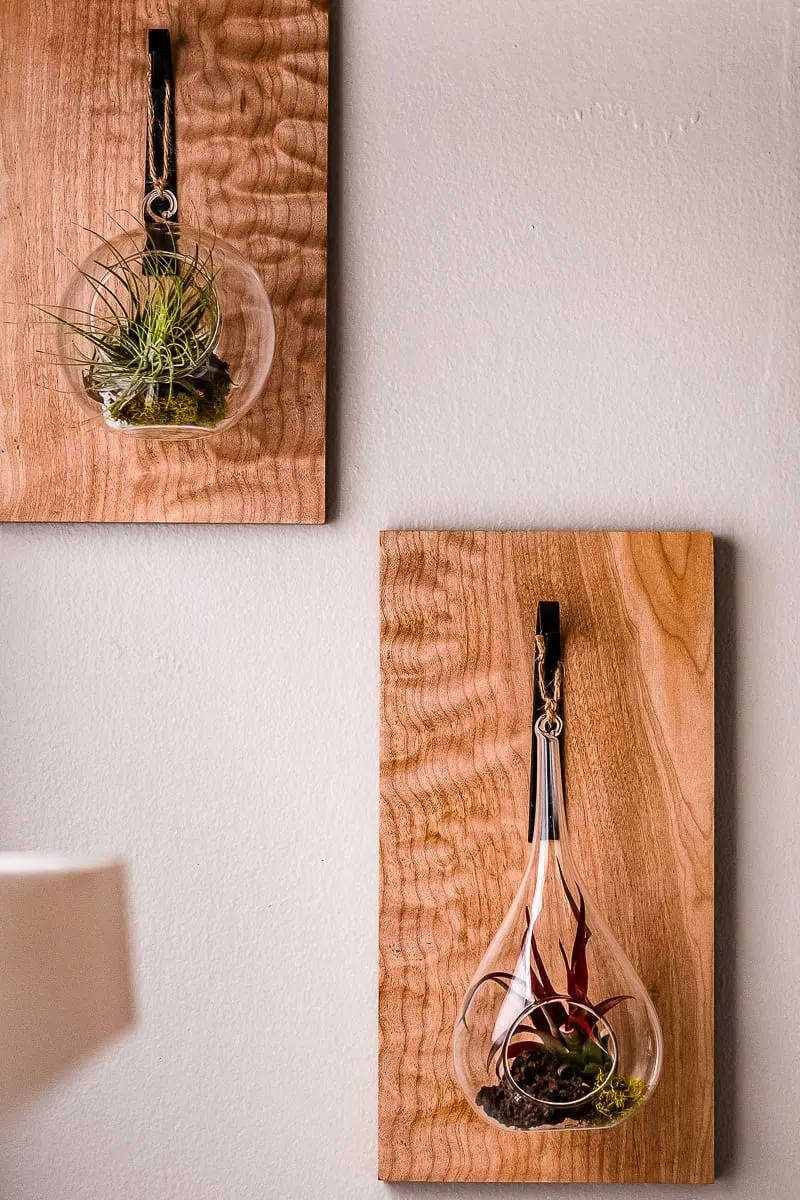
Which one is your favorite? I love them both so much, I can't decide!
Check out these other easy DIY projects!


Mimi
Thursday 24th of October 2019
Simple, yet beautiful!
SR
Friday 18th of October 2019
These are stunning. I love the way you used odds and ends from other projects to make them.